S plots what she will do with her flame effect…“If I make it manually operated, I can wait until people are just past the flame effect in the maze, then set it off! “
Initial reactions were very strong:
Mirror Blaze Night Flame Test #1 (blurry):
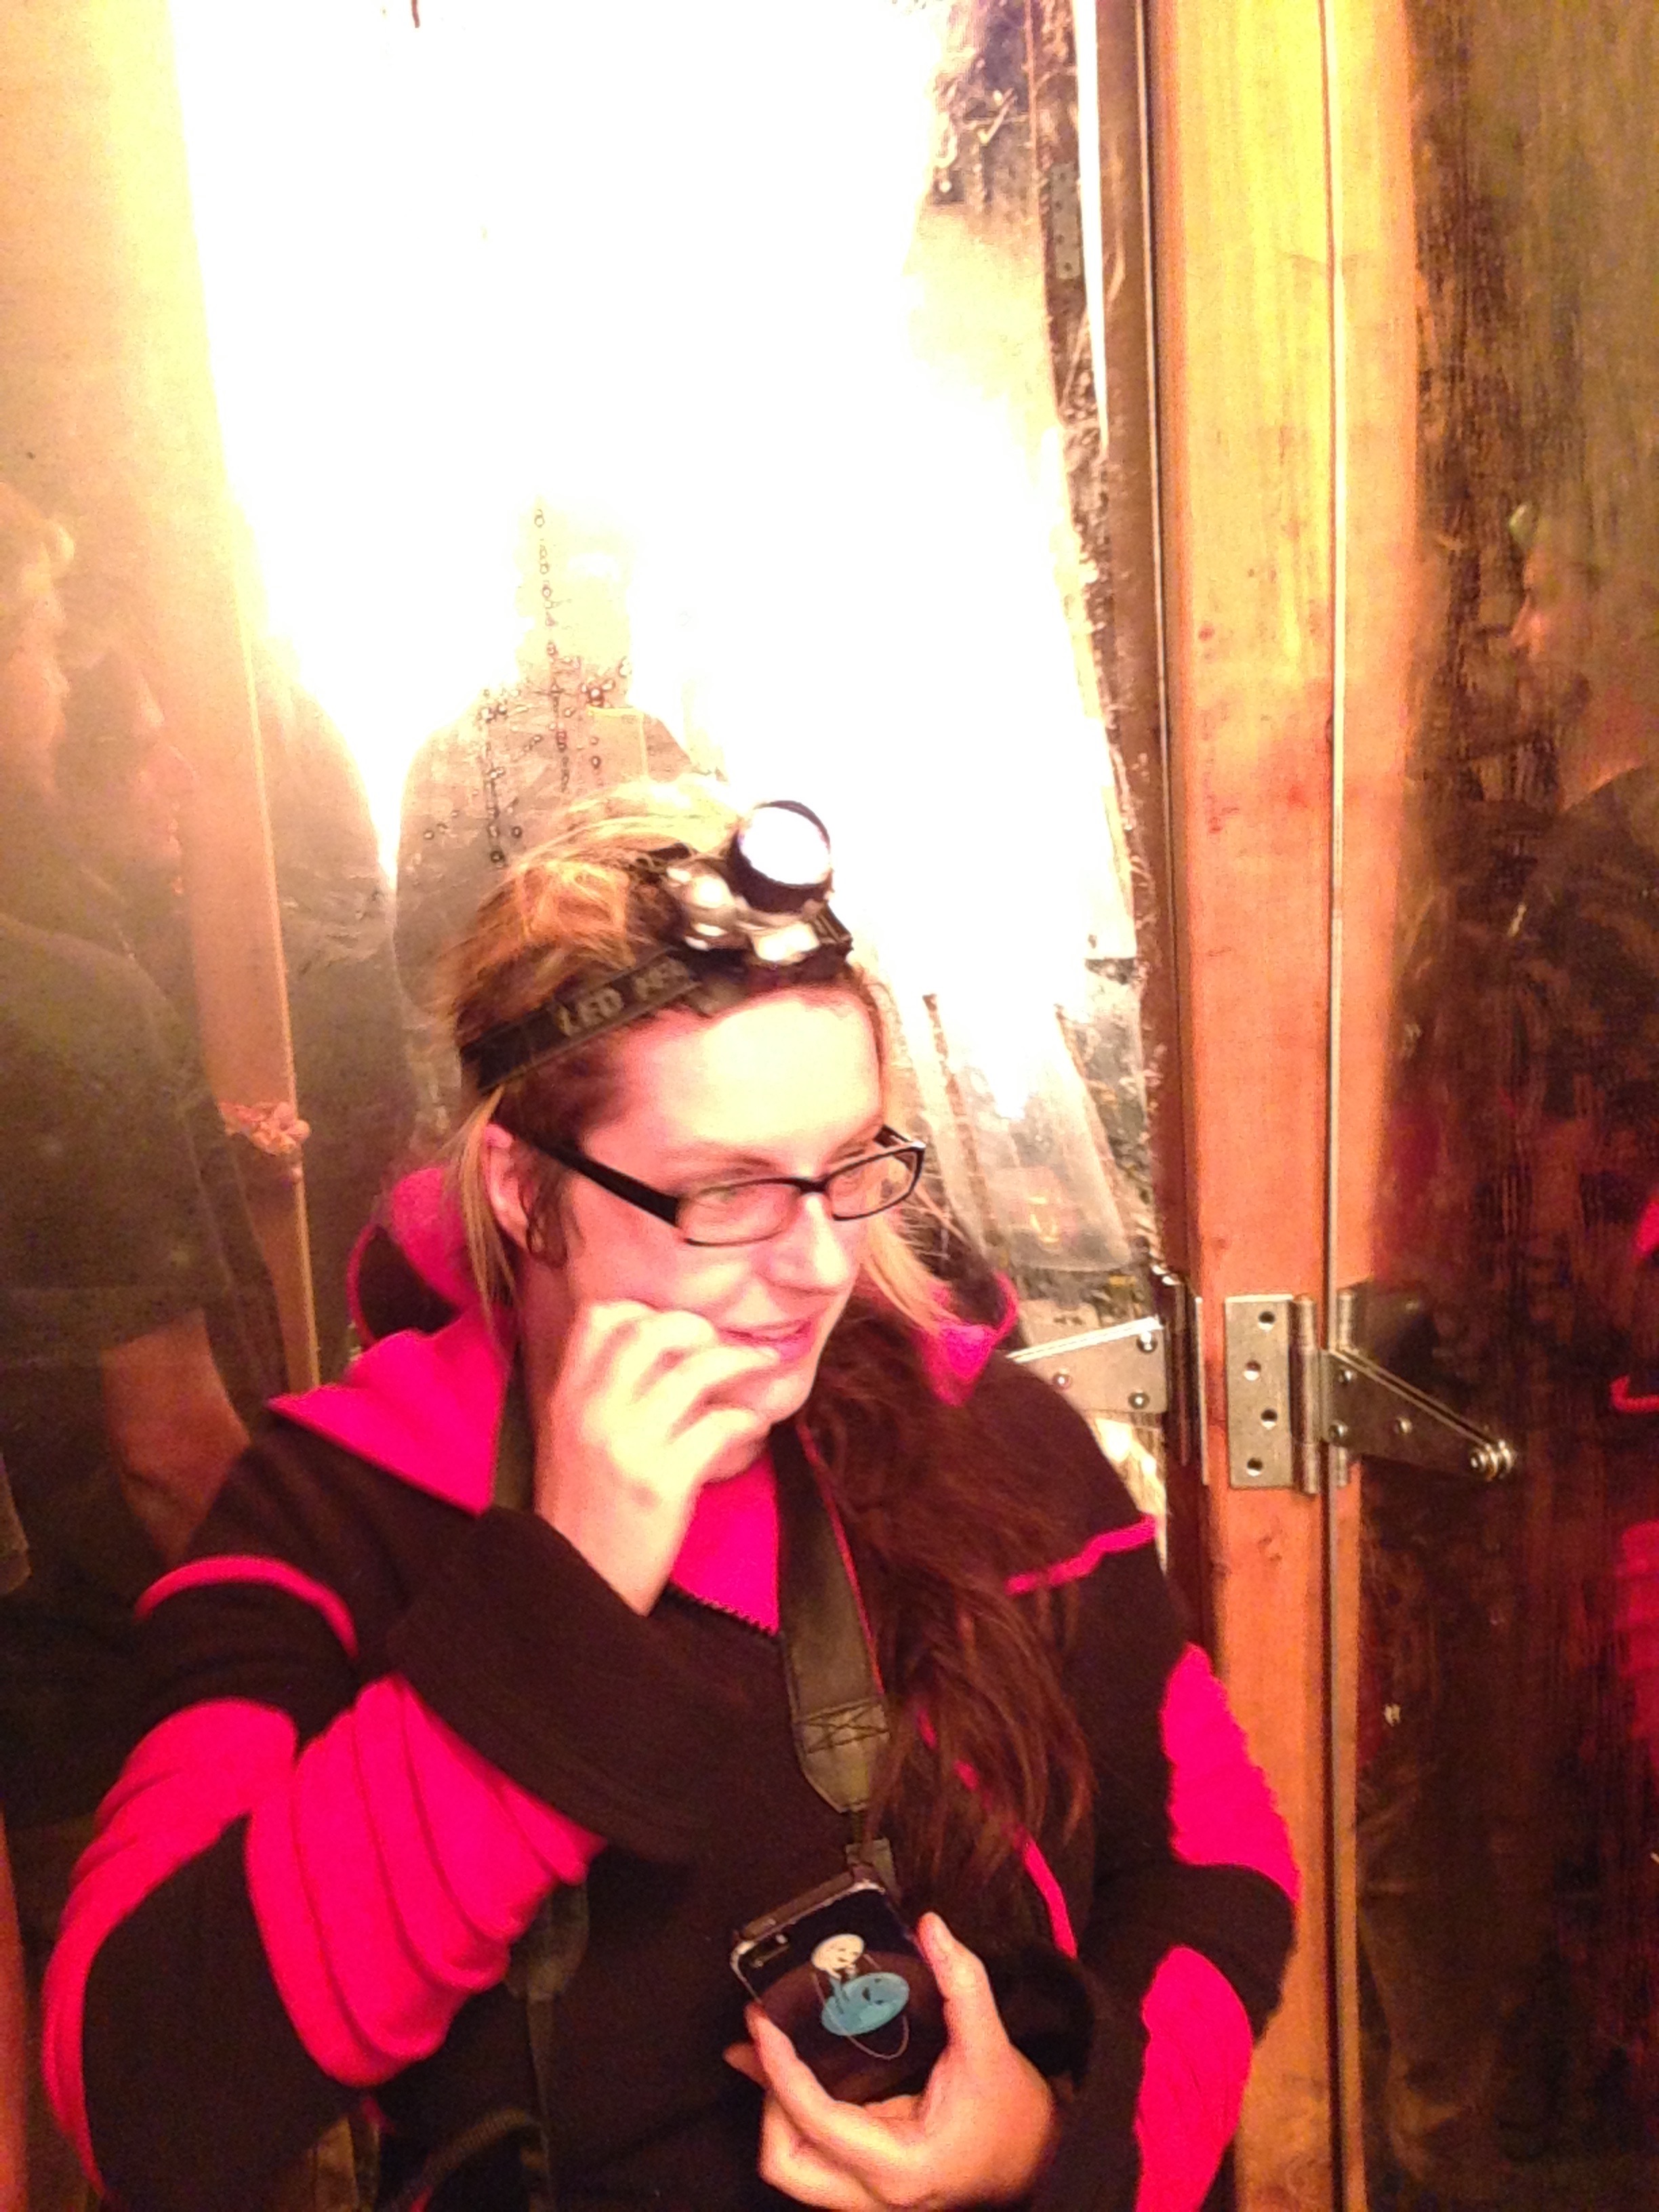
Mirror Blaze Night Flame Test #2 “There is a lot of light.”:
Mirror Blaze Night Flame Test #3 (blue flame and backdraft tests):
I really enjoyed the blue flame in this video, and whenever it happened at the event. This set of tests were mostly us calibrating the length of time we needed to open the solenoid to get the optimal flame. If we set it off too quickly, there would be no propane in the accumulator, and we would get a small ‘foop’ flame. Setting if off for too long would give a slowly dwindling flame. The trick was the sweet spot in between.
Complicating this was the backdraft issue, where you had to have some air flow pushing the denser-than-air propane up the tube, or it would fall down and ignite out the bottom of the tube. In practice, we found that warm air (from an immediately previous ignition) was often enough to supply this airflow upwards:
Also note that the tube was starting to get sooty.
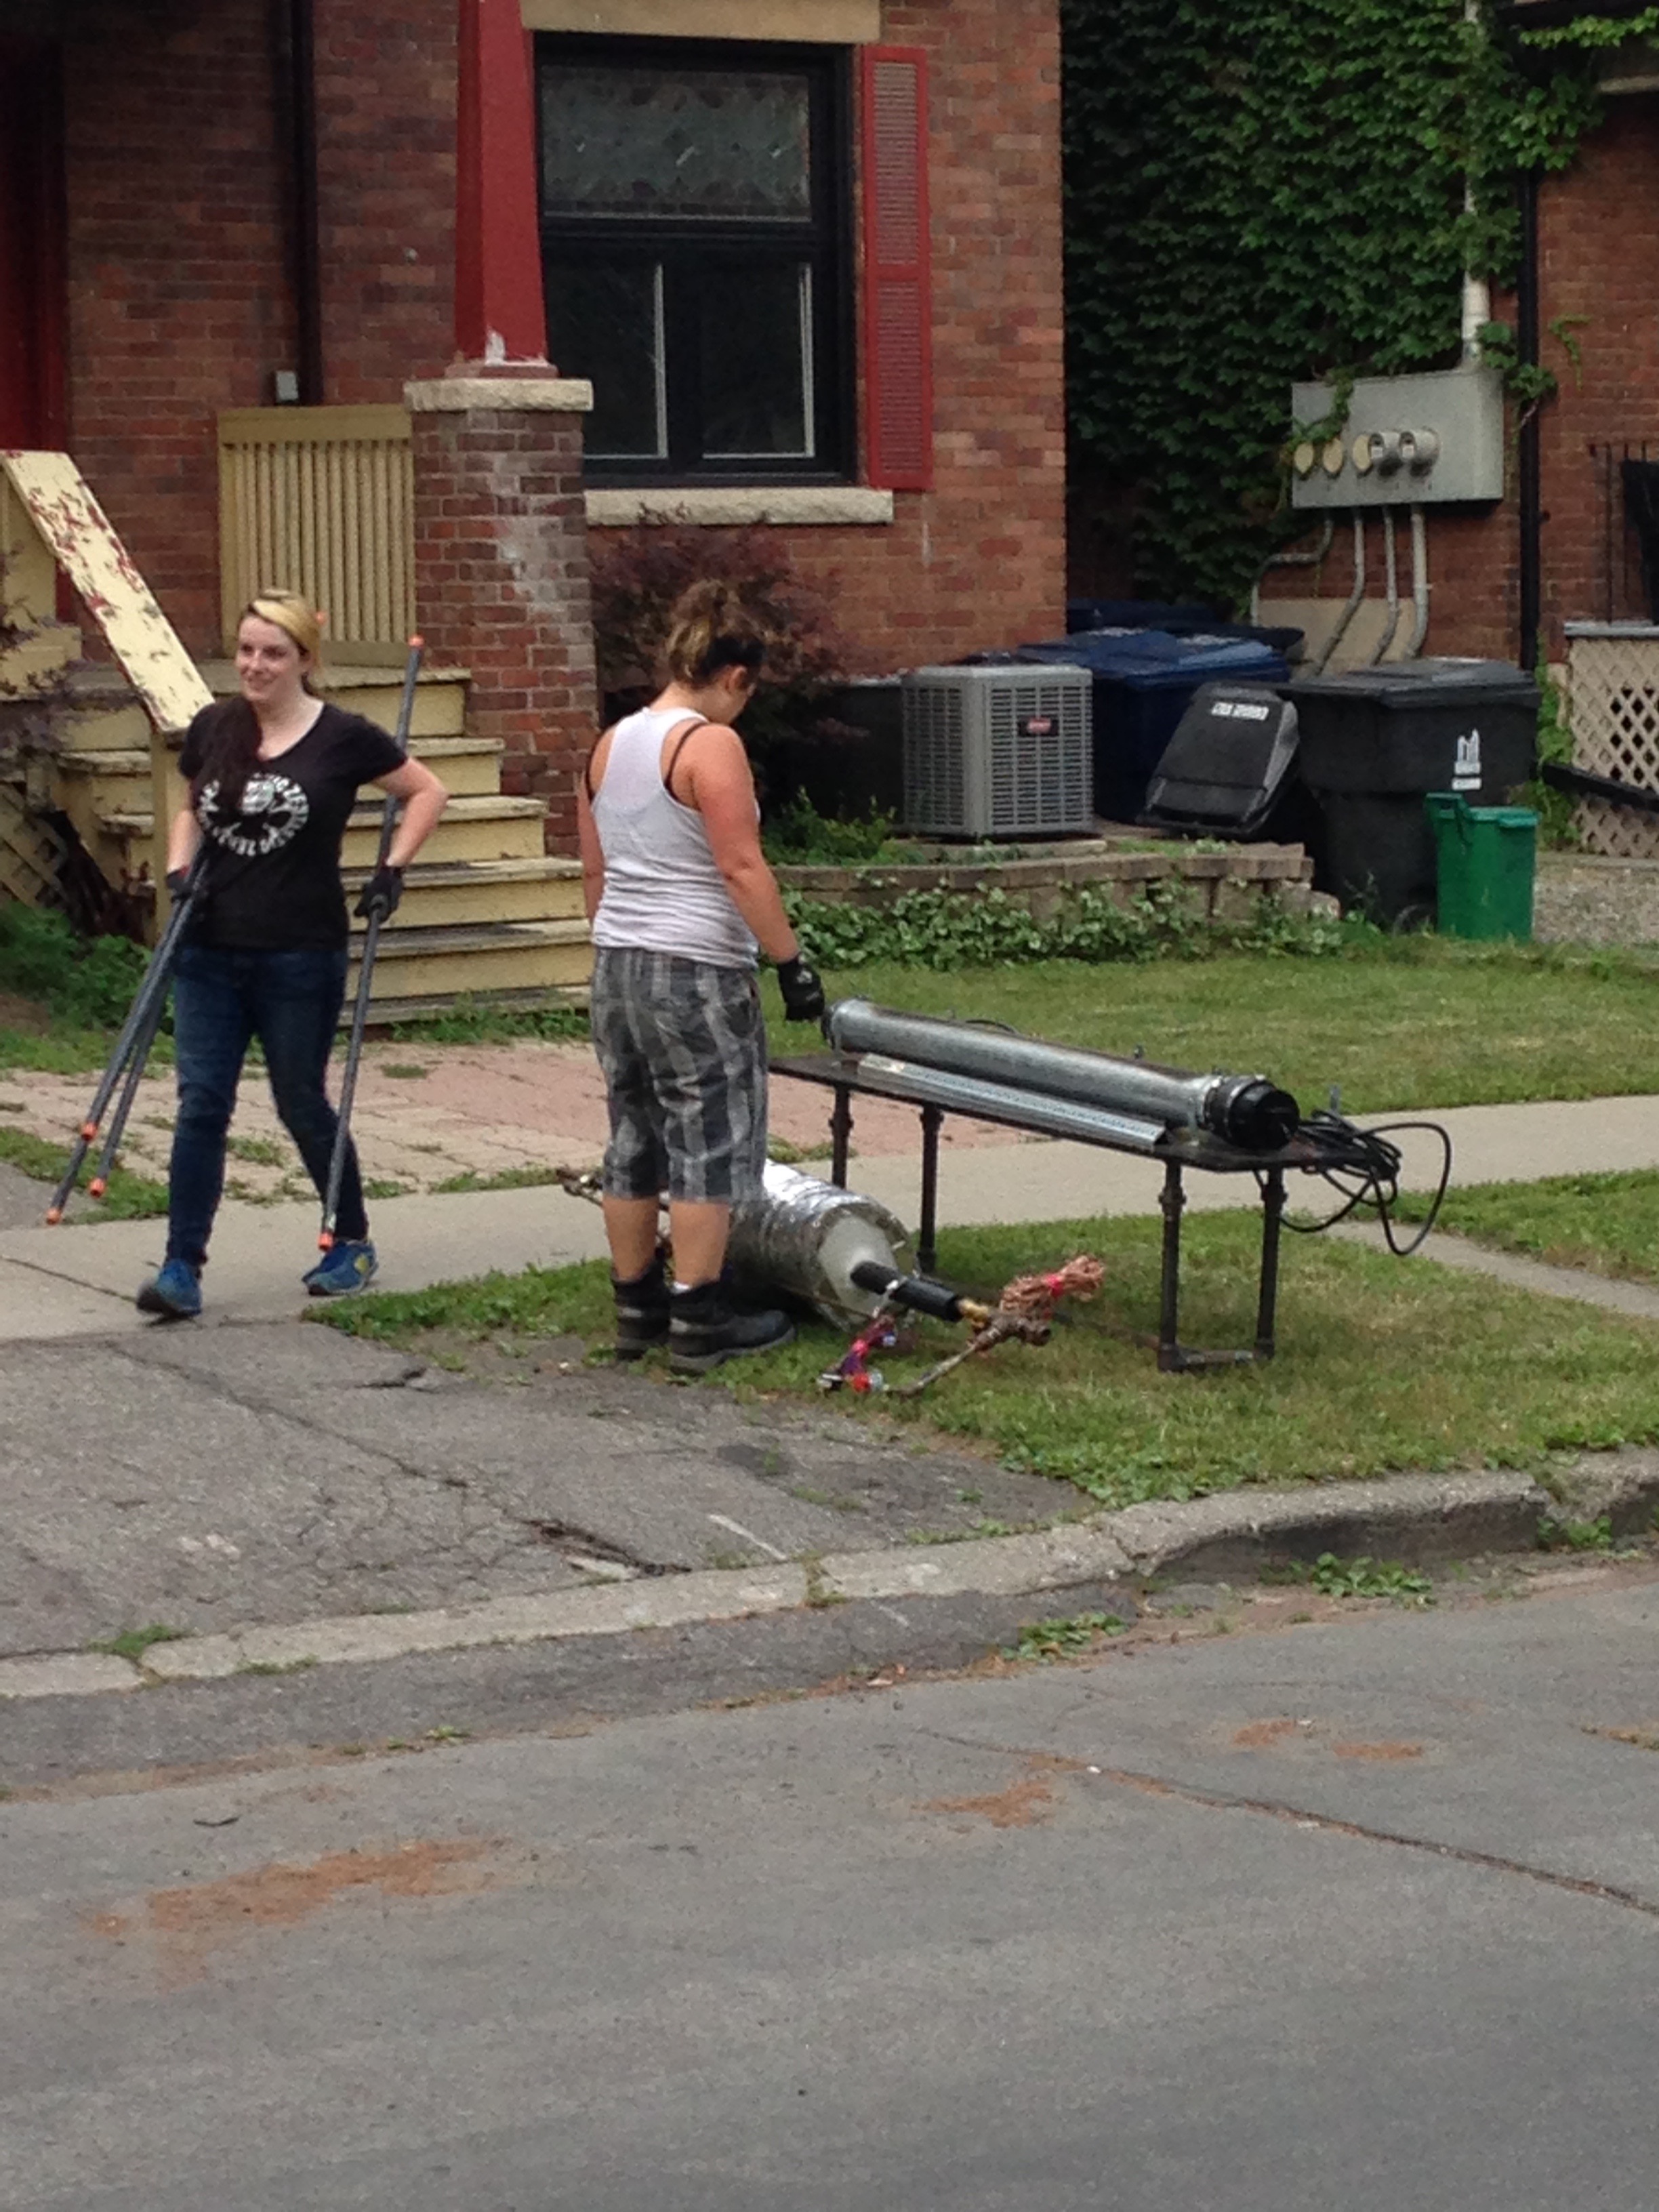
Hellblazer also got in on the flame action[1]!
Fate and a couple of participants test out her Hellblazer highstriker.
Stay tuned for next time, where we strike camp and pack up!
[1]I also have a video of Francis, but the video quality is not very good, and the words are not very sfw. PM me if you want to see it.
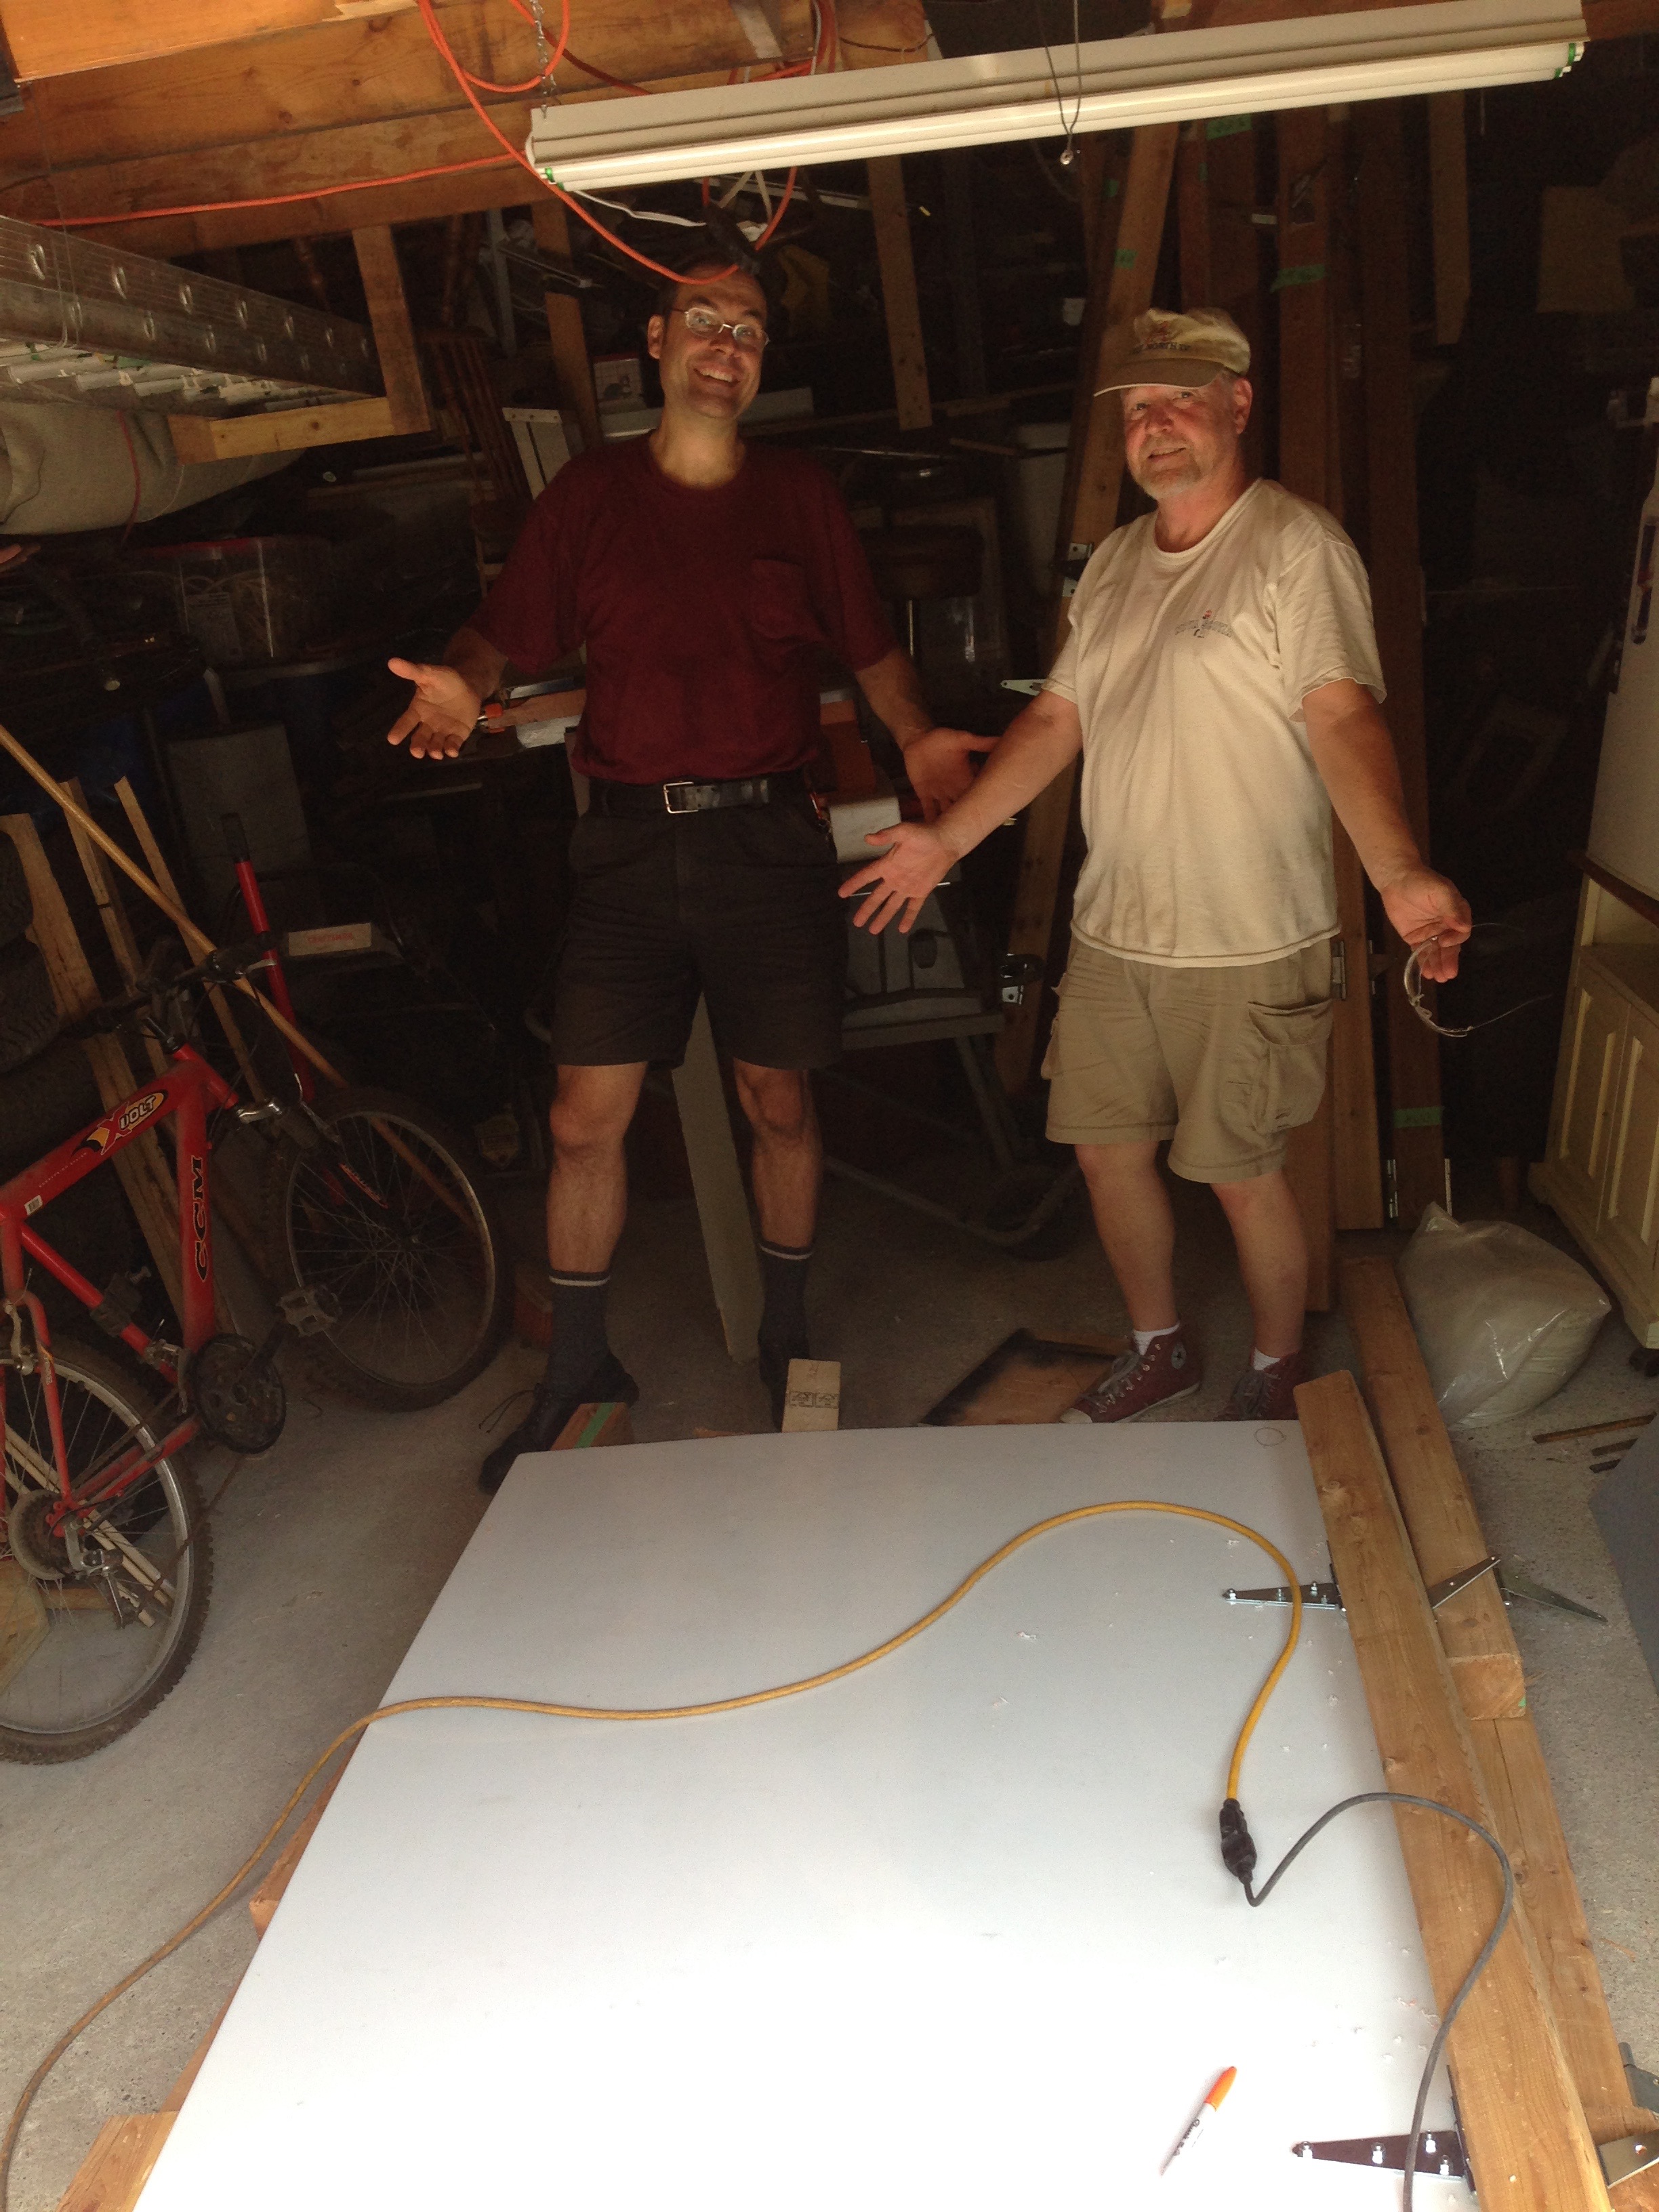
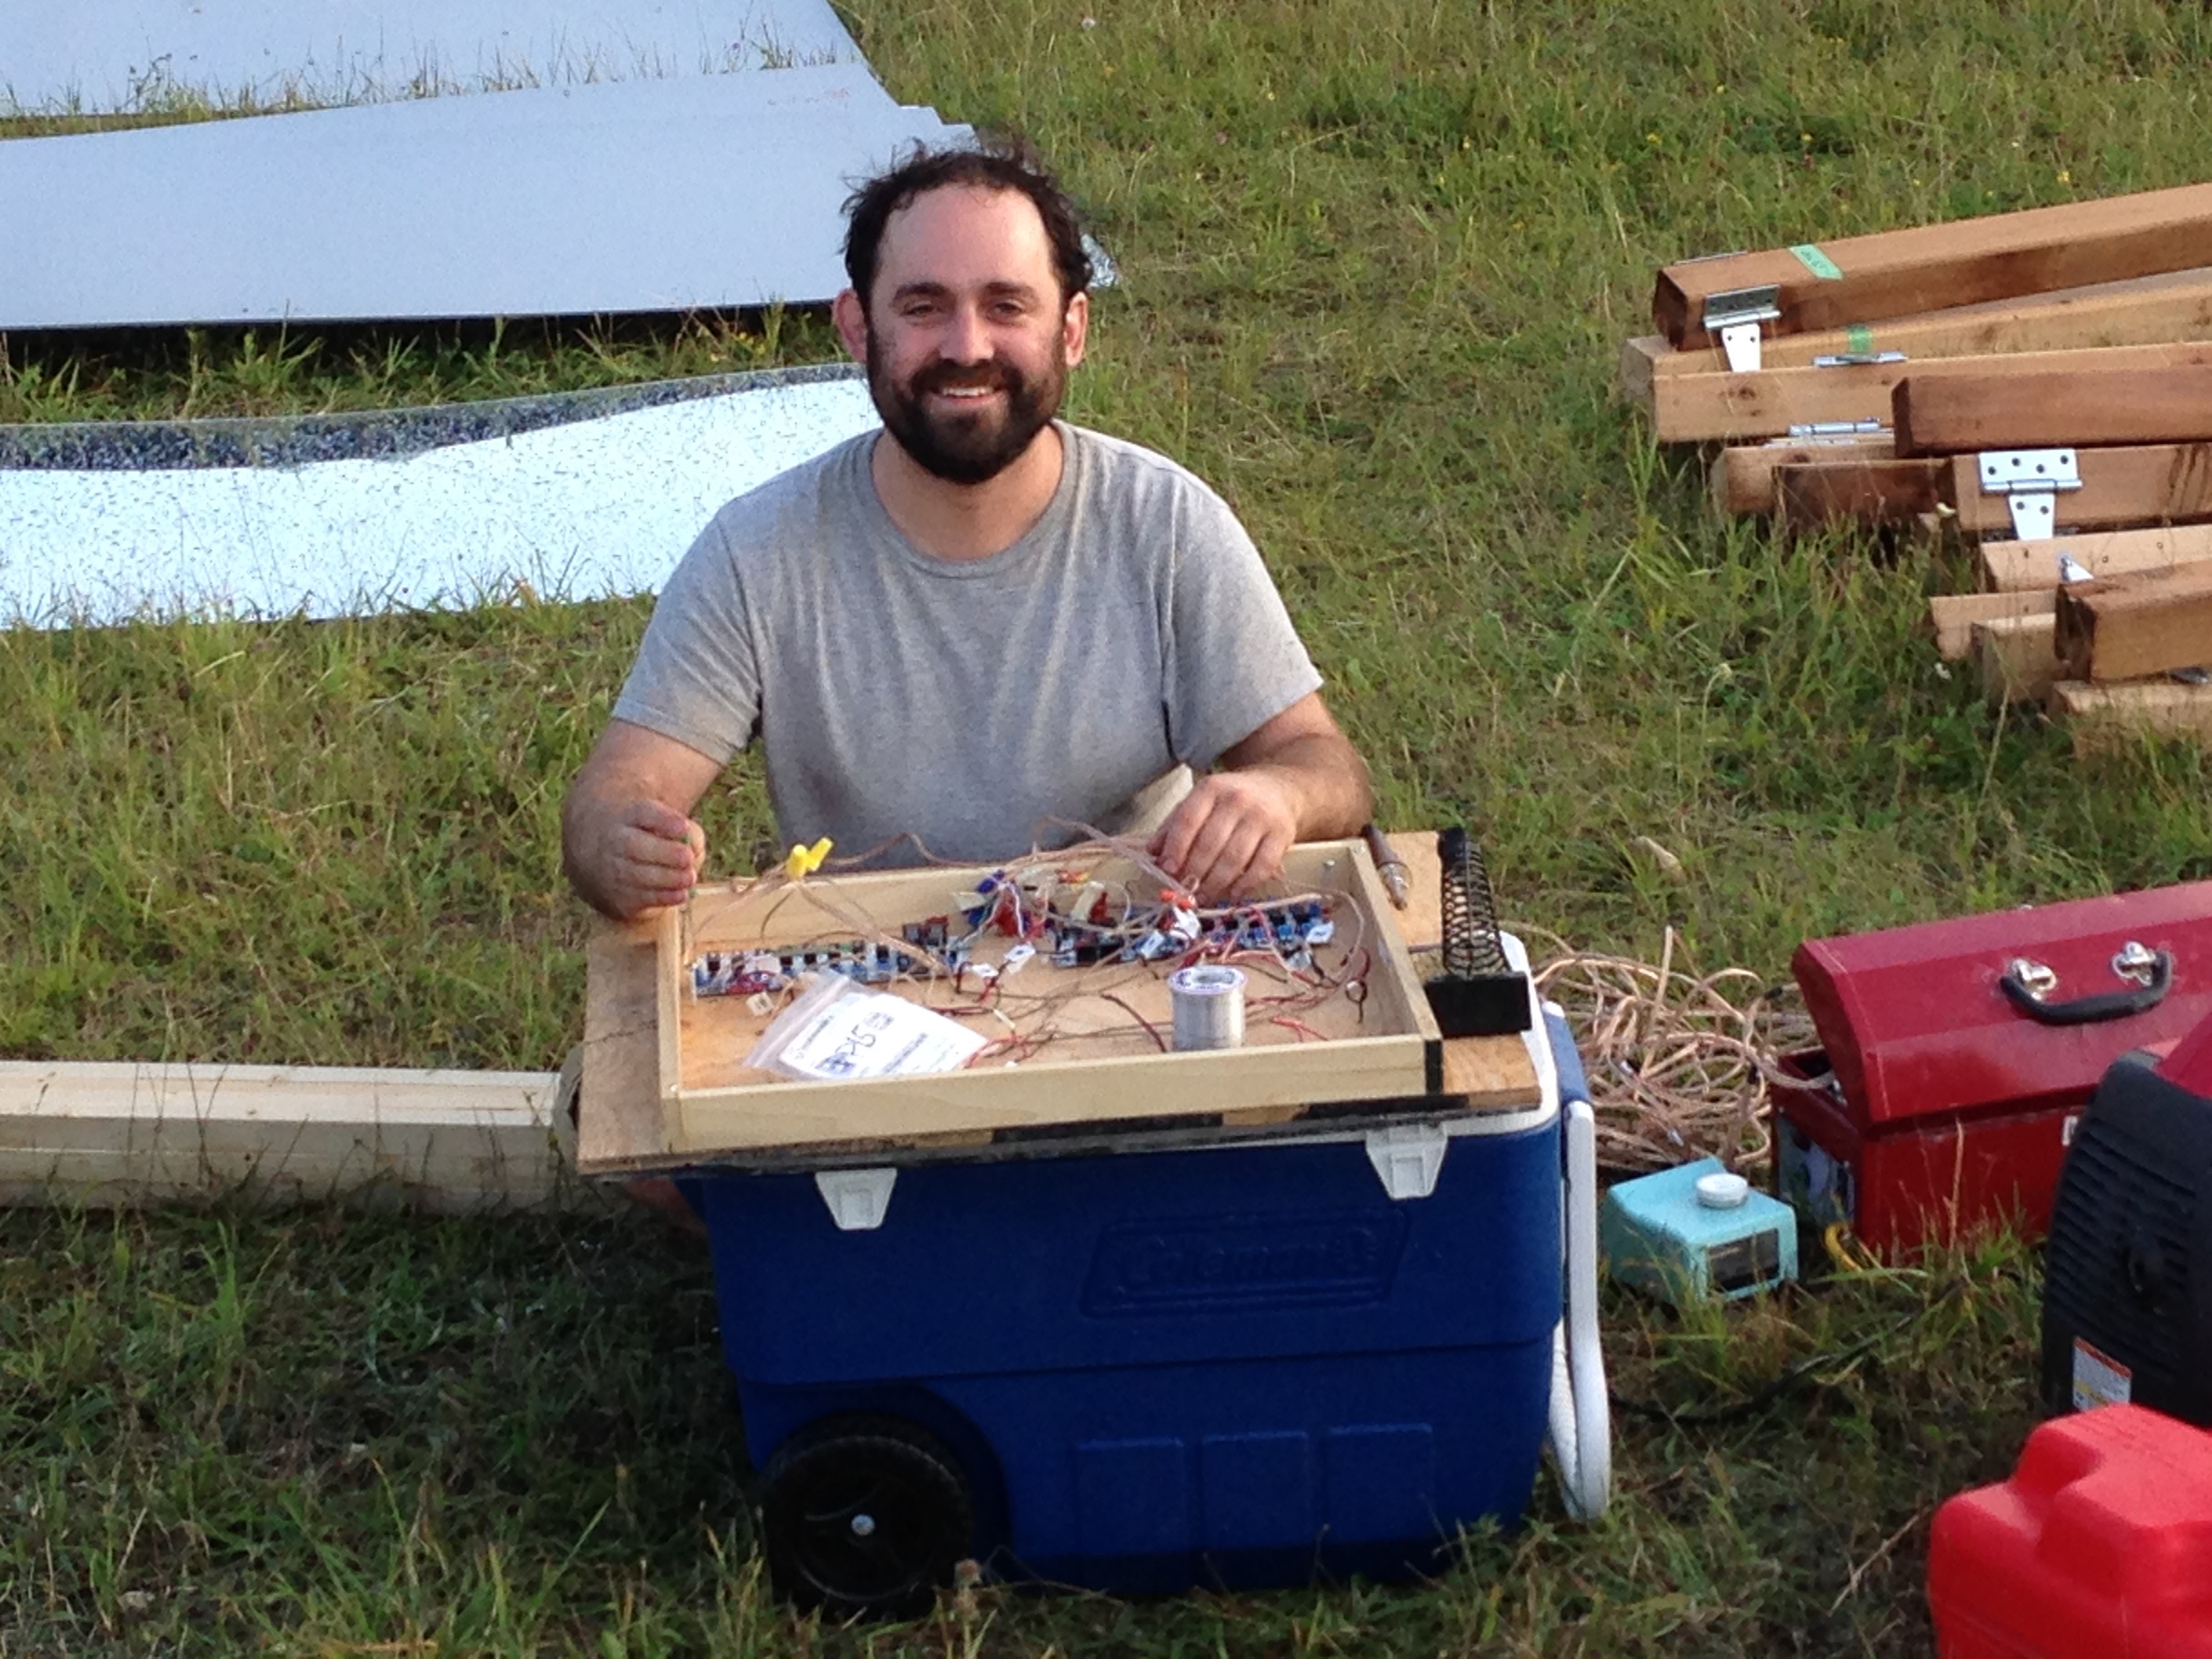
But first, we went and consulted Magical Trevyn. He gave us some advice about scoreboards, and we continued on our way:
Here, we see Magical Trevyn, hard at work, surrounded by parts of Mirror Blaze and Riskee Ball.We took a second to consult with magical Trevyn. He gave us advice about scoreboards, and we continued on our way.
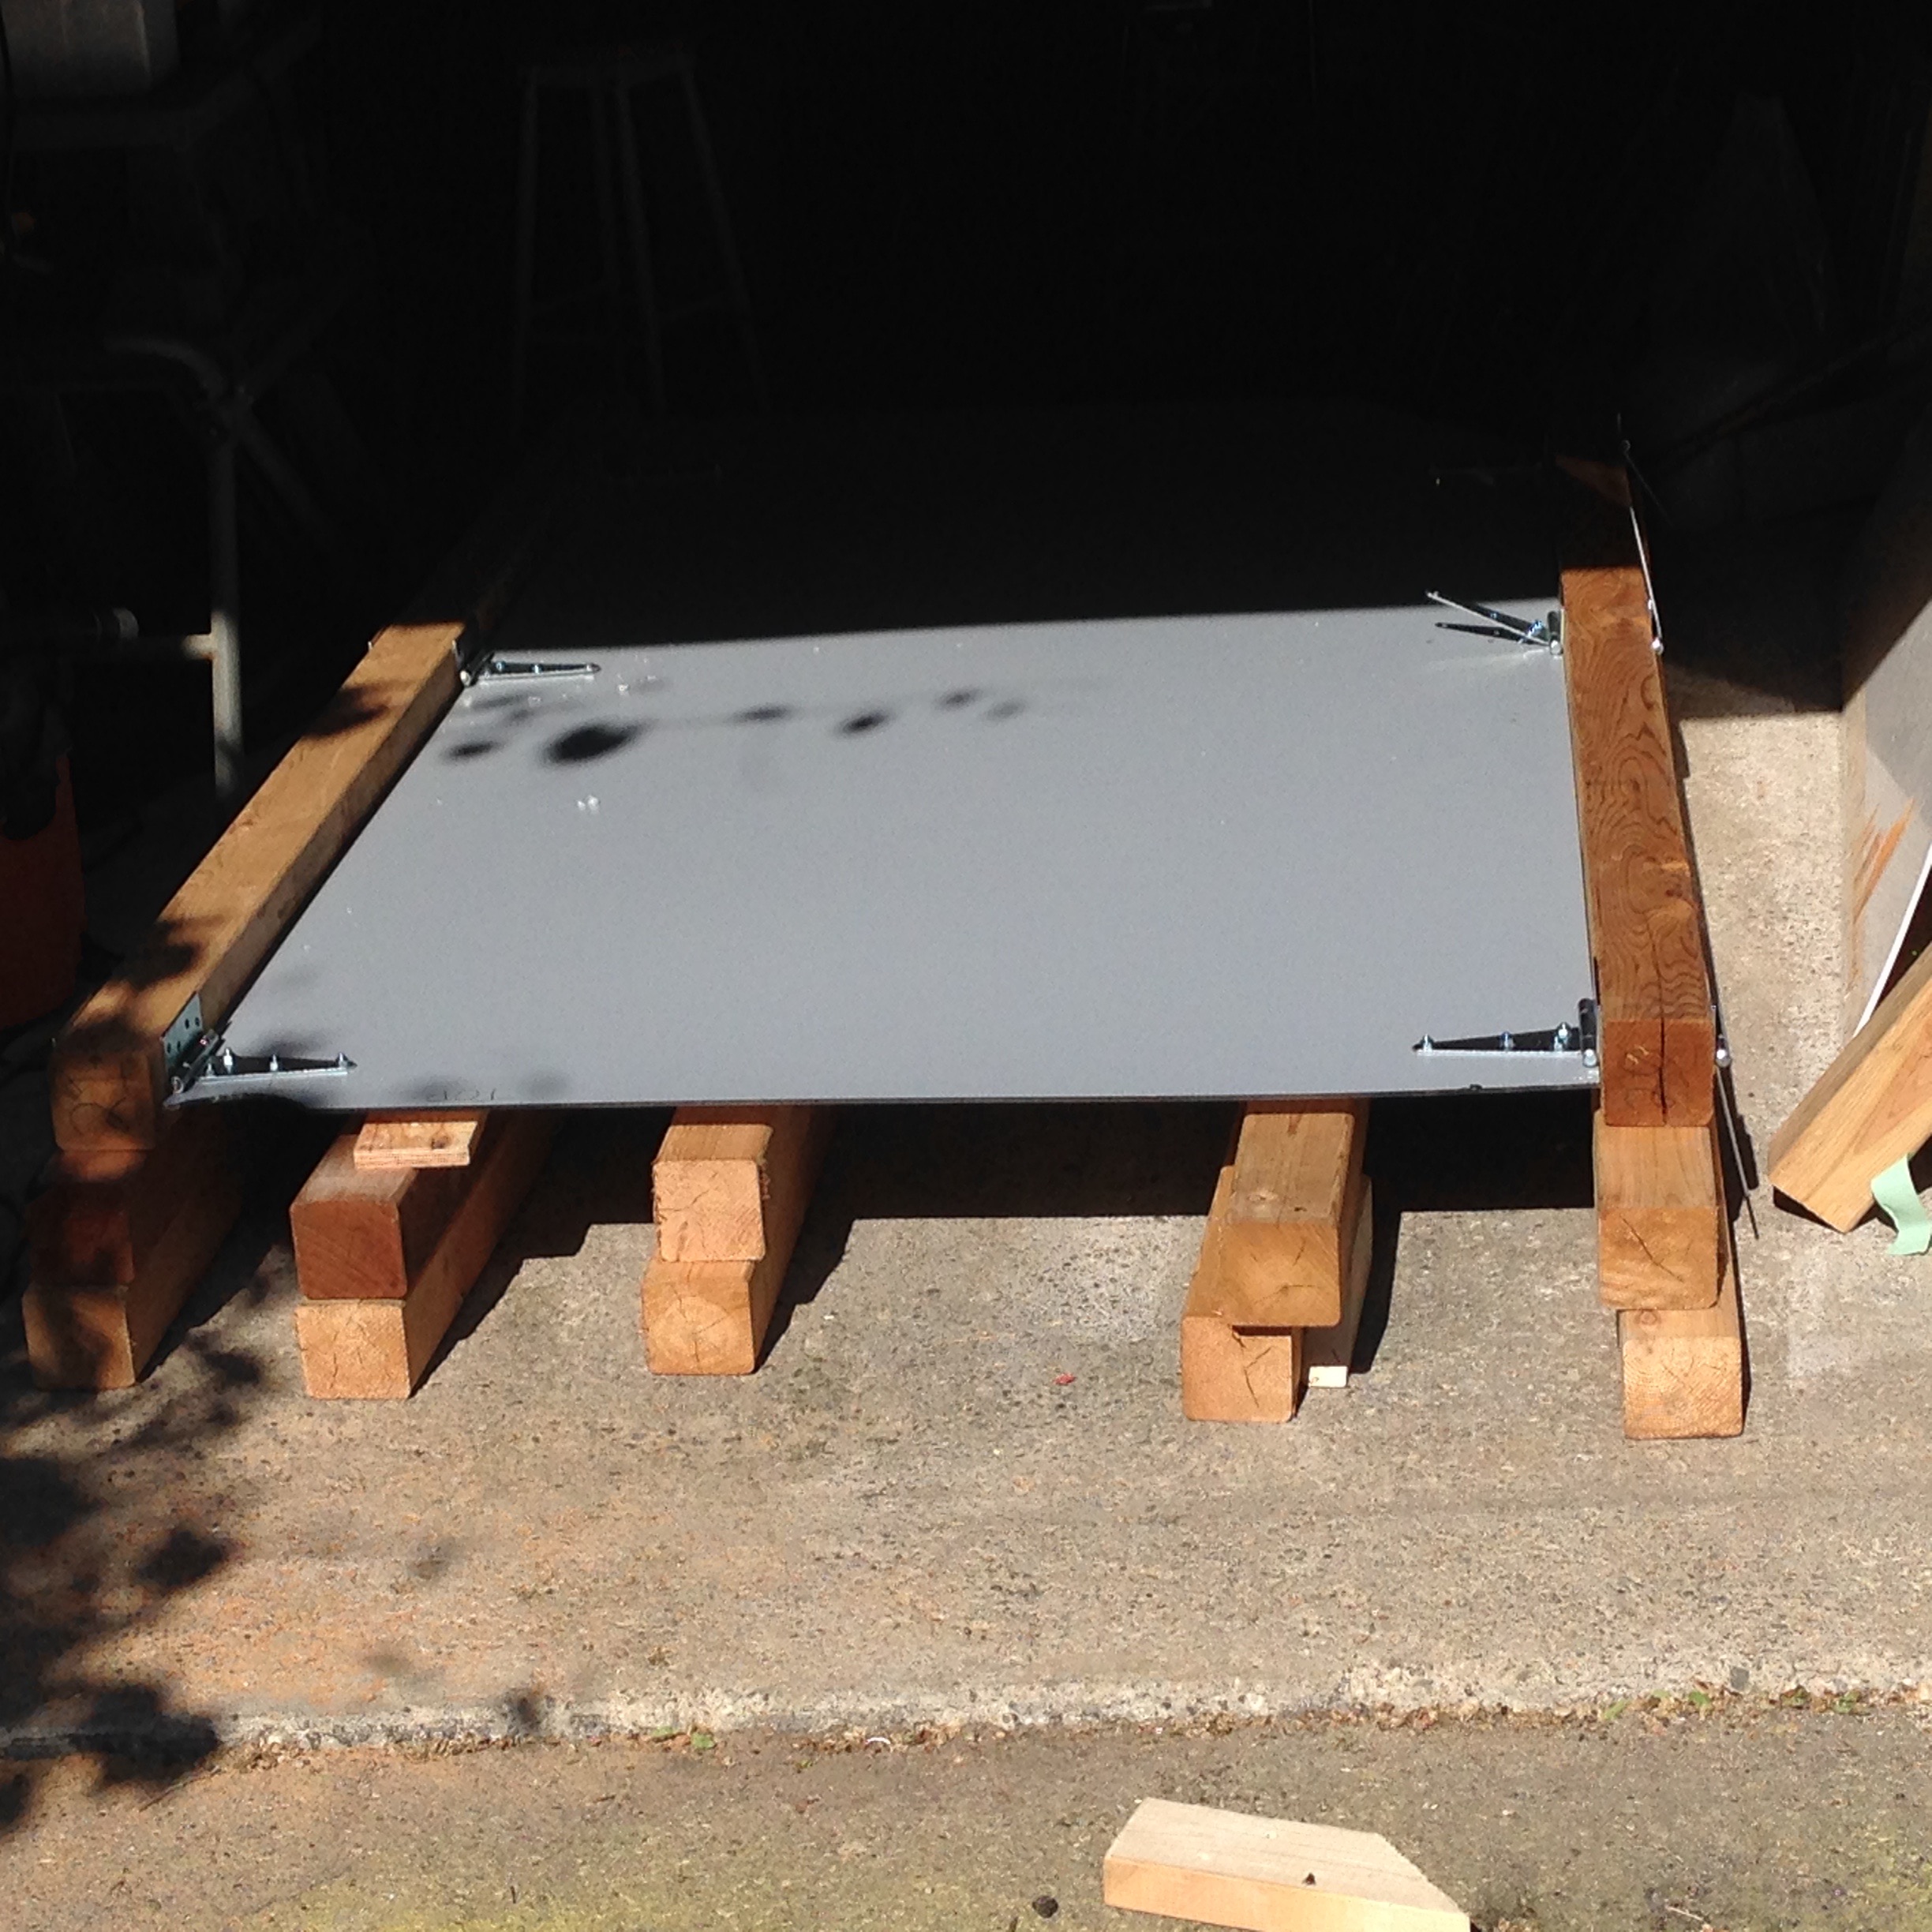
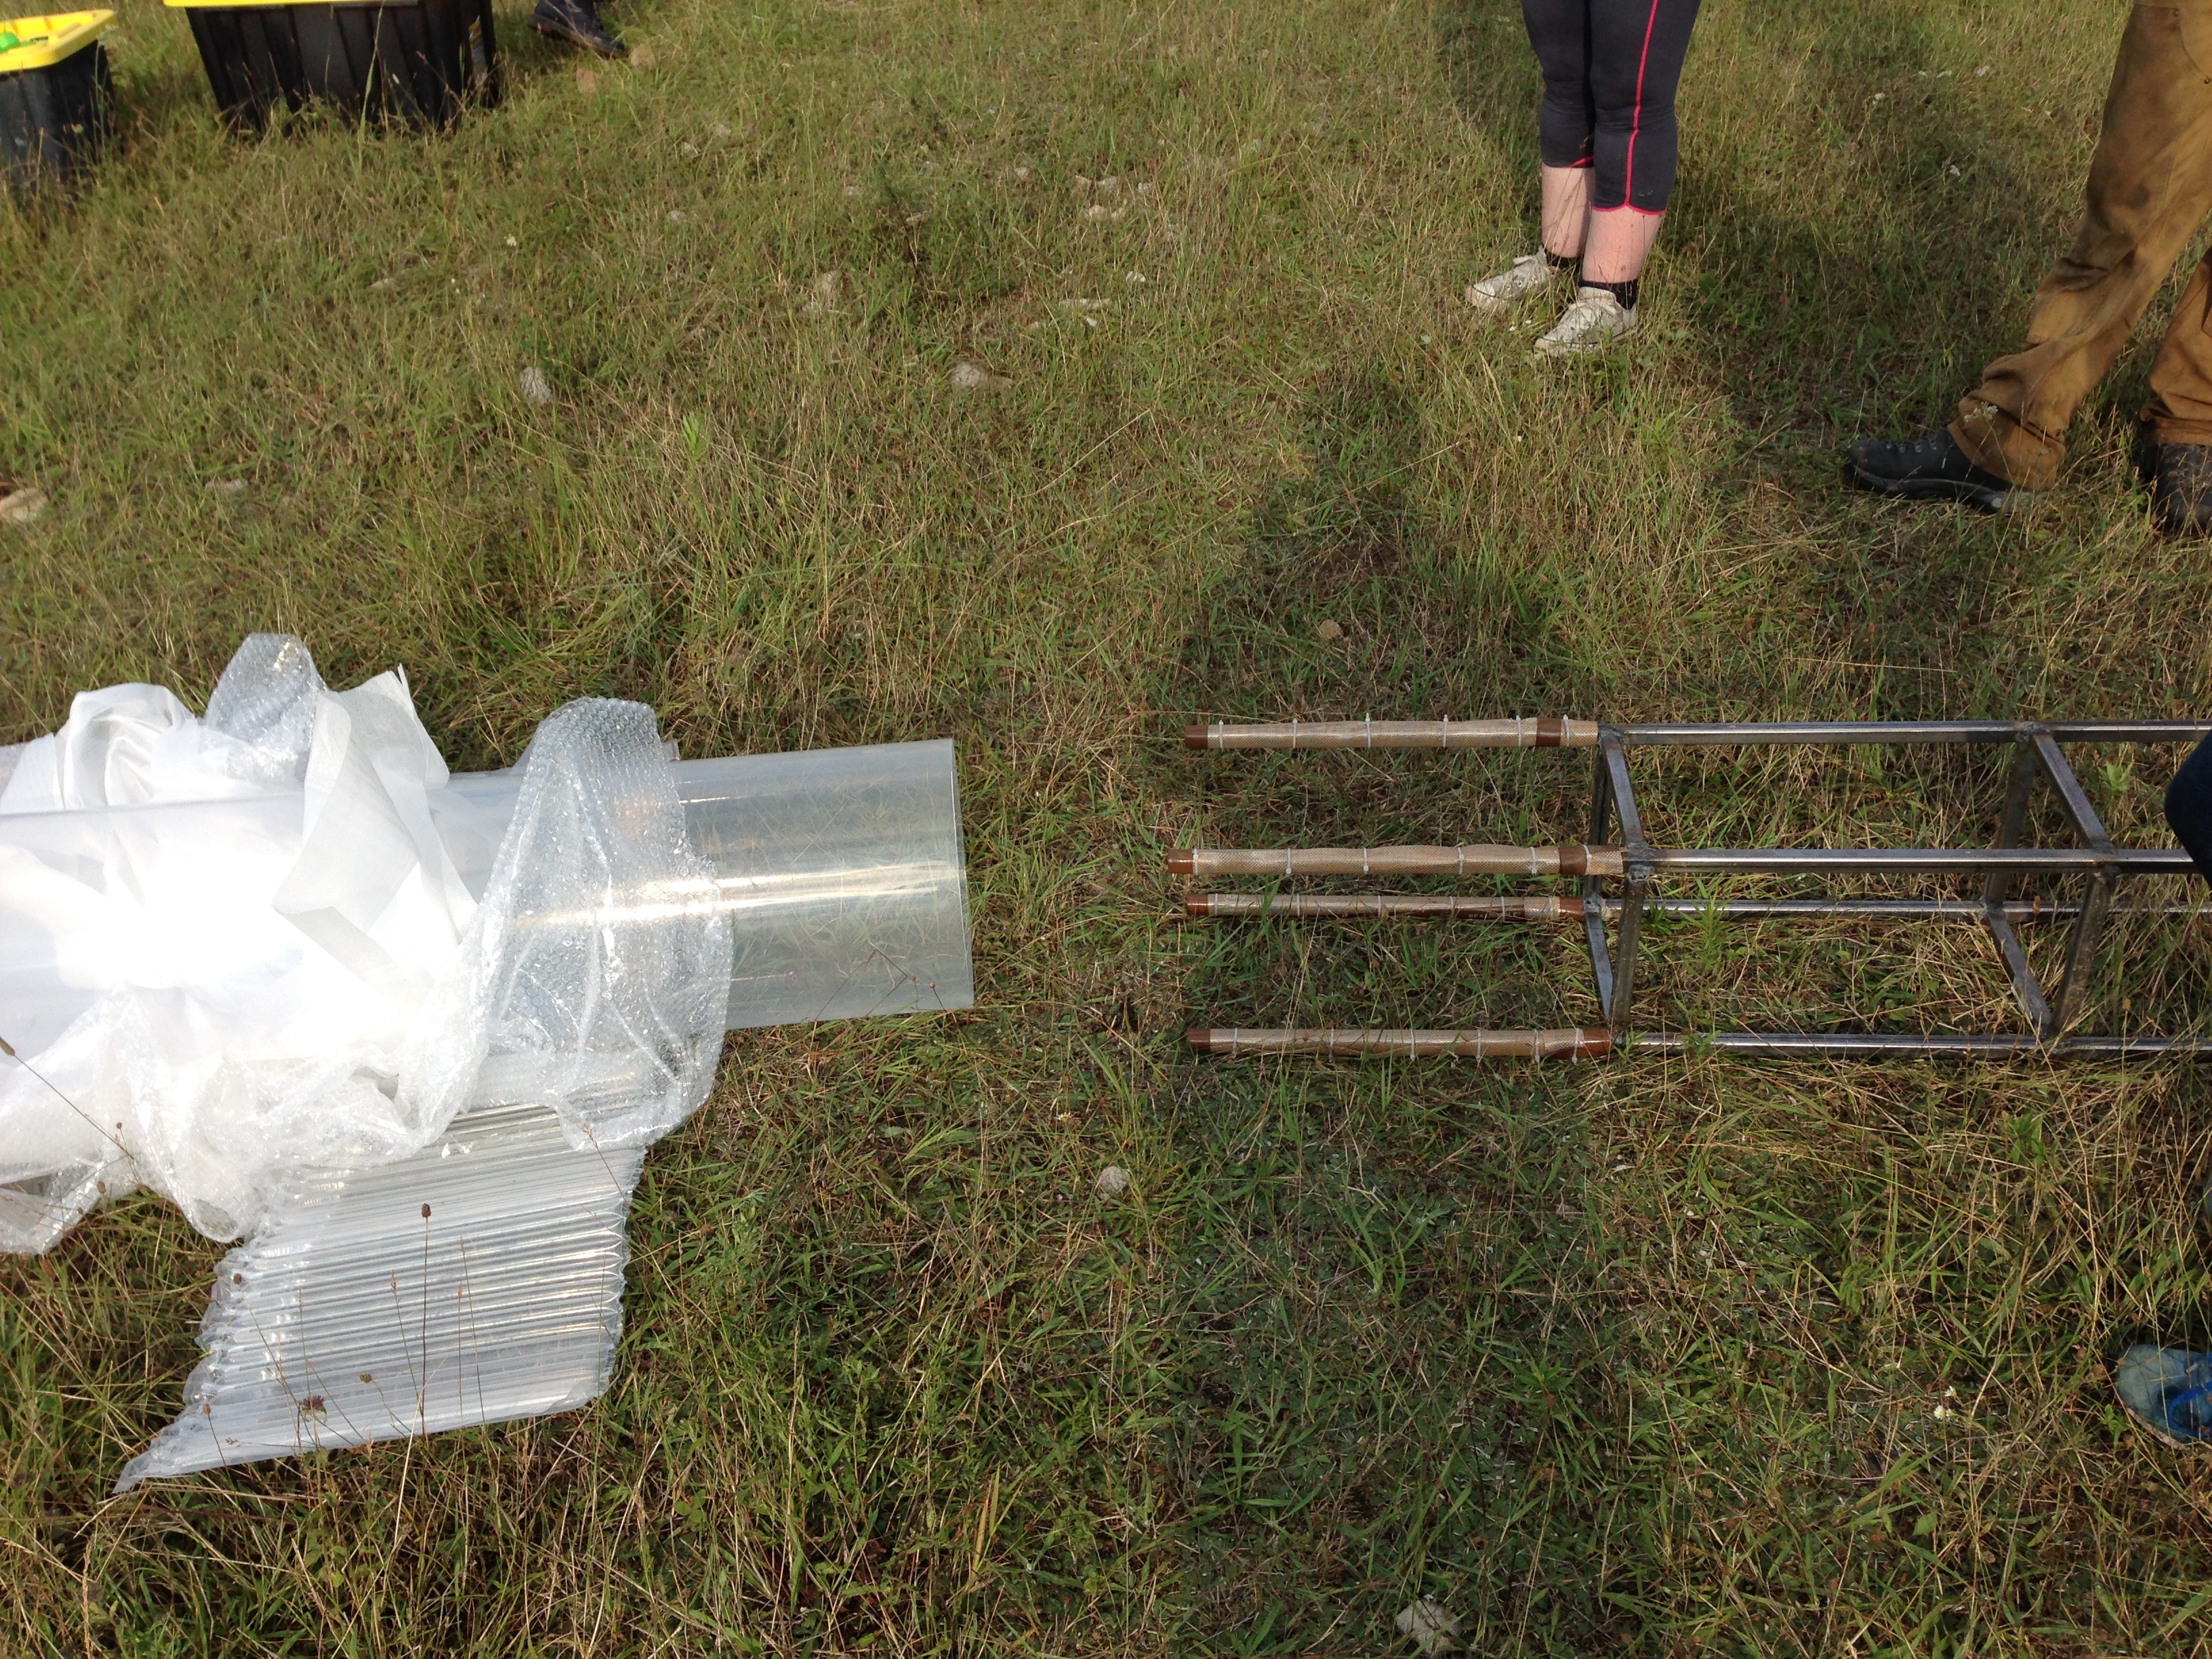
The quartz tube and welded metal stand, (almost) together at last!
Then we did a few tests of Flamey[1], with Marc offering debugging help from (mostly) upwind:
Flamey test 1:
Flamey test 2:
Even Cynthia got a chance to try the flame effect:
Cynthia gets a chance to try the flame effect.
Then was the part I was most afraid of. I had learned welding approximately 1 week before, and my first ever welded item was going to be supporting our dozens of pounds, expensive and difficult to source quartz tube.
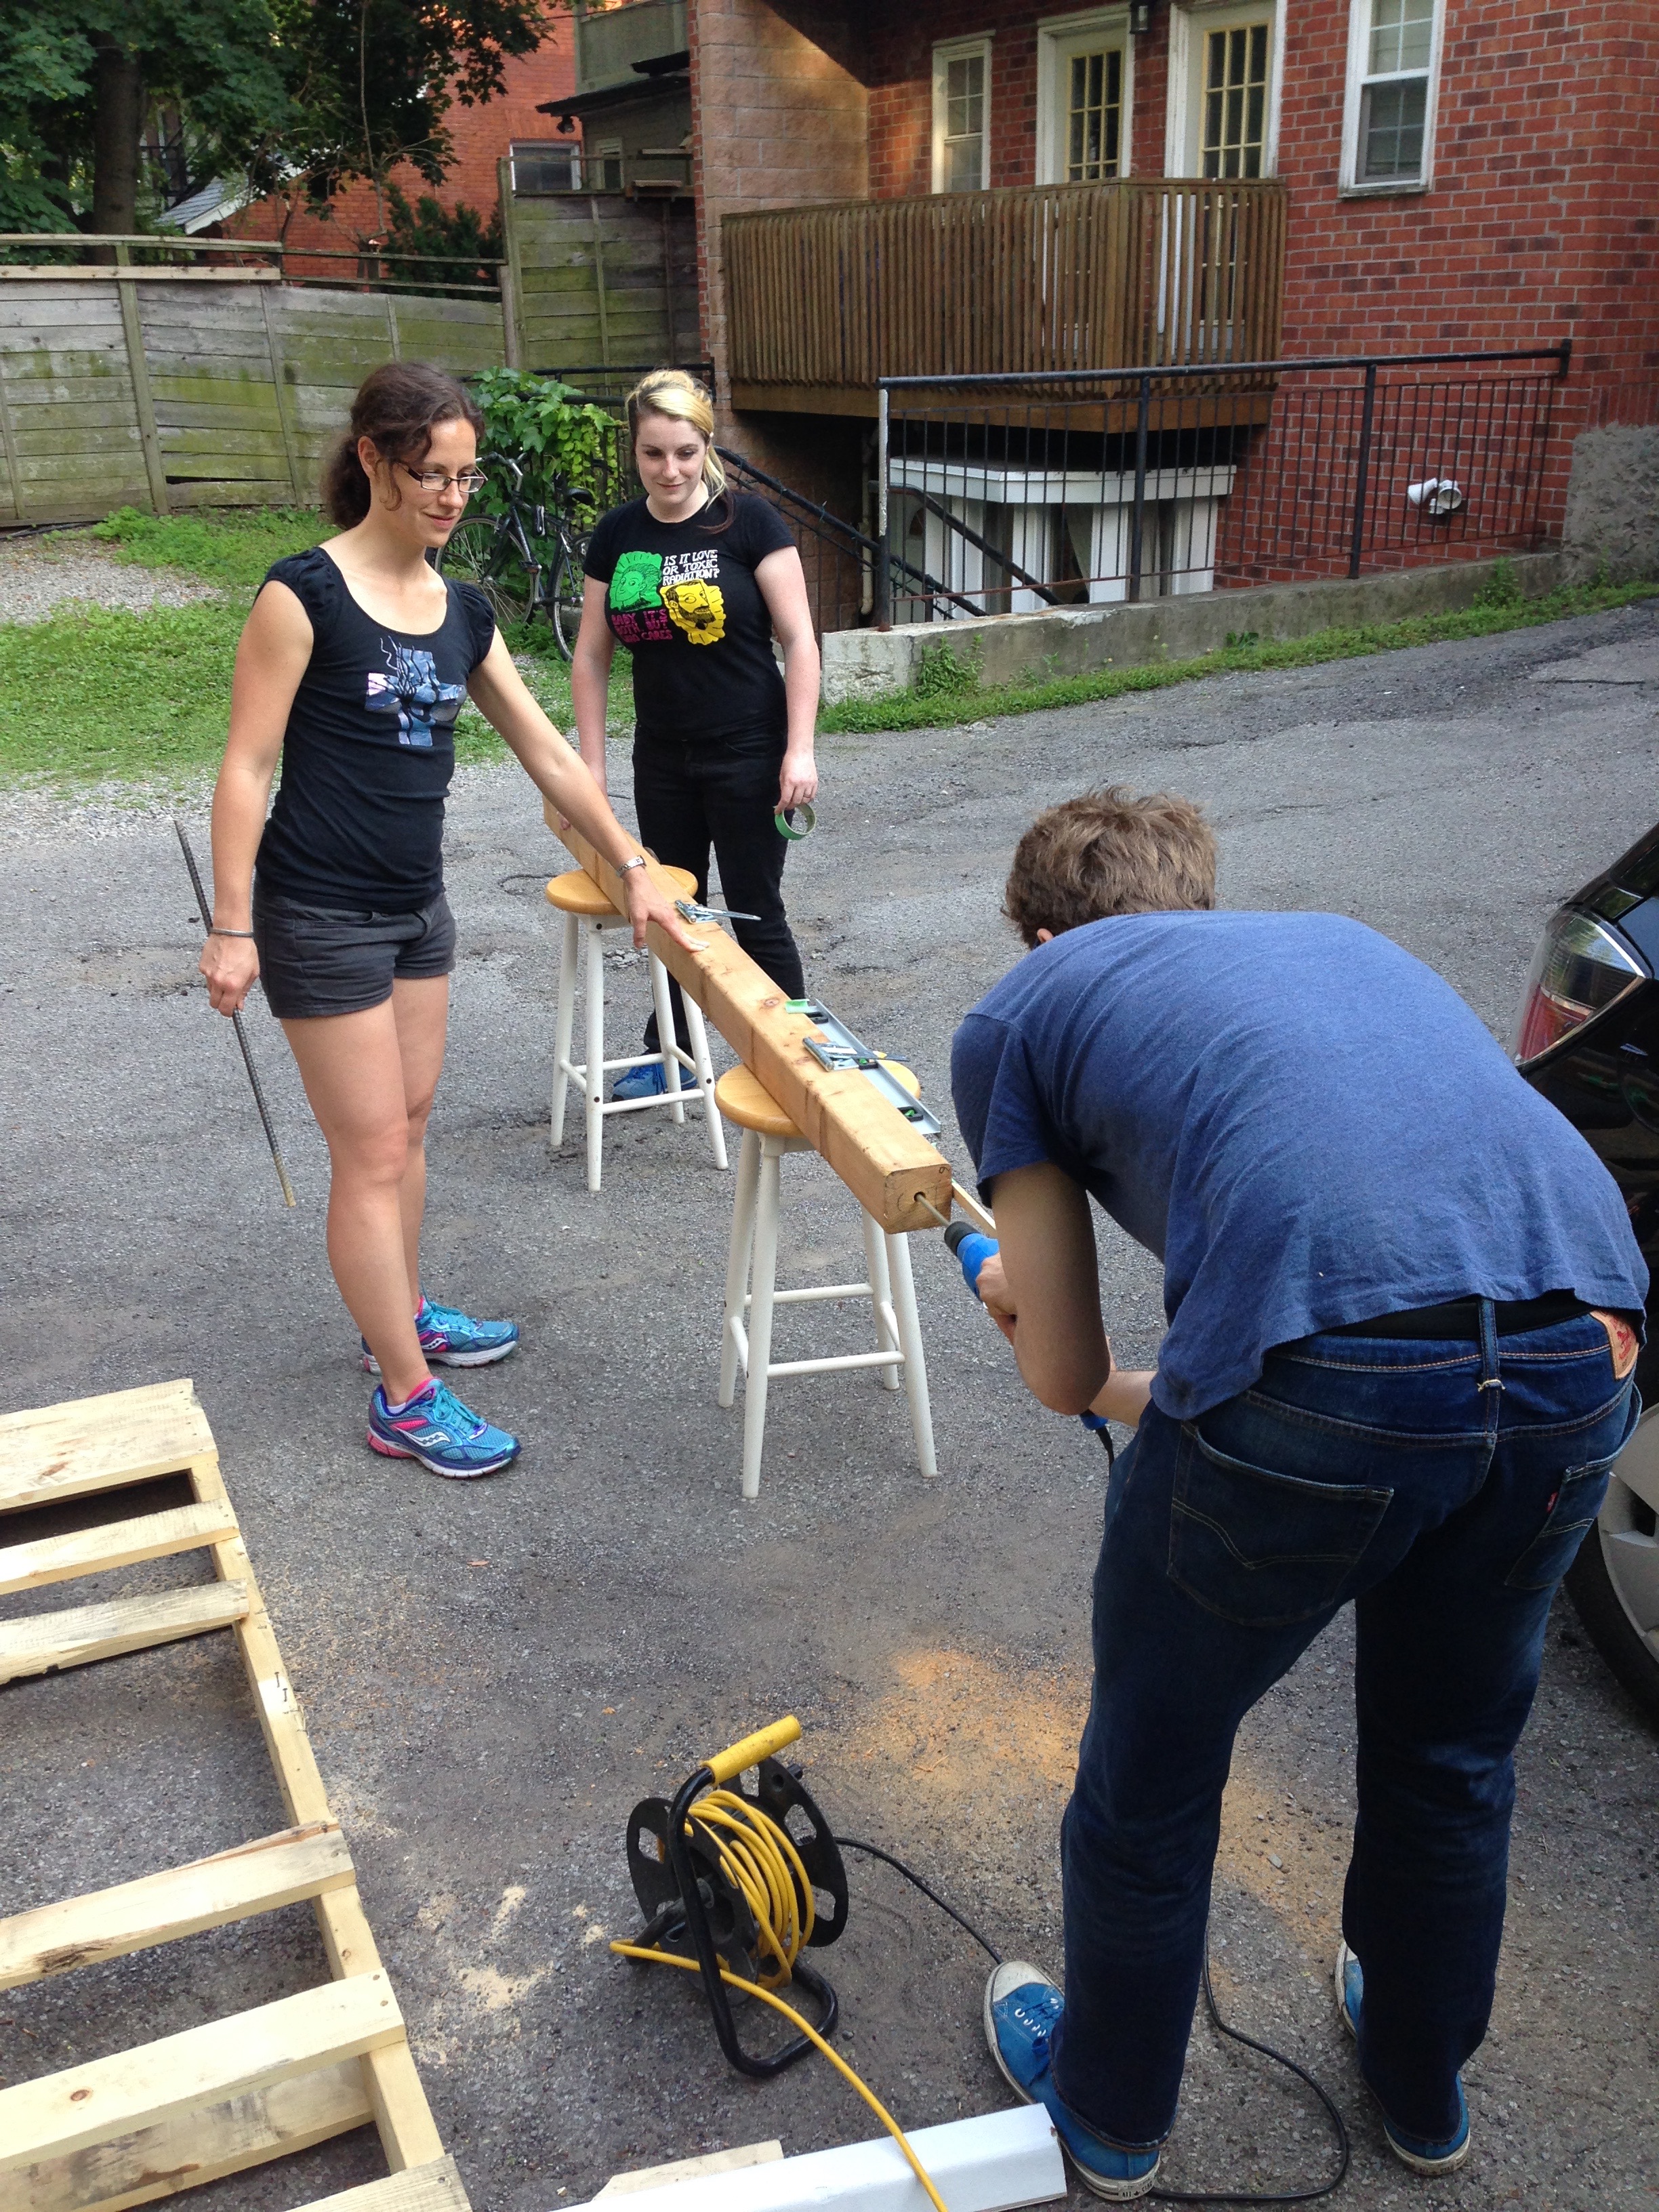
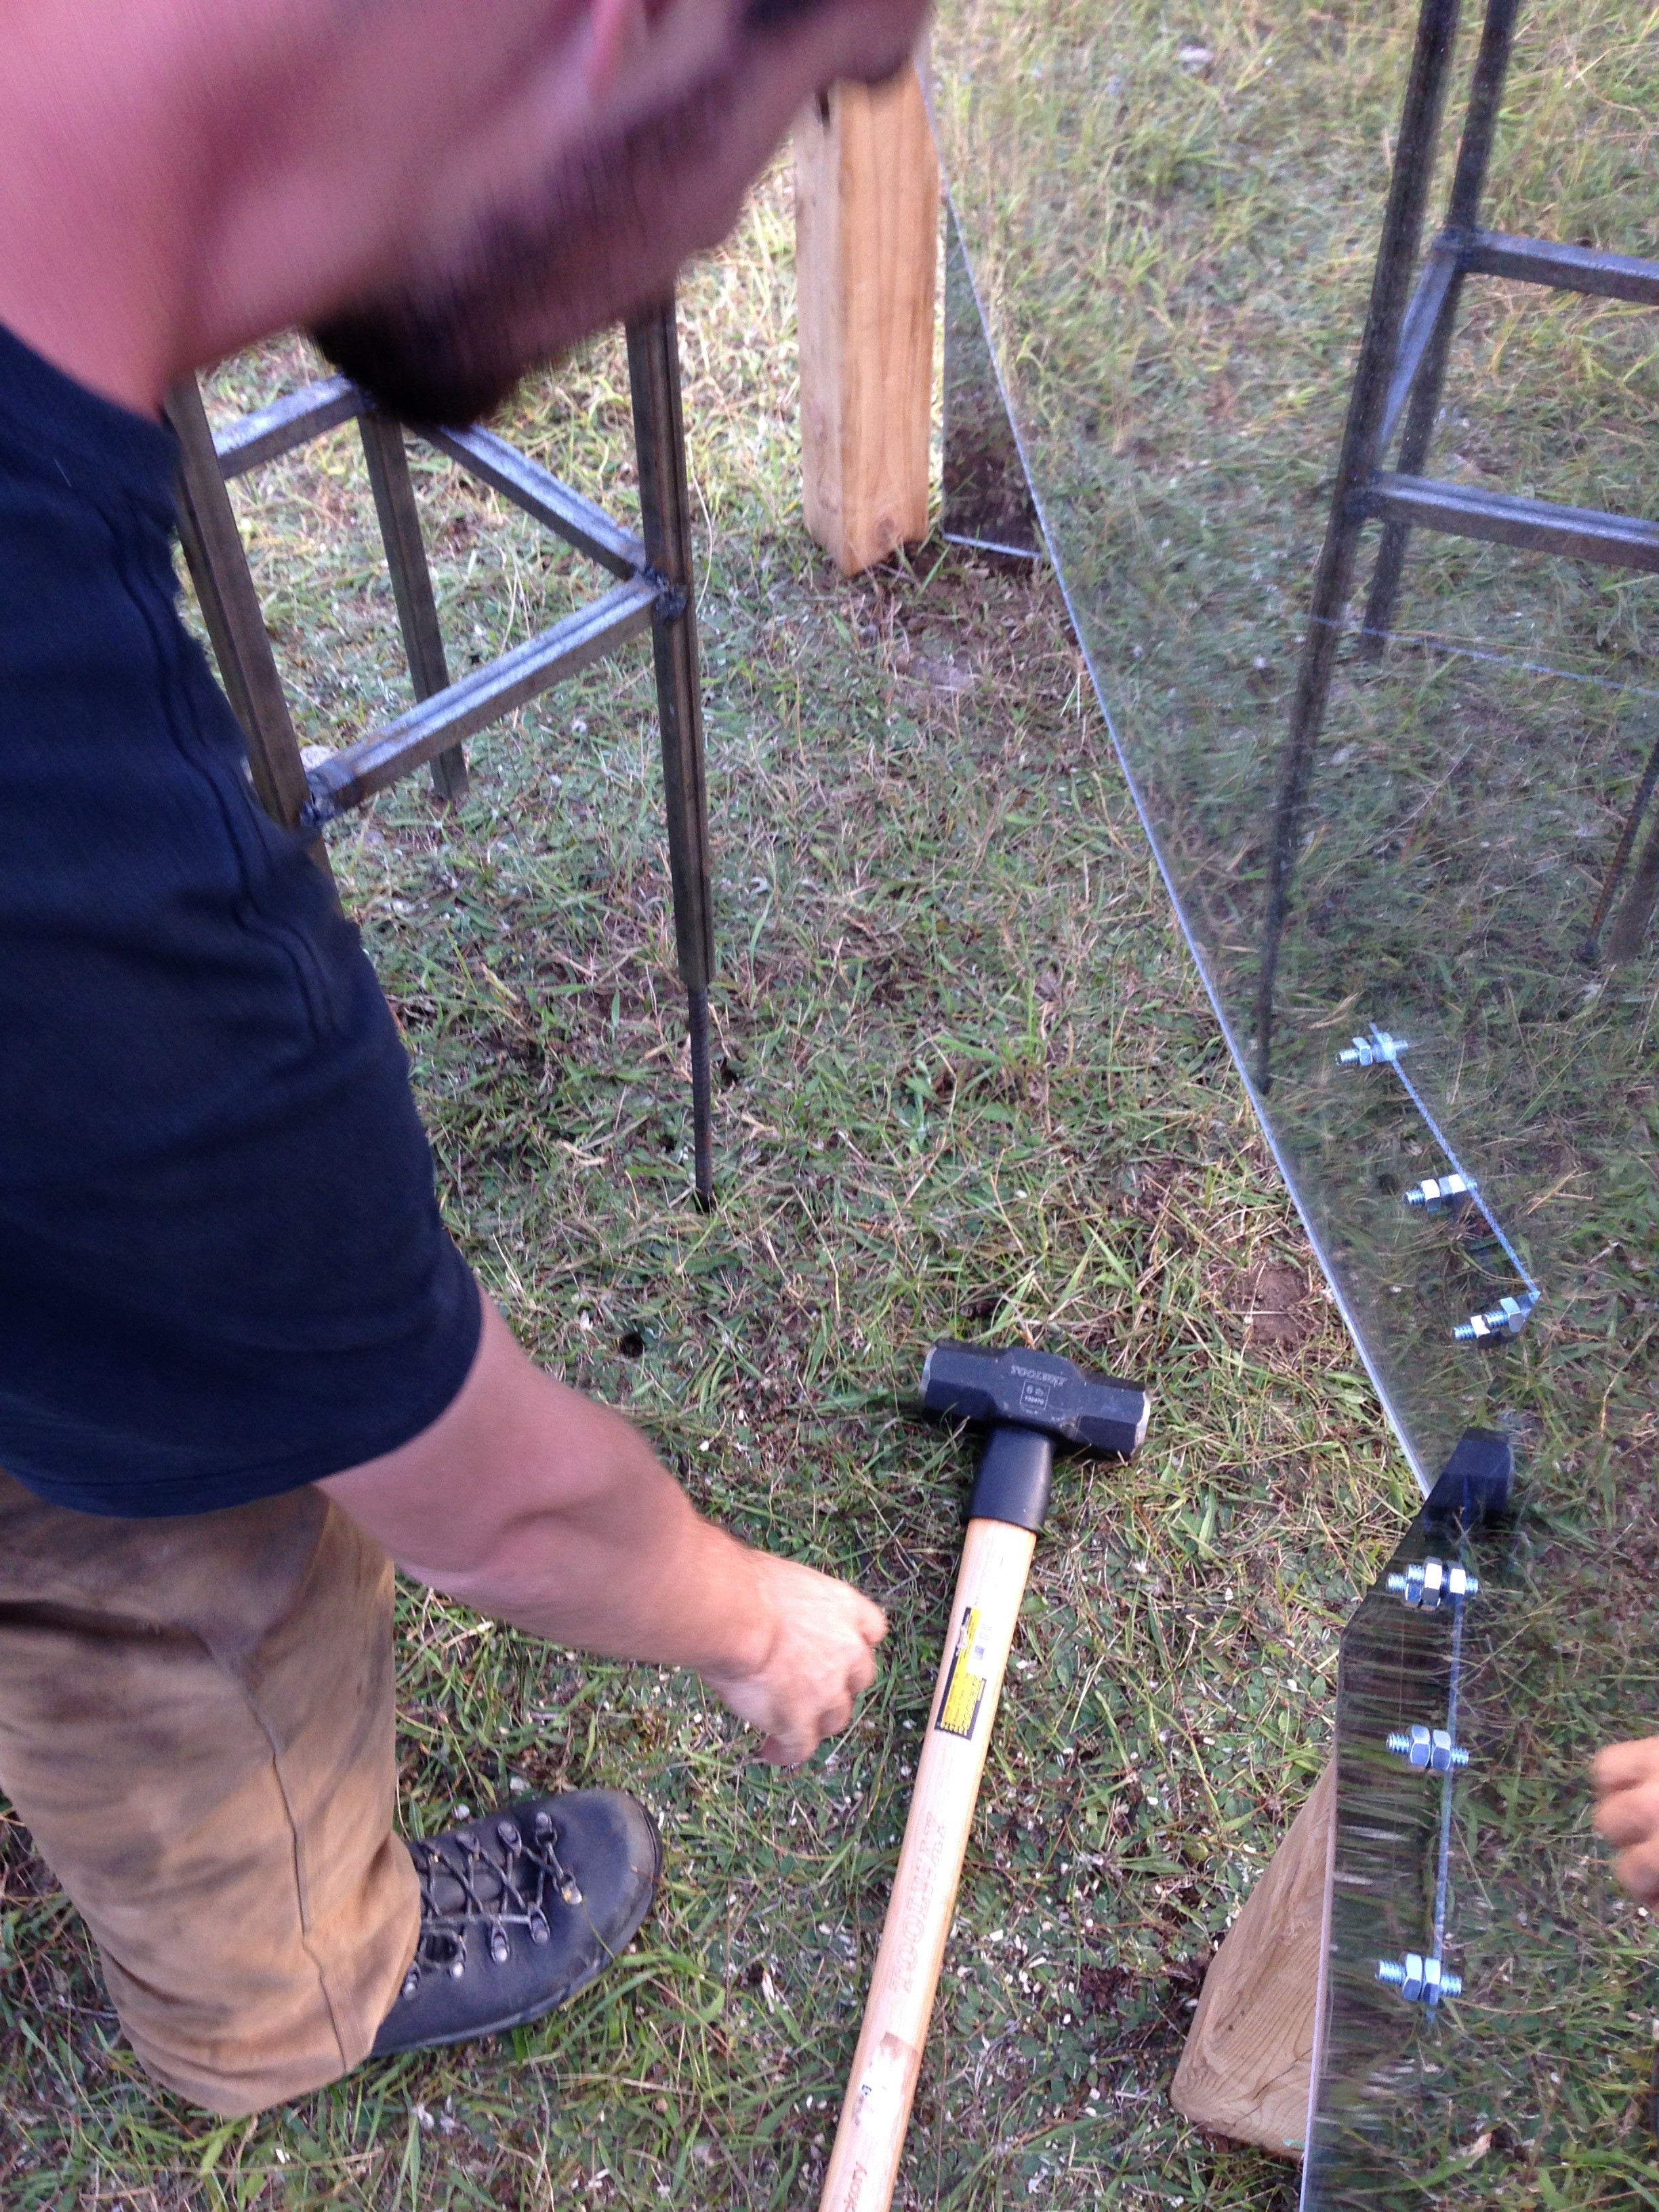
And now we had to attach it to the ground so that nothing would fall over and break the tube. We had the brilliant idea of attaching it with rebar (1/2″ rebar just fit inside the square steel tubing), which meant hammering rebar into the ground (fine), but then aligning the stand with the rebar, and hammering it down onto the rebar. I couldn’t do it myself, and luckily, Patrick was up to the task of making sure my amateur welds didn’t crack under the strain:
Your friendly neighbourd sledgehammer.
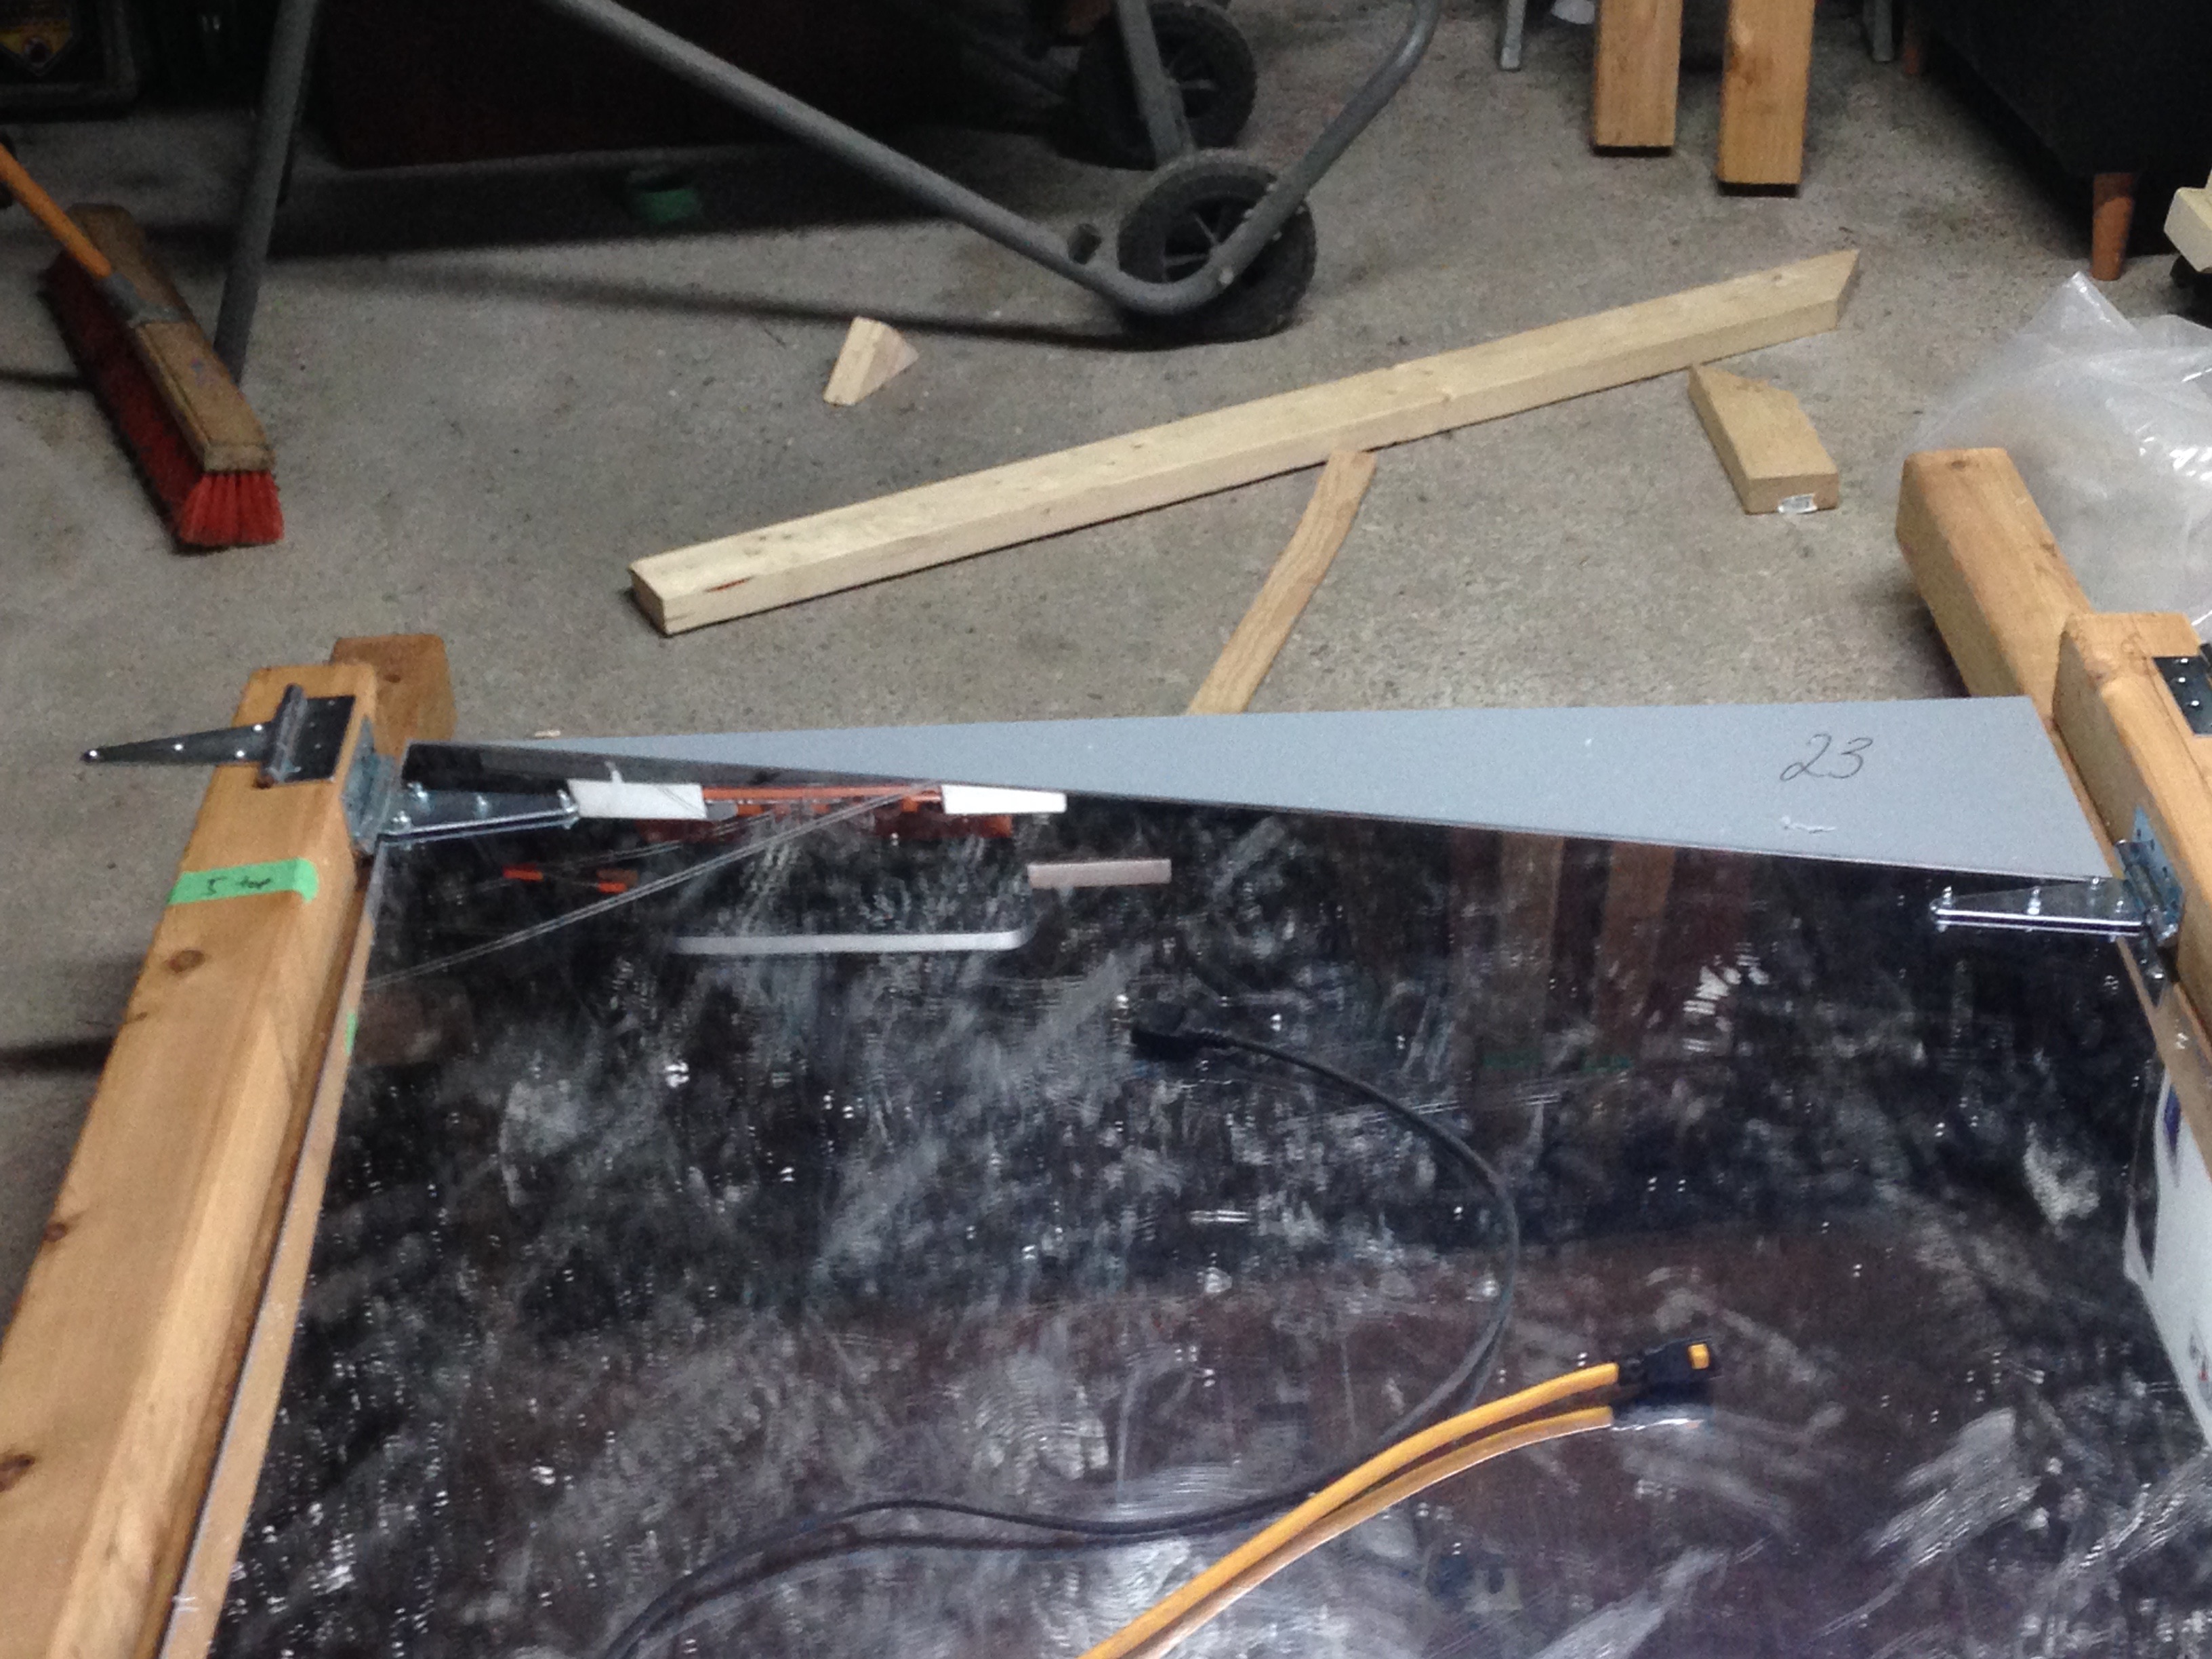
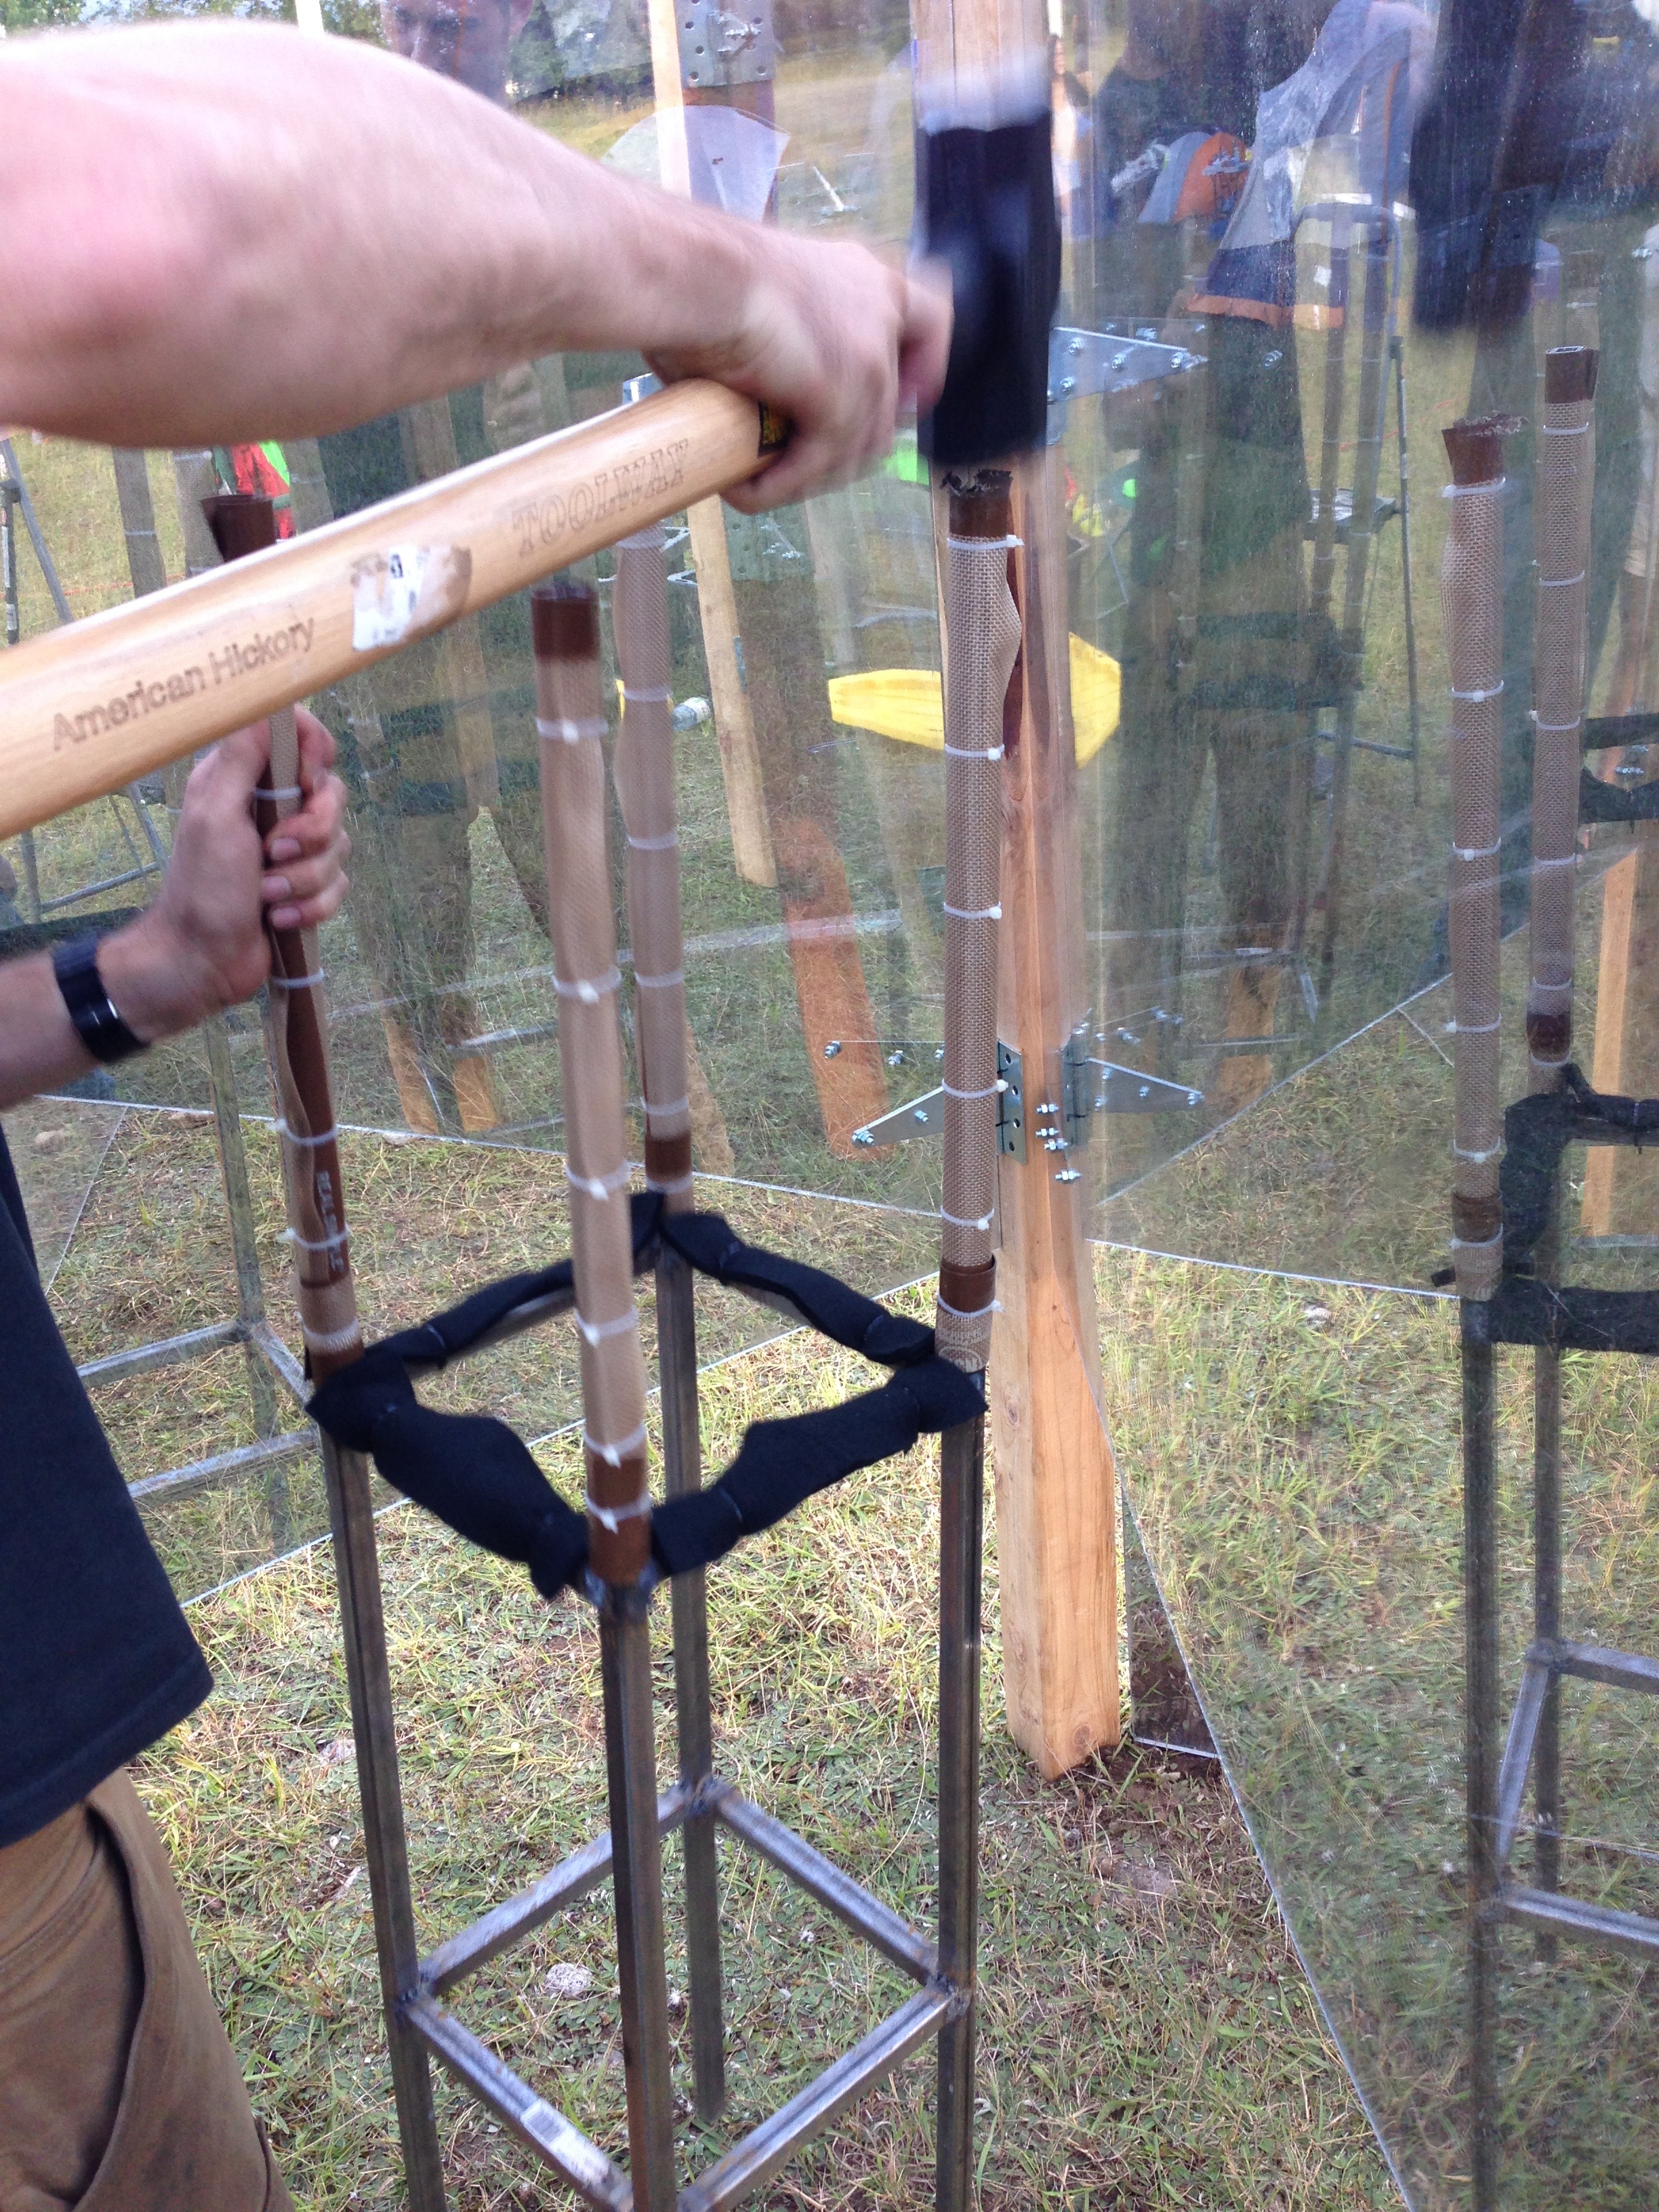
Note the flame-resistant fabric and silicone placemats used to protect the tube from the possibly sharp metal frame:
#verycarefultaps Note the flame-resistant fabric and silicone placemats used to protect the tube from the possibly sharp metal frame.
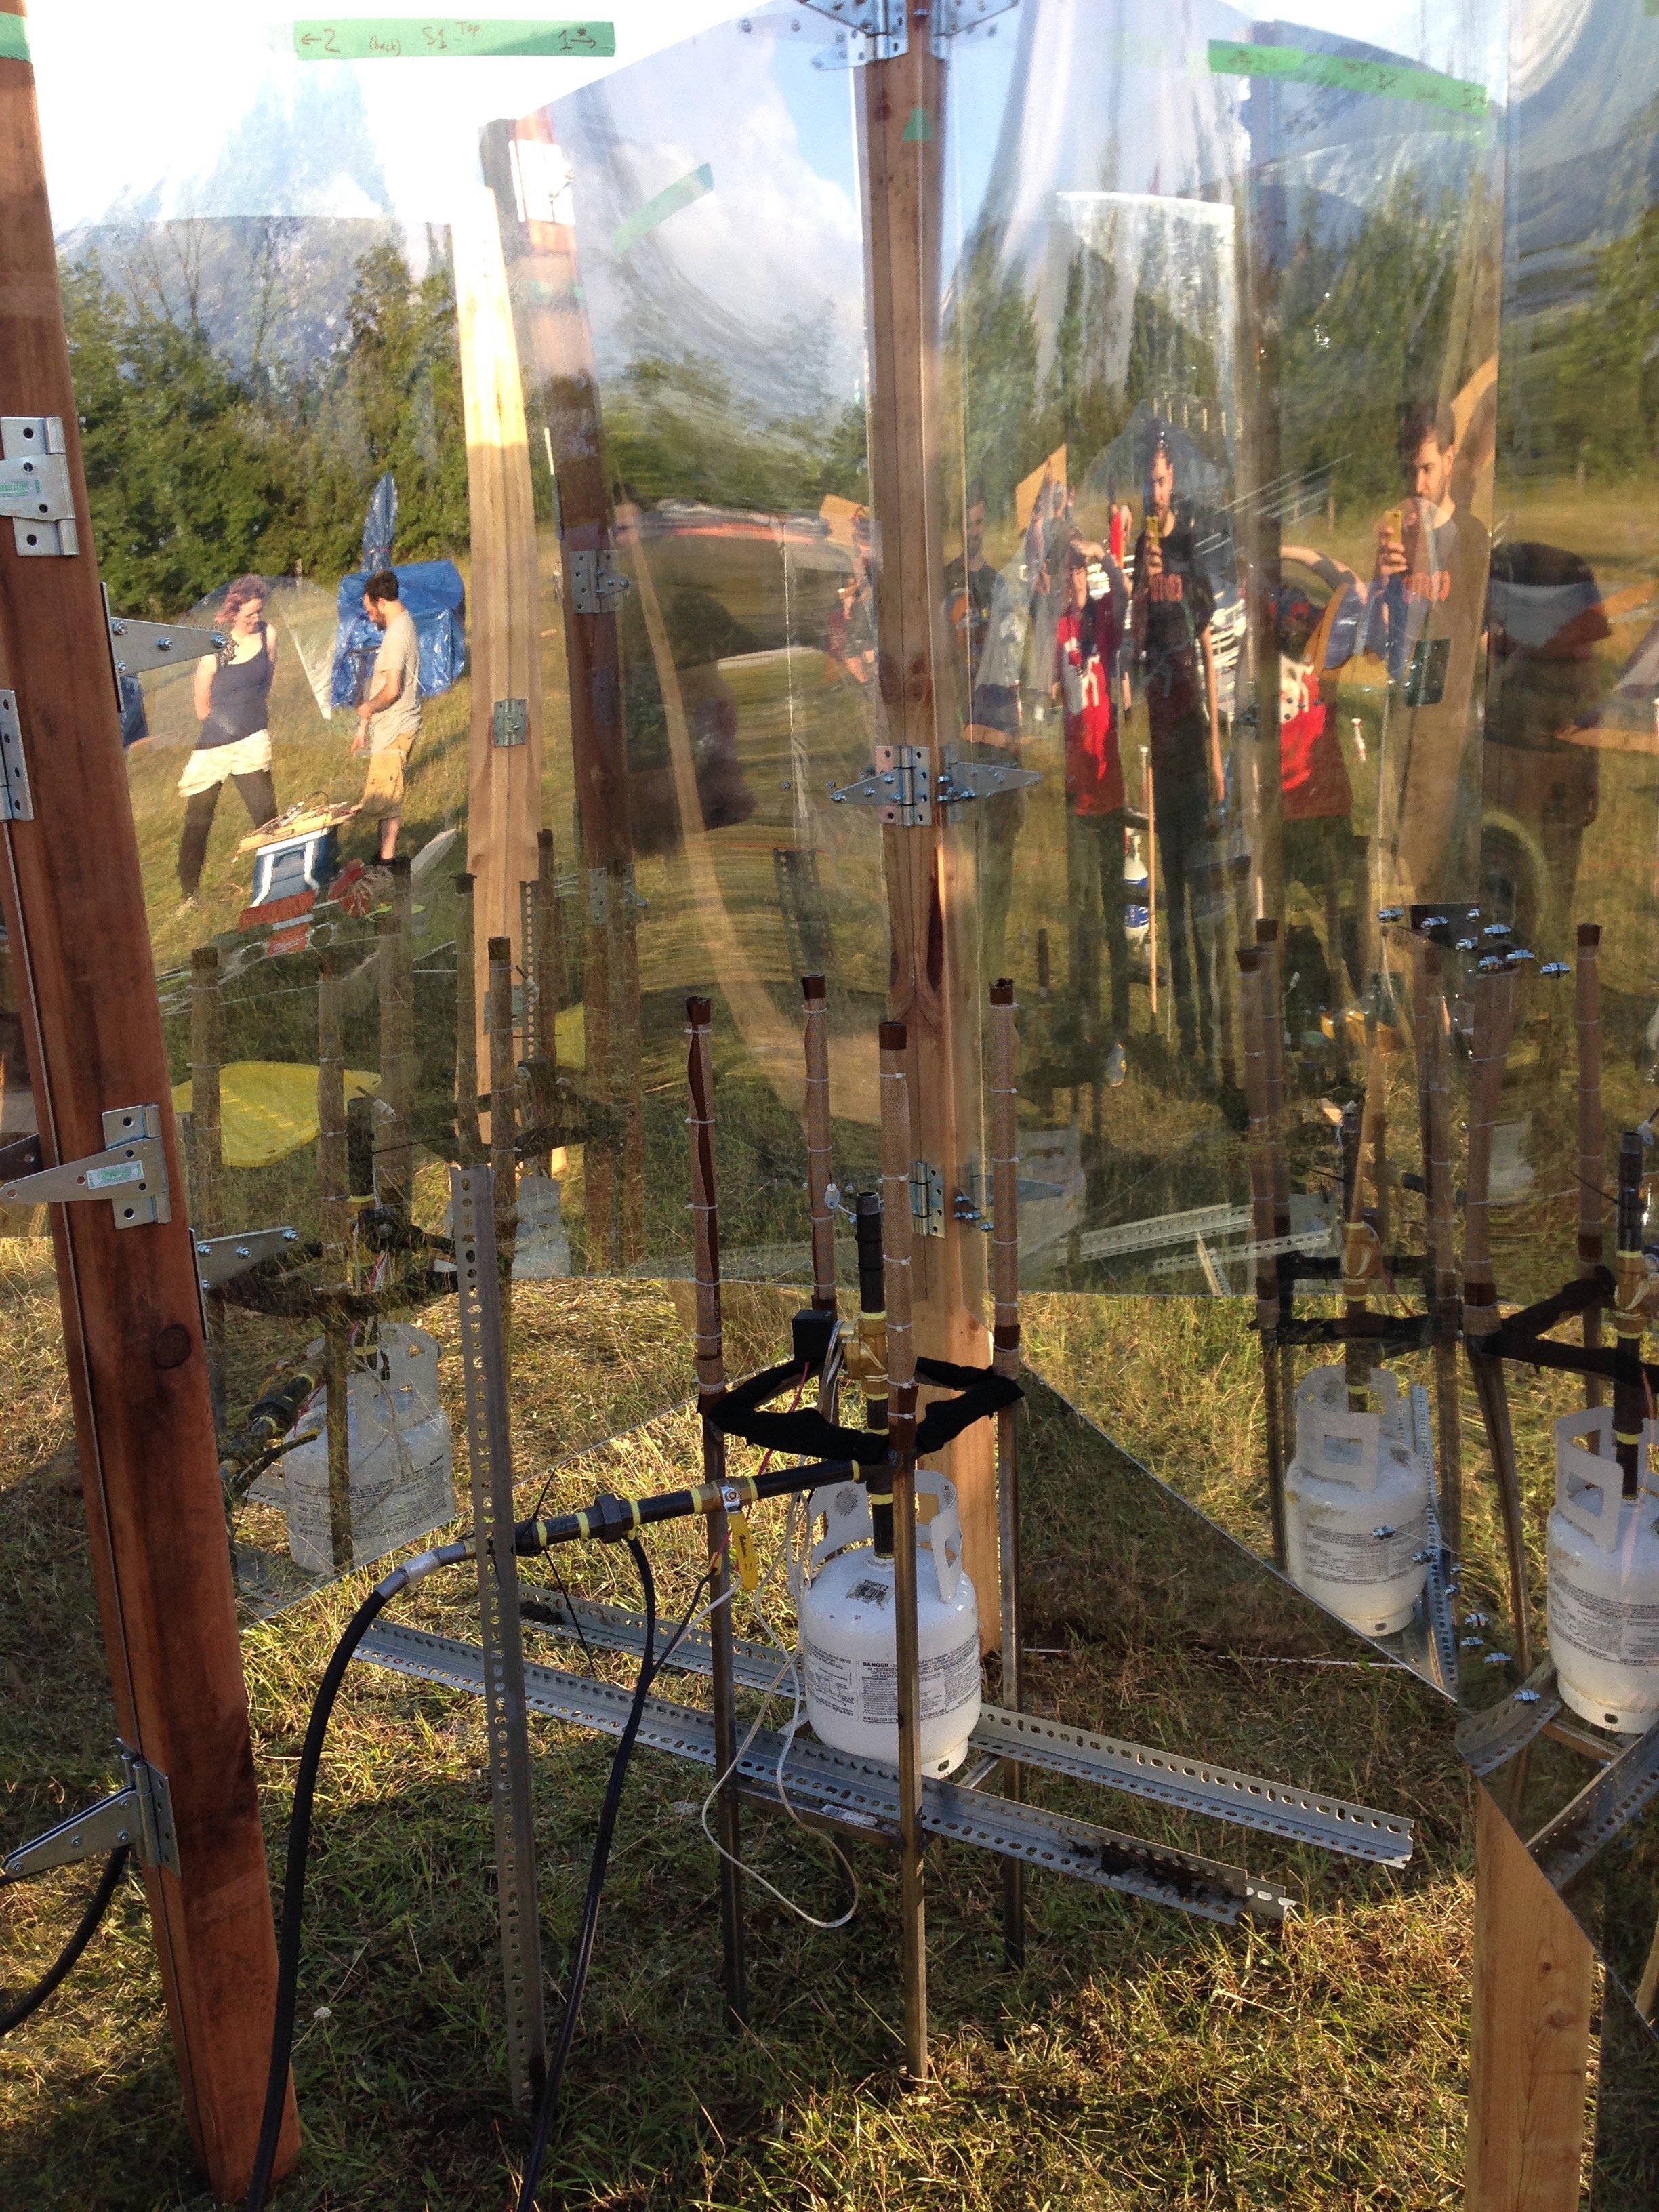
Then we added the flame effect:
Metal stand with flame effect. Note the incredibly pro method for mounting the flame effect.
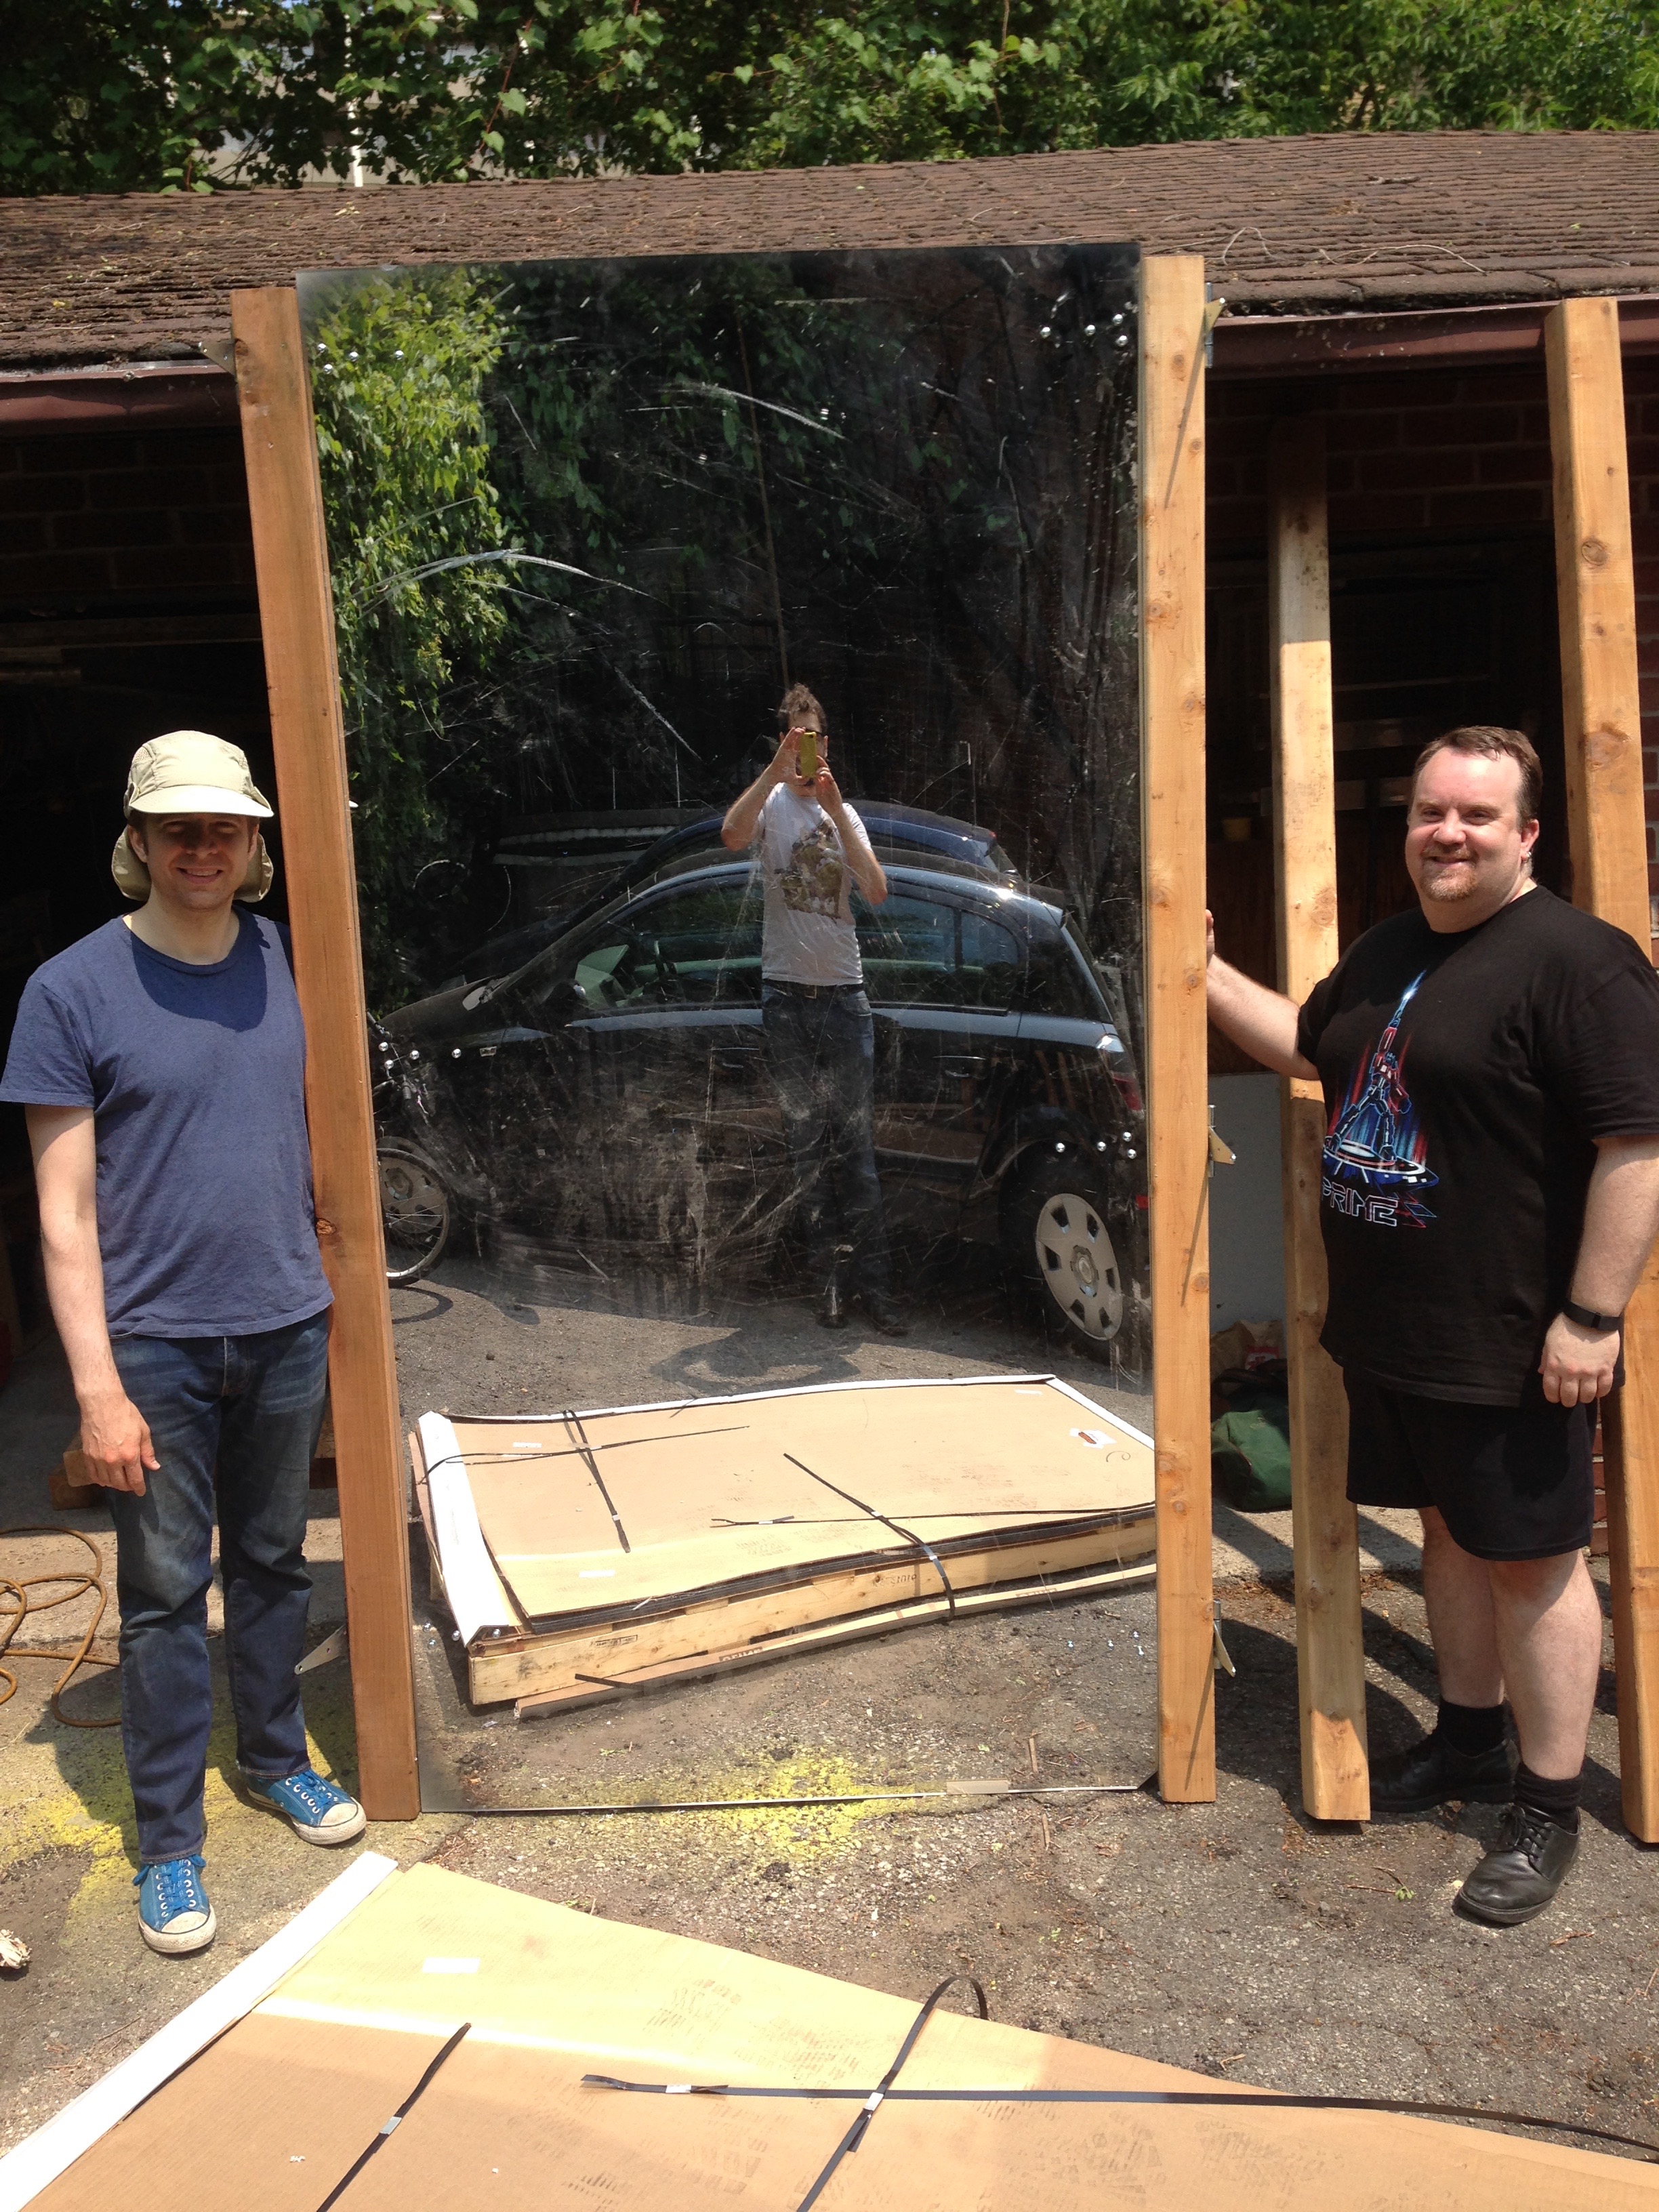
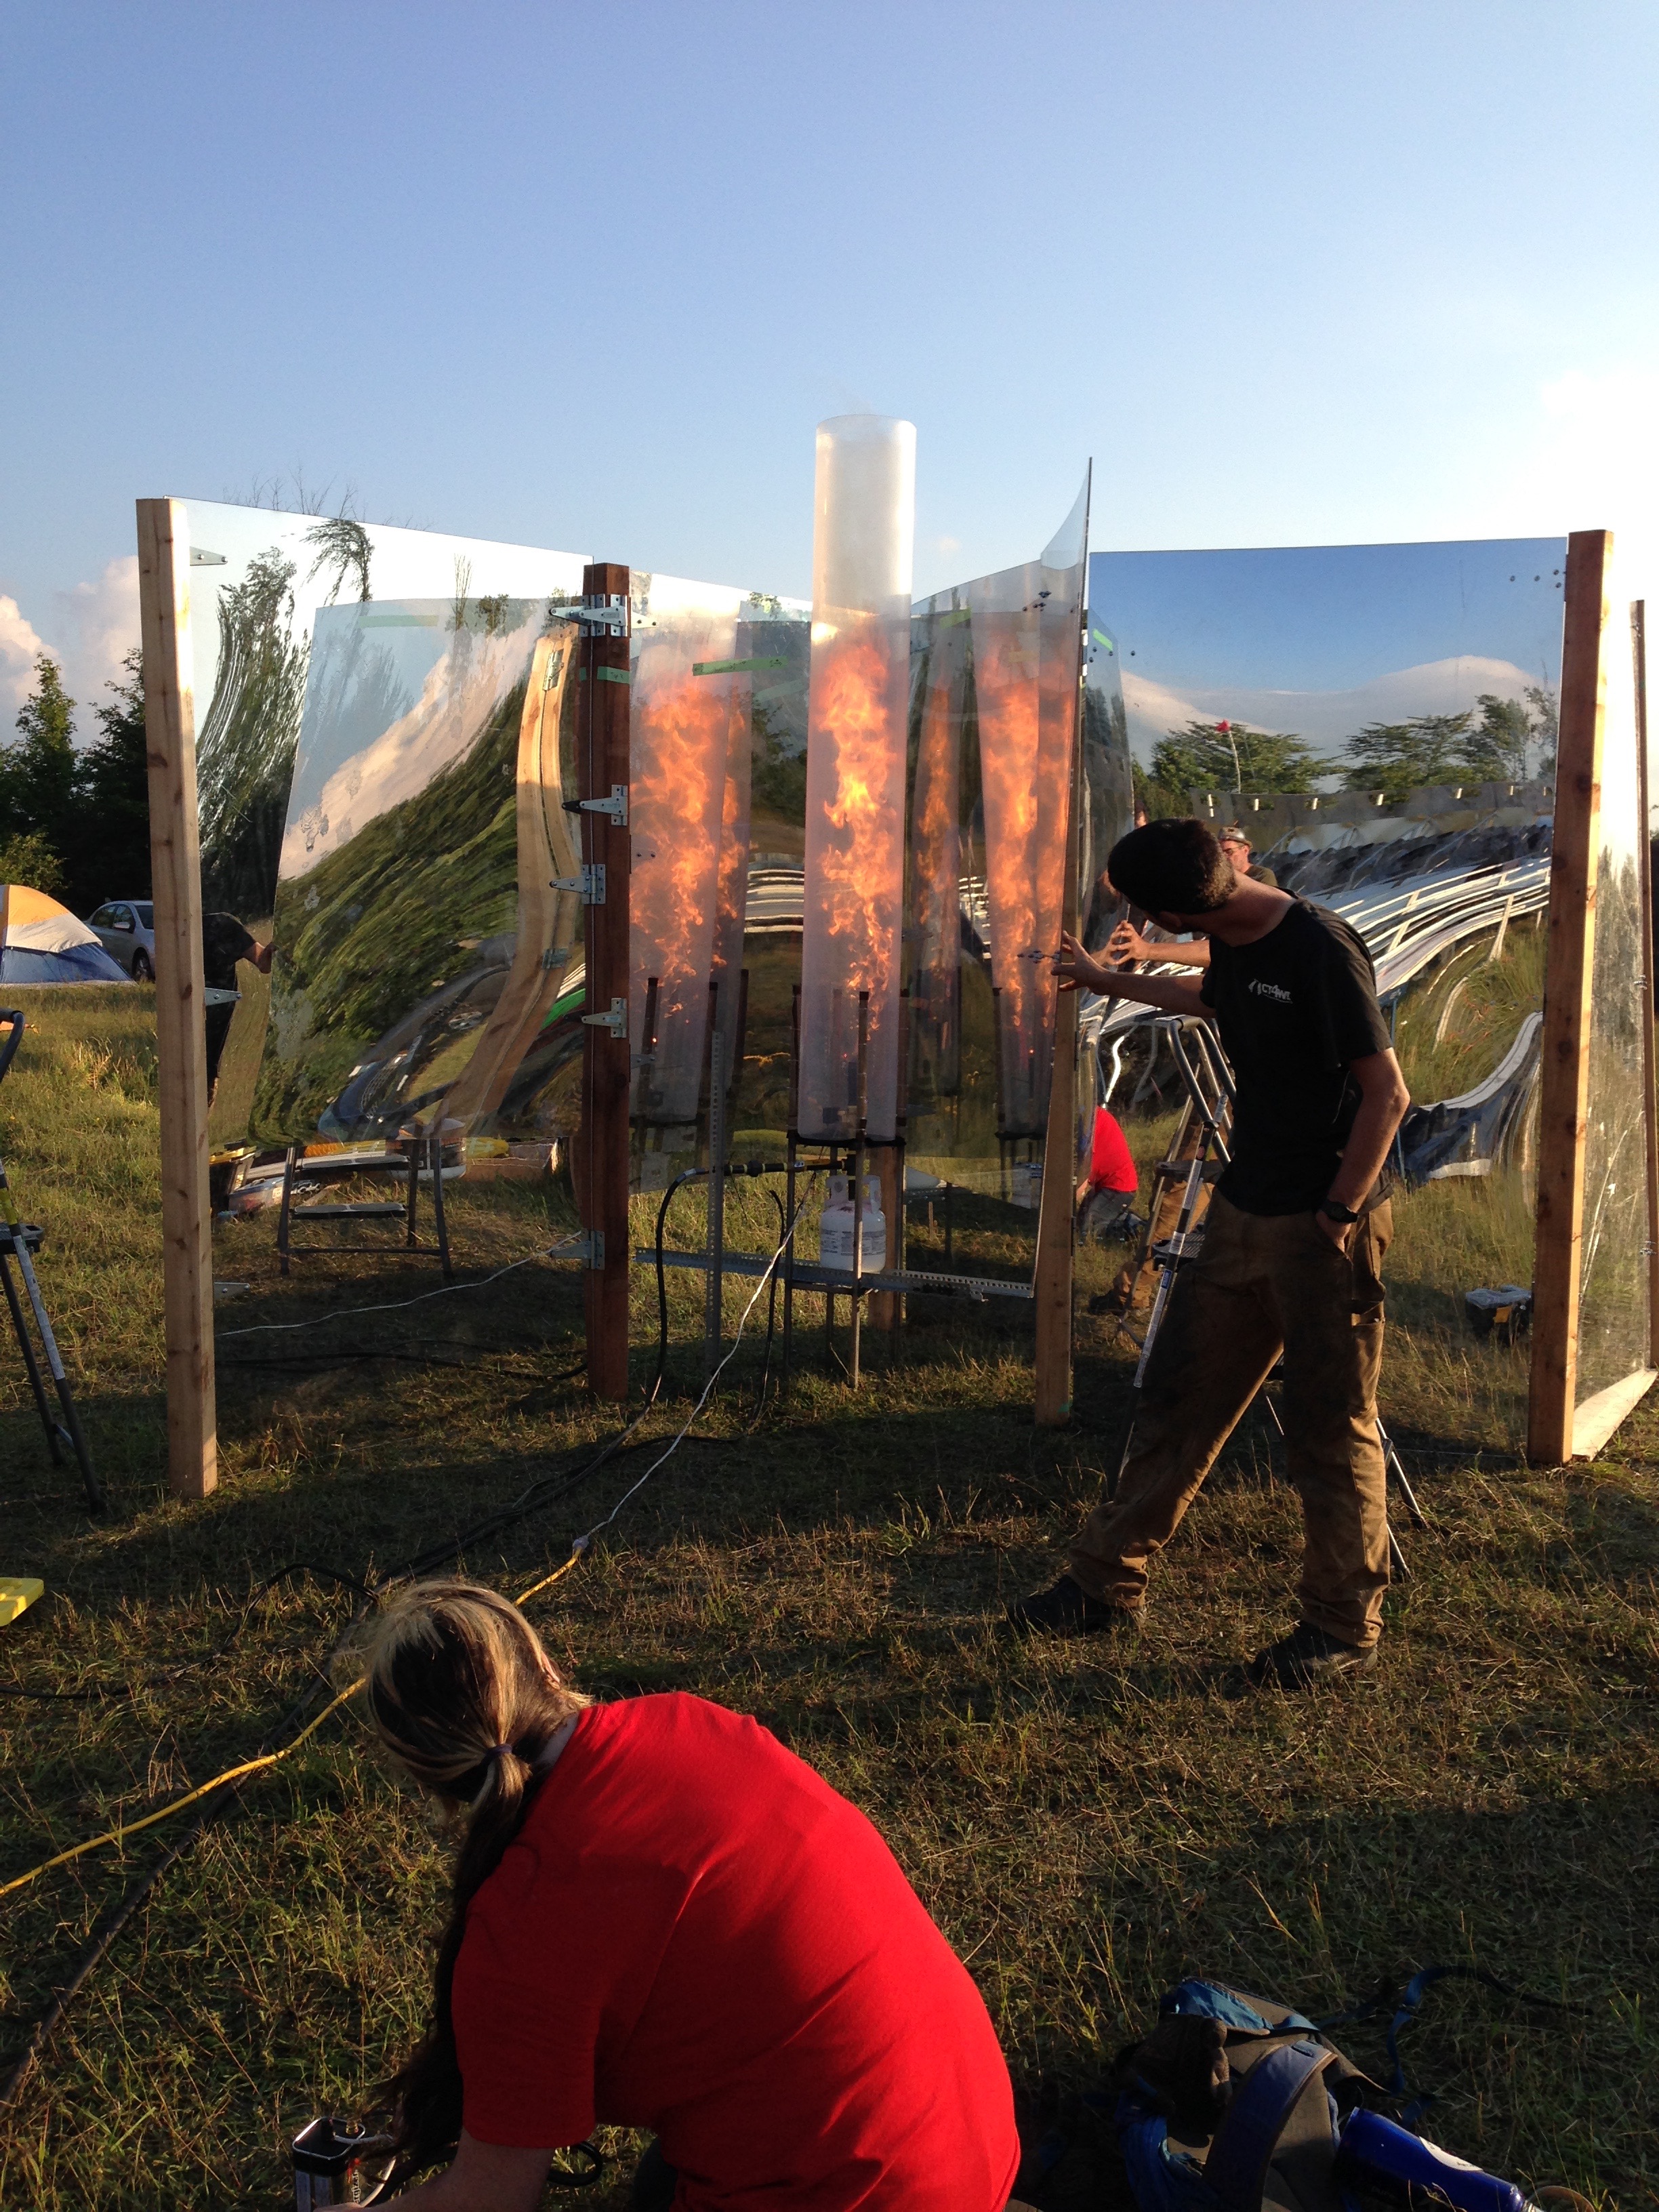
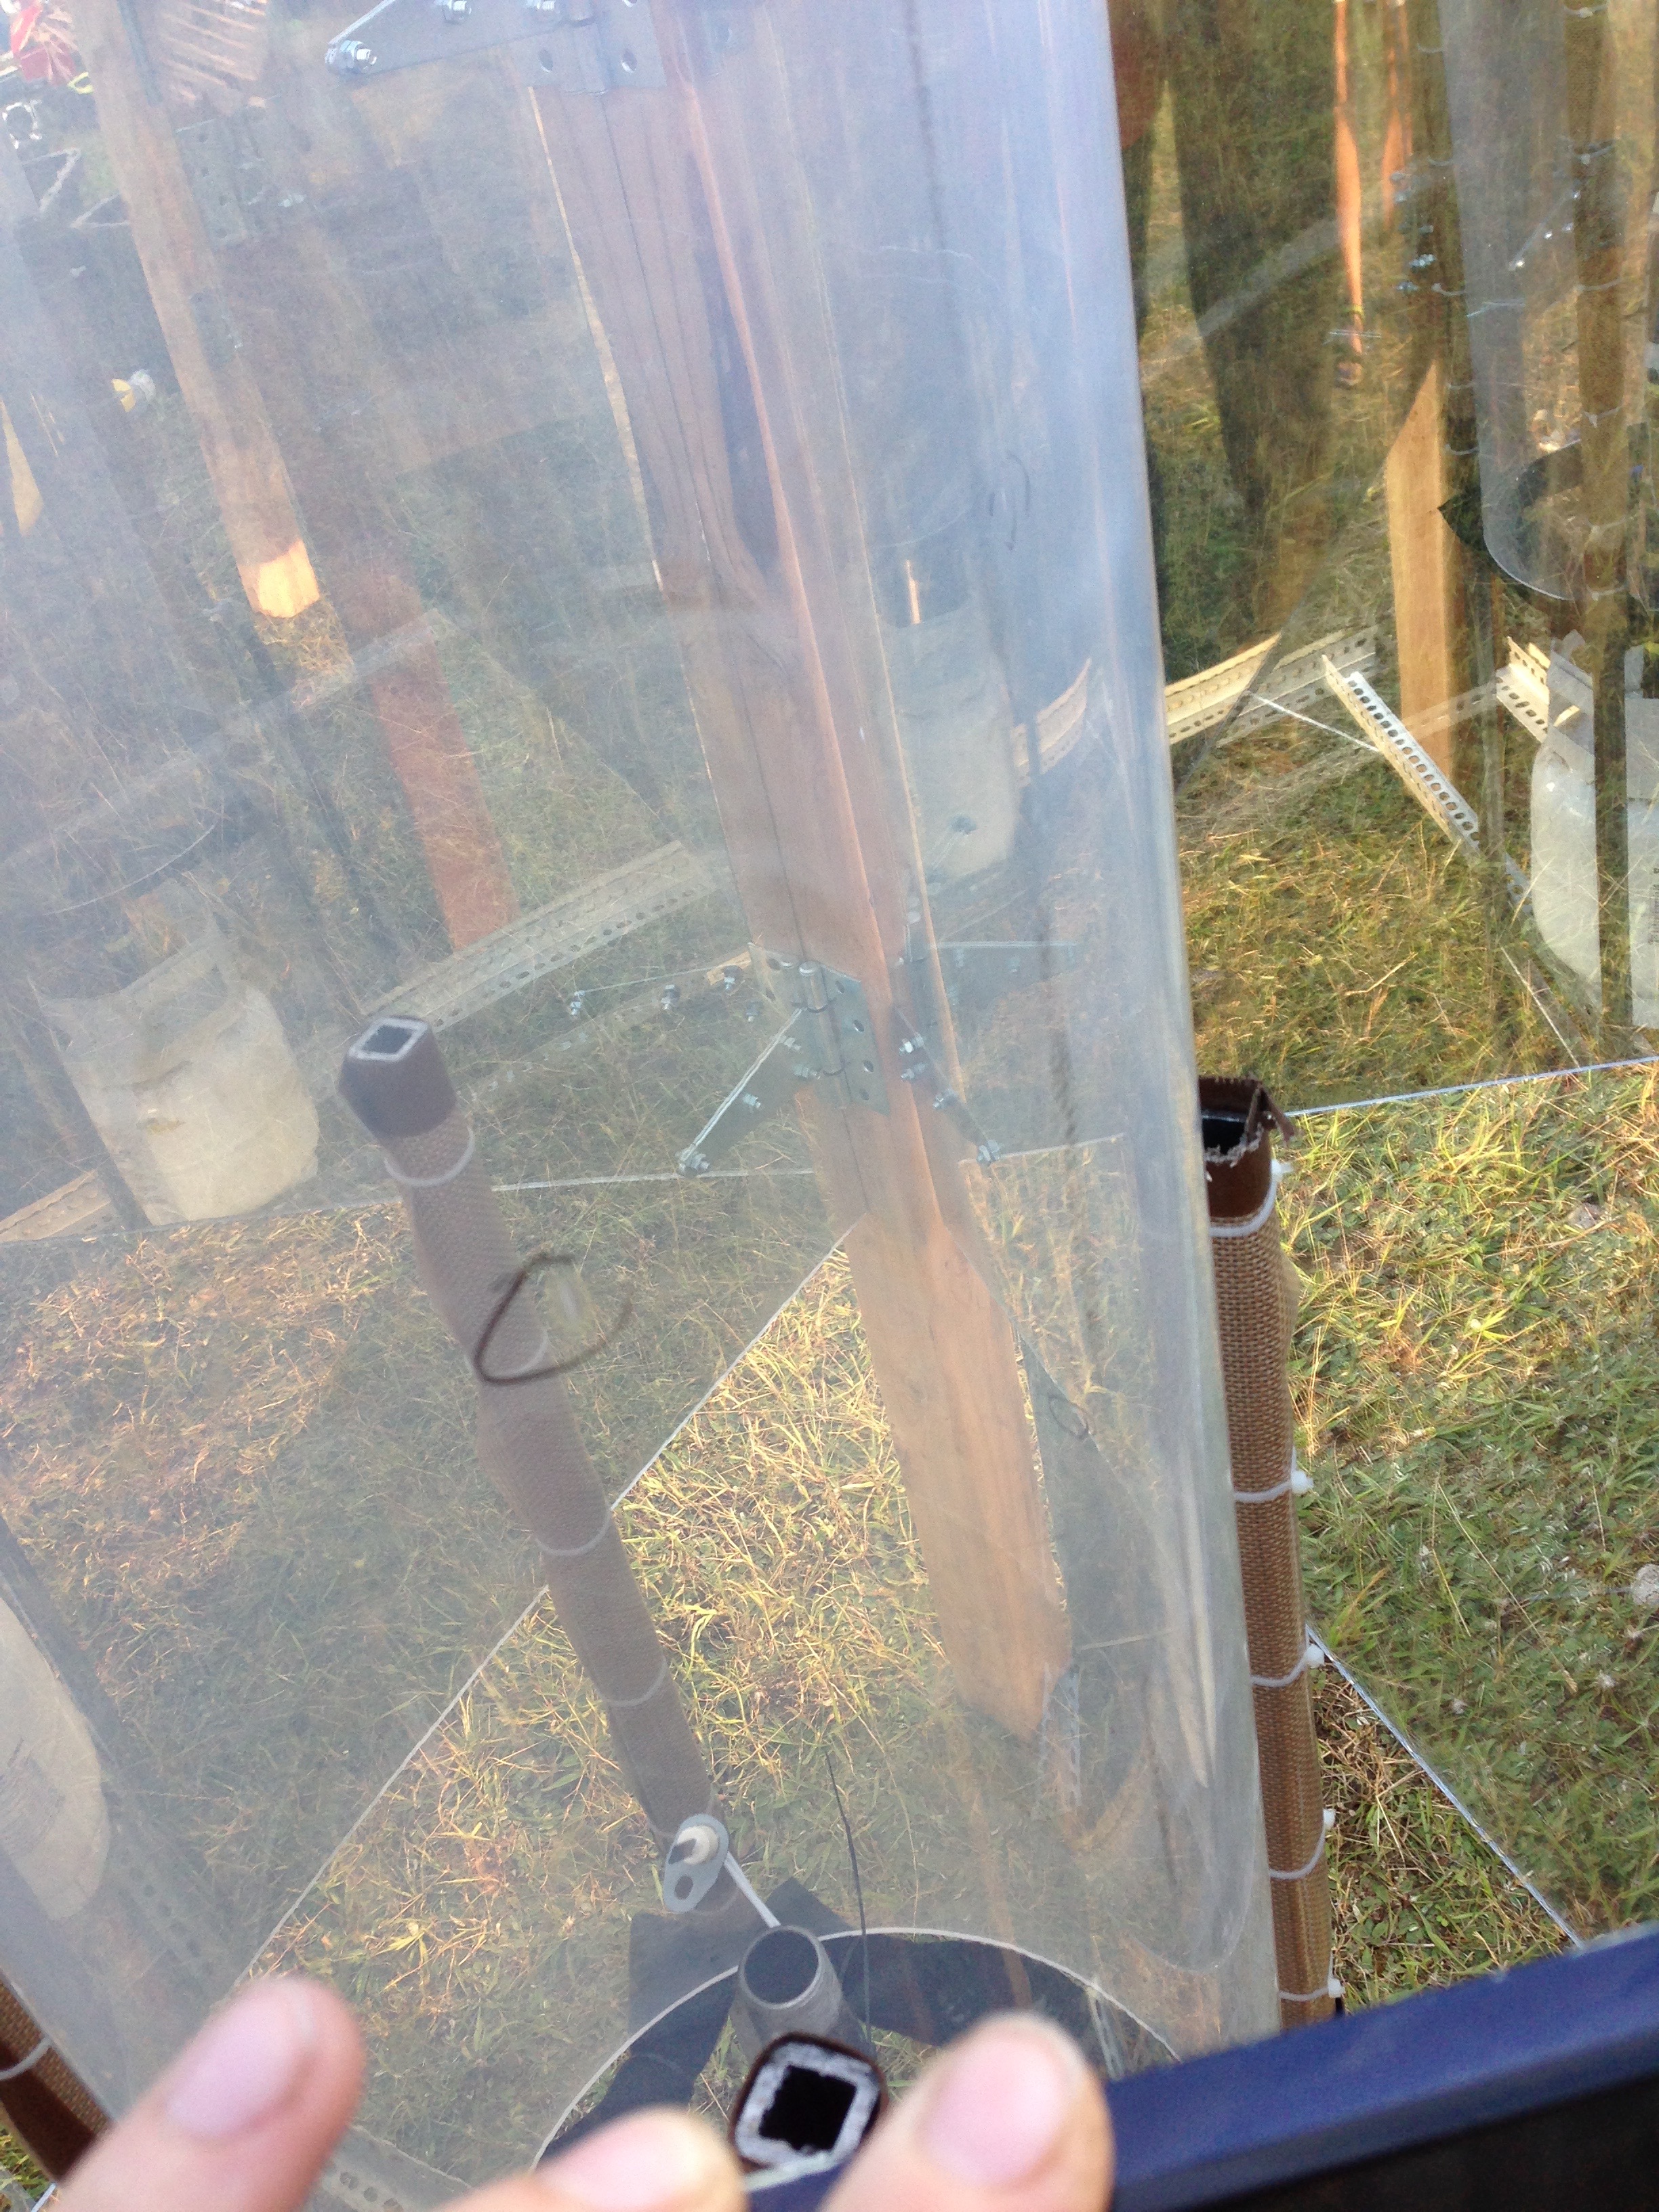
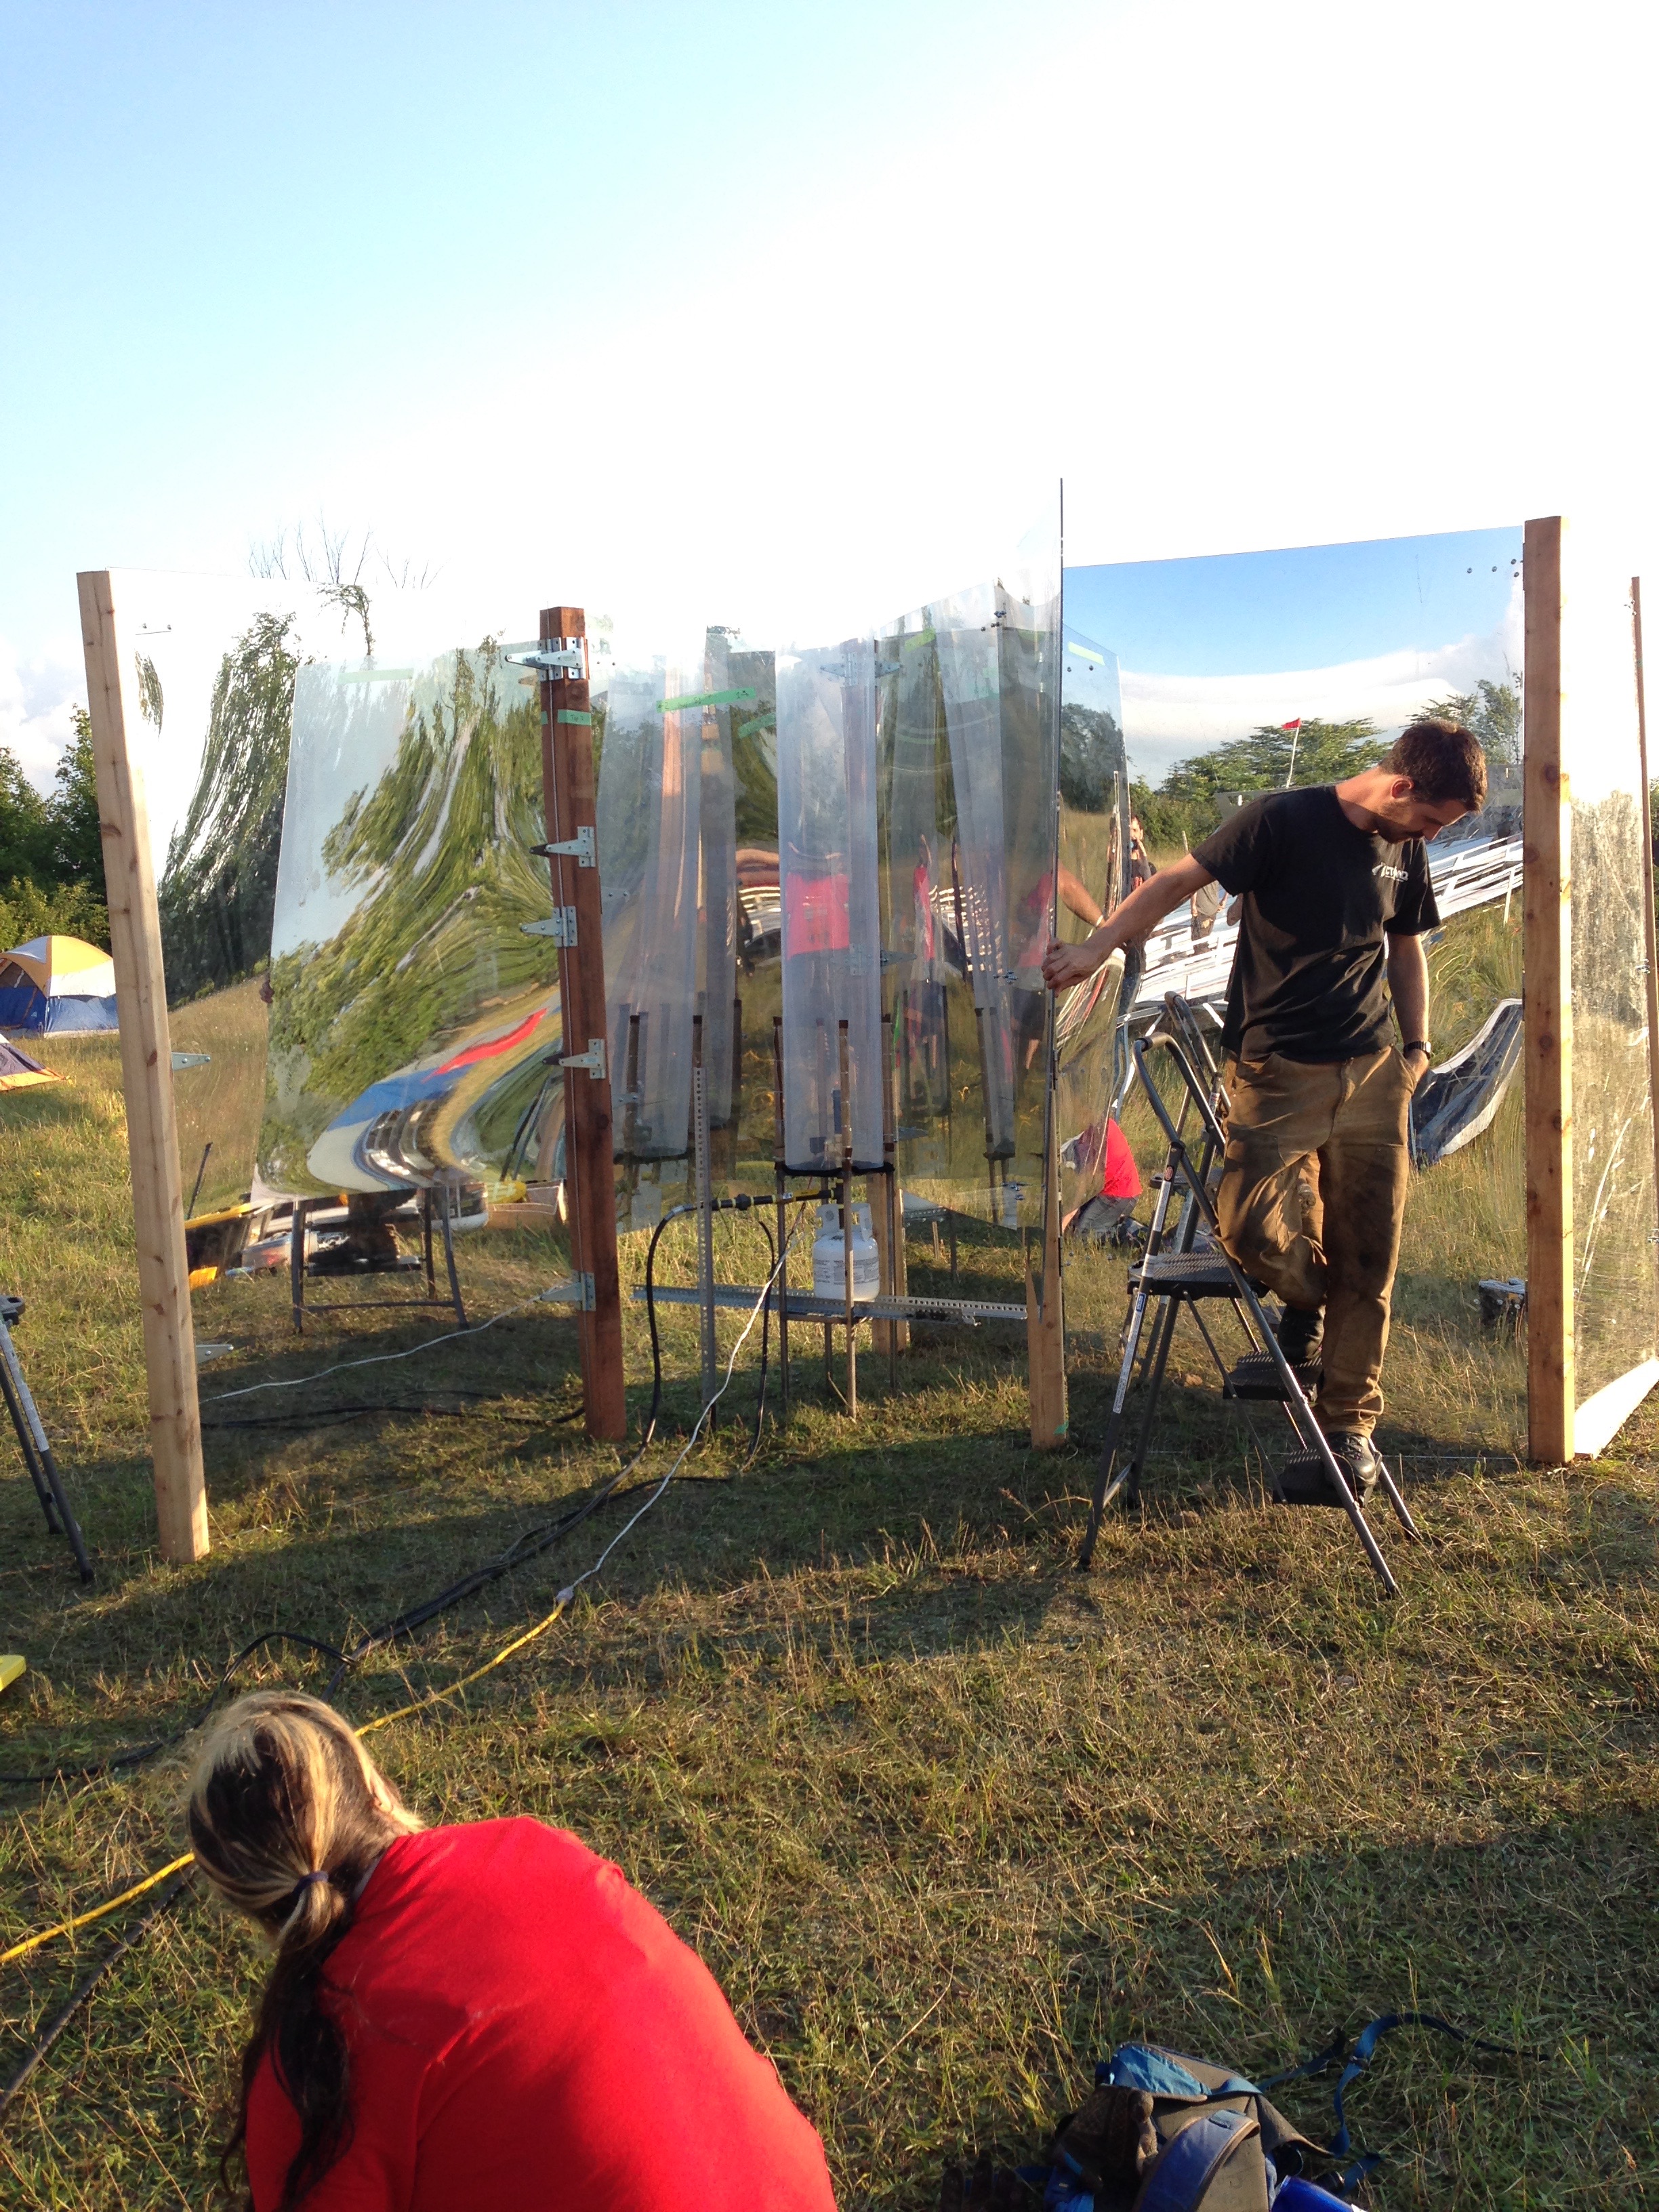
Put the tube up, and we were ready to go! (Note that the front mirror is still open here, for easy testing (and we’re not totally sure the flame won’t melt it.)):
Every small ding is a possible catastrophe when it’s in your difficult to source mission critical component.Ready to go! Sarah on control, Patrick with a healthy appreciation for fire.First successful flame test!The team looks on (from a distance) as S performs another flame test!
Mirror Blaze Flame Test #1:
Mirror Blaze Flame Test #2:
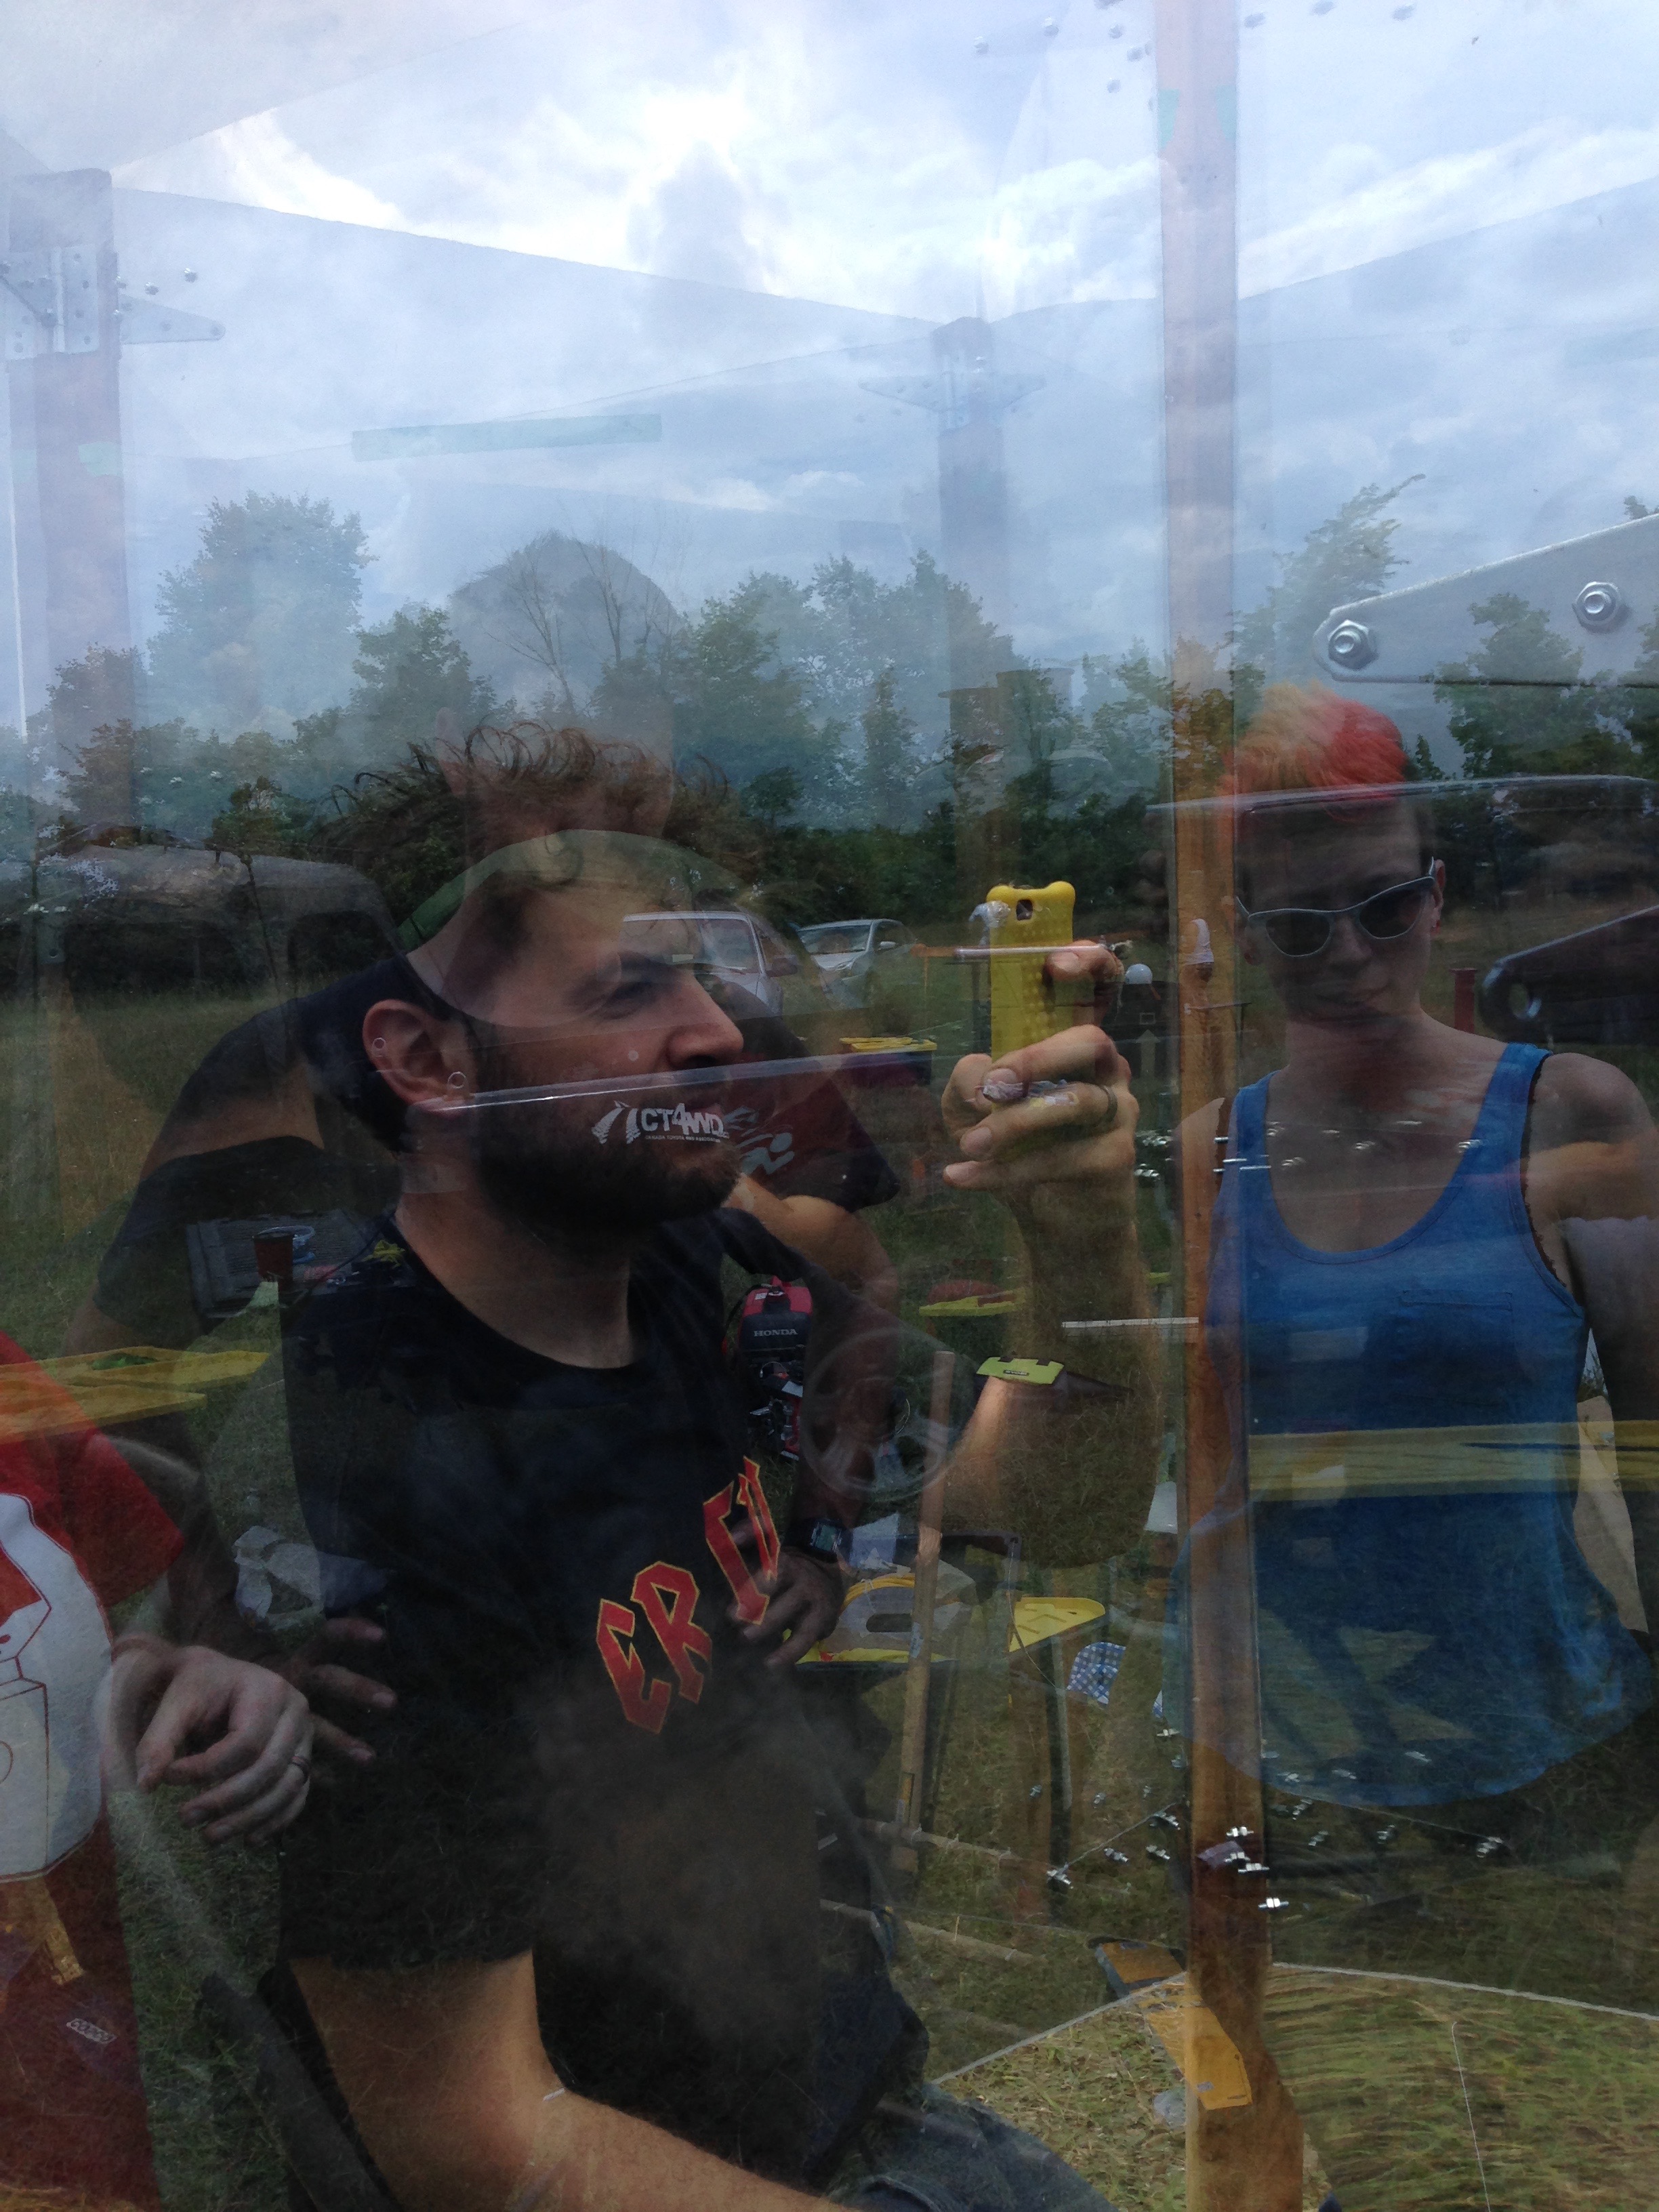
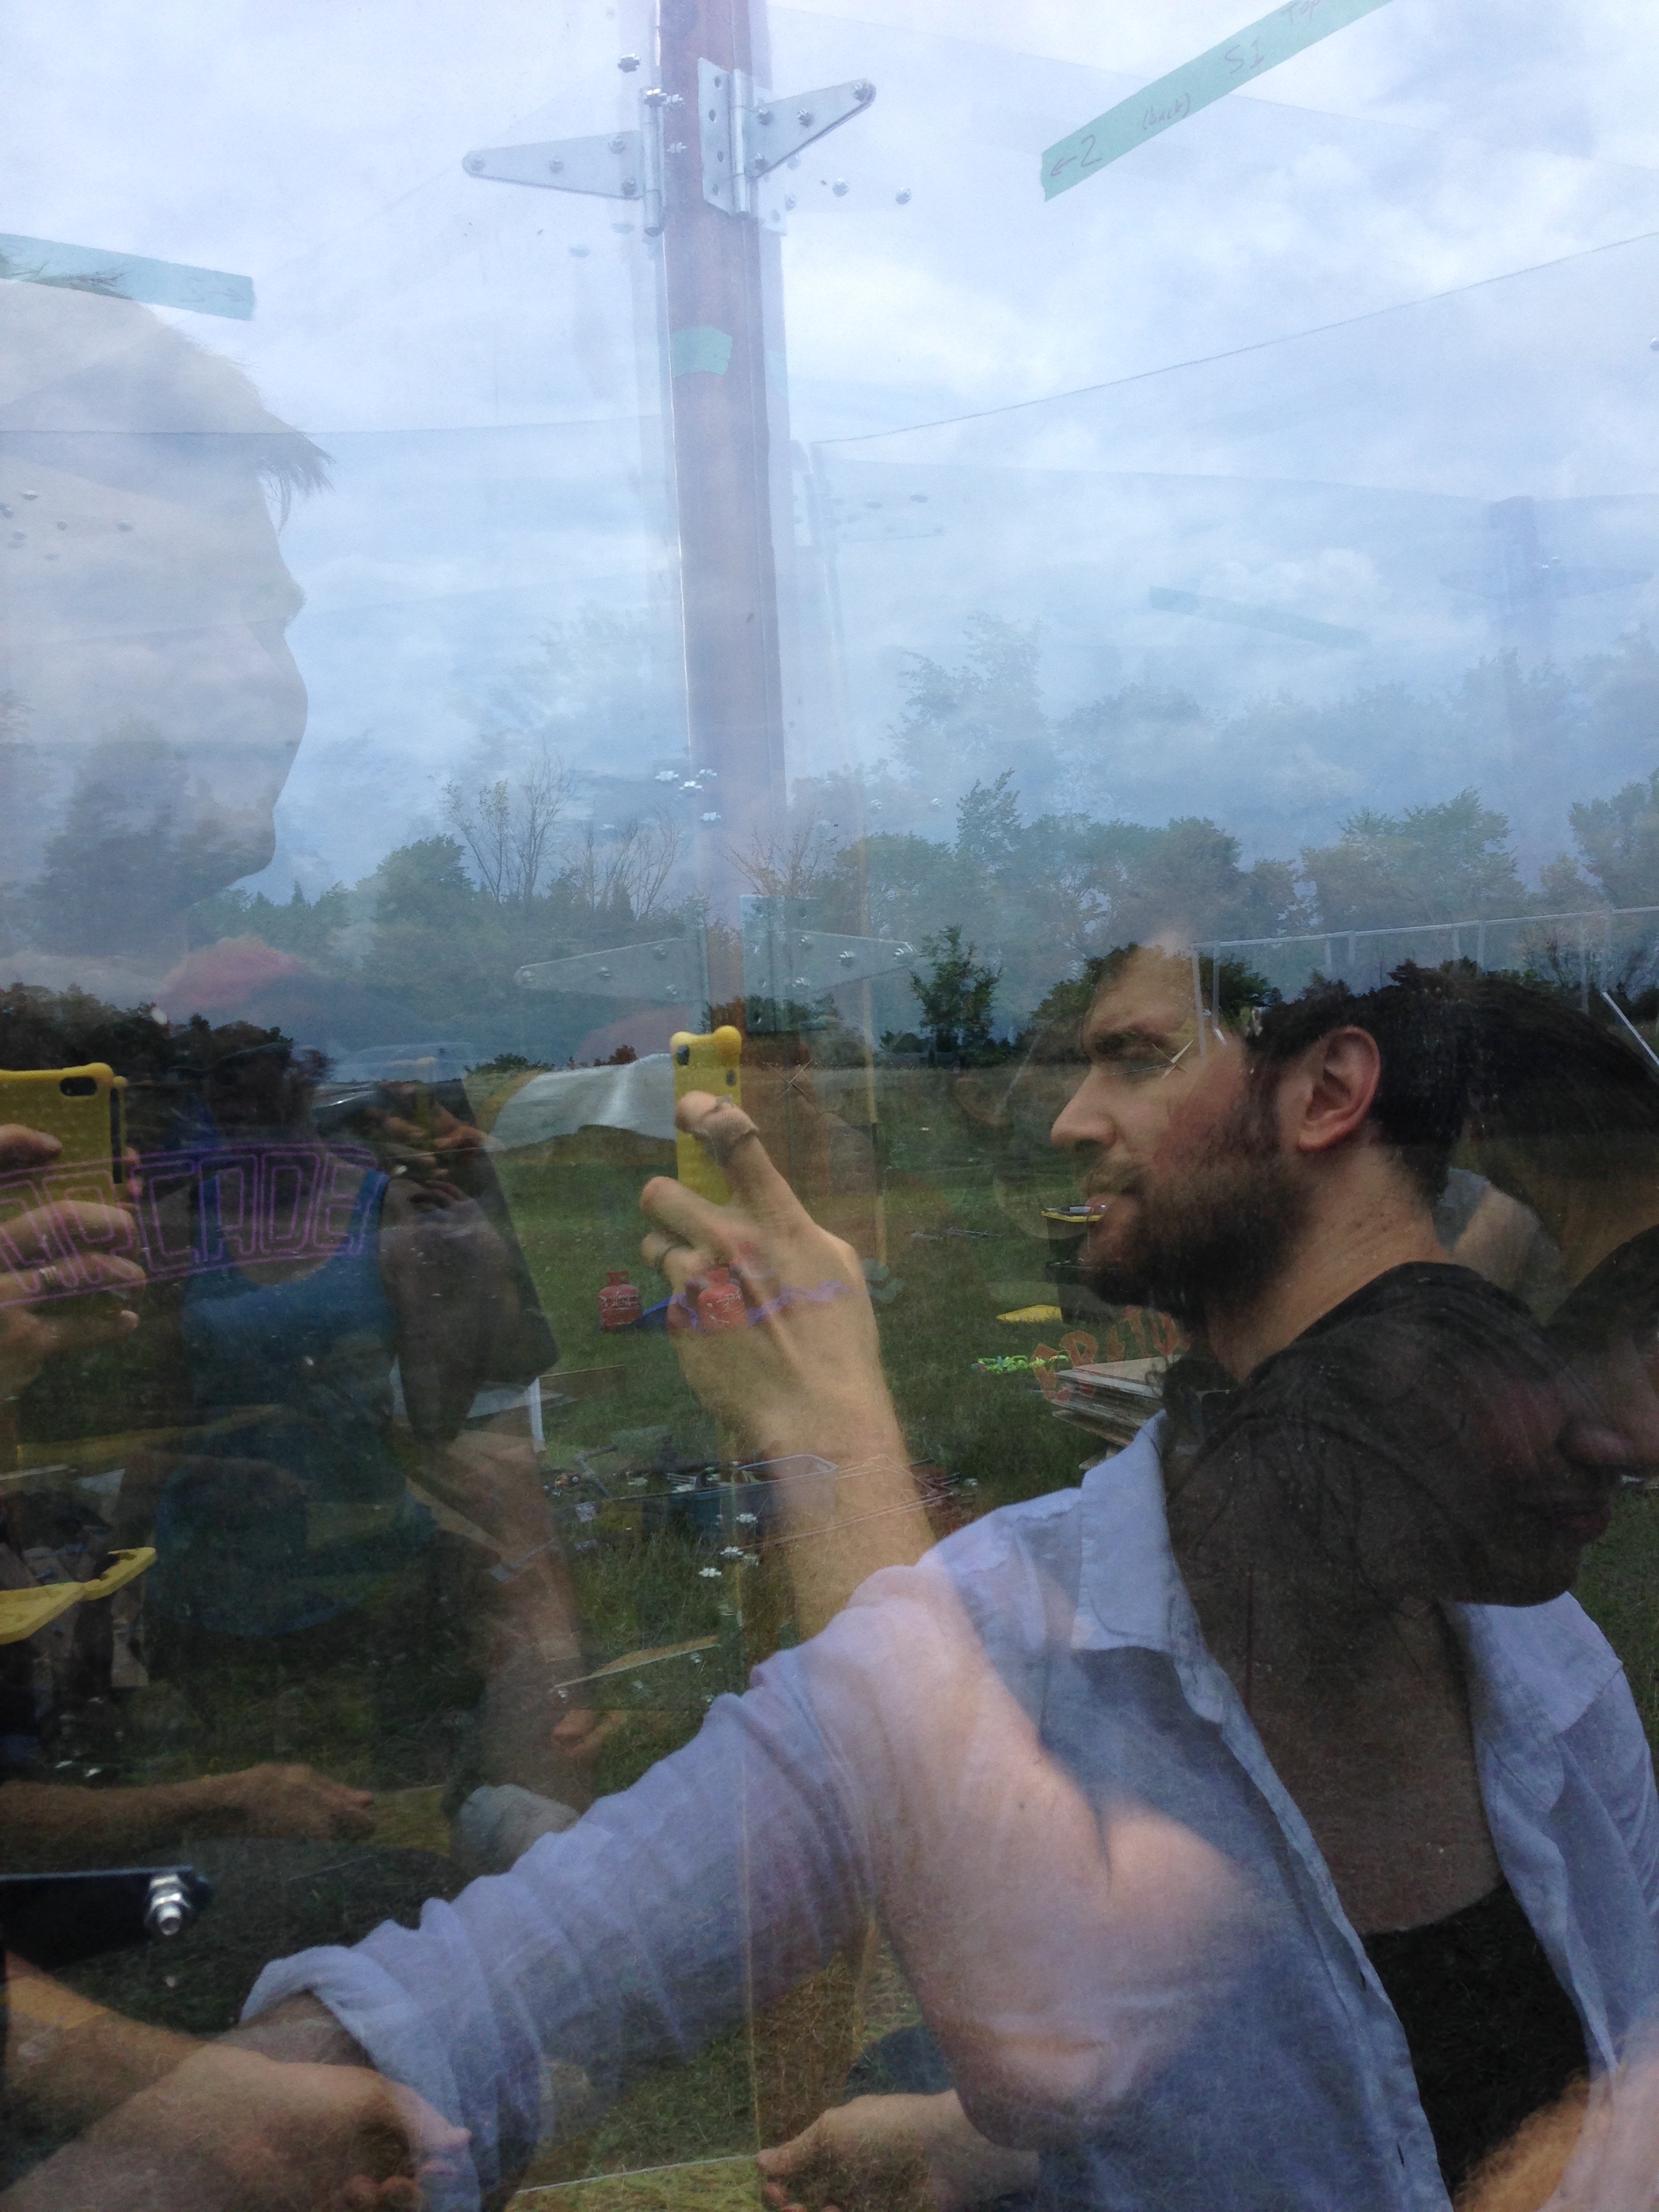
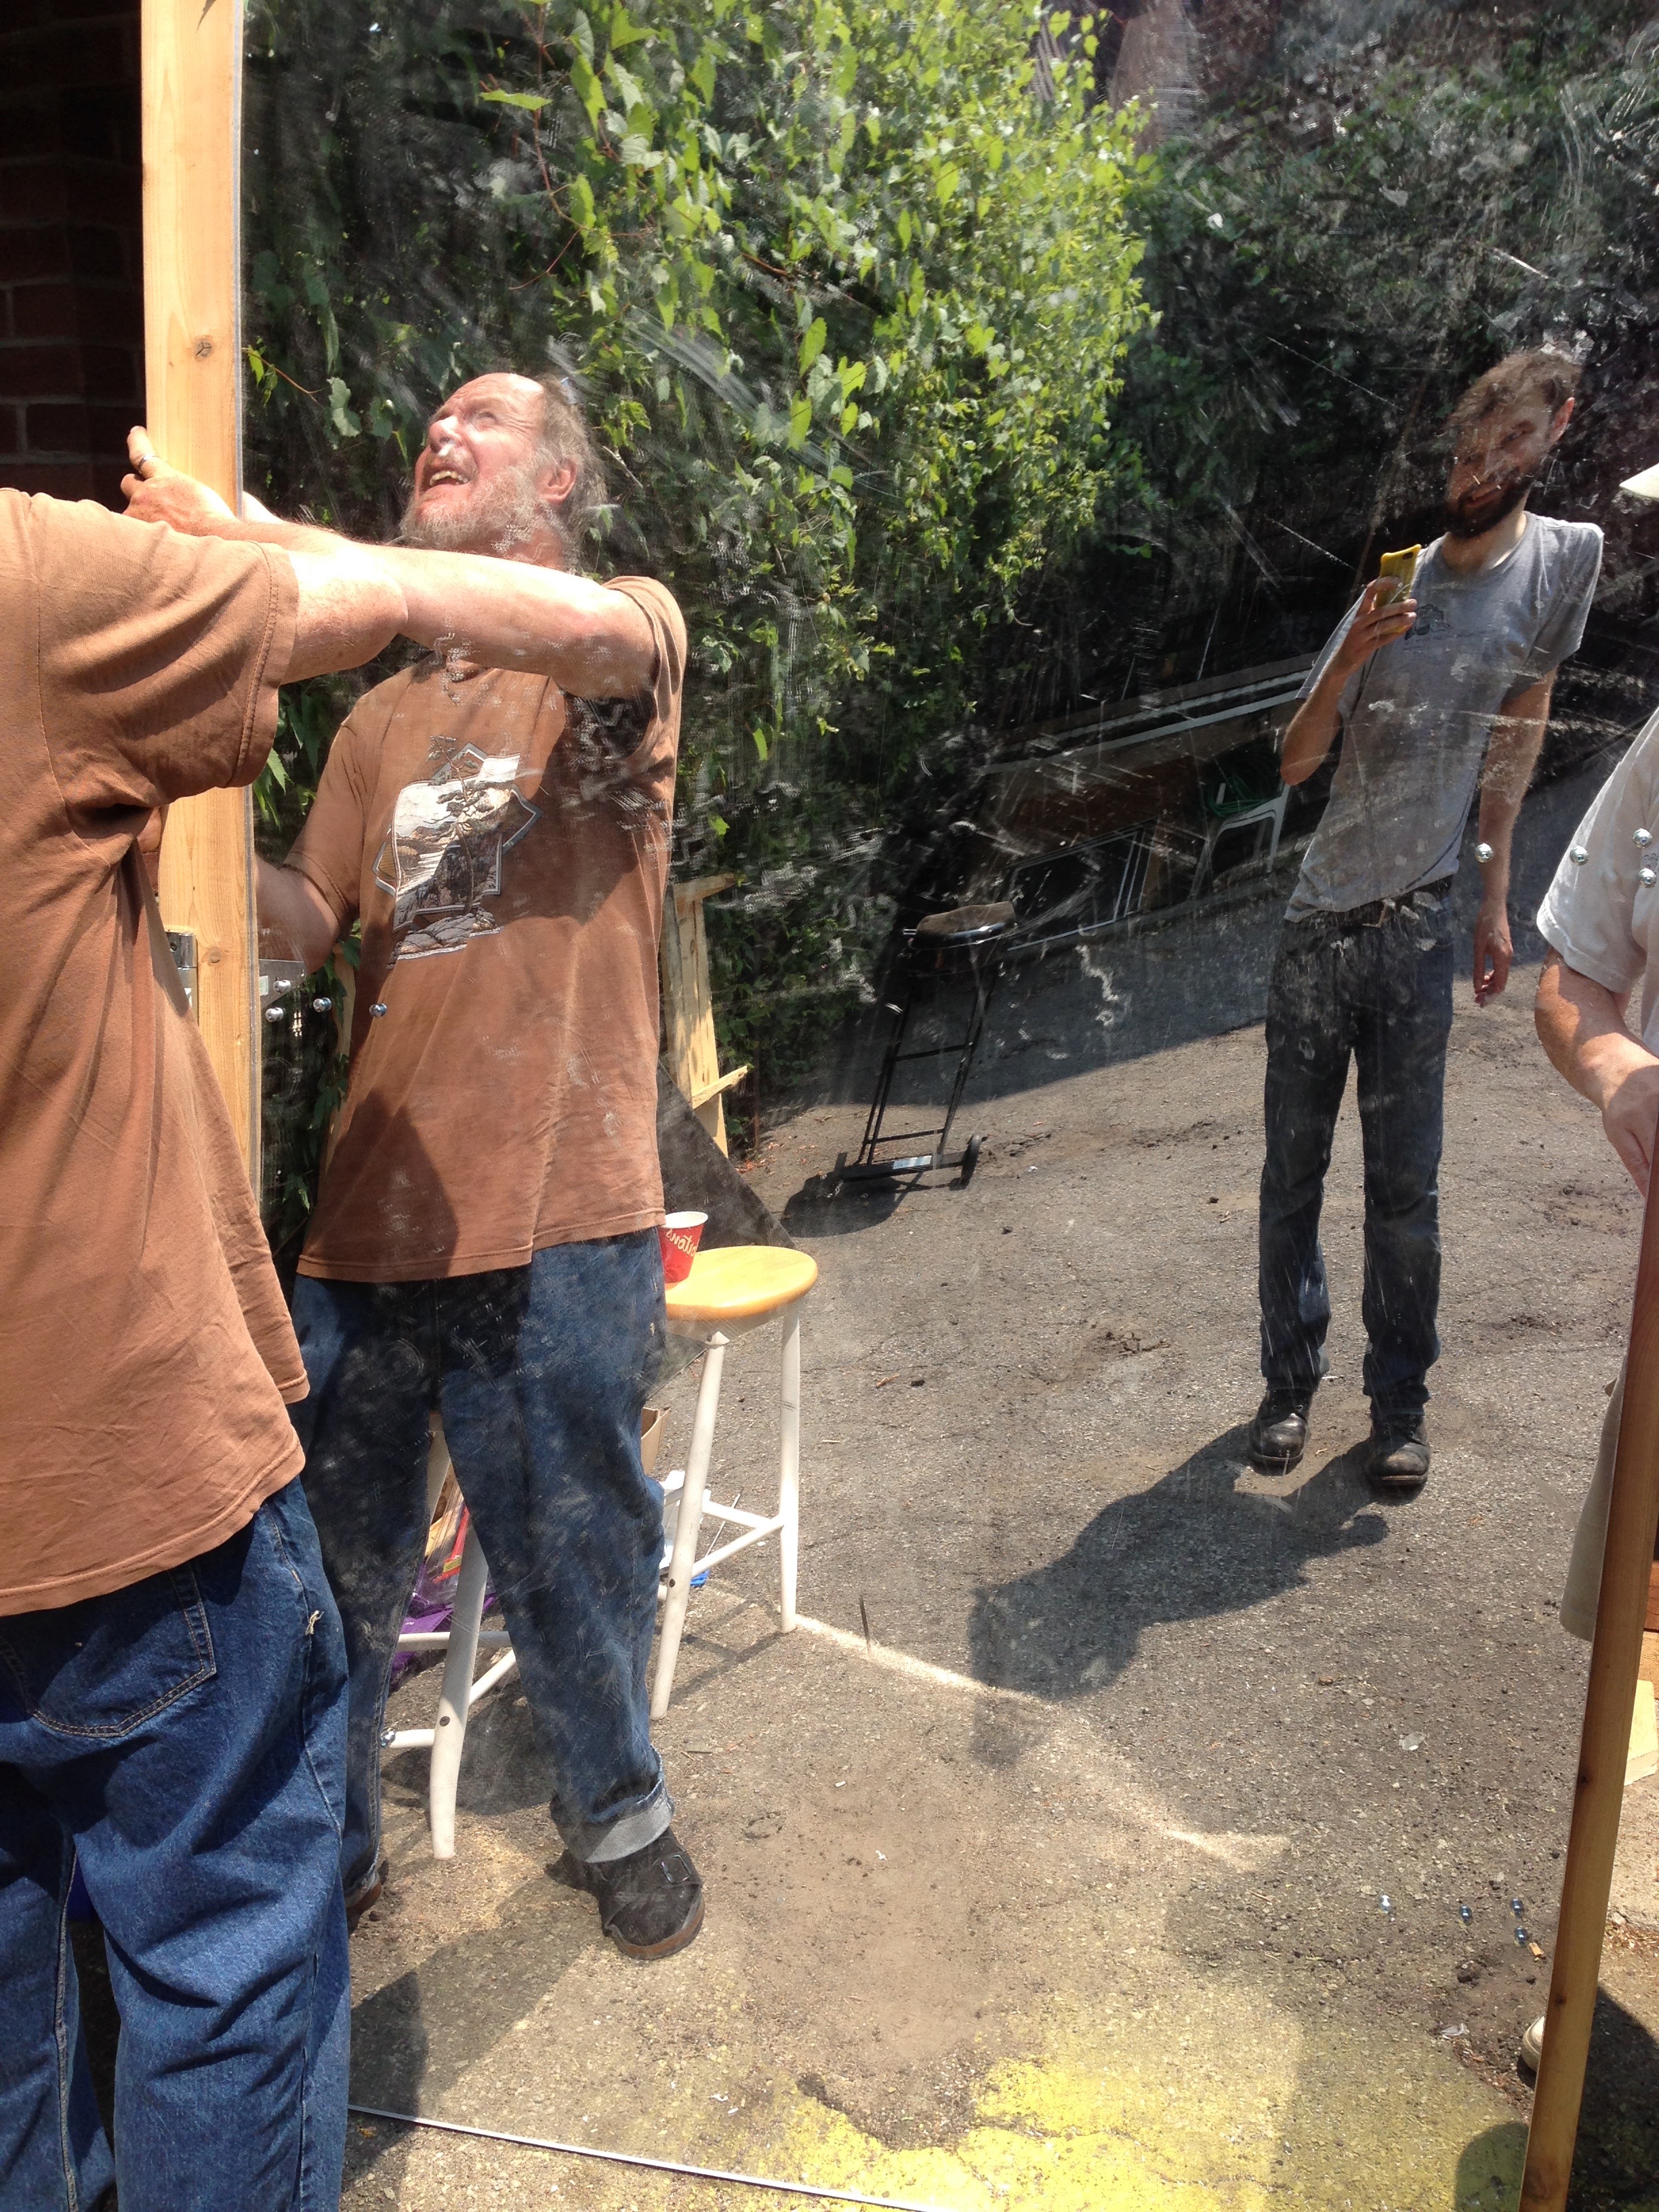
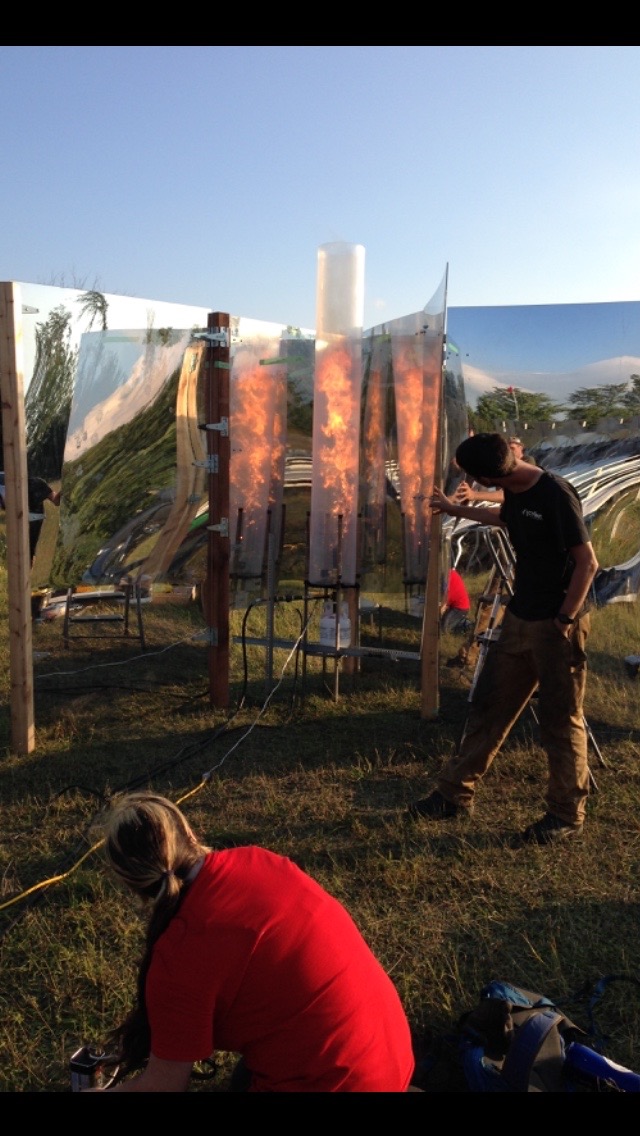
Leaving us with our favourite iconic picture:
Our favourite iconic picture of Mirror Blaze, with S setting off the flame effect, and Patrick standing at a safe (though warm) distance.
Next time, we get to see what Mirror Blaze looks like at night! Stay tuned!
[1]Our friendly flame effect. We are very creative.
First, a test of the mirrors (warning: not for the easily spun nauseous):
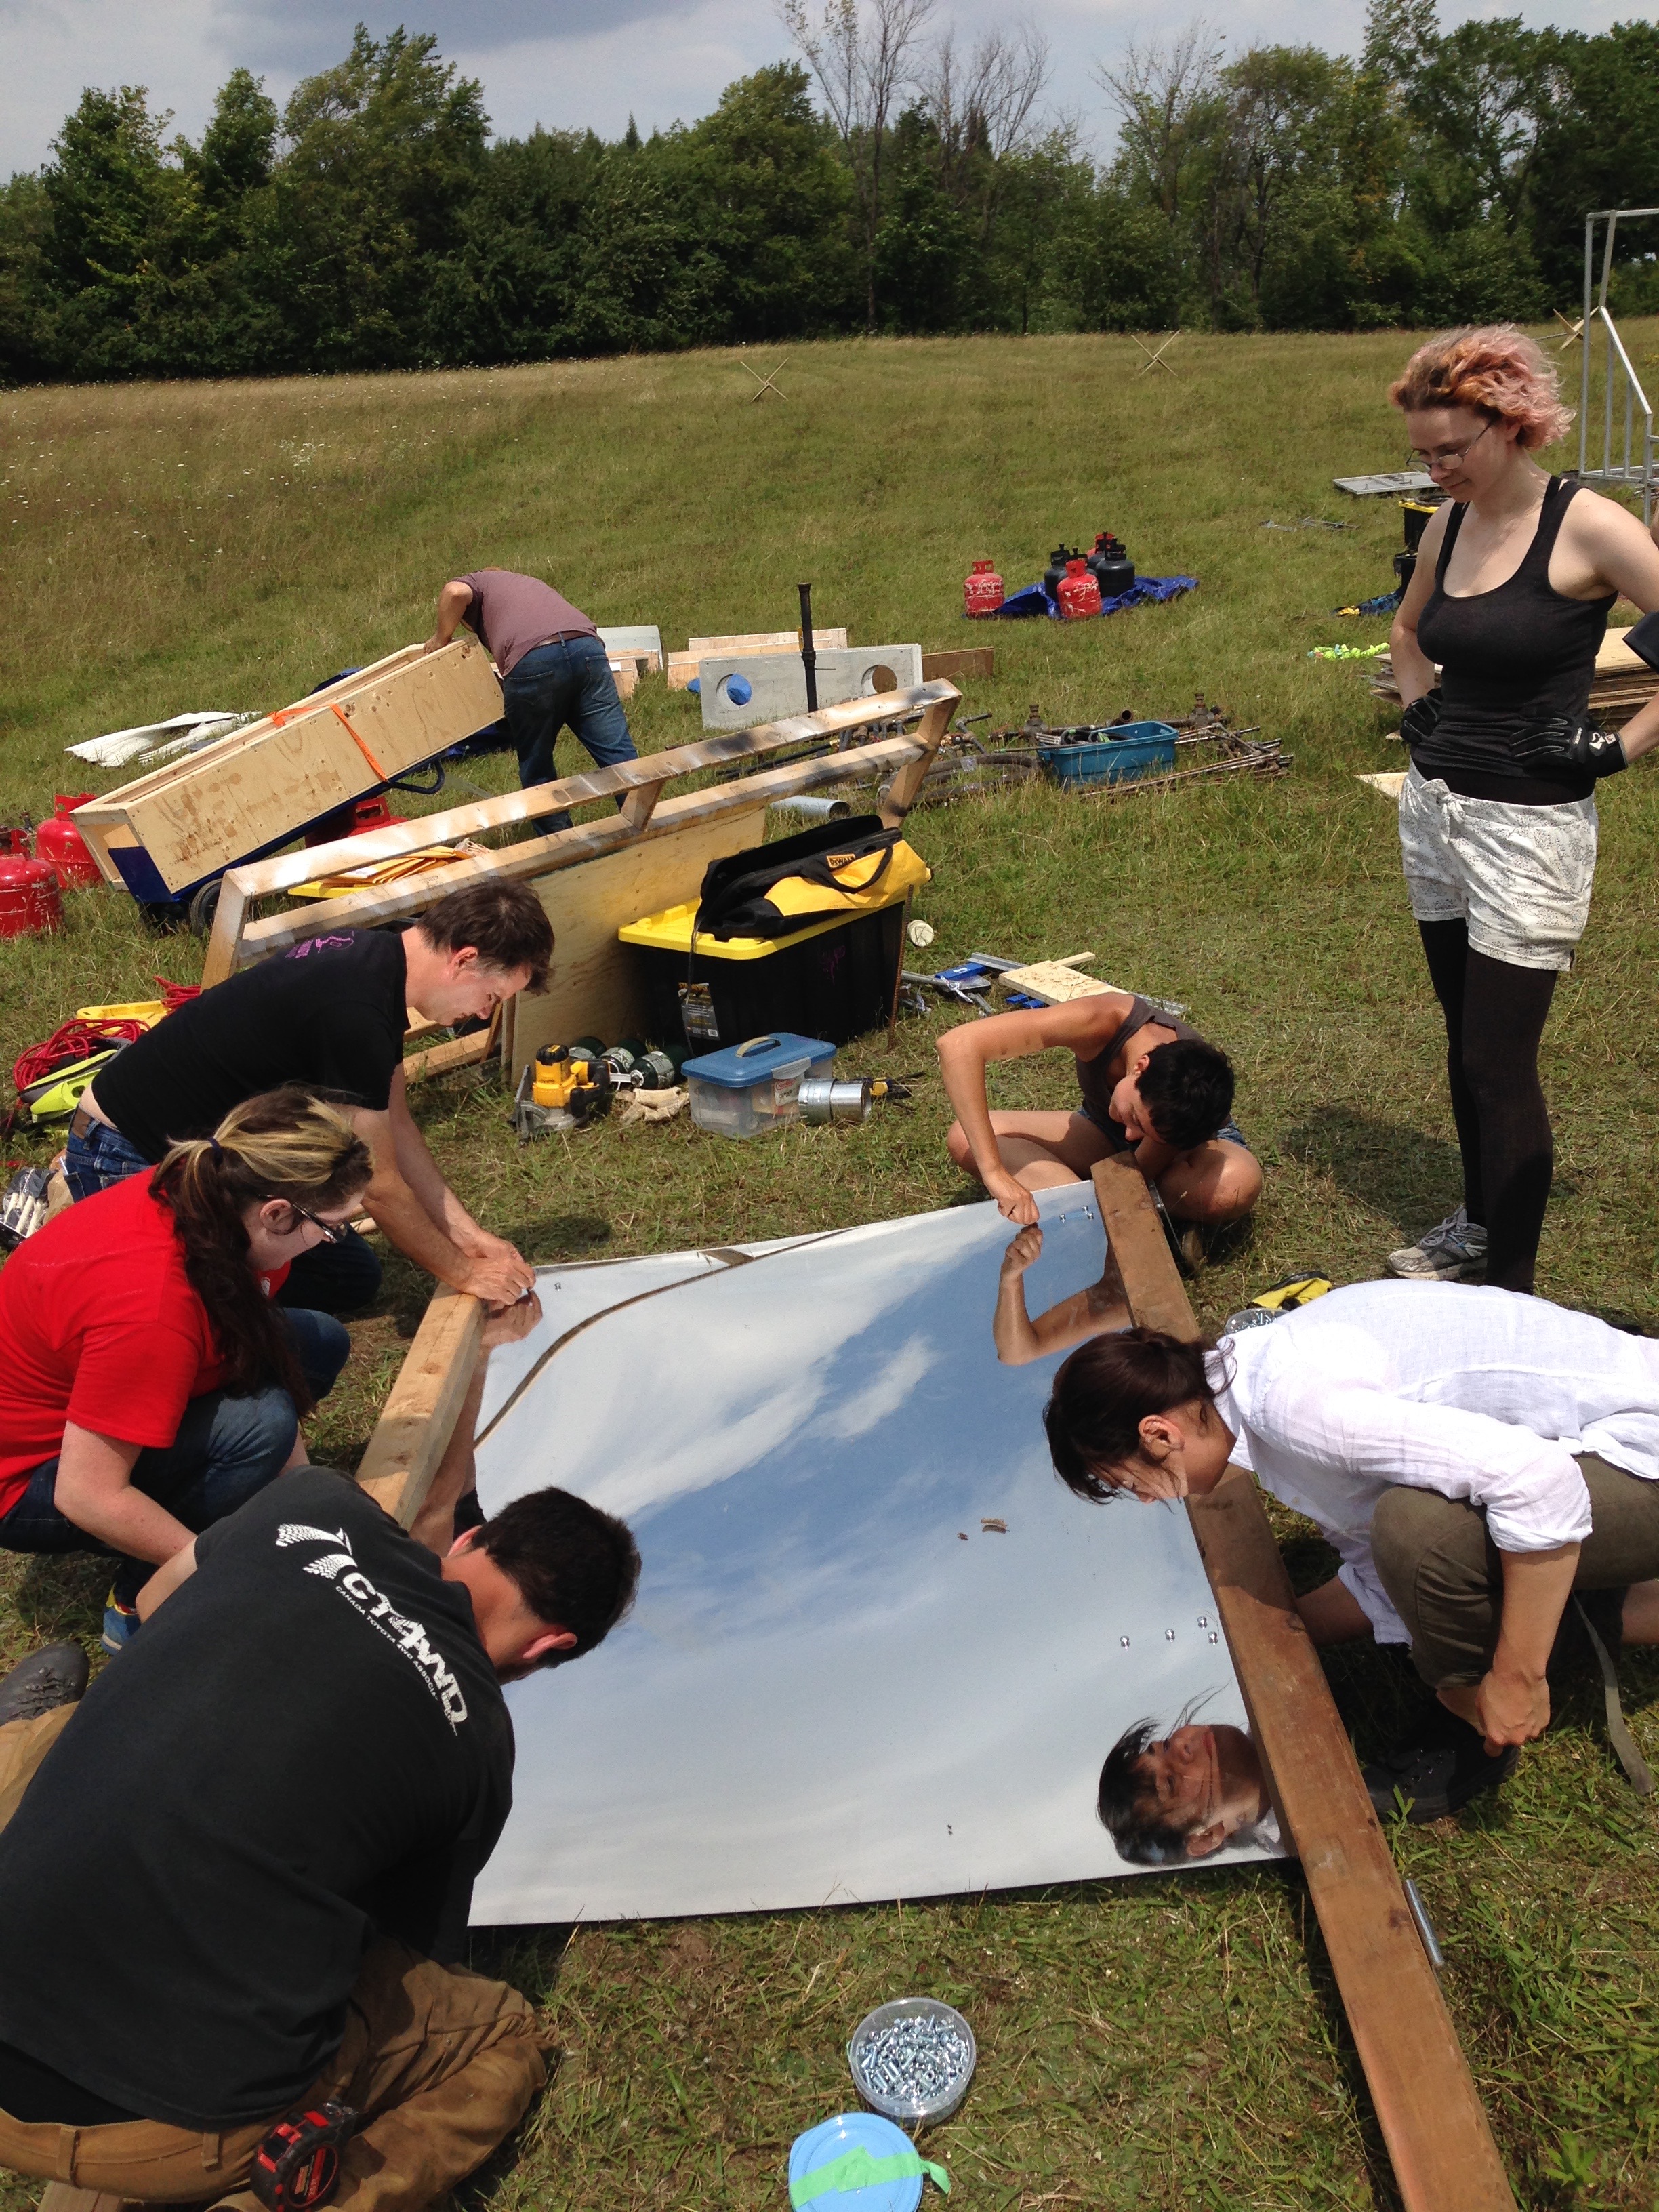
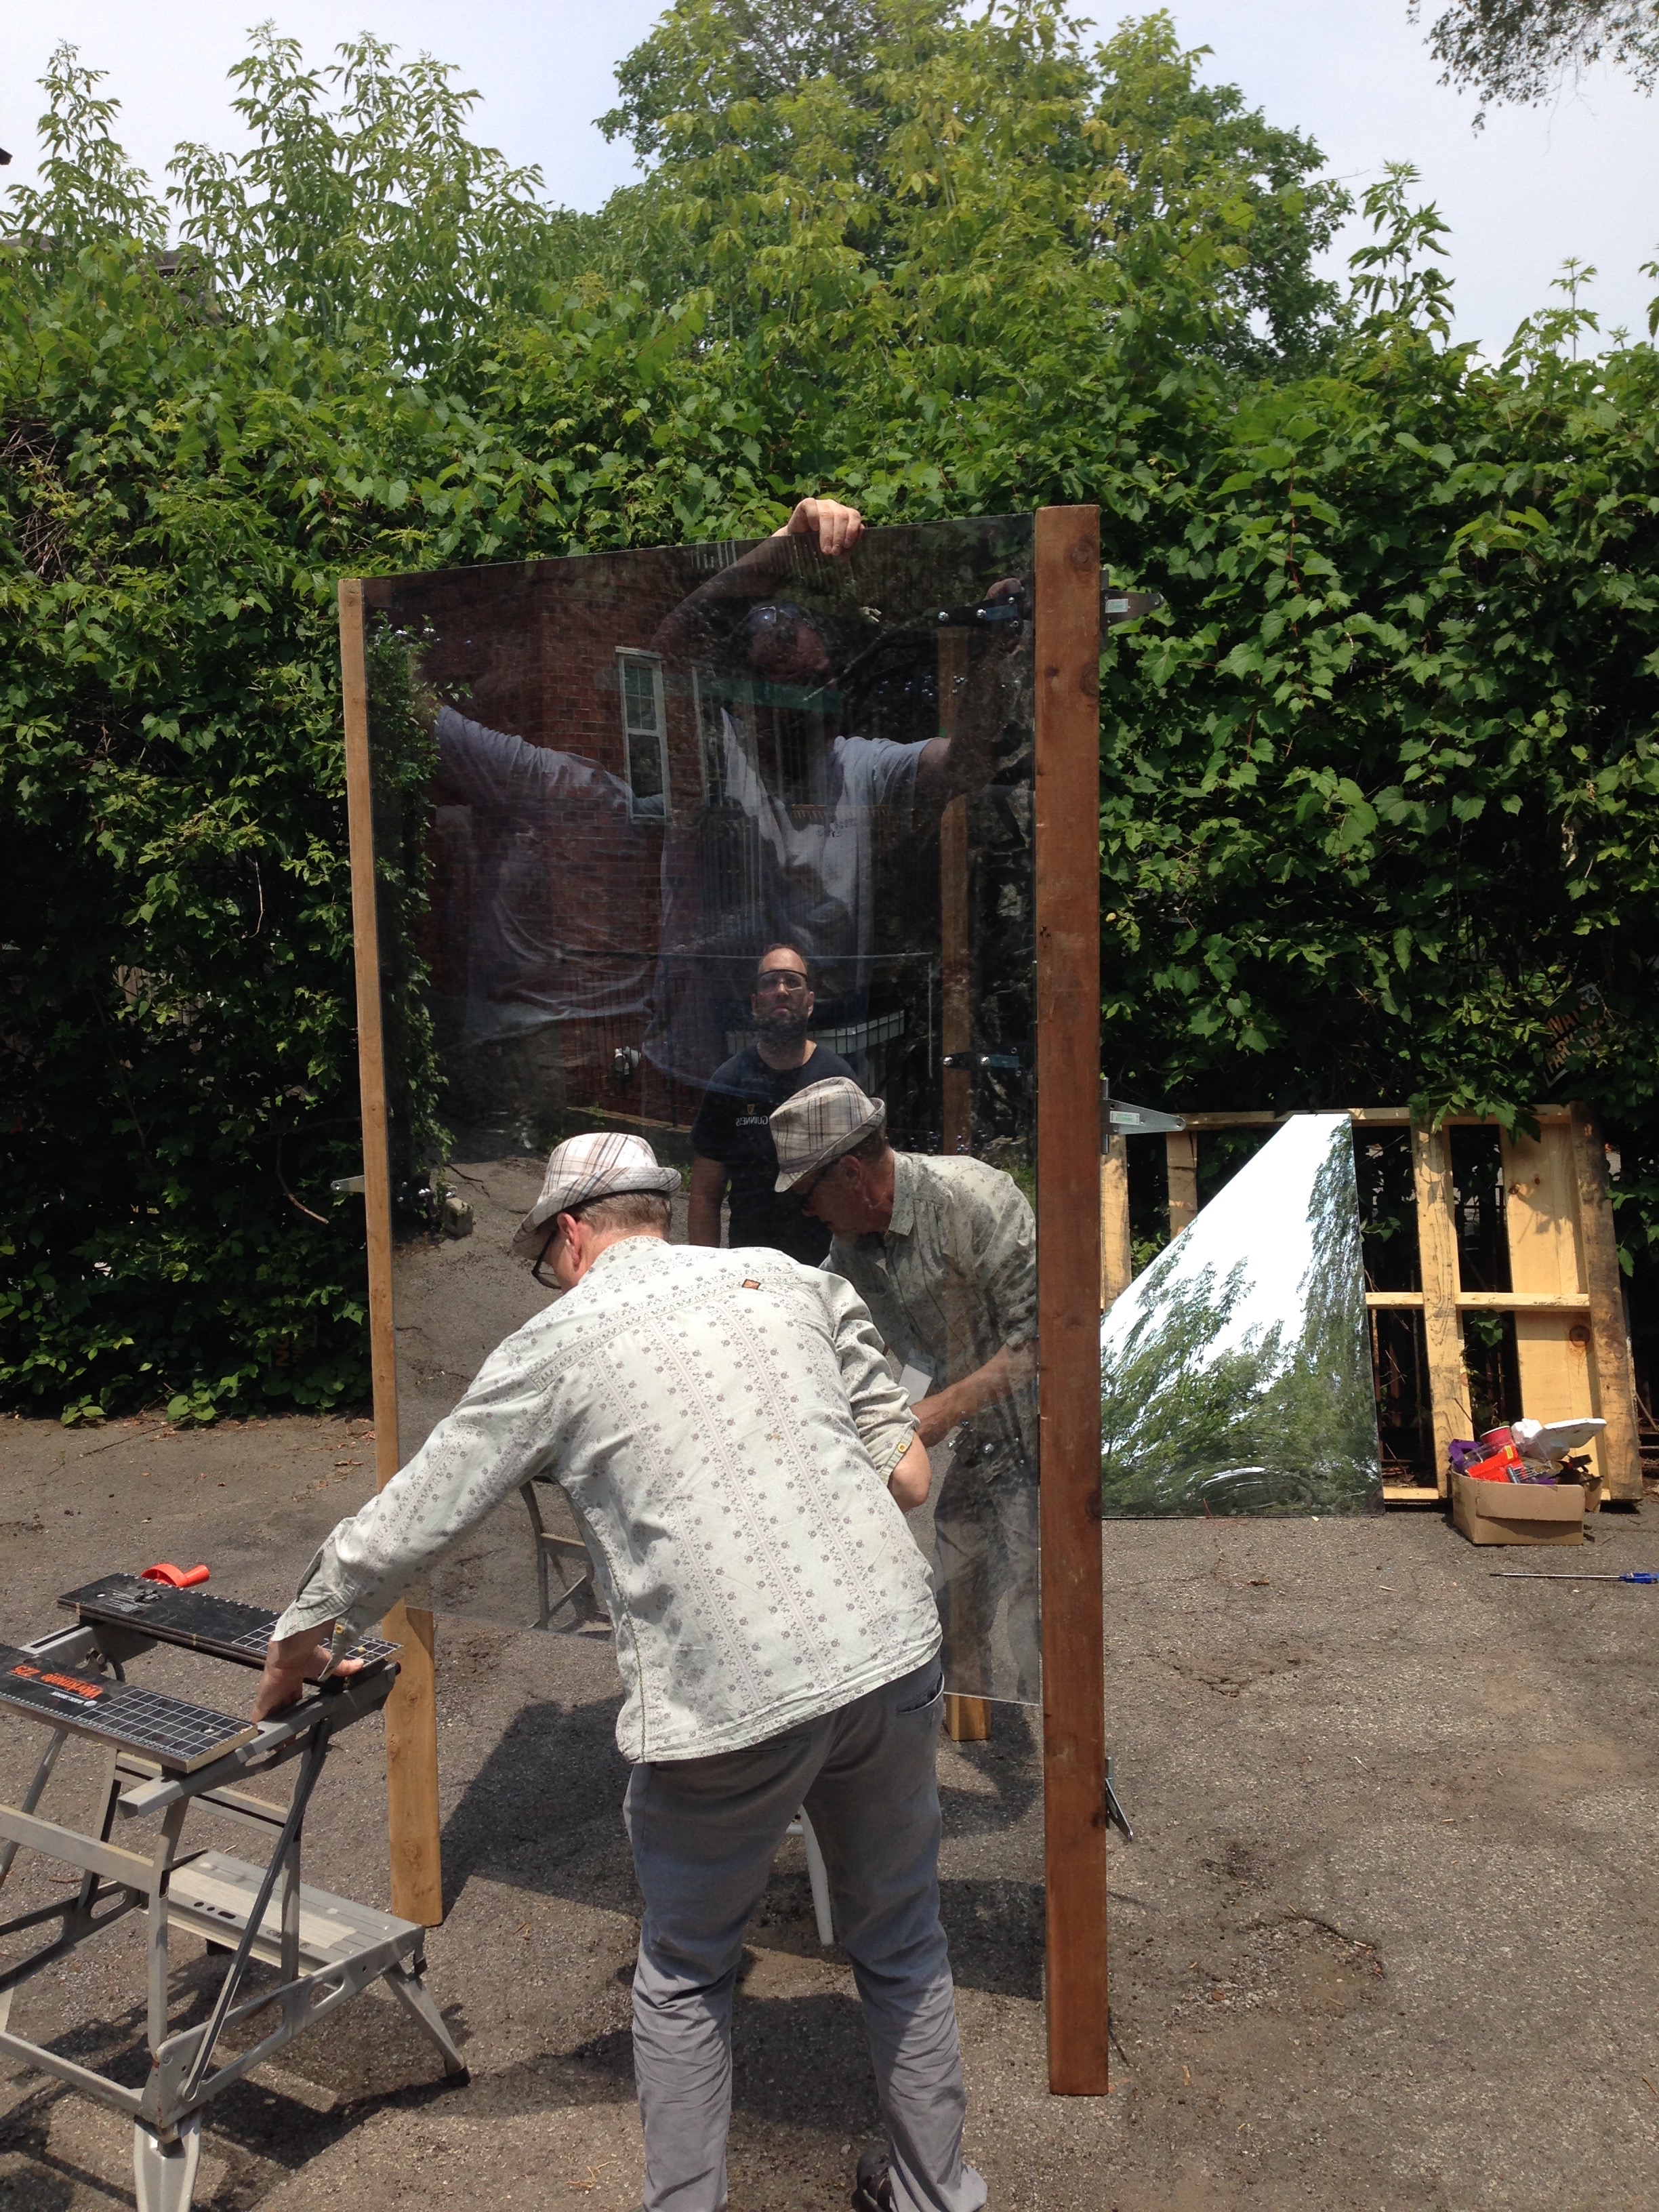
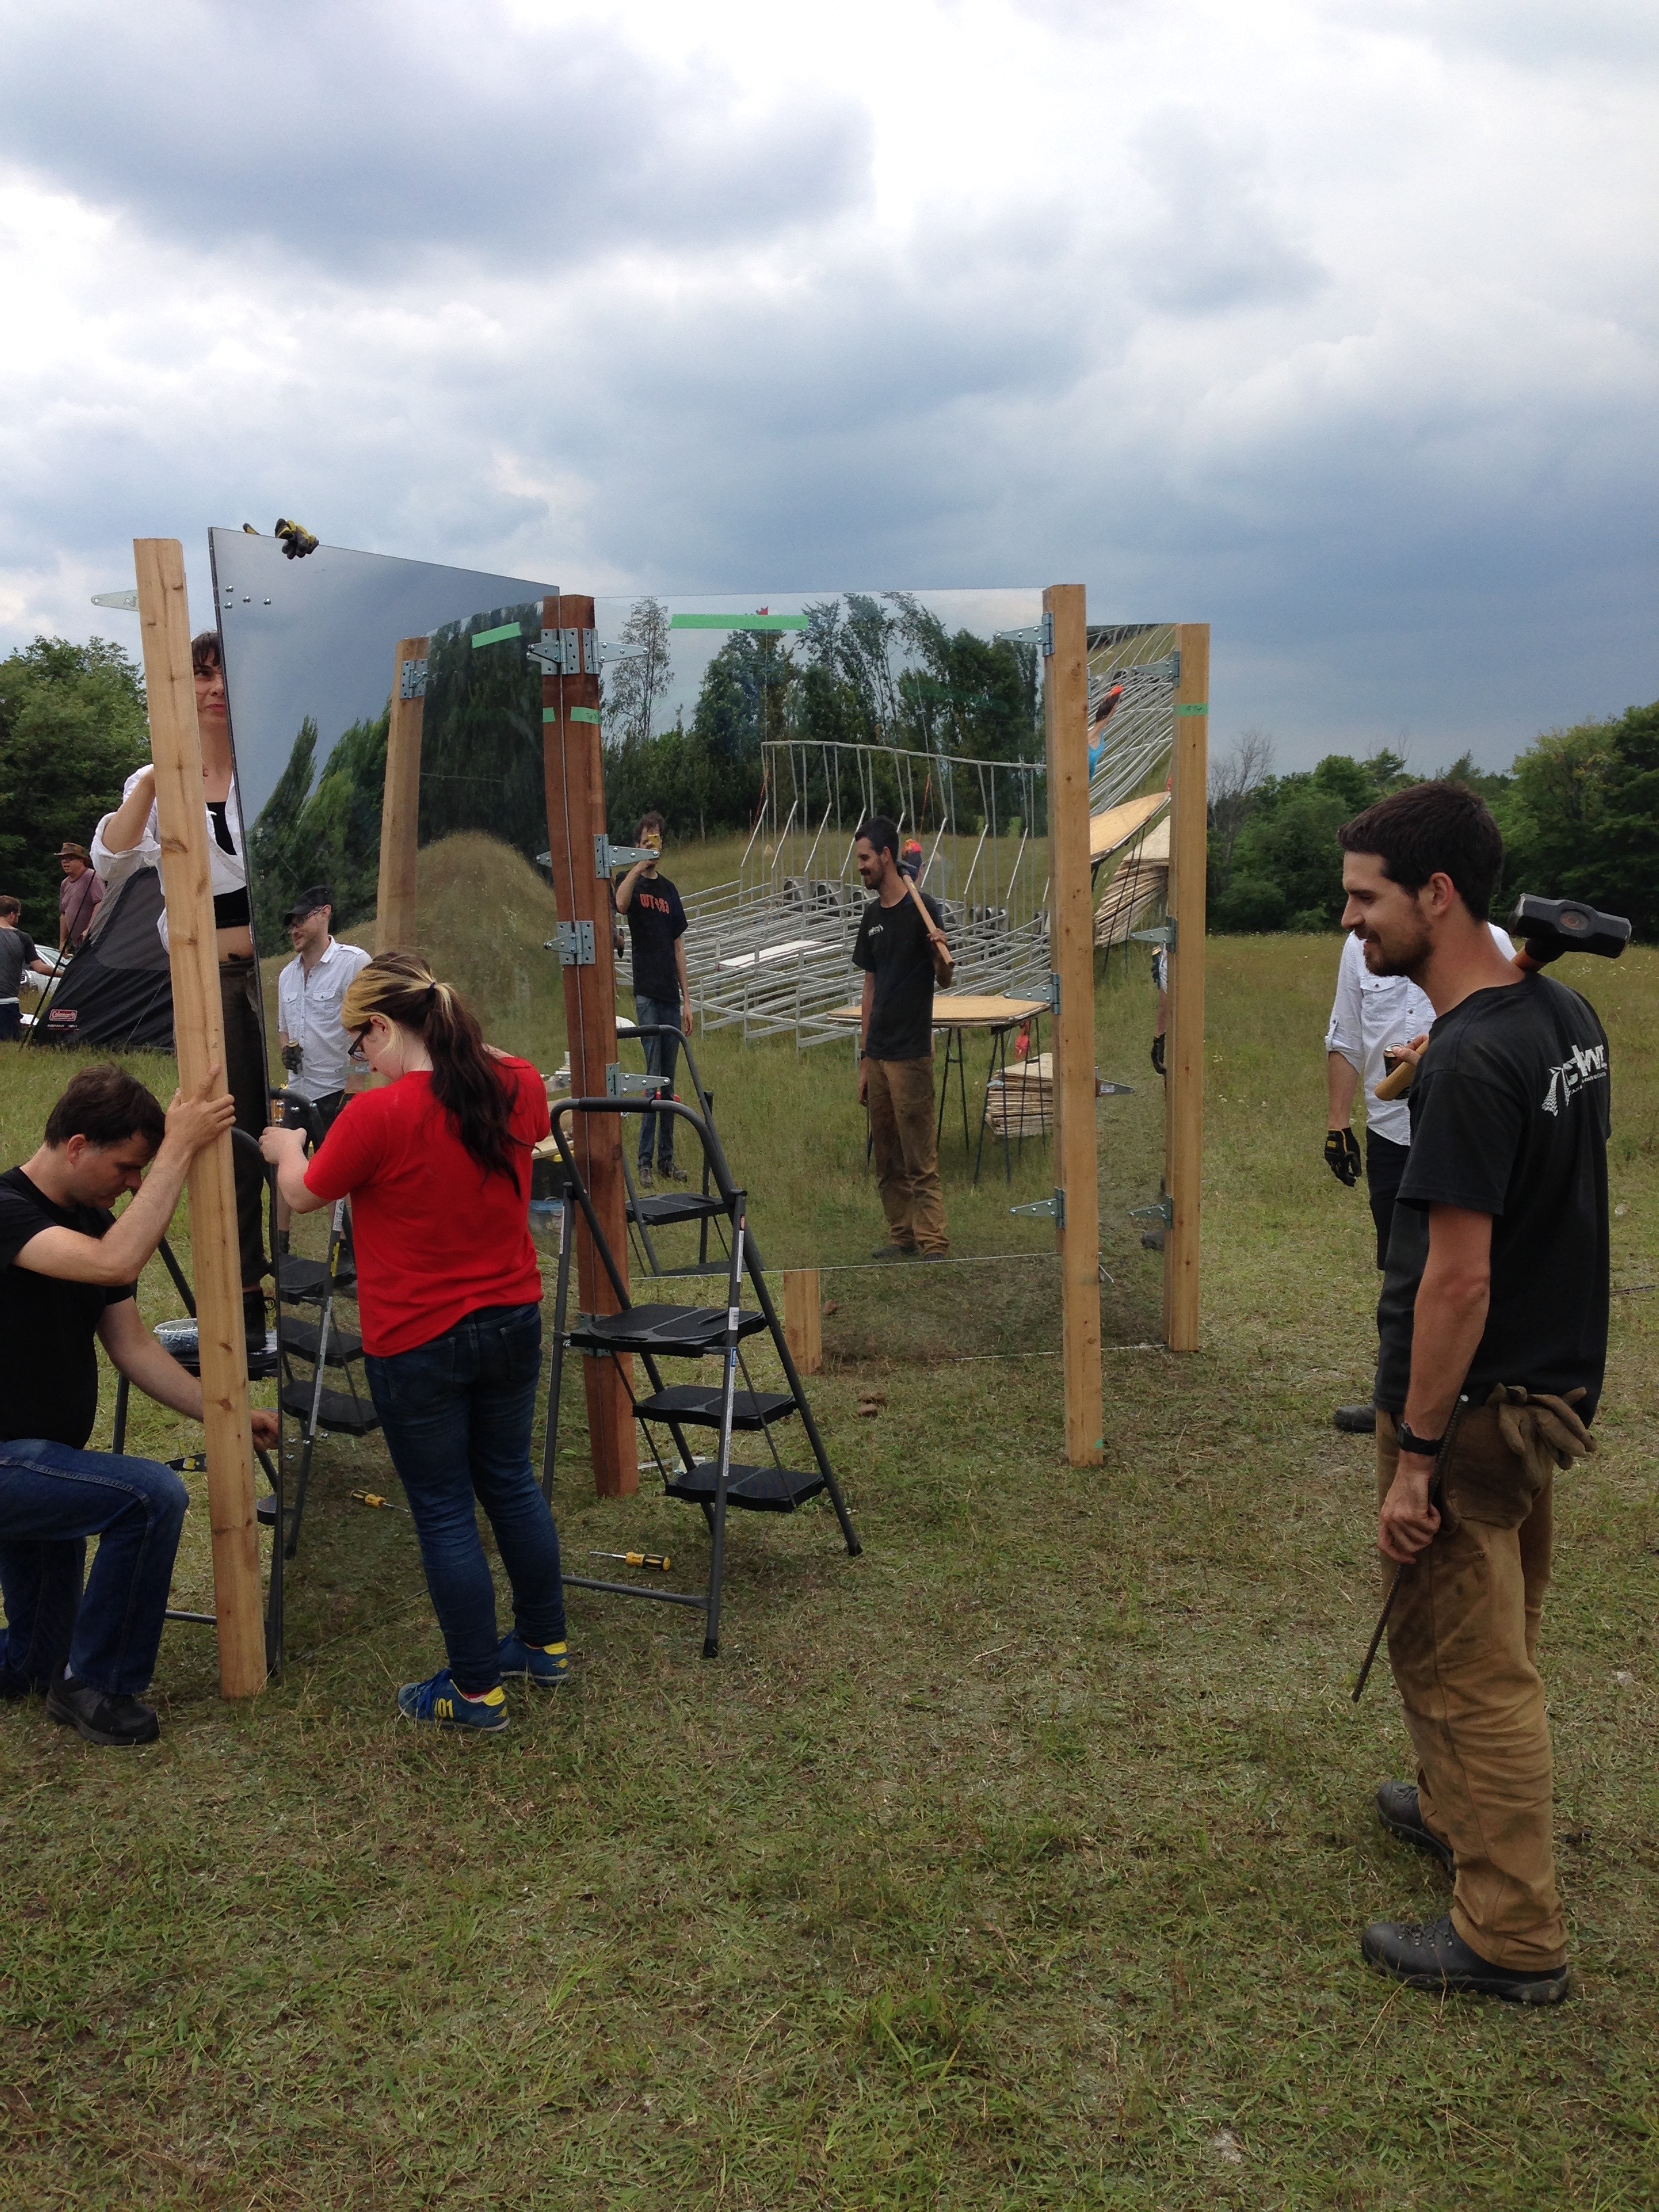
Then, more panel attachment!:
Jim and Liz help S attach a mirror panel as Callum and Patrick reflect.
Then, just before we attached the last couple of mirrors, rain struck! Luckily, we had planned for this, and beyond making sure our gear was in our tent and power tools were covered, Mirror Blaze was fine (or so we thought).
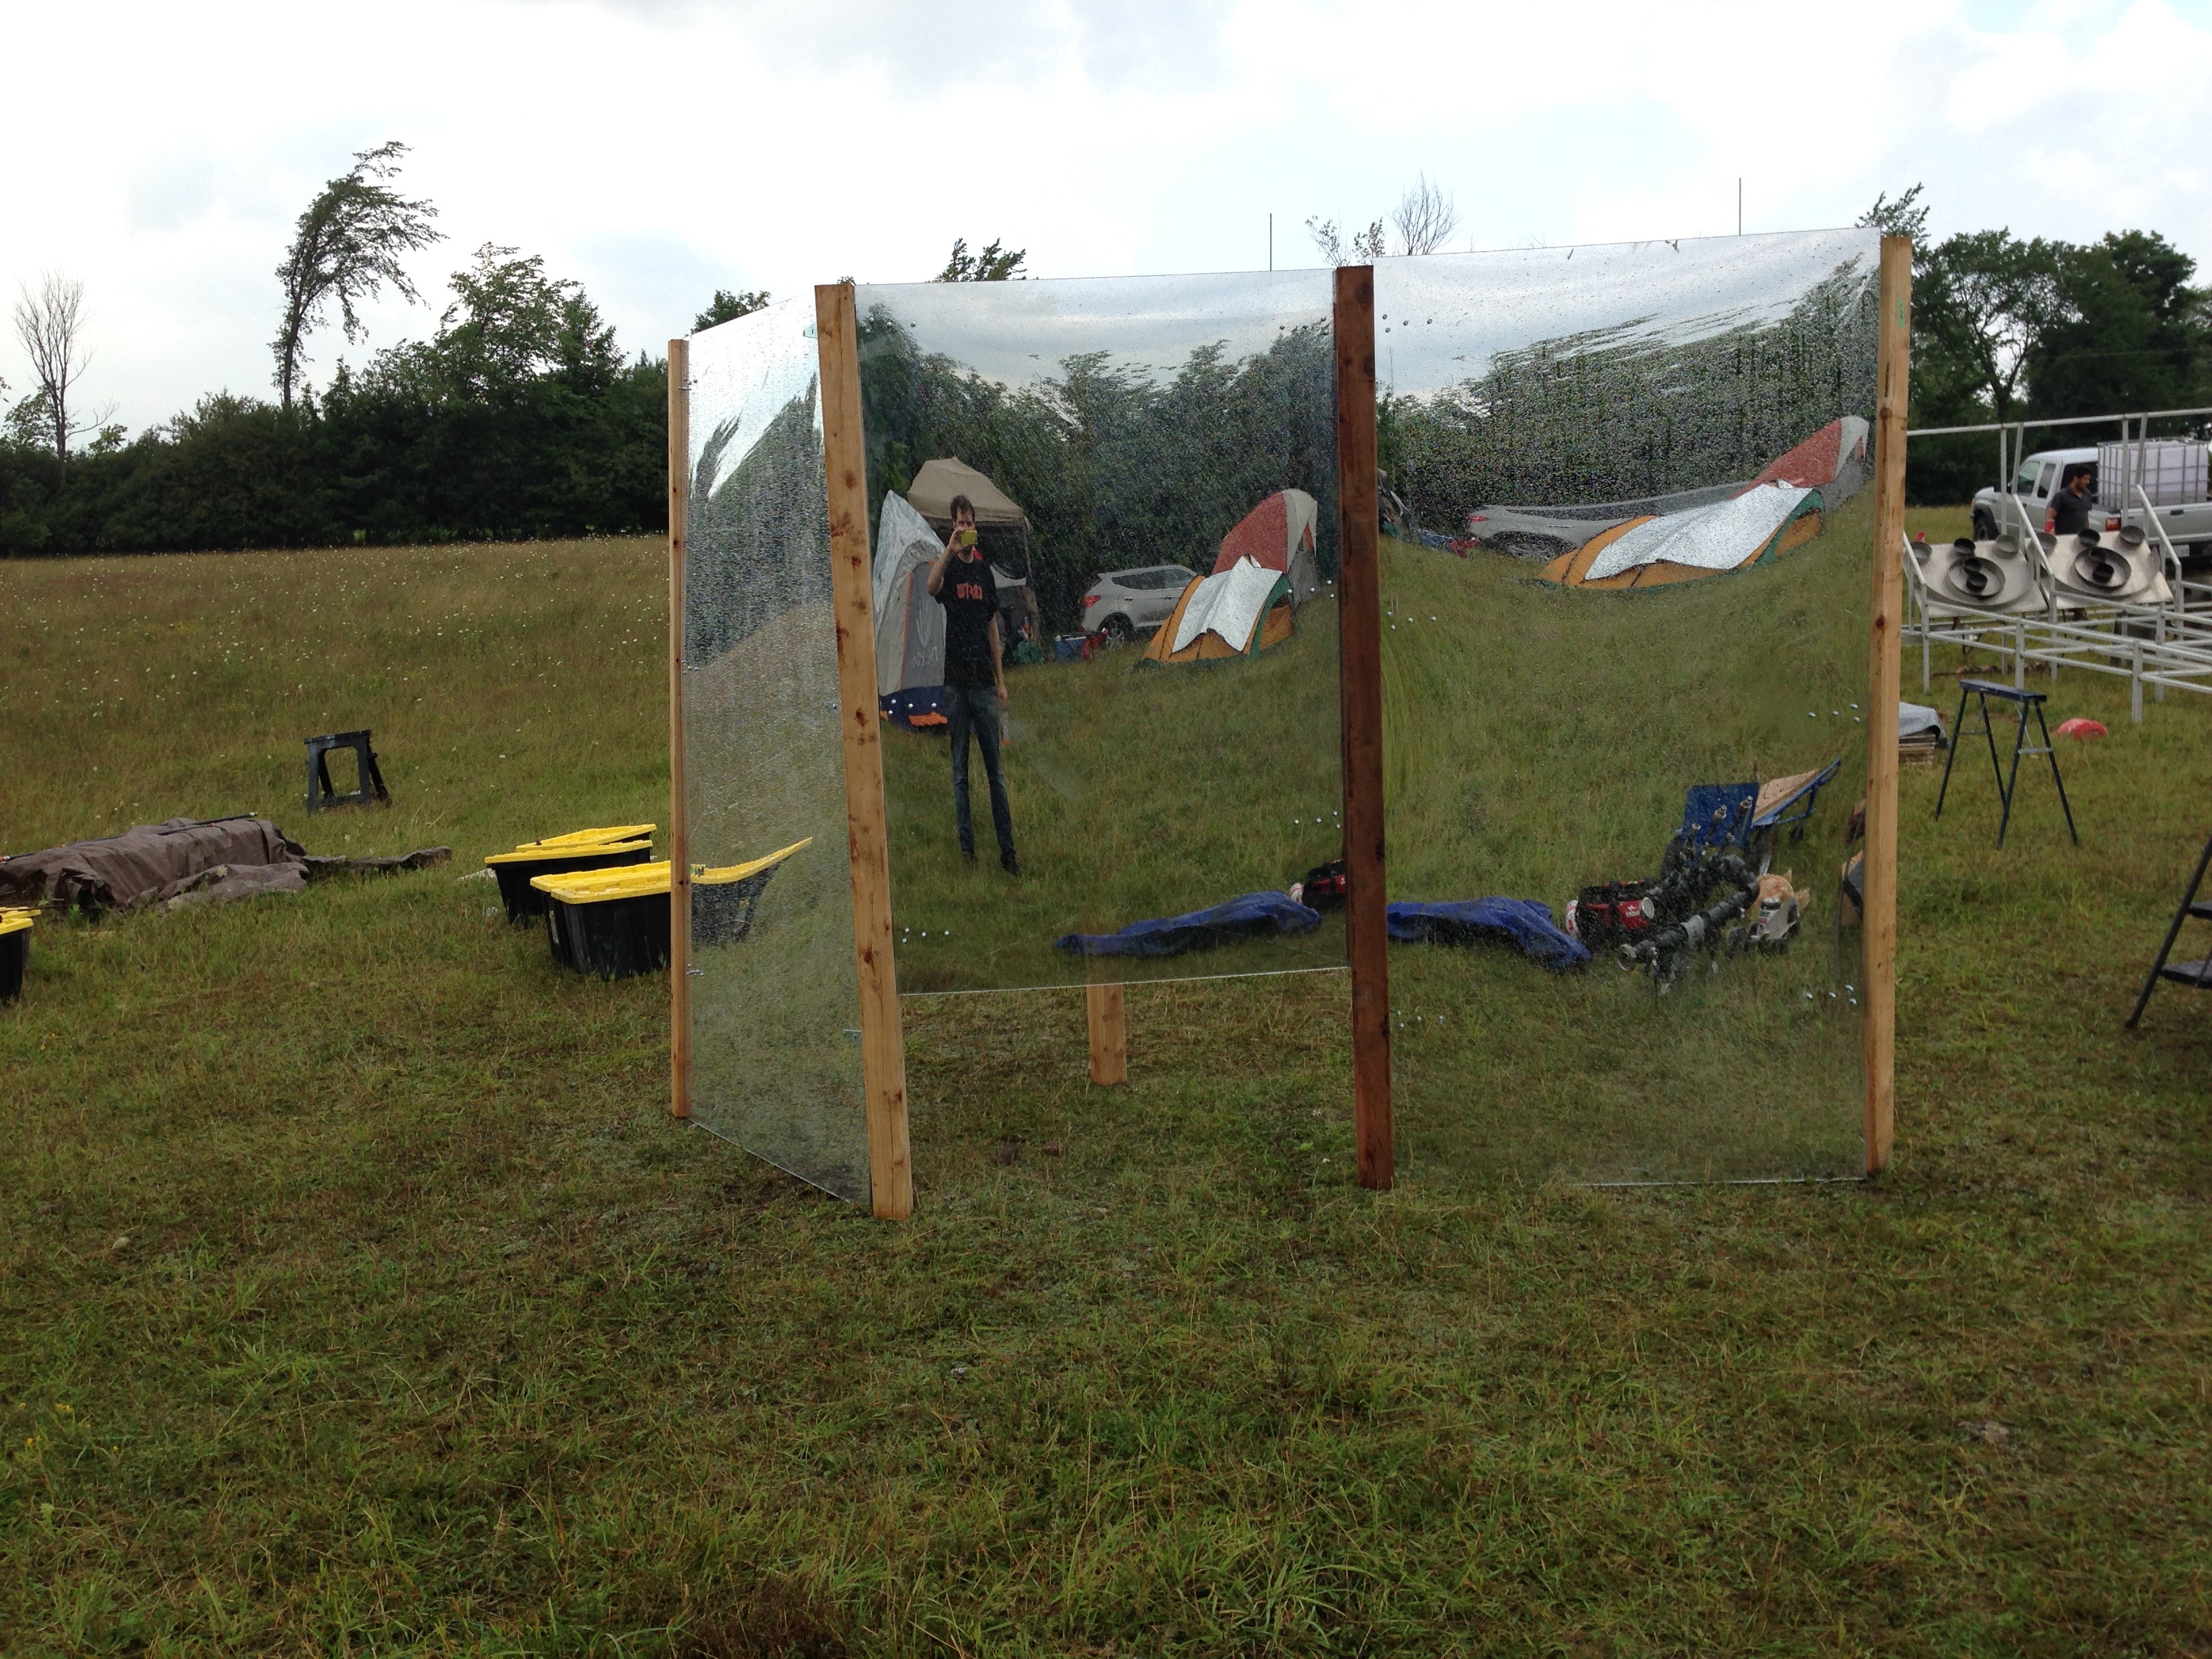
It looked kinda cool with the water droplets:
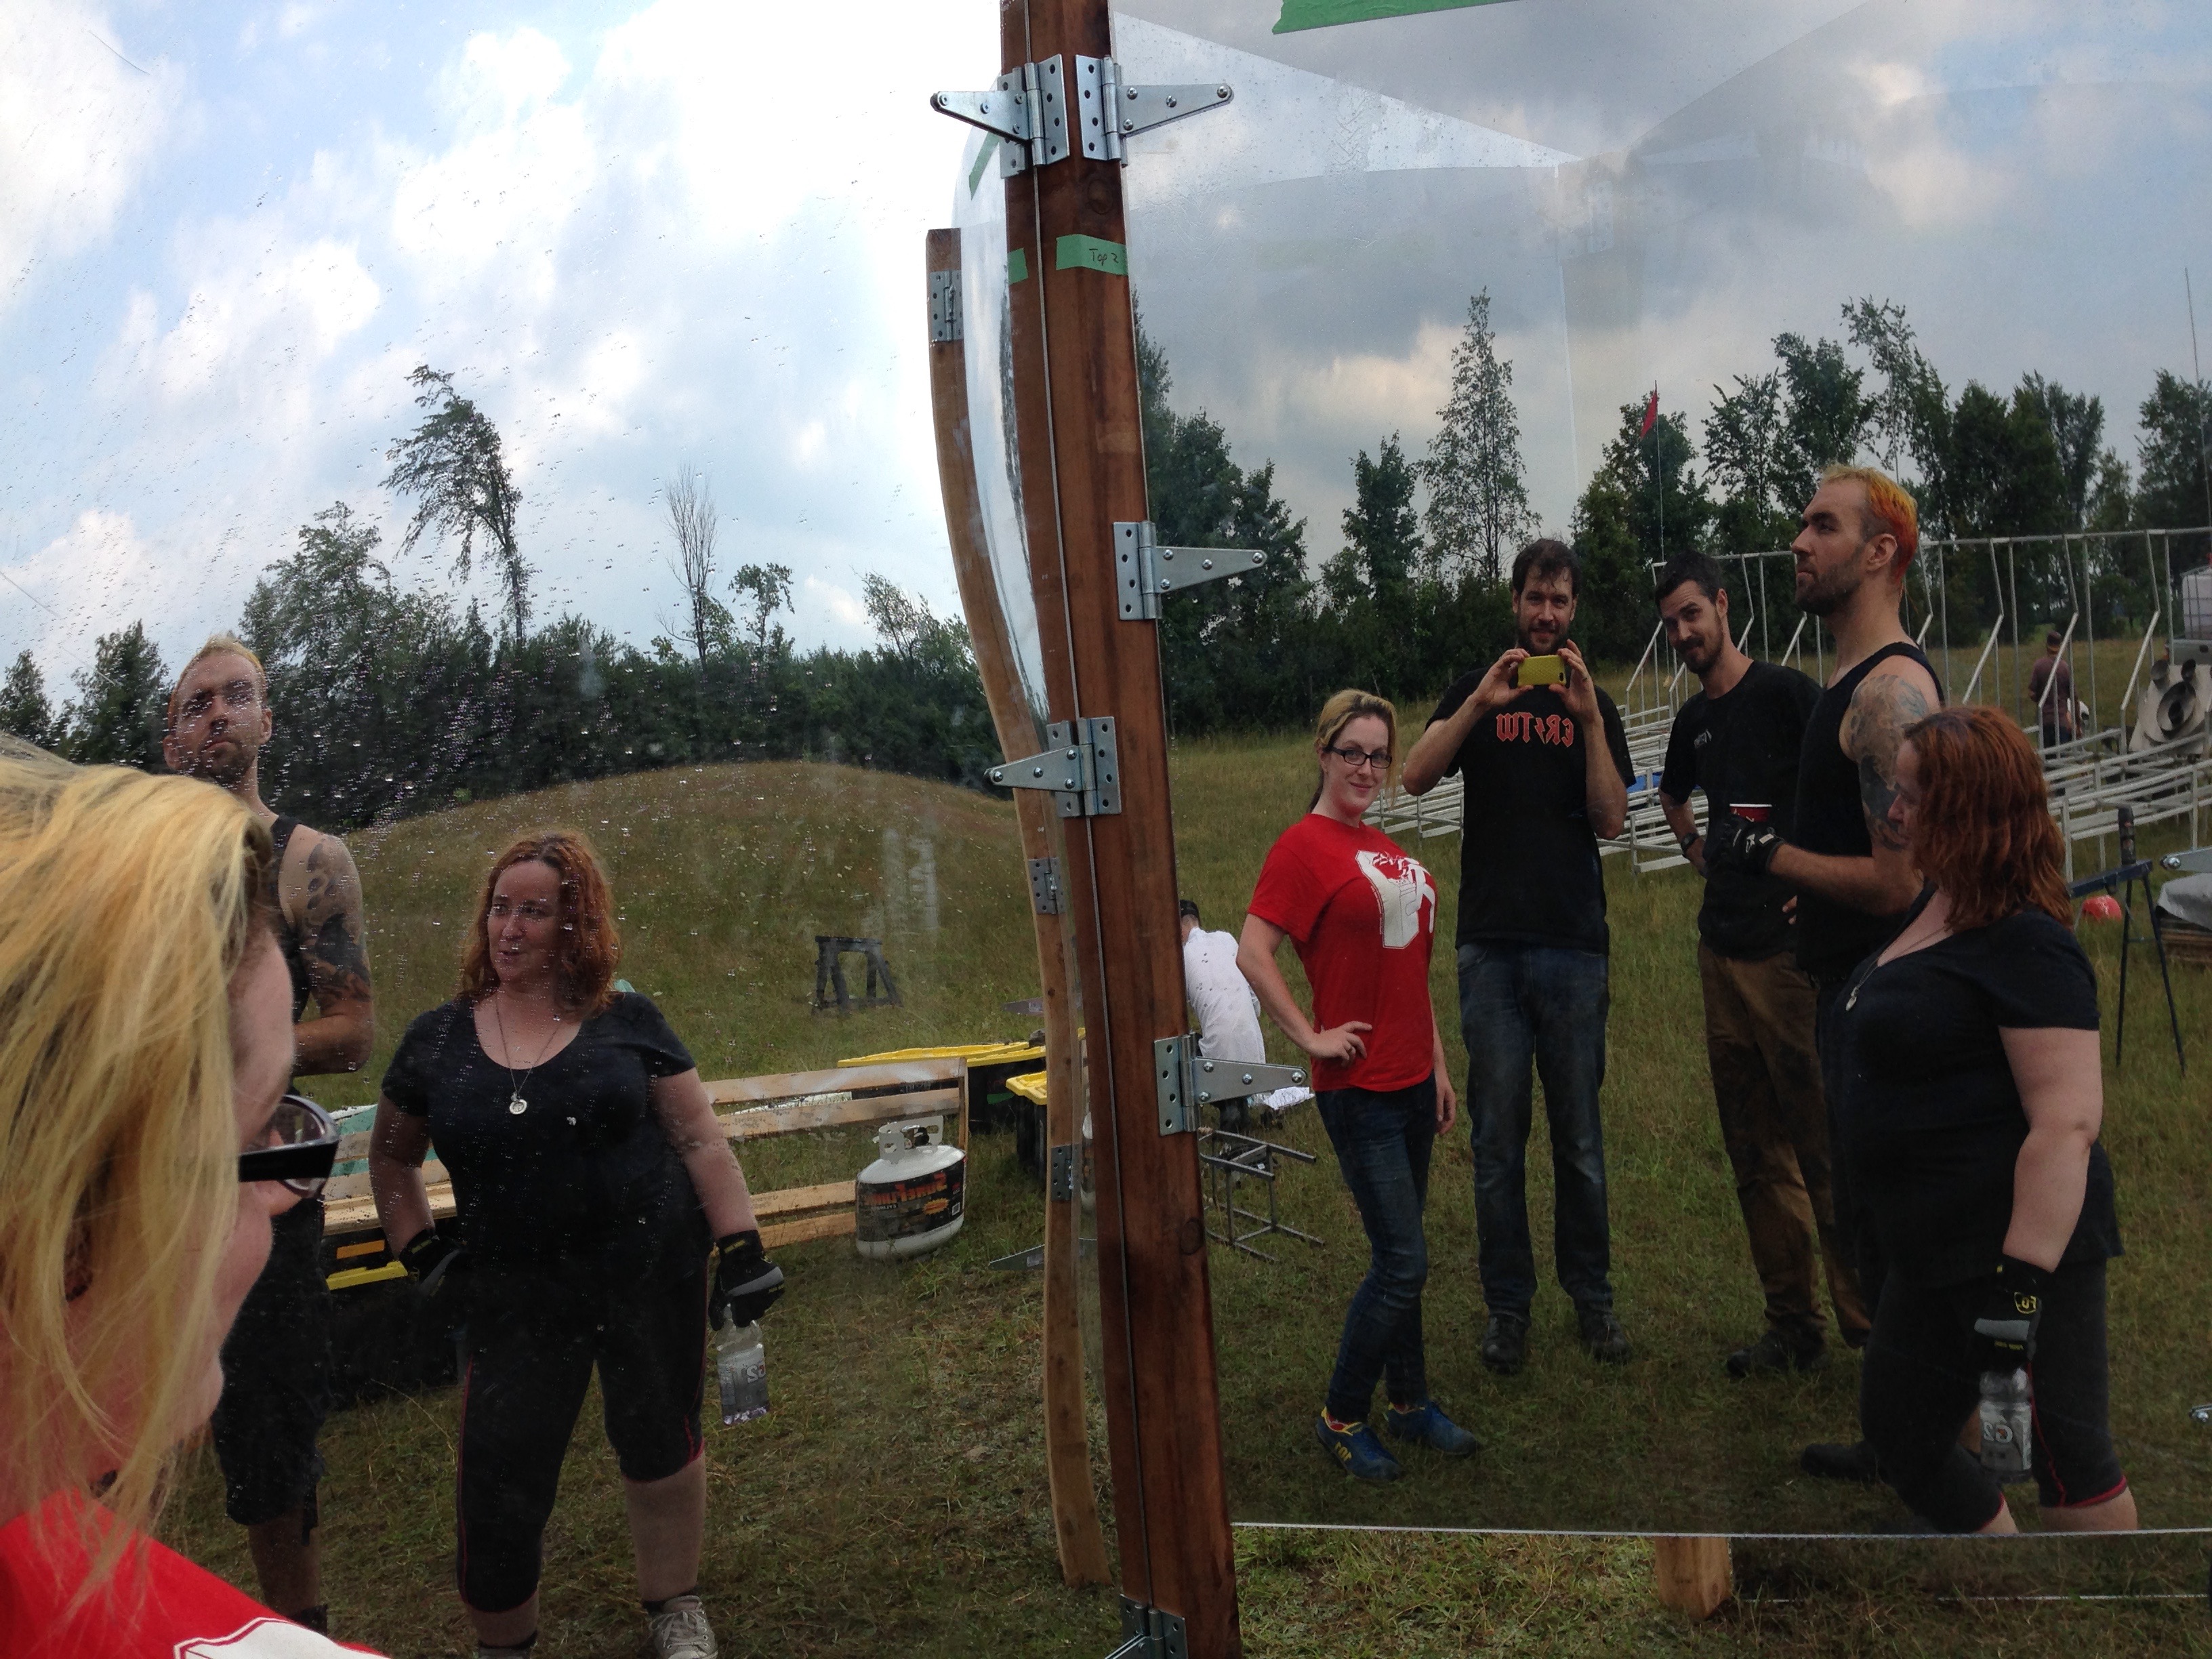
Immediately post-downpour, the droplets make a pretty pattern on the mirrors.These mirrors were fine, even though they were marinating in water for hours. In the midground, you can see Francis all bundled up, and Fate back at work on Hellblazer.Callum and Carrie talk over things probably related to Riskee Ball. In the foreground, you can see the cedar posts of Mirror Blaze who weathered their first rainstorm well.More immediately post-rainstorm mirror fun. l-r: Rob, Sarah, Me, Mike, Patrick
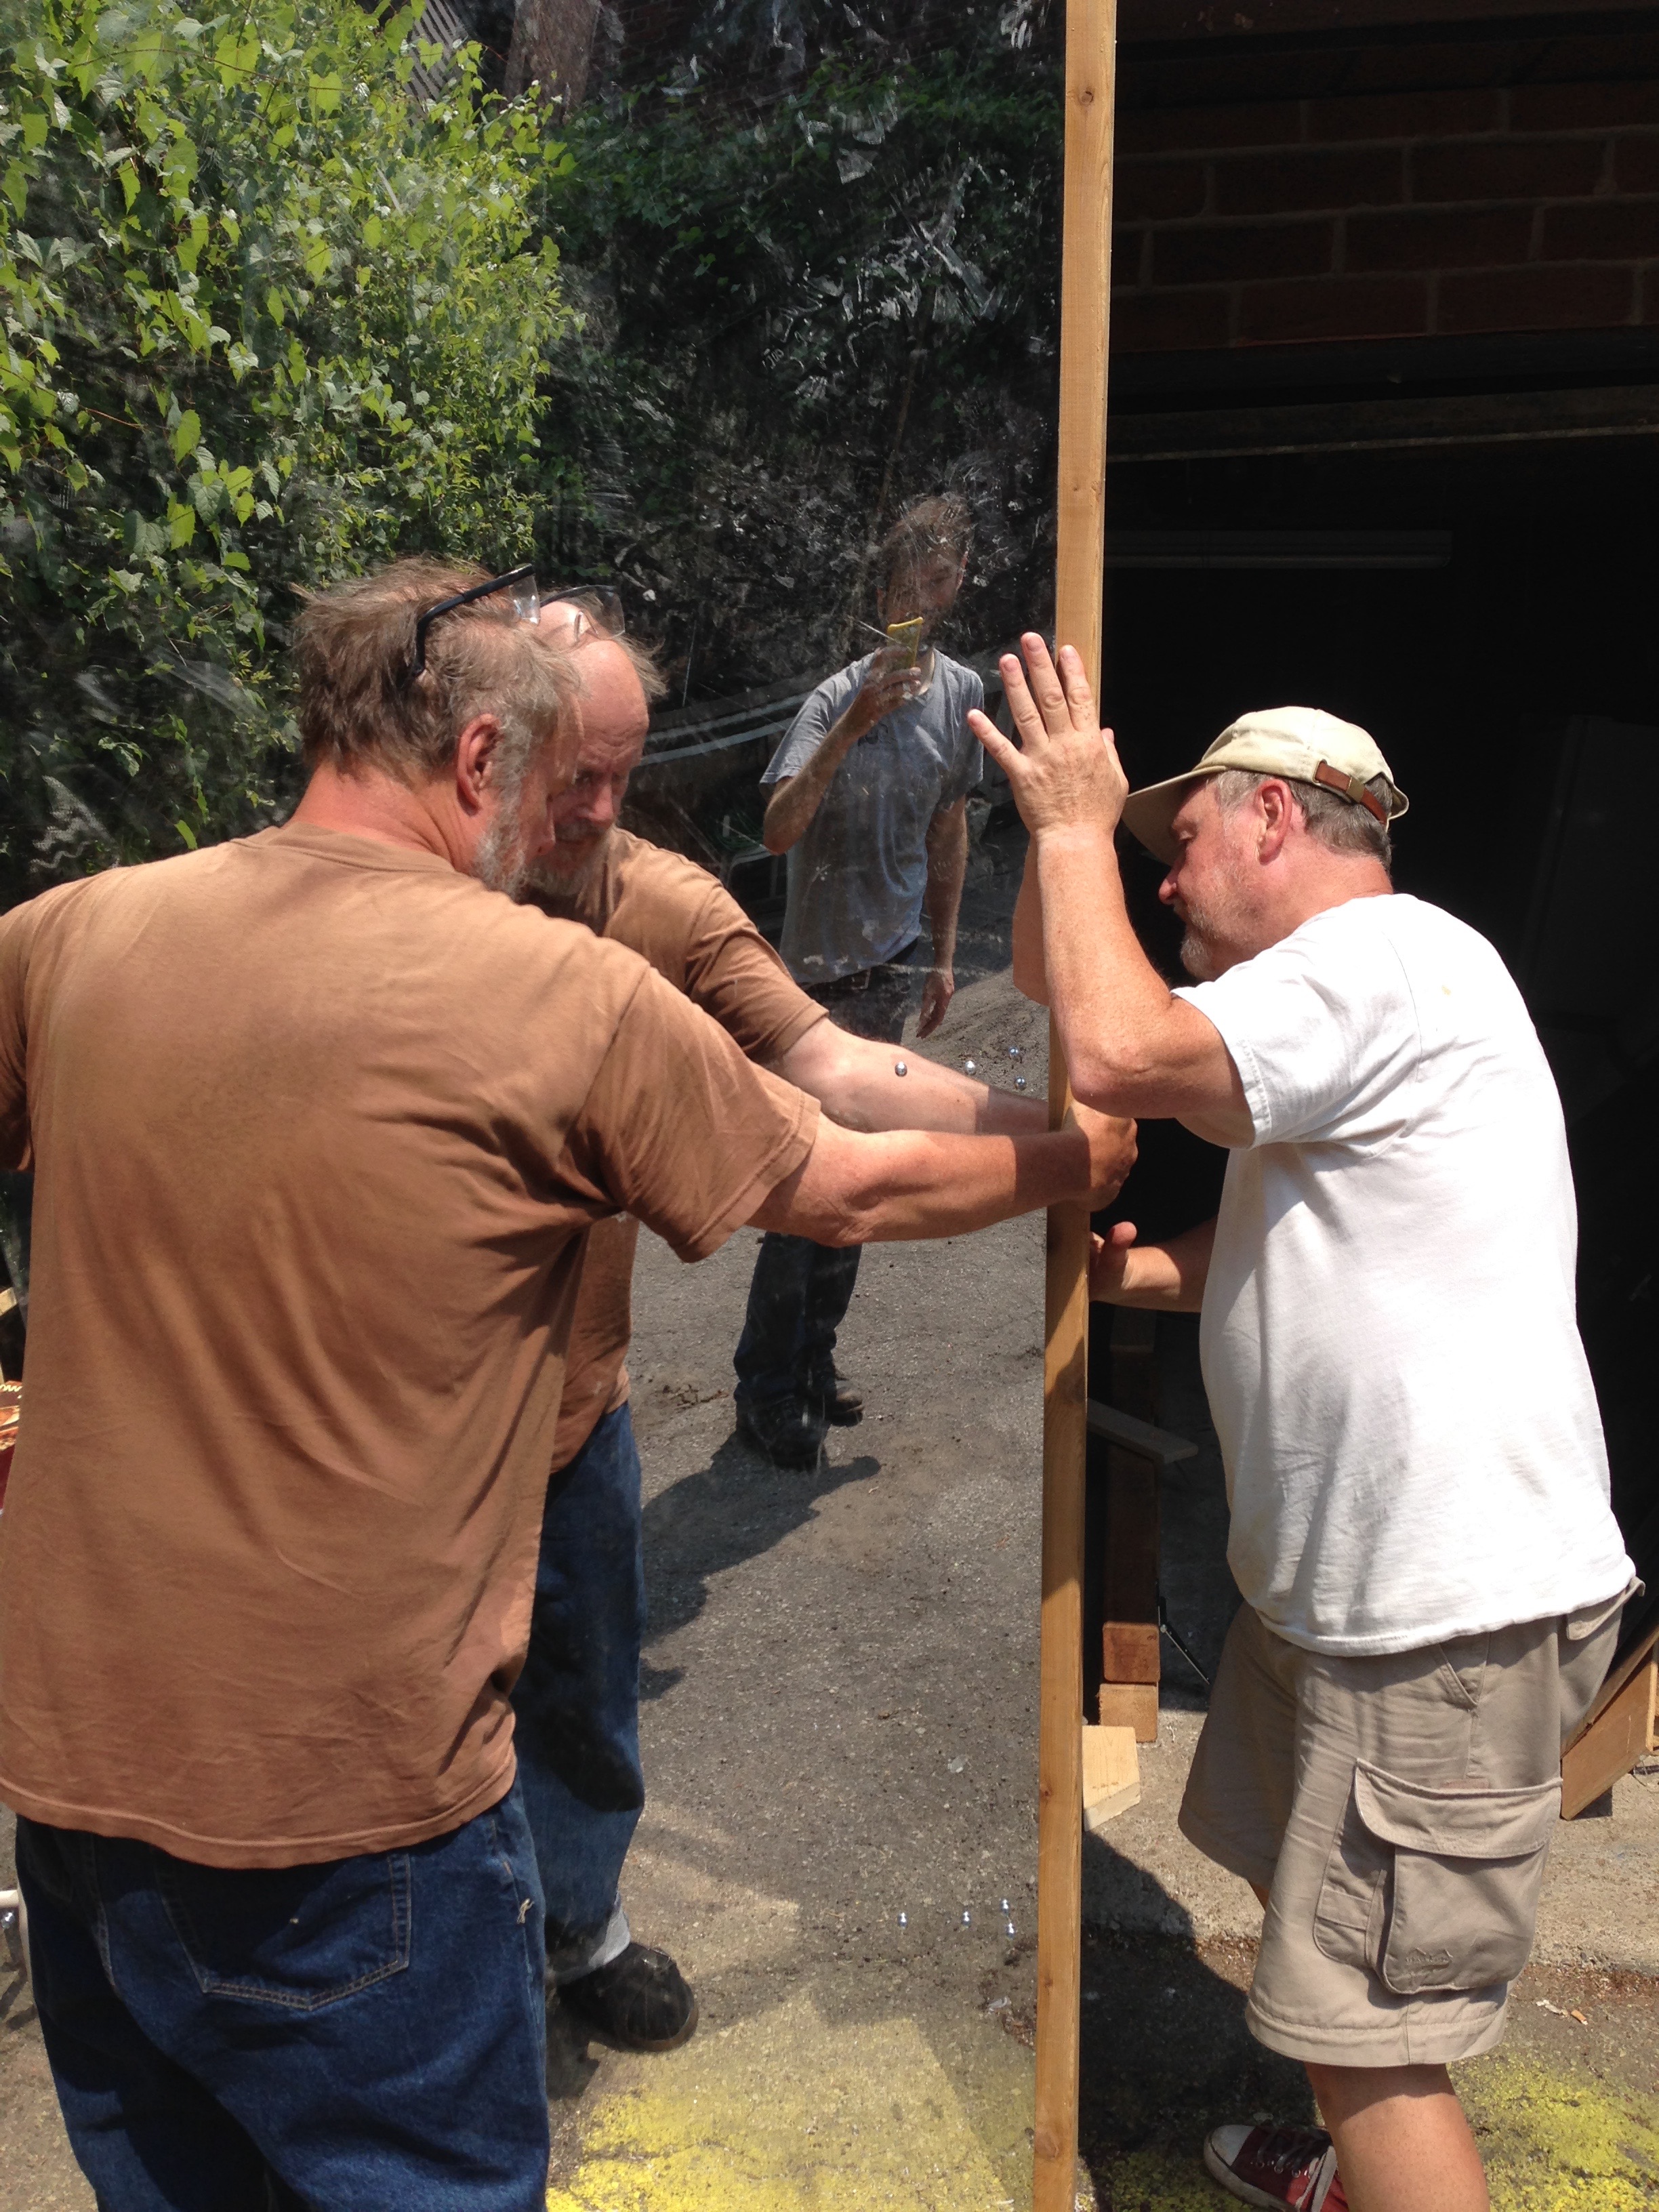
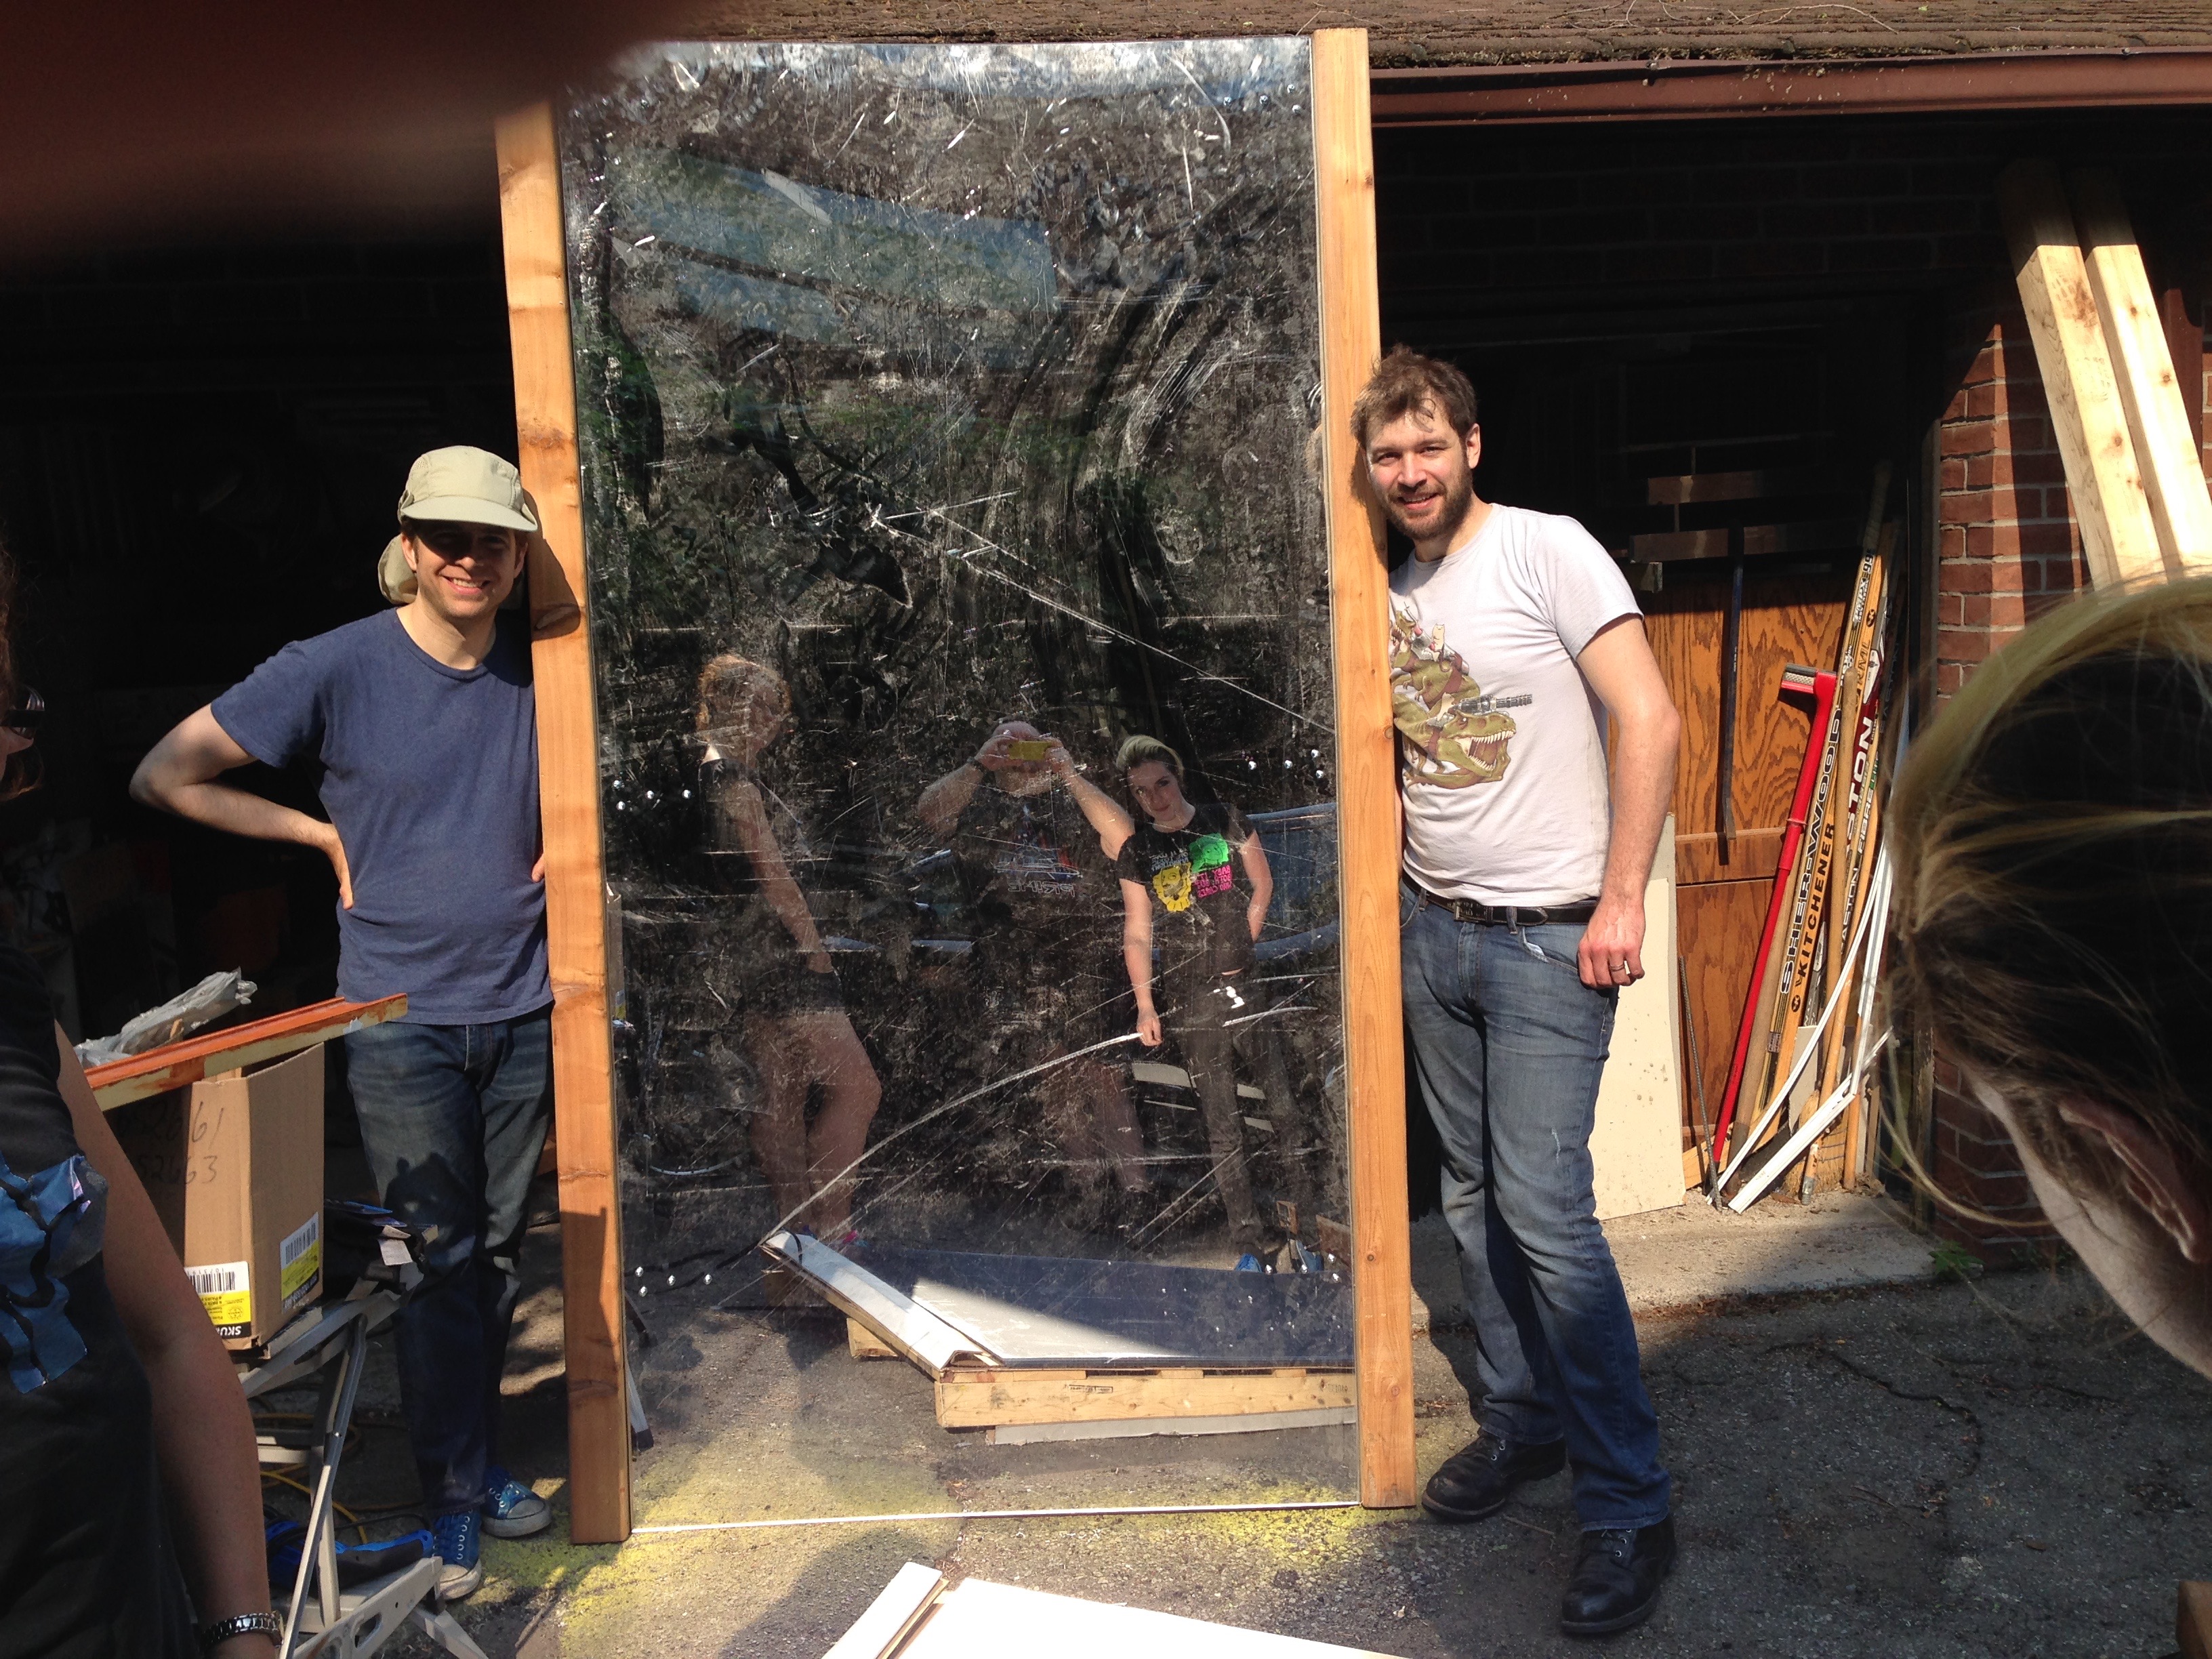
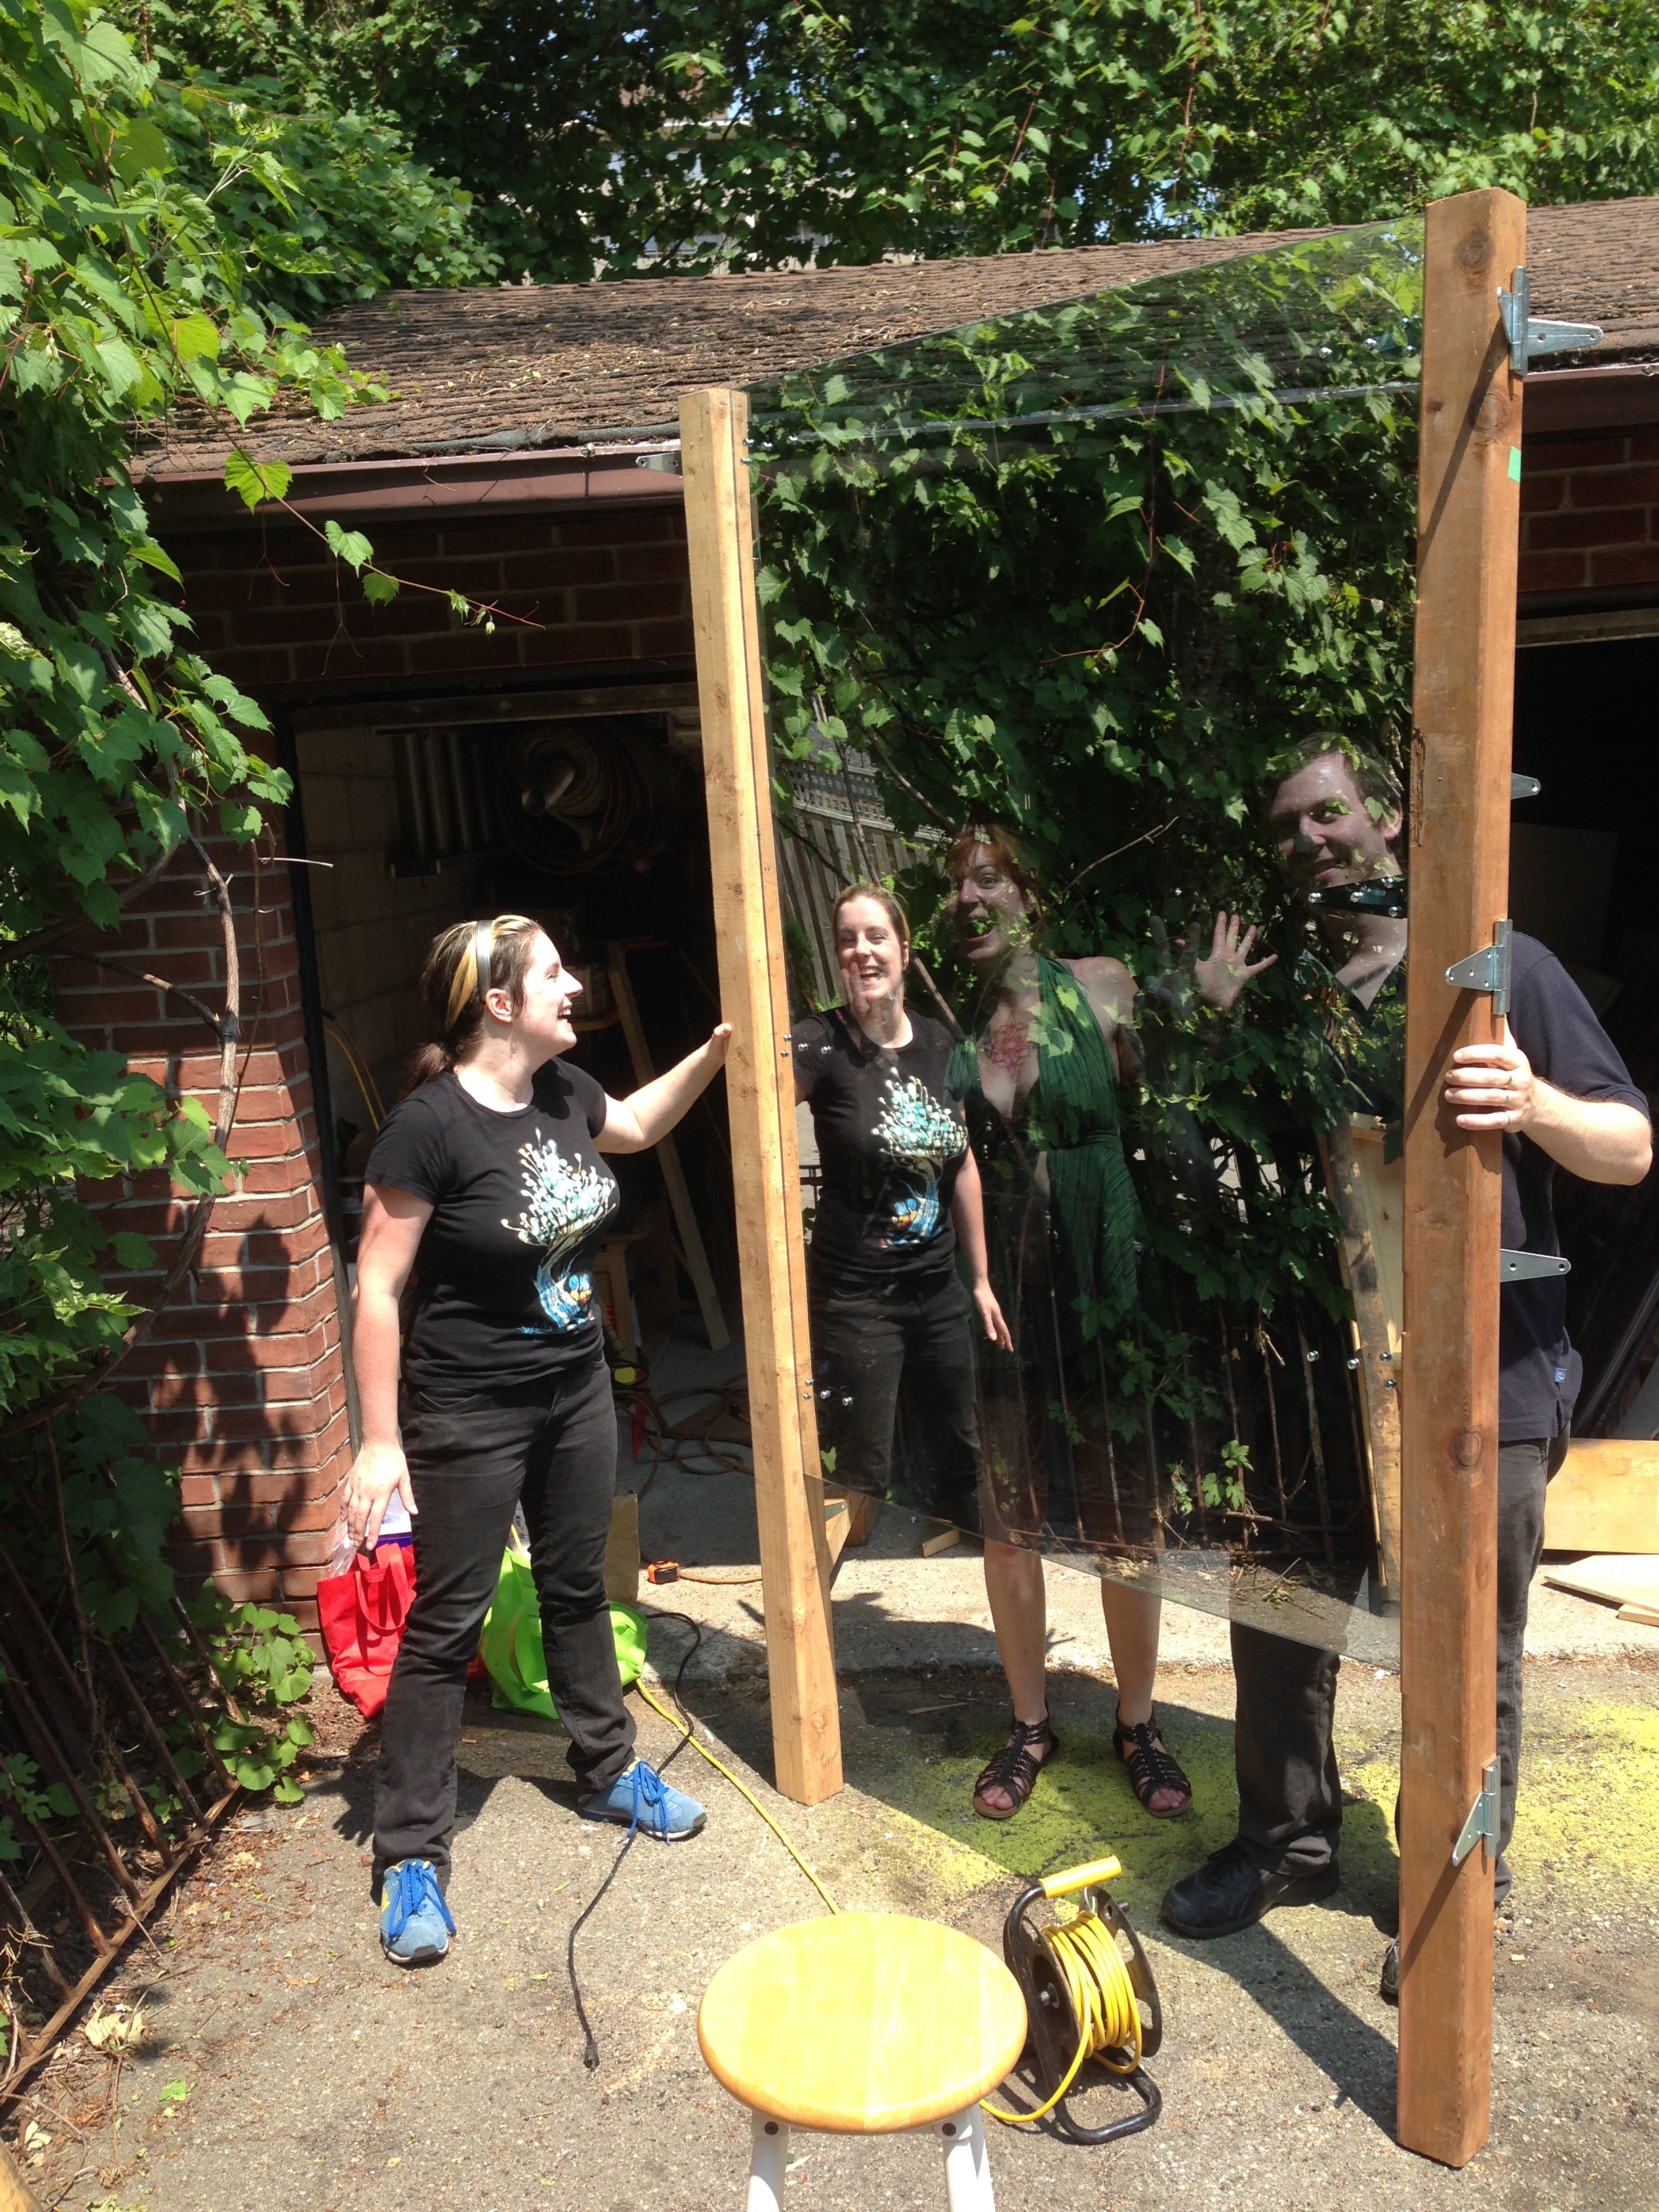
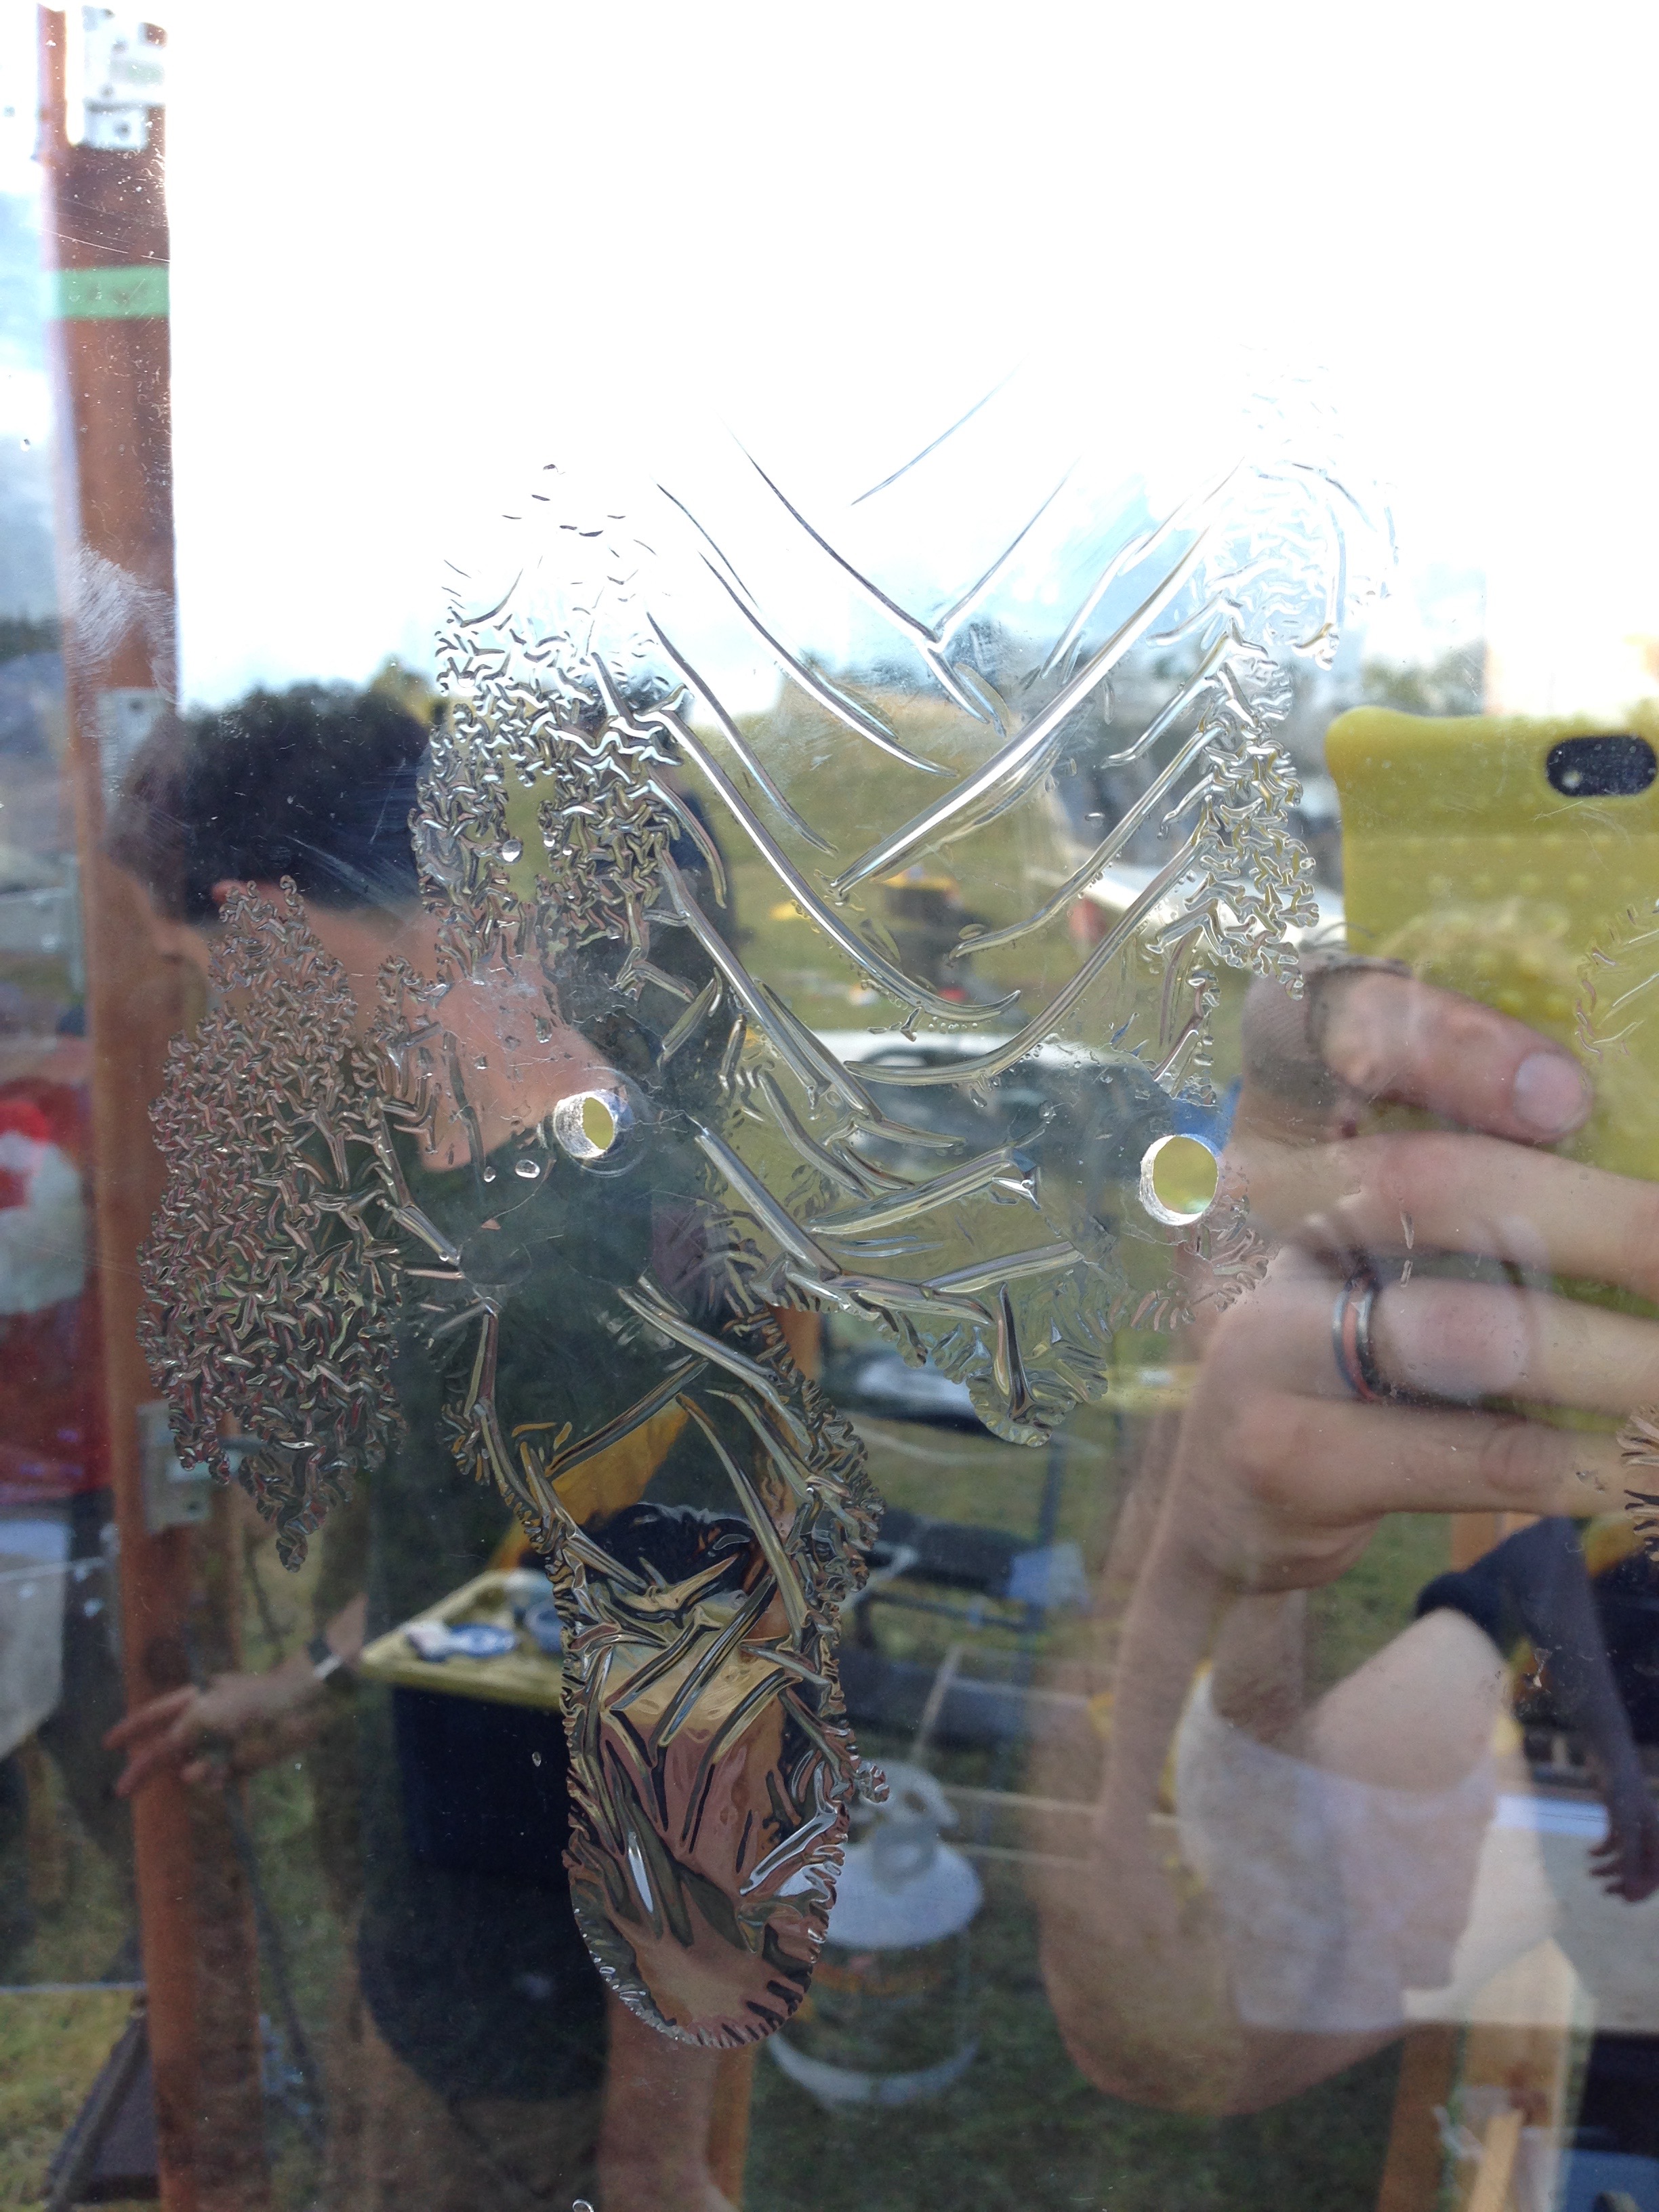
Sadly, not all was fun and games, as we noticed that our two-way mirrors (the most expensive ones, of course) were susceptible to water damage, it seemed particularly around the holes that we had drilled in them:
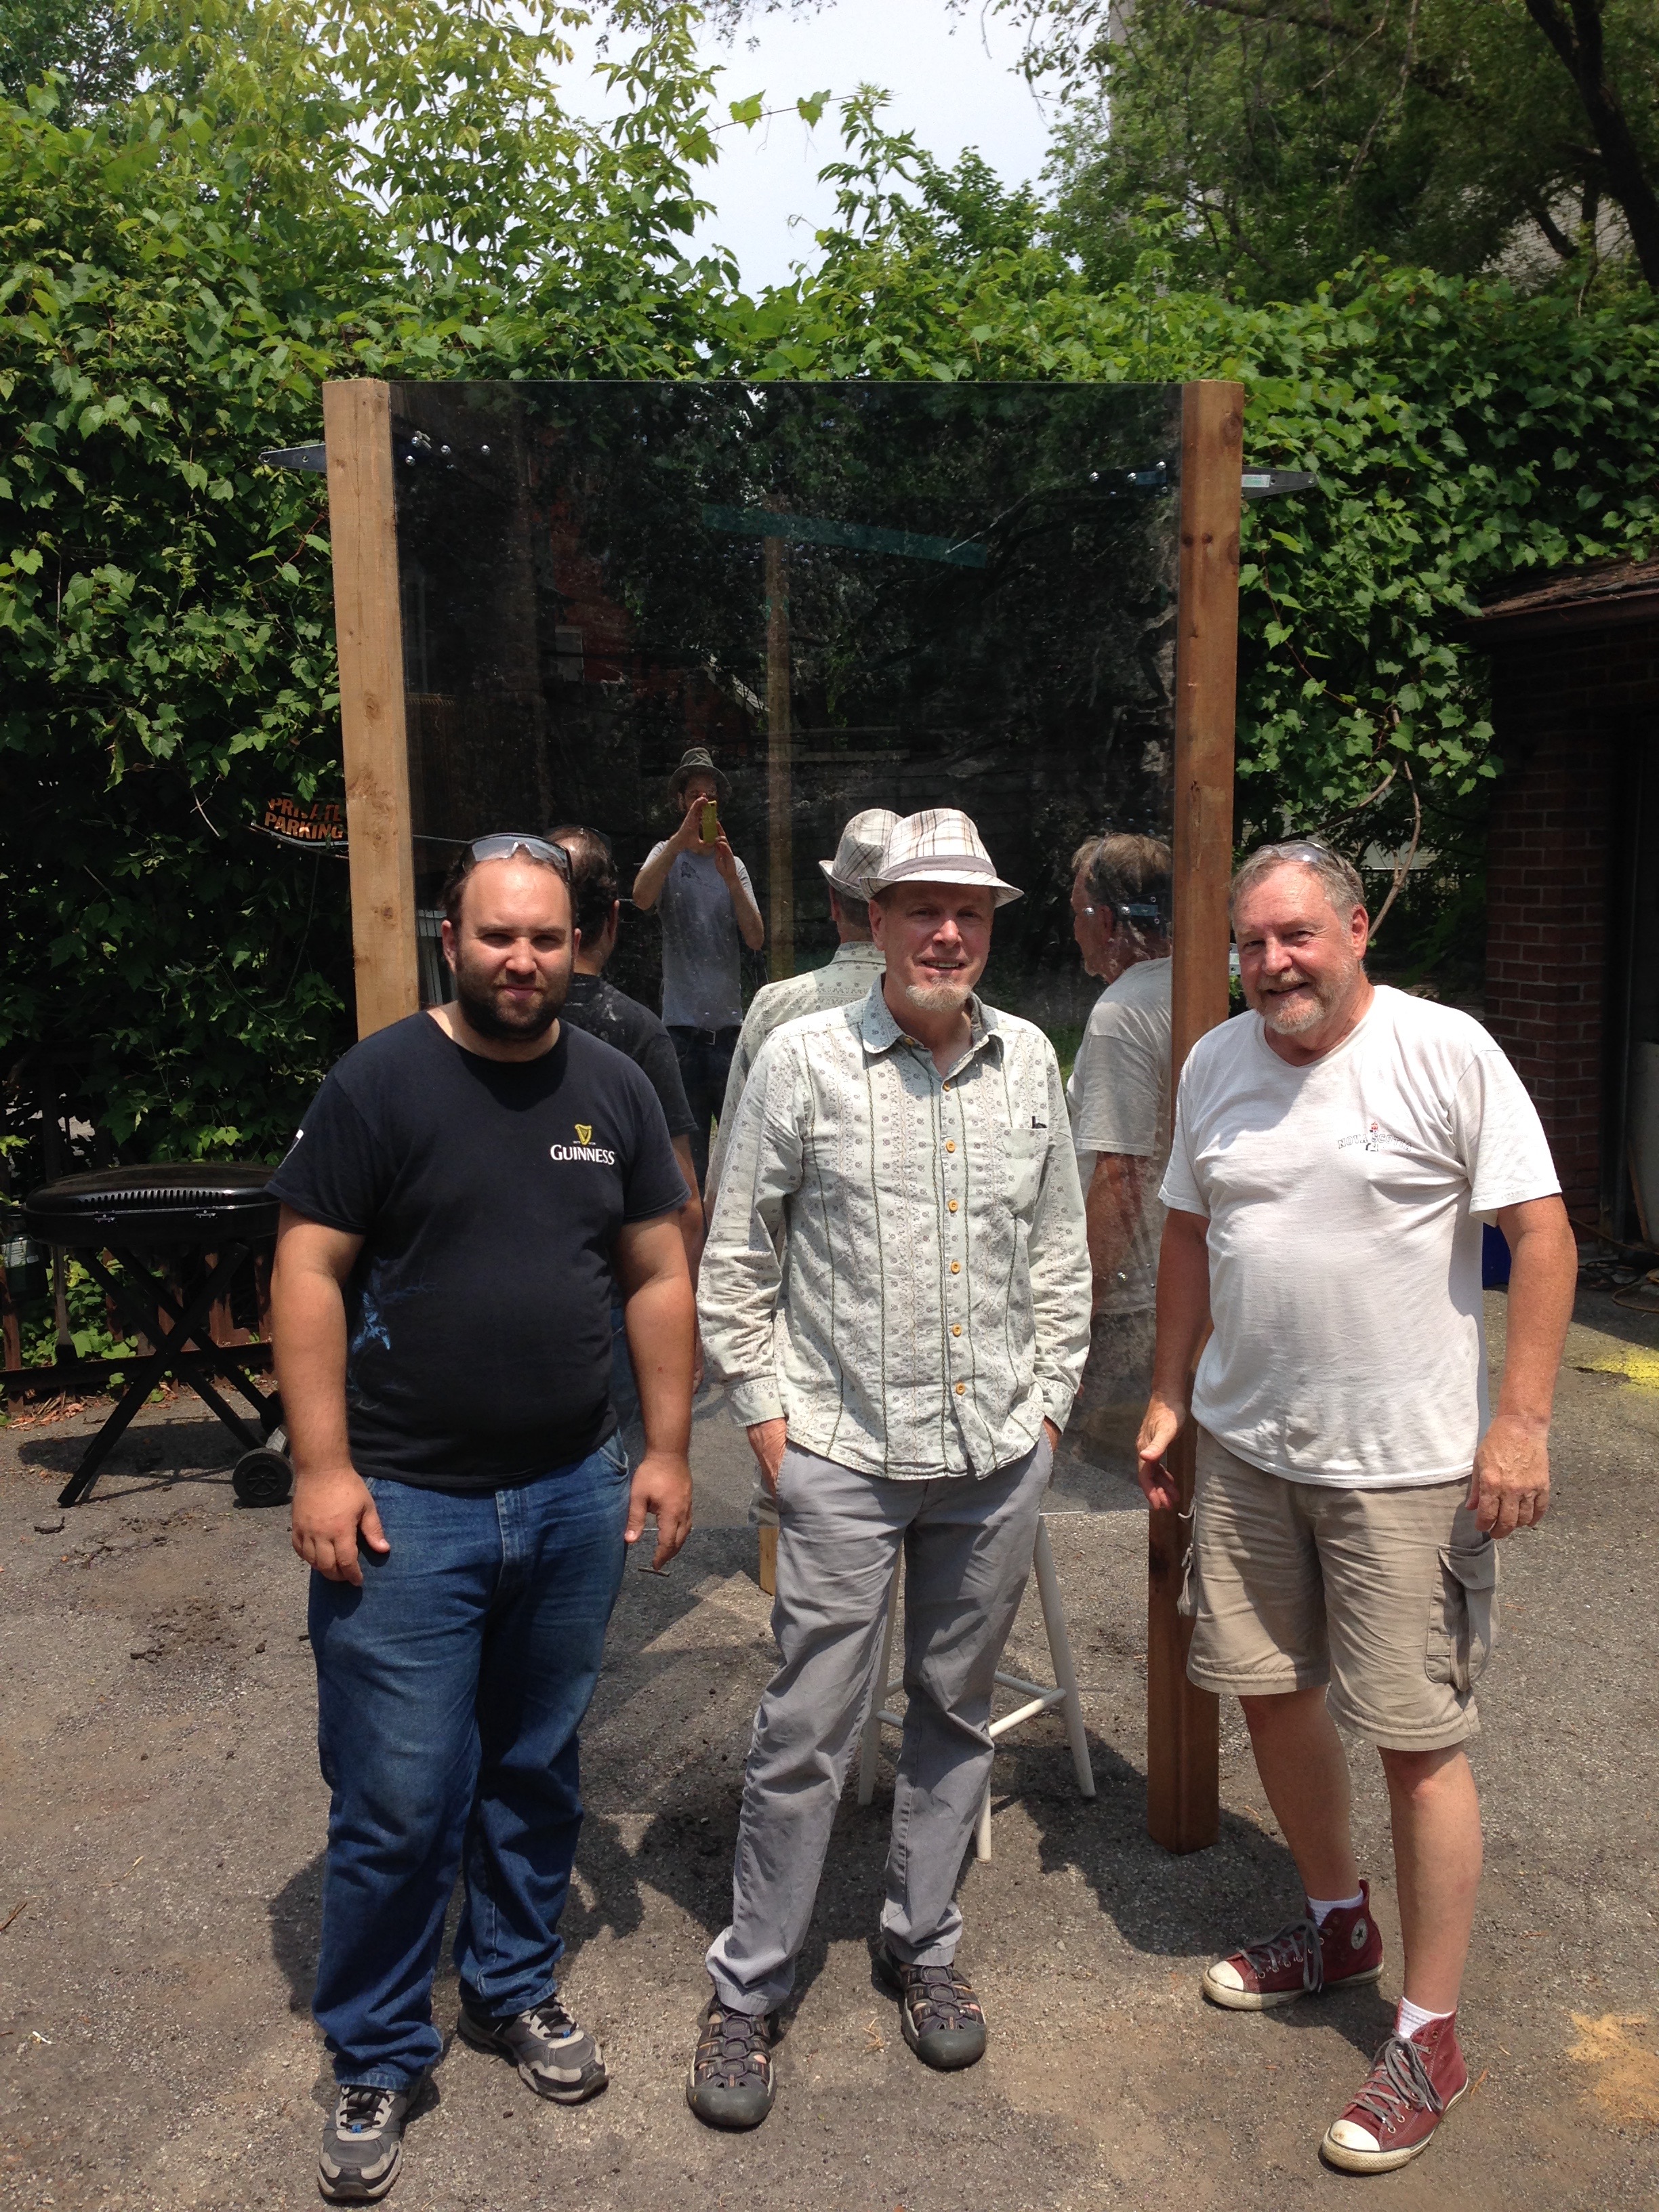
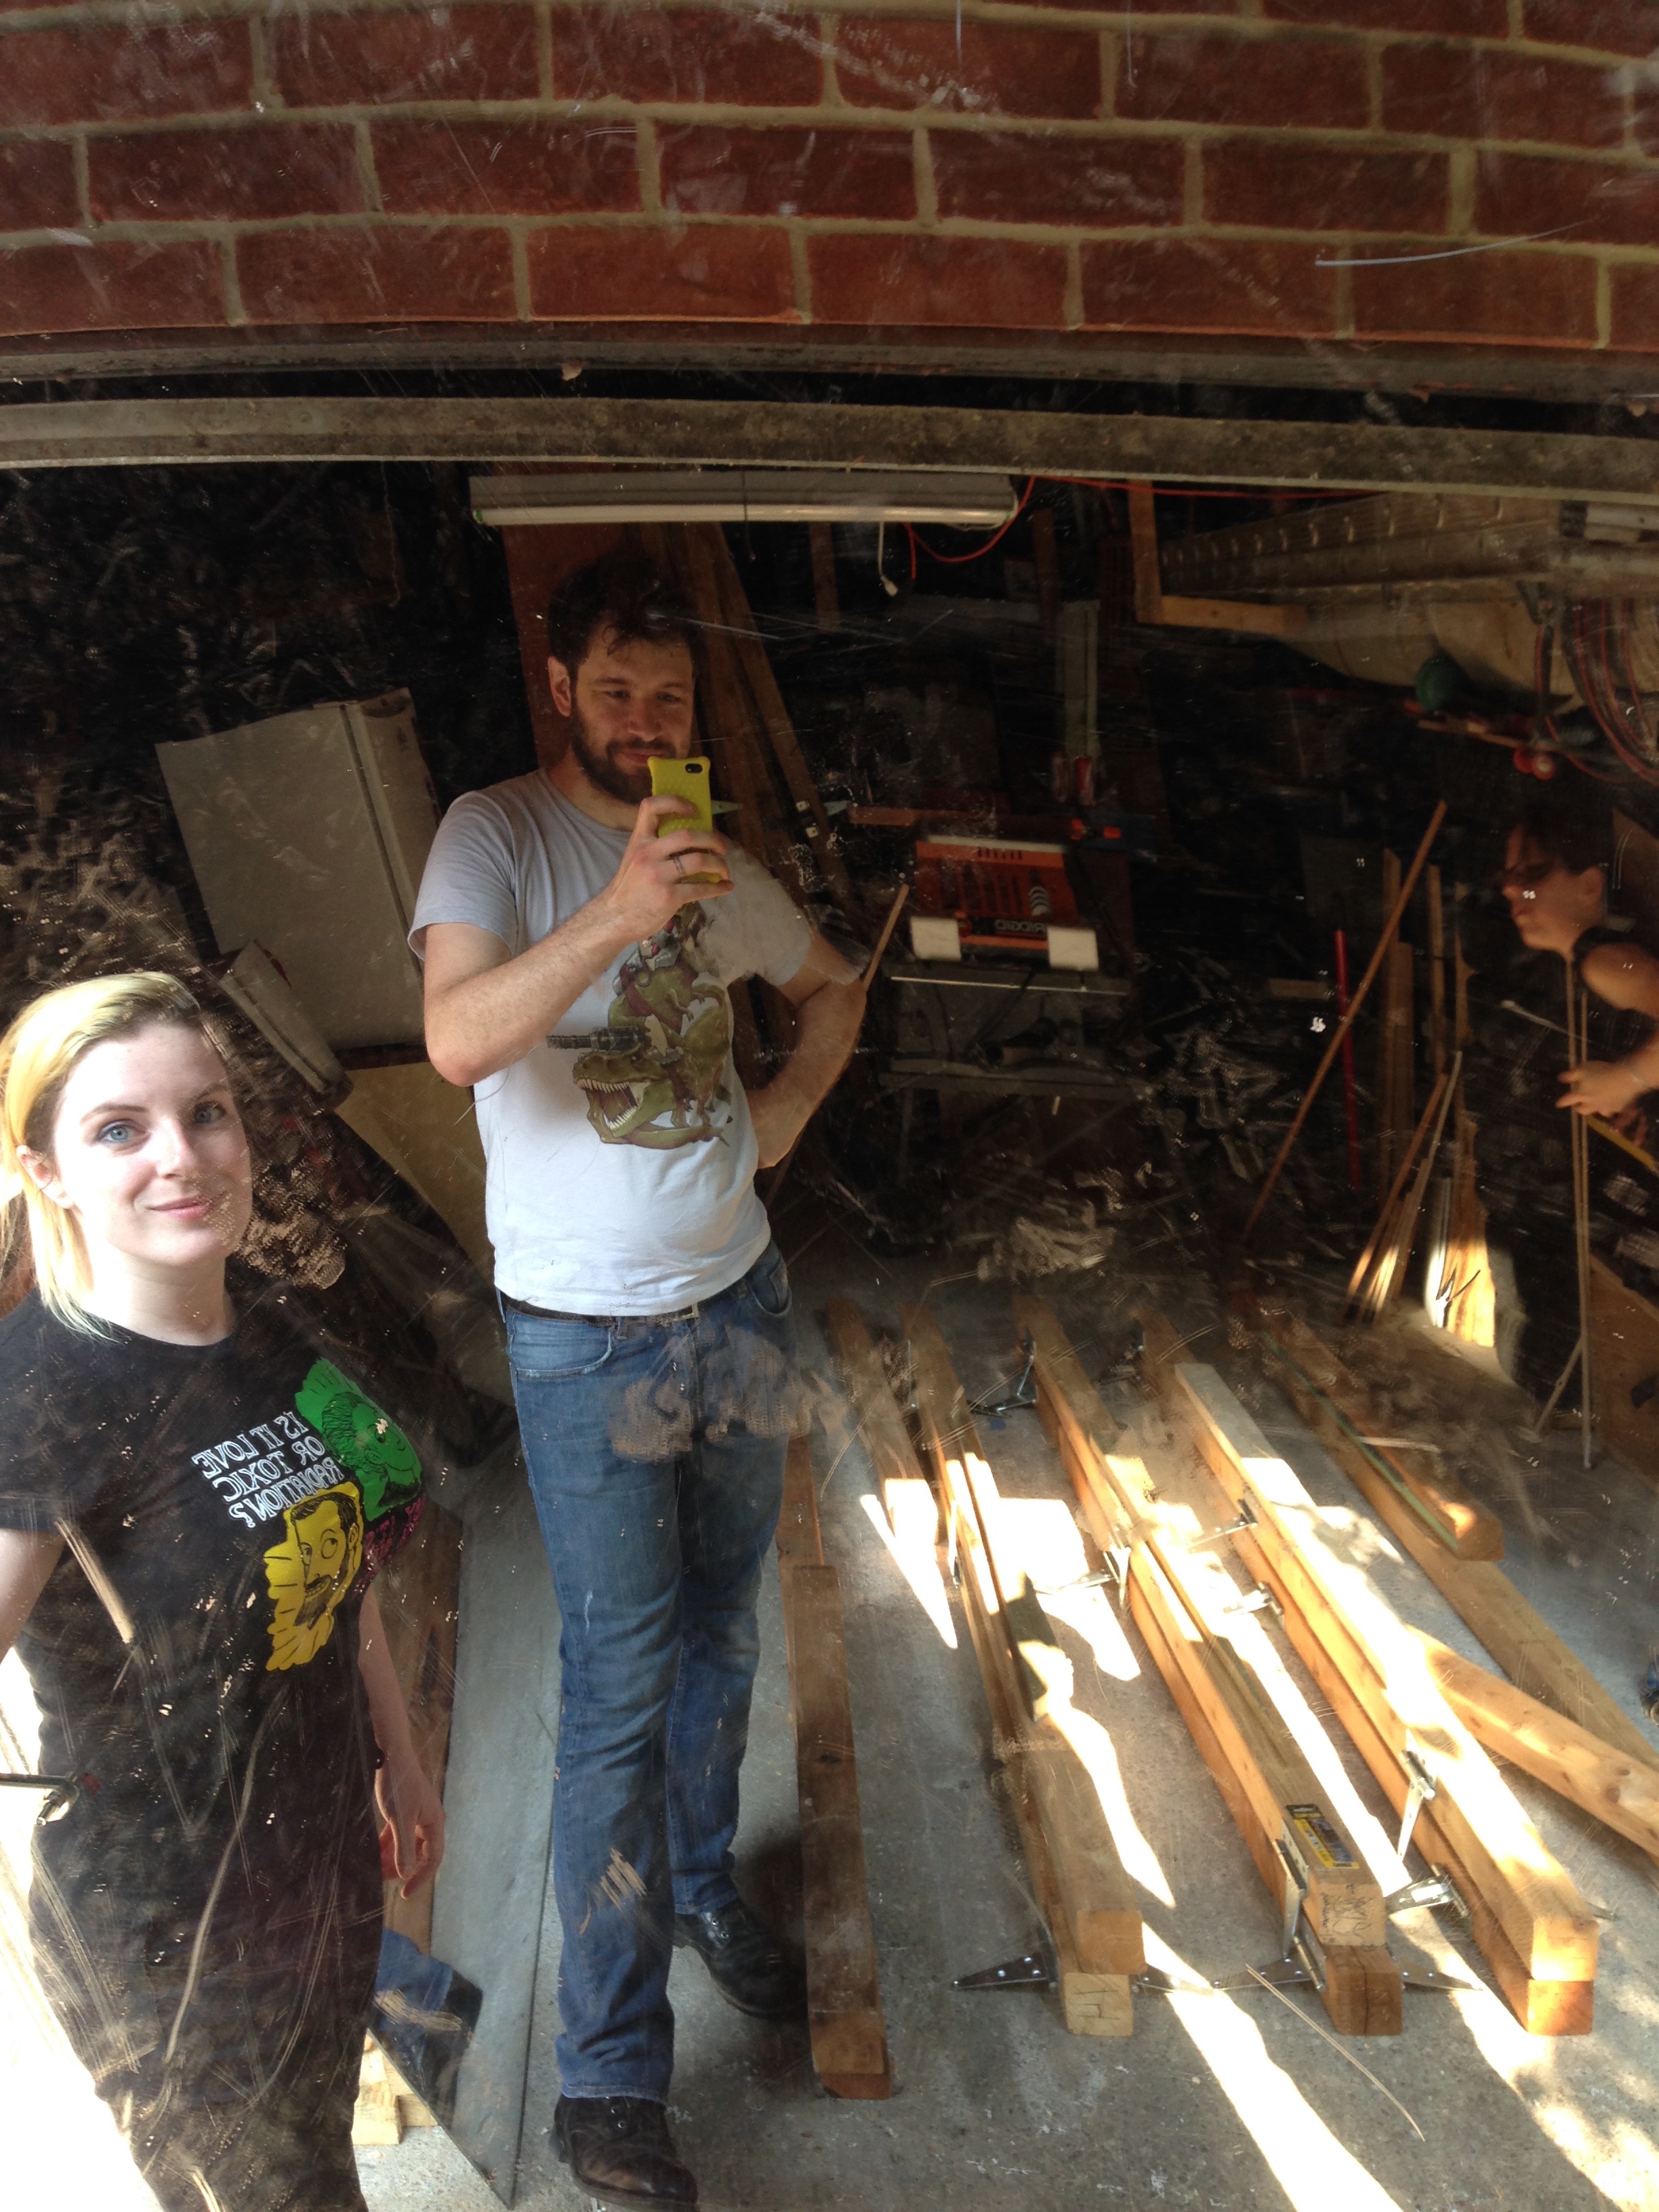
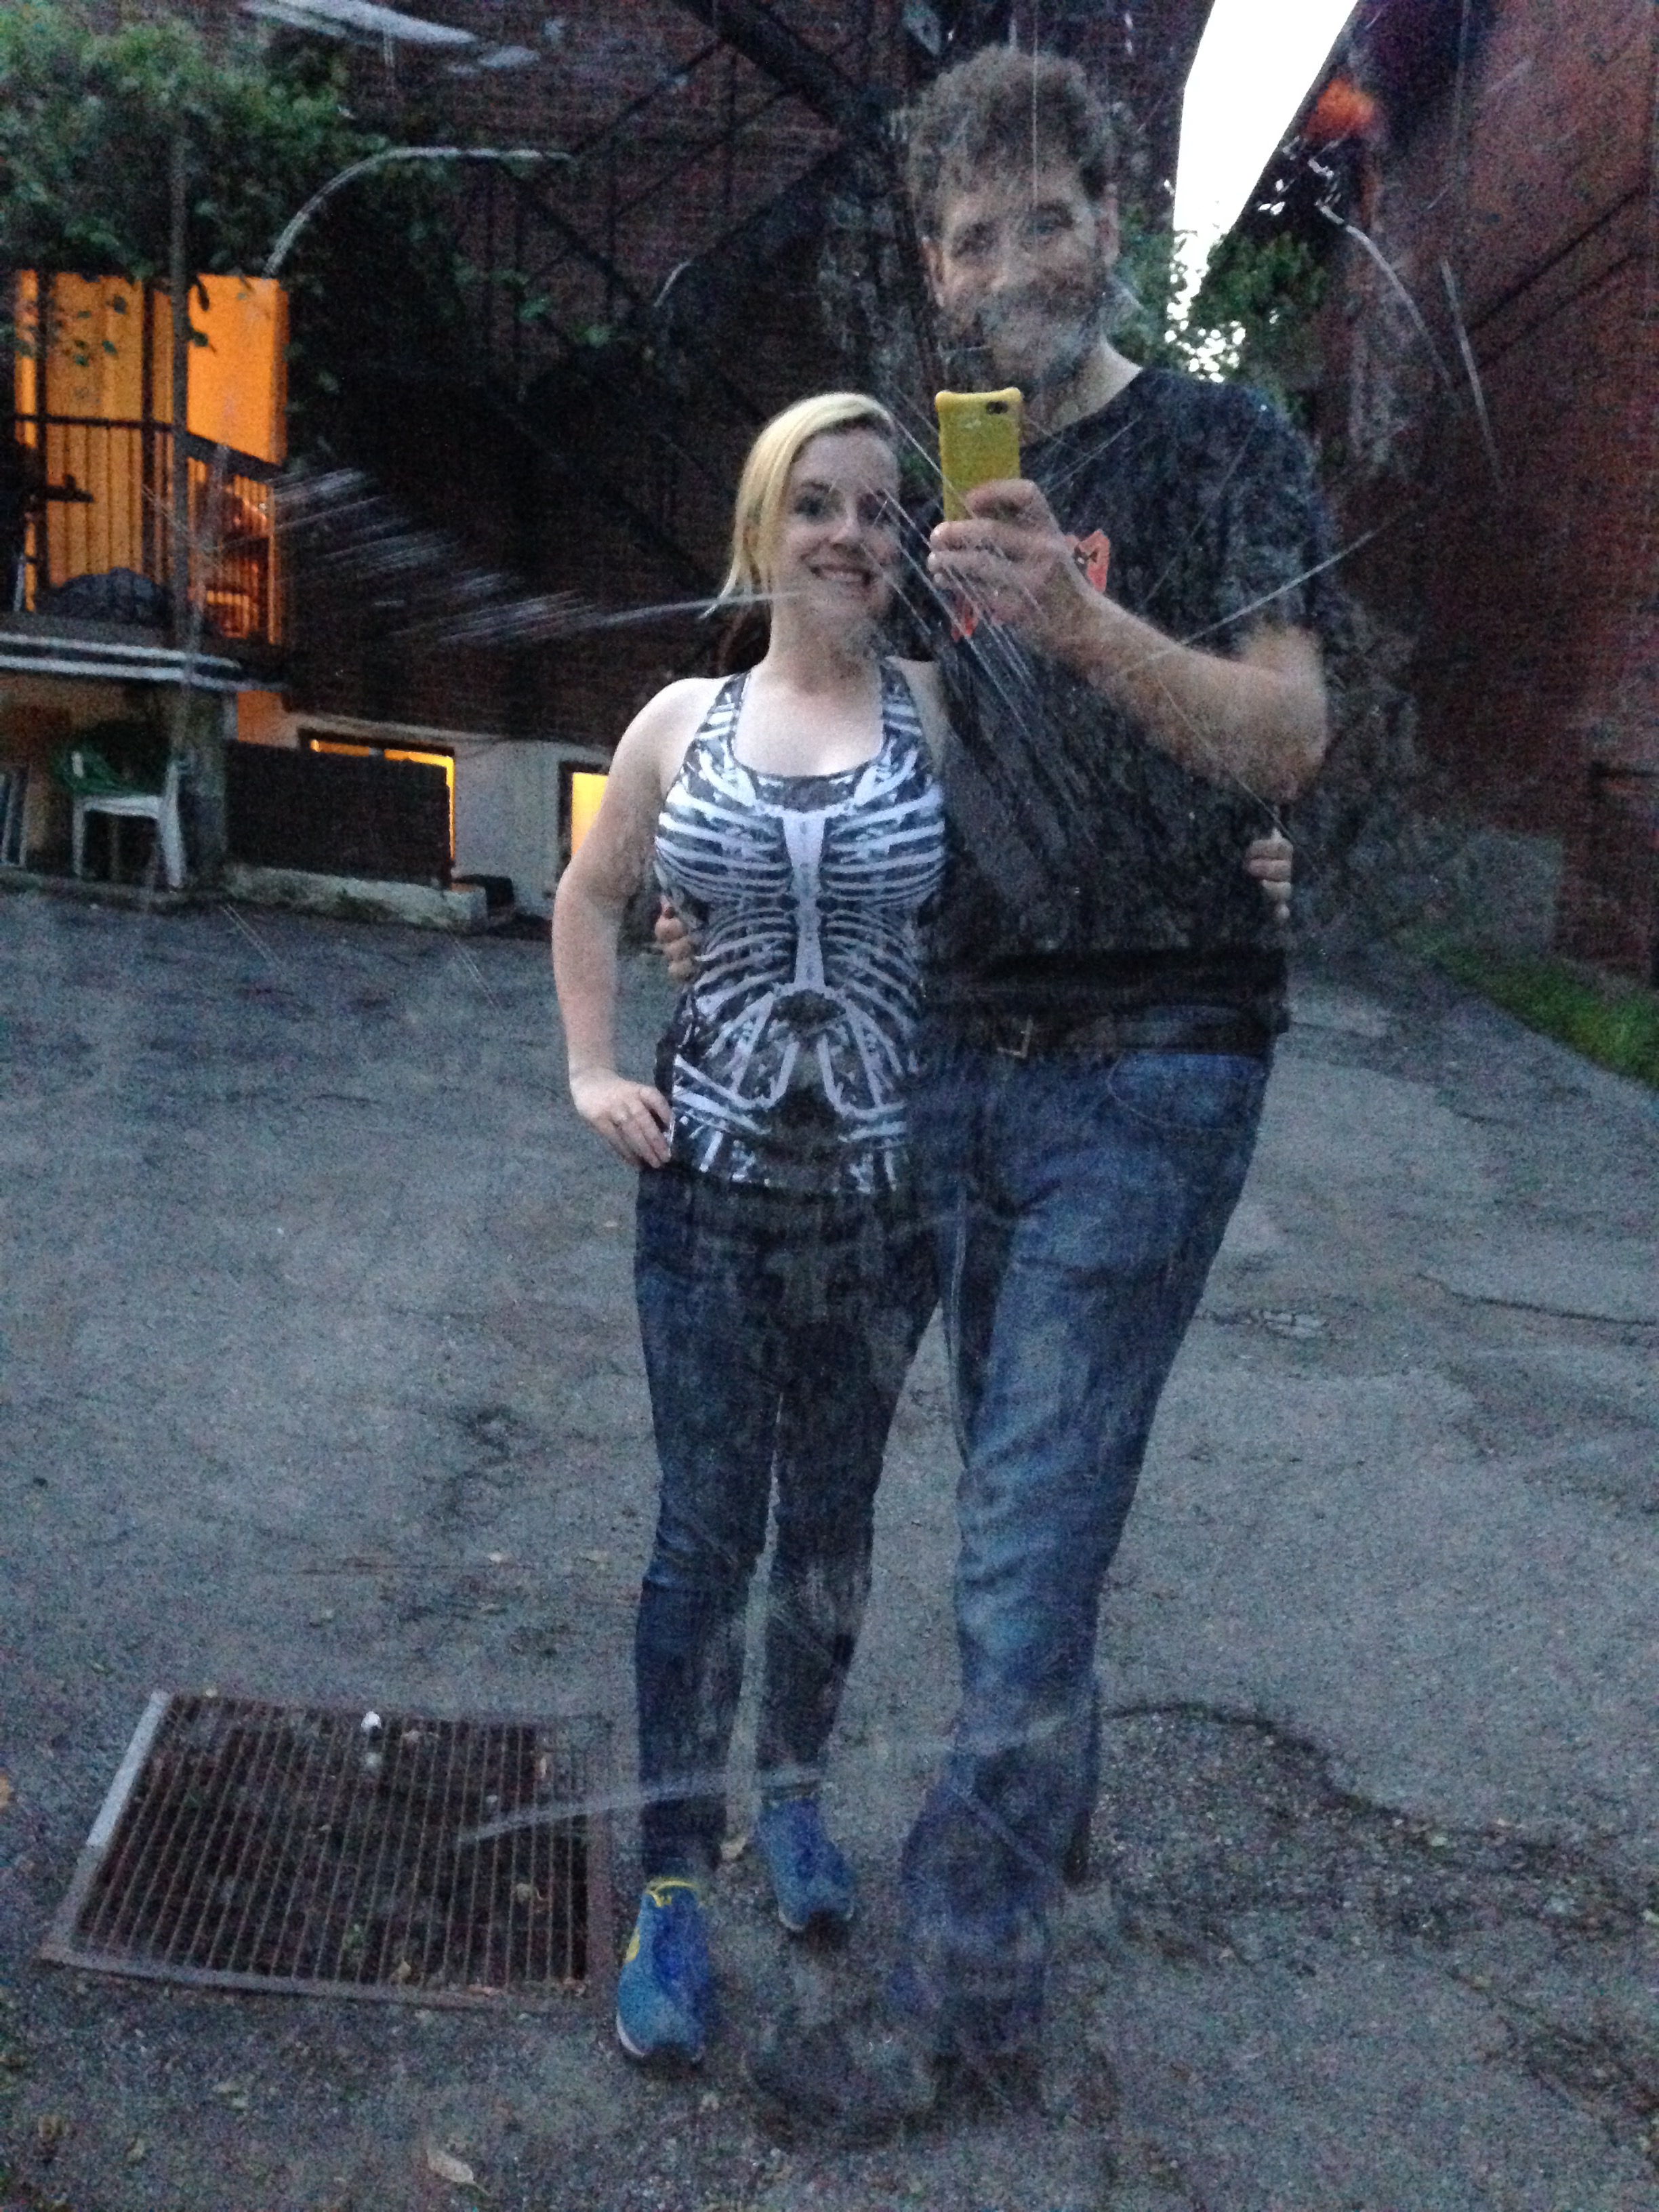
An example of the damage caused to two-way mirrors by water we think through the drilled holes.Another shot of our proud crew.S ponders the mysteries of vampirism[1] as Andrea and Patrick move the mirror into place.A very happy S, now that she is again reflective.
That’s it for today! Next time, we start playing with mirrors and fire!
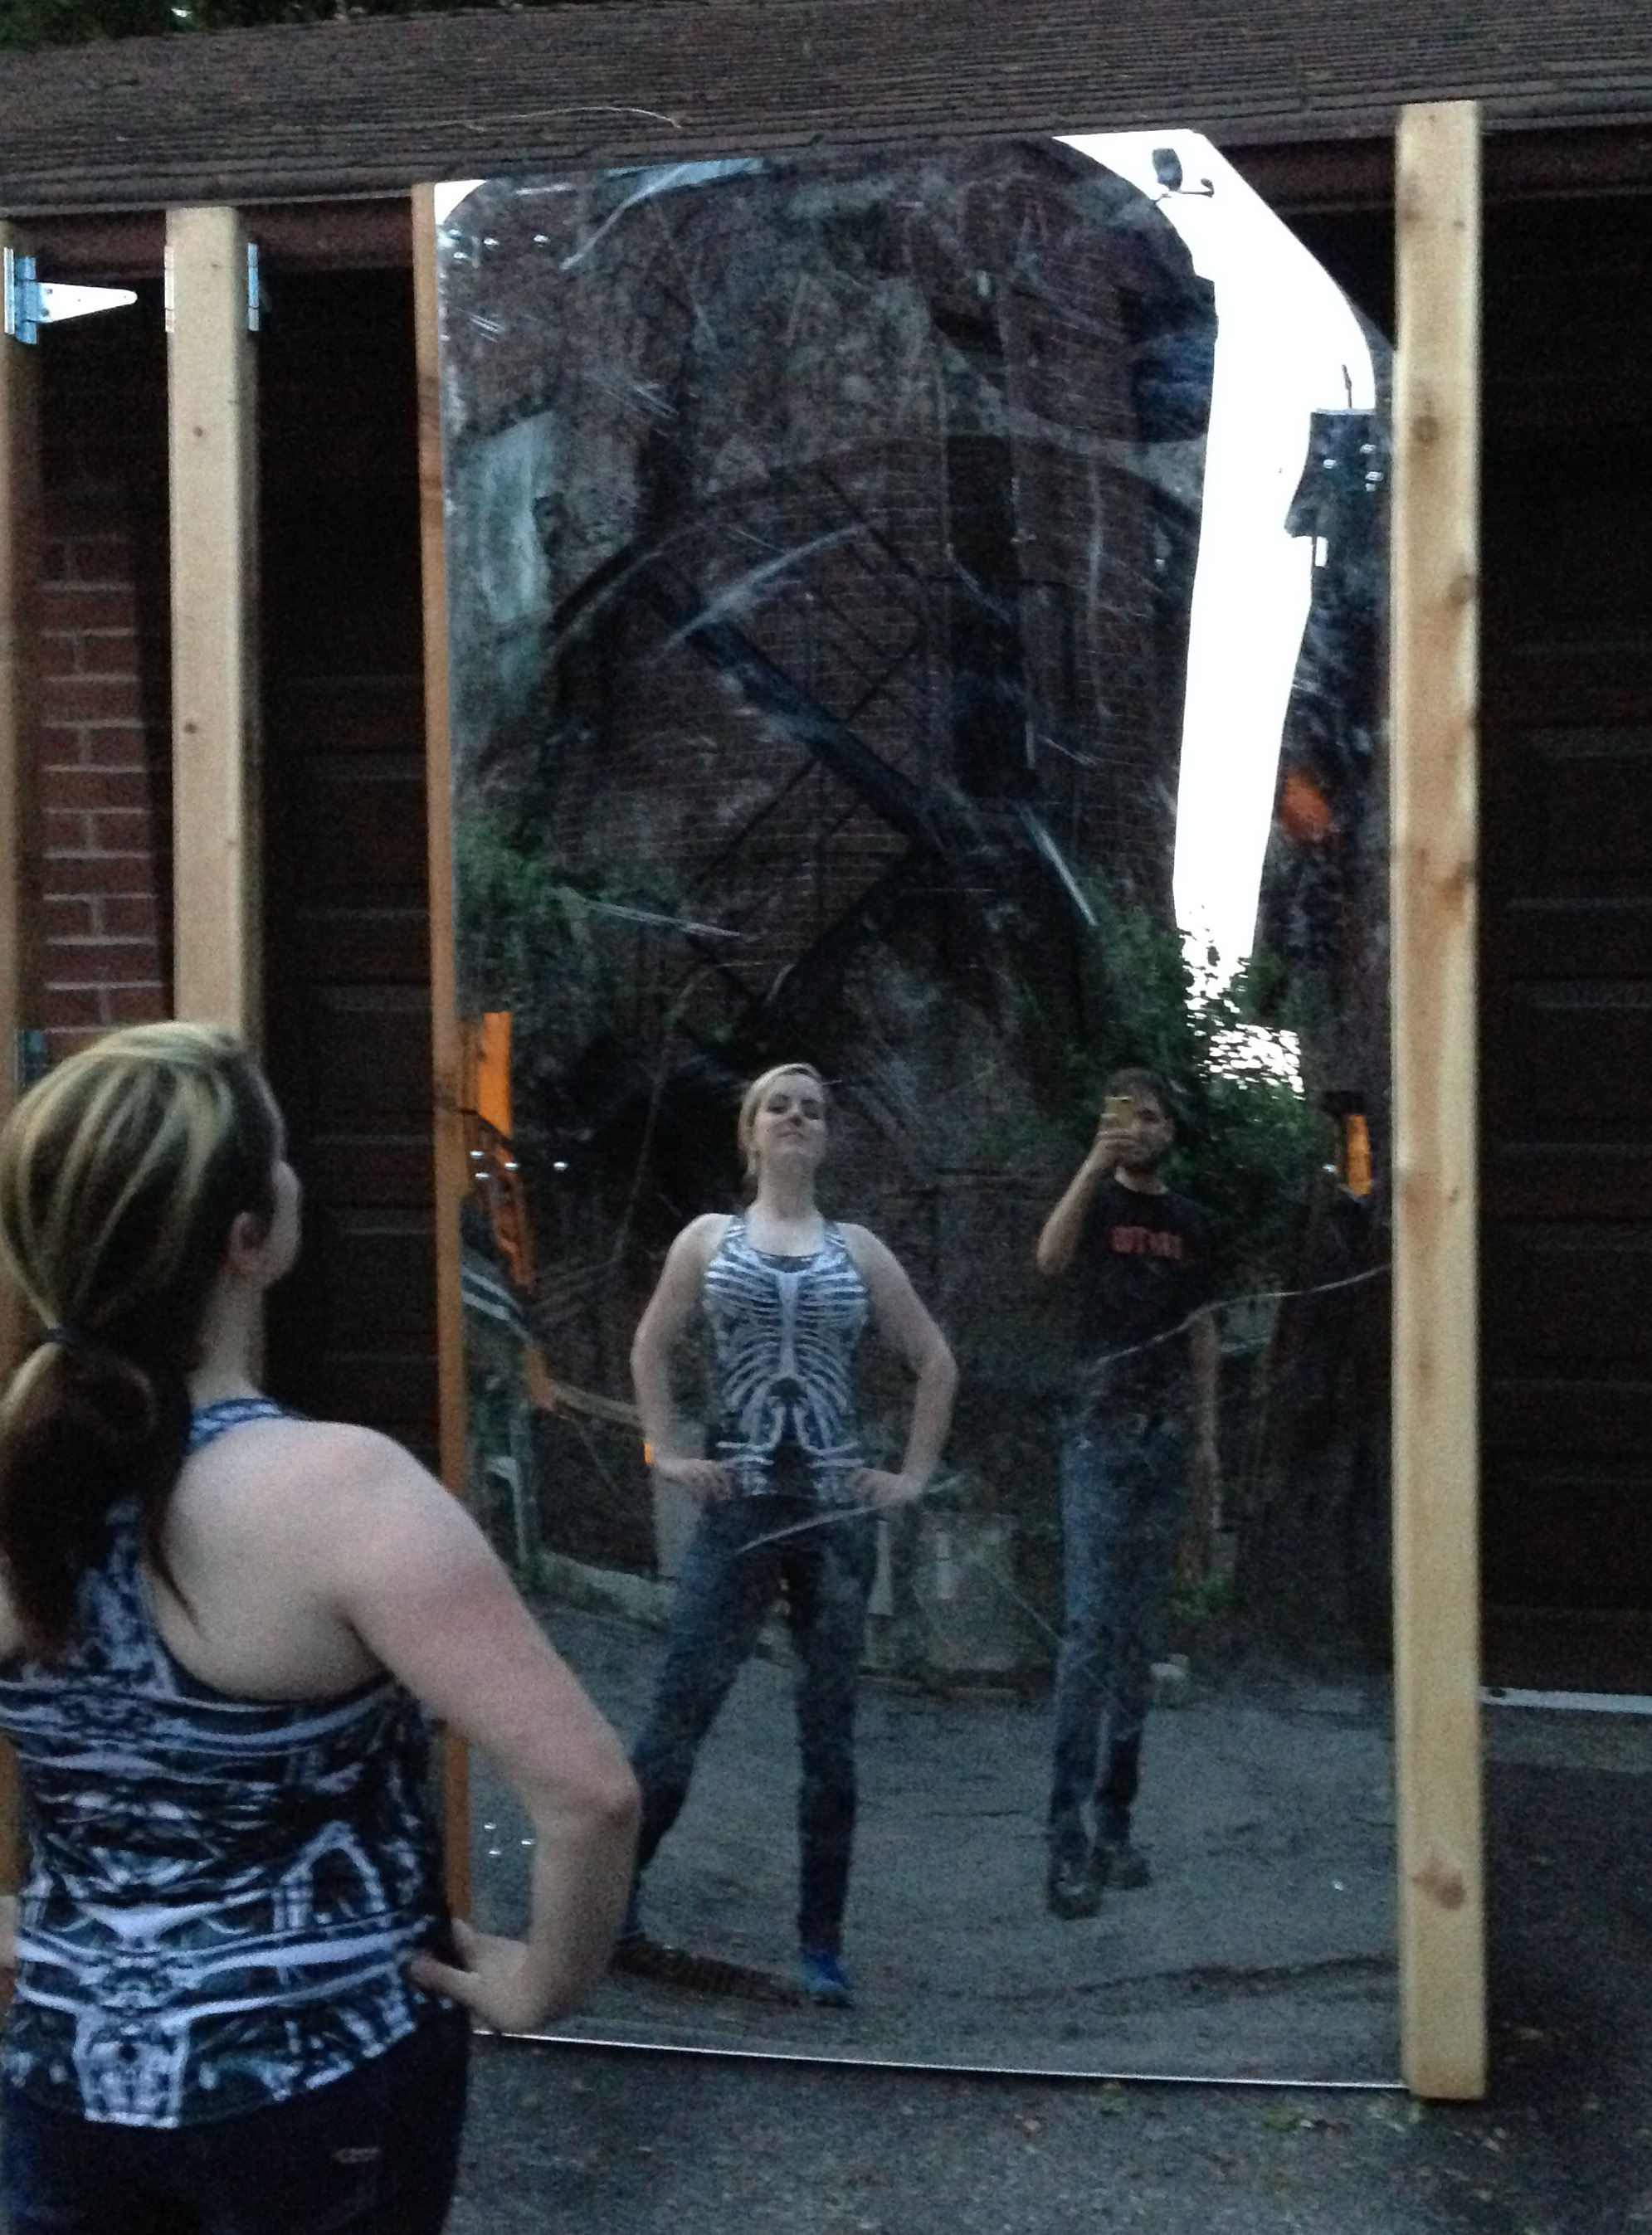
[1]Note that S stopped being visible in mirrors. One can only guess at the reason.
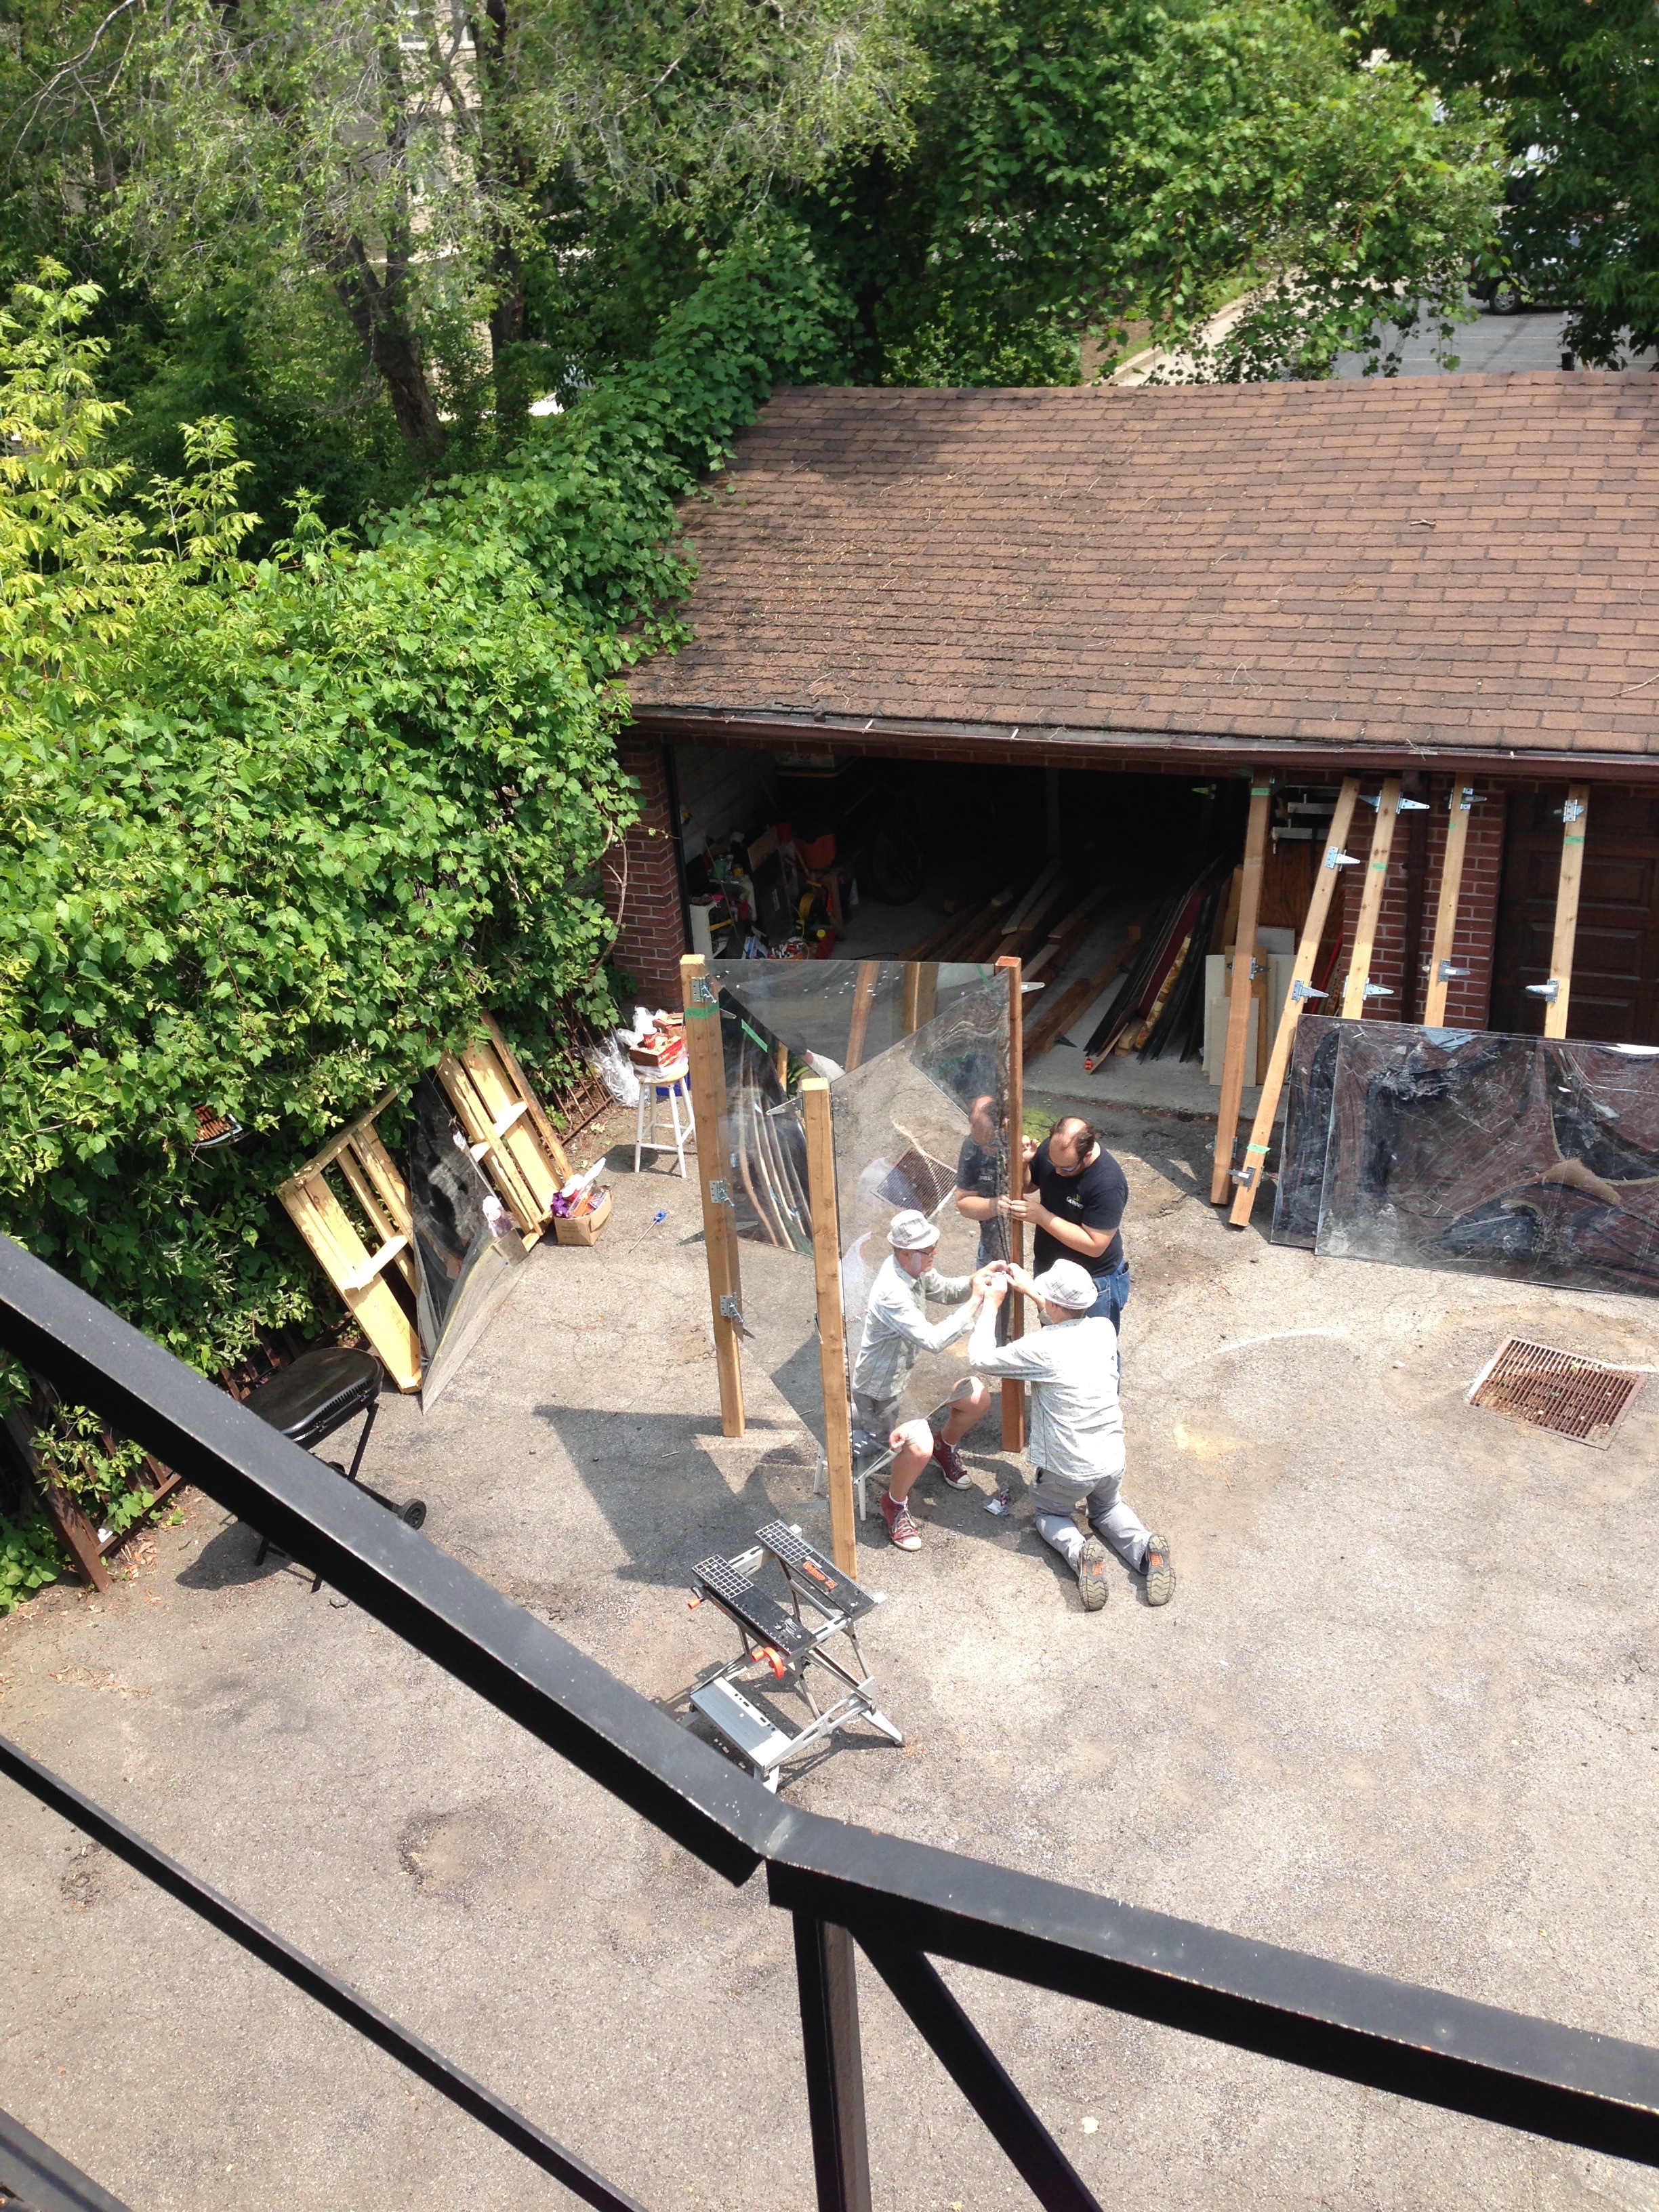
The first part of the maze that our crew built was the central triangle:
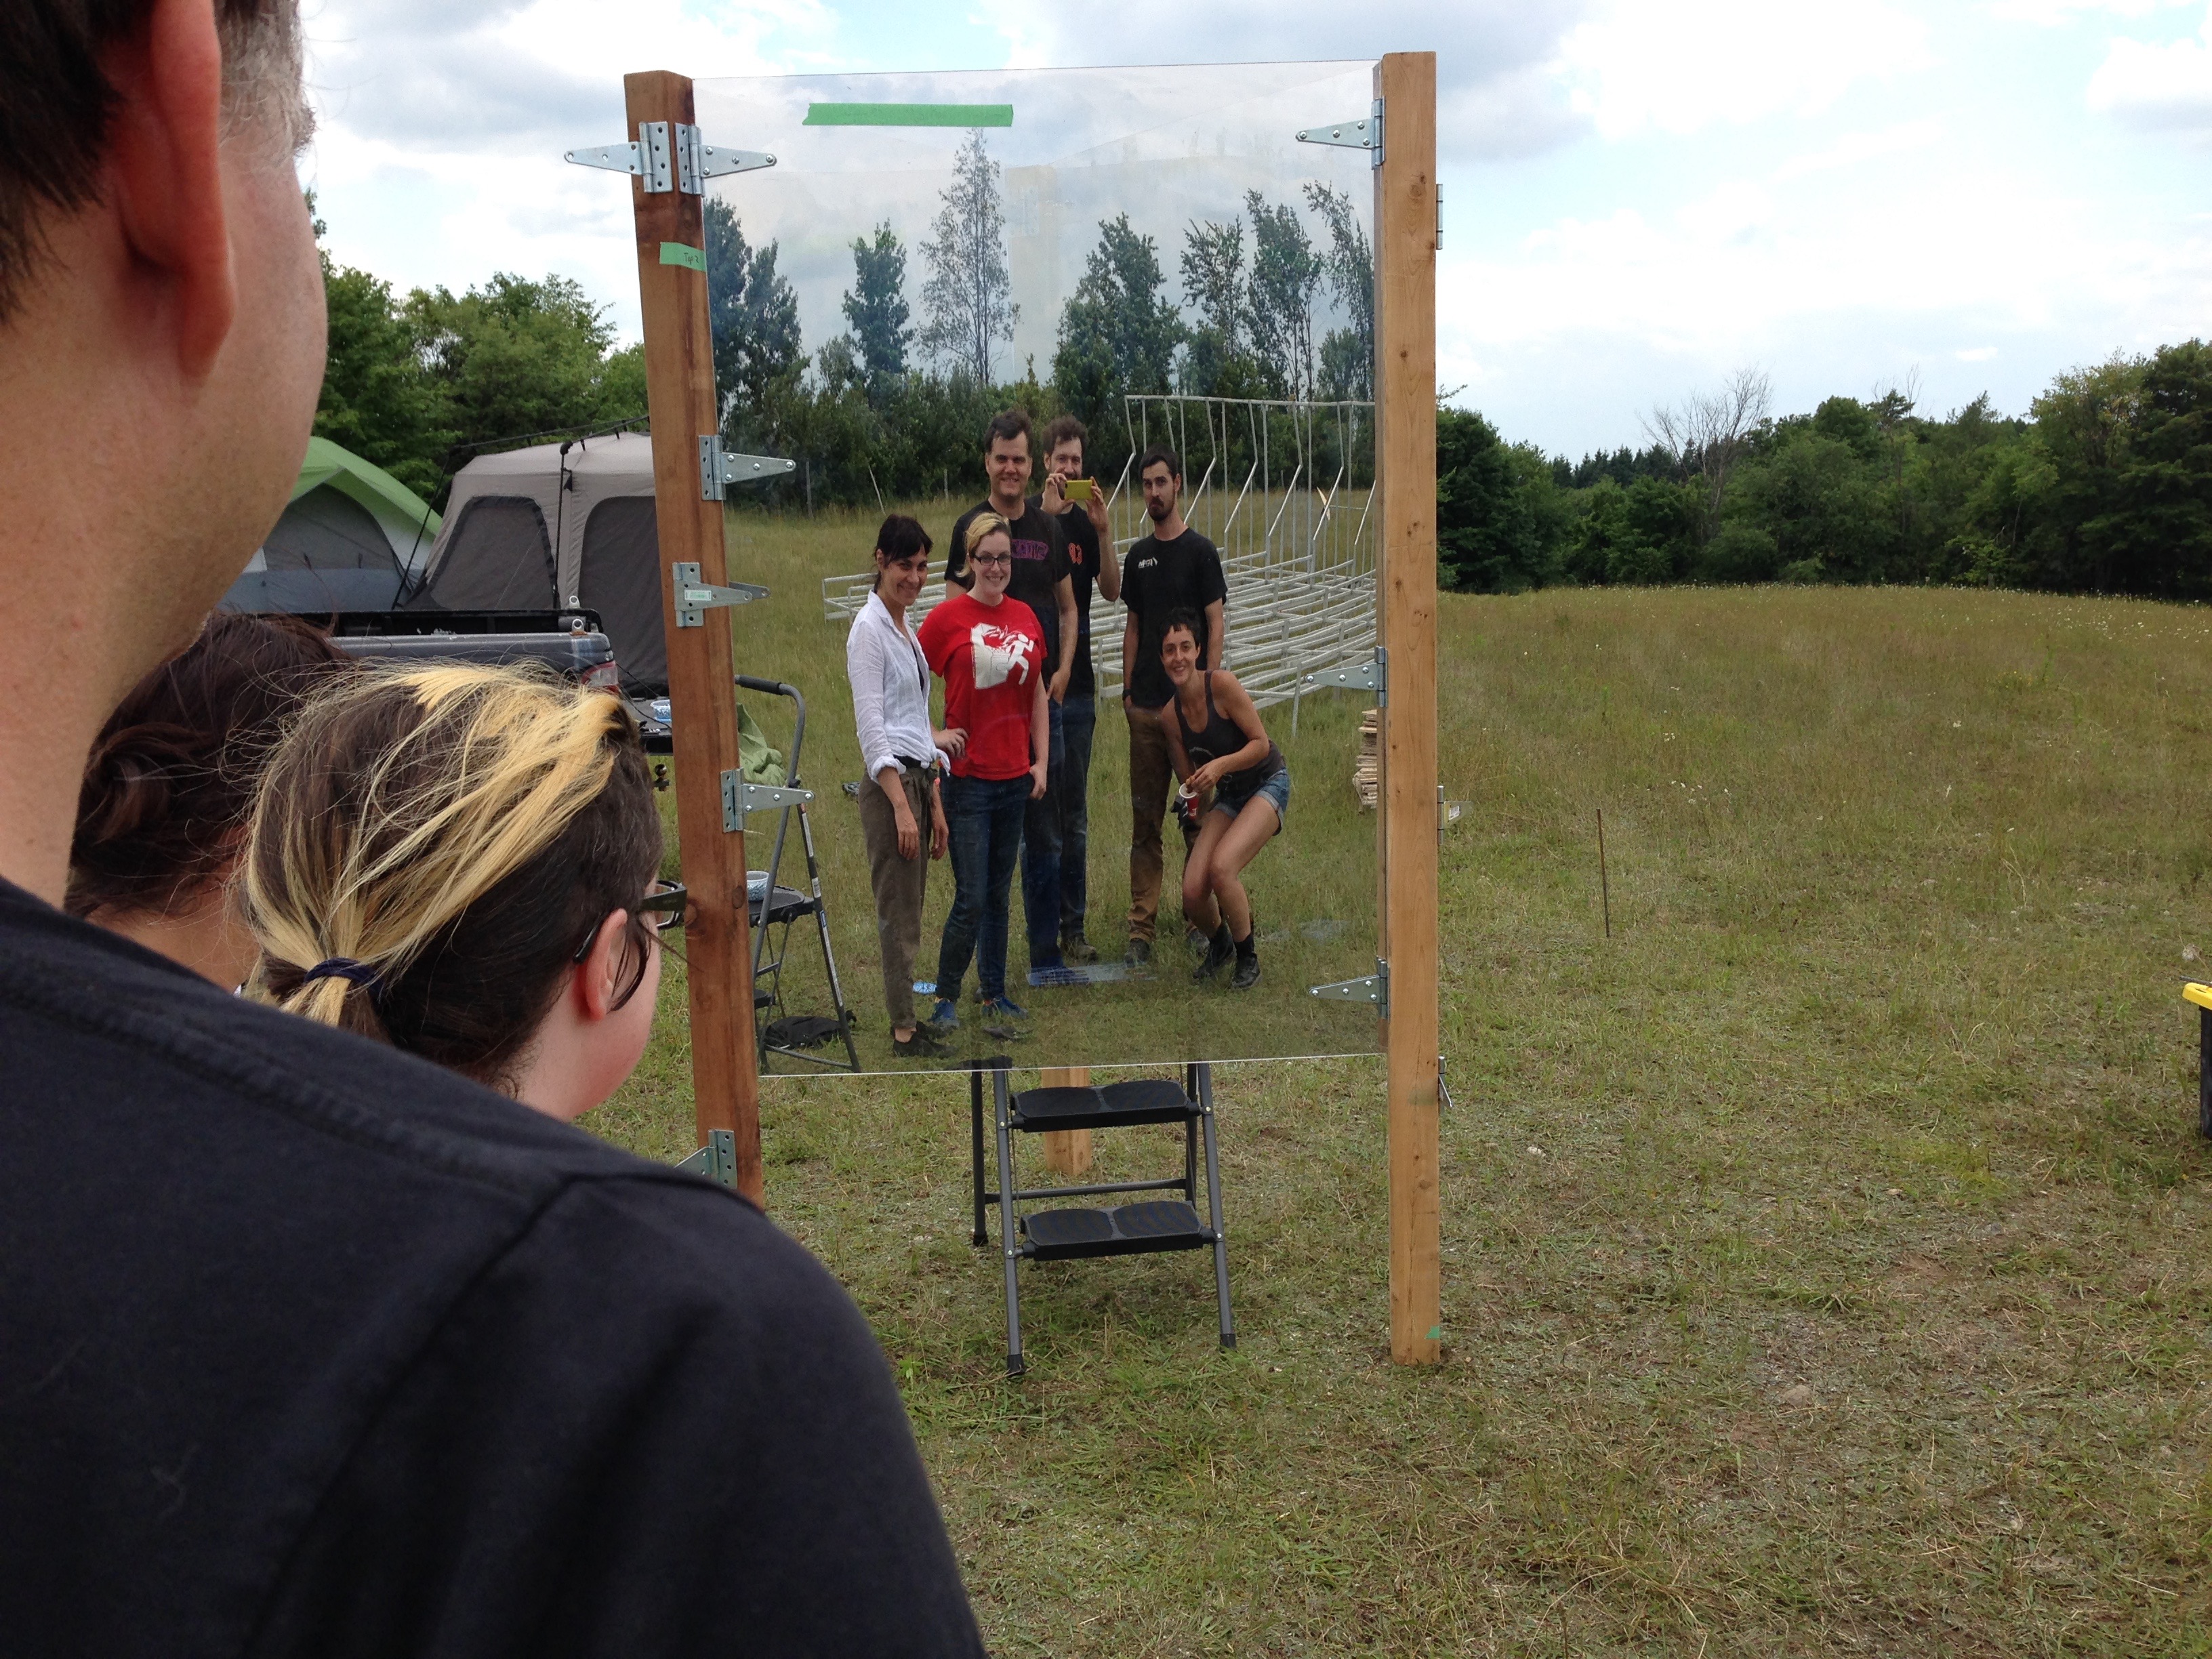
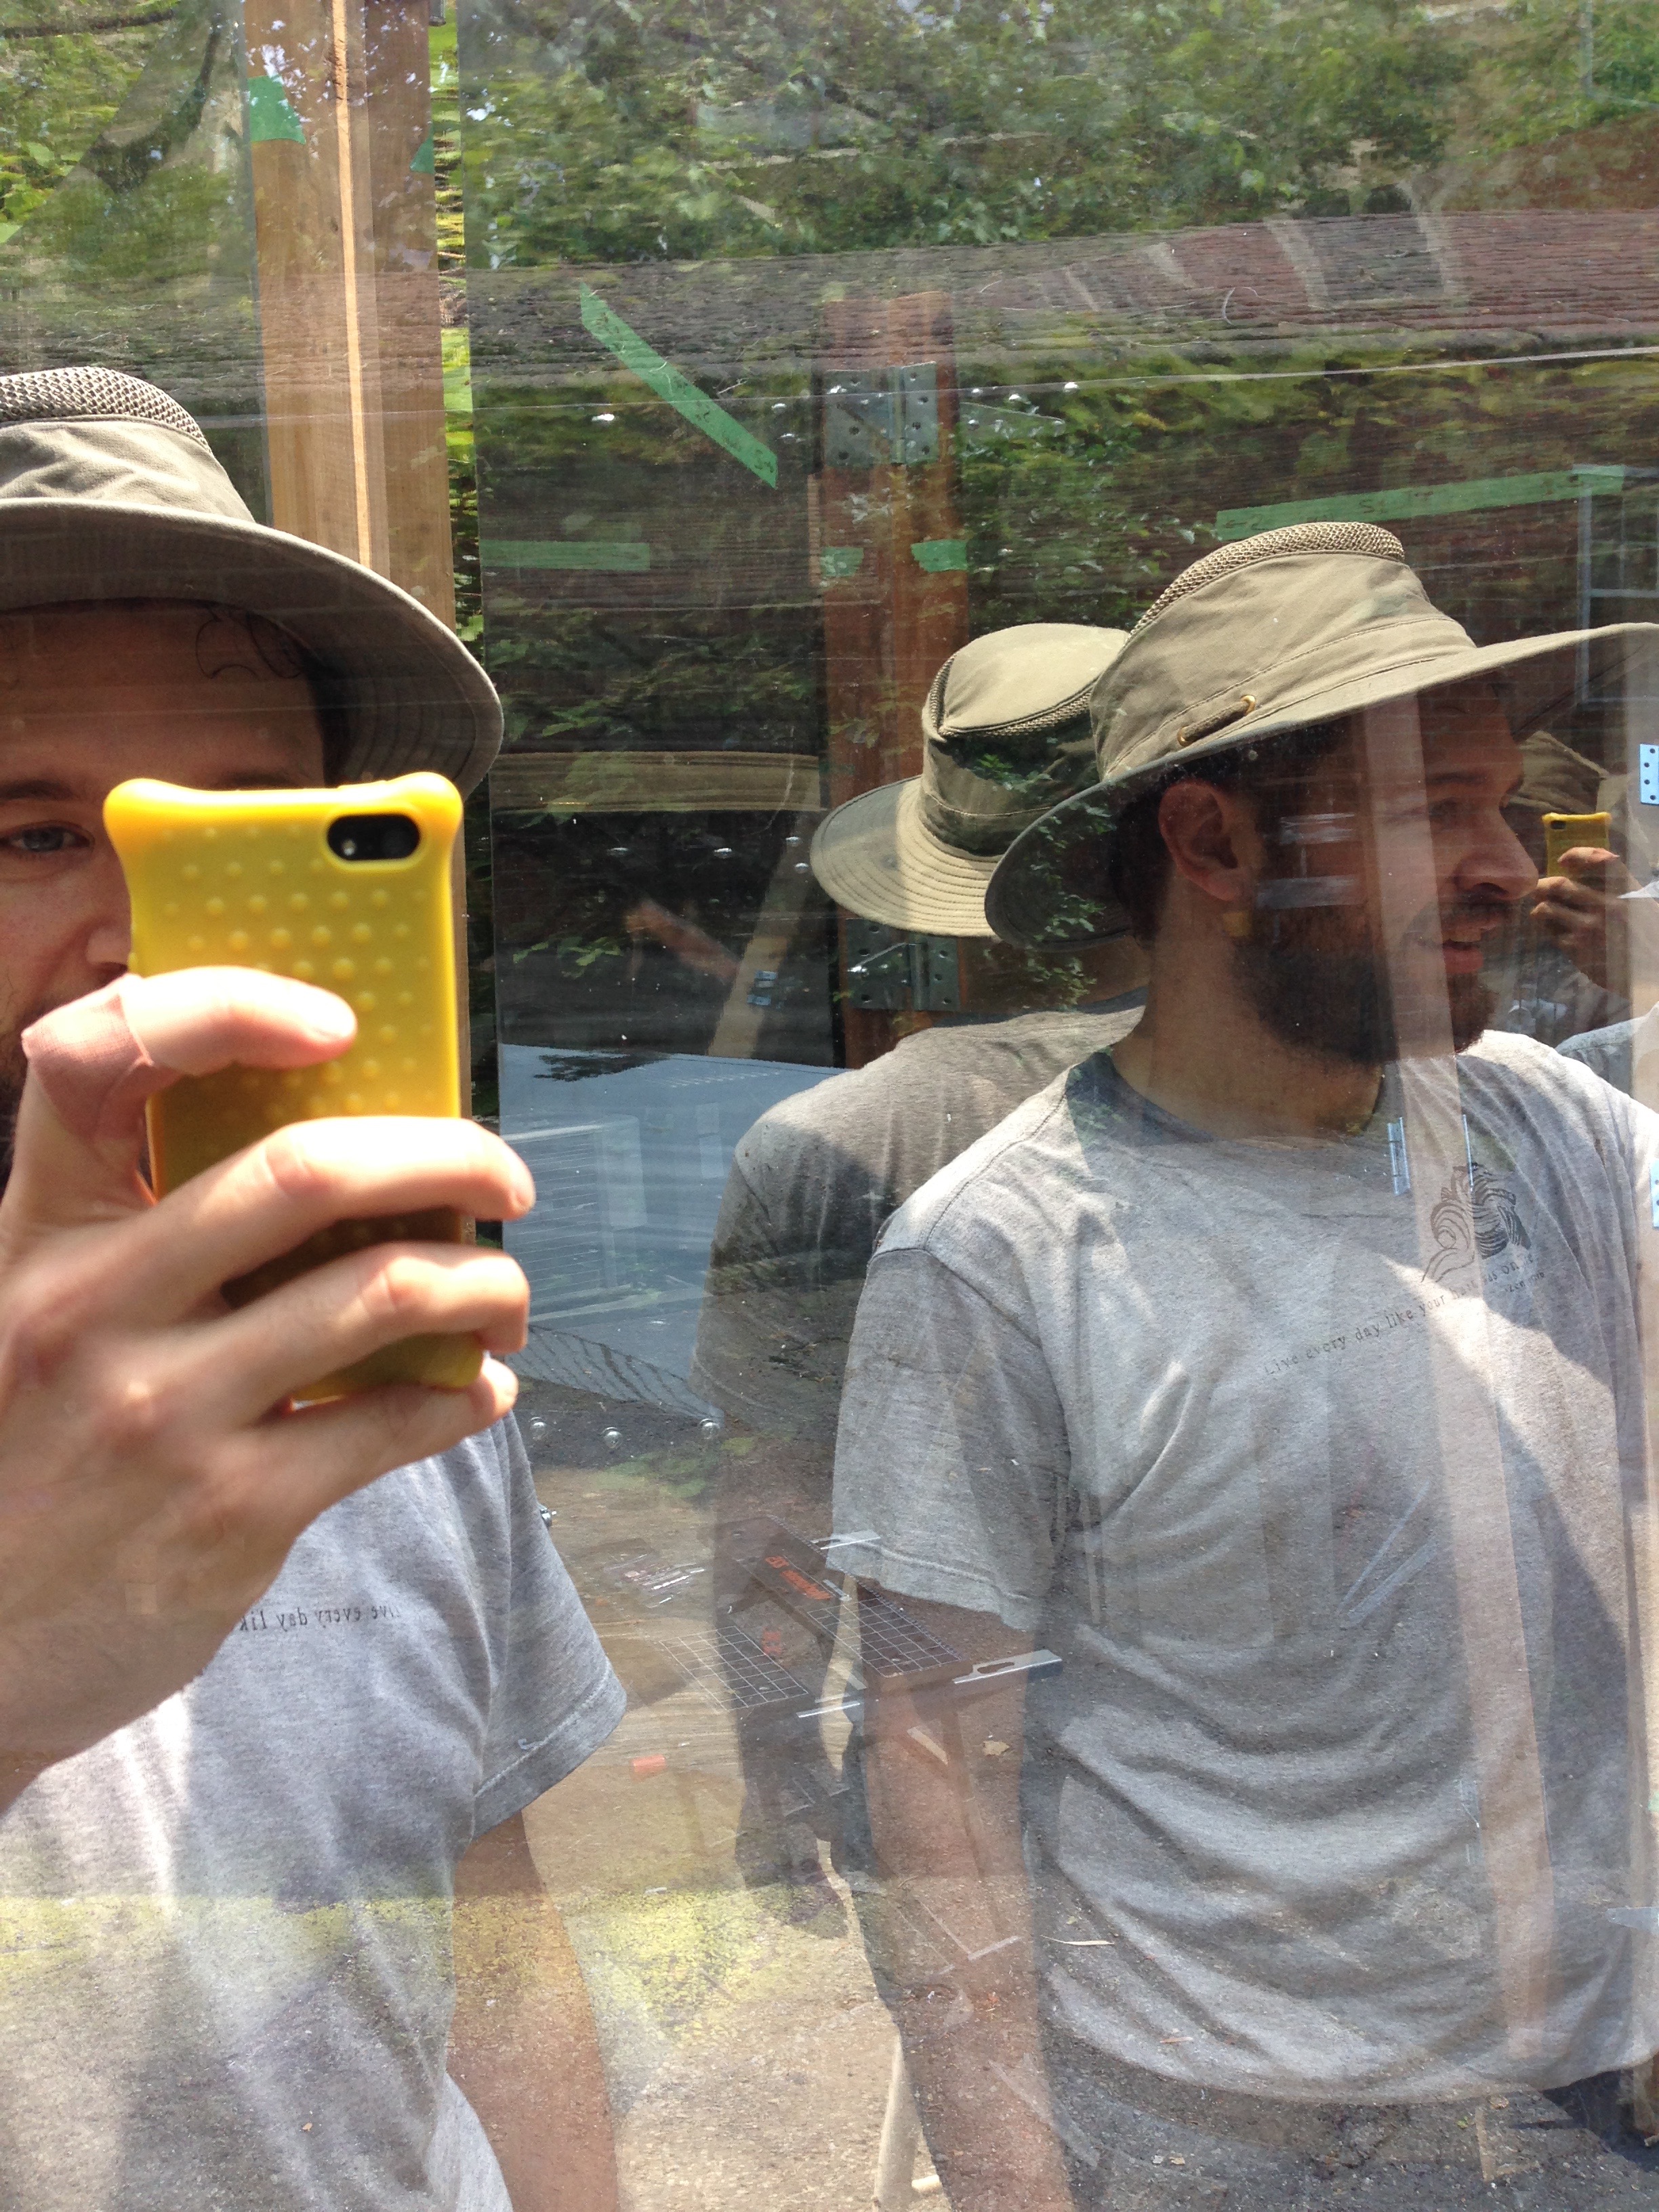
Sara shows us how two-way mirrors make you even more badass.
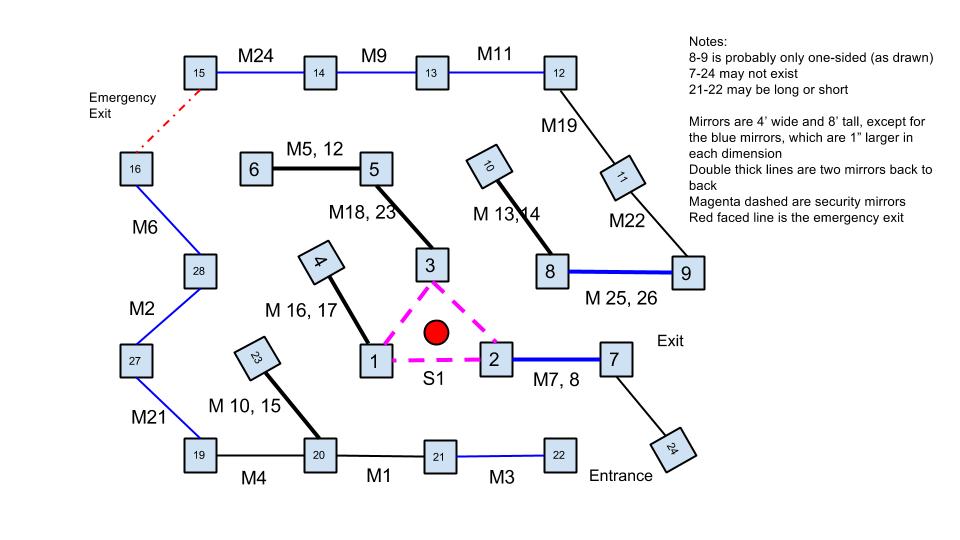
To help you place things, here’s the overhead view again:
The Overhead view of the maze. This design was stable throughout the process. The only modification we made was to remove post 24 and its attached mirror.I have no idea where anyone is in this picture.Mirrors are fun (and Riskee Ball agrees).Can you tell that this is a two-way mirror? I almost can’t.Our initial integration build crew! l-r: Liz, S, Jim, Me, Patrick, AndreaAlex and Patrick work on one of the tricky double mirrors.The crew work busily on Riskee Ball, as Case and Rob plan out the Charnival grounds periphery in the background.Kate attempts to retun to the land of the Looking Glass.
The following is probably the most useful (and one of the simplest) tools I’ve ever used. Patrick started using it when we were attaching mirrors to post hinges, and it allowed for much, much easier alignment. We ended up purchasing like five of them for the playa build. It is probably correct to say that this simple tool halved the amount of time required for the build. At Canadian Tire (where I purchased them), they’re called ‘Lineup Punches’.
This is the device that saved us. Patrick used one of these to align hinges with mirrors, and we never looked back. It would be correct to say that this simple tool halved the time of the build.
Stay tuned for next time, when we assemble the rest of the mirrors! Hooray!
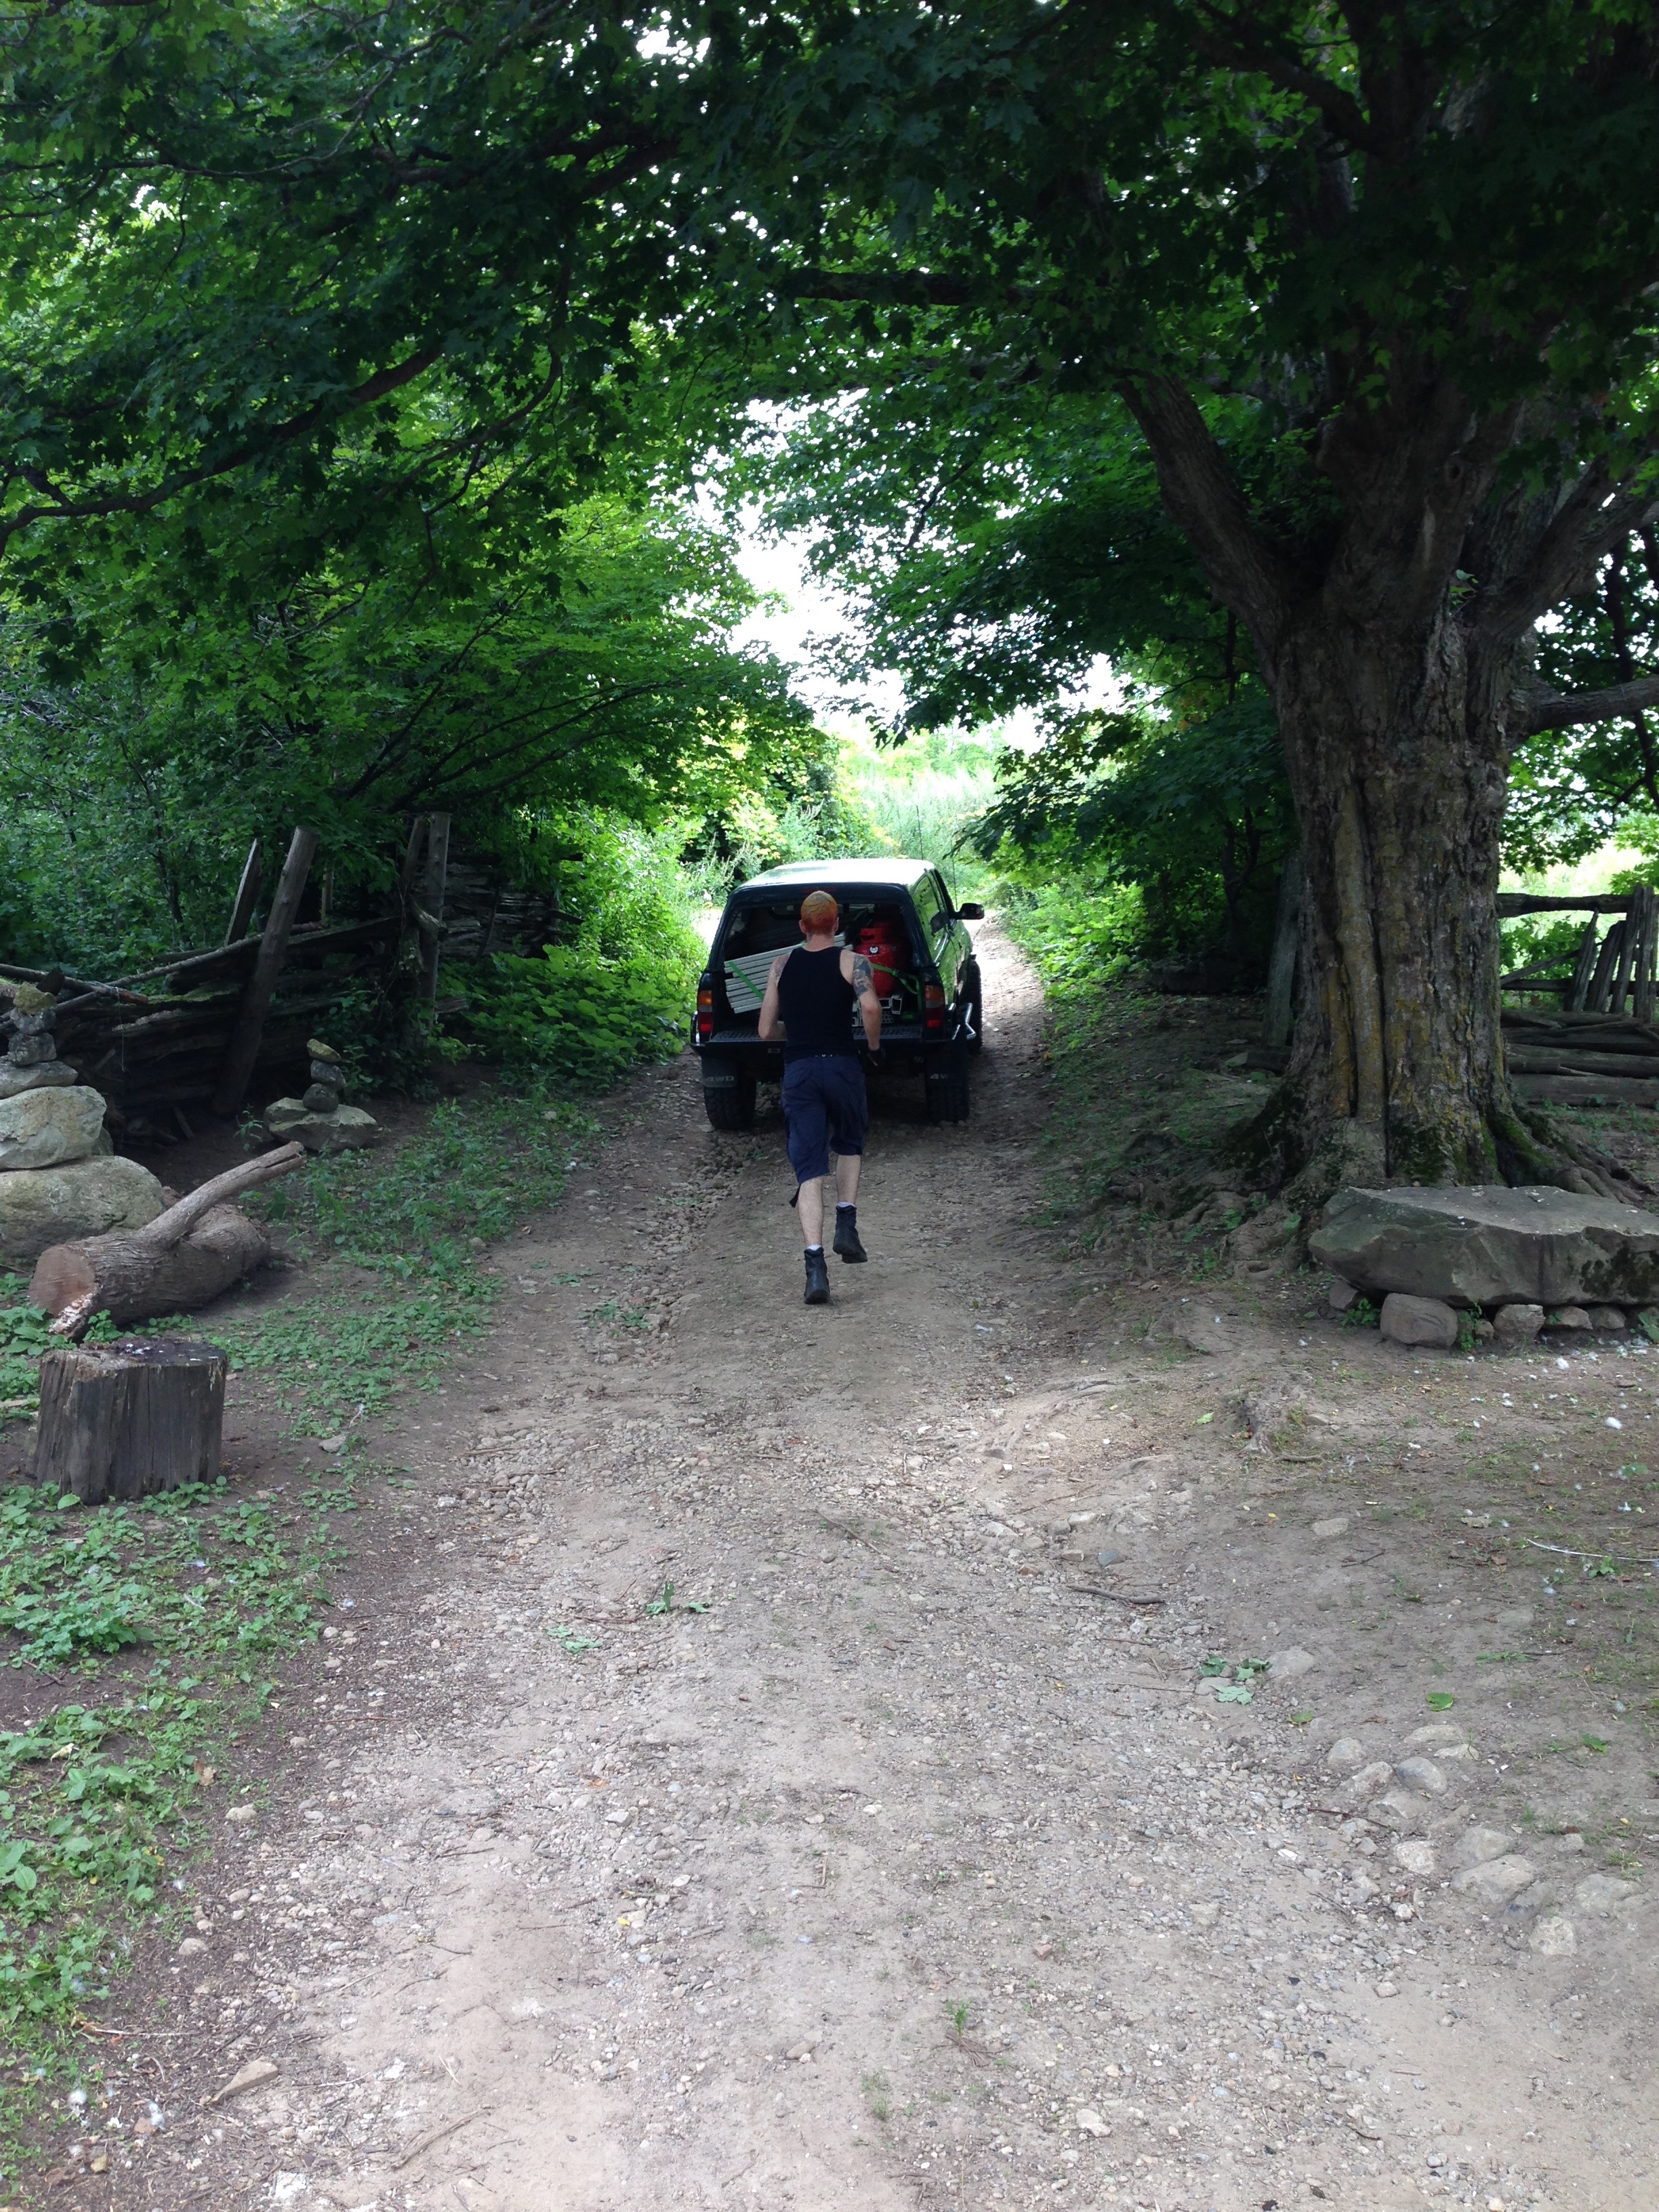
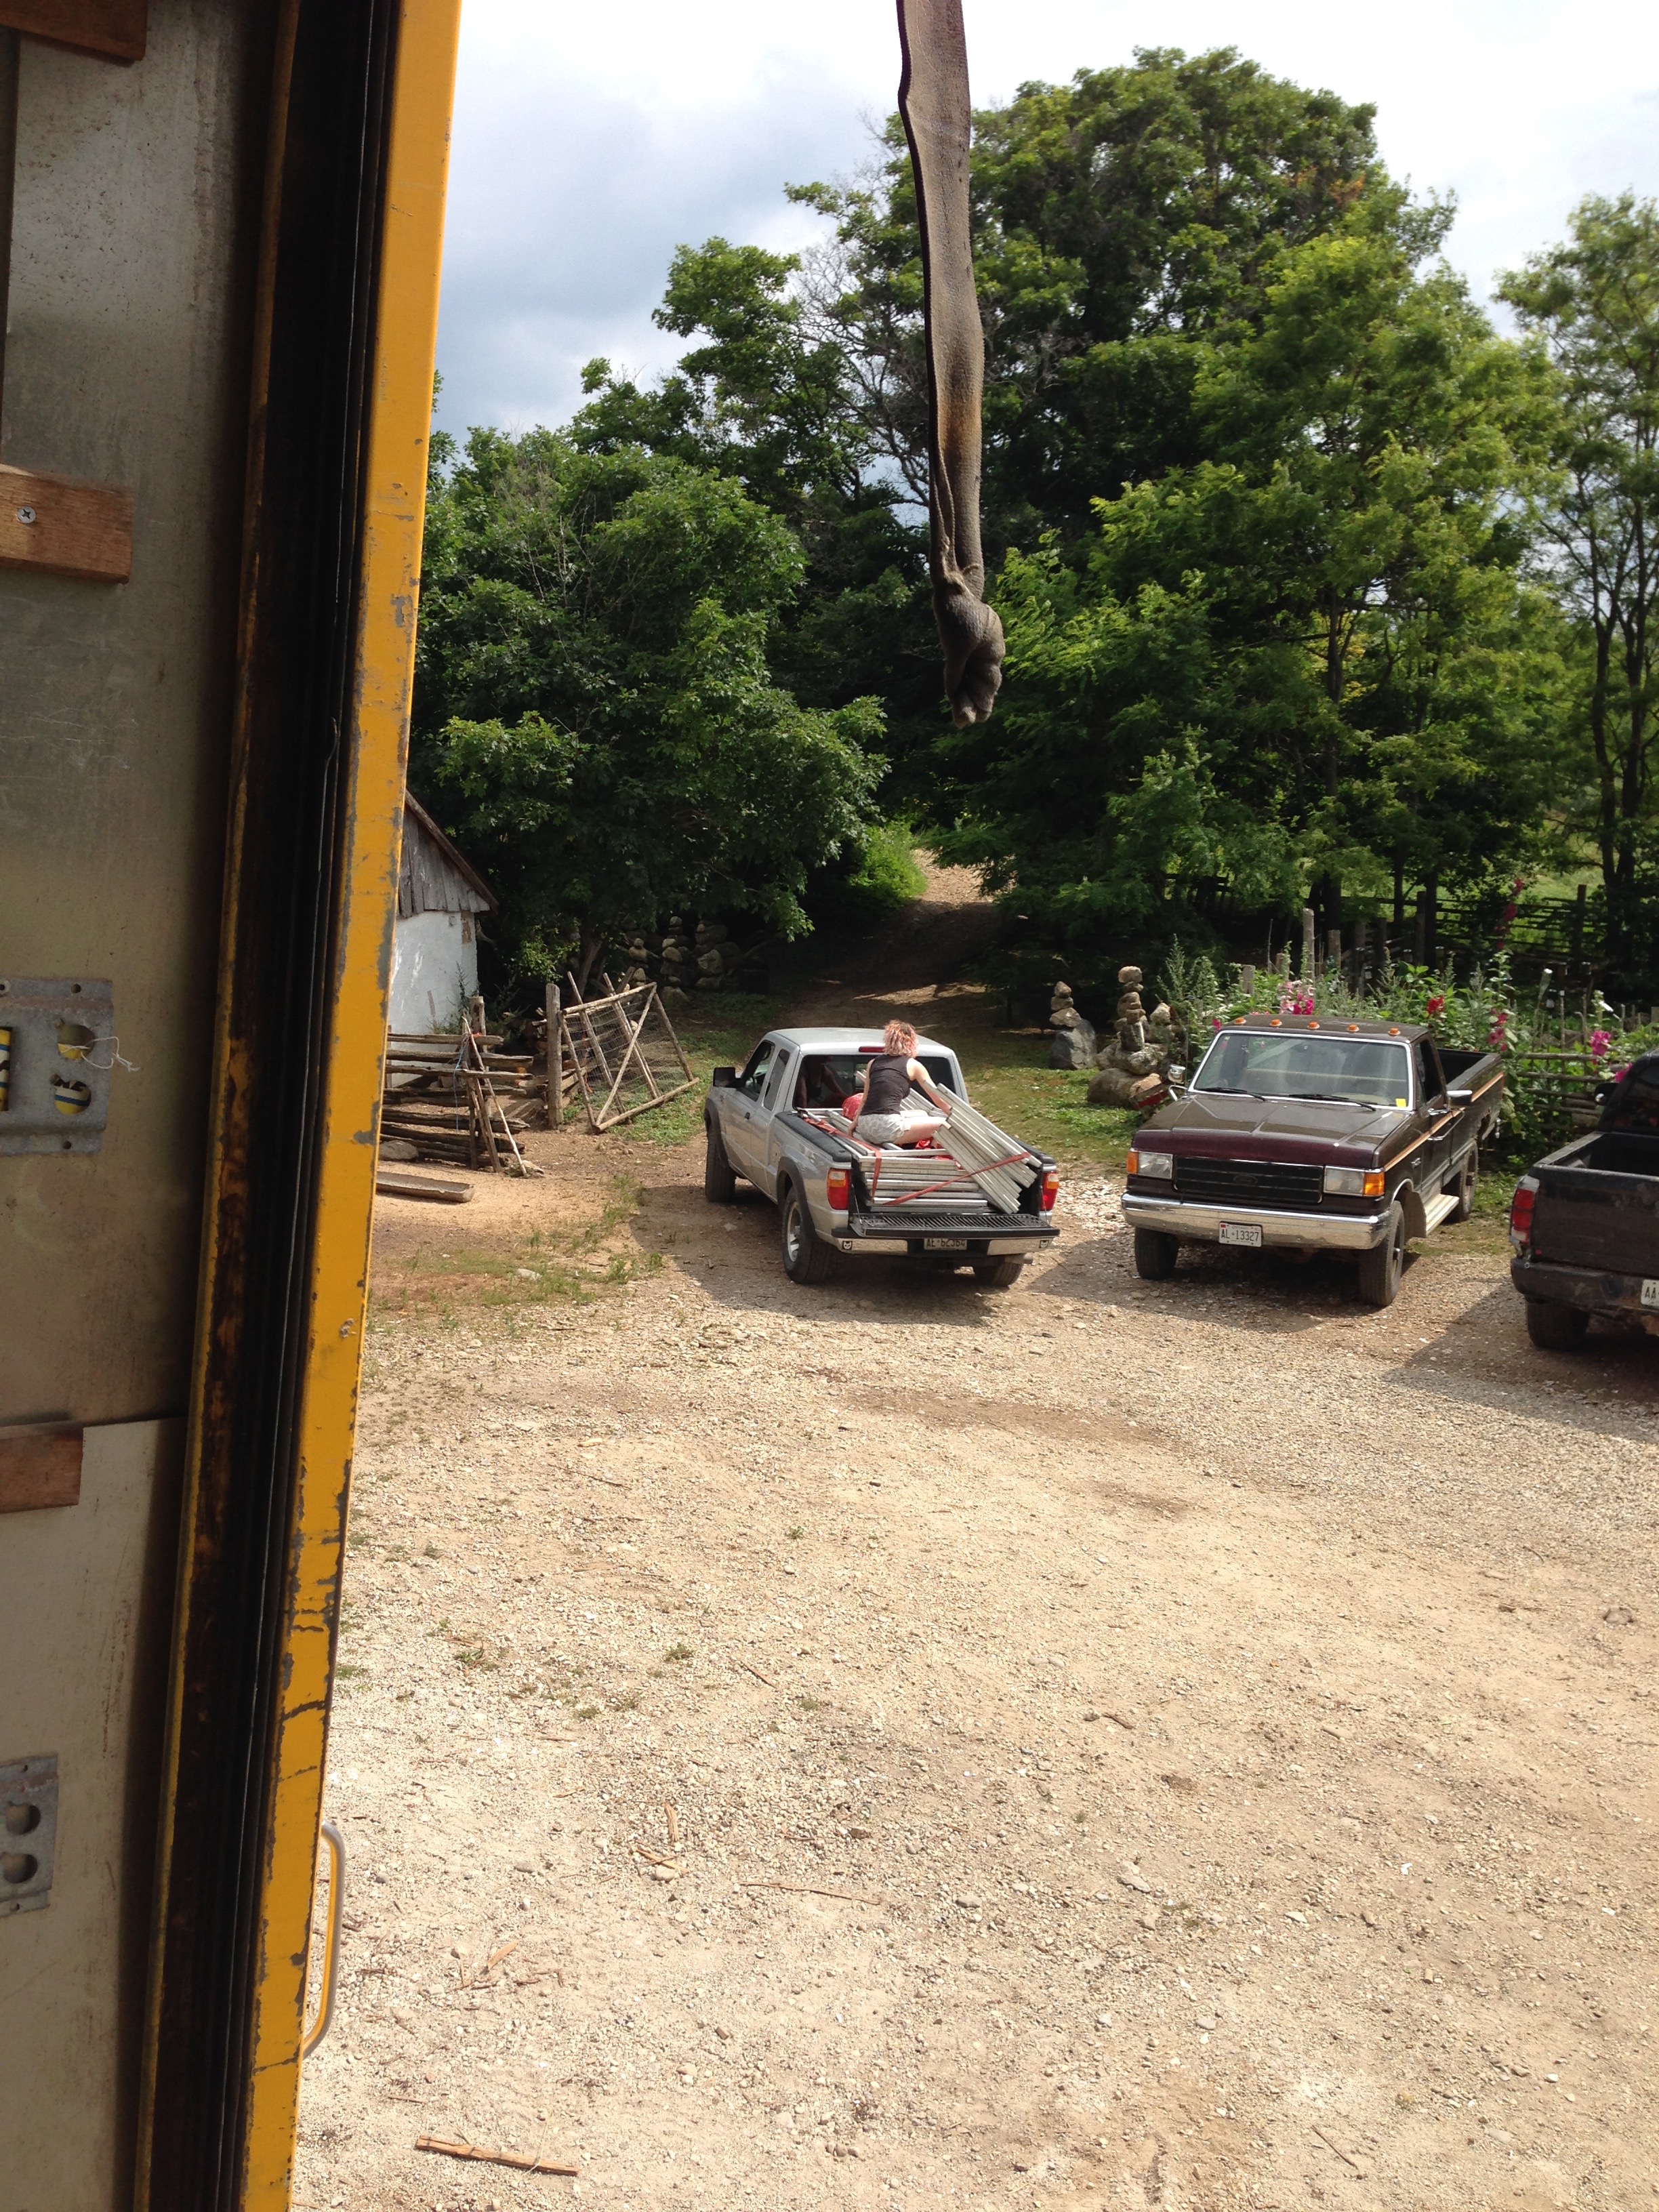
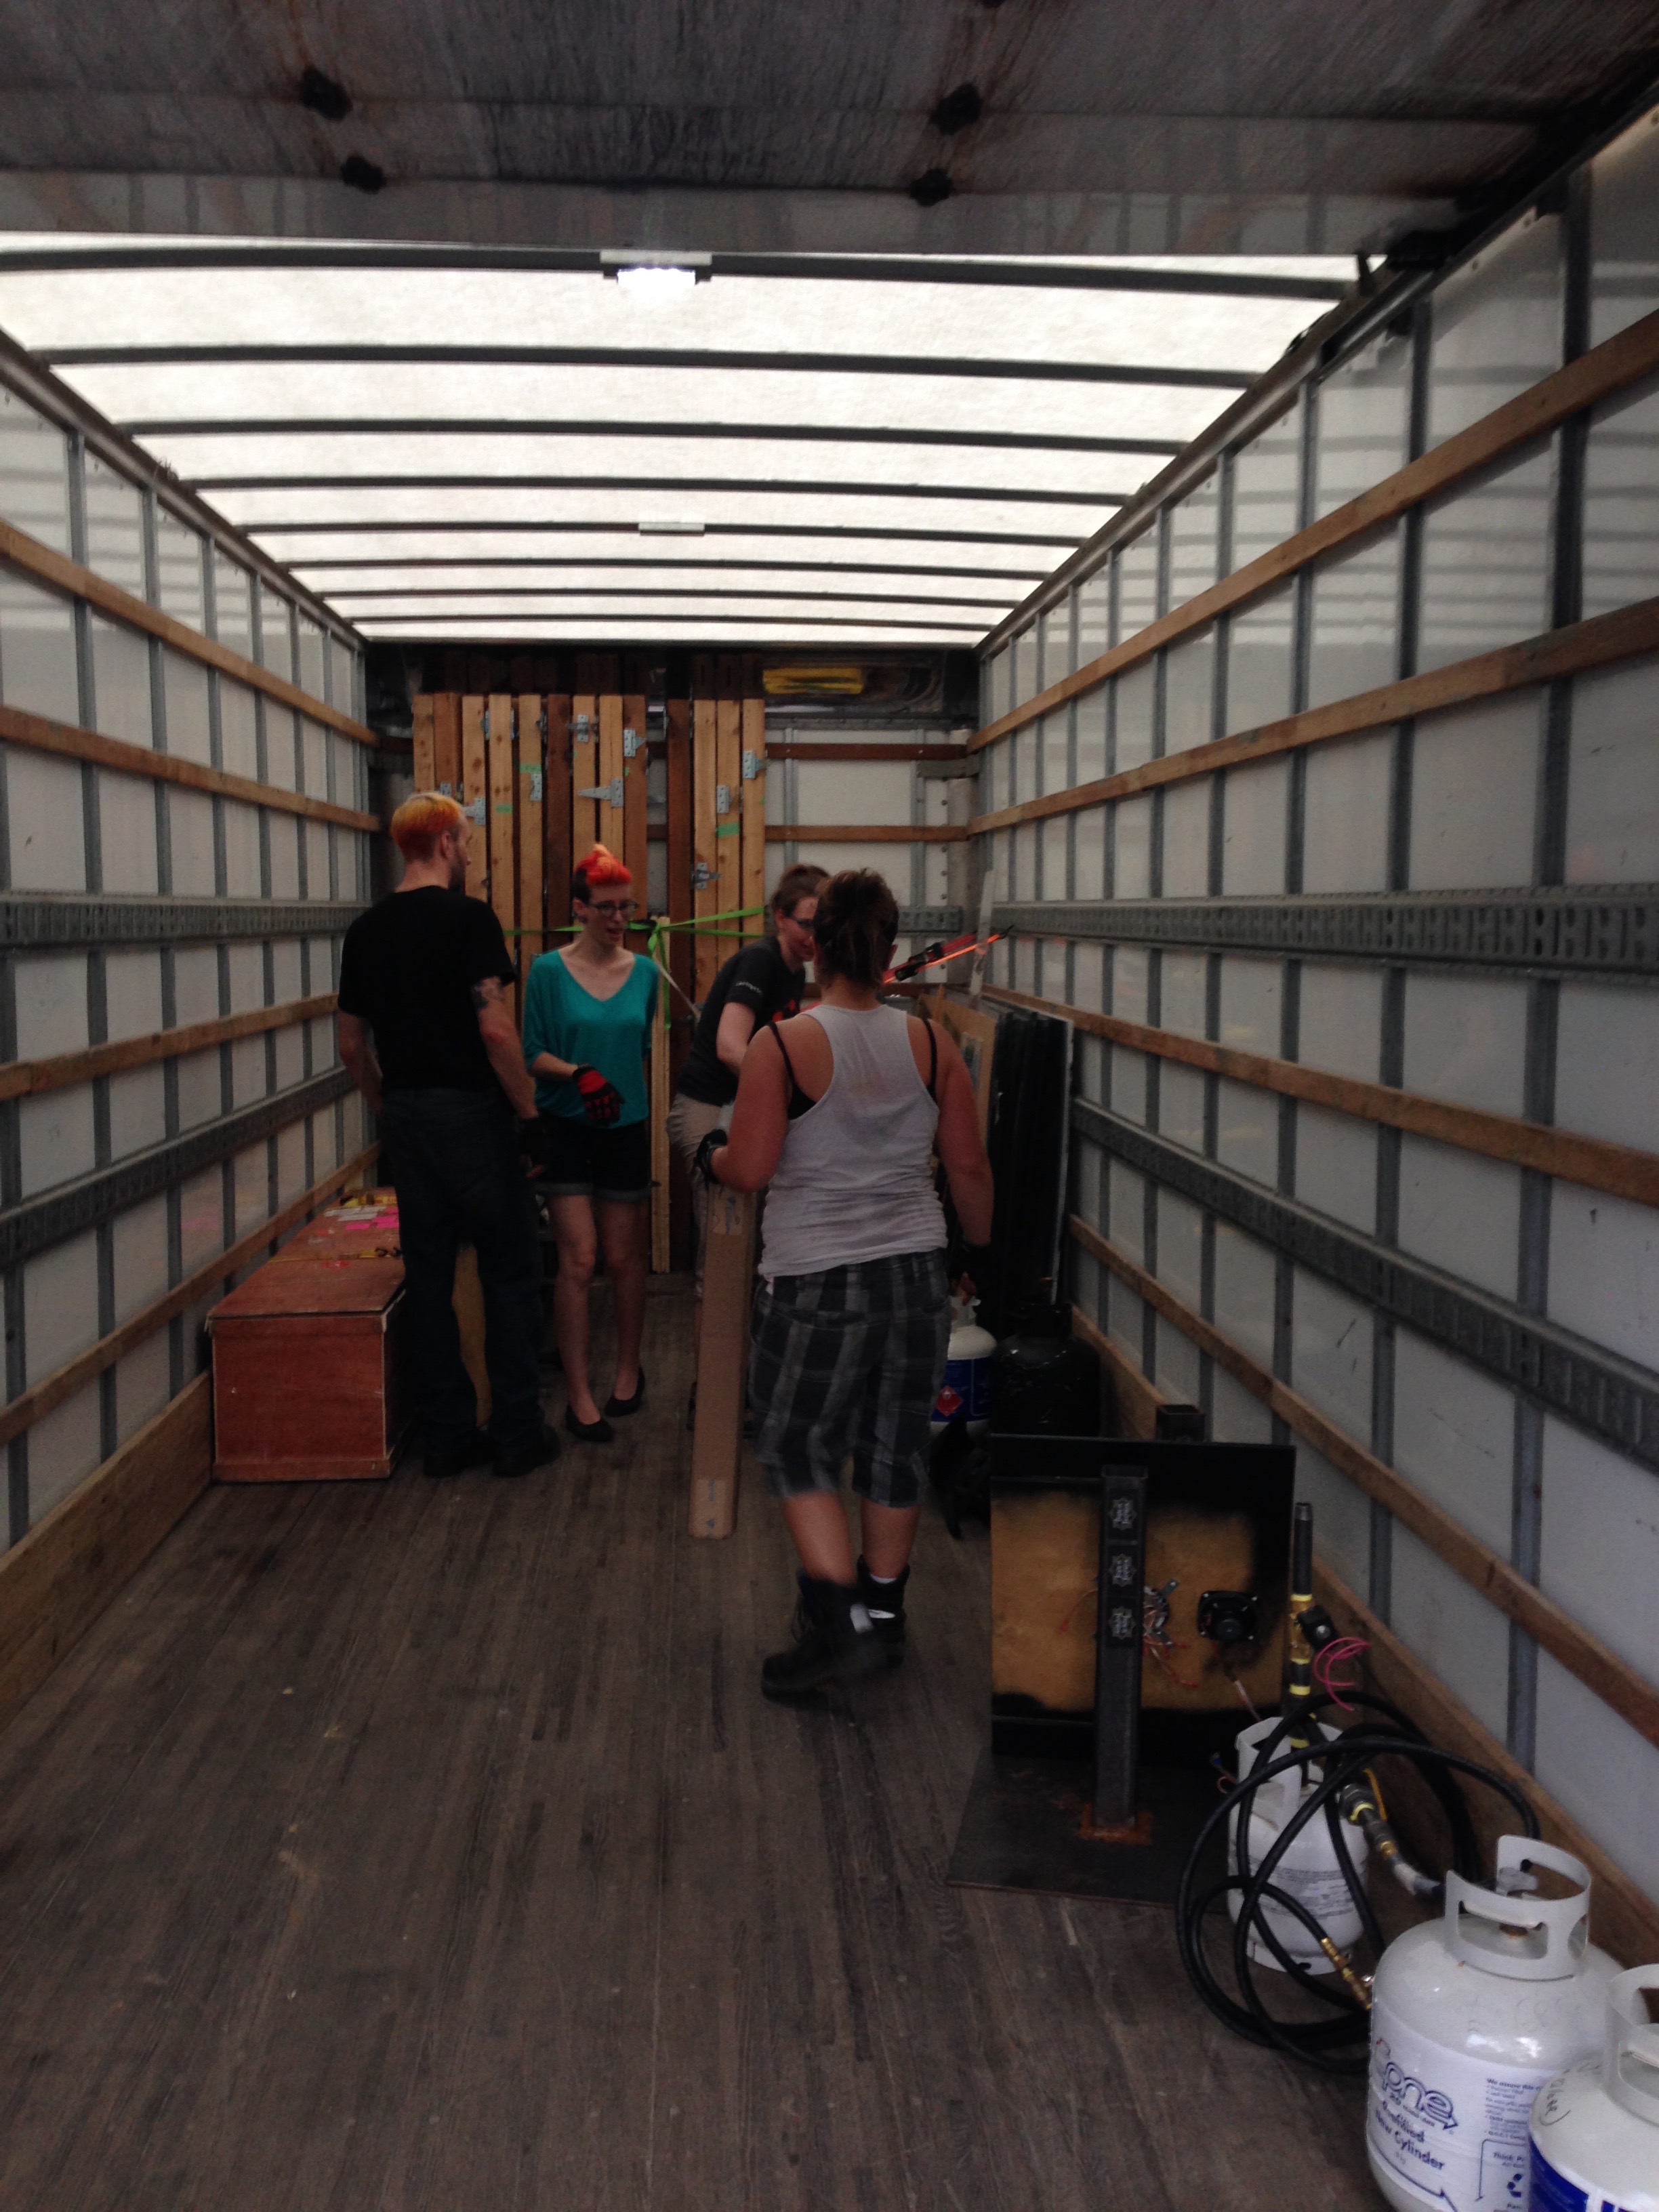
Marc had arranged with some friends of his for a large field to be available for the weekend. This allowed us to spread out and use a lot of space to setup. It also offered some interesting logistical challenges. You see, the large trucks (26′, I think) couldn’t make it all the way to the back field, so we had to offload onto pickup trucks[1] for the last leg of the journey. Thankfully, we had two on hand[2]:
Mike runs after one of the smaller trucks, on the way up the hill to the back field.One of the pickup trucks, demonstrating proper Kate transportation technique.
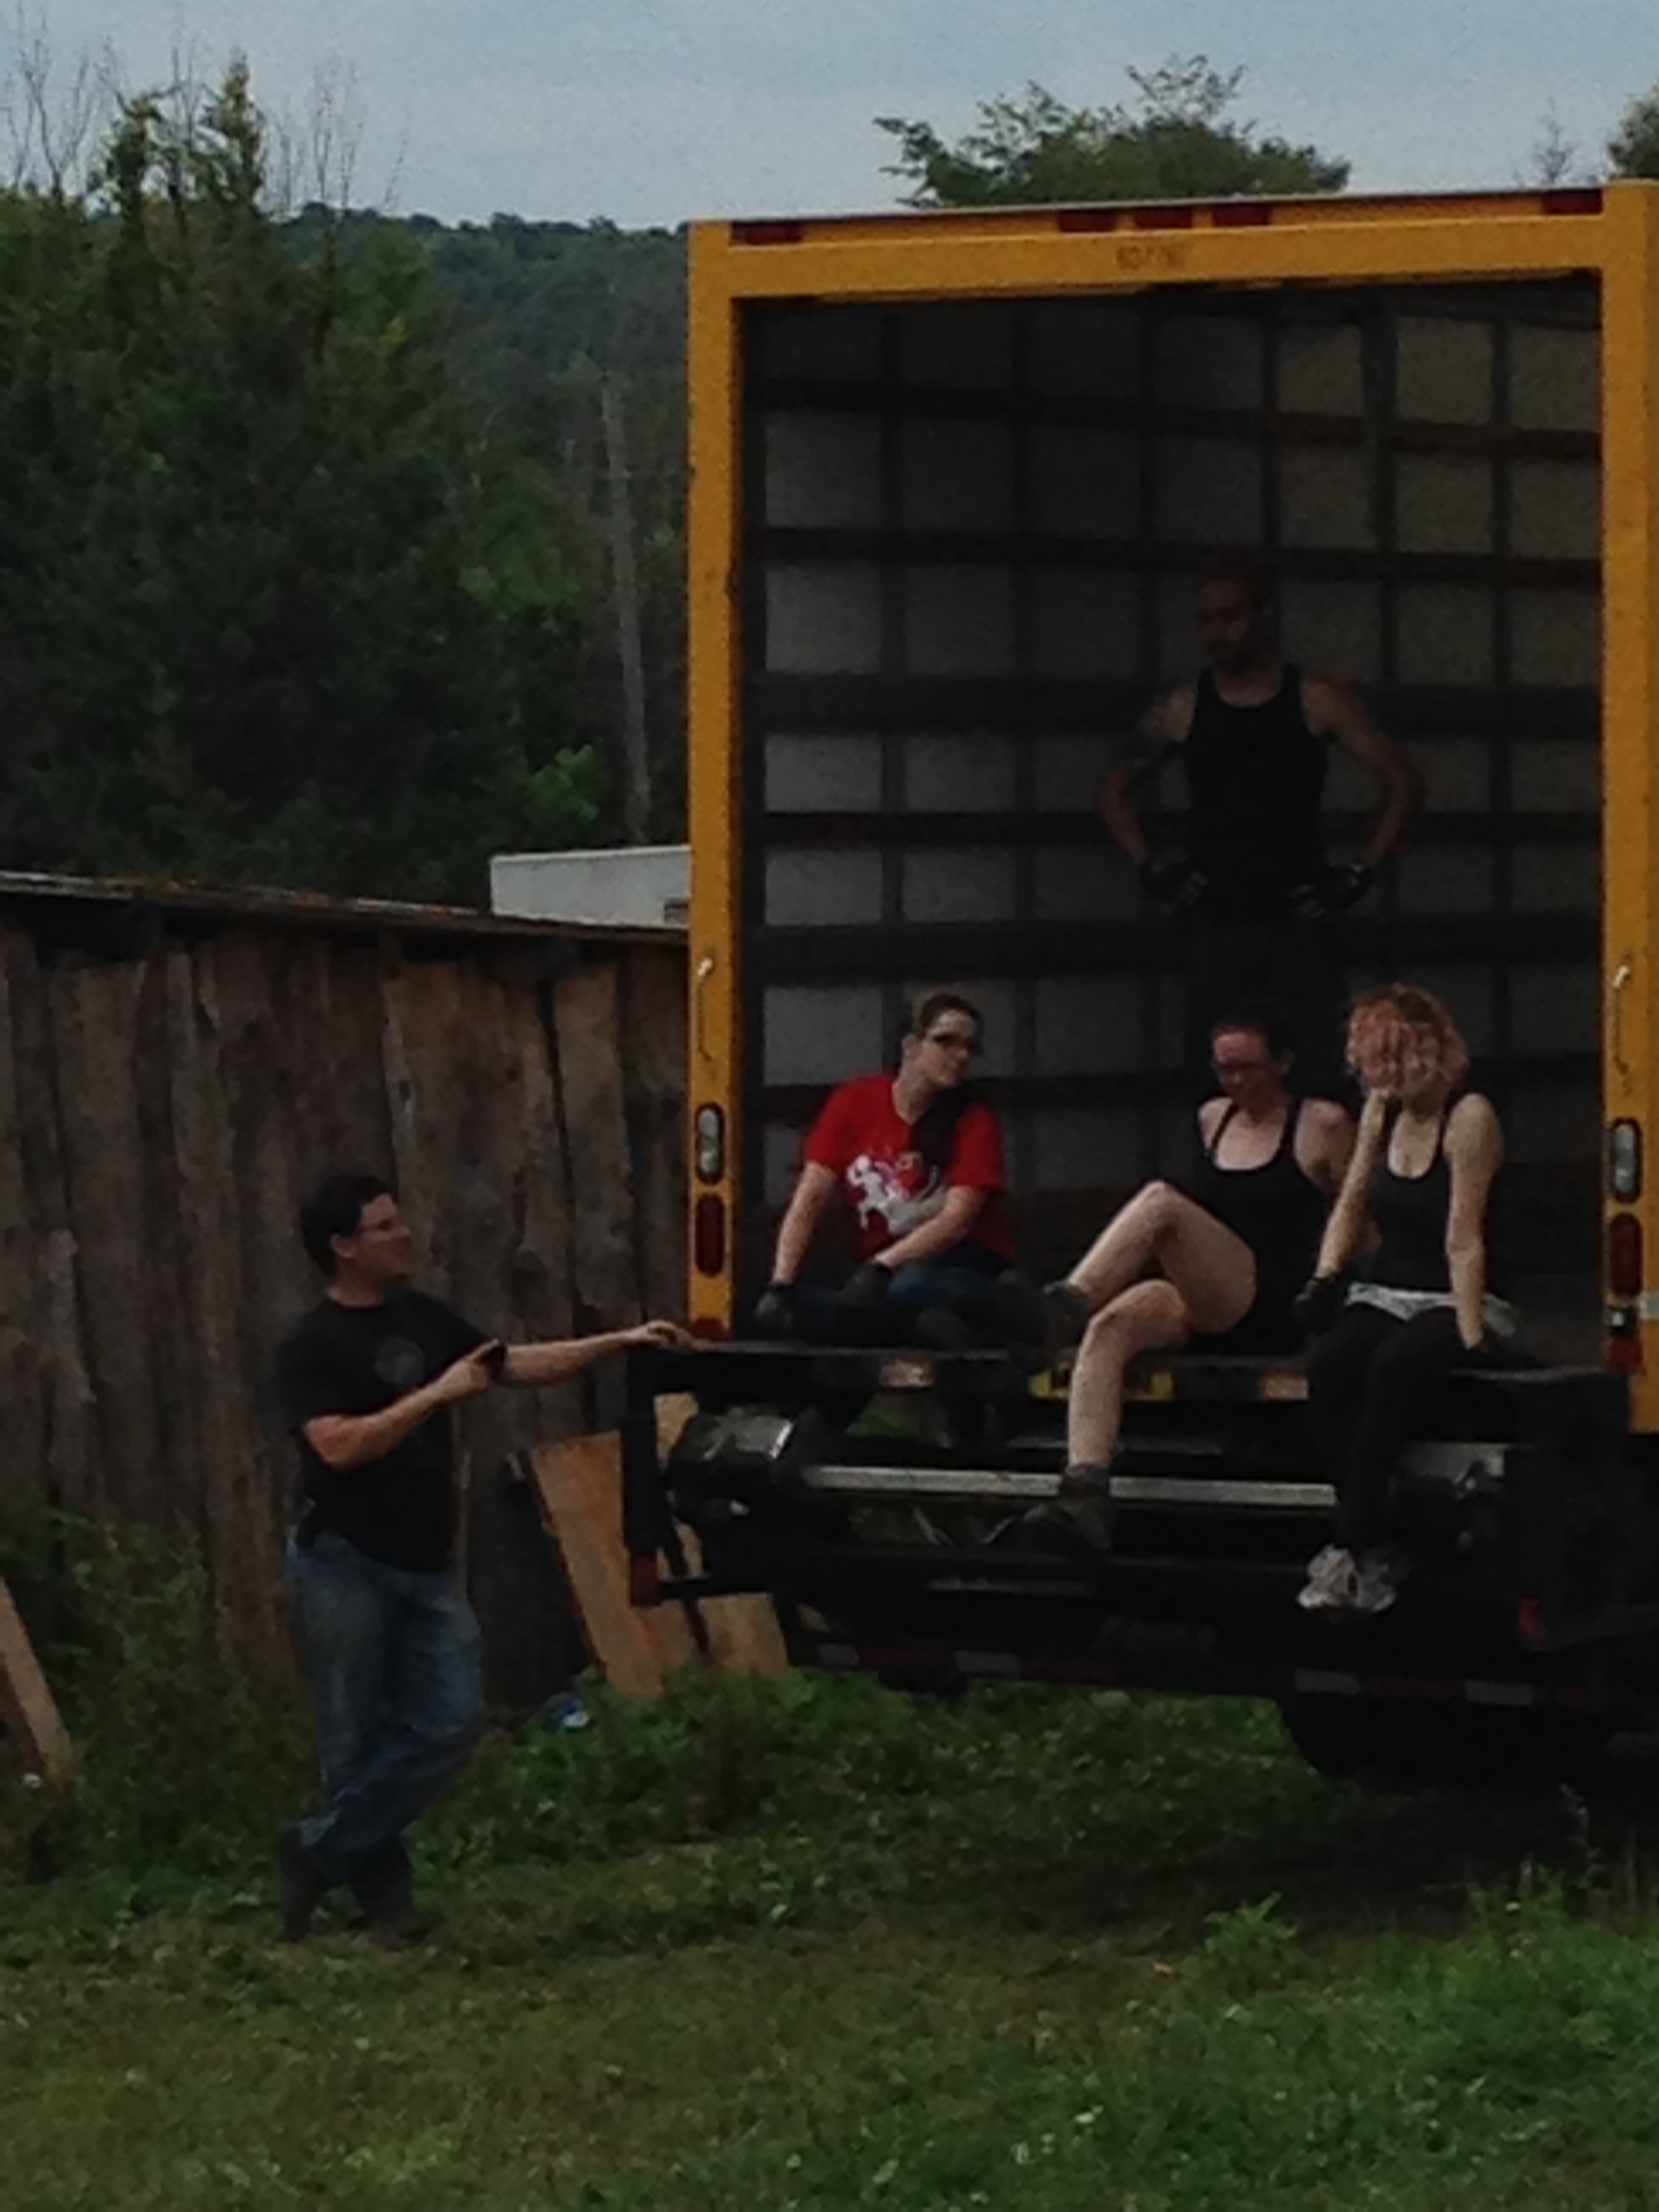
There was a lot to move, with teams at the large truck unloading, doing transport via pickup truck, and unloading the pickup trucks at the back field.
Marc, S, Mike, Carrie, and Kate take a rest in between heavy lifting.
So, if you’ll recall, the purpose (for us) of this weekend was to do as much of a build as we could, an integration test to make sure that our design and construction for Mirror Blaze were sound. Here’s the overhead view:
The Overhead view of the maze. This design was stable throughout the process. The only modification we made was to remove post 24 and its attached mirror.
Here’s the list of the mirrors and posts that we ended up using for the integration test. Note that we constructed the inner triangle surrounding the flame effect, along with a small corridor on the left so we could test the feeling of being inside the maze ablaze:
The list of parts we needed for the build.
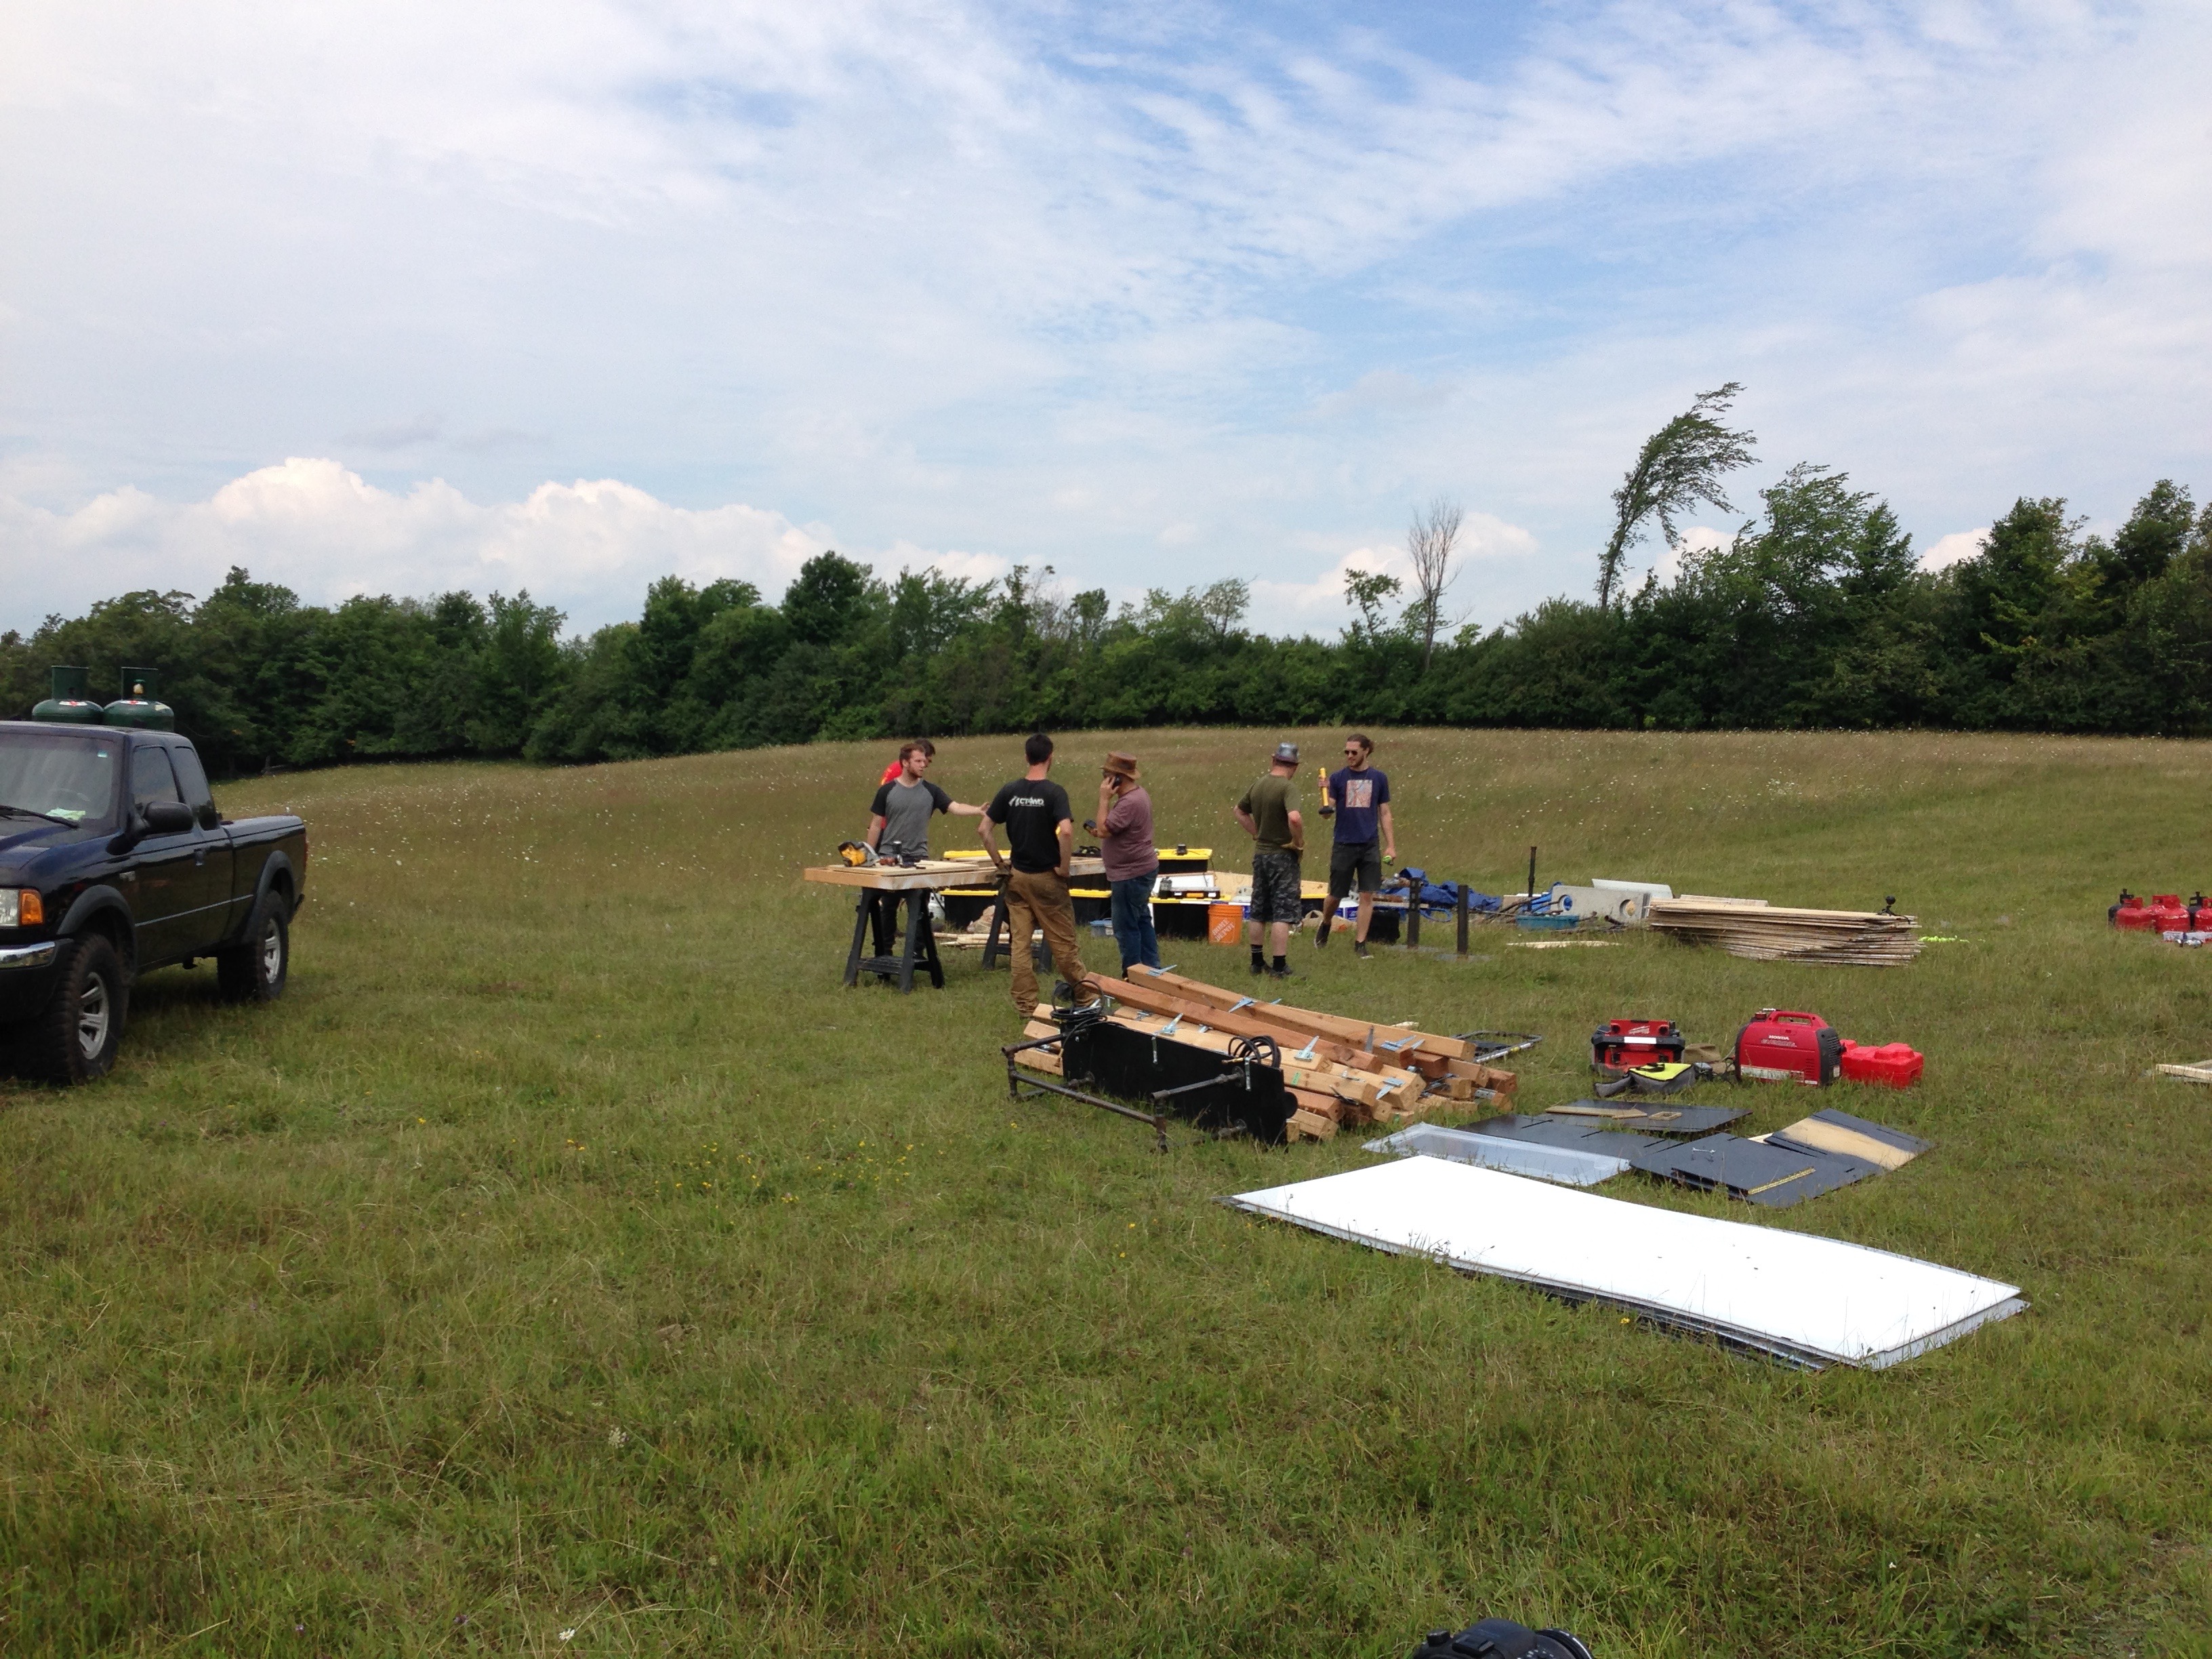
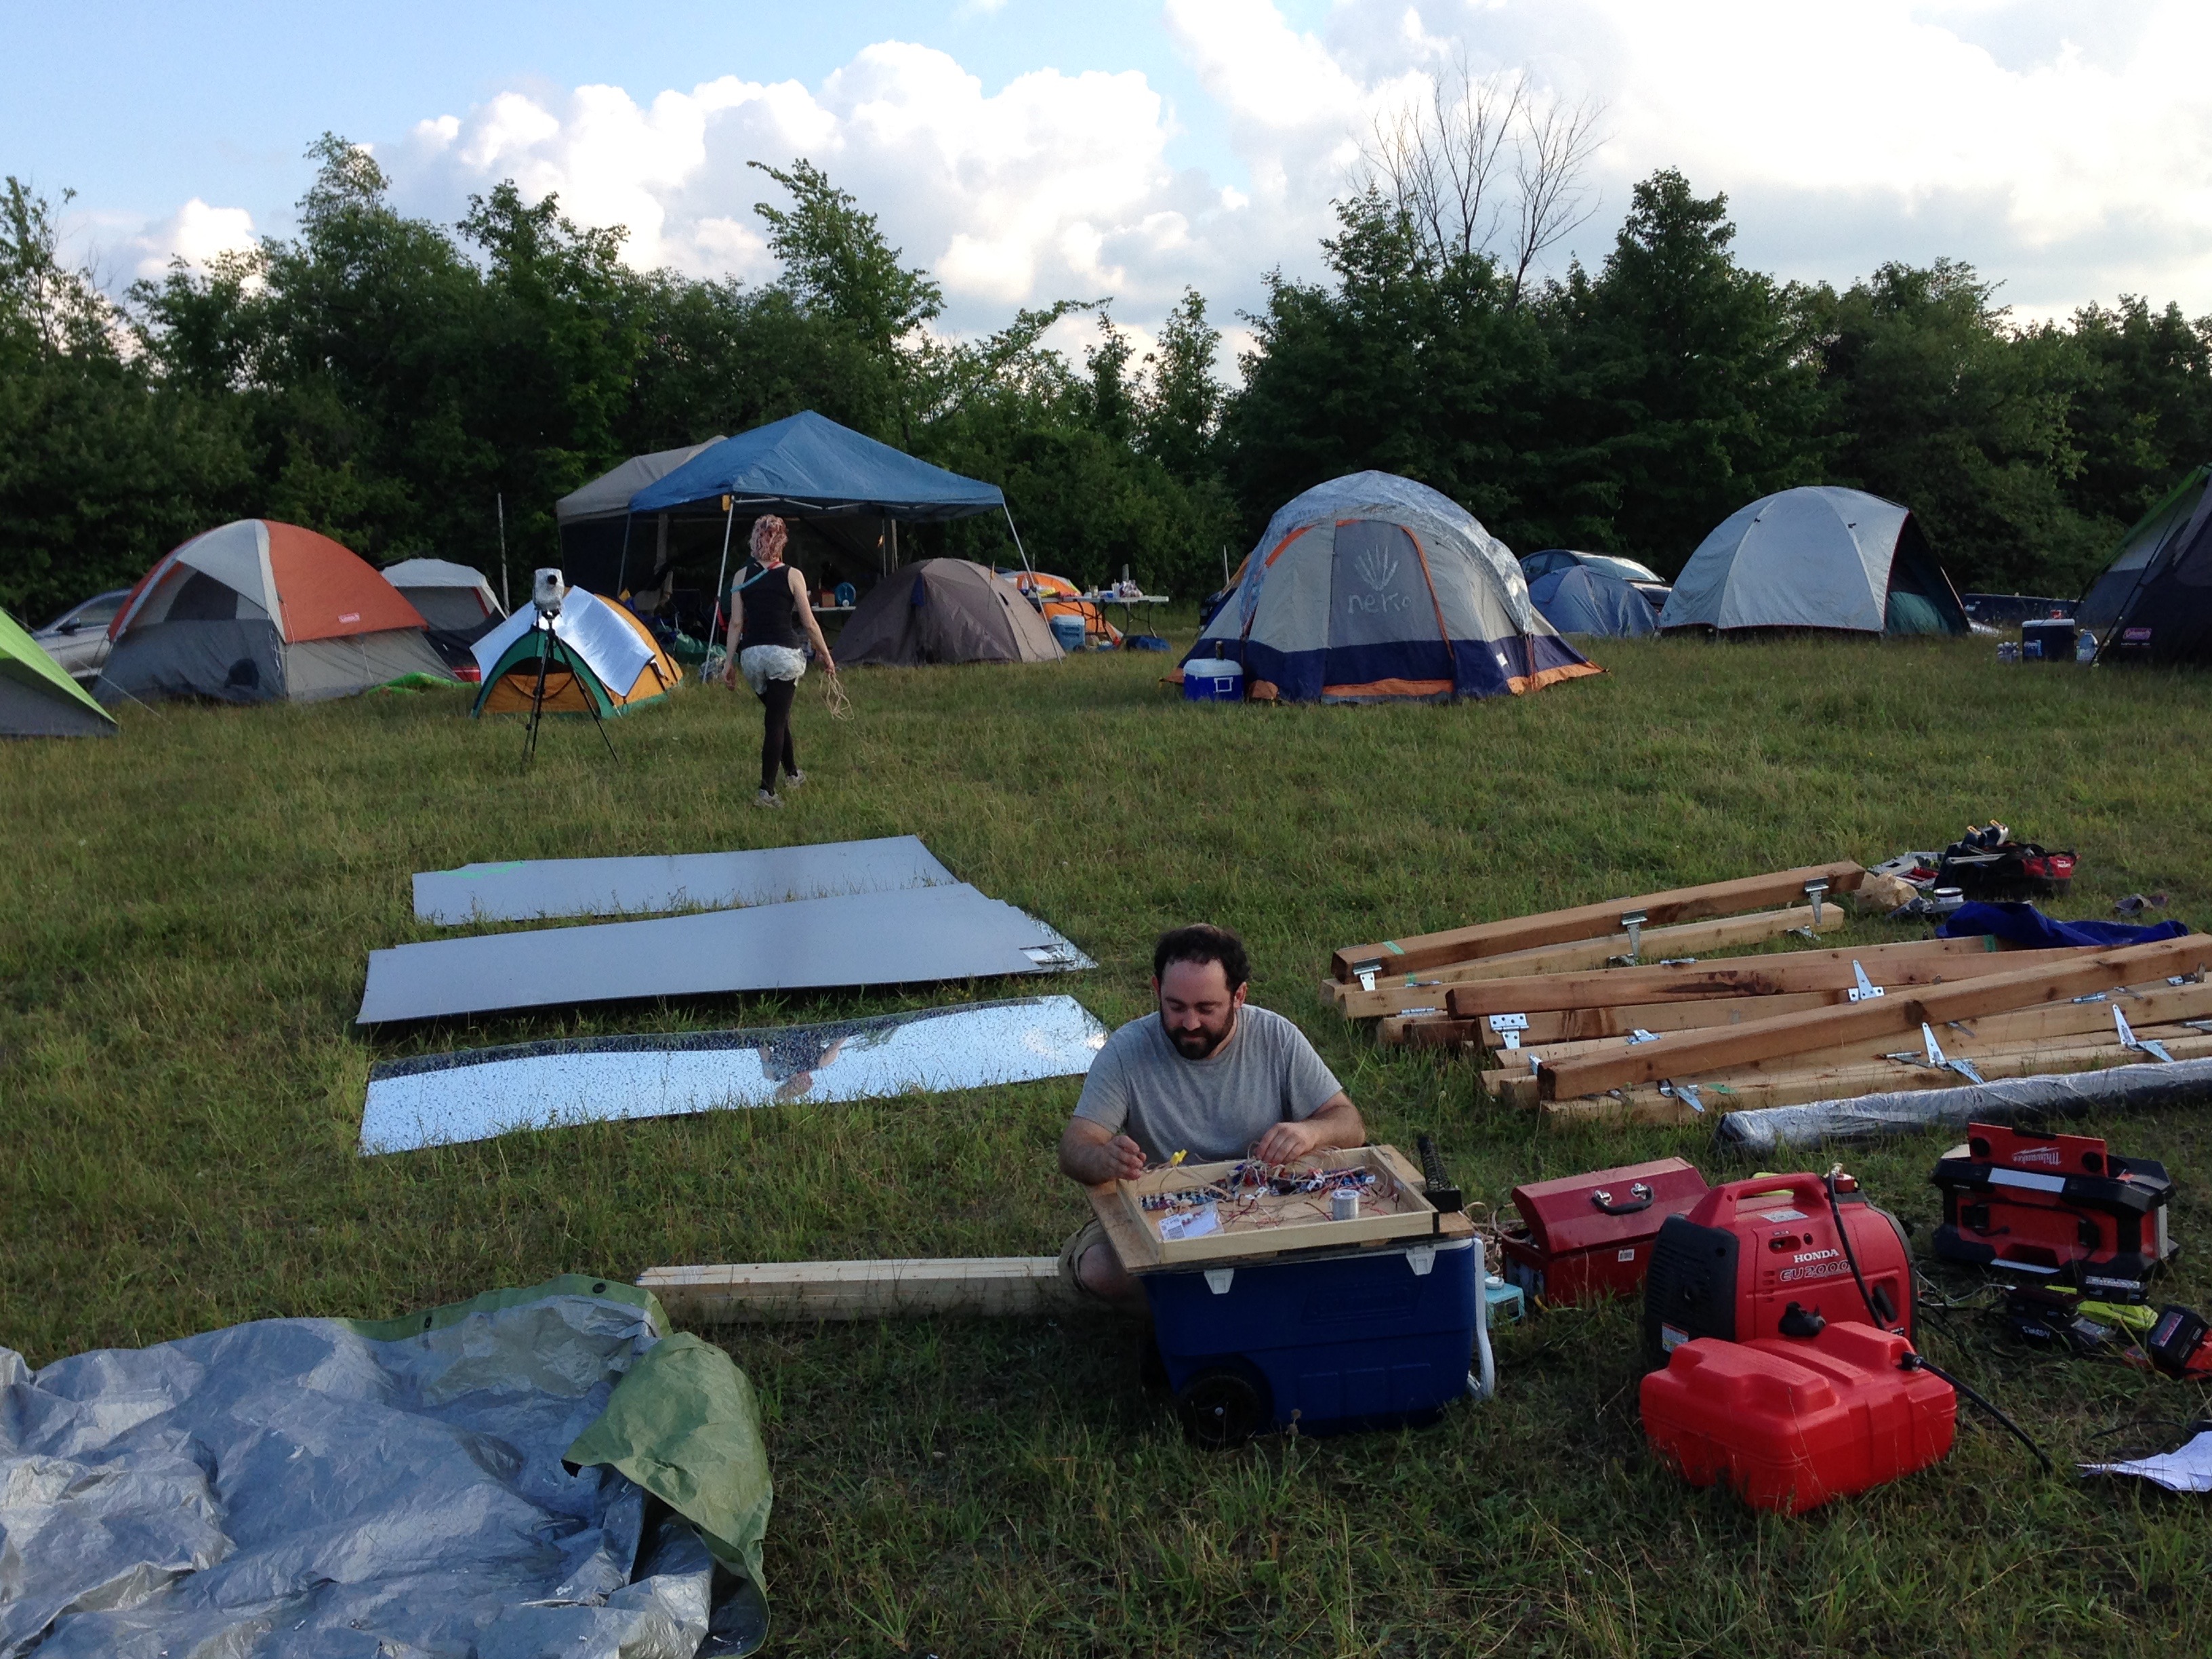
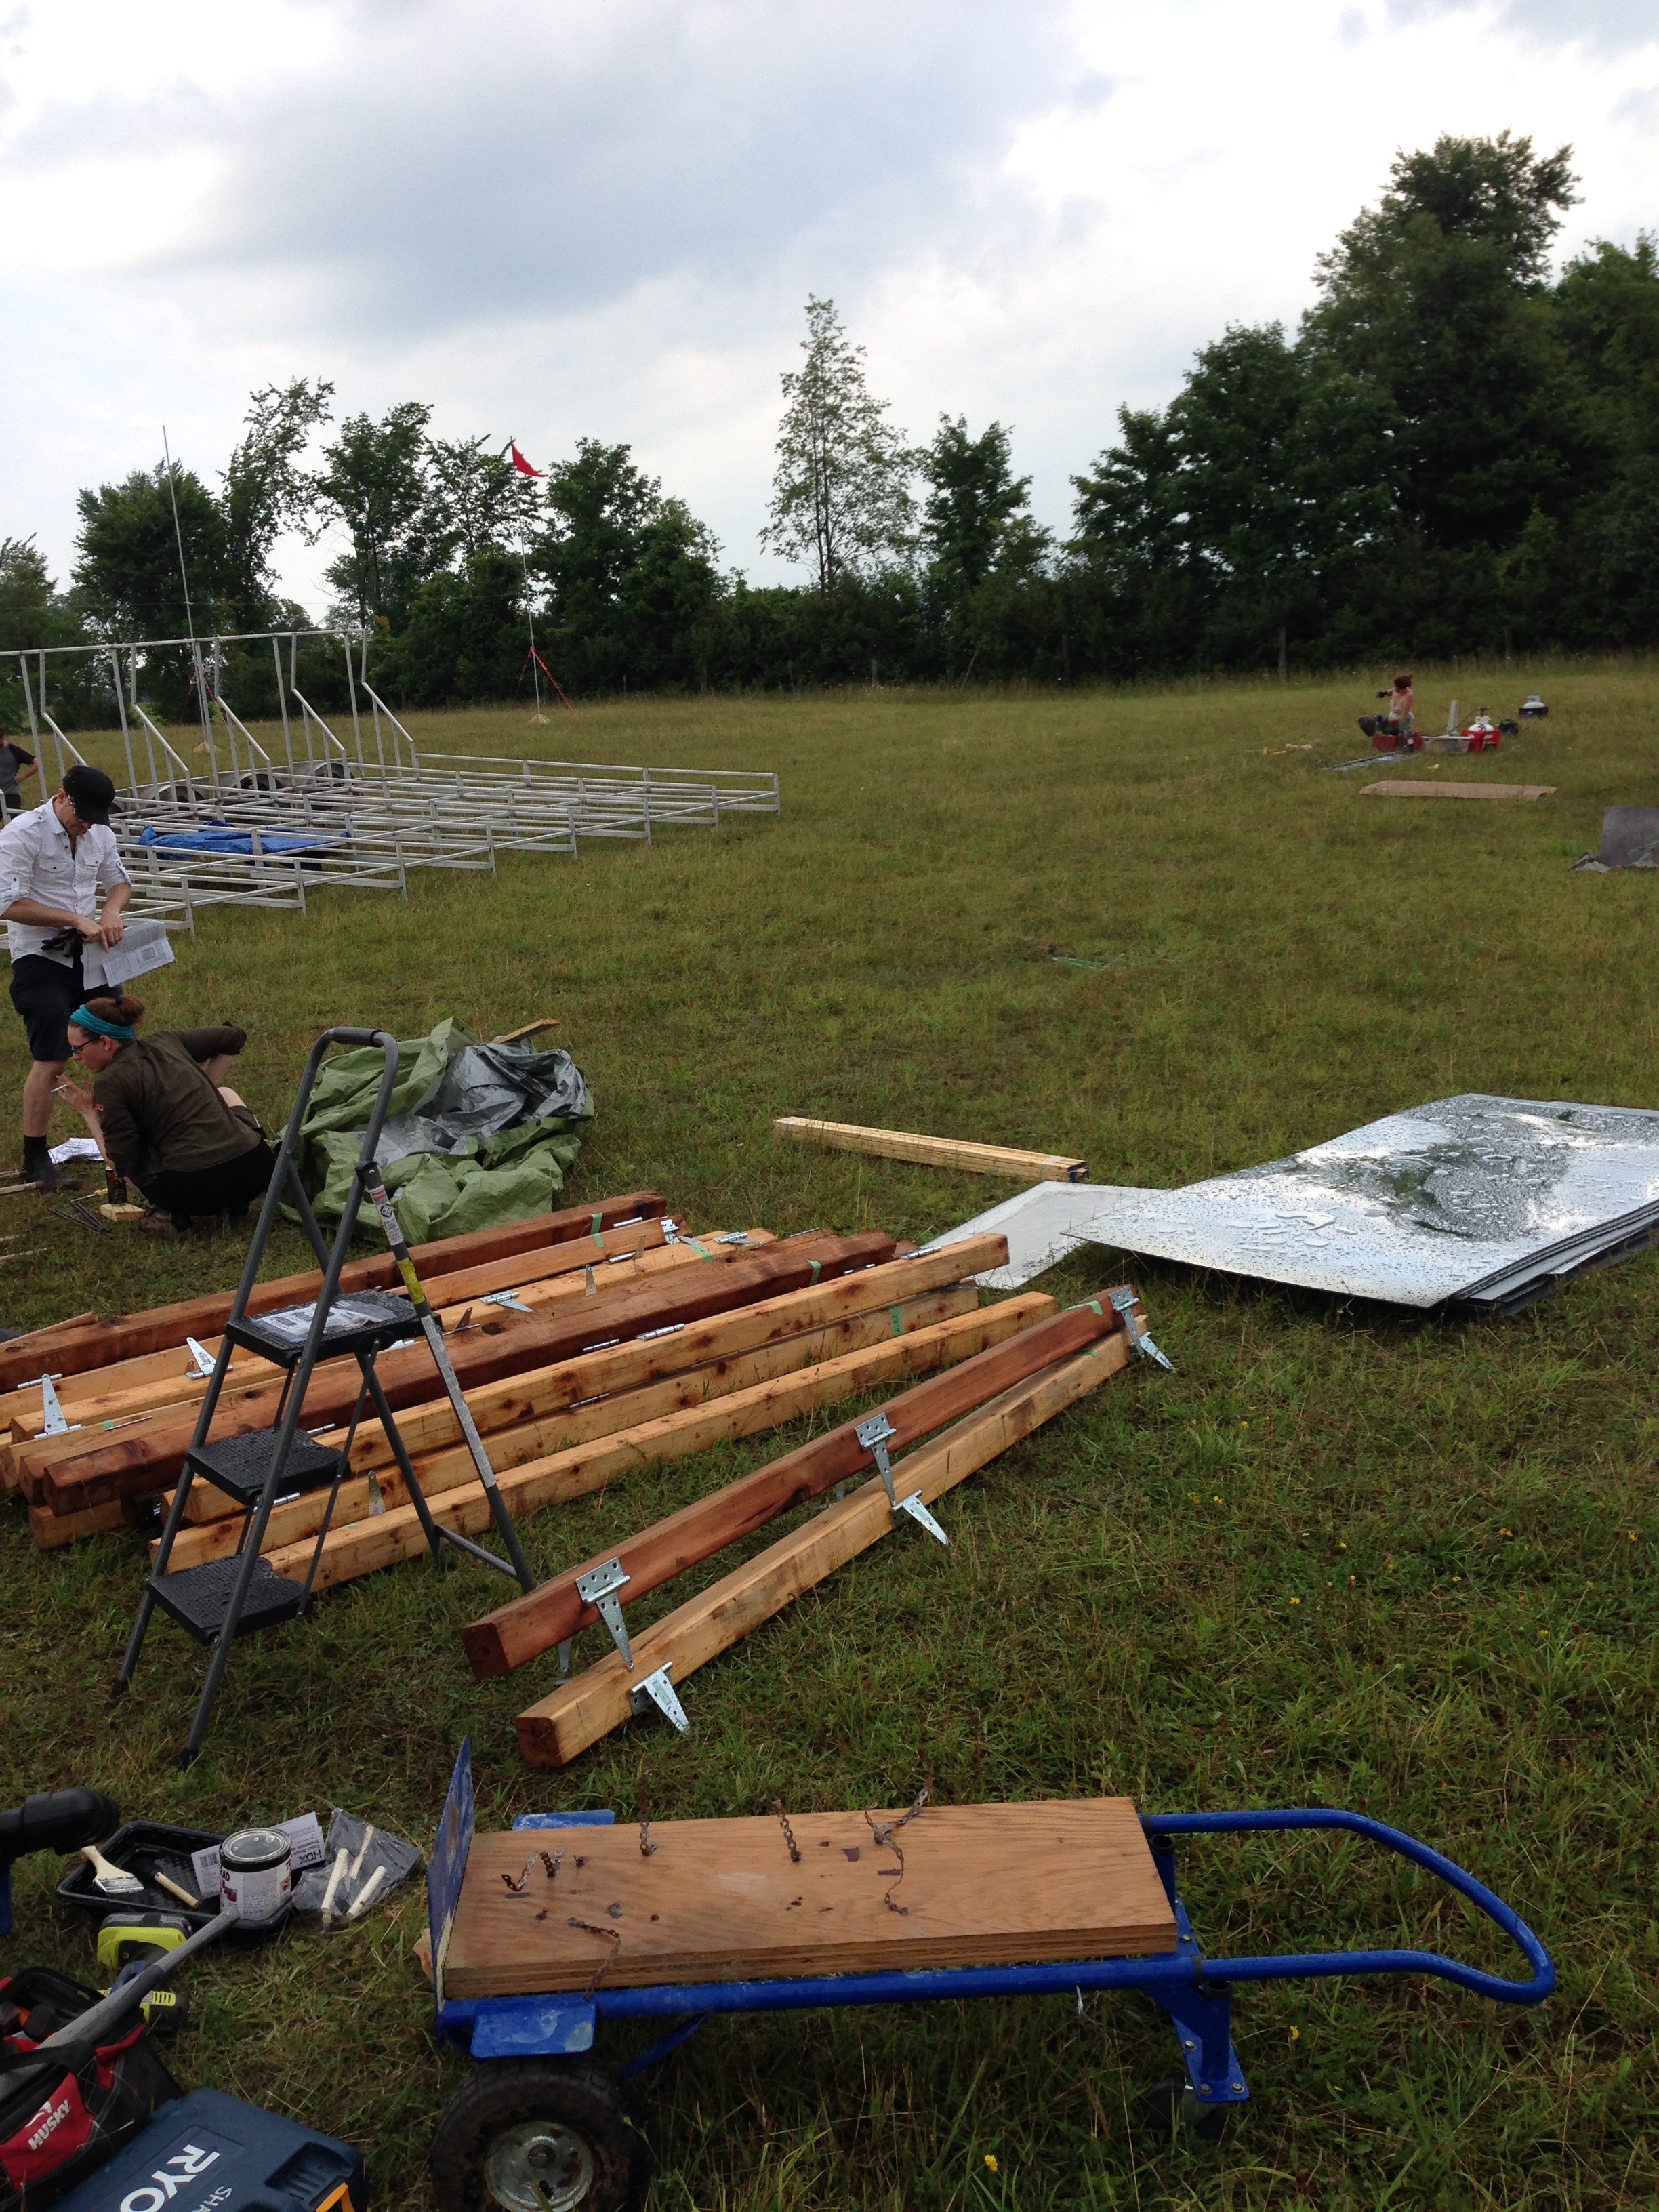
The next couple of pictures should give you a sense of the size of the area that we were fortunate enough to have to play with for the integration weekend (and the incredible number of people who came to help out, my apologies for names I’ve missed). Also, you can see the staging area where the pickup trucks would drop off parts for the various installations:
The unloading depot for the back field. In the foreground, you can see a selection of parts from Francis and Mirror Blaze. Background l-r: Case, Seth, Patrick, Rob, Fee, John.
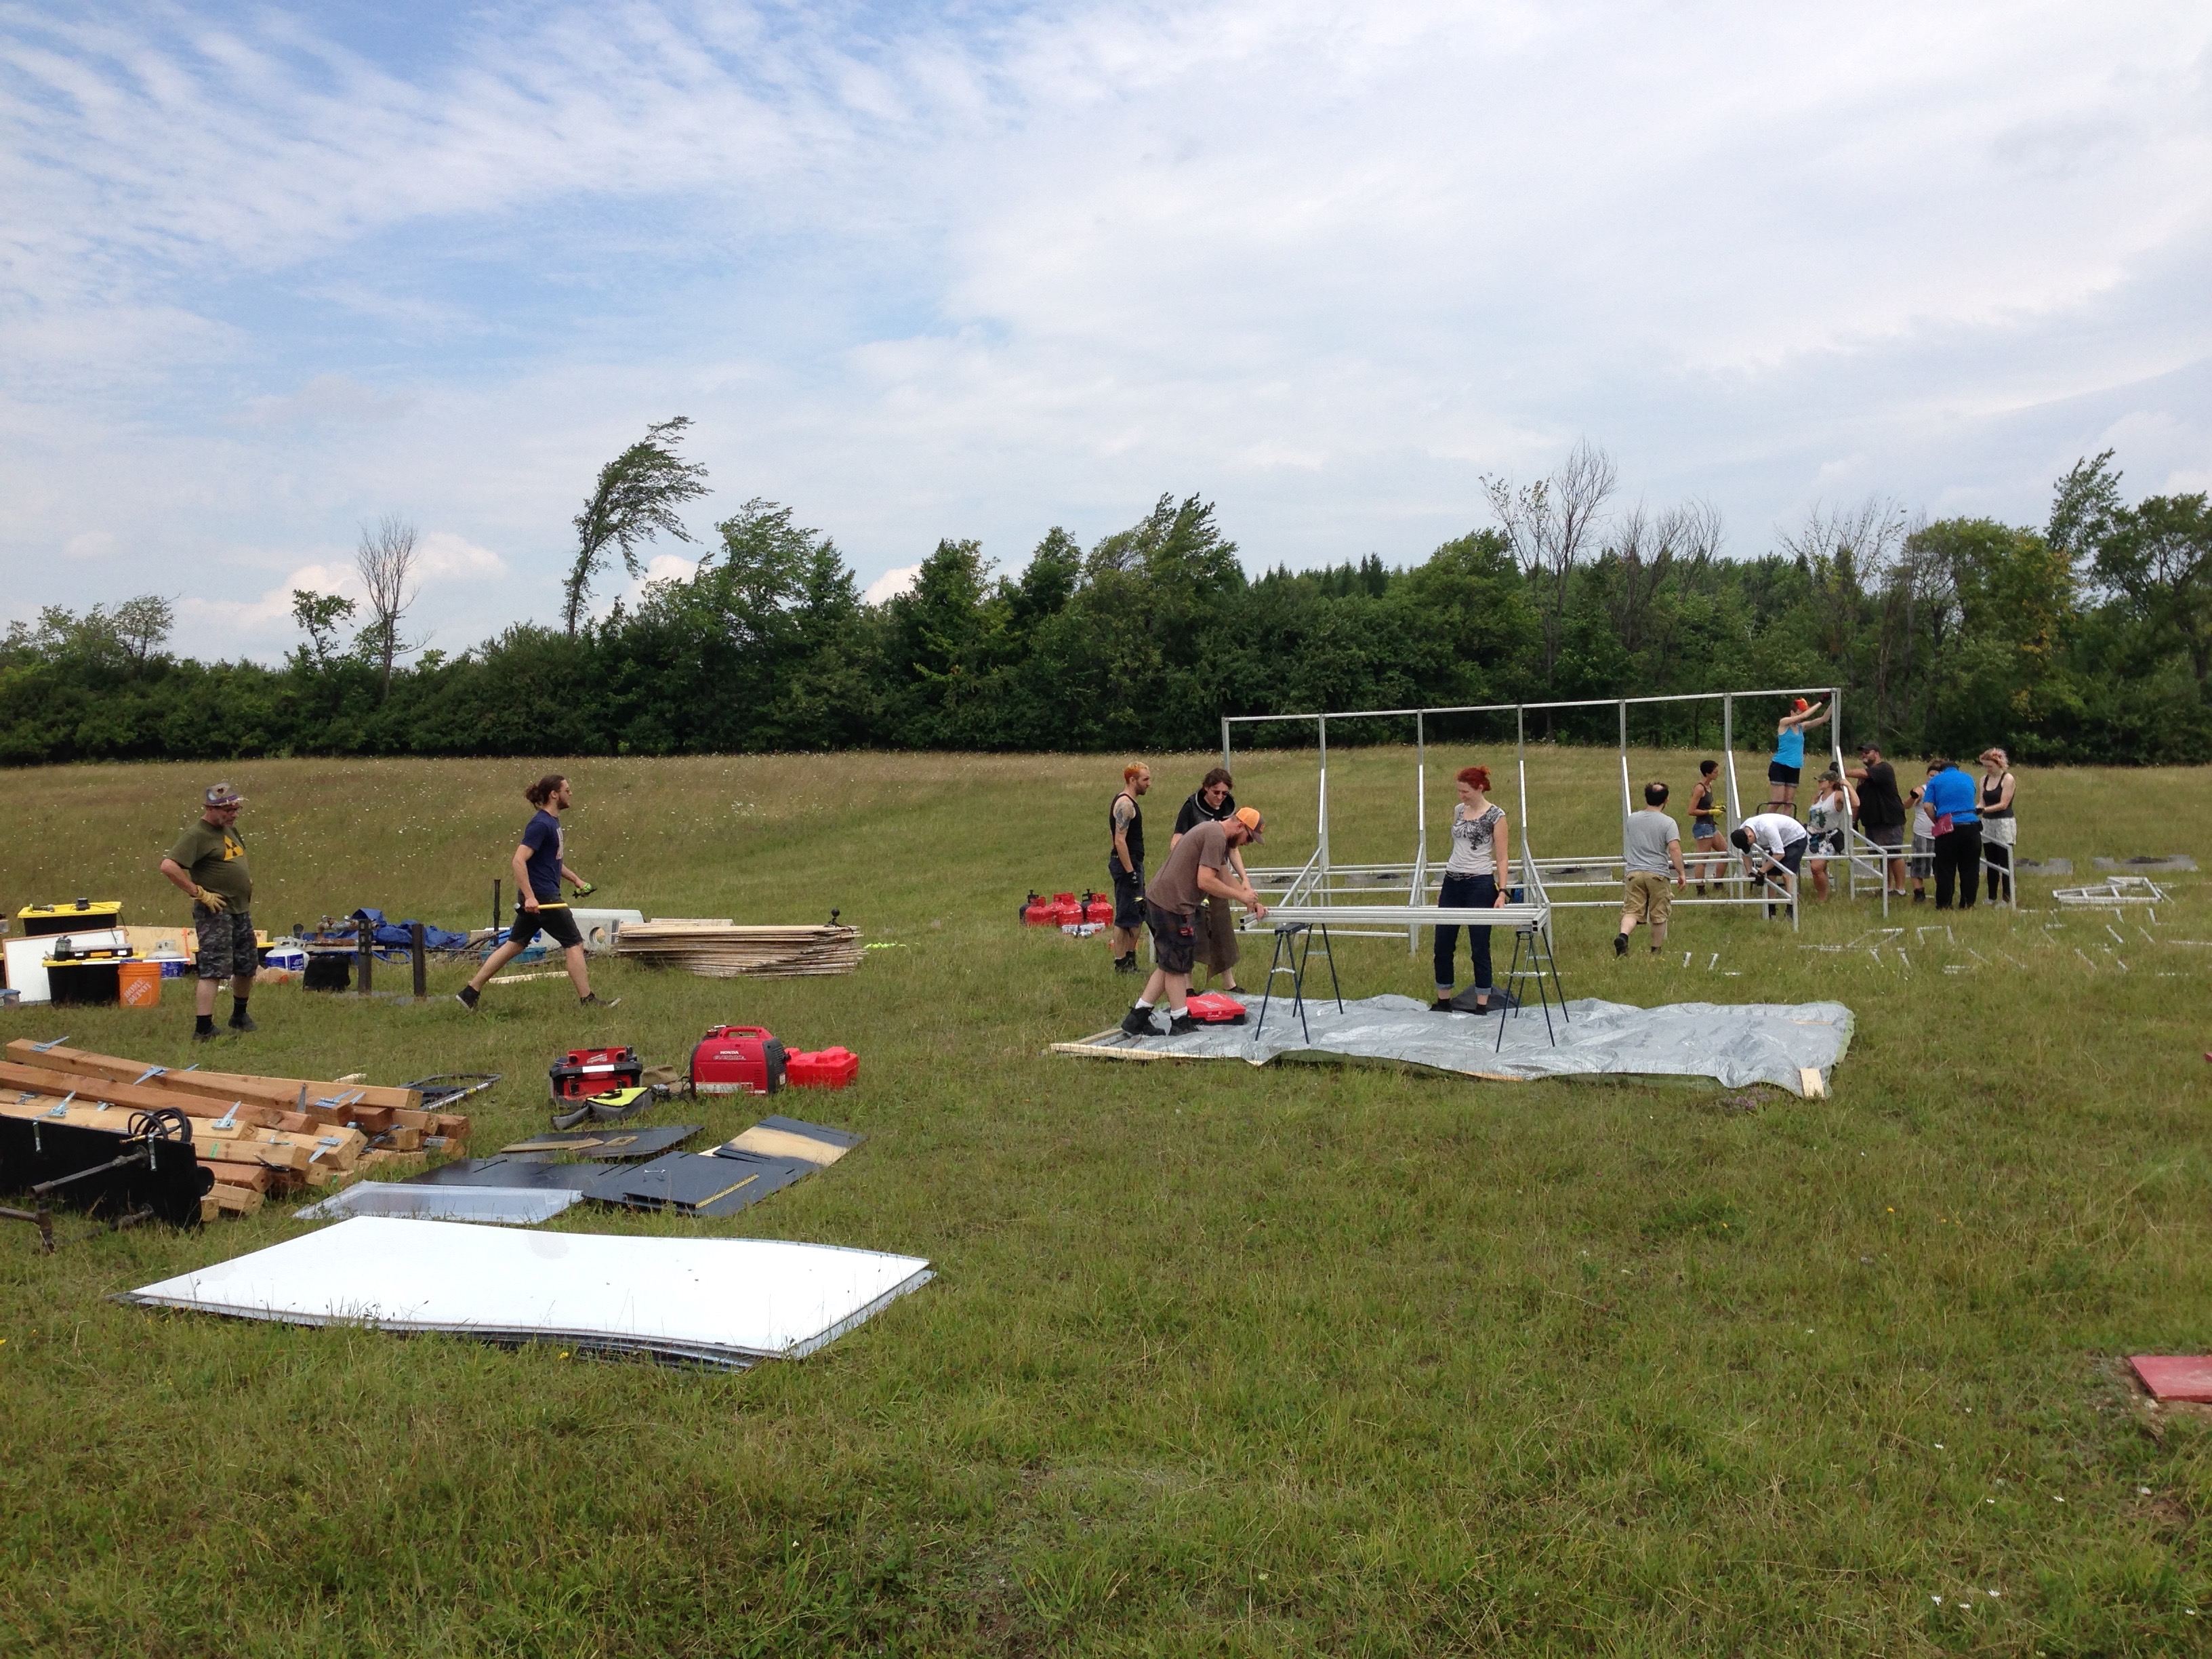
Here you can get an idea of the scale of Riskee Ball:
Whole hosts of people starting work on Riskee Ball! l-r: Fee, John, Mike, Arcturus, ?,?,Magical Trevyn, Andrea, Callum,Sara,Paula,?,Trish,Francisco,Kate
Silicone place mats did the trick, preventing abrasions from the metal stand onto the quartz tube!:
S and Patrick work on affixing the silicone place mats to the quartz tube stand.
Not visible in this picture: The rebar holding the post:
I really enjoy making .gifs, especially ones that include such joy:
S & Jim work together to attach a mirror.
Stay tuned next time for more integratey goodness!
[1]This was similar to the occasion when we had to move biosafety cabinets from one part of campus to another, where the loading dock was around a corner where the large trucks could not go. The solution was the same, offloading onto a pickup truck.
[2]I think one was Seth’s, and I don’t remember who had brought the other one.
Last time, we talked about learning to weld, so that we could build a stand for the quartz tube for the first integration weekend[1].
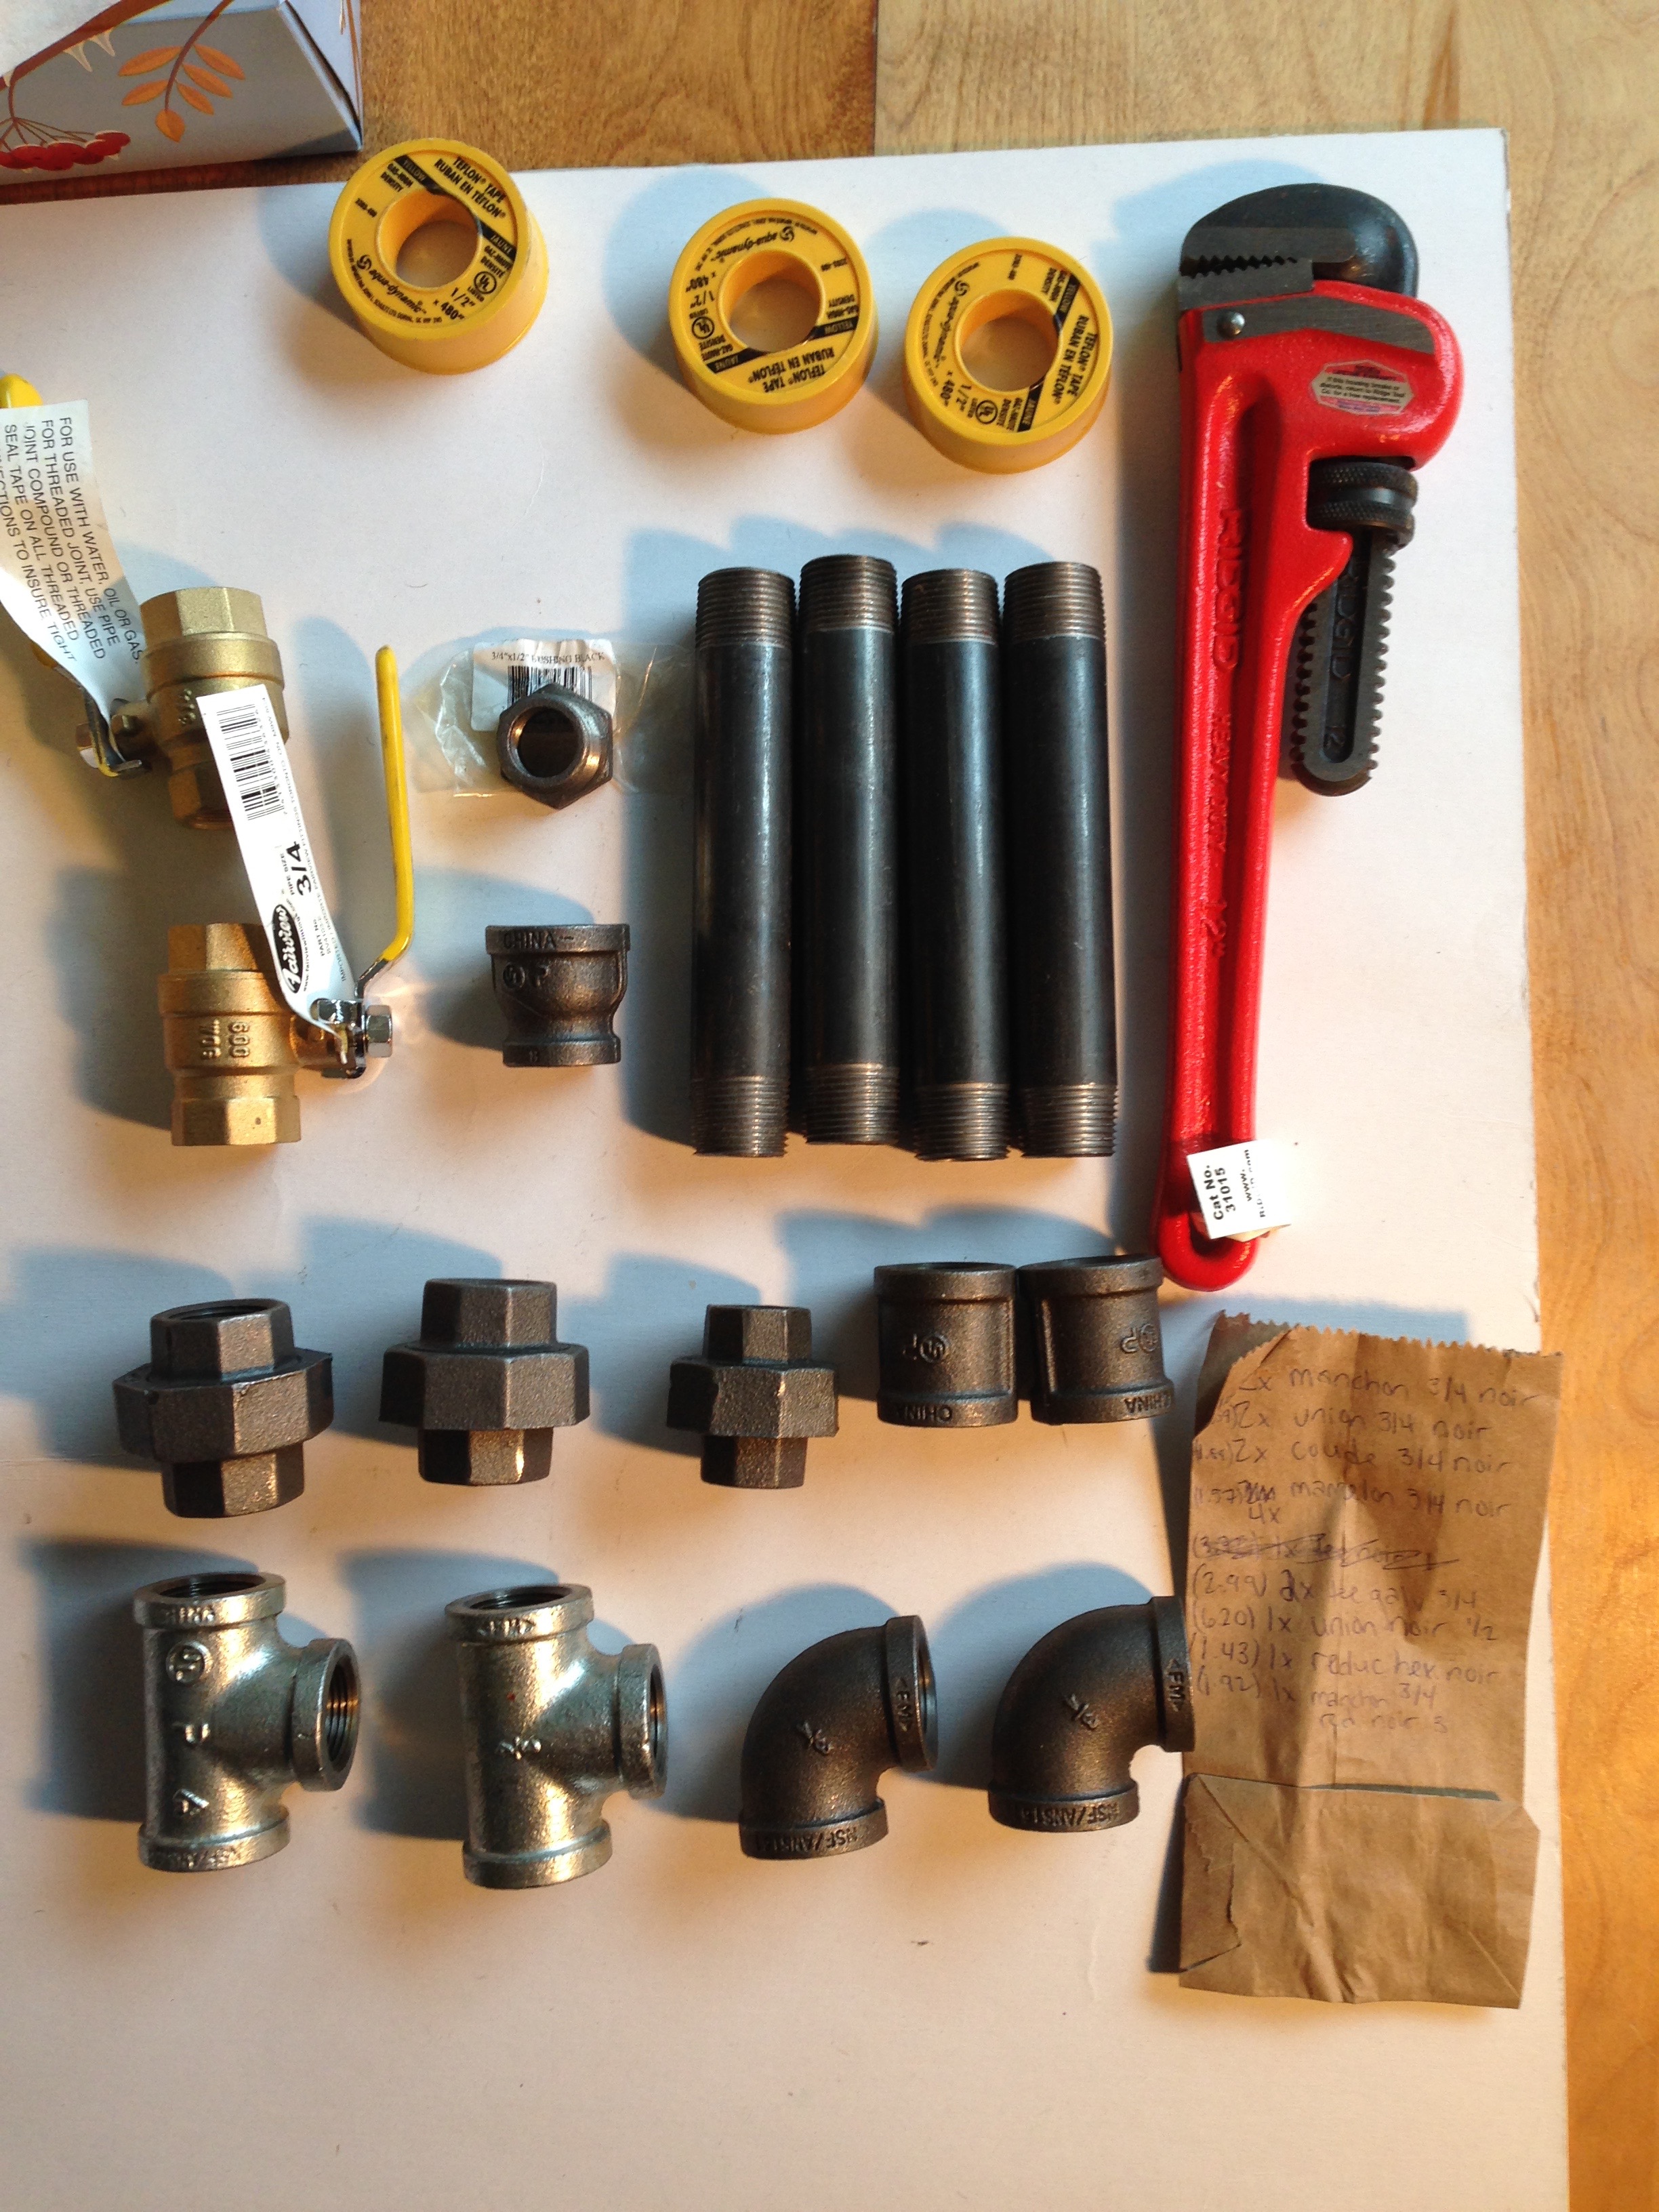
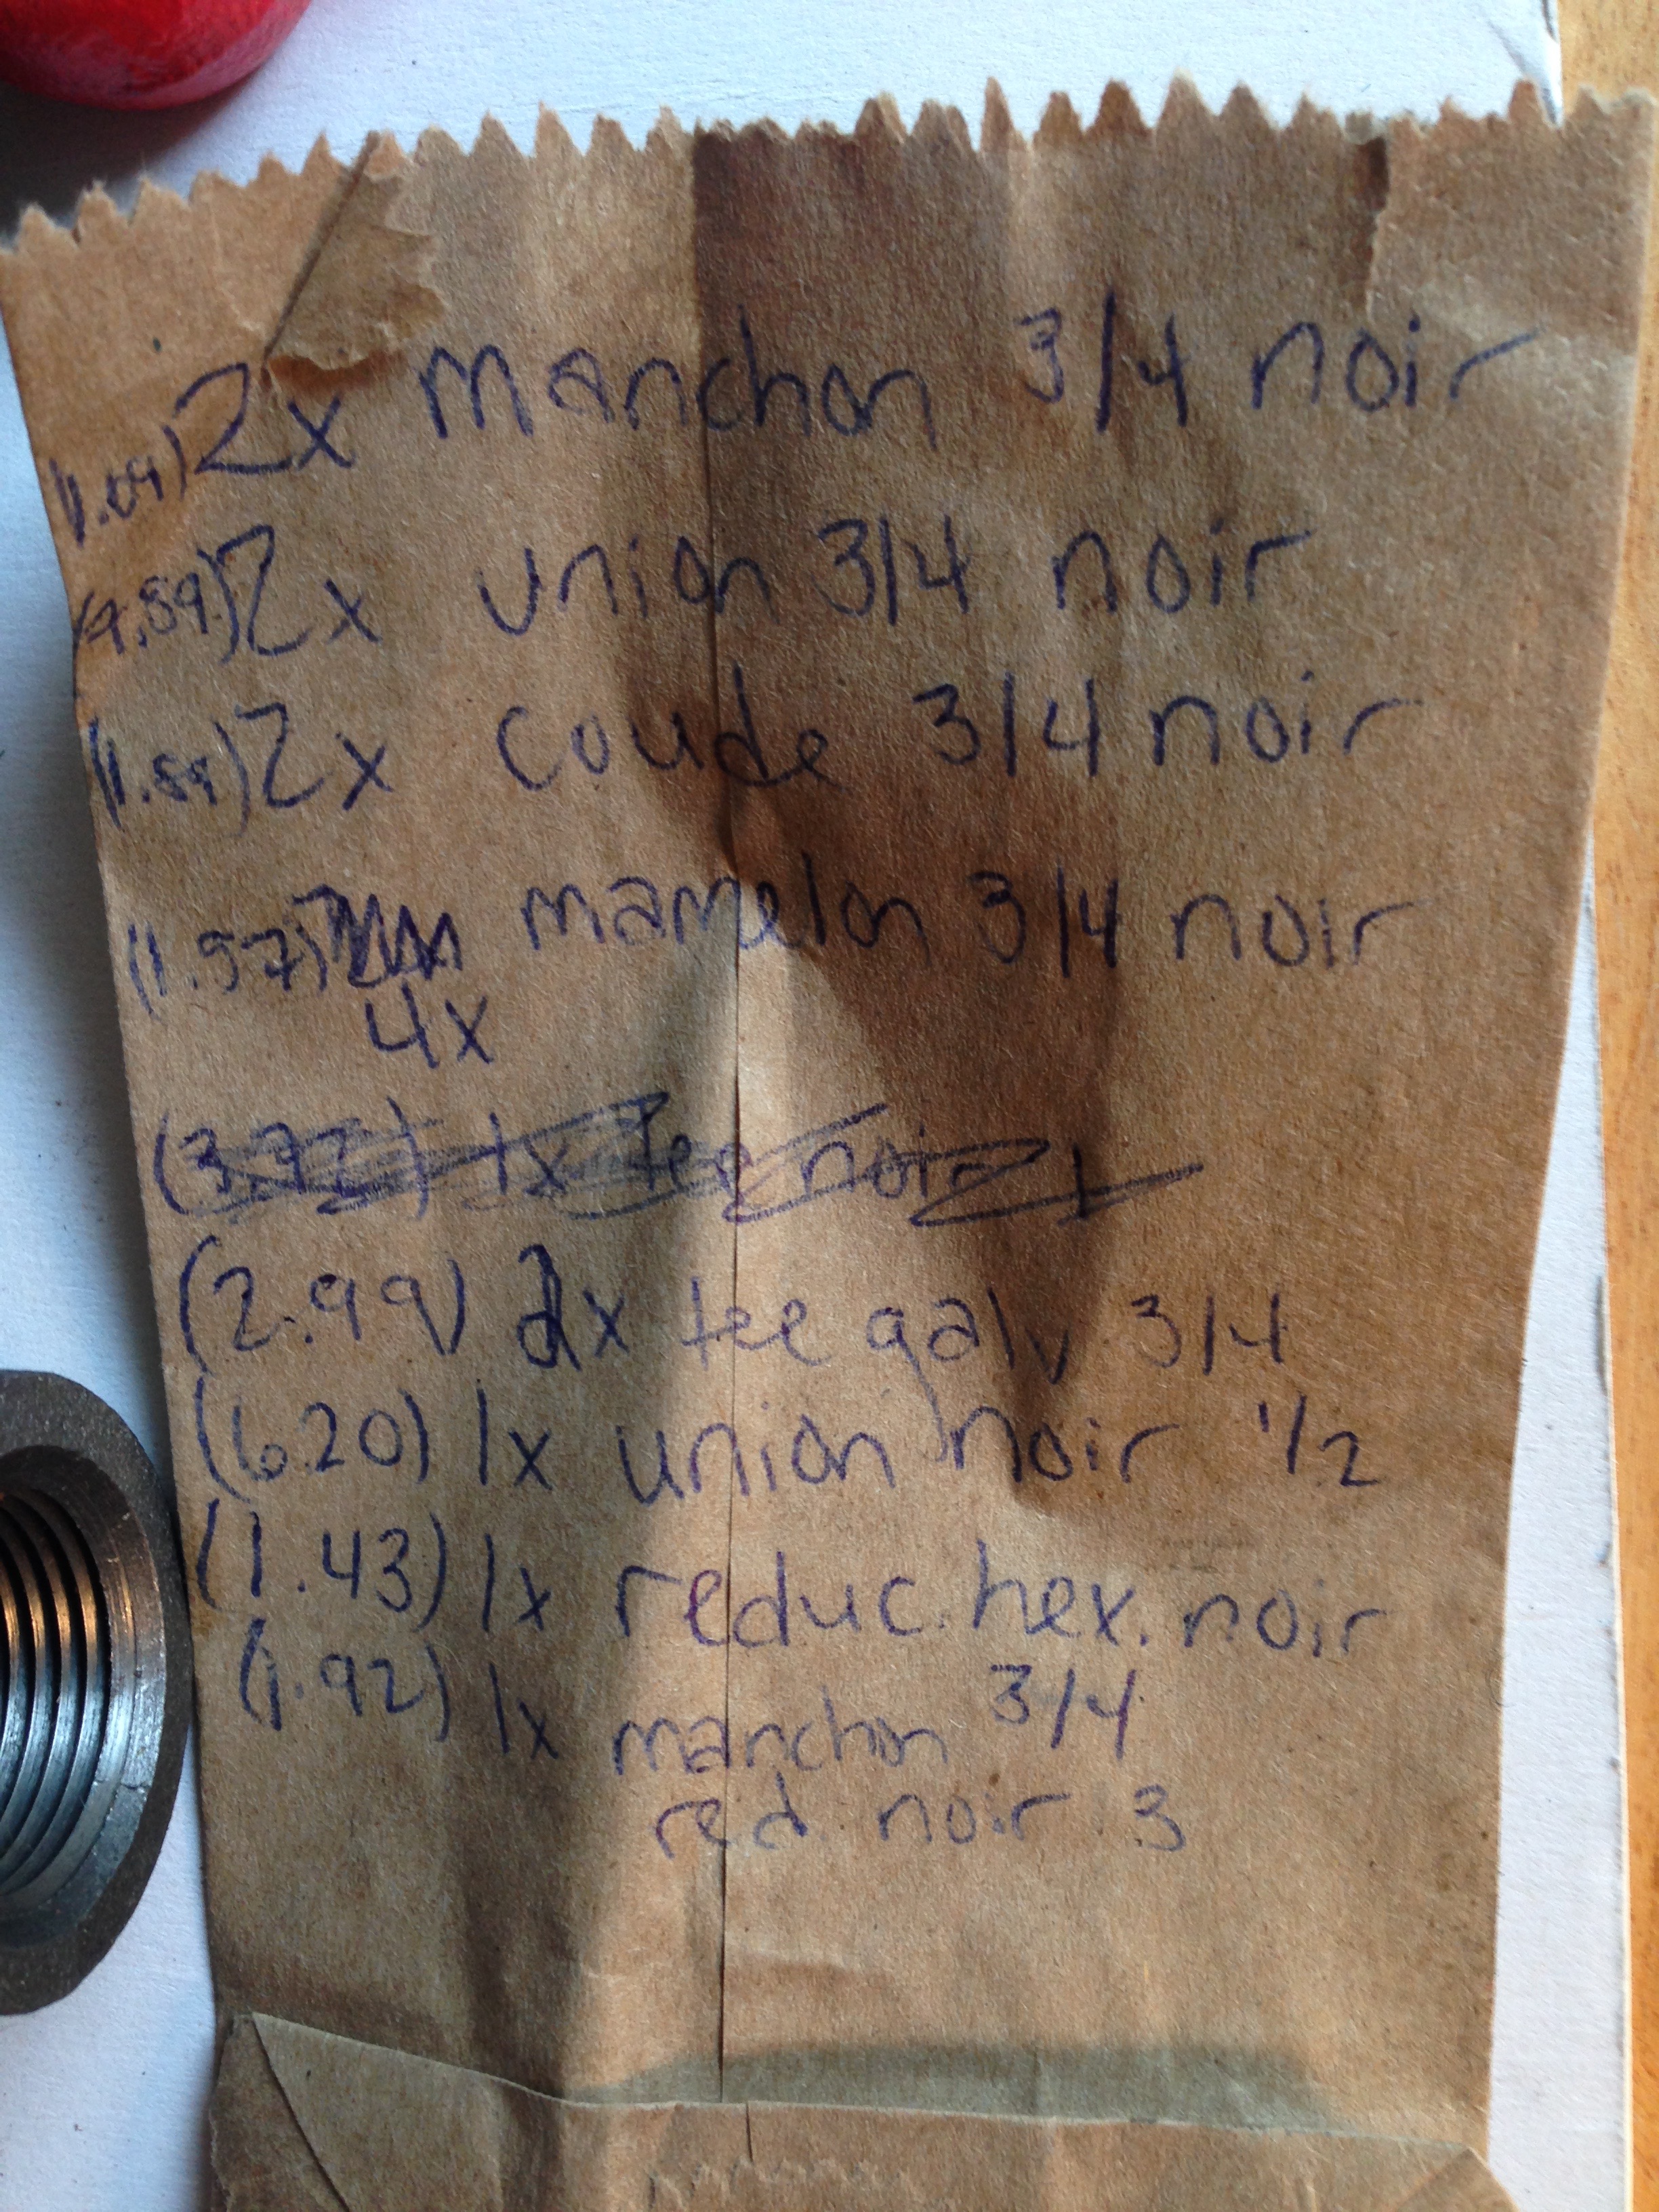
First, we had to make sure we had all of the parts for our flame effect (and that we had built it!). Luckily, we had purchased all of the parts during our expedition to the excellent Helios makerspace in Montreal (post forthcoming):
The parts for one flame effect ‘Flamey’.The list of the parts shown. Note that this was written at a most excellent parts store in Montreal where we were visiting the also most excellent Helios makerspace.
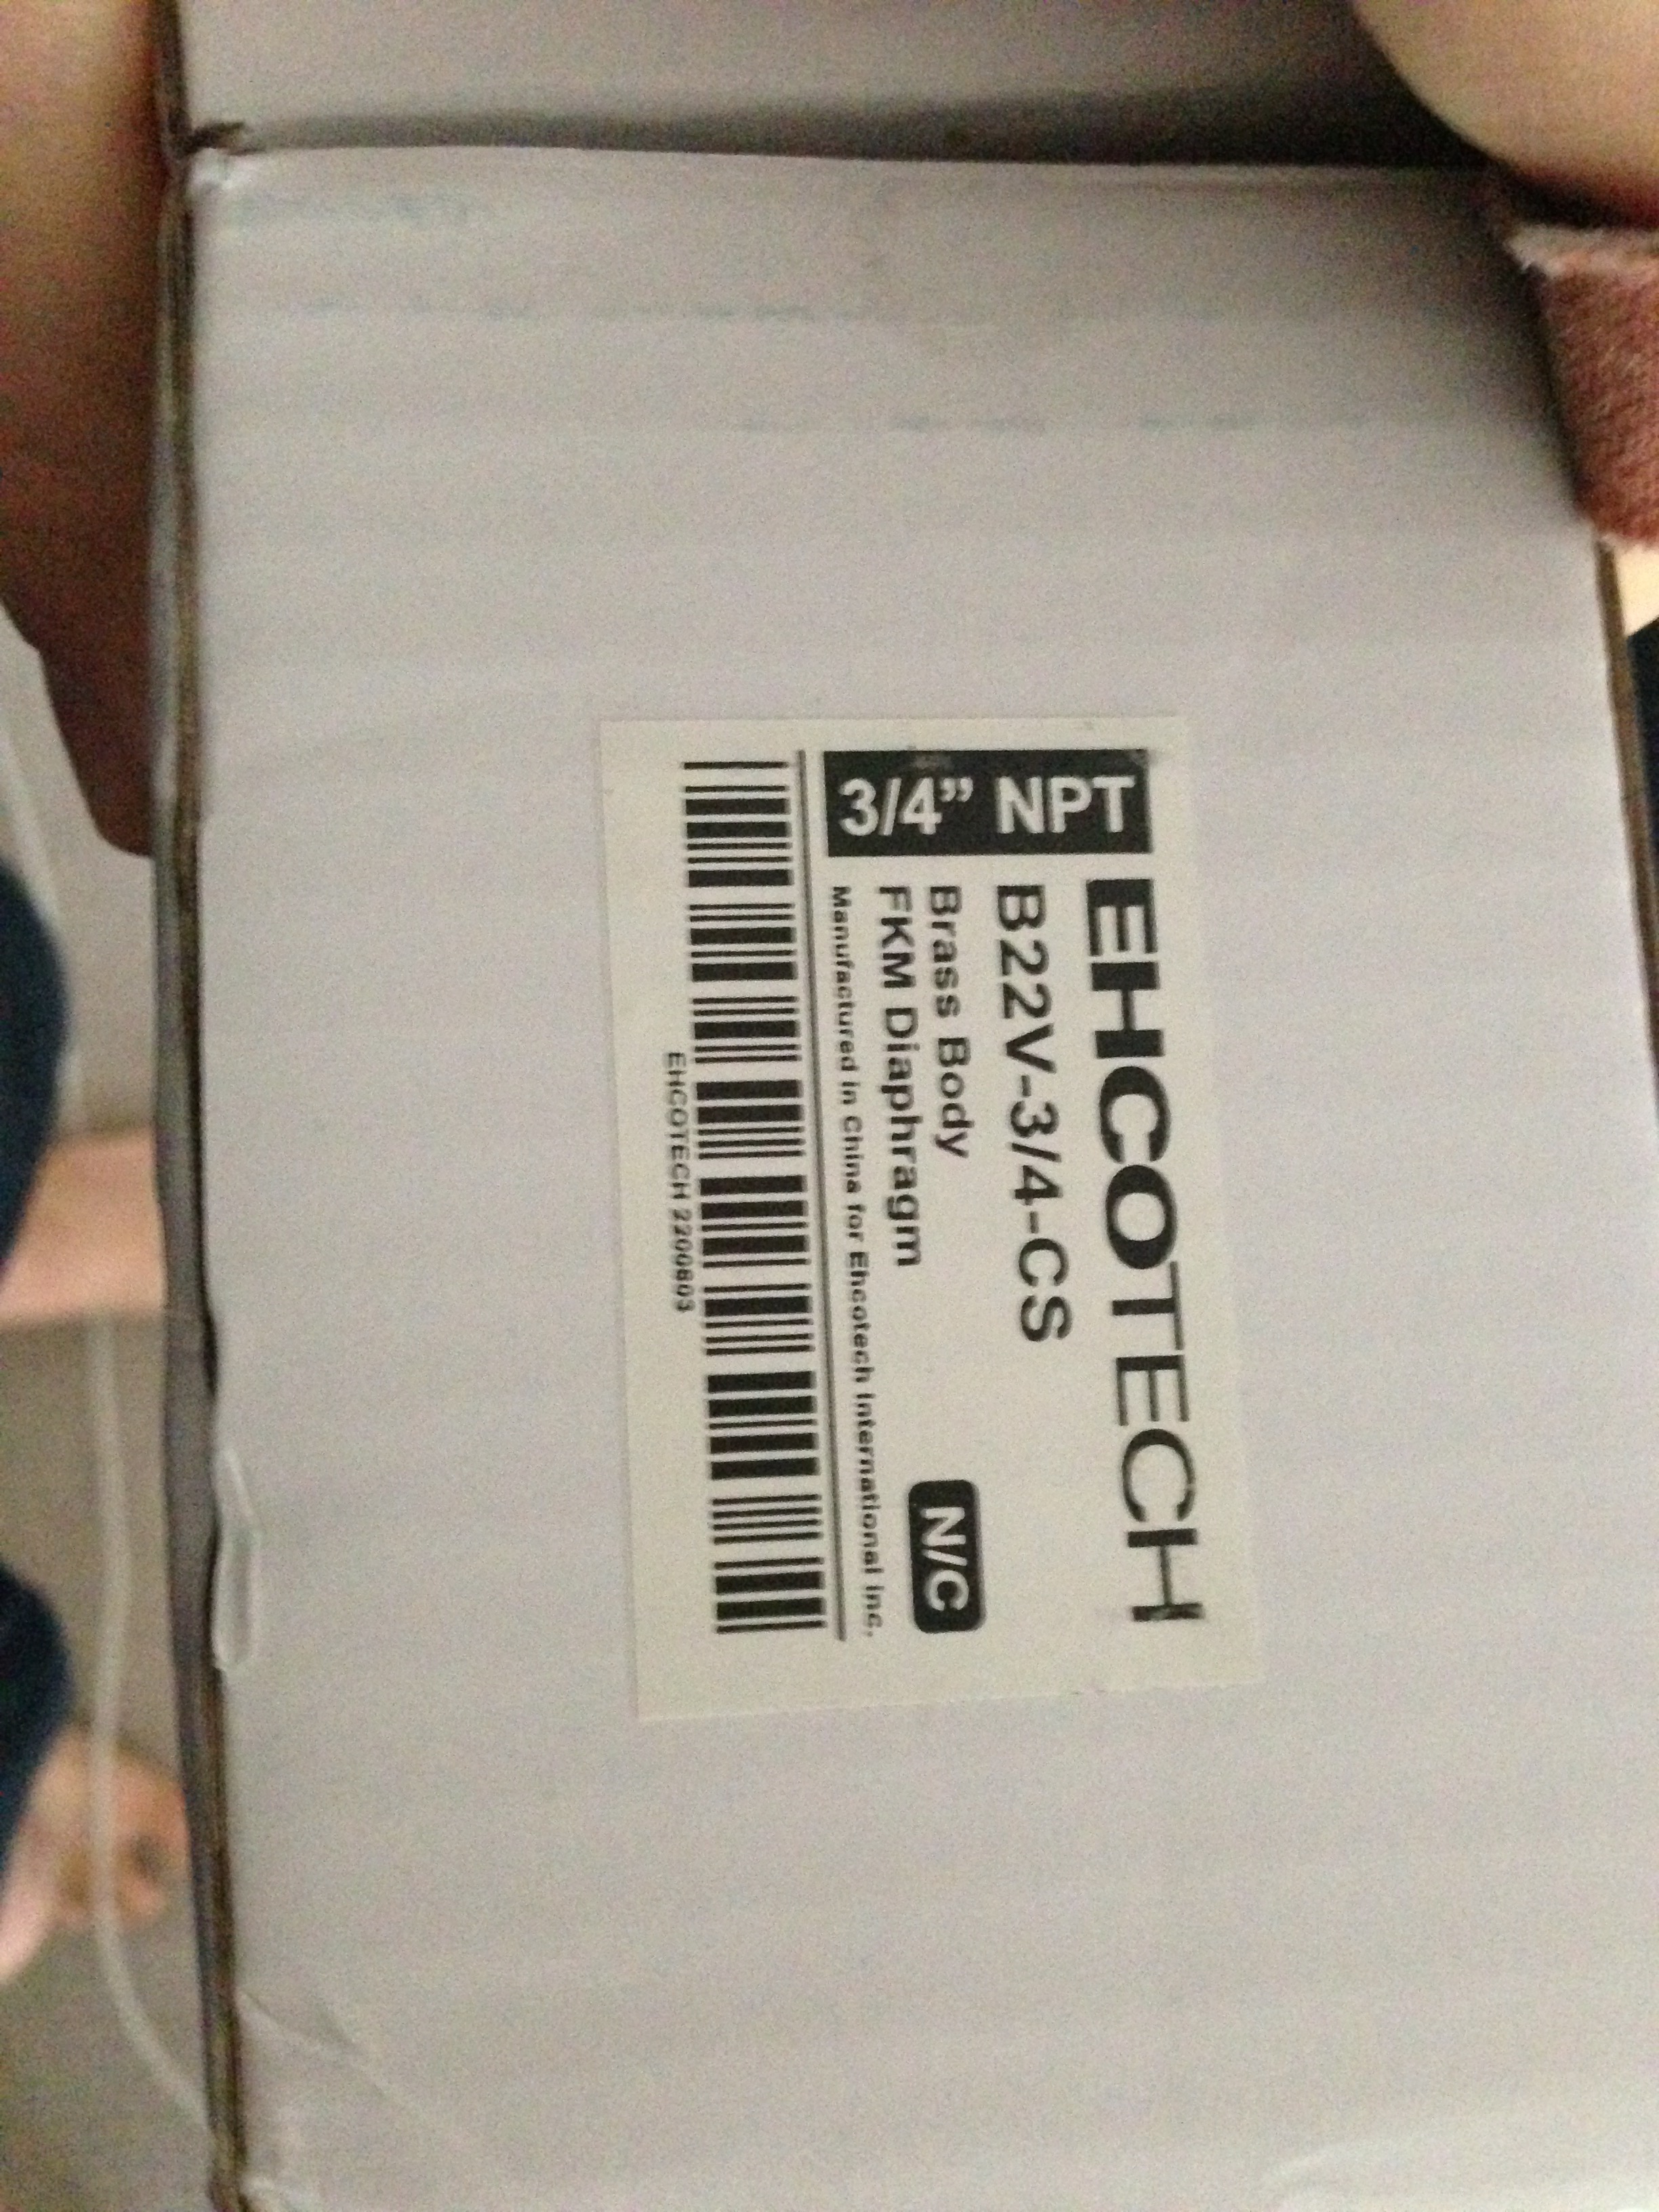
We called our flame effect ‘Flamey’ because we are creative like that:
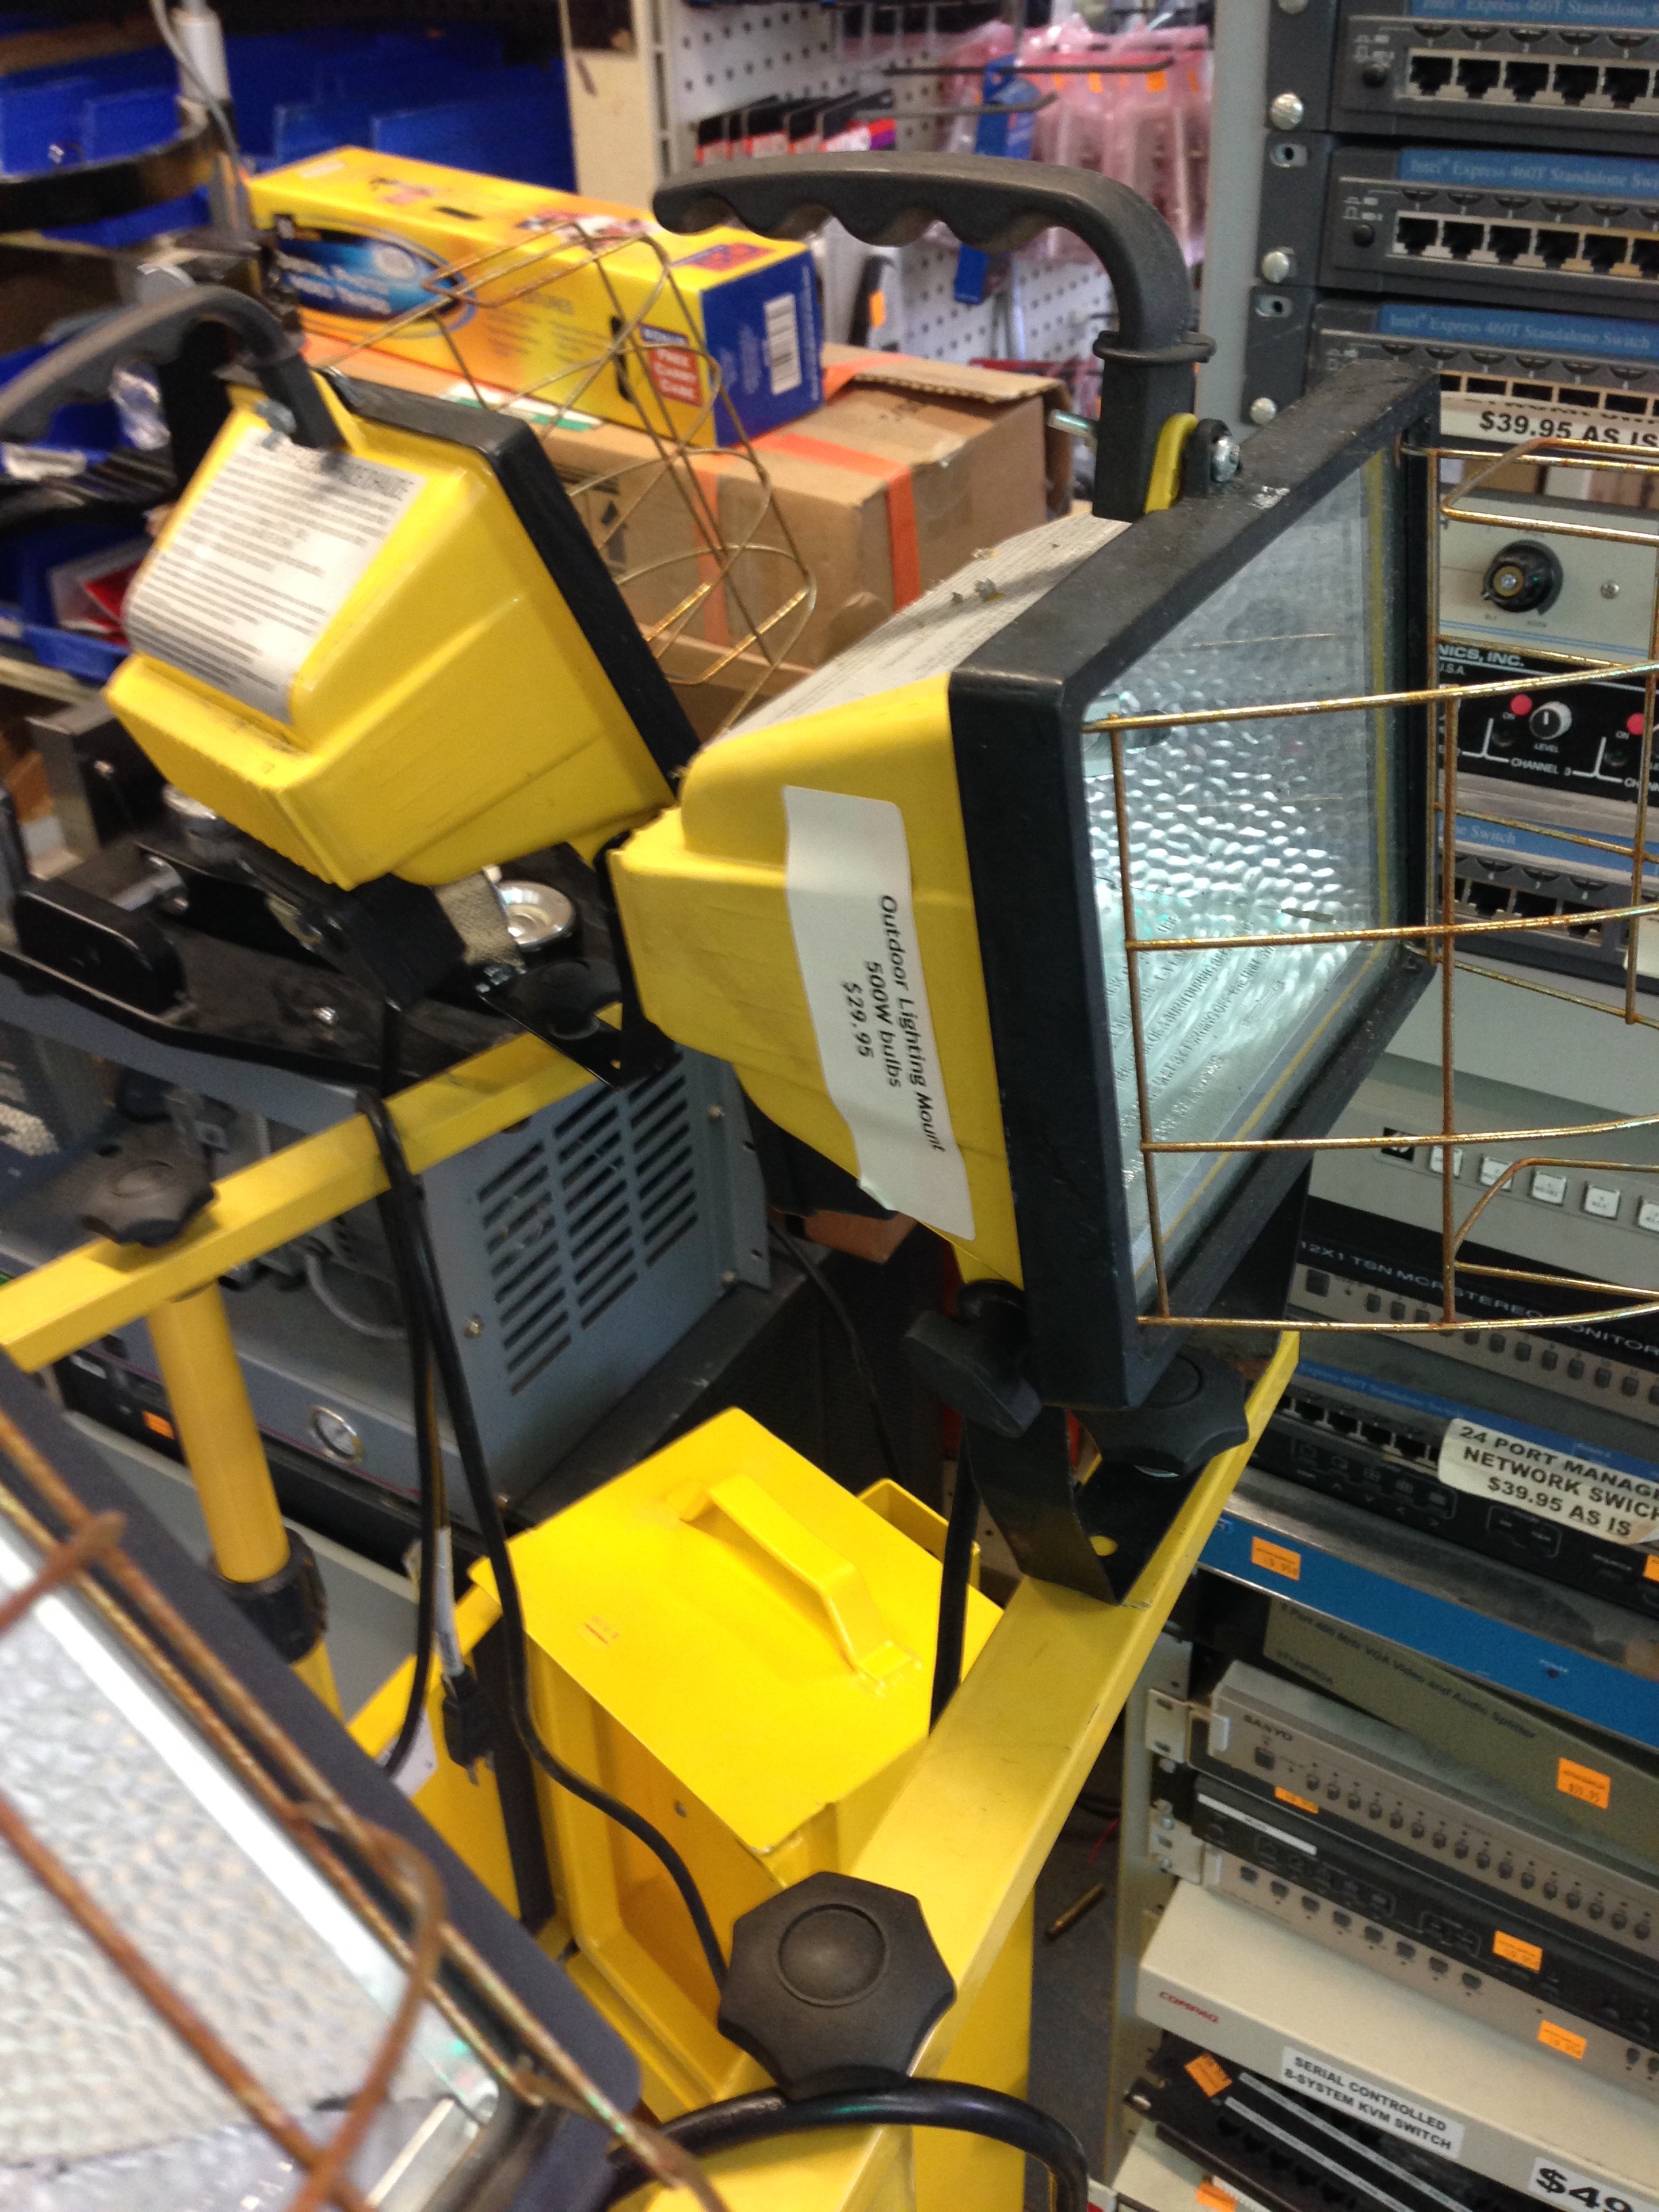
The solenoid we used to build Flamey.Lights such these are ultra-useful for builds (assuming you have a generator…you do have a generator, don’t you?)
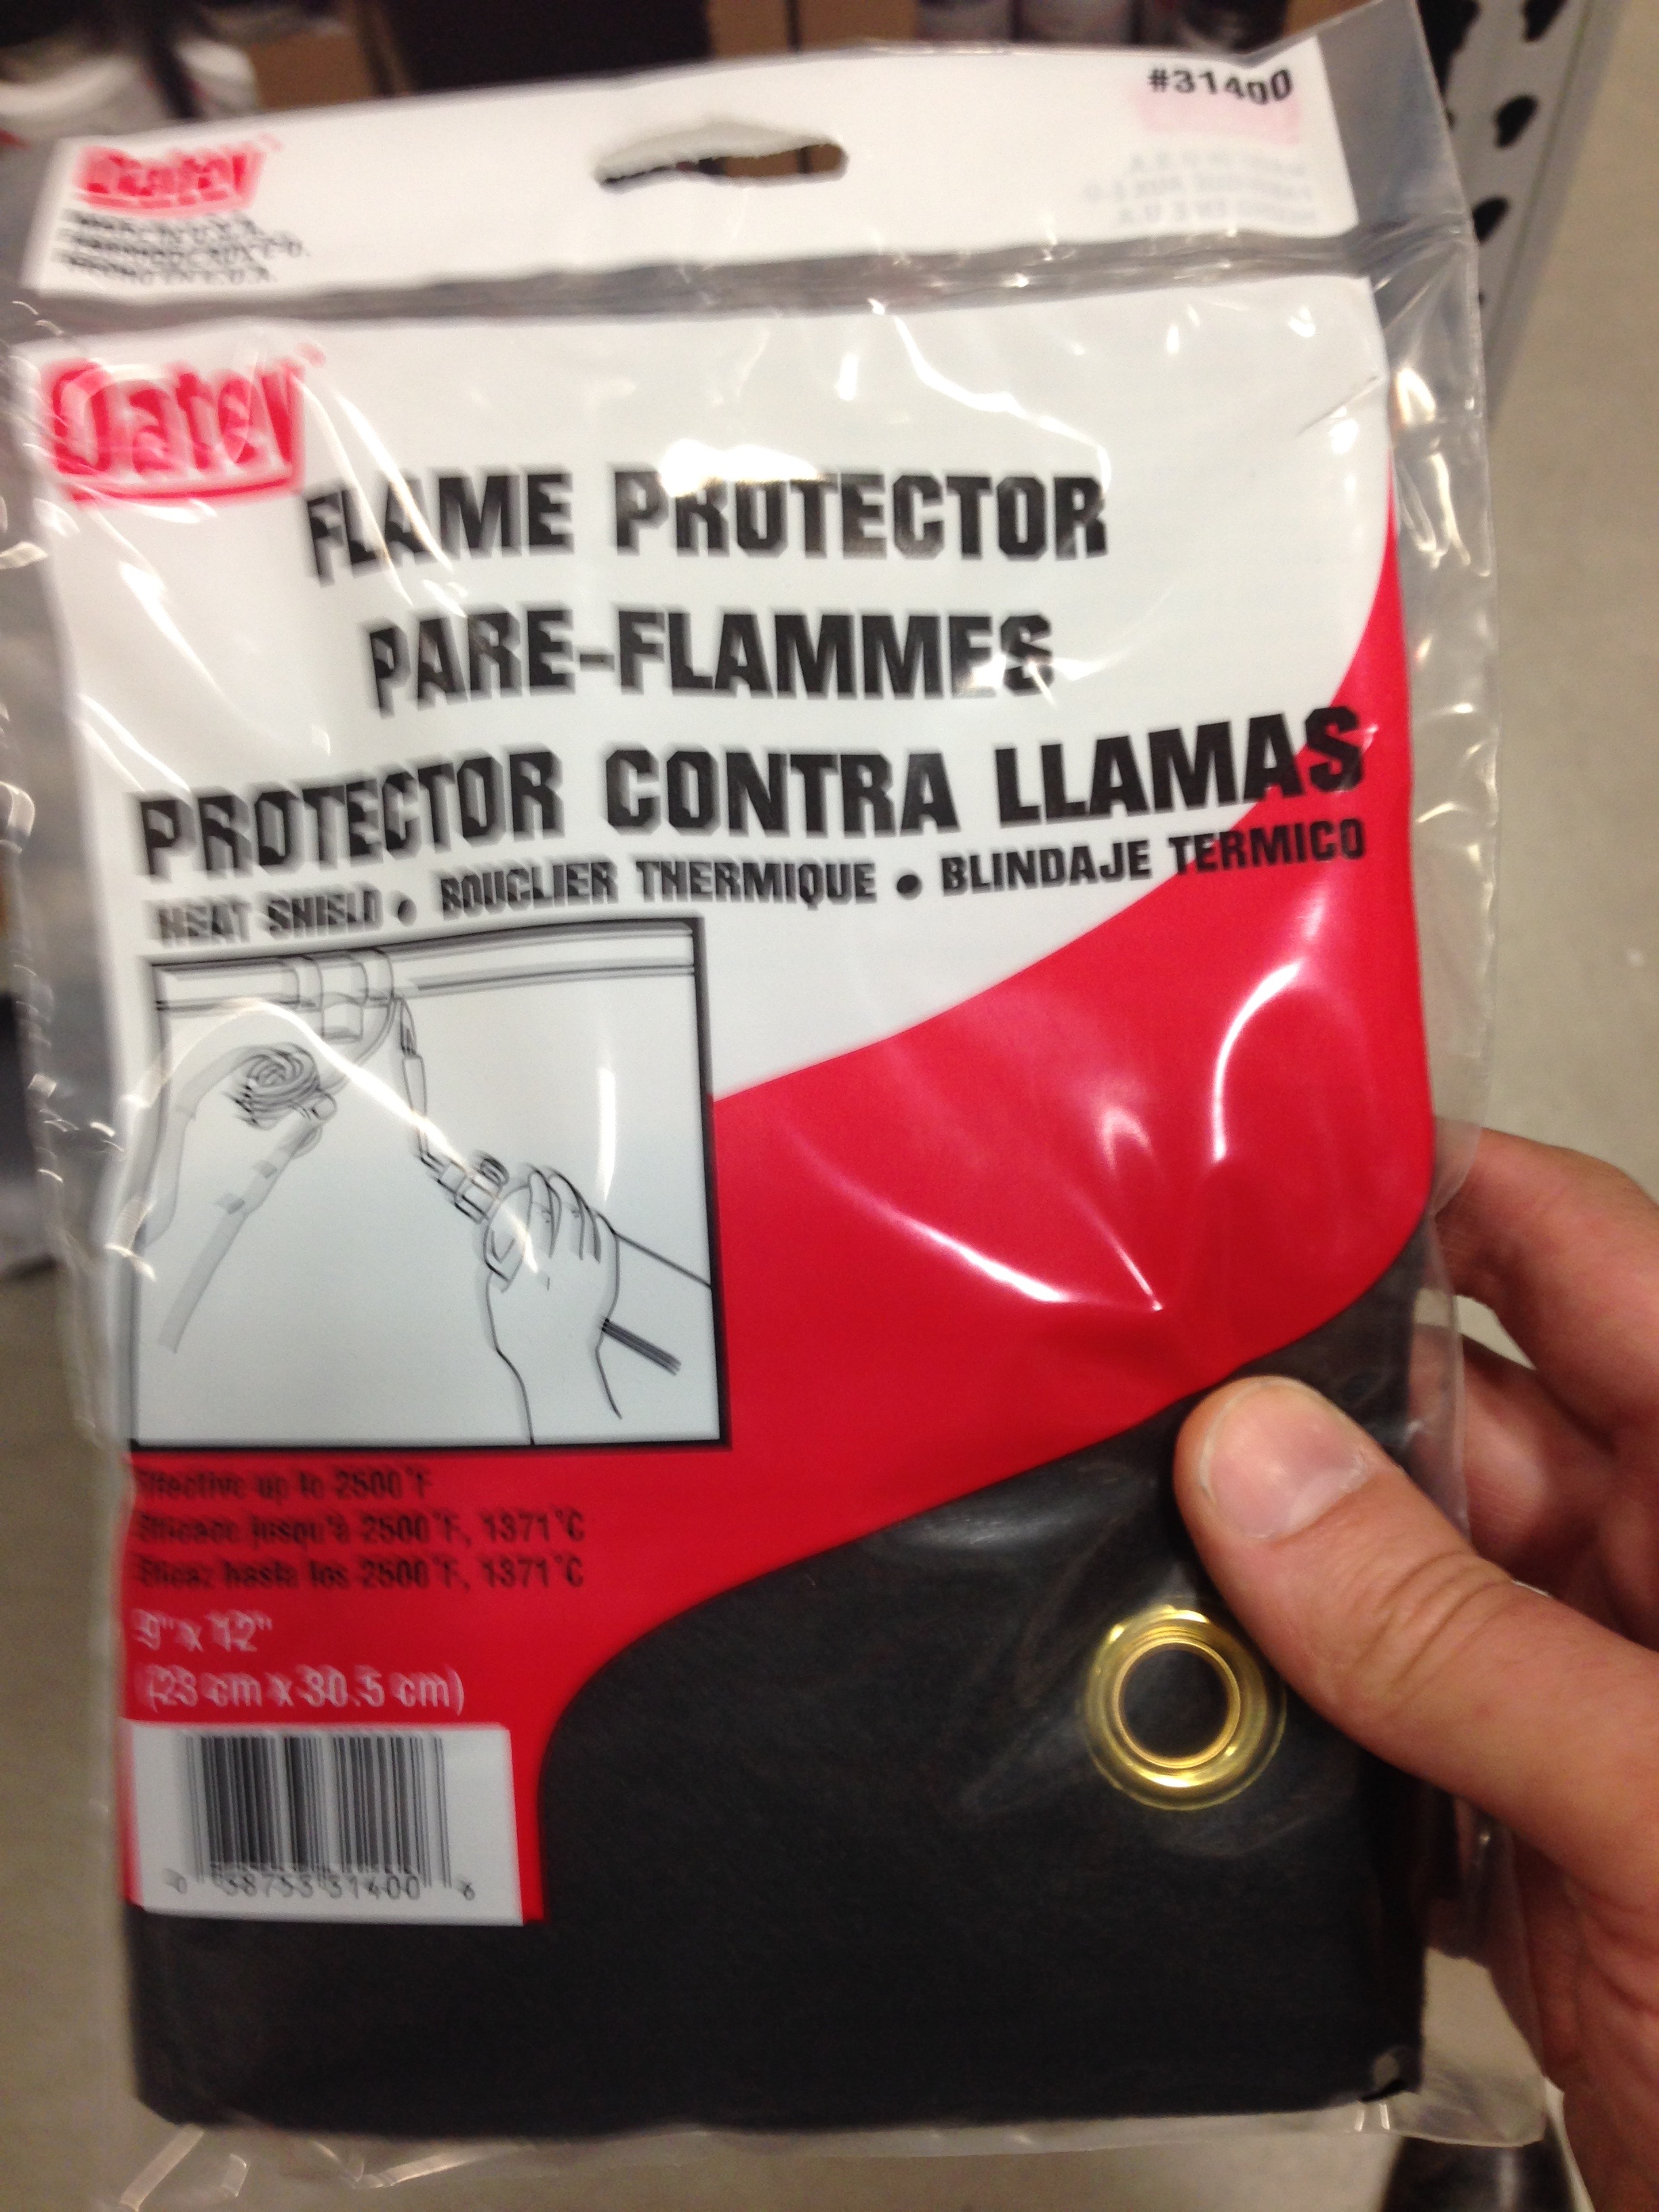
A few days before integration weekend, I recall running around to hardware stores looking for non-abrasive things with high melting temperatures. I found the fabric below (in the welding supply section of a Home Depot, IIRC), along with silicone placemats (not in the welding supply section):
This ‘flame-protection’ fabric (along with silicone place mats) saved the quartz tube from abrasion from my metal stand.saved the tube
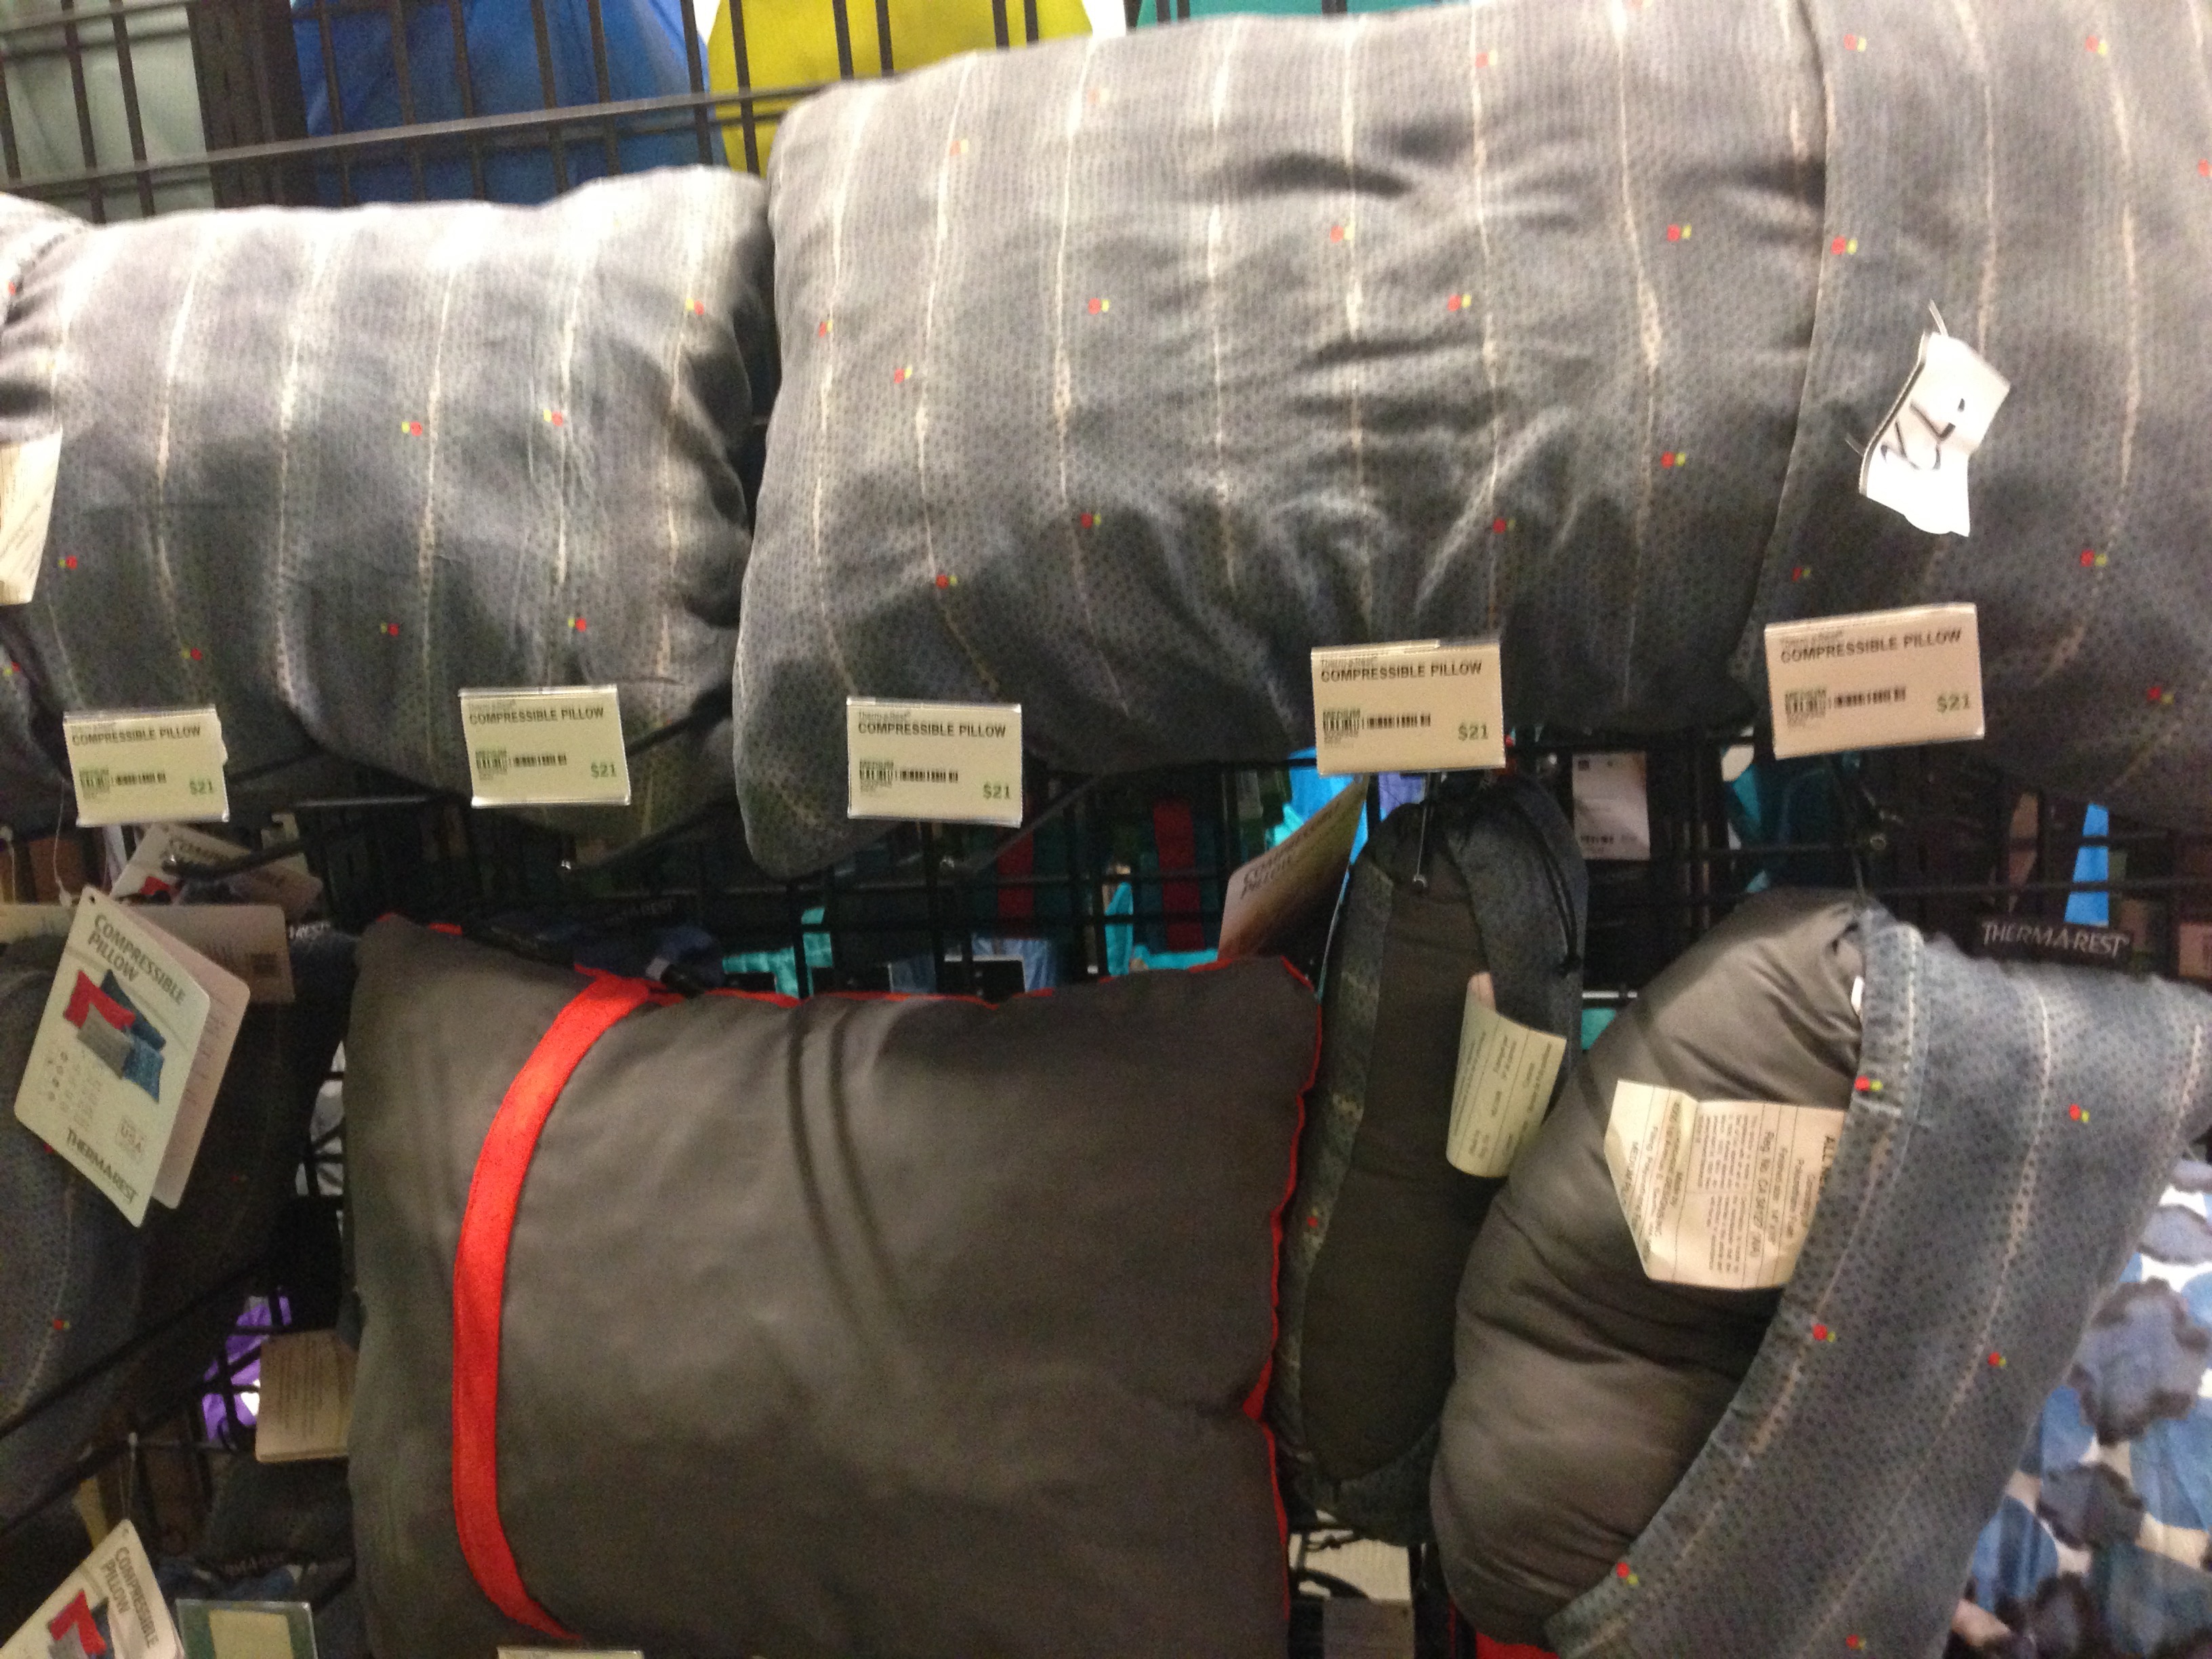
Also, we had not been camping in many many years, so I went to get some inflatable pillows. They were okay, but I would bring ‘real’ pillows next time, unless space was a critical consideration:
Inflatable pillows! Okay in a pinch, but if space isn’t critical, I would use a real one.
(Not shown. Tests of the flame effect. S might have pics of this, to be shown later.)
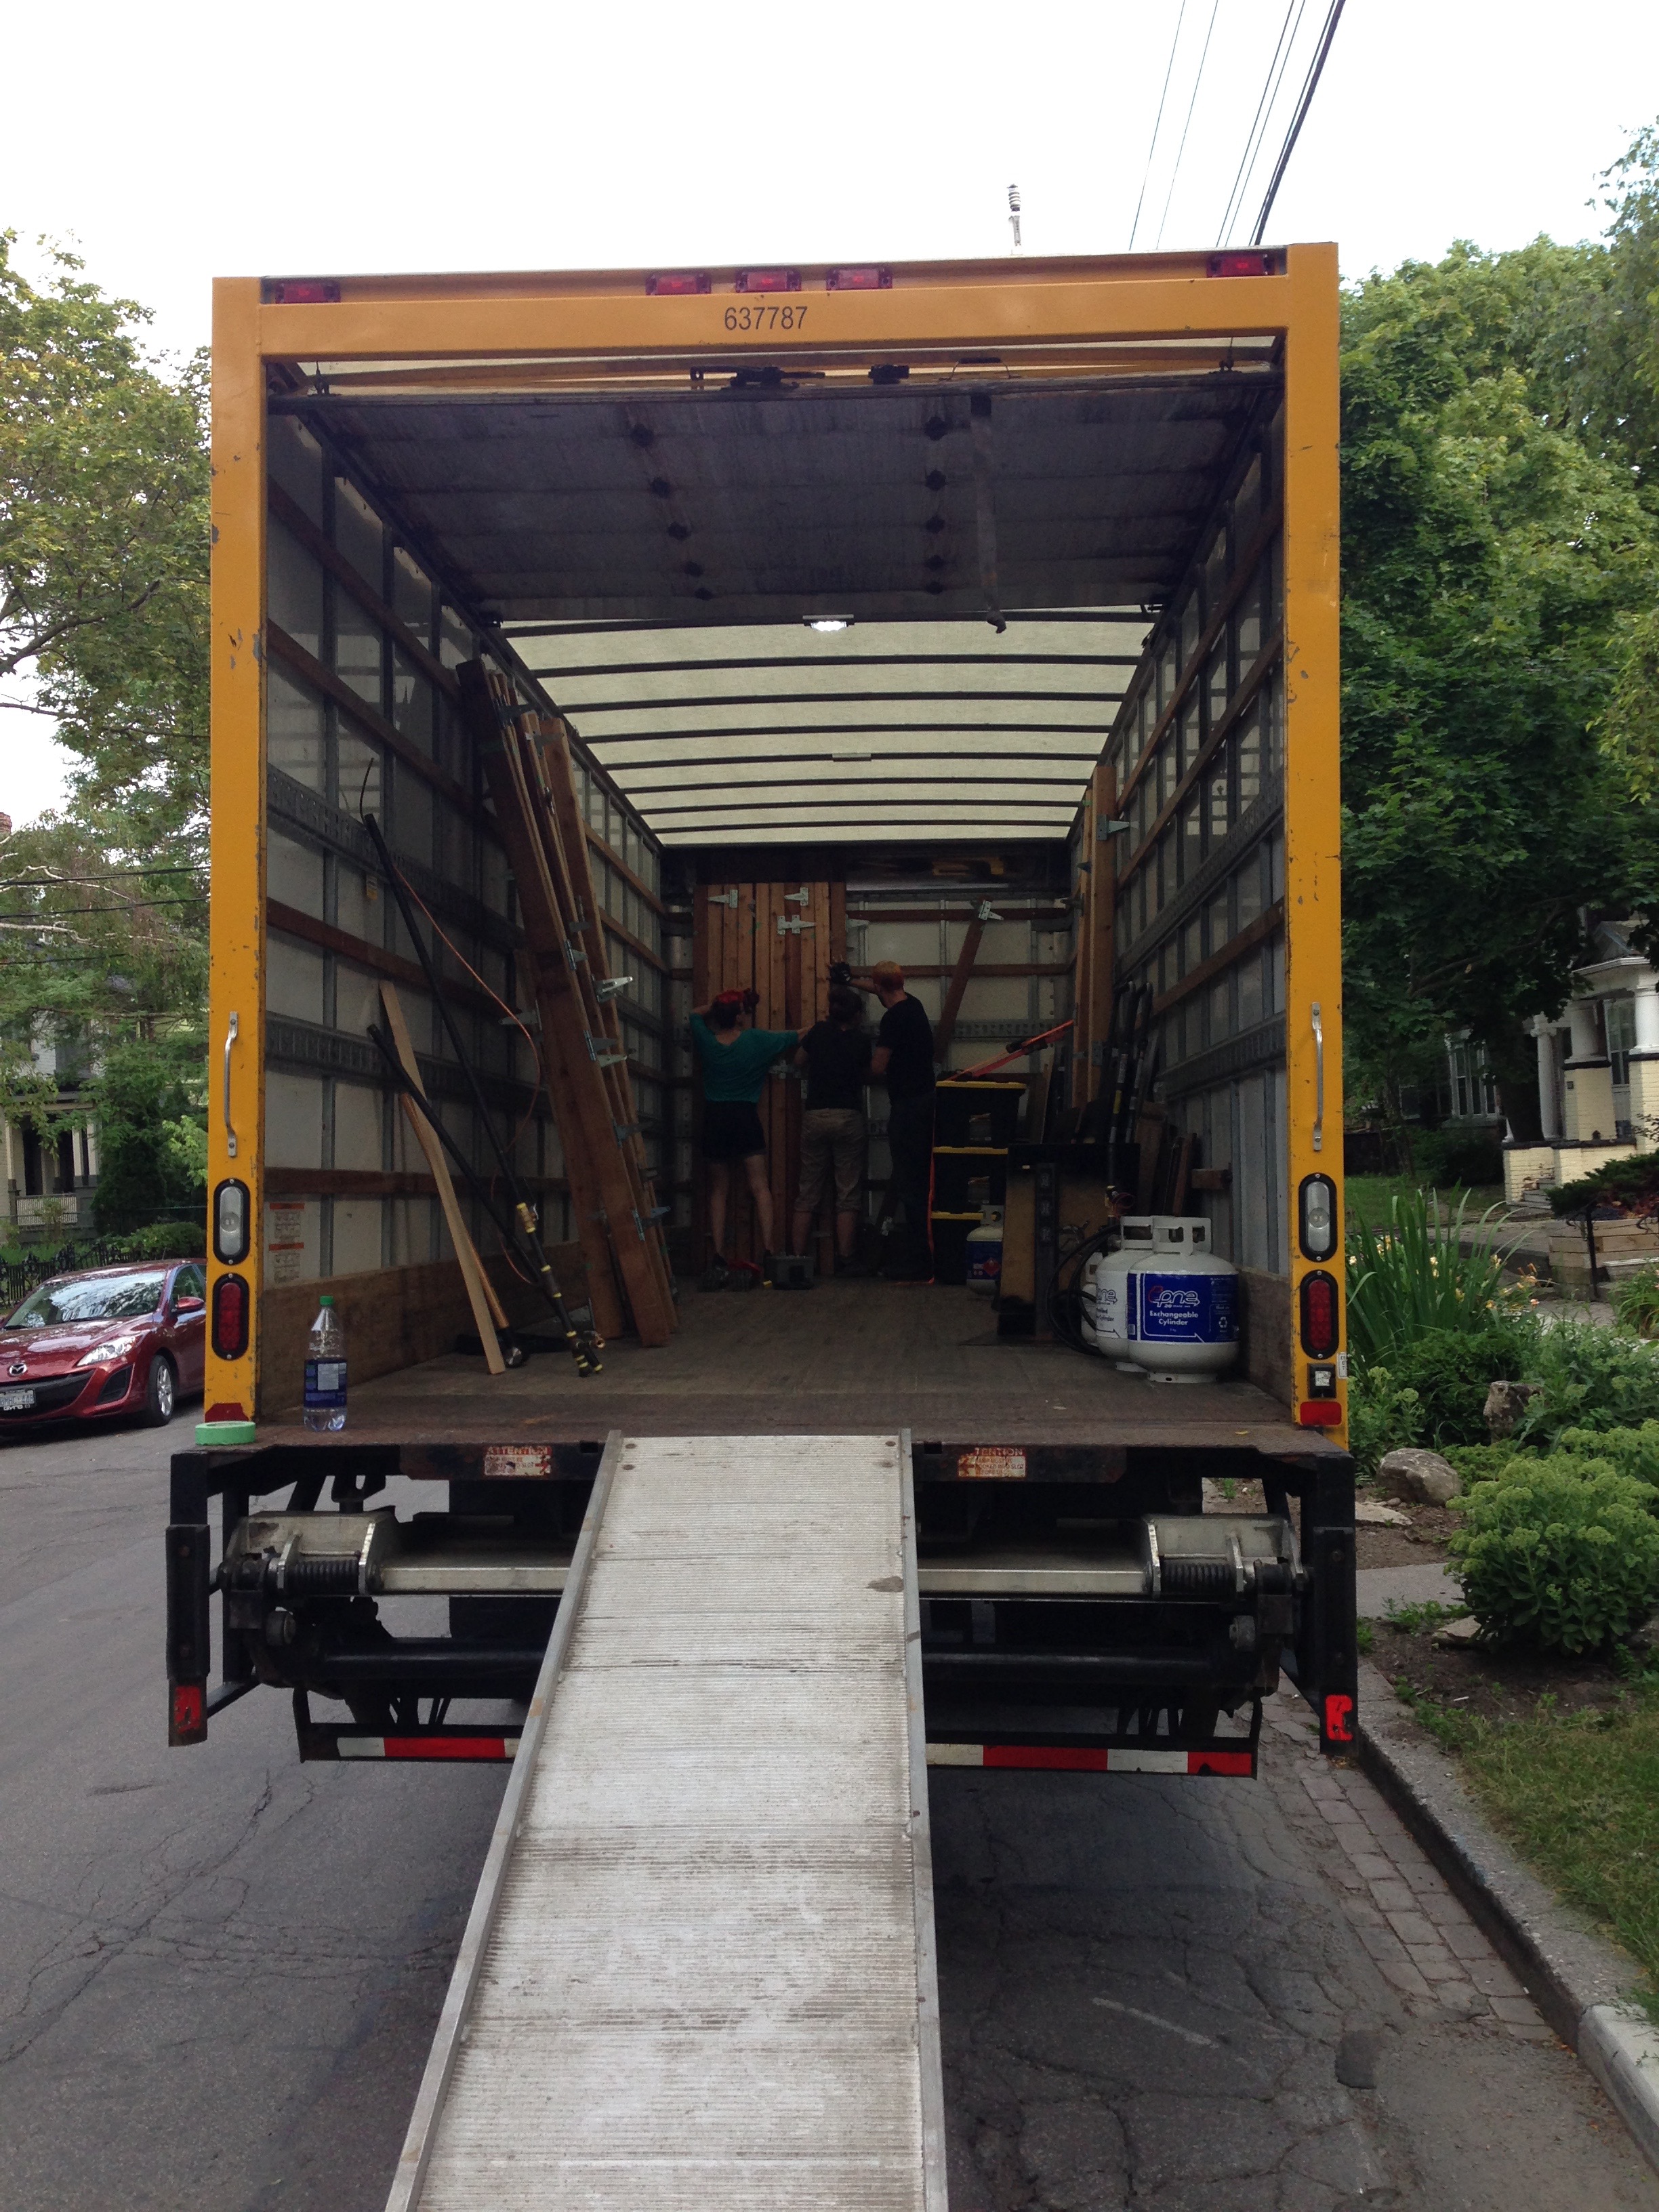
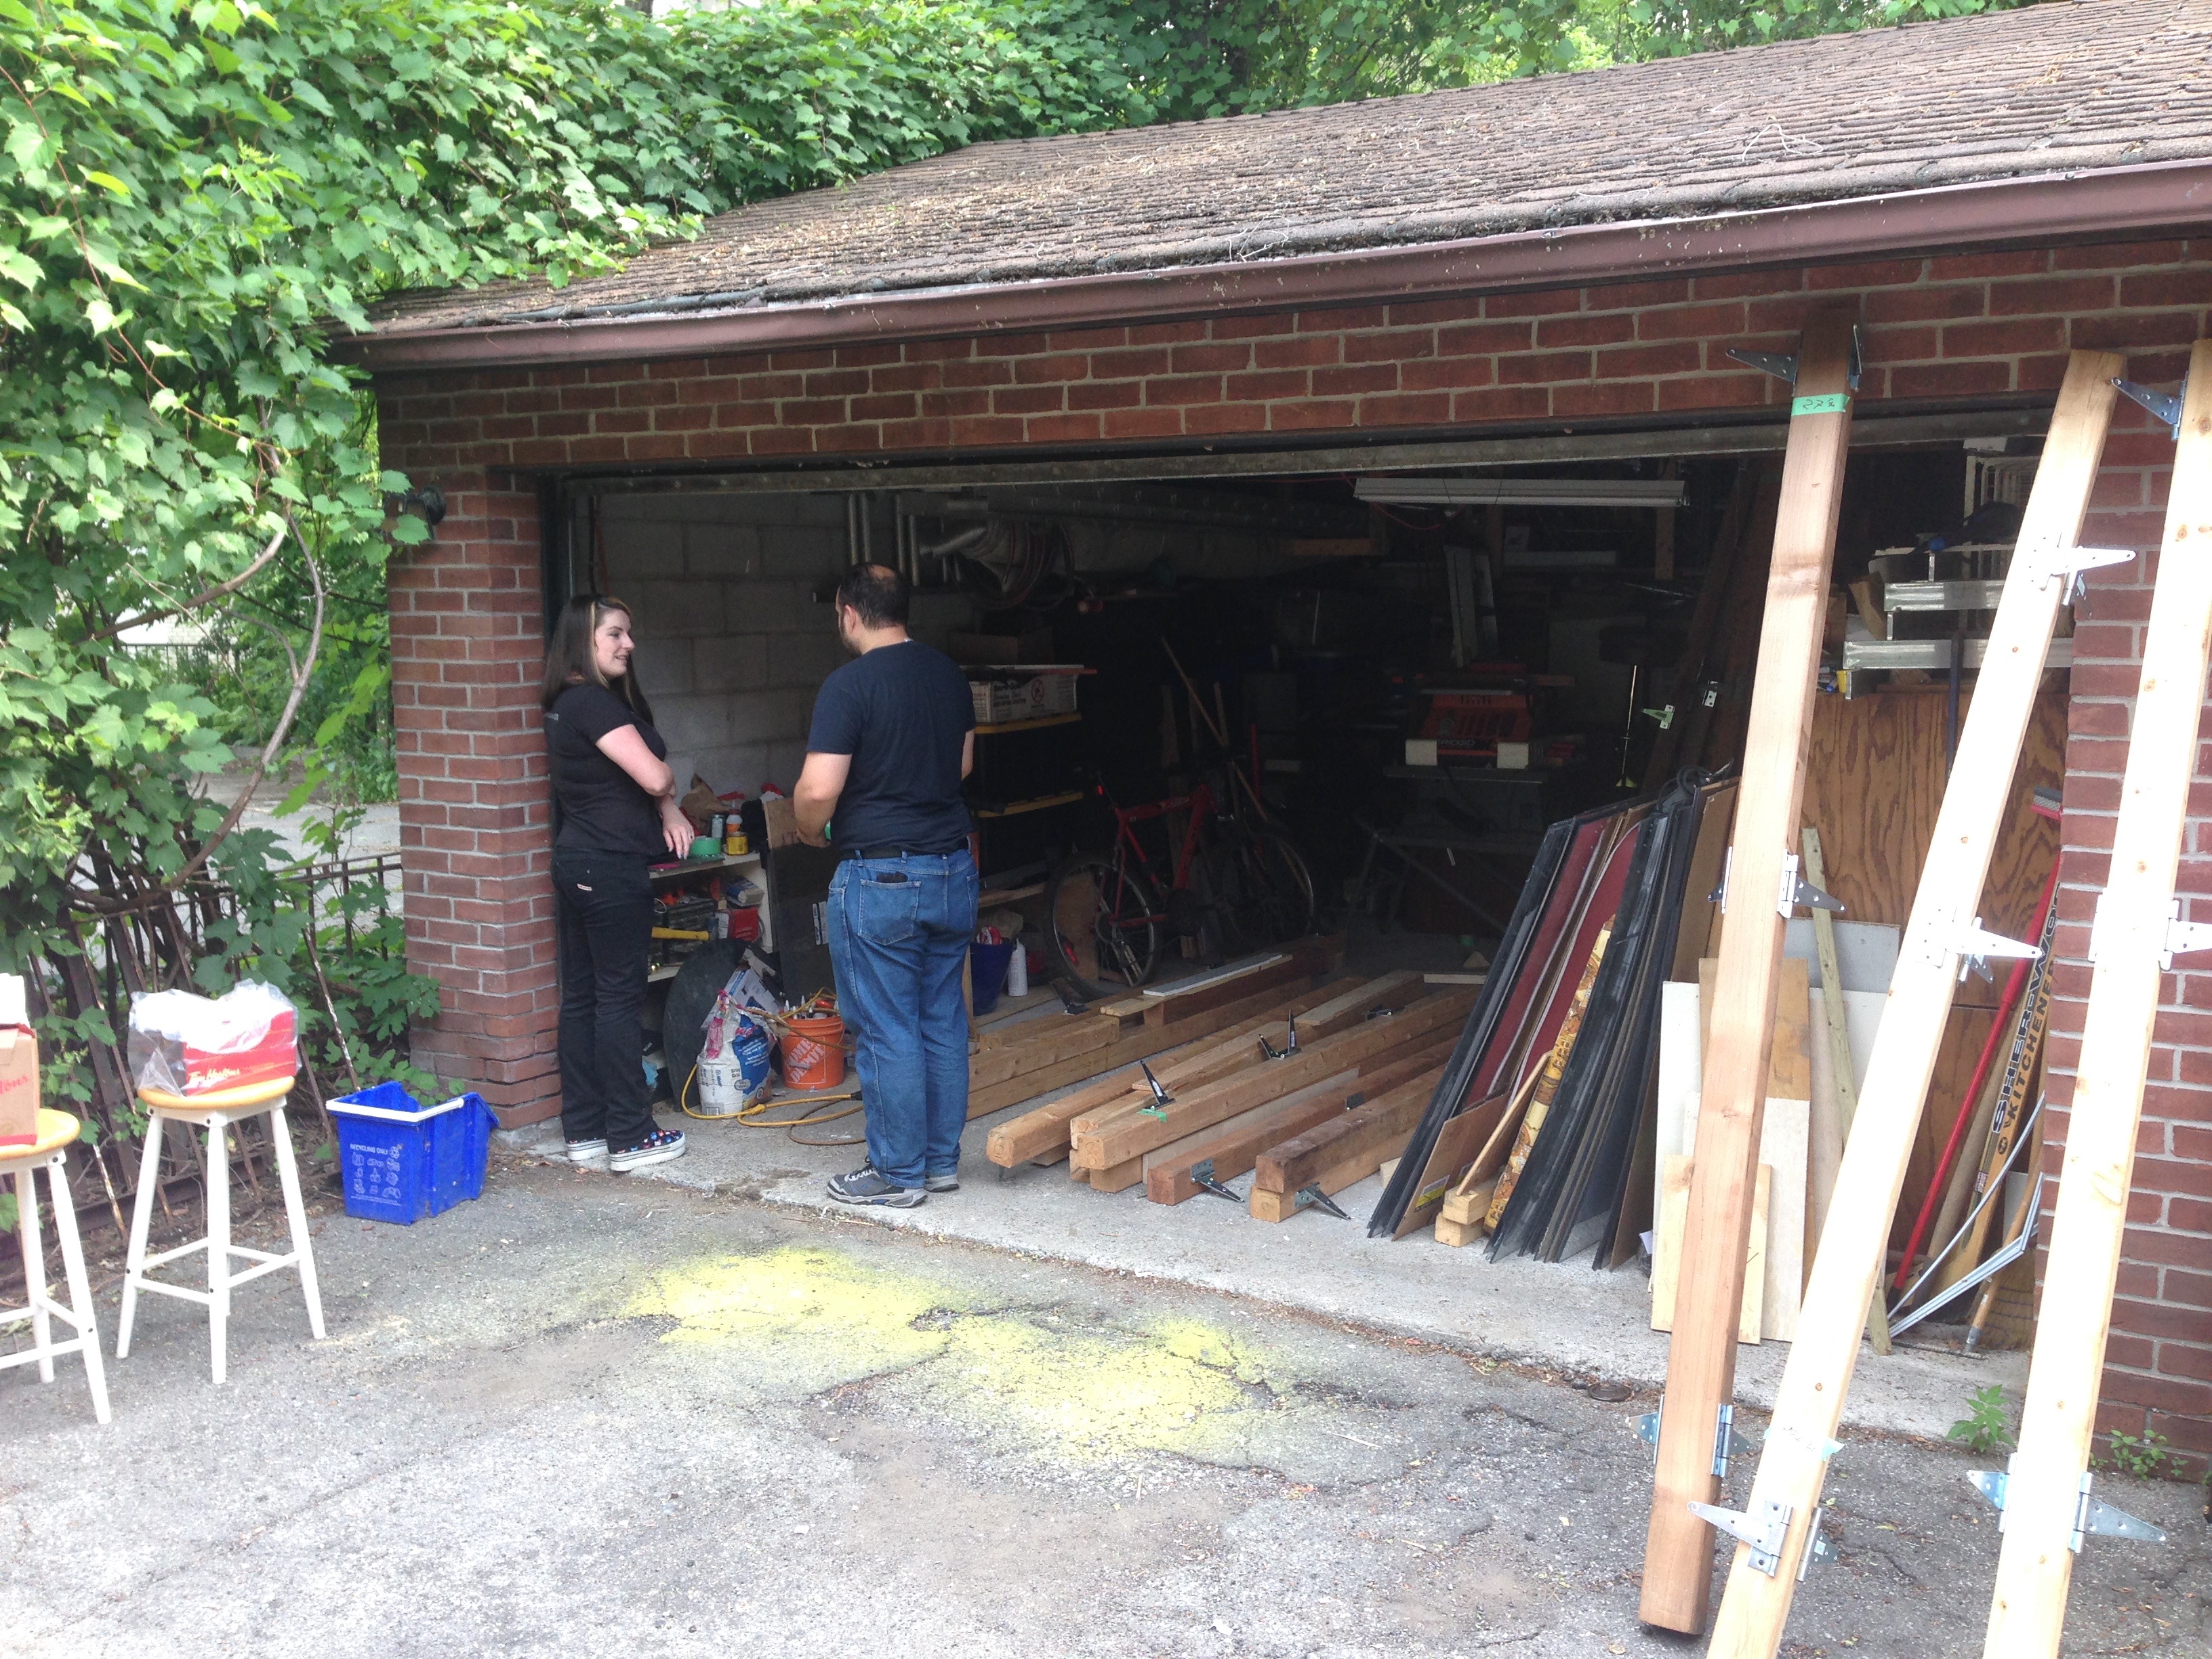
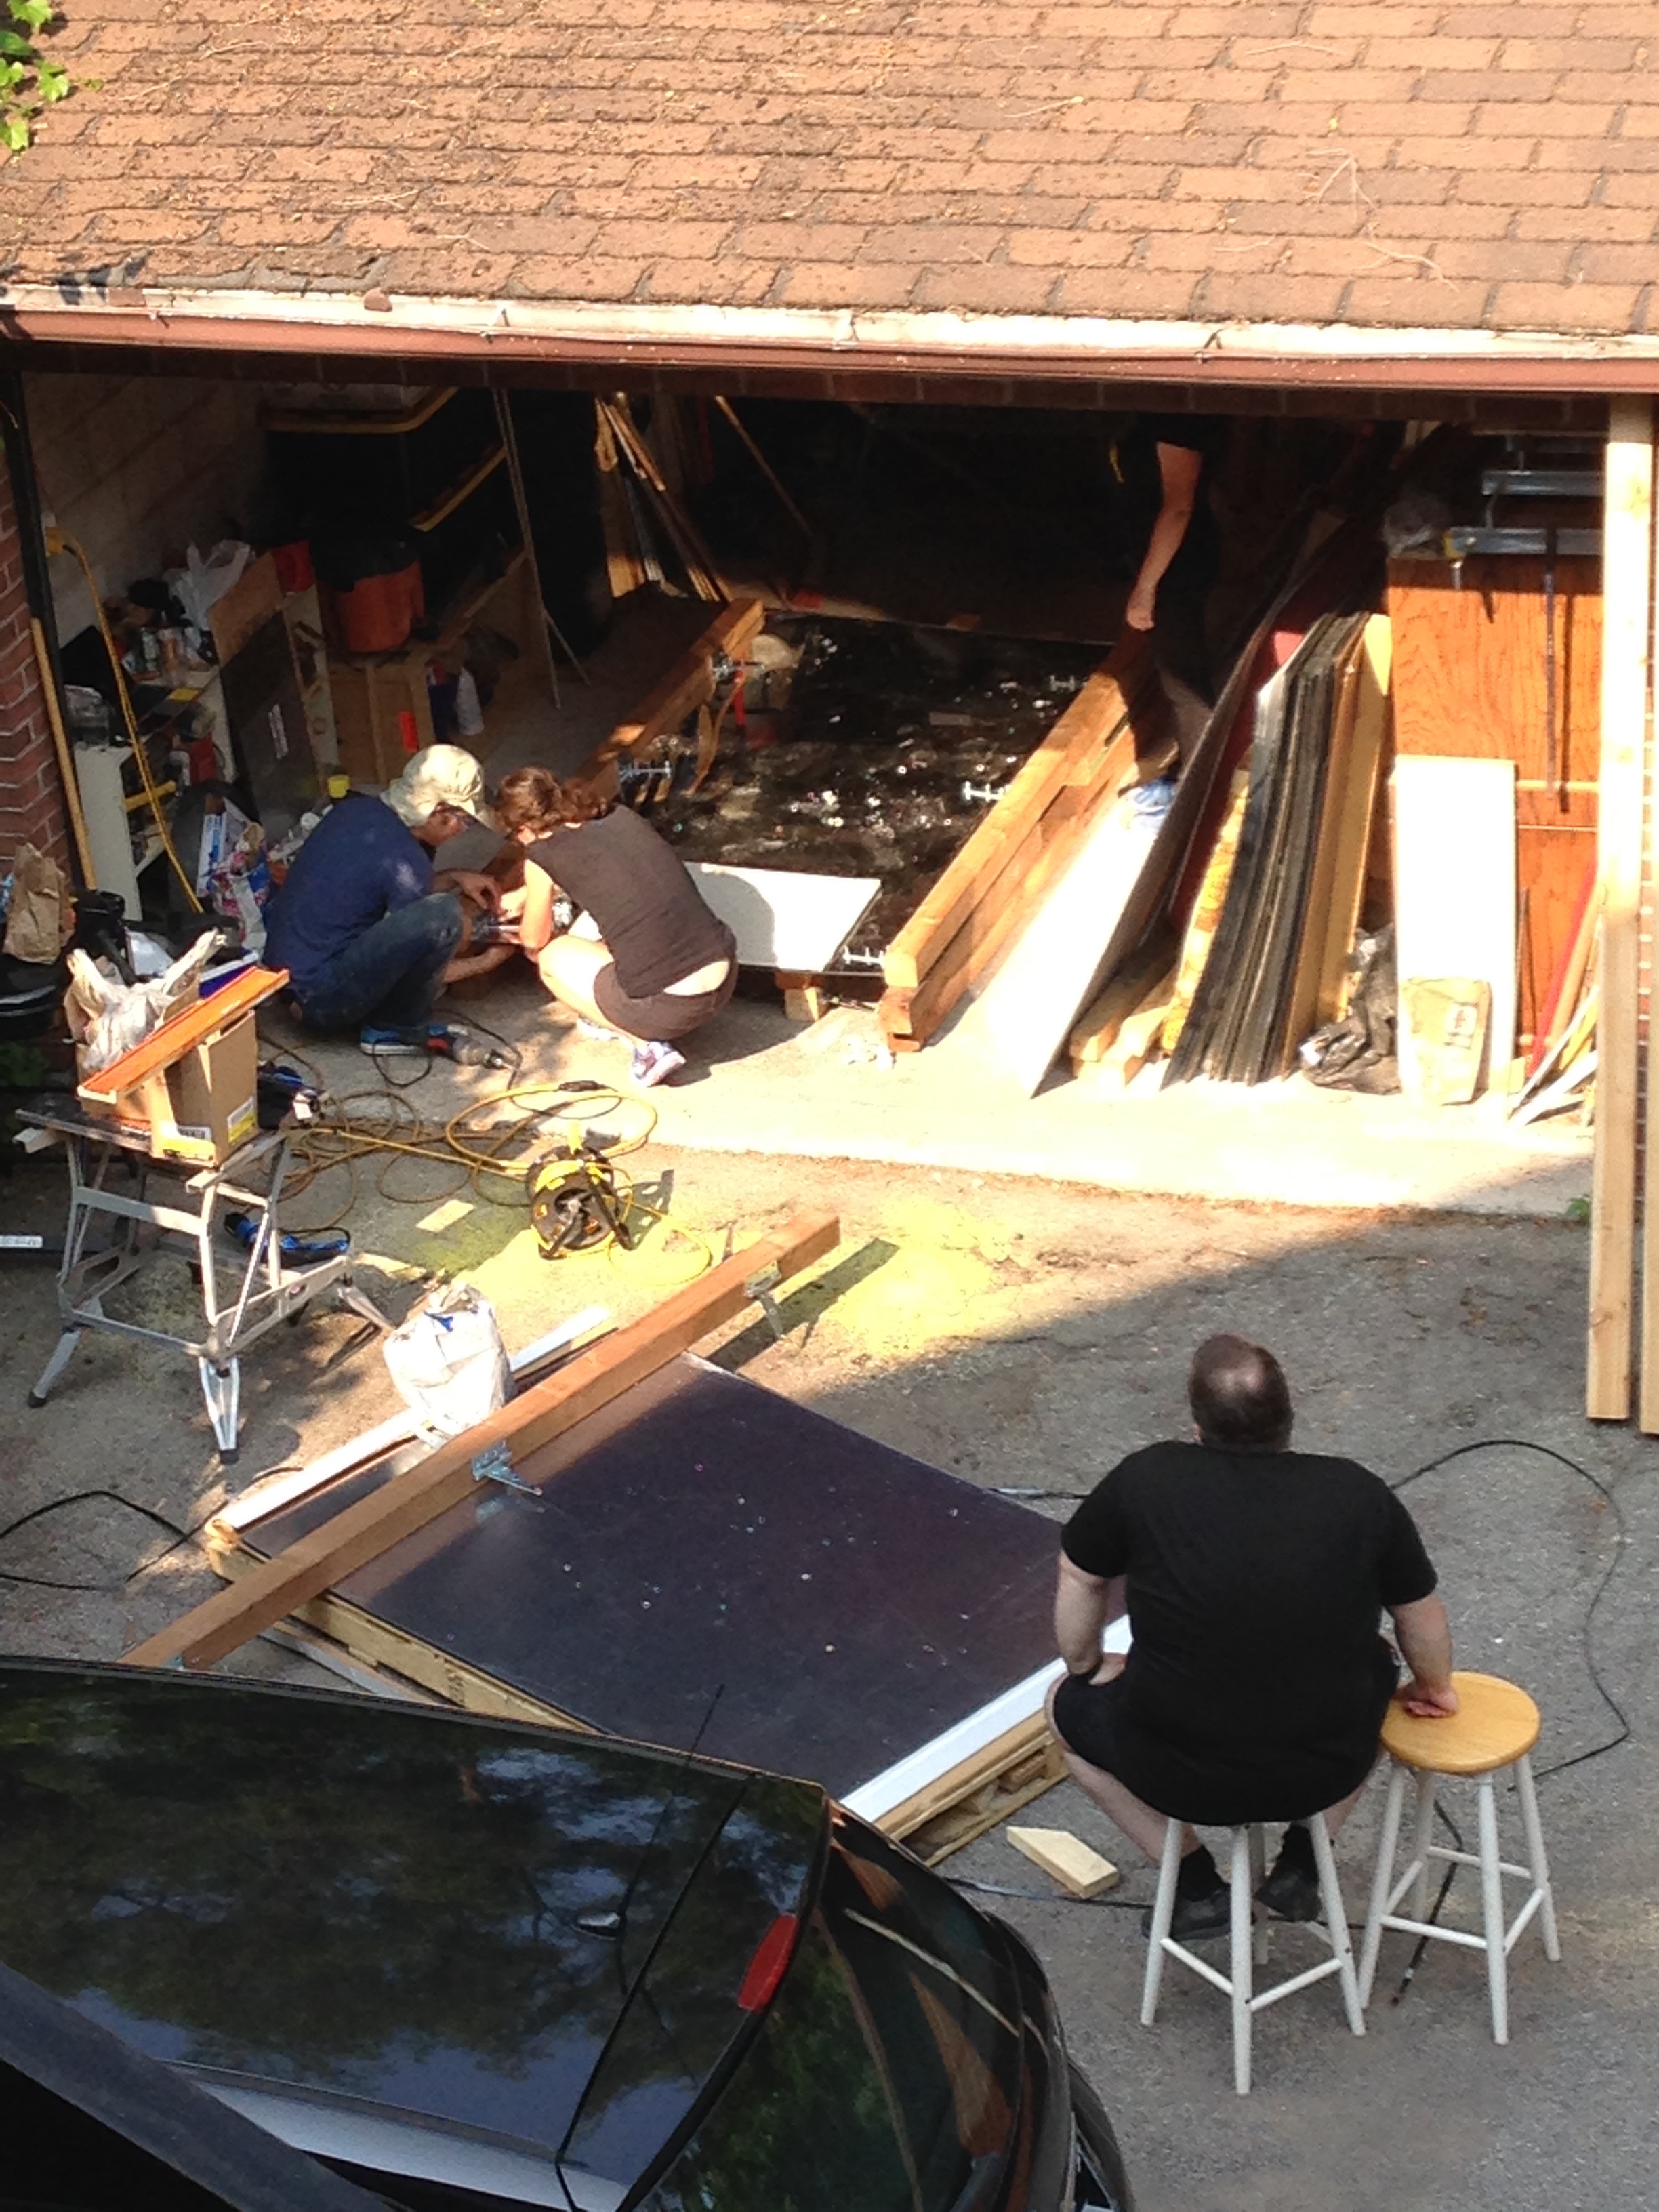
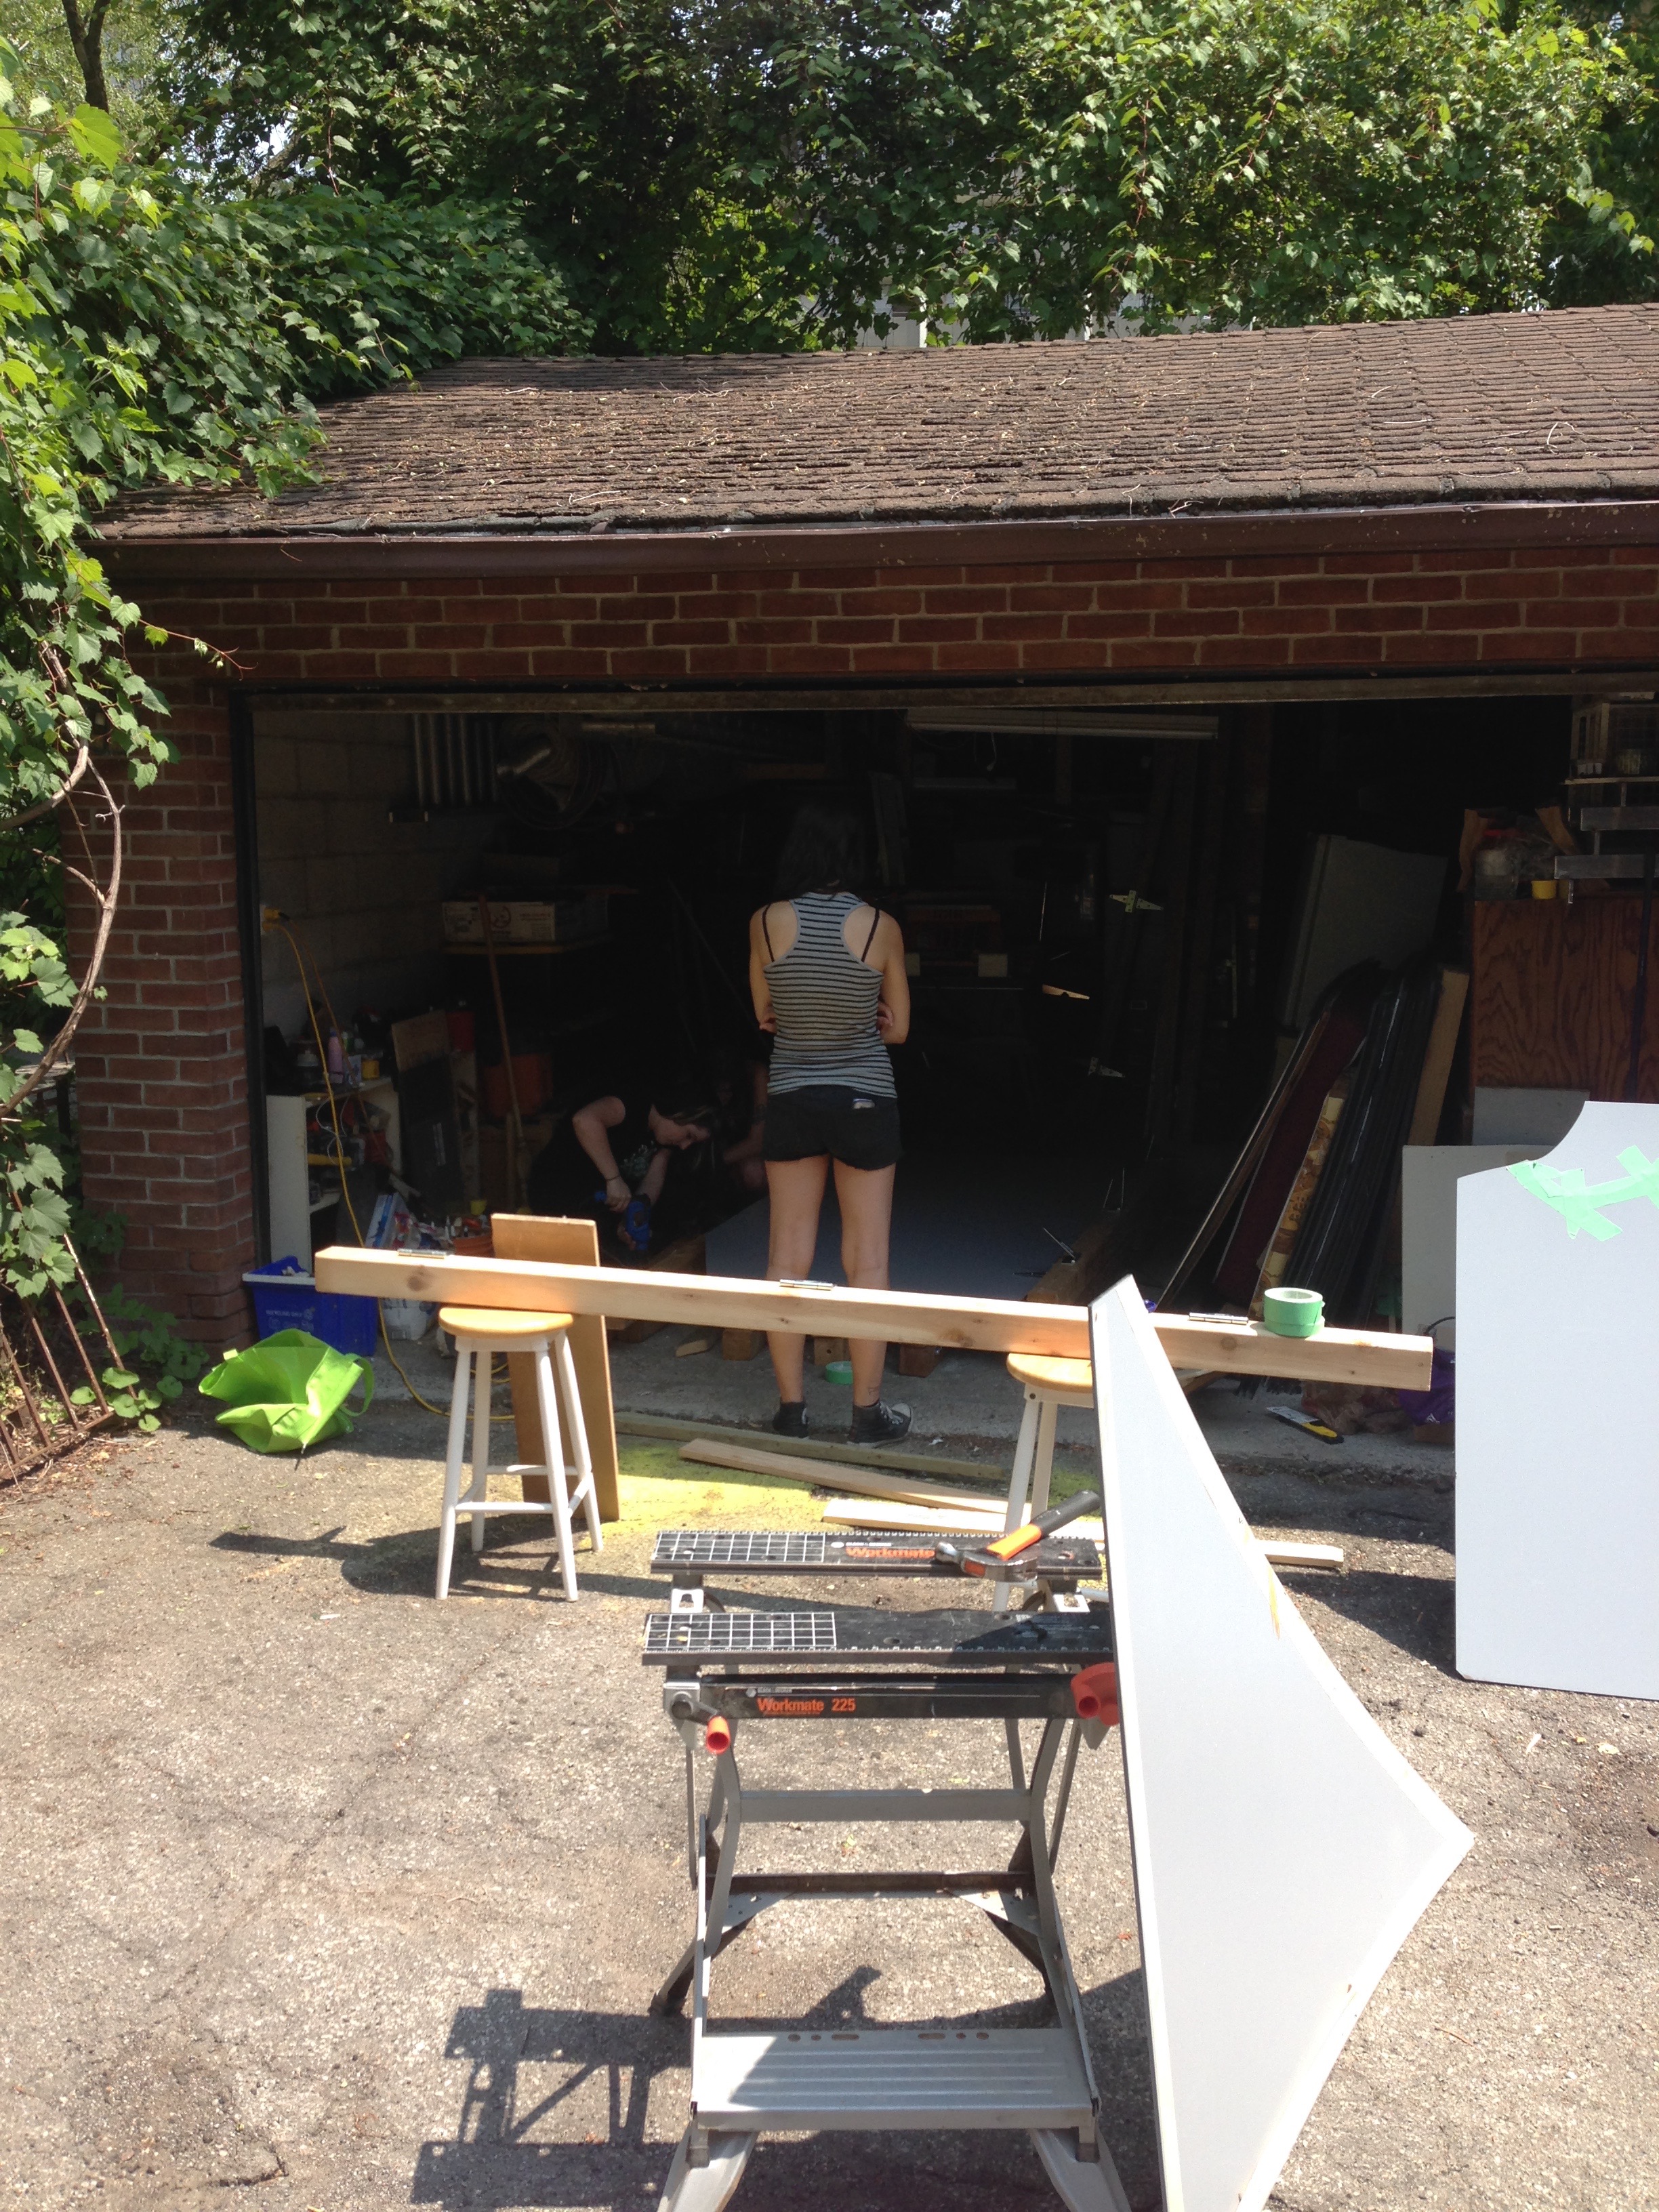
Then it was time to pack up and go! Trish drove the truck over to our place (Francis had been at least partially living in our garage for a while), and we started packing! We are still thankful for the many volunteers who tolerated our hinged posts:
Sara, Carrie, and Mike work to ratchet the posts into place. The posts were extremely effective, but a total bear to move around (thanks for helping us move them!).
There were some moments of pure joy juxtaposed with moments of pure contemplation:
S joyfully moves pipe while Trish ponders the Reuben’s tube that is part of Francis the Fantastic.
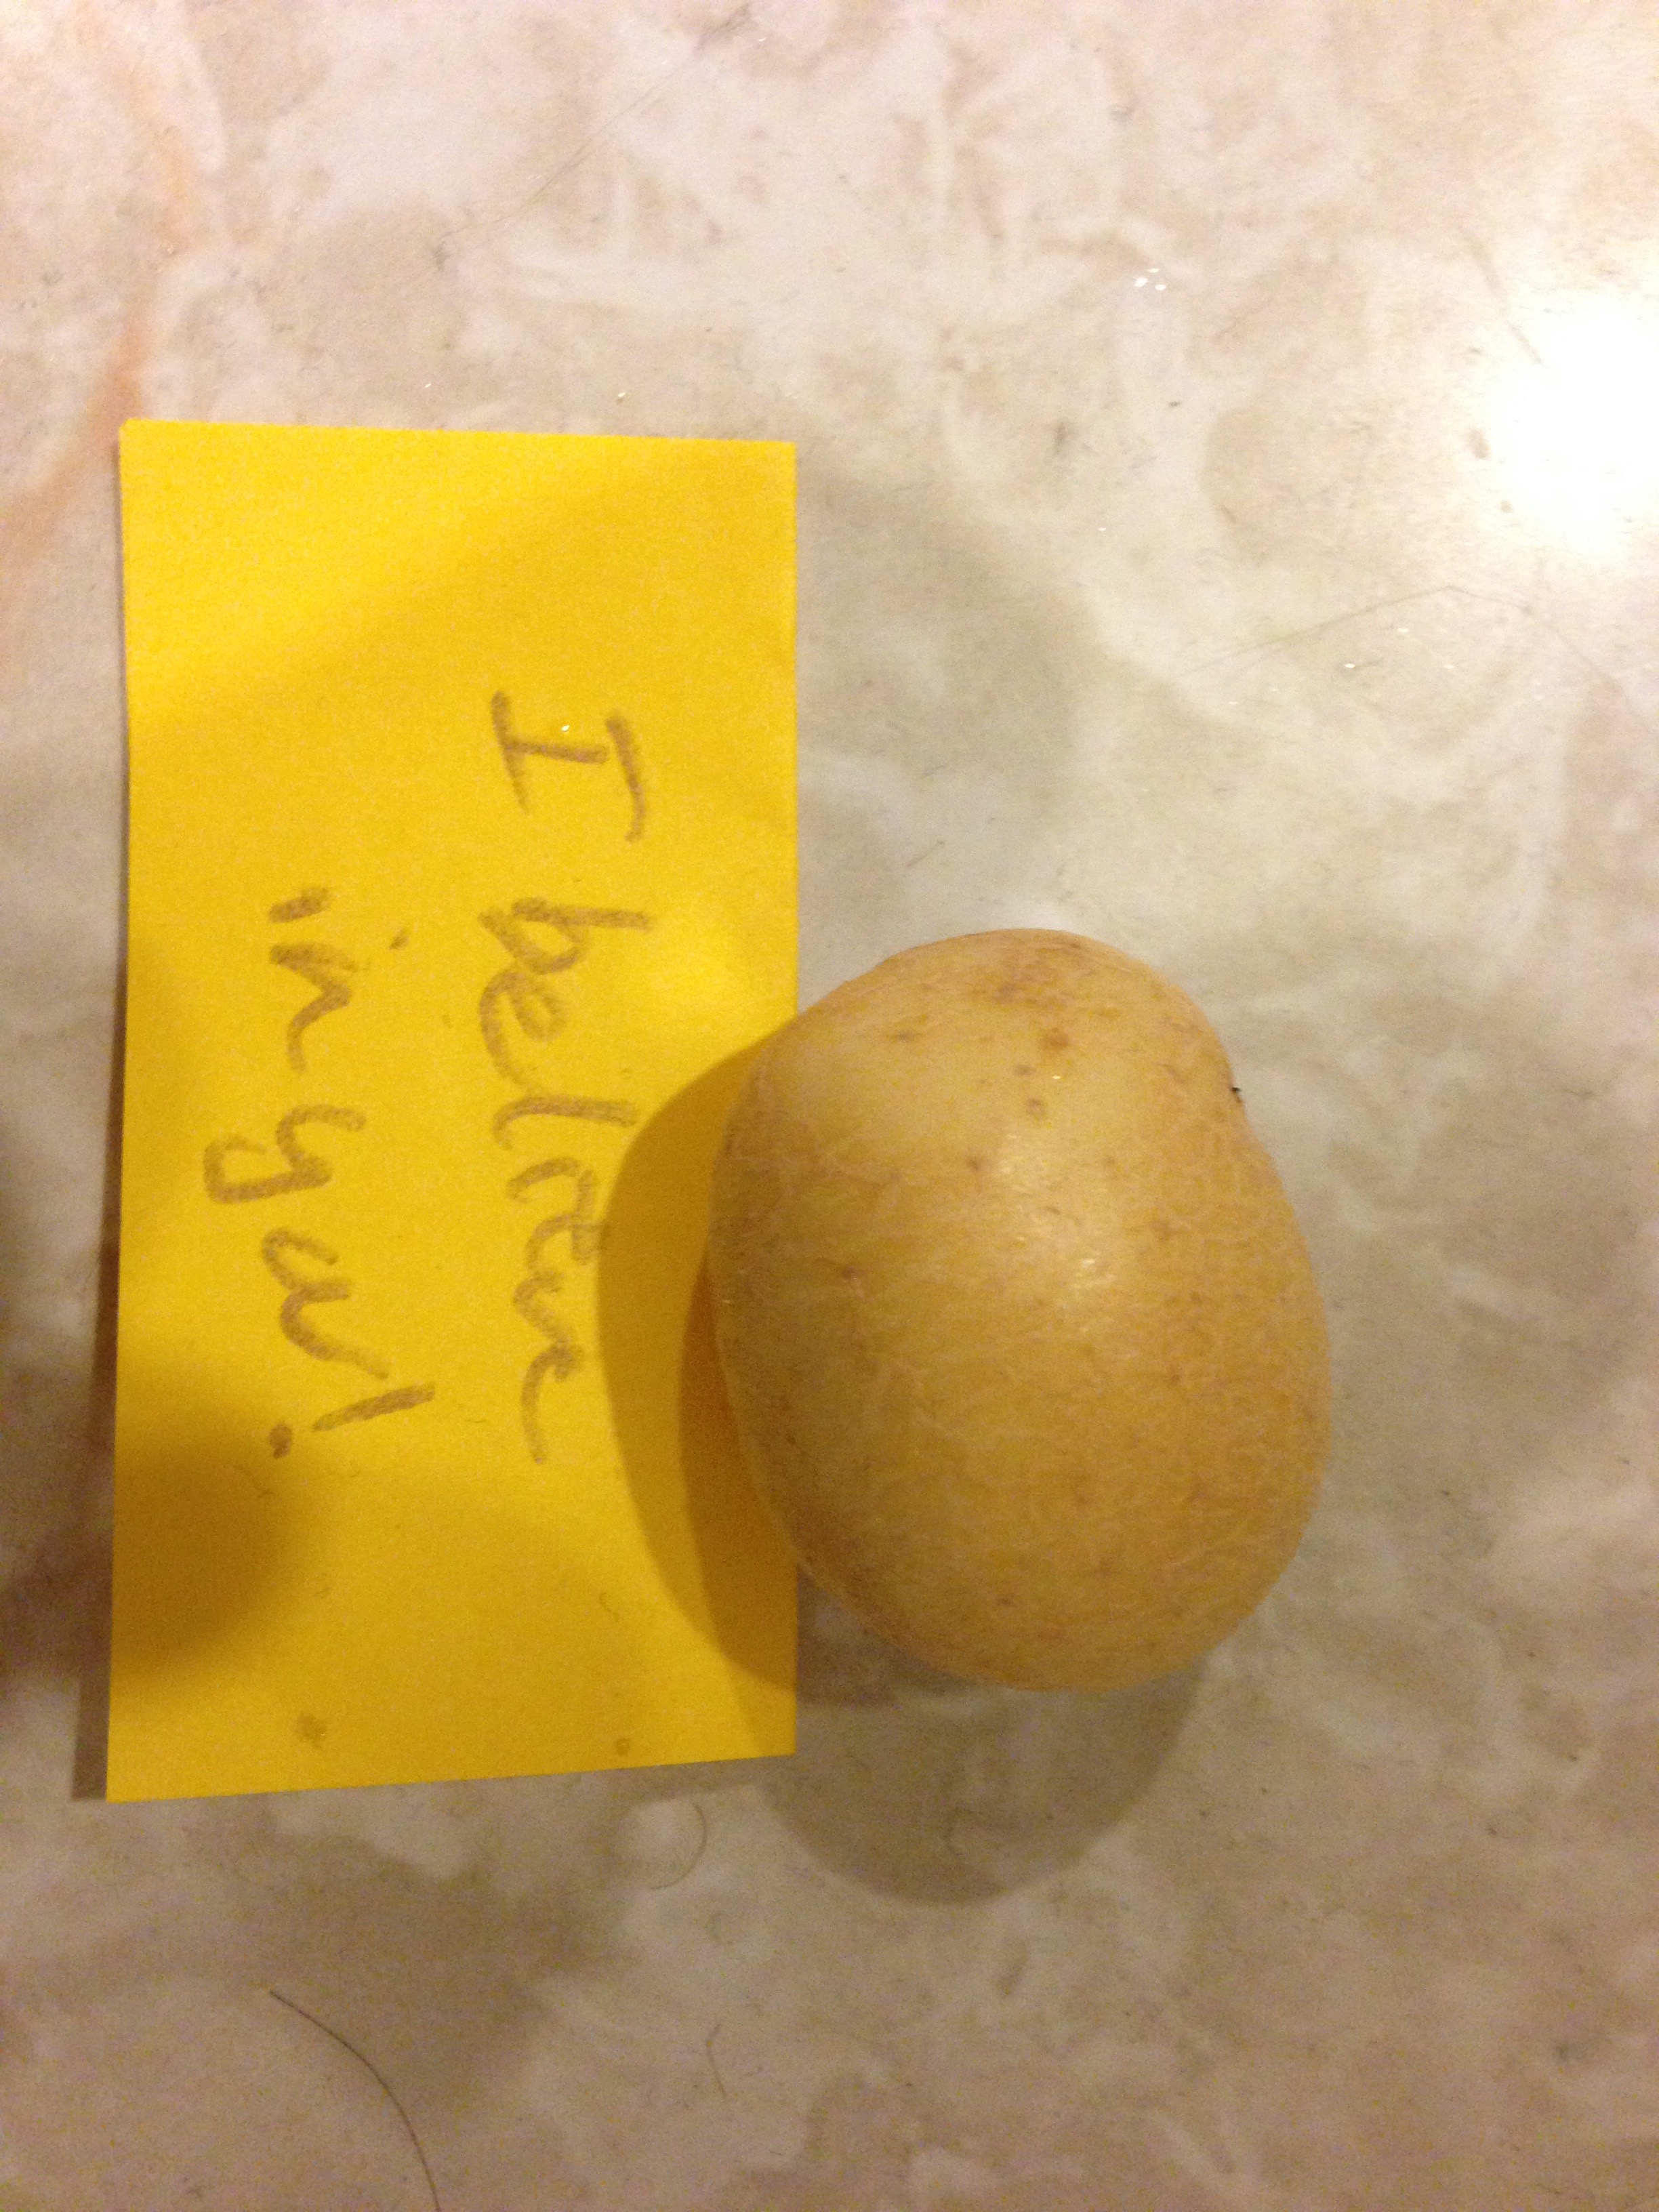
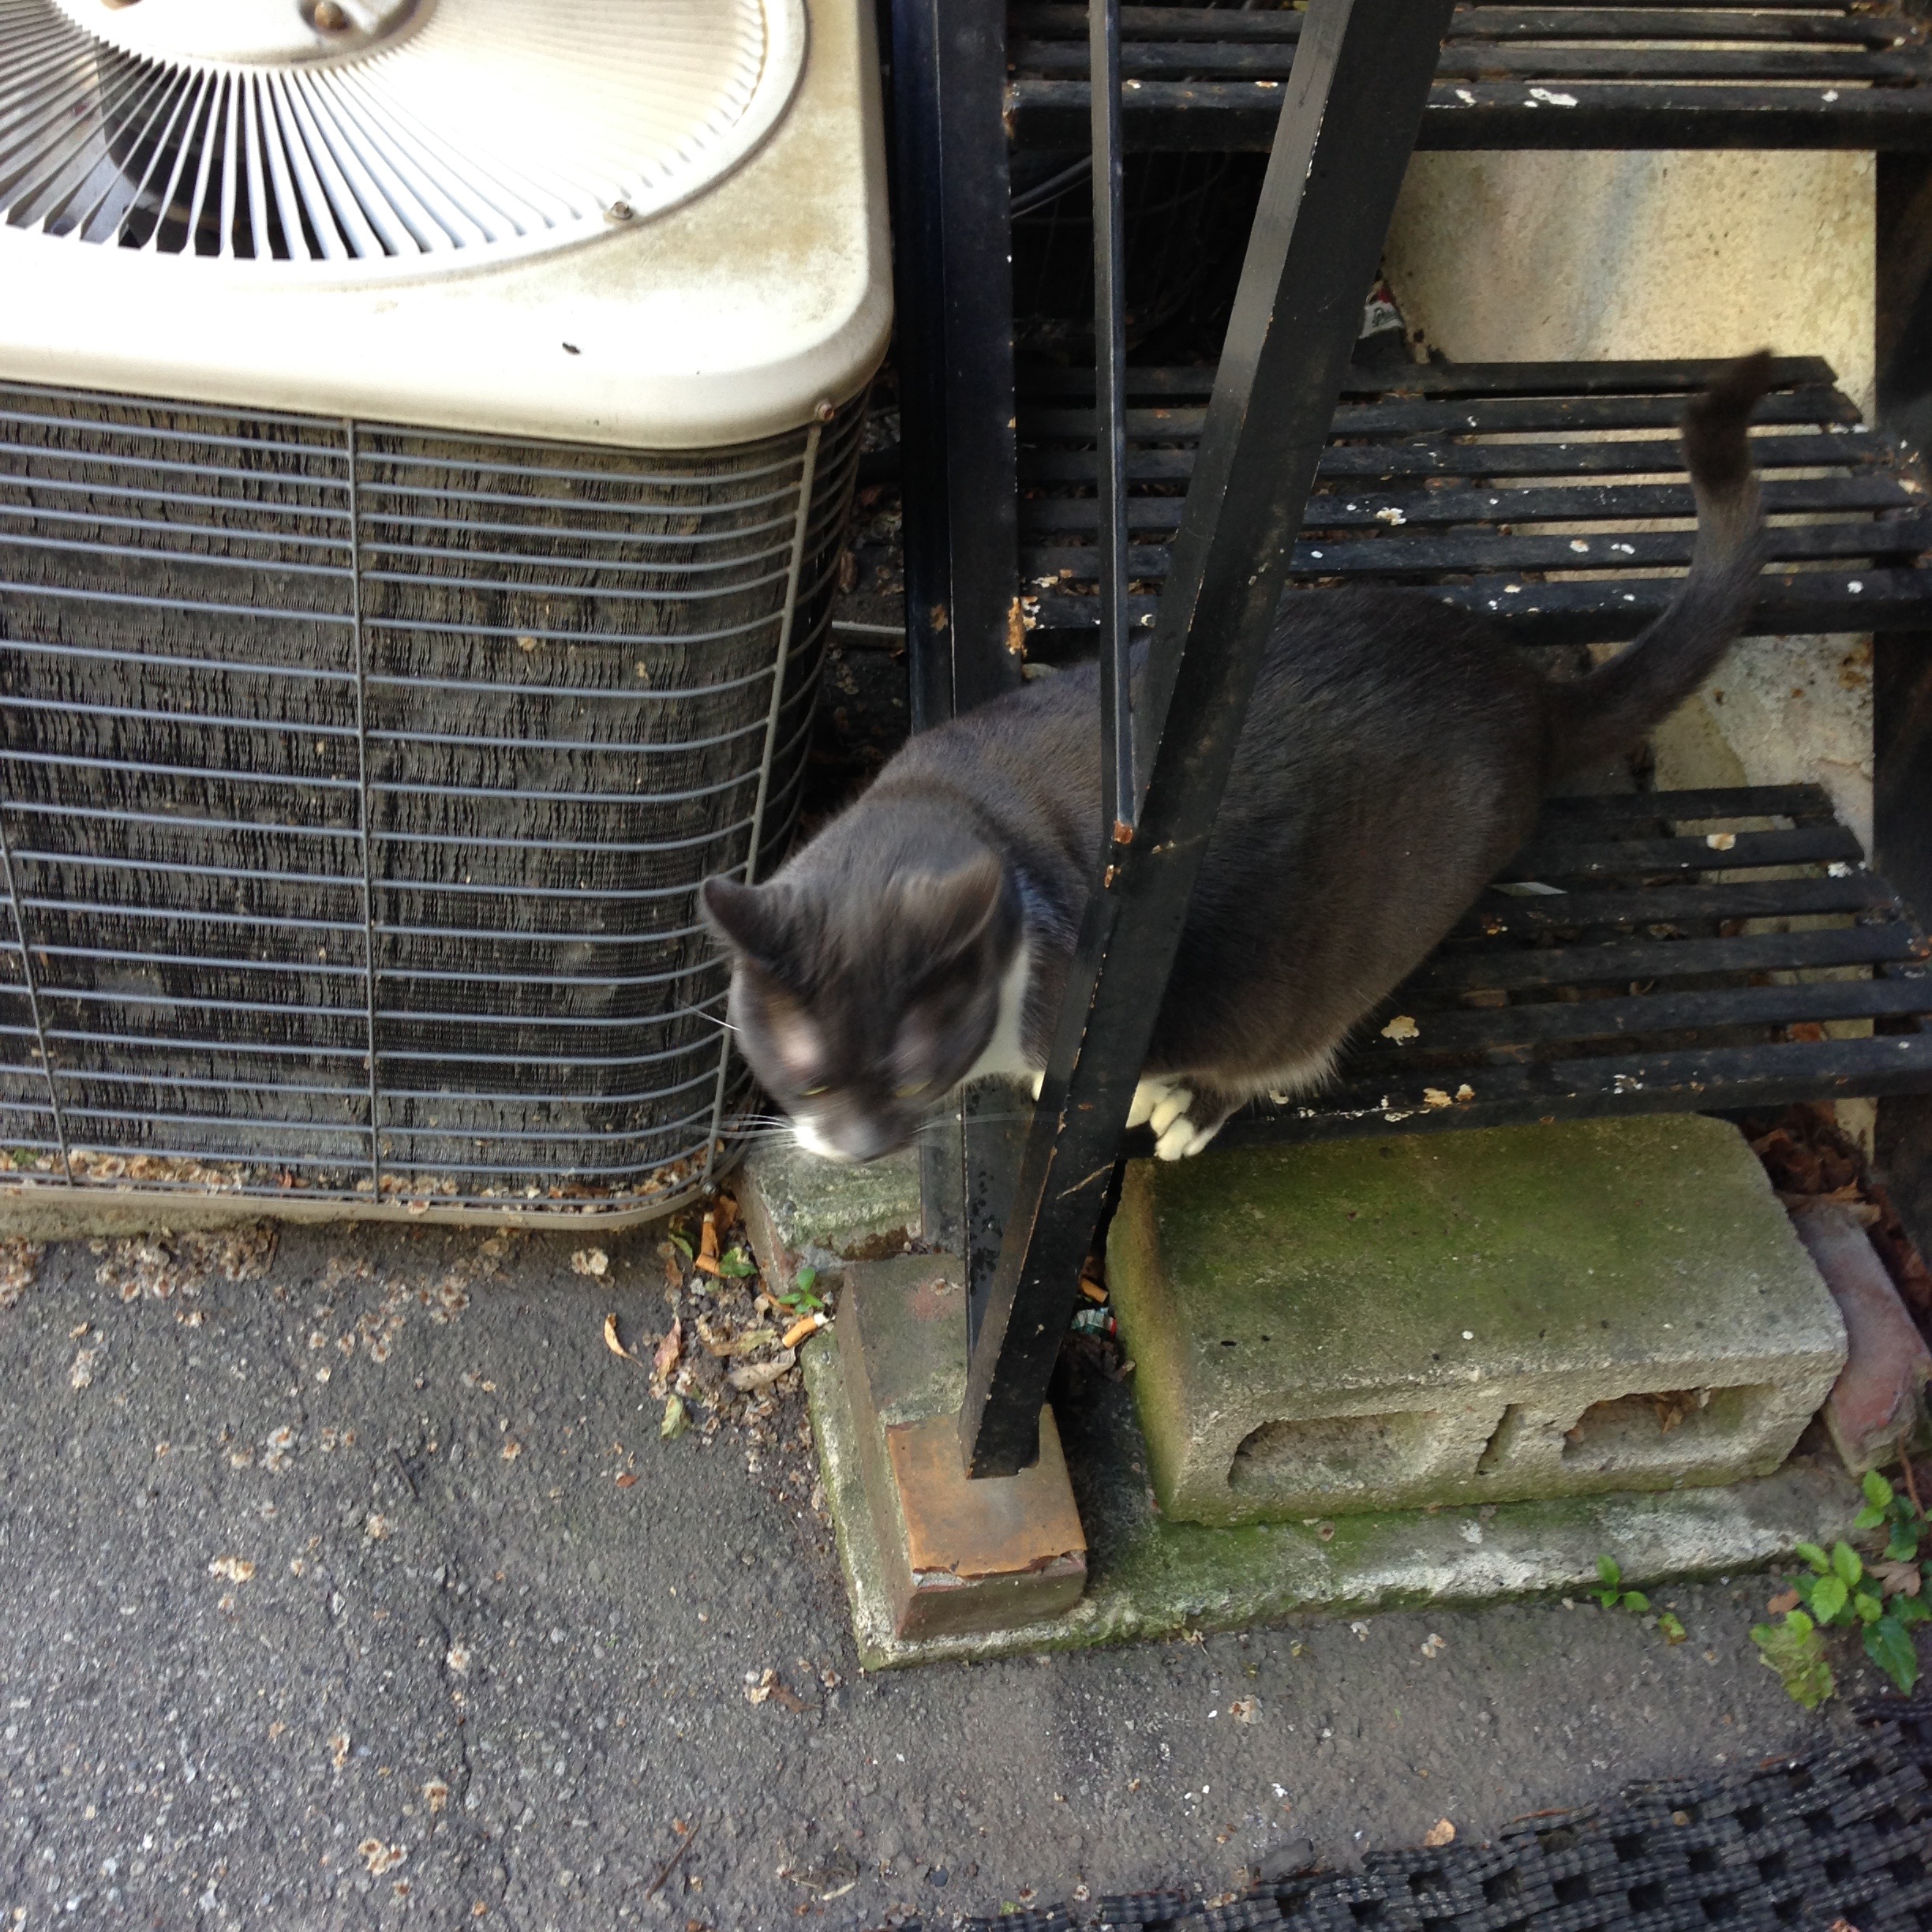
This tiny potato helped us through many a difficult time. Its love is still with us.
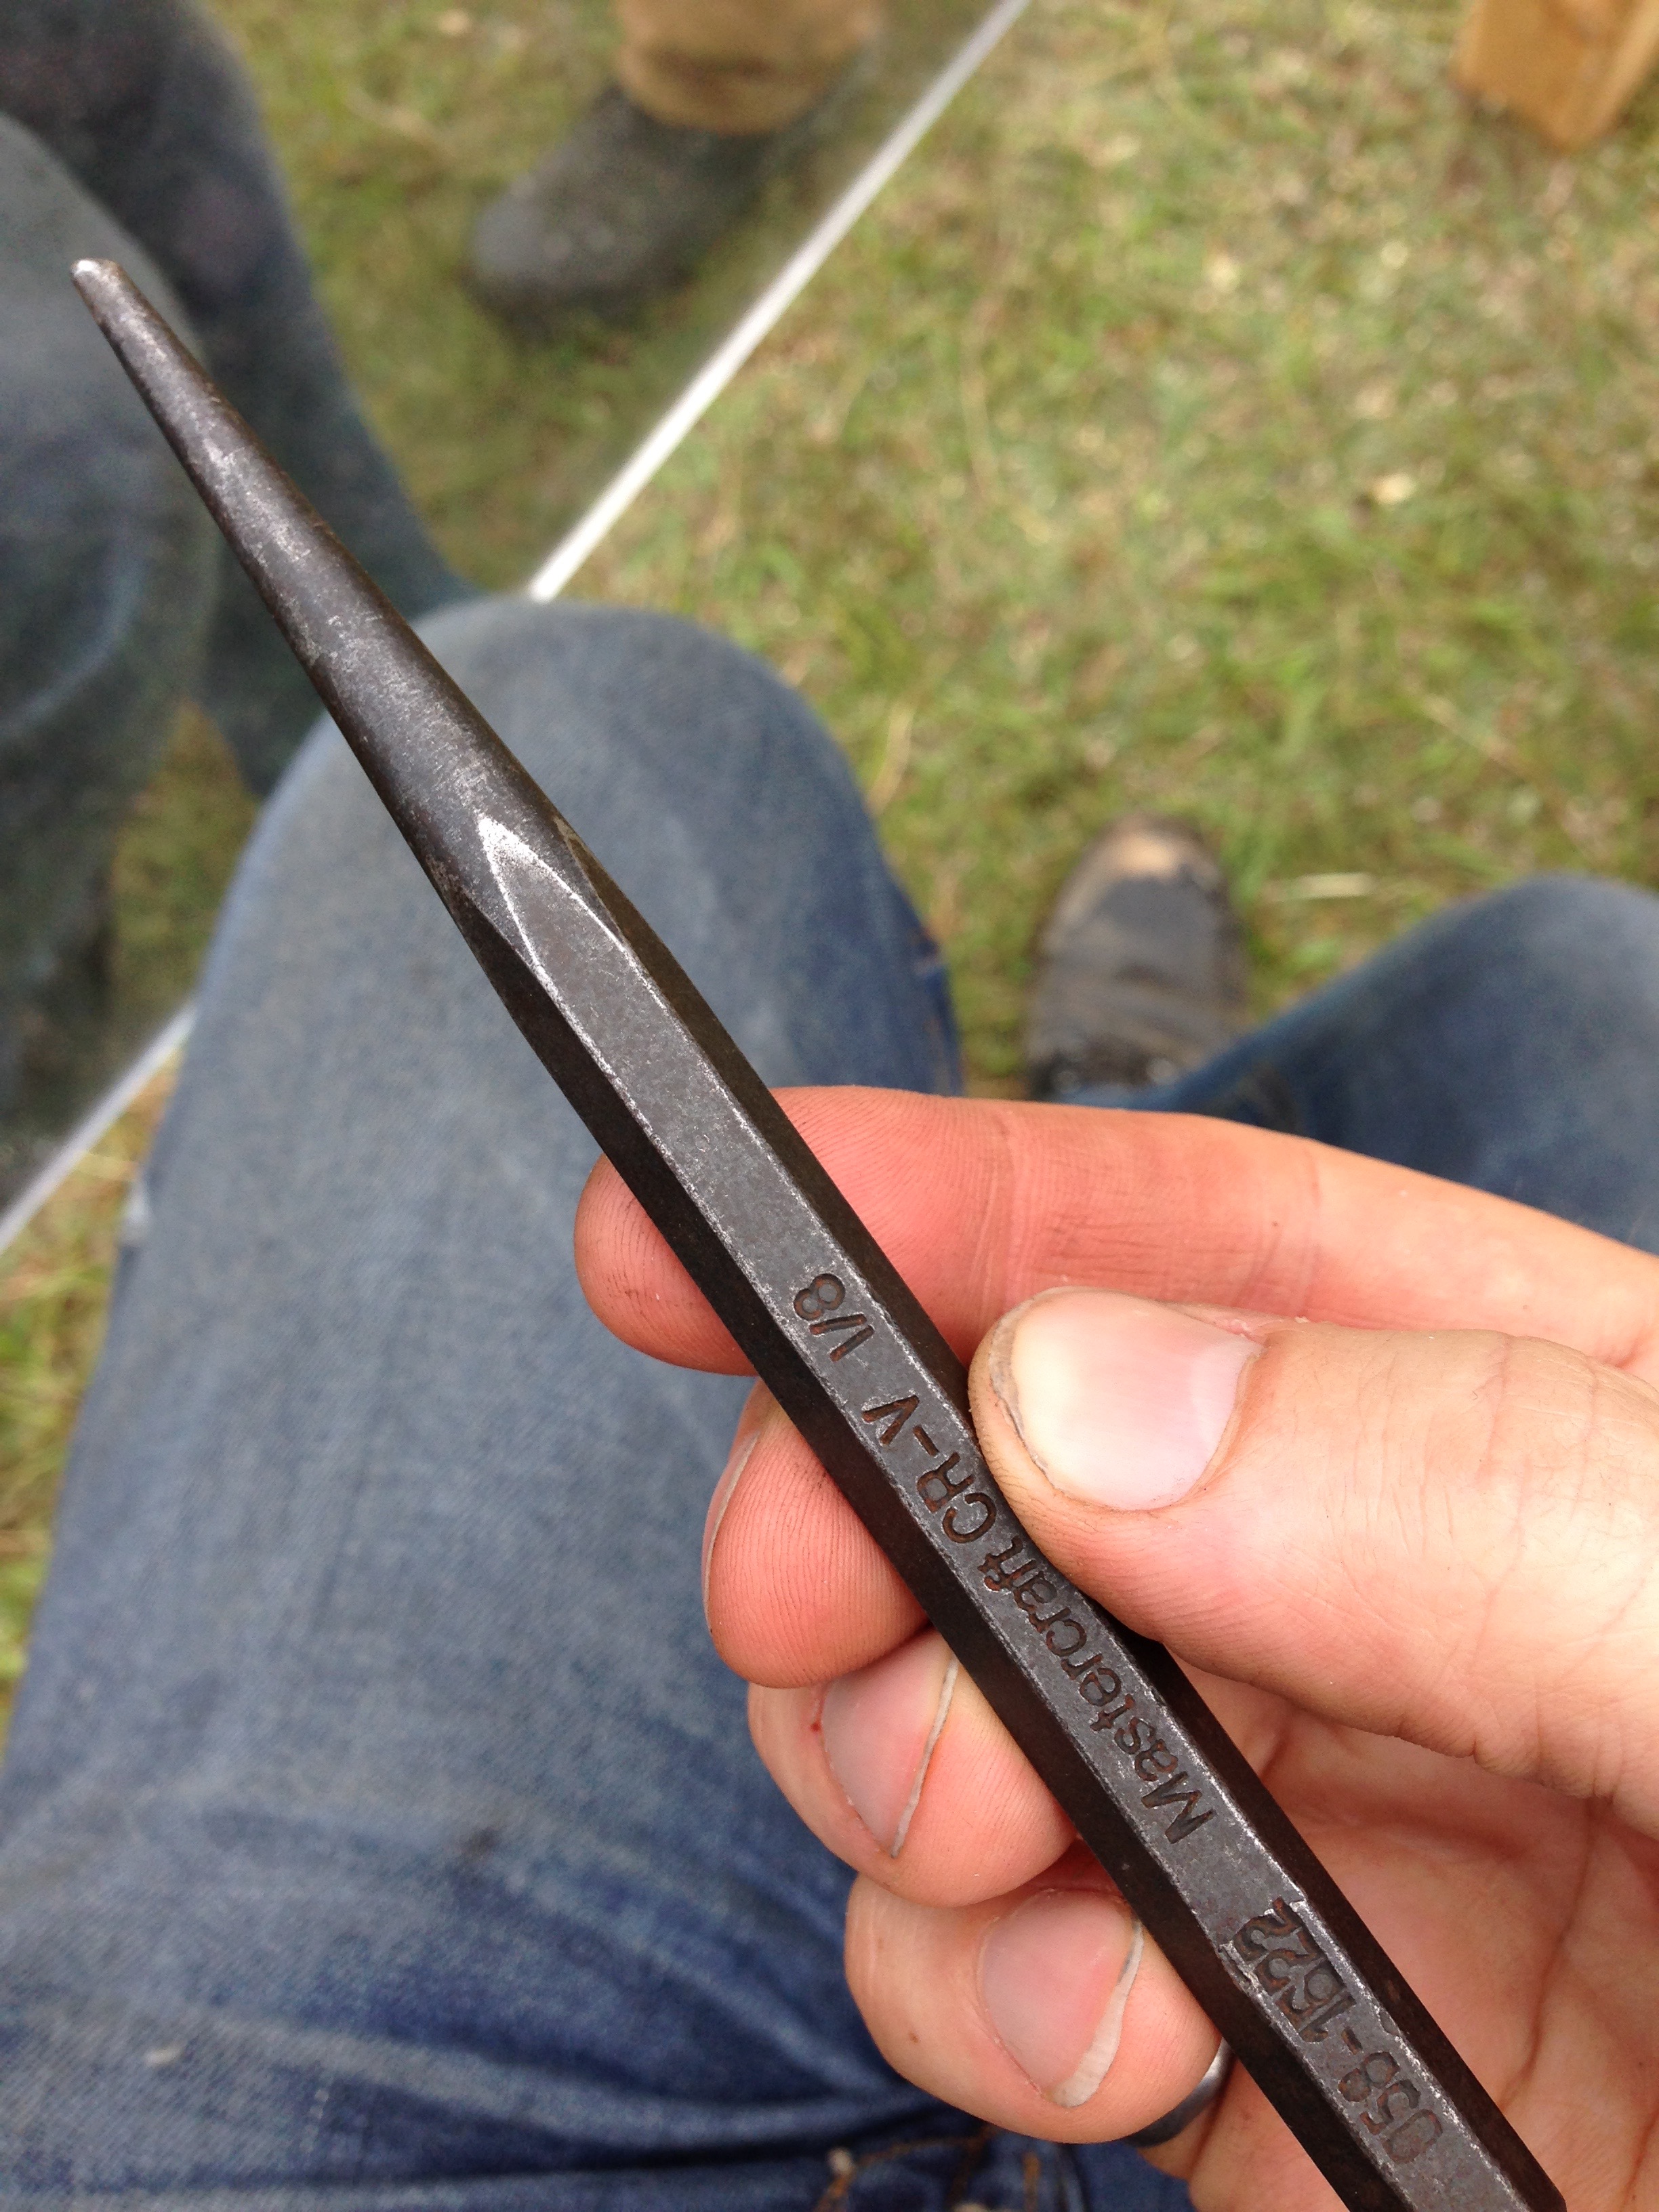
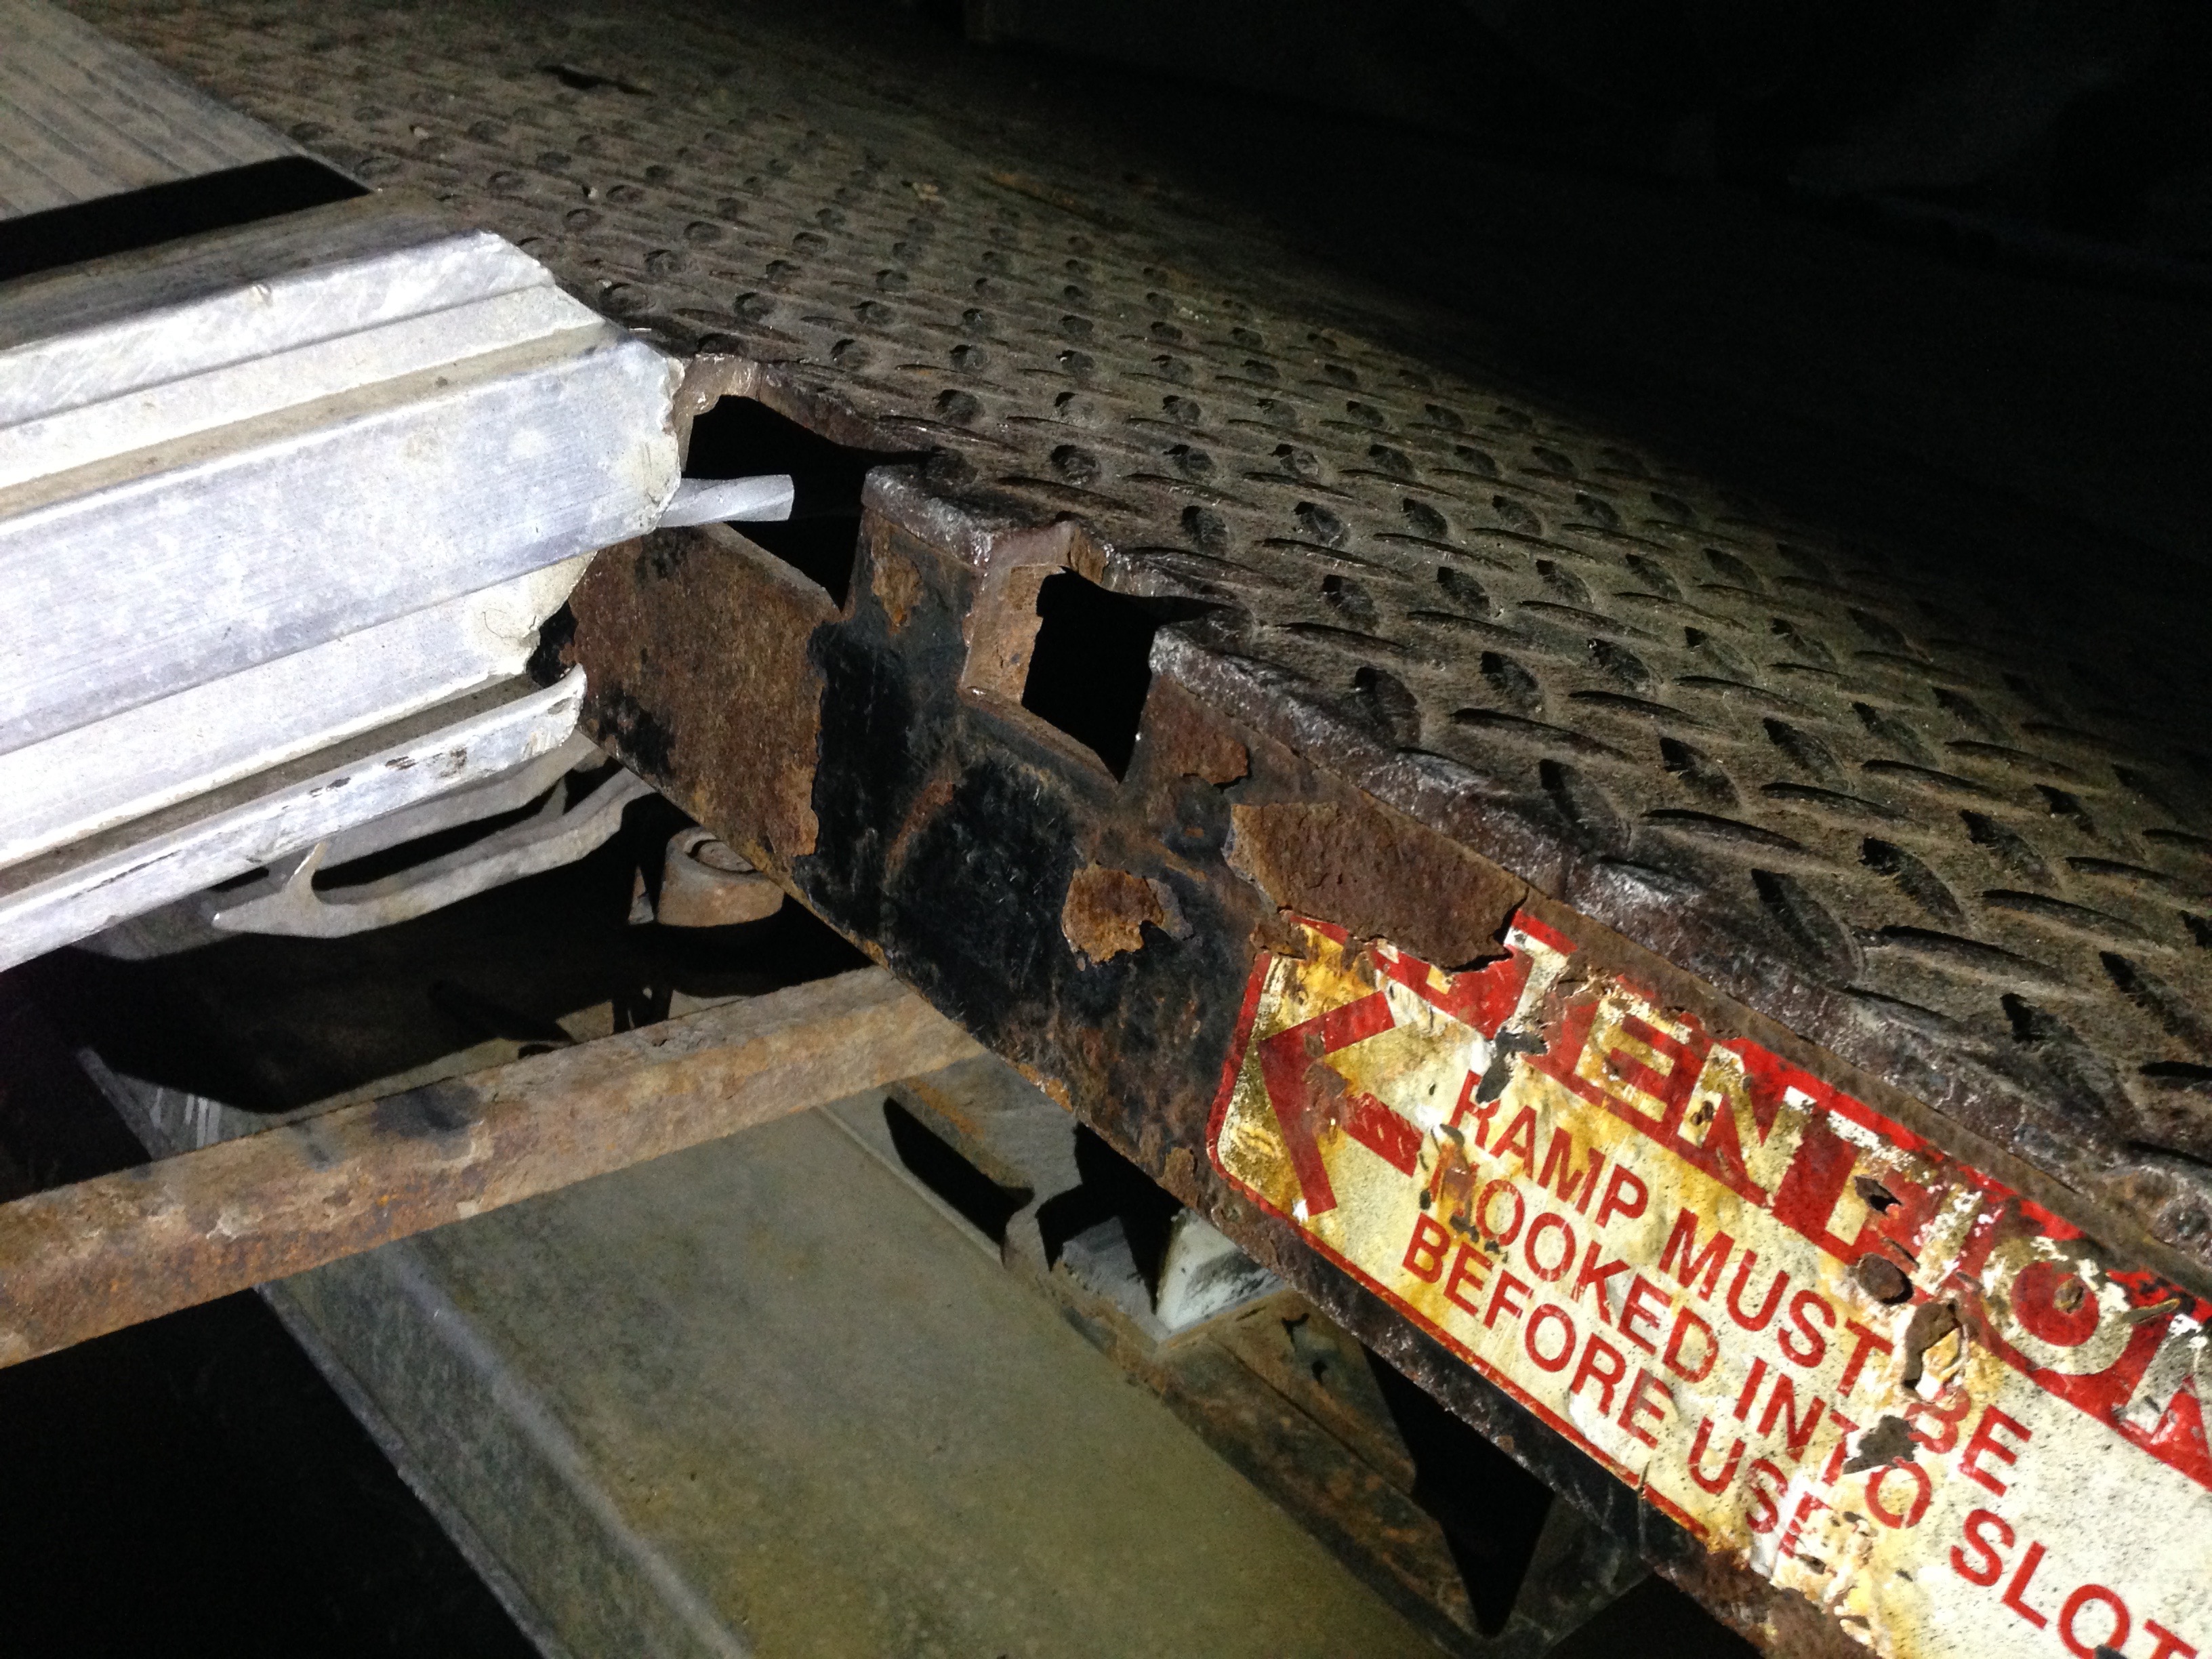
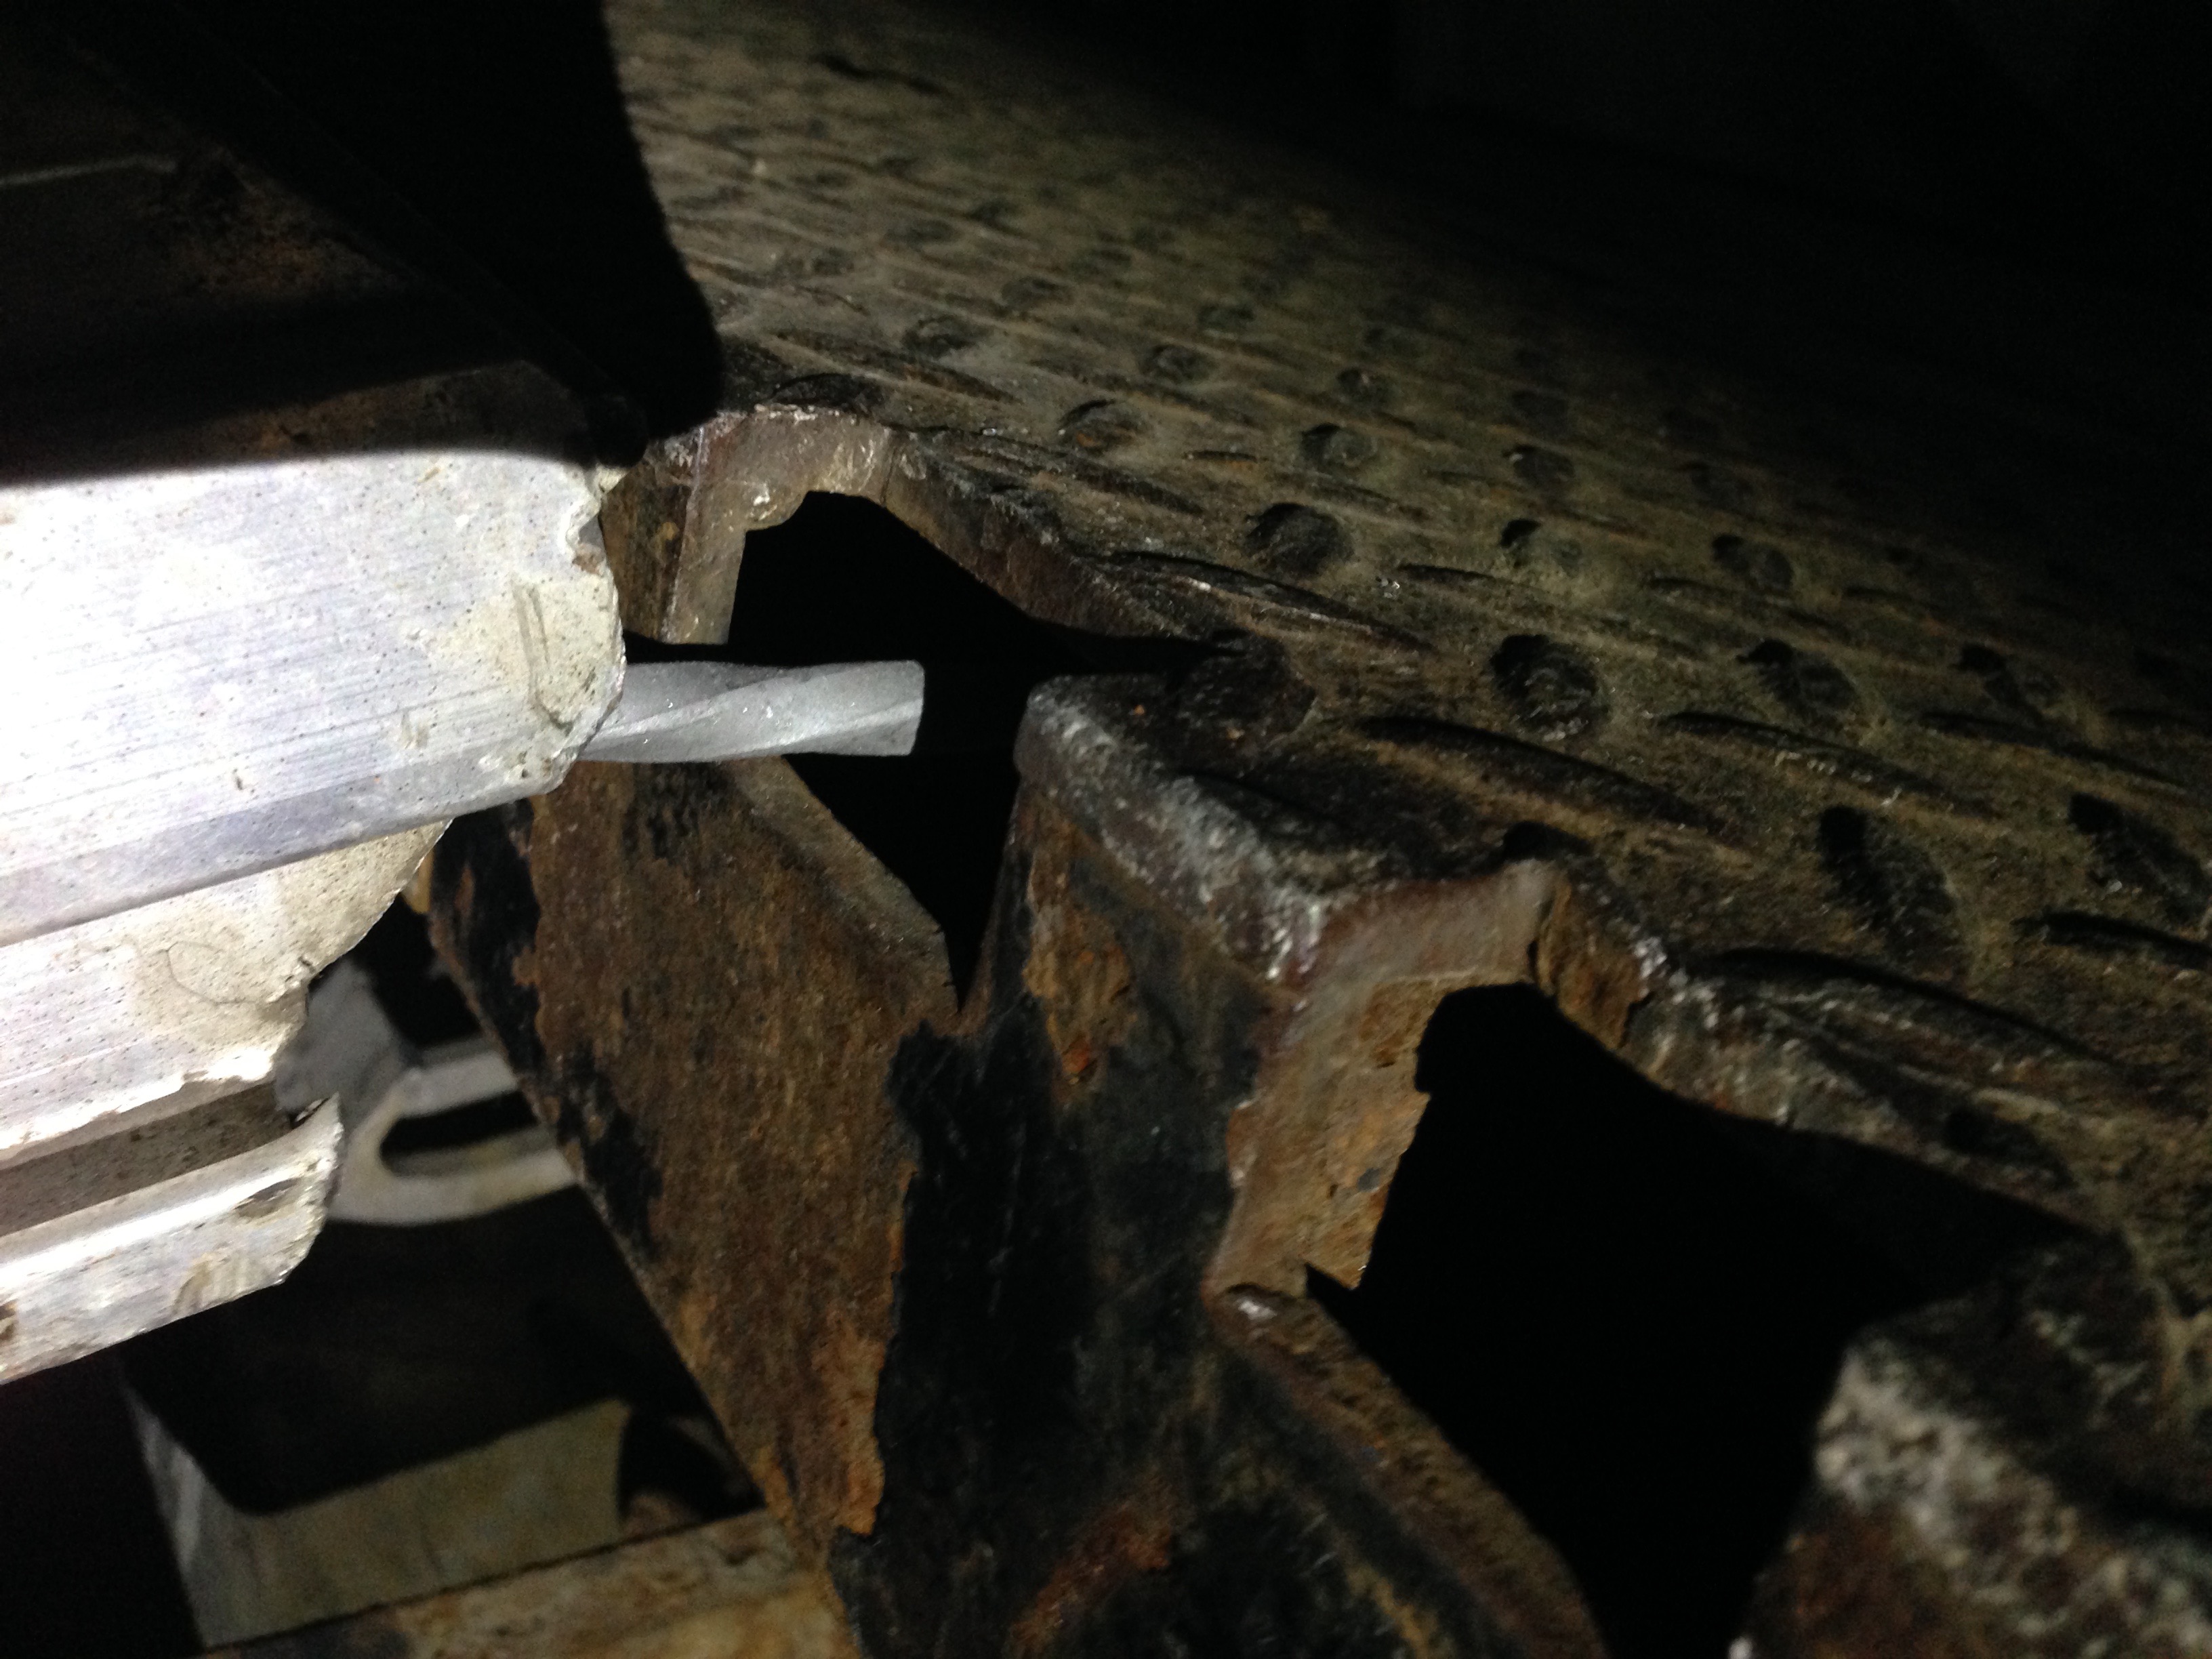
Finally, we noticed that the ramp on the truck had a broken phalange, luckily (I think) Trish had found a long (like 10″) nail[3] which we were able to use to solve the problem most adequately:
What’s that you say? A broken ramp you say?“Nailed it!”
And then we were off! Stay tuned for next time, when we travel to the countryside and join forces with many other volunteers to build fiery mayhem!
[1]Organized by many people, all of whom we will try to thank photographically
[2]This is possibly the best thing you can say to someone who is participating in building a ridiculous and difficult thing.
[3]Also galvanized, but that is not important to this story.
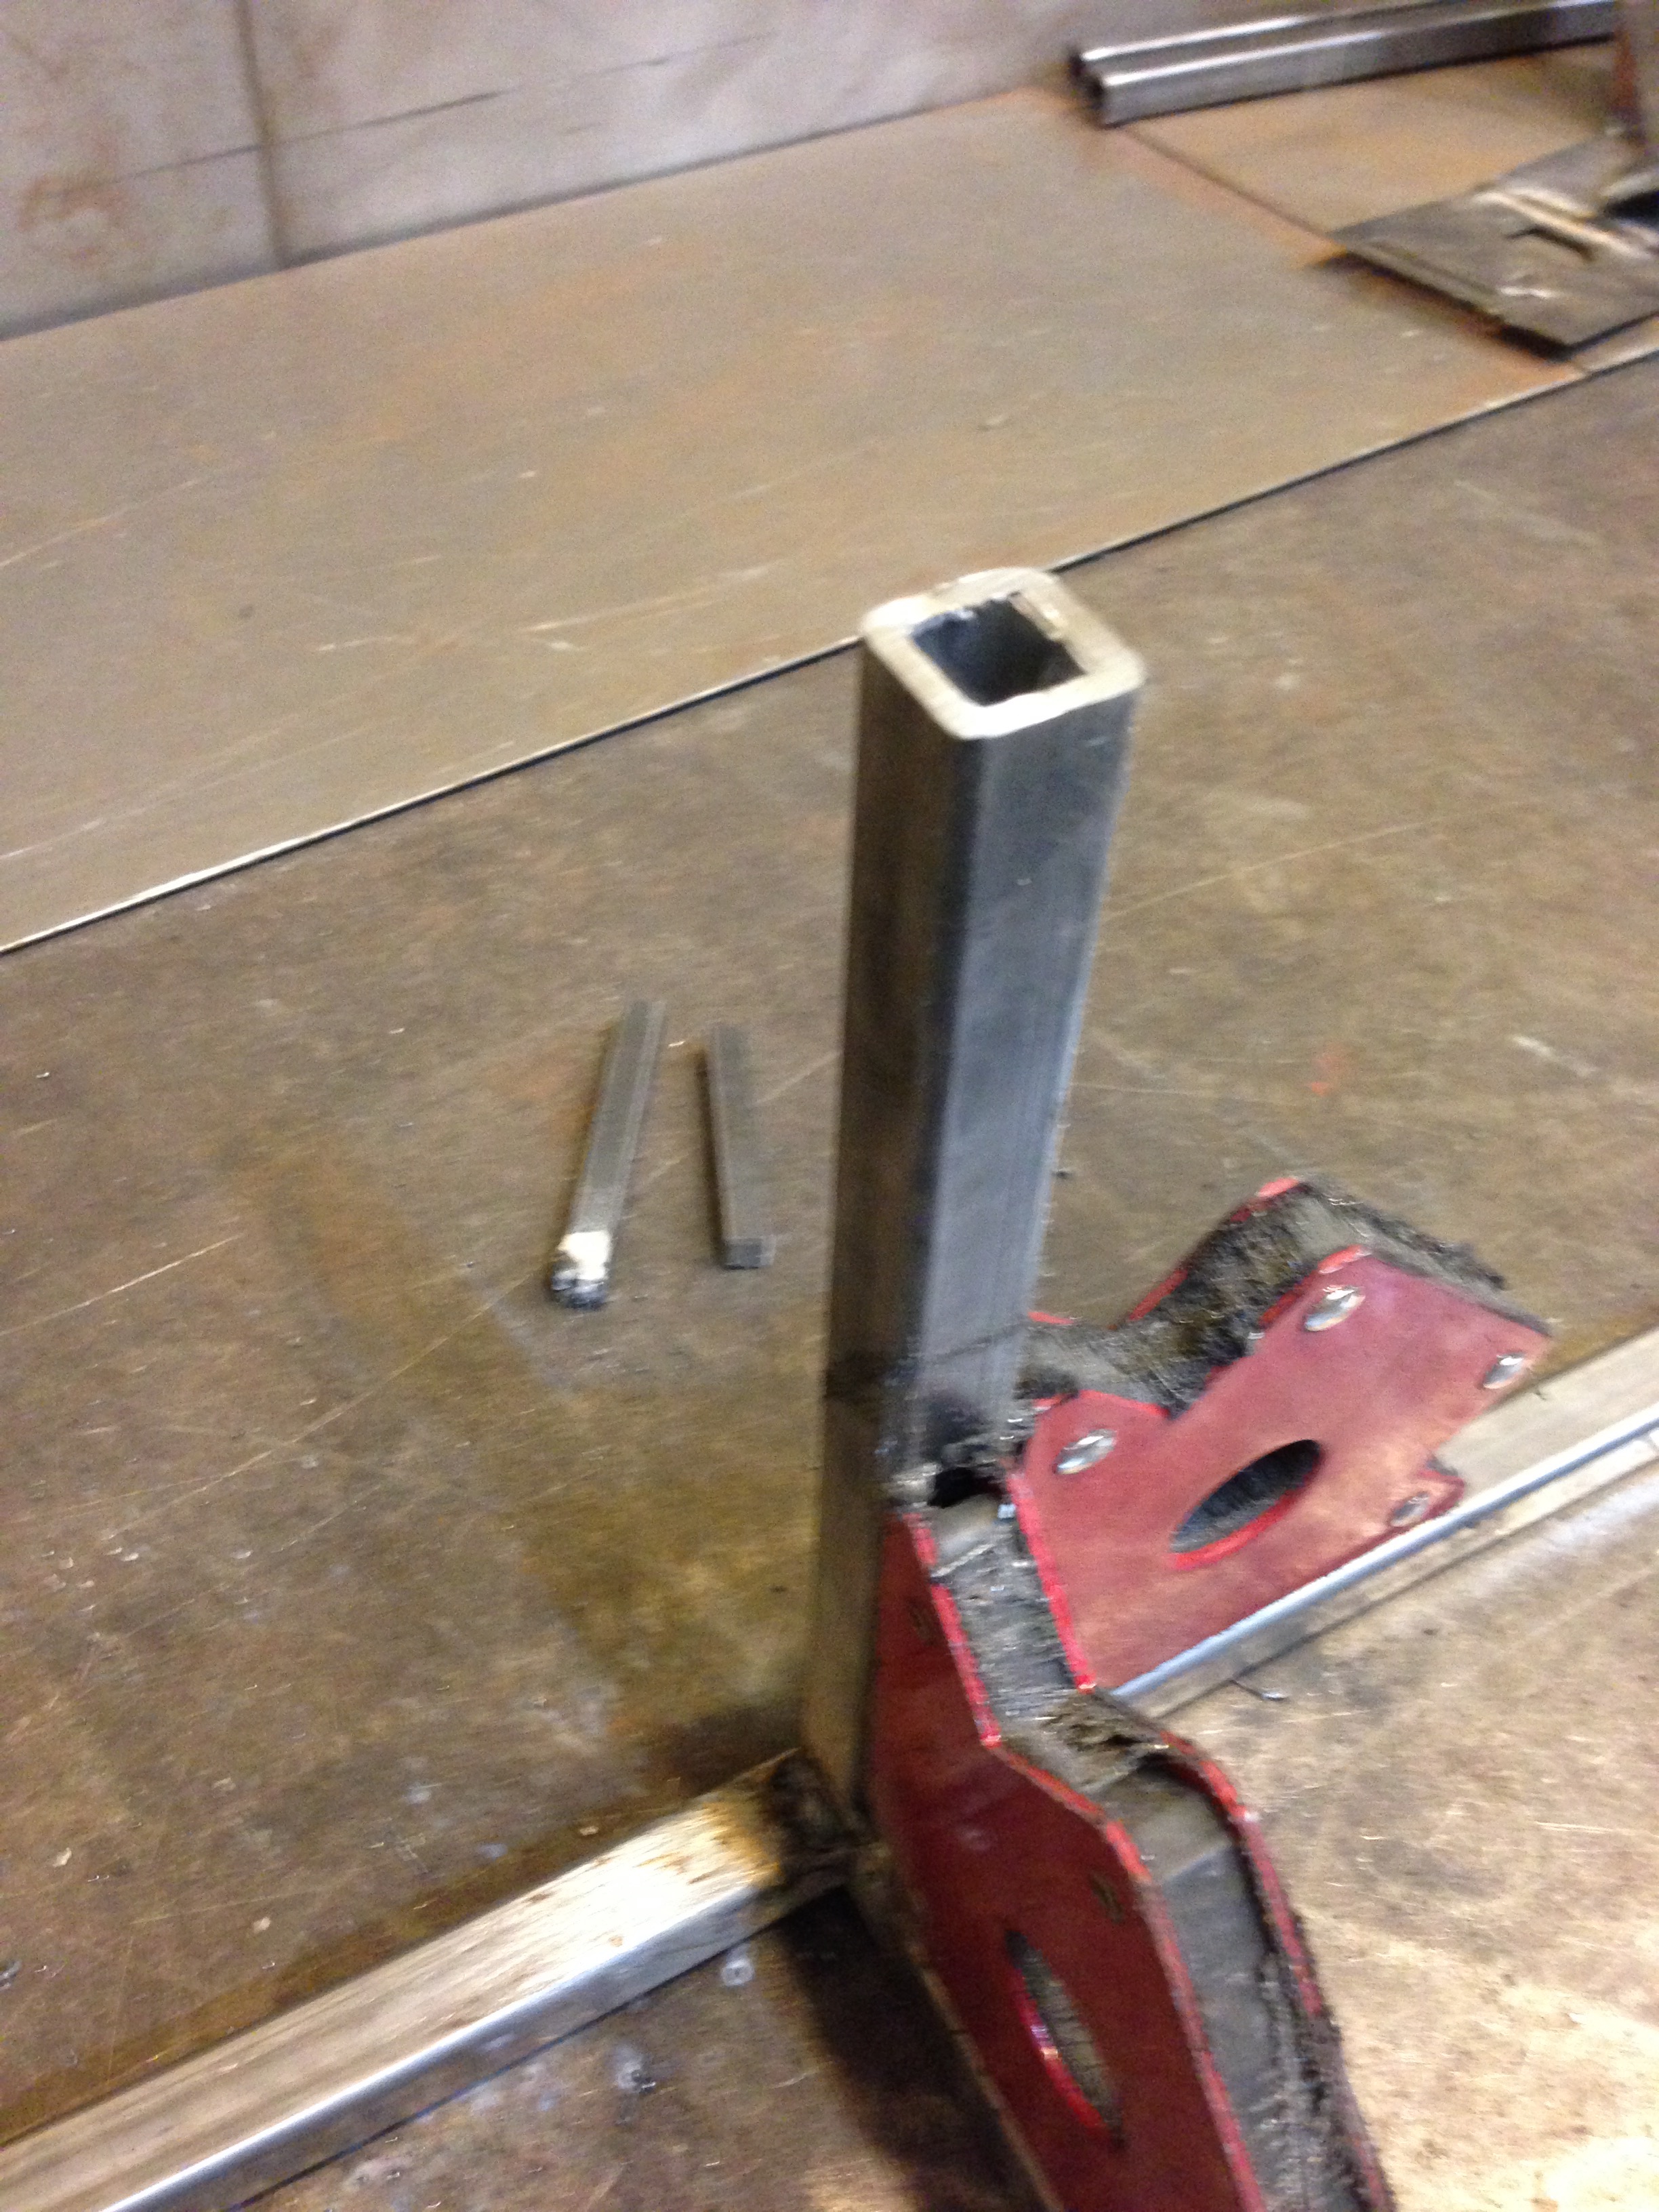
My first welding attempt on something real. Note the flux smoke coming out the top.
Last time, we paid tribute to some of the many people who came out and helped us build. Today, we’ll talk about our adventures in finding/making/etc. an appropriate stand for the 7’x1′ quartz tube. Your assignment is that you need to find or make or have made a stand that can hold 100+ pounds, is fireproof, and yet is gentle enough on the quartz so as not to cause abrasions or cracks.
This is the tube in question. From the original email, the Outer Diameter was 300mm, with 5.5mm wall thickness x 2134 mm length:
This is the quartz tube, in all its (still slightly packaged) glory.
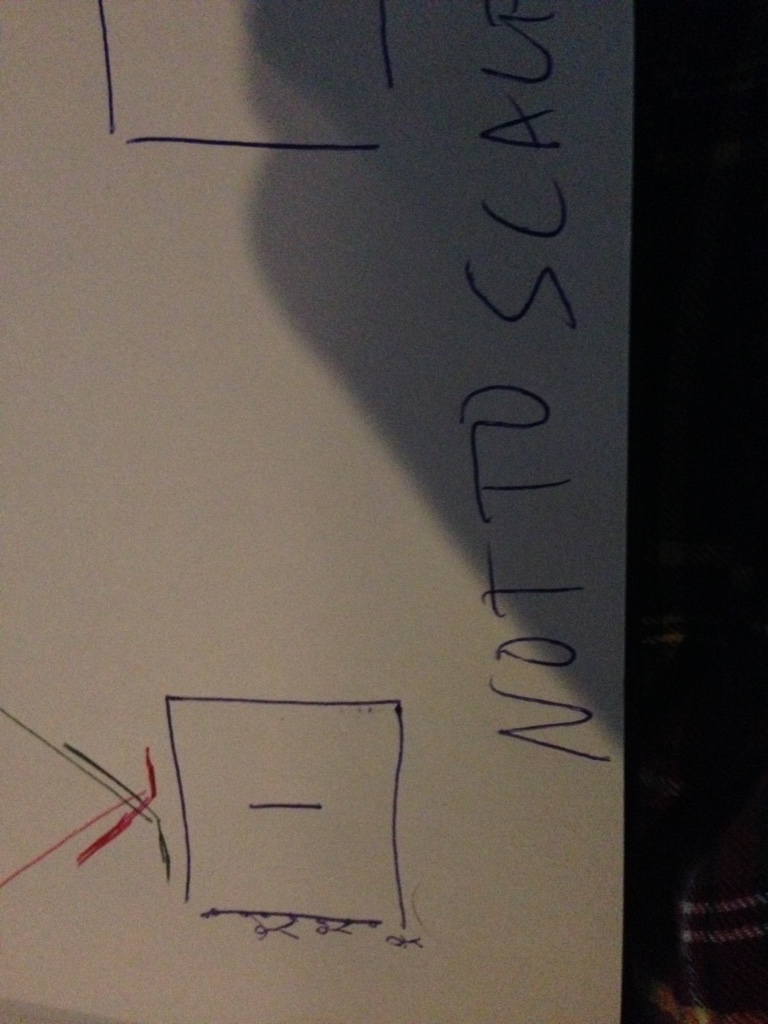
IIRC, when we had talked about the issue of making a stand for the tube at one of the S3FA meetings, Carrie had quickly sketched out a diagram which very closely matched what I ended up building. But, since I had never welded before, it took me a while to come around to the idea. We had a couple of weeks left to make this happen (before the integration weekend), so I first tried to go to a custom welding shop to pay them to do it.
Viking Engineering and Costa Railings were both recommended to me, and they both seemed very competent, but they were far too full of work to give me a hand with so little lead time.
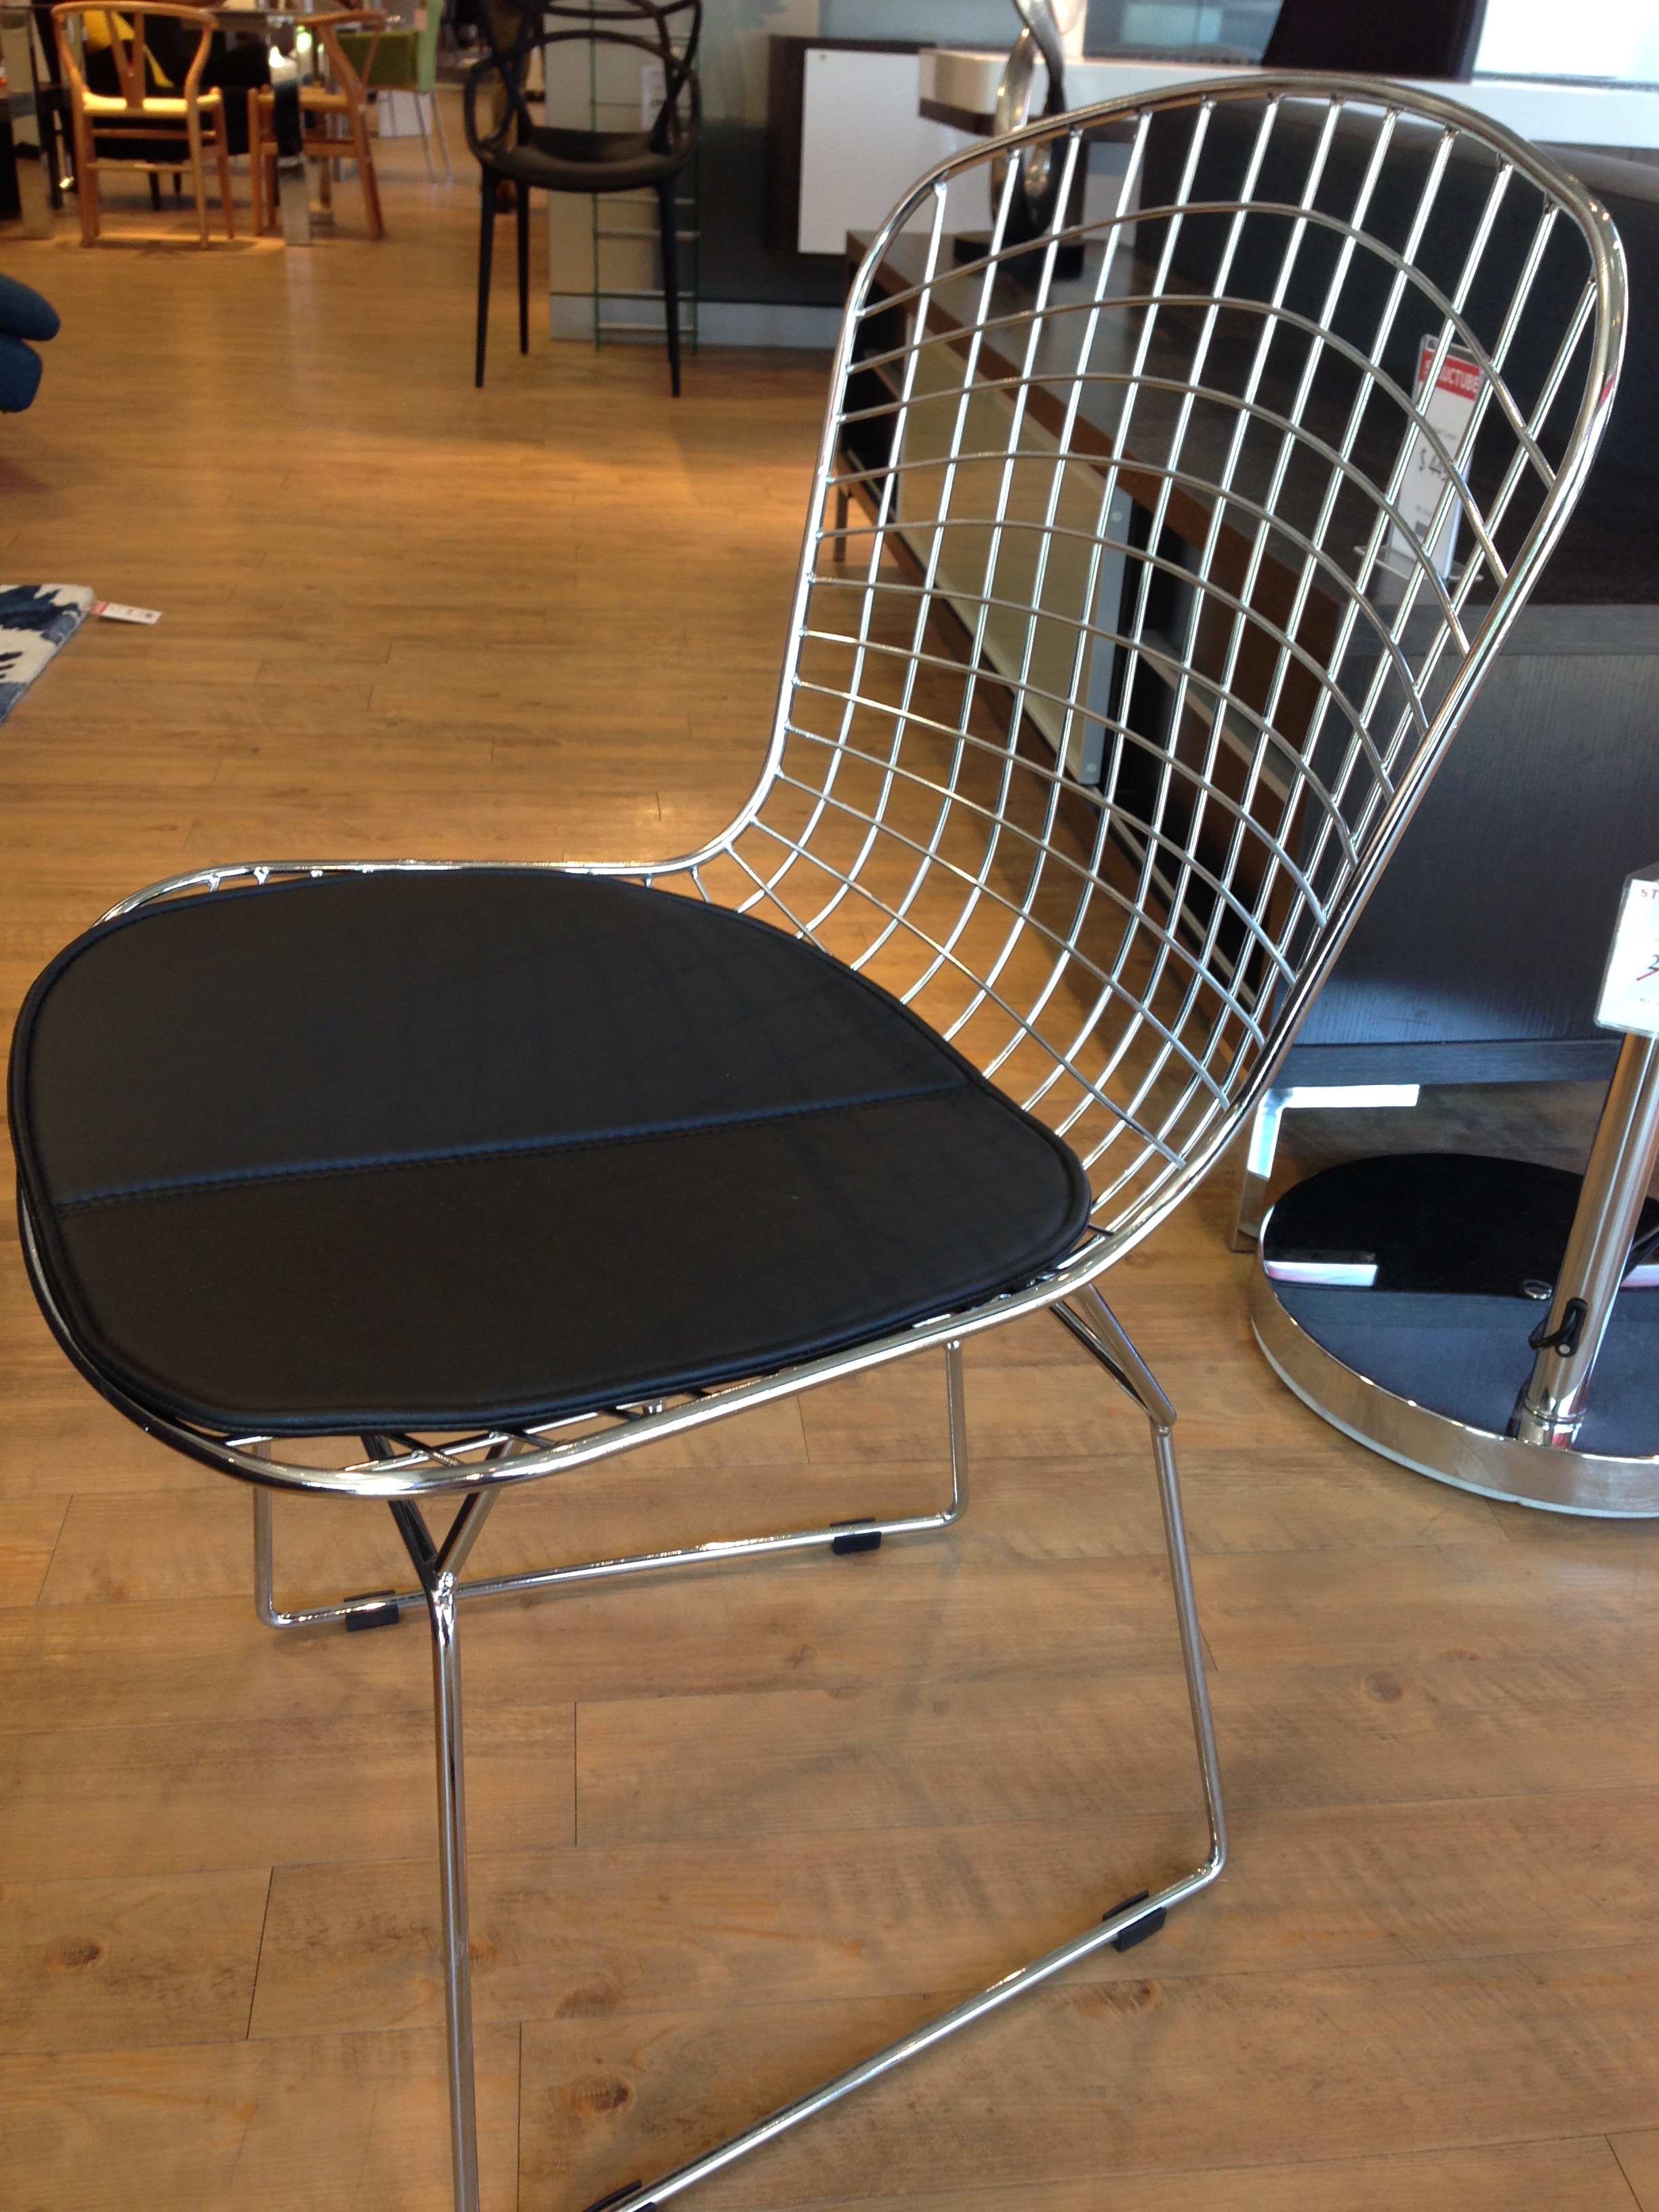
I then stopped at a Structube on the way home, on the off chance that there might be something there that could be repurposed into a tube stand. I kept coming back to this chair, which seemed to be a reasonable height off the ground (we needed about a foot for the flame effect under the tube):
An early idea of a commercial item which could be repurposed into a tube stand.
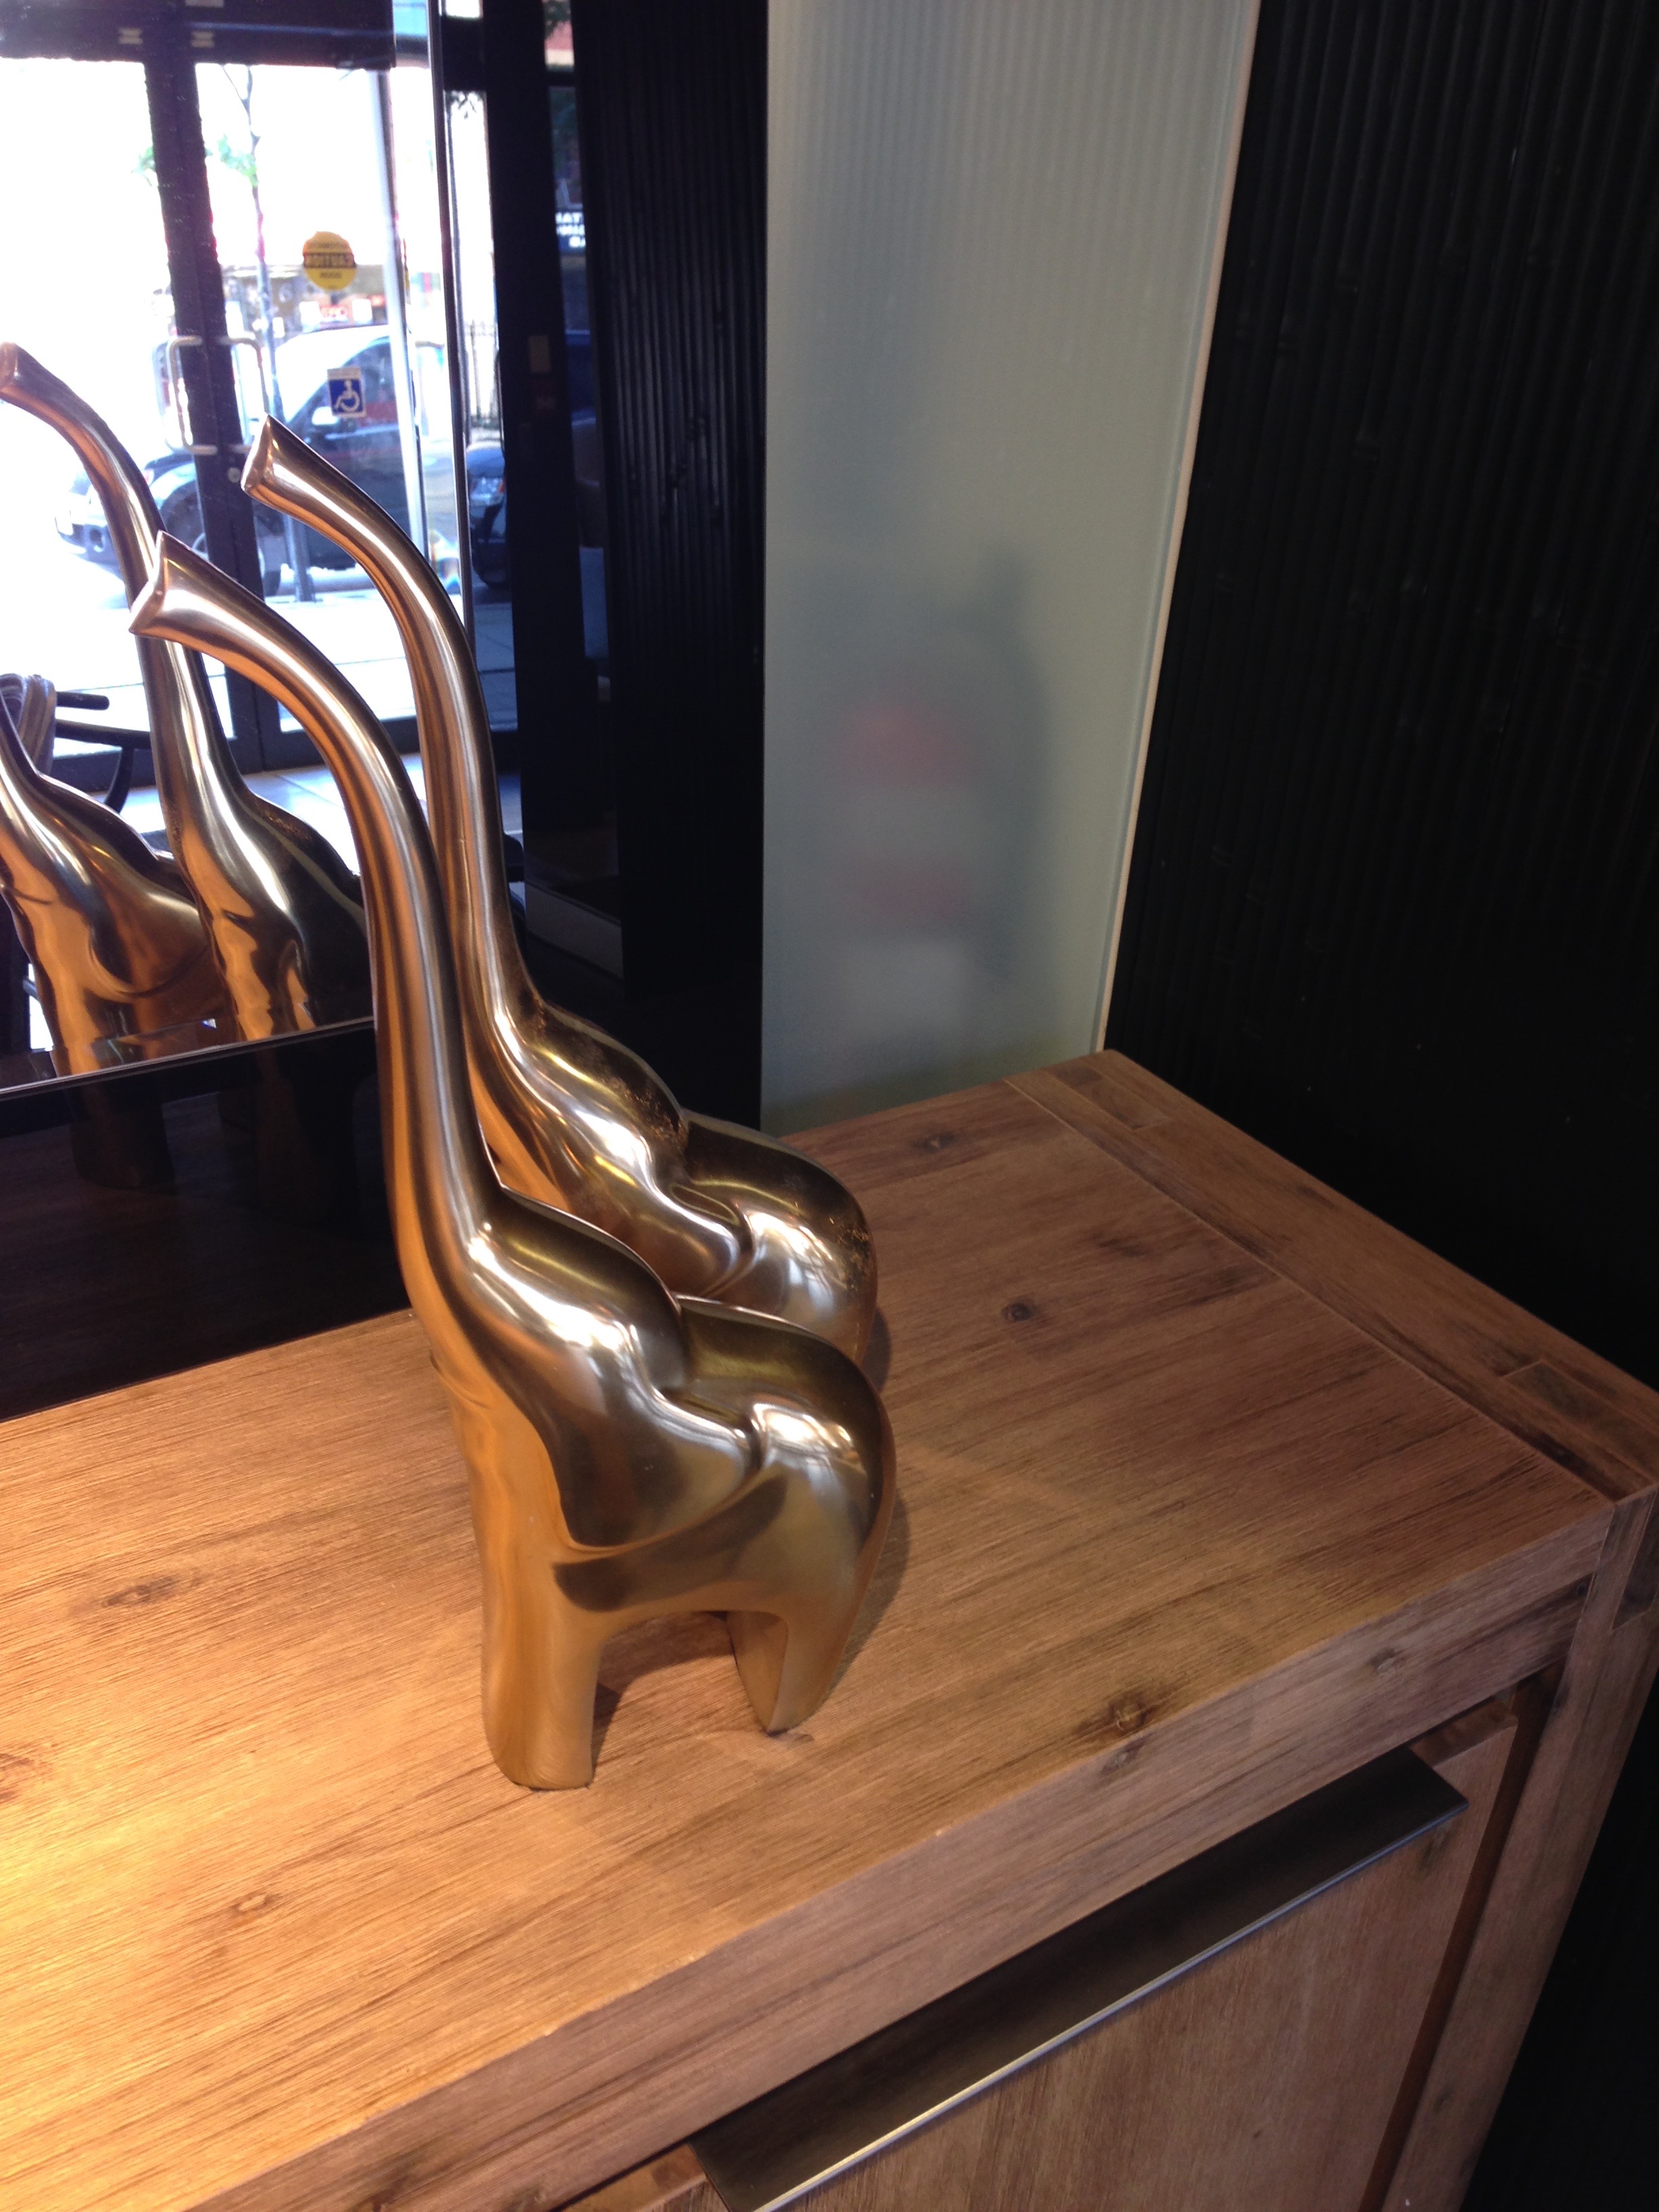
I also met these friendly brontosauroid elephants:
Brontosaur or elephant? They’re so friendly, it’s hard to tell!
But then it was time to knuckle down and actually learn to weld. Dani was kind enough to teach us on very short notice, so I went and purchased the parts (square tube steel is surprisingly inexpensive, and available easily at Canadian Tire).
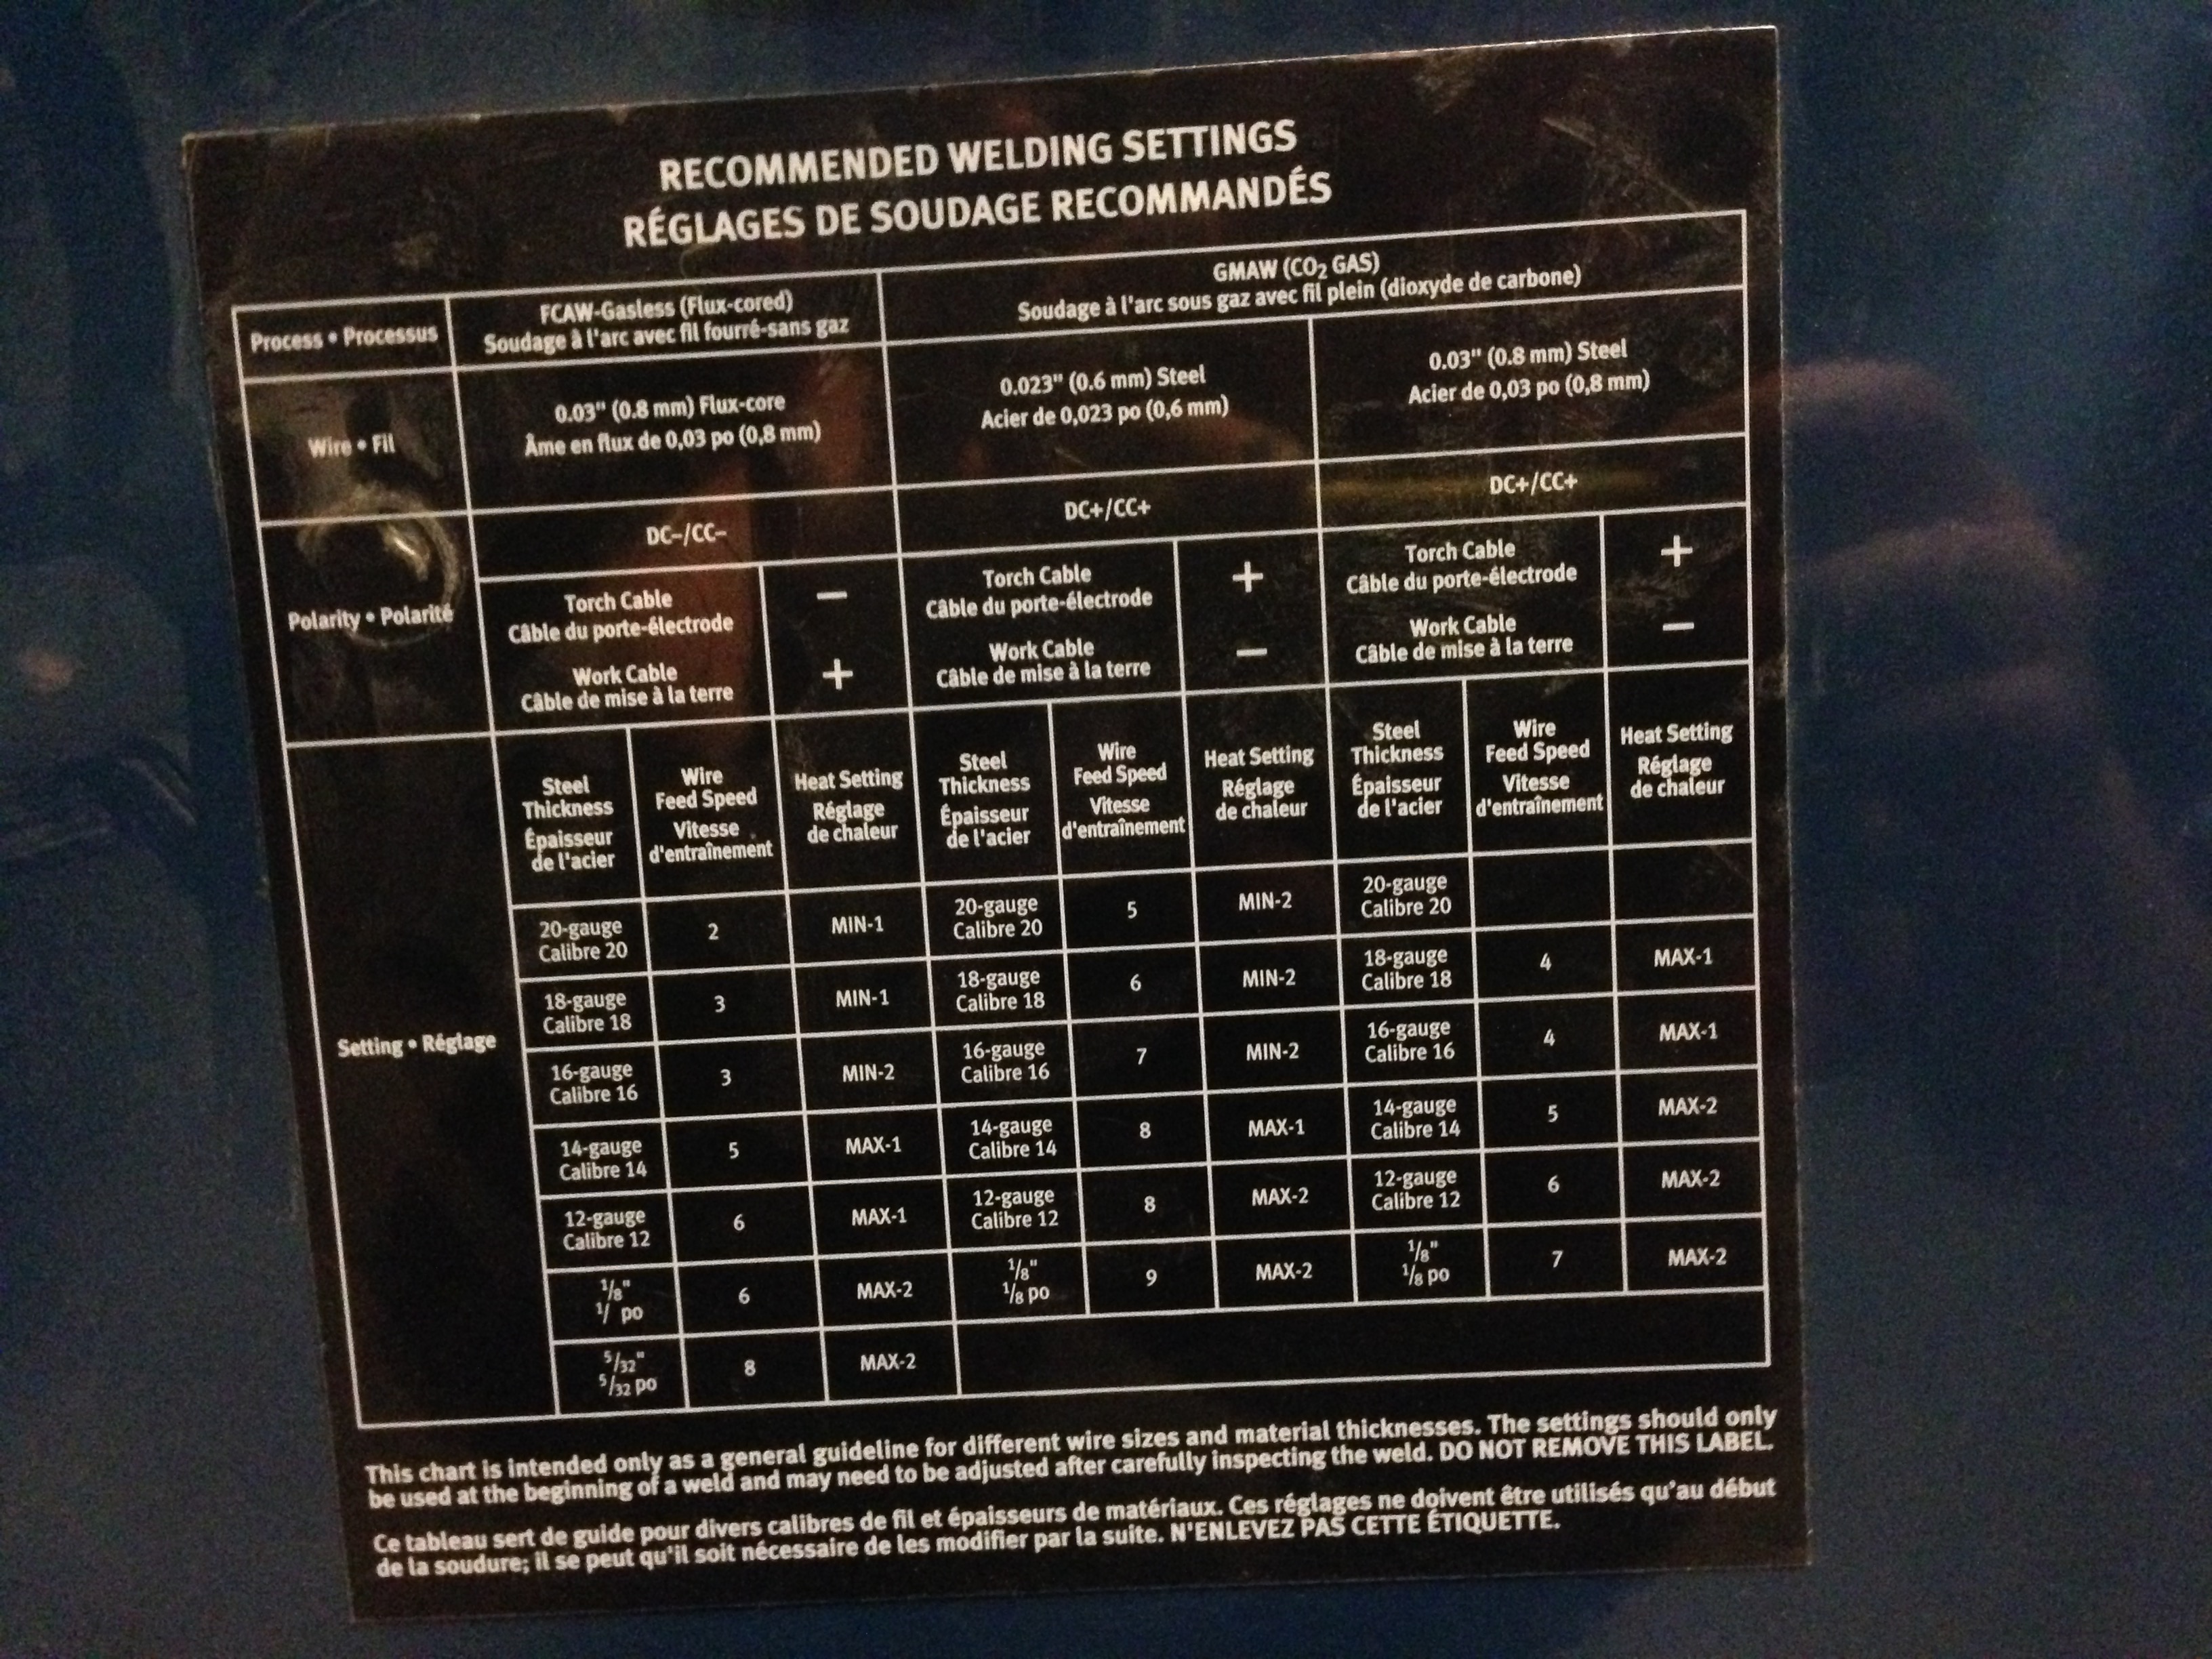
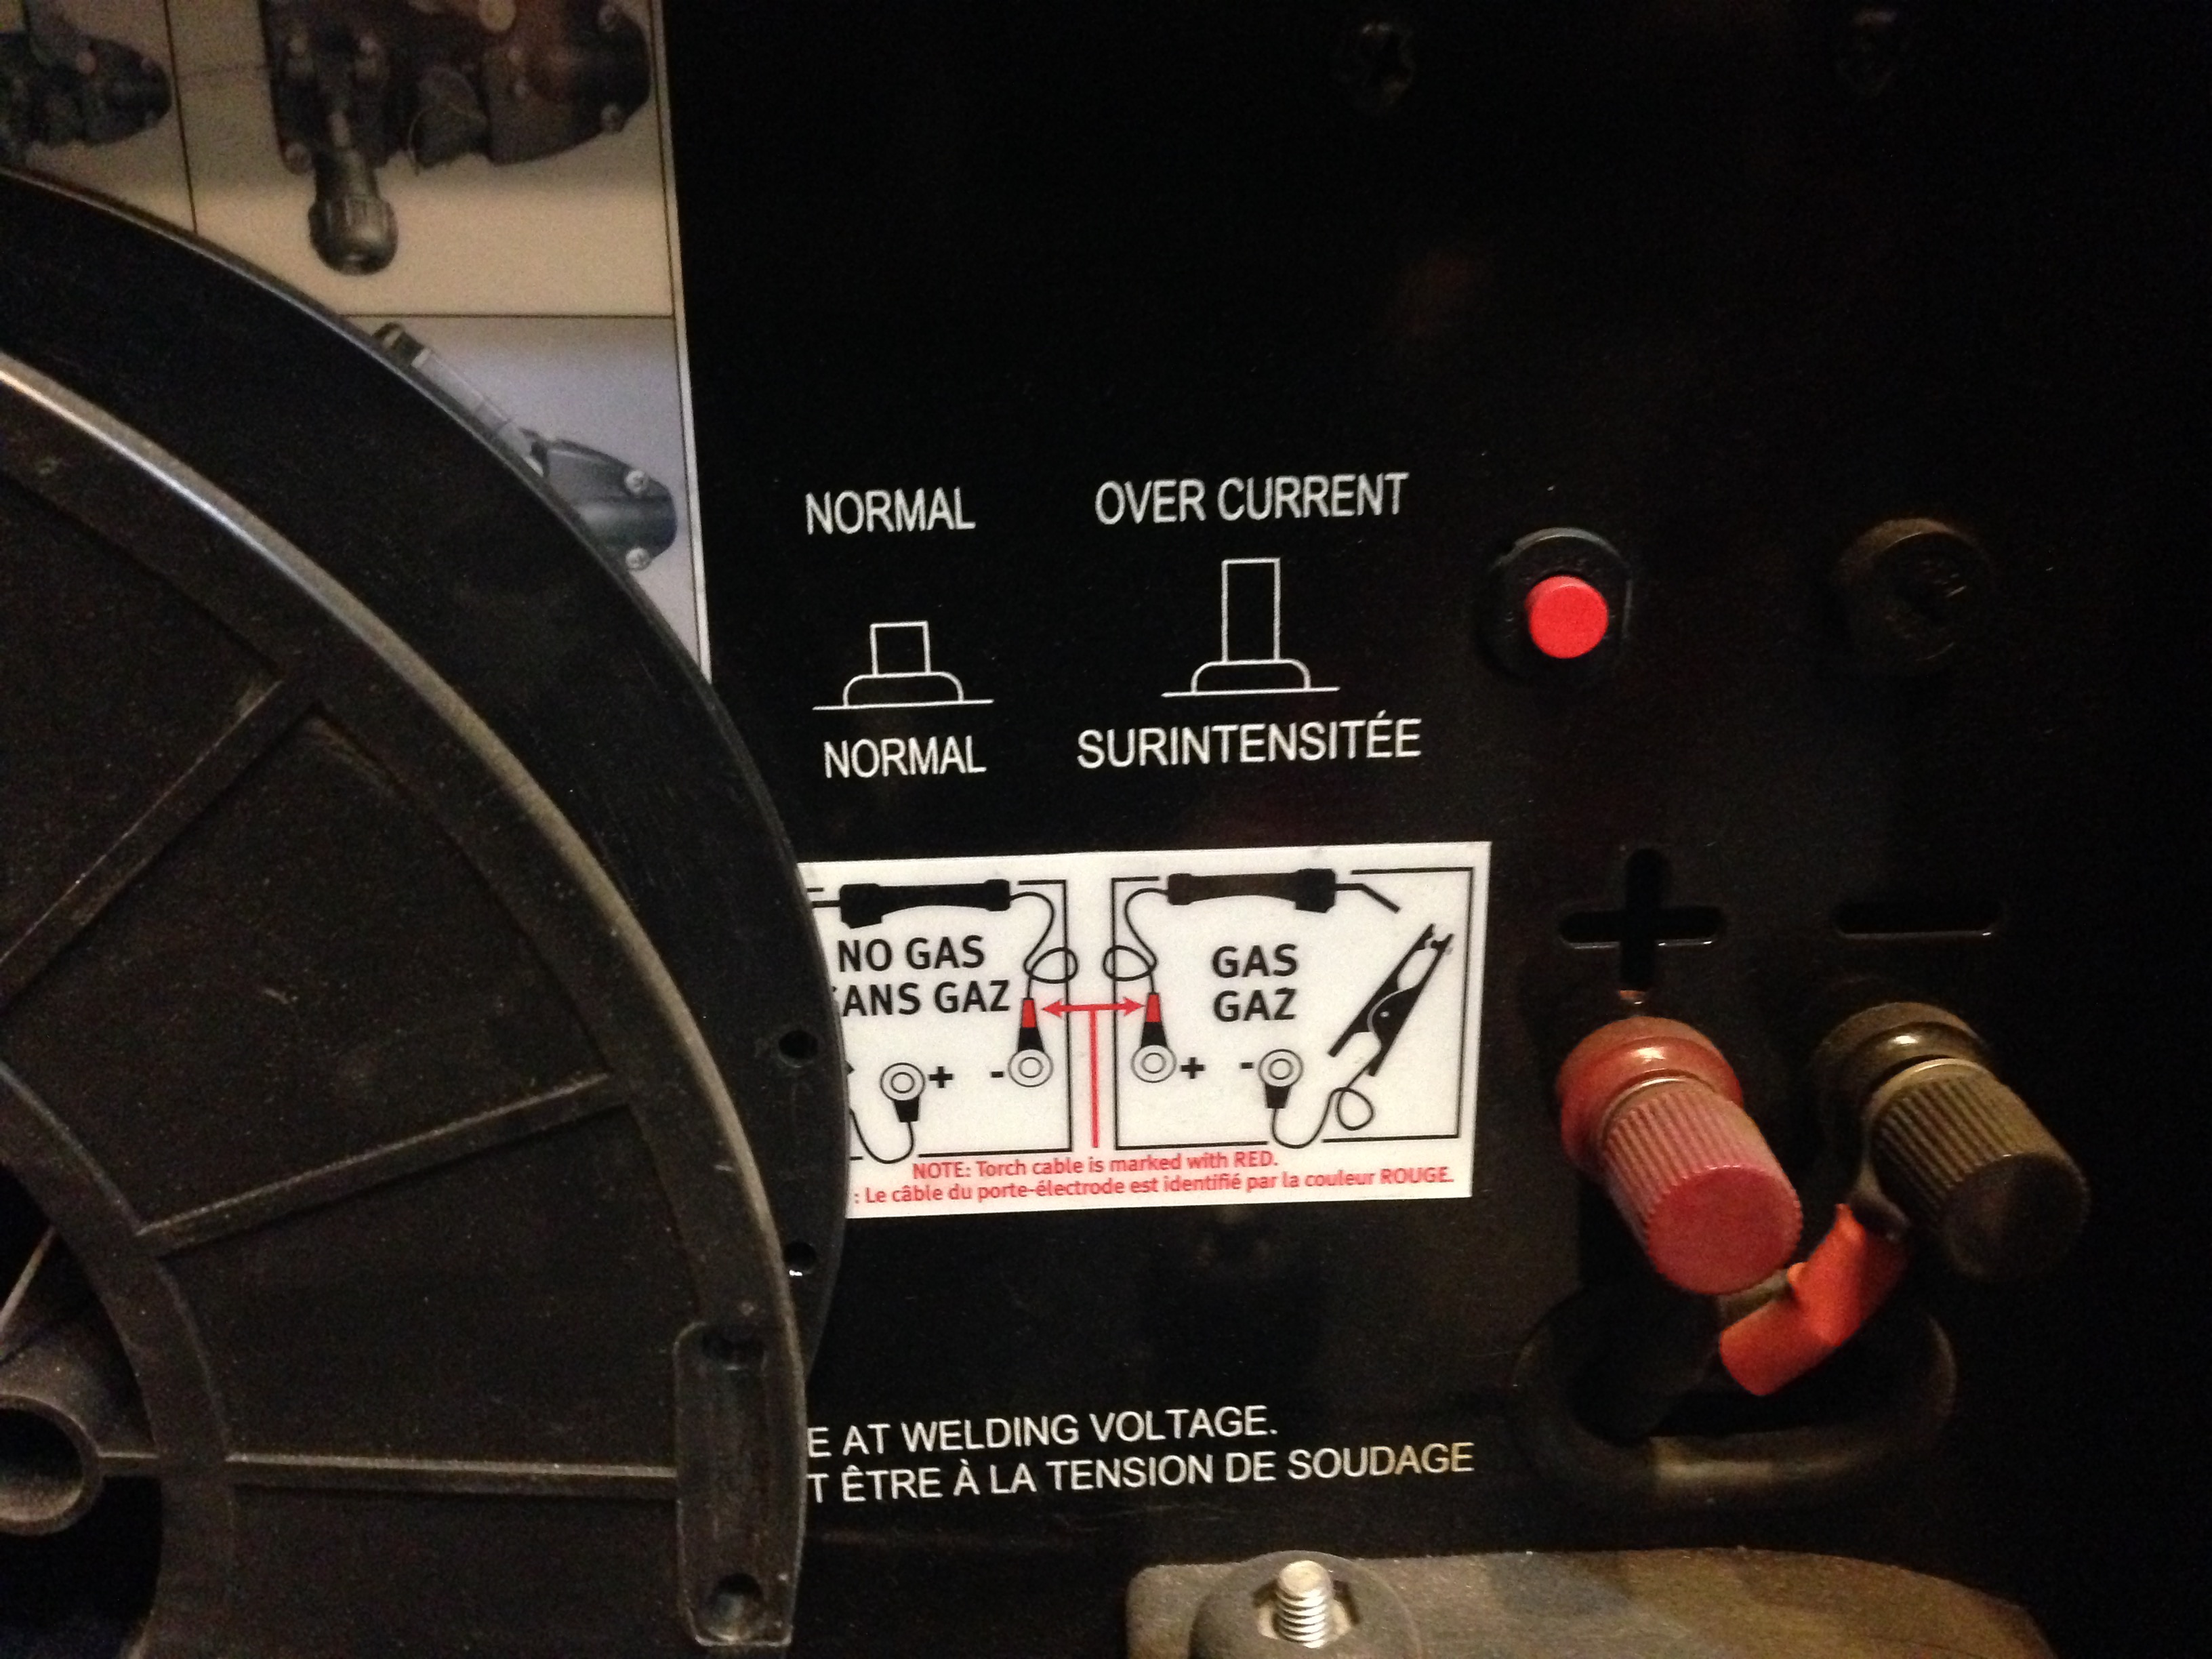
MIG welder settings. I think we used the center column, somewhere between 12- and 16-gauge.NORMALMy first welding attempt on something real. Note the flux smoke coming out the top.
Welding was really interesting. MIG welding is even easier than soldering (after you get over the initial terror of using a metal chop saw, and only being able to see while the arc is actually arcing). You put your welding tip on the location you want to weld, and it extrudes metal with flux inside automatically, and welds things together. It’s easy to also dissolve the metal you’re trying to weld together, but you can usually fill that in.
Here, you can see a closer view, with a better view of the metal build-up on the weld:
A closer look at a welding join.
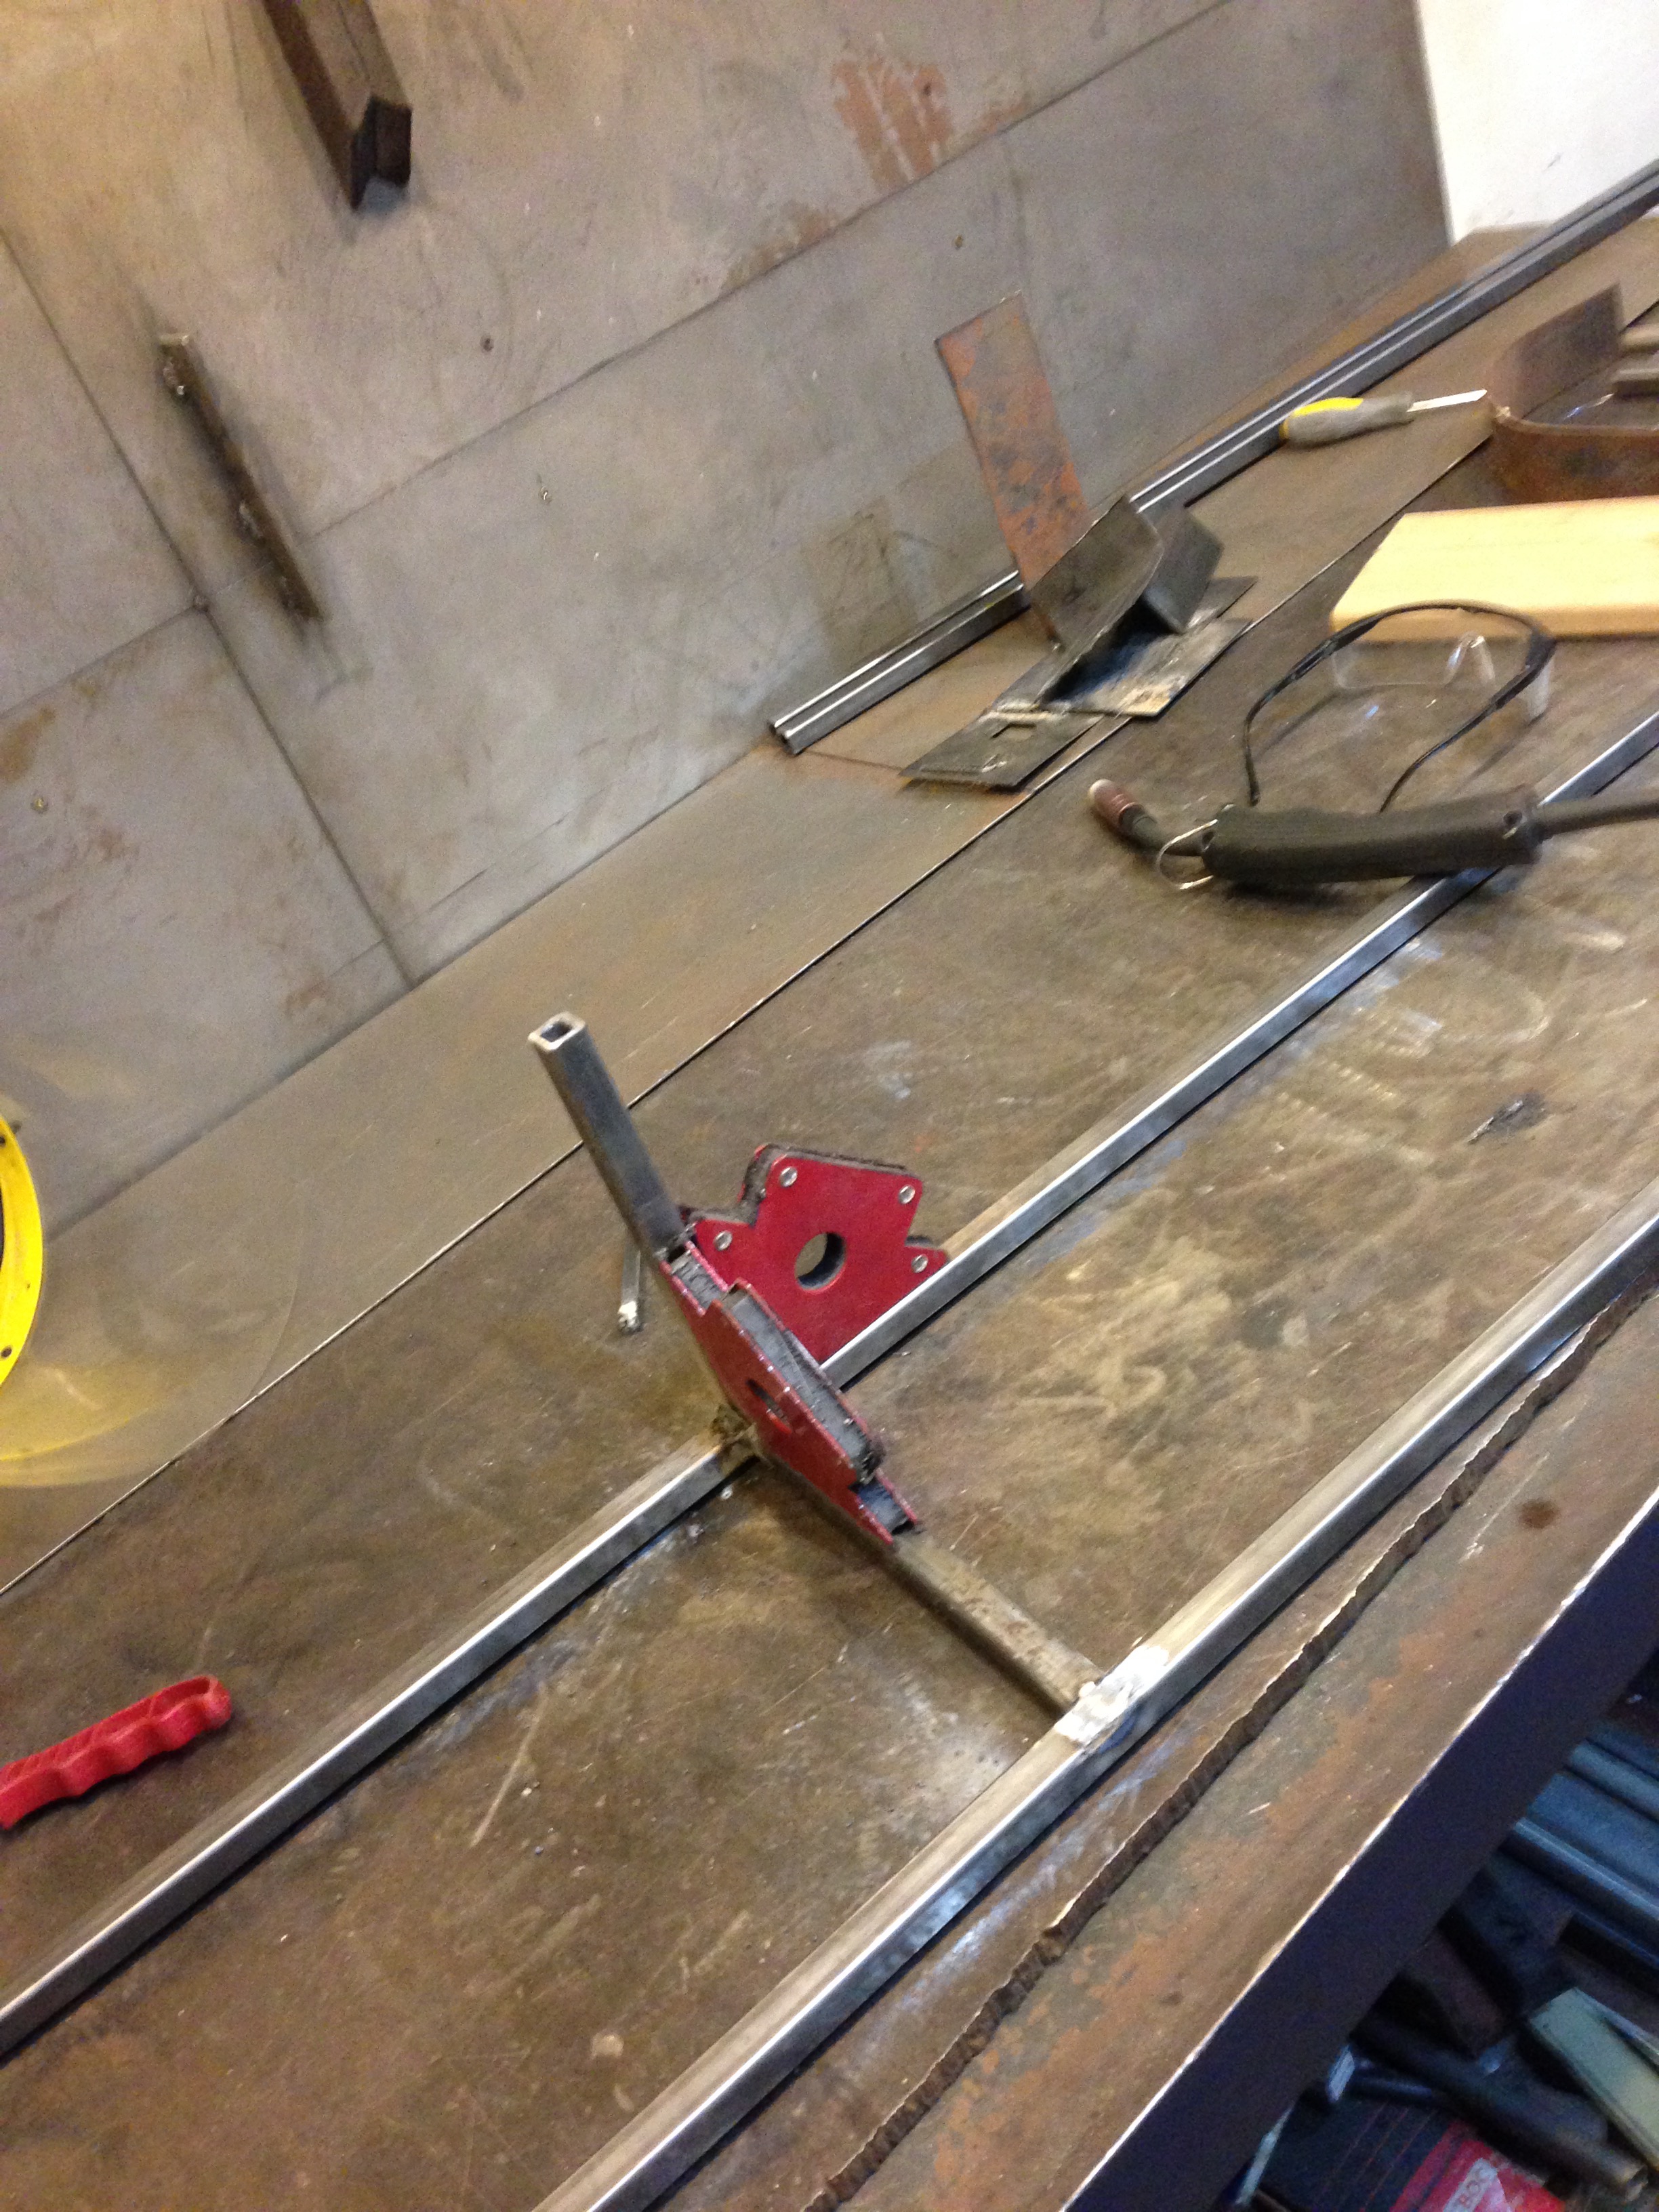
The way we learned, it’s good to start with a small dot to hold things together while you do the more serious welding. Here, you can see the larger ‘H’ of one quarter of the tube stand taking shape:
The ‘H’ of one quarter of the tube stand taking shape.
Oddly enough, I don’t seem to have photodocumentation of the rest of the process, but I can show you a pic of the completed stand from the integration weekend, with tube for scale:
The completed tube stand and tube, together at last!
Stay tuned for next time, when we finish our prep for the integration weekend!
[1]I’m using a Lowe’s link because it was easy to find, but I can’t remember if I purchased the steel tubing at Canadian tire or Home Depot.
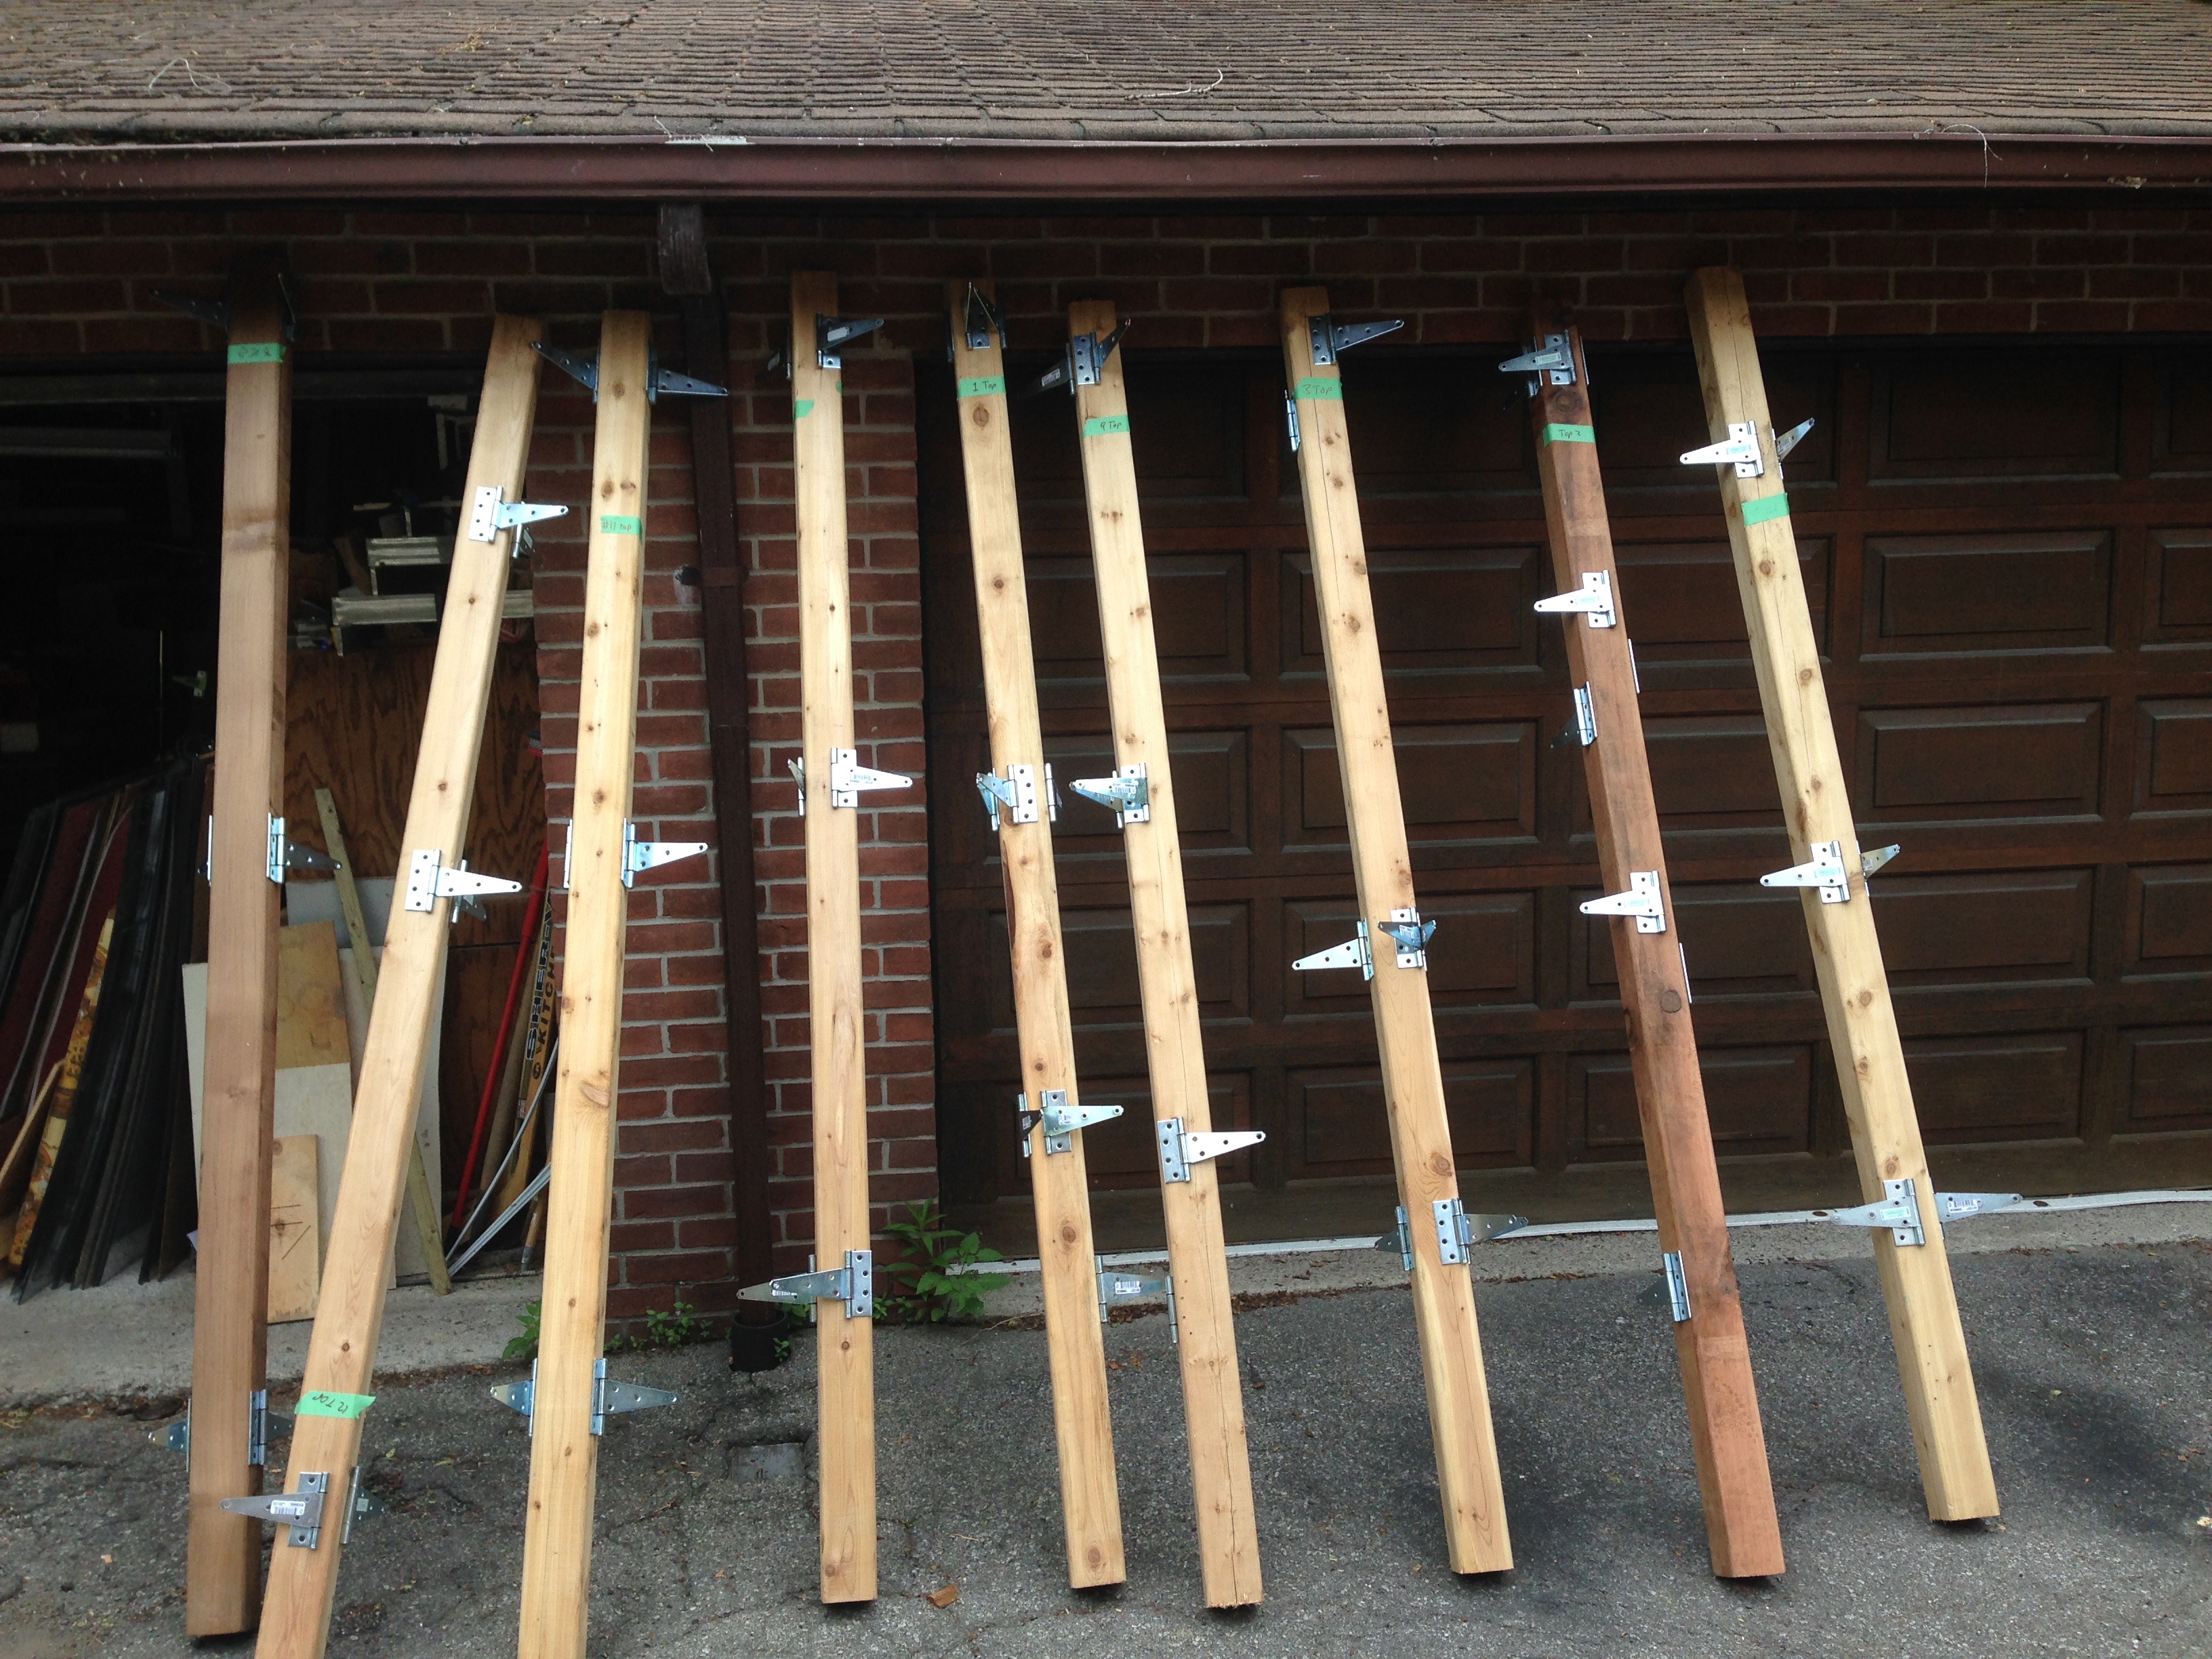
Hong shows what post 20 means.Some of the mirrors had been cut to different shapes, so we had to plan accordingly, putting them into less visible parts of the maze.A selection of posts. We would learn to rue those hinges.
Those hinges made the maze possible (especially the assembly in the intense heat, uneven ground, and otherwise terrible conditions on playa), but they made the posts almost impossible to stack or pack (Sorry Mike and Marc!).
S and Alfredo share a quiet conversation.
The following set of pictures are of our hardy team assembling the inner triangle which would eventually house the flame effect (inside the quartz tube). Note that the posts are 8′ tall, but the two-way mirrors are only attached to the top 6′ of the posts. This made assembly significantly trickier, as they had to be held up while being attached, but it was necessary so that we could attach a swing panel to the bottom so that we could access the flame effect shutoff valve in case of emergency. (Also, two-way mirrors are horrifically expensive, and the fact that they were 2′ shorter was a significant savings.)
Bryan, John, and Alfredo work on the triangular centerpiece. (Note that Bryan is inside.)Bryan climbing inside the two-way mirror triangle to align the mirrors and attach the top hinges.Proud trianglers Alfredo, John, and Bryan.I take a moment to re-re-re-flect.My dad came to help! Mirror alignment is very important.My dad and Bryan adjust very carefully.Bryan, me, and my Dad, proud of our new panel!Tarver came to help, too! (l-r:Tarver & Bryan)
Thank you to all who helped! (I think I managed to get pictures of just about everyone who came out!)
Next time, we’ll talk about our adventures in finding/making/etc. an appropriate stand for the 7’x1′ quartz tube. Your assignment is that you need to find or make or have made a stand that can hold 100+ pounds, is fireproof, and yet is gentle enough on the quartz so as not to cause abrasions or cracks.
Last time, we had just made our first panel, and had convinced ourselves that our system would work to build another twenty or so.
Now we just had to make them. So, we put out the call to our friends (and the local burner community), and people came out of the woodwork[1] to help[2]!
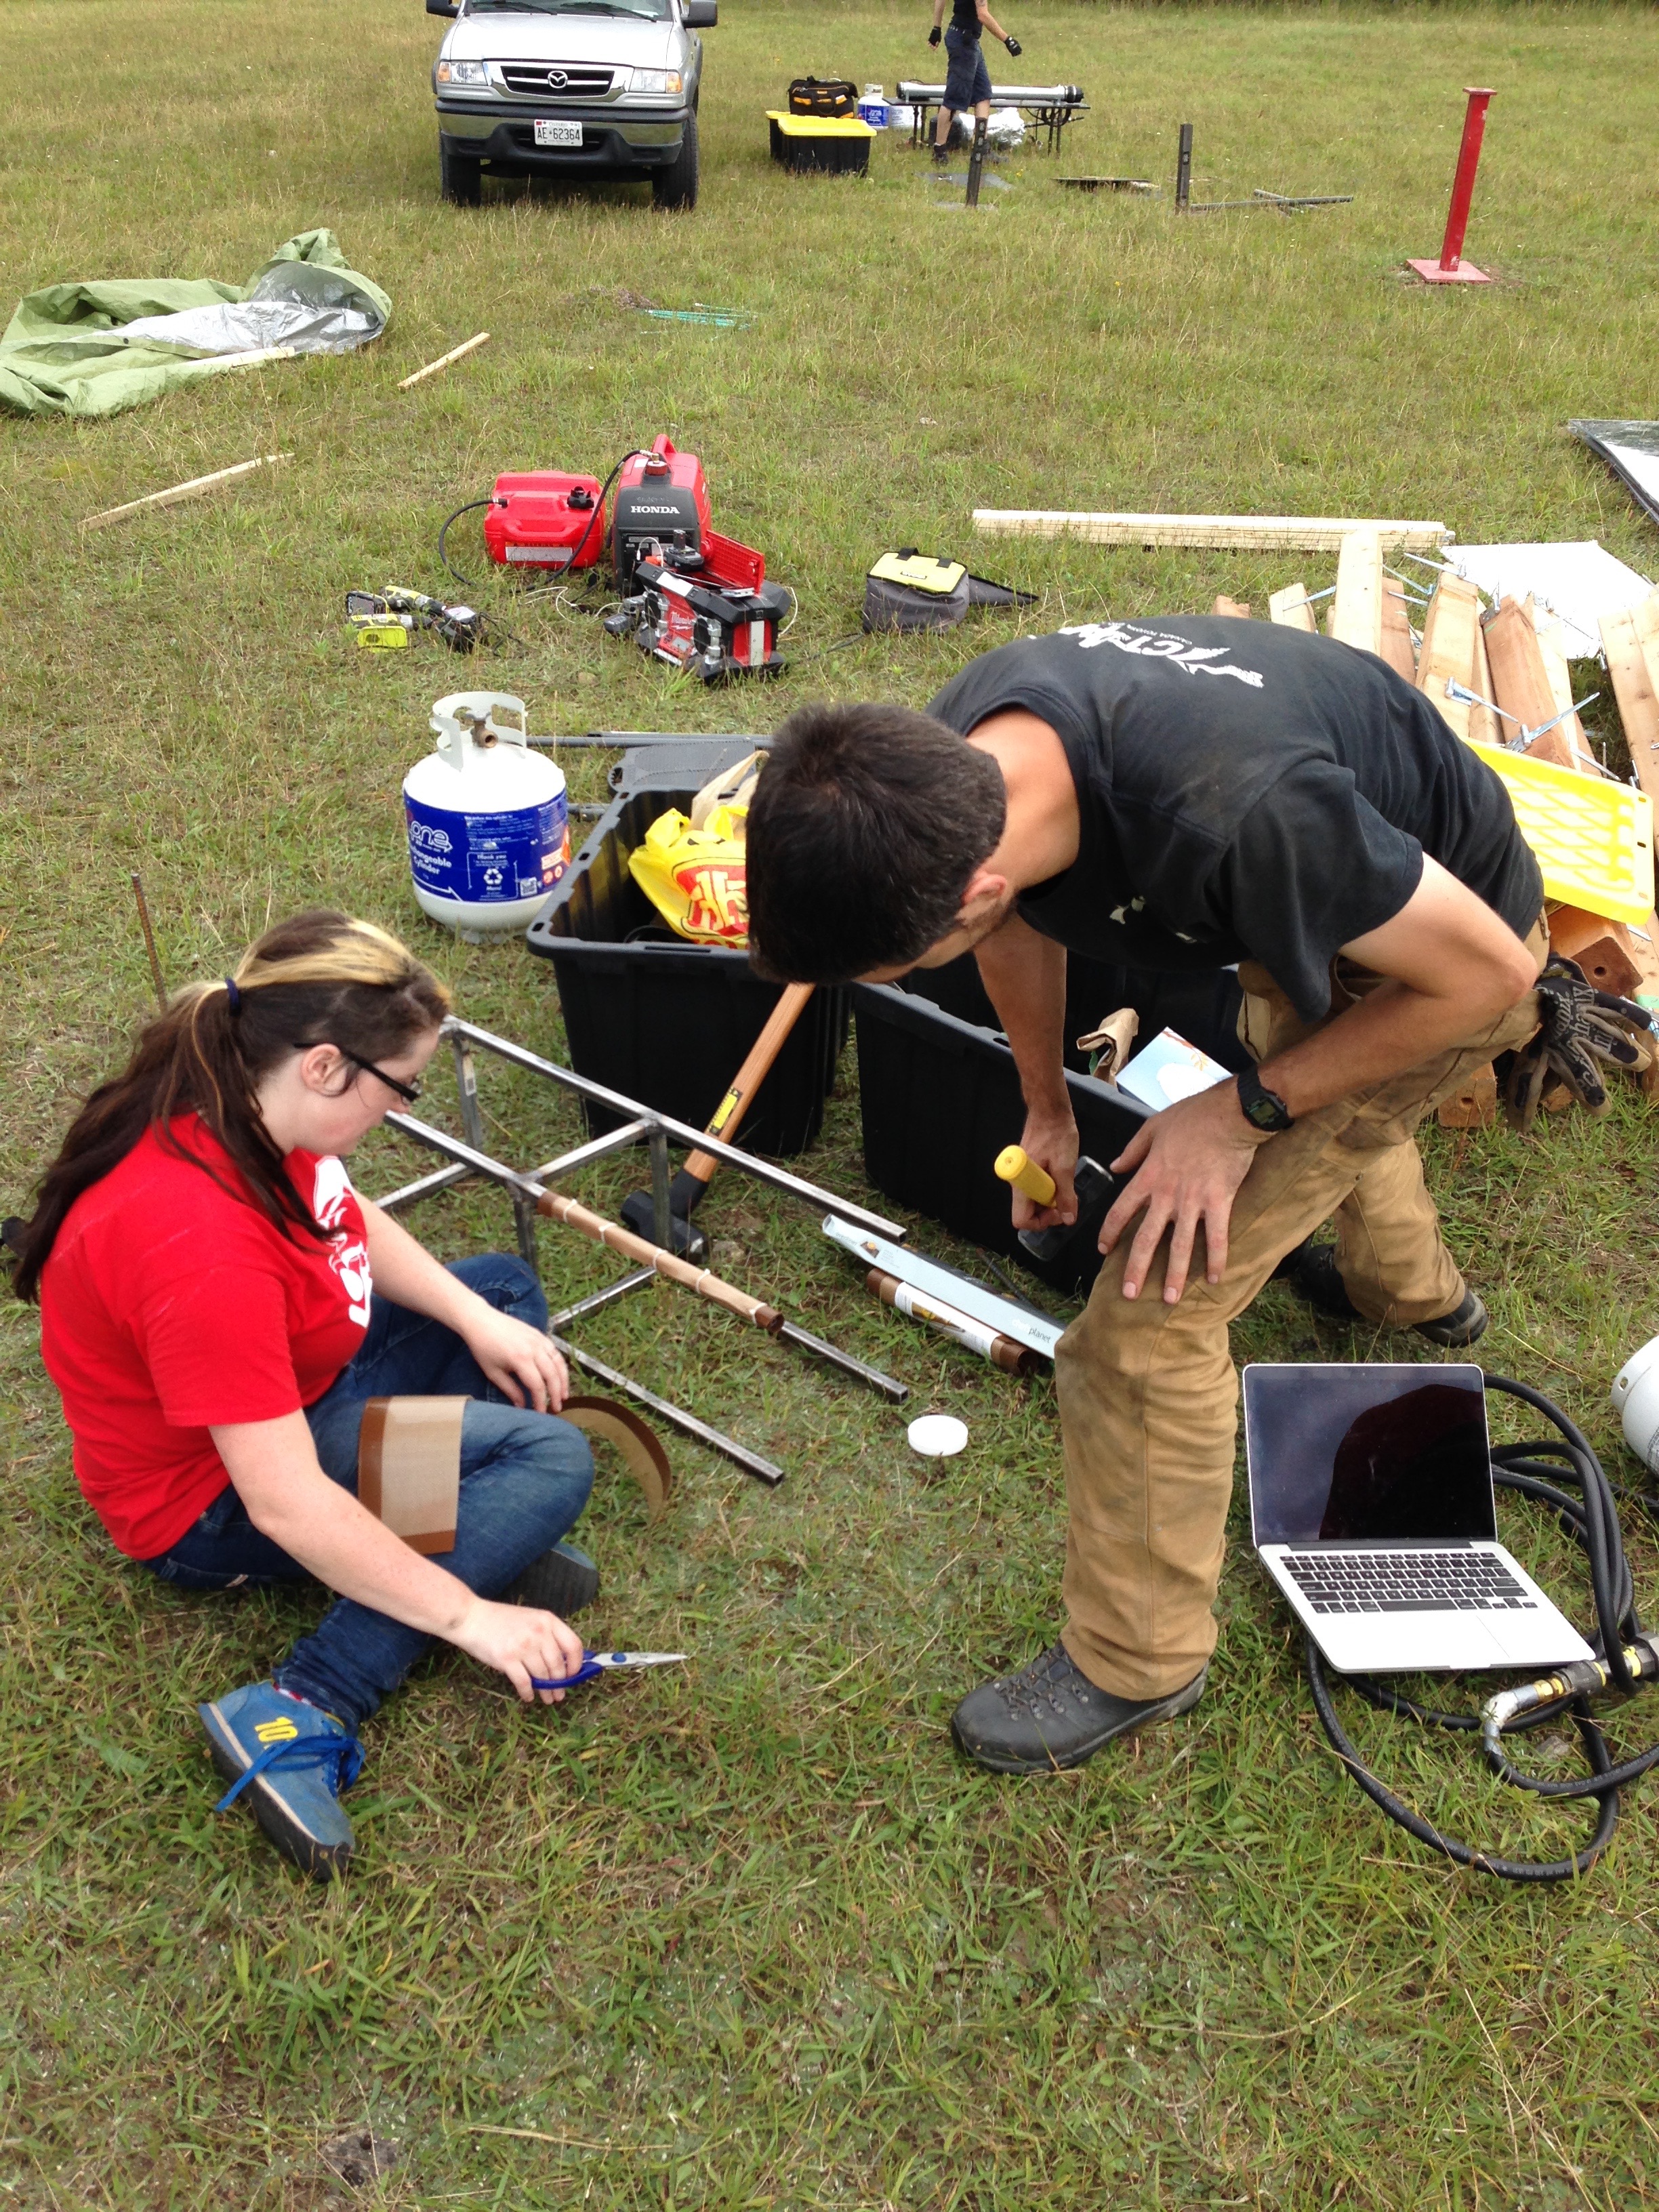
Mel and S help Geoff drill the base of a post 5.
Above, you can see Mel and S helping Geoff[3] drill the base of post number 5. If you look closely, you may be able to see that post 5 connects to post 6, that the drill bit is a spade bit, and about 18″ long, and the taped guide on the right side of the post.
You may recall that we were drilling the bases of the posts so that they could accomodate 1/2″ rebar. 1′ of rebar into the posts, and 1-2′ of rebar into the ground (1′ into the ground in the middle of the maze, 2′ into the ground around the perimeter). This drilling was surprisingly tricky to do at the correct angle. You couldn’t do it straight down (so that gravity would help), as the posts were 8′ long. The other issue was that when you tried to drill them sideways, you had to make sure that you were drilling straight in two dimensions at once. The way we solved this was to get them as level as possible, then attach a guide so that the driller could have a chance at seeing both axes at once. From above and behind, the driller can see yaw pretty well, but it’s easy to miss pitch, especially because the drill is heavy. The side guide helped considerably, so that the driller could line the pitch of the drill (and especially drill bit) up with the guide[4].
Geoff and Matt pose with their freshly constructed mirror panel!The gang hard at work.The work was painstaking and precise. Note the shield on the mirror to prevent sun blindness.Geoff and I pose with a mirror panel.I like taking pictures of mirrors.Geoff shows why mirrors are fun.A close-up of mirror 24. Note that it is between posts 14 and 15.C supervises as S and E drill in the background.S, E, and Peter show how much fun mirrors can be.
E literally came out of the woodwork (or at least the shrubbery around the side of the house). It was an eventful day. Even more people came to help! Stay Tuned!
[1]Literally! (Or at least the shrubbery…)
[2]It’s interesting to think about this. I know we’ve enjoyed helping people build large projects in the past. I think people like being part of something, like building something, and it can be very relaxing to work on a task that you know ‘needs’ to be done, and you can focus on the task and not worry too much about the larger project.
[3]Gillian was also there, but I couldn’t find any pictures.
[4]Other fun things were the placement of the hinges so that the hole could be drilled for the rebar without disturbing the hinge screws. Structurally, you would want the hinges attached as close to the bottom of the posts and mirrors as possible, but you’d really want to leave at least a foot at the bottom of the posts so that you could drill into them and not ruin your drill bit on the screws.
Last time, we talked about the Tube(!) arriving, and various bits of design we had to do to safely encapsulate a flame in an acrylic maze. Today, we talk about how we started to build the ‘production'[1] maze.
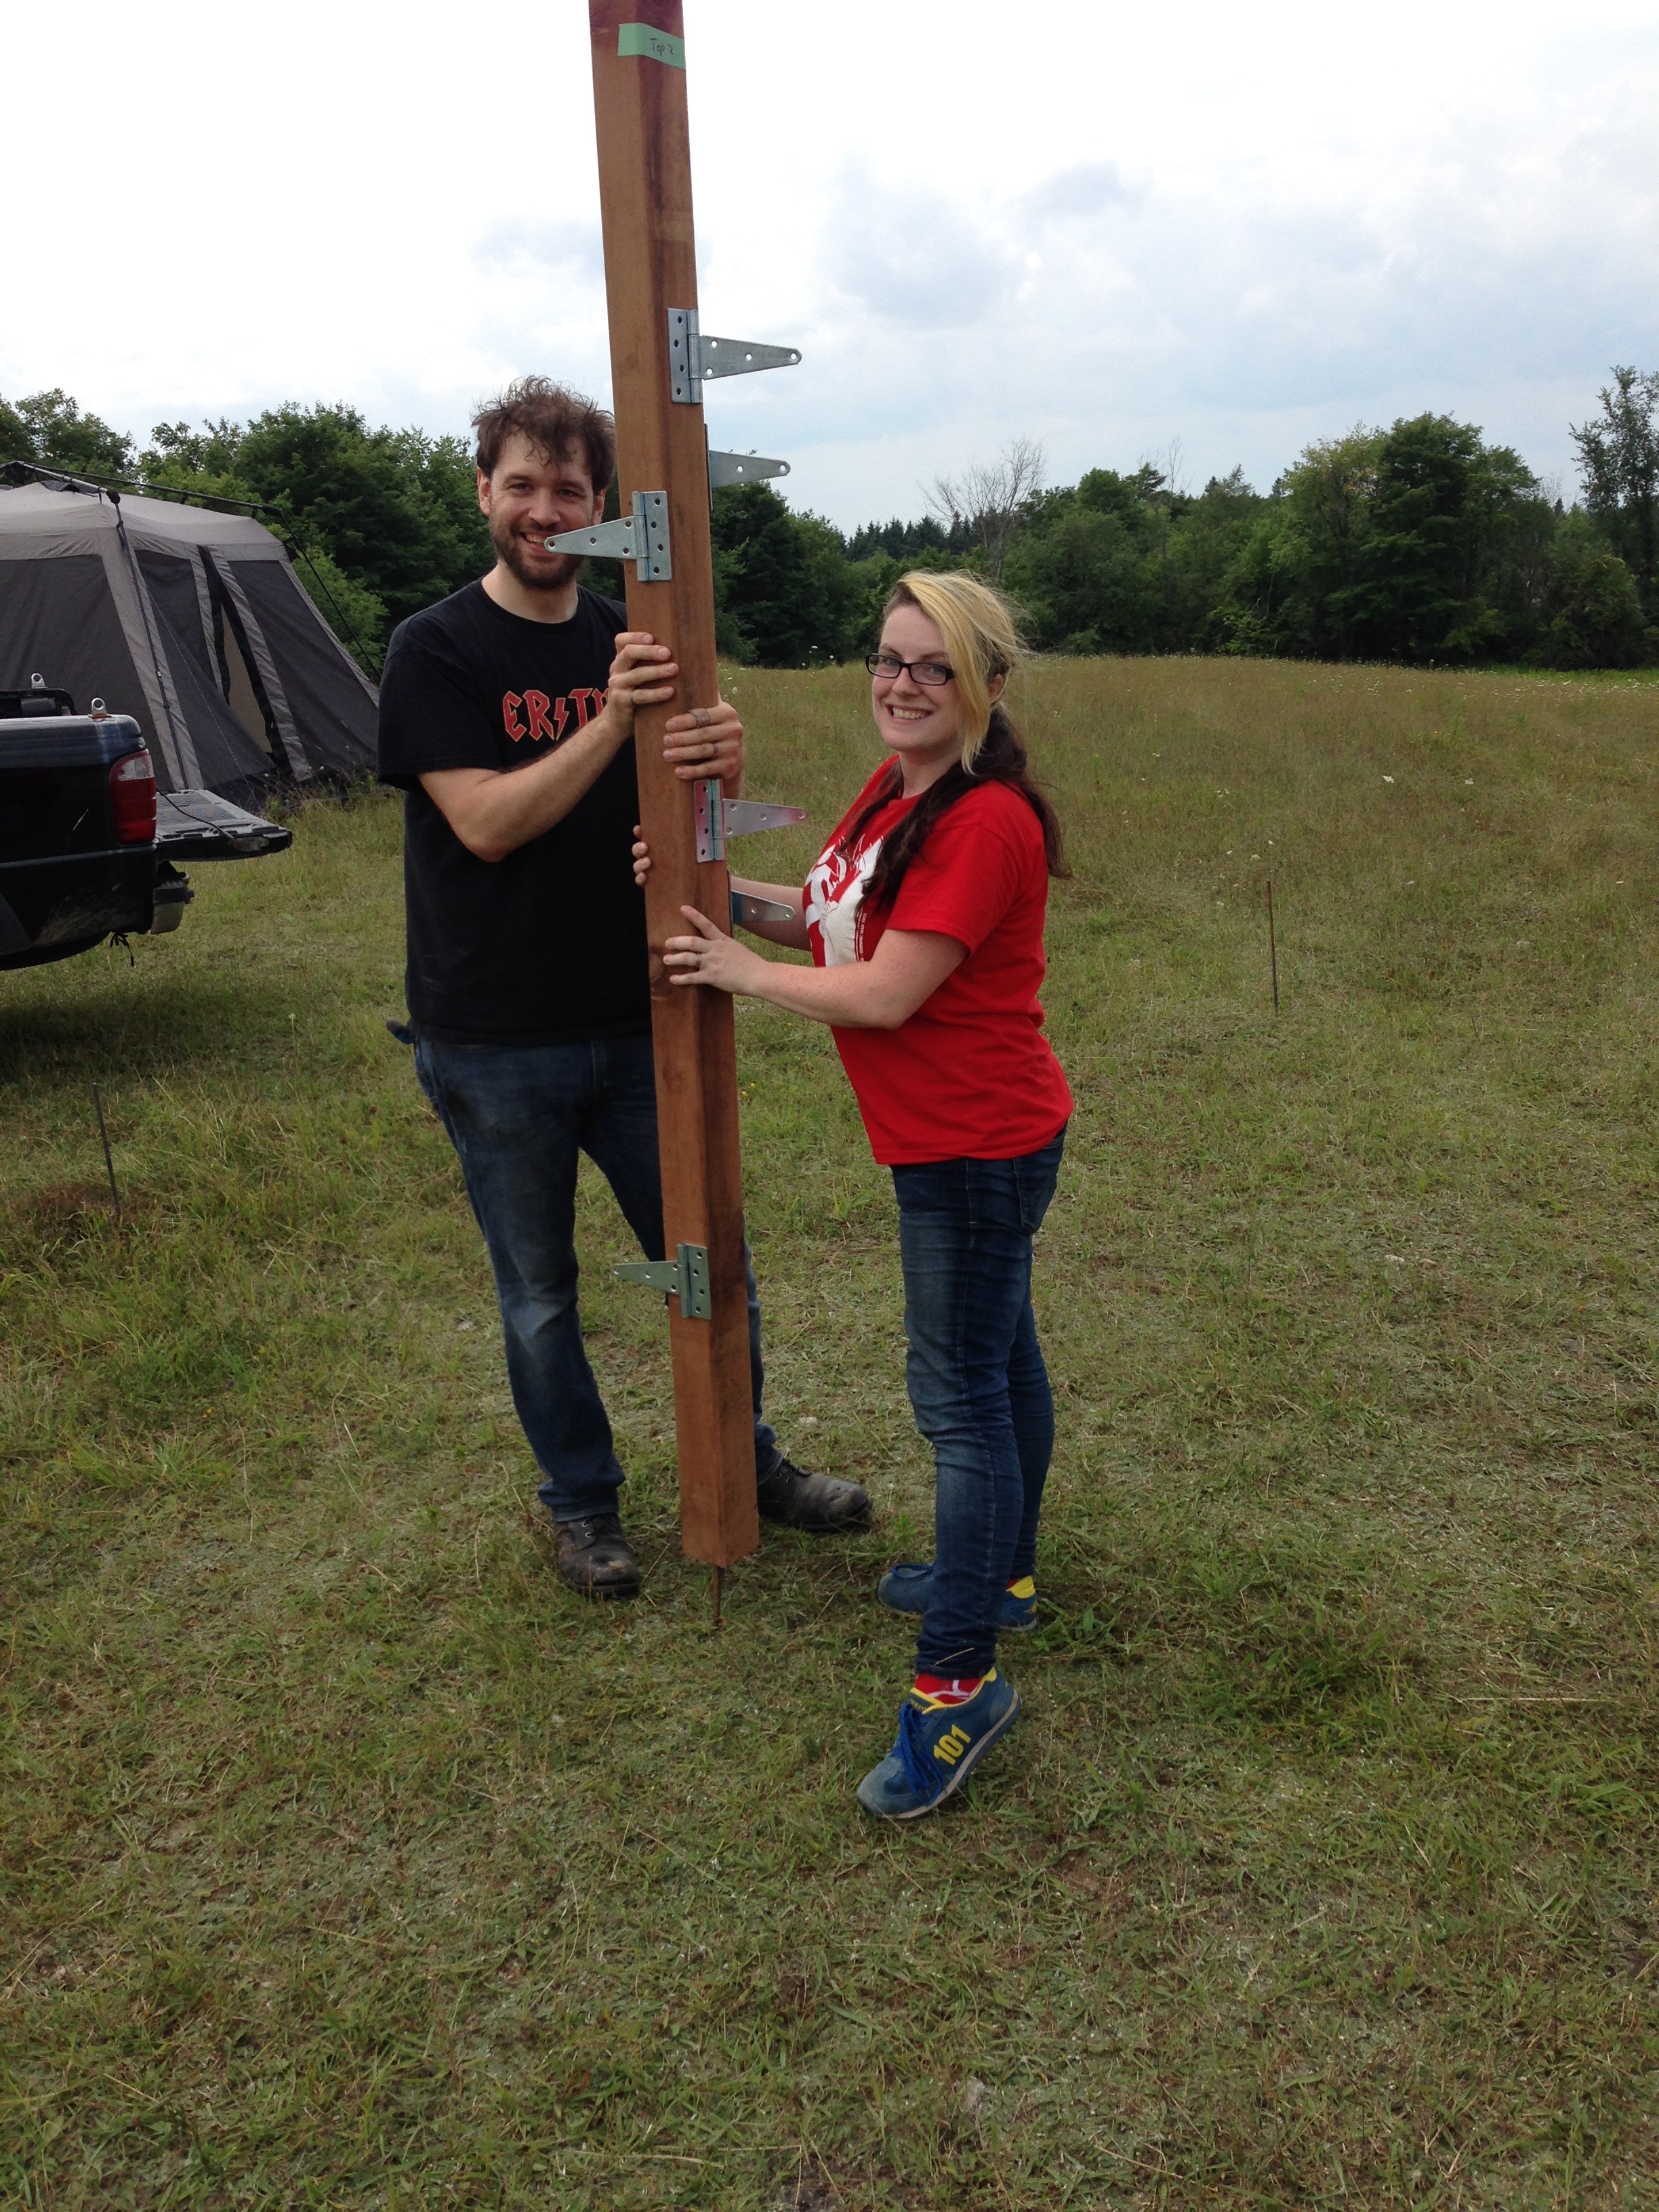
S, in triumph, just after we completed our first production panel.
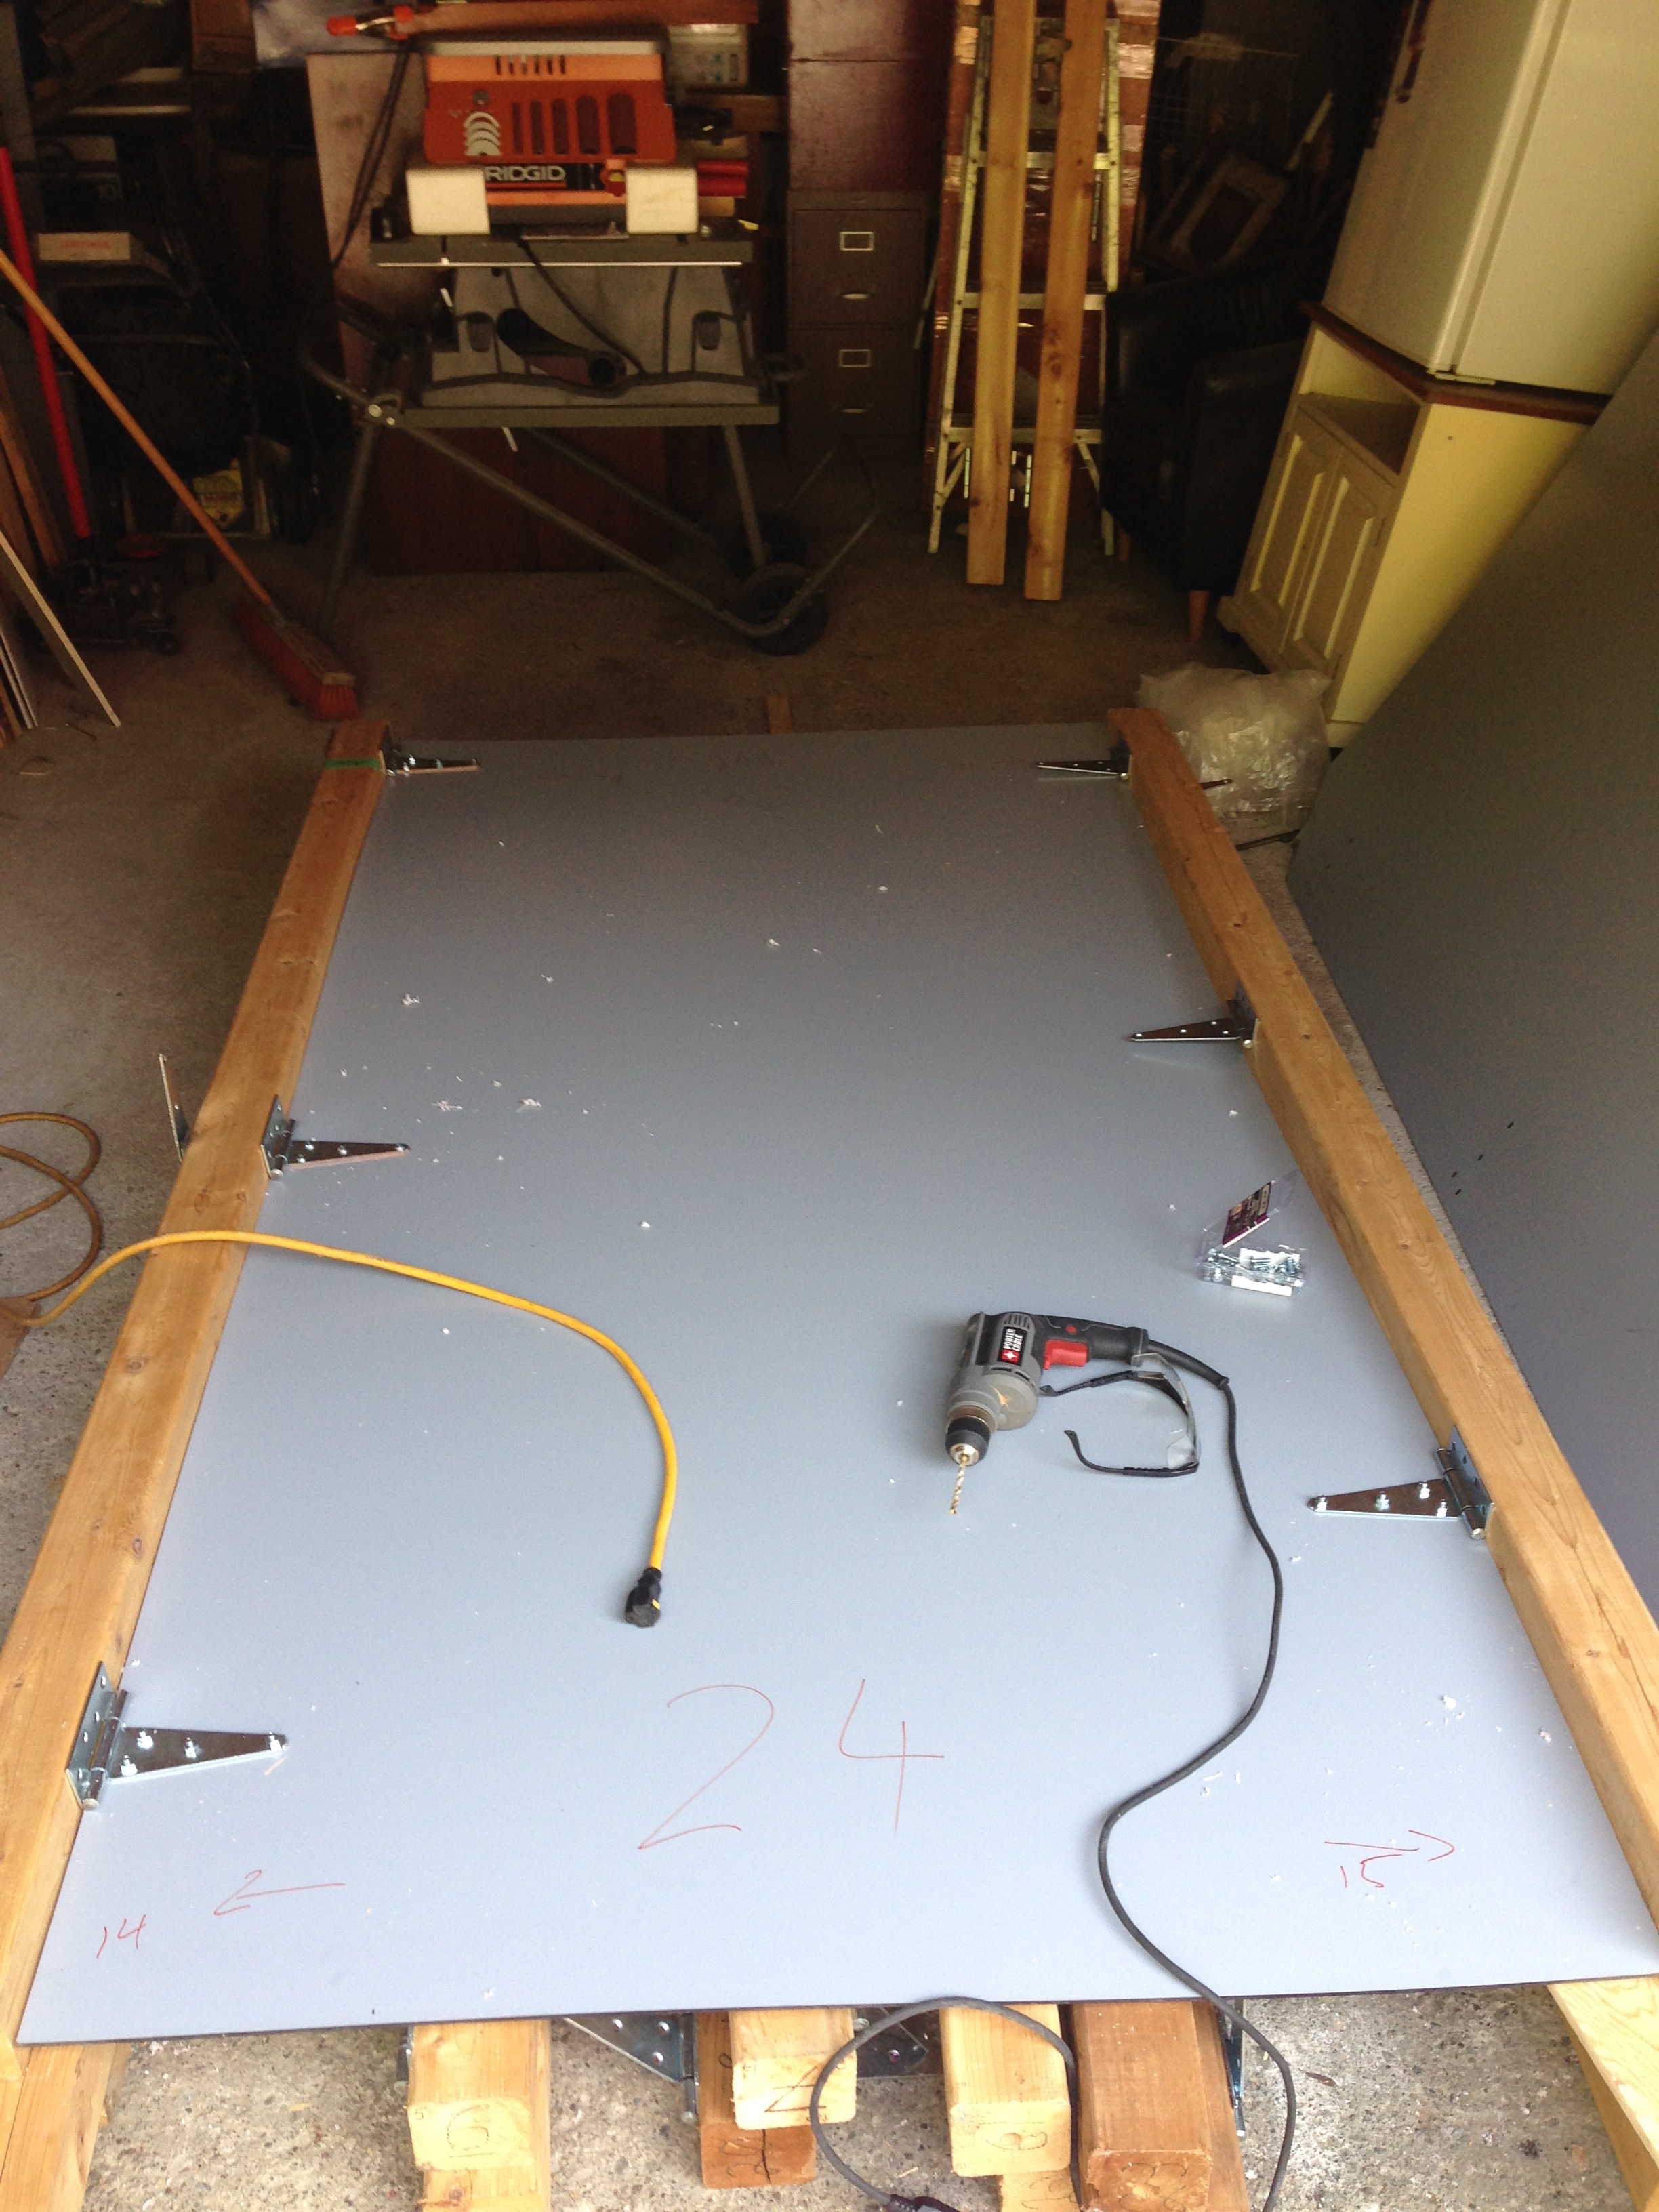
Here is the ‘mirror panel production’ setup that I put together, using other 4×4 component posts to hold the mirror and posts we were working on up, along with supporting the mirror in the middle so that it would be as flat as possible for repeatable drilling.
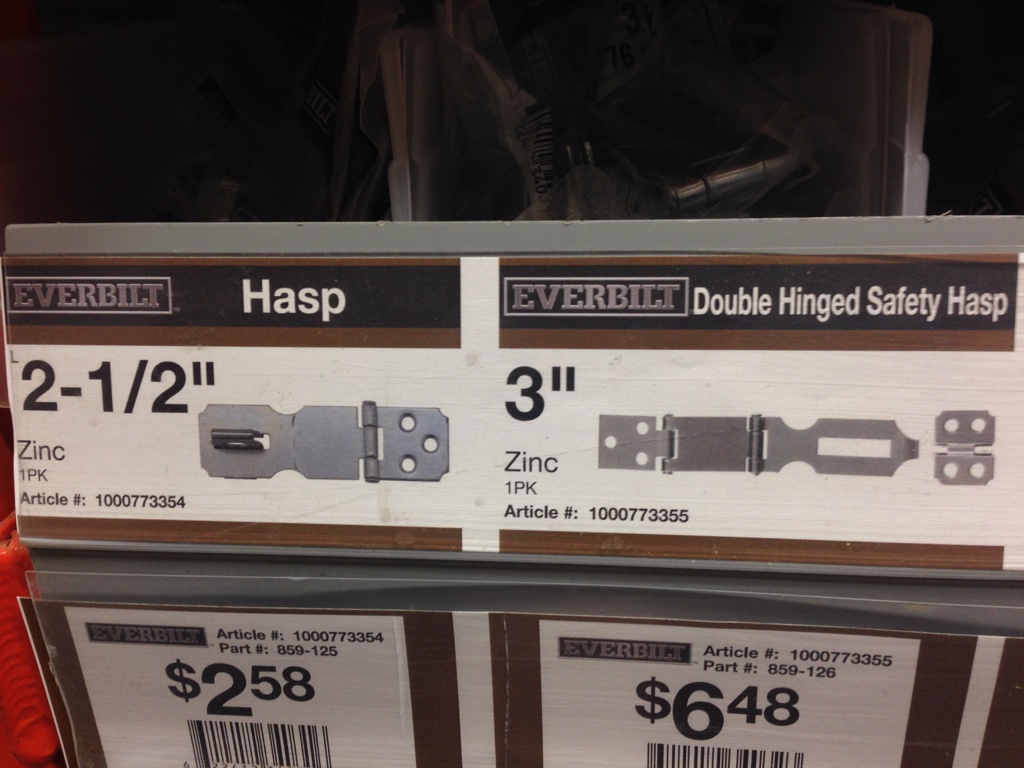
Our panel assembly station. Note the use of 4×4 posts to hold and support the mirror while it is being drilled and hinged (and unhinged!).Lyra was suspicious, but came to help anyway.We are so proud! (Note the marks on the mirror, which came from a car show).Yay!The word ‘hasp’ will only be funny to avid Jon LaJoie fans. (Note that he is often quite NSFW.)I had a number of drawings like this in my book. Note that this one shows that crossed hinges on the same side of the post were untenable. More on this later.
I had a number of drawings like this in my book. Note that this one shows that crossed hinges on the same side of the post were untenable. More on this later. Stay tuned!
[1]The maze that we would actually take in pieces to the desert, and assemble, and have people walk through.

![S ponders the mysteries of vampirism[1] as Andrea and Patrick move the mirror into place.](http://nayrb.org/~blog/wp-content/uploads/2017/04/IMG_8065.jpg)