Category Archives: Things We’ve Built

Building the Mirror Blaze in Pictures V: The Tube Arrives!

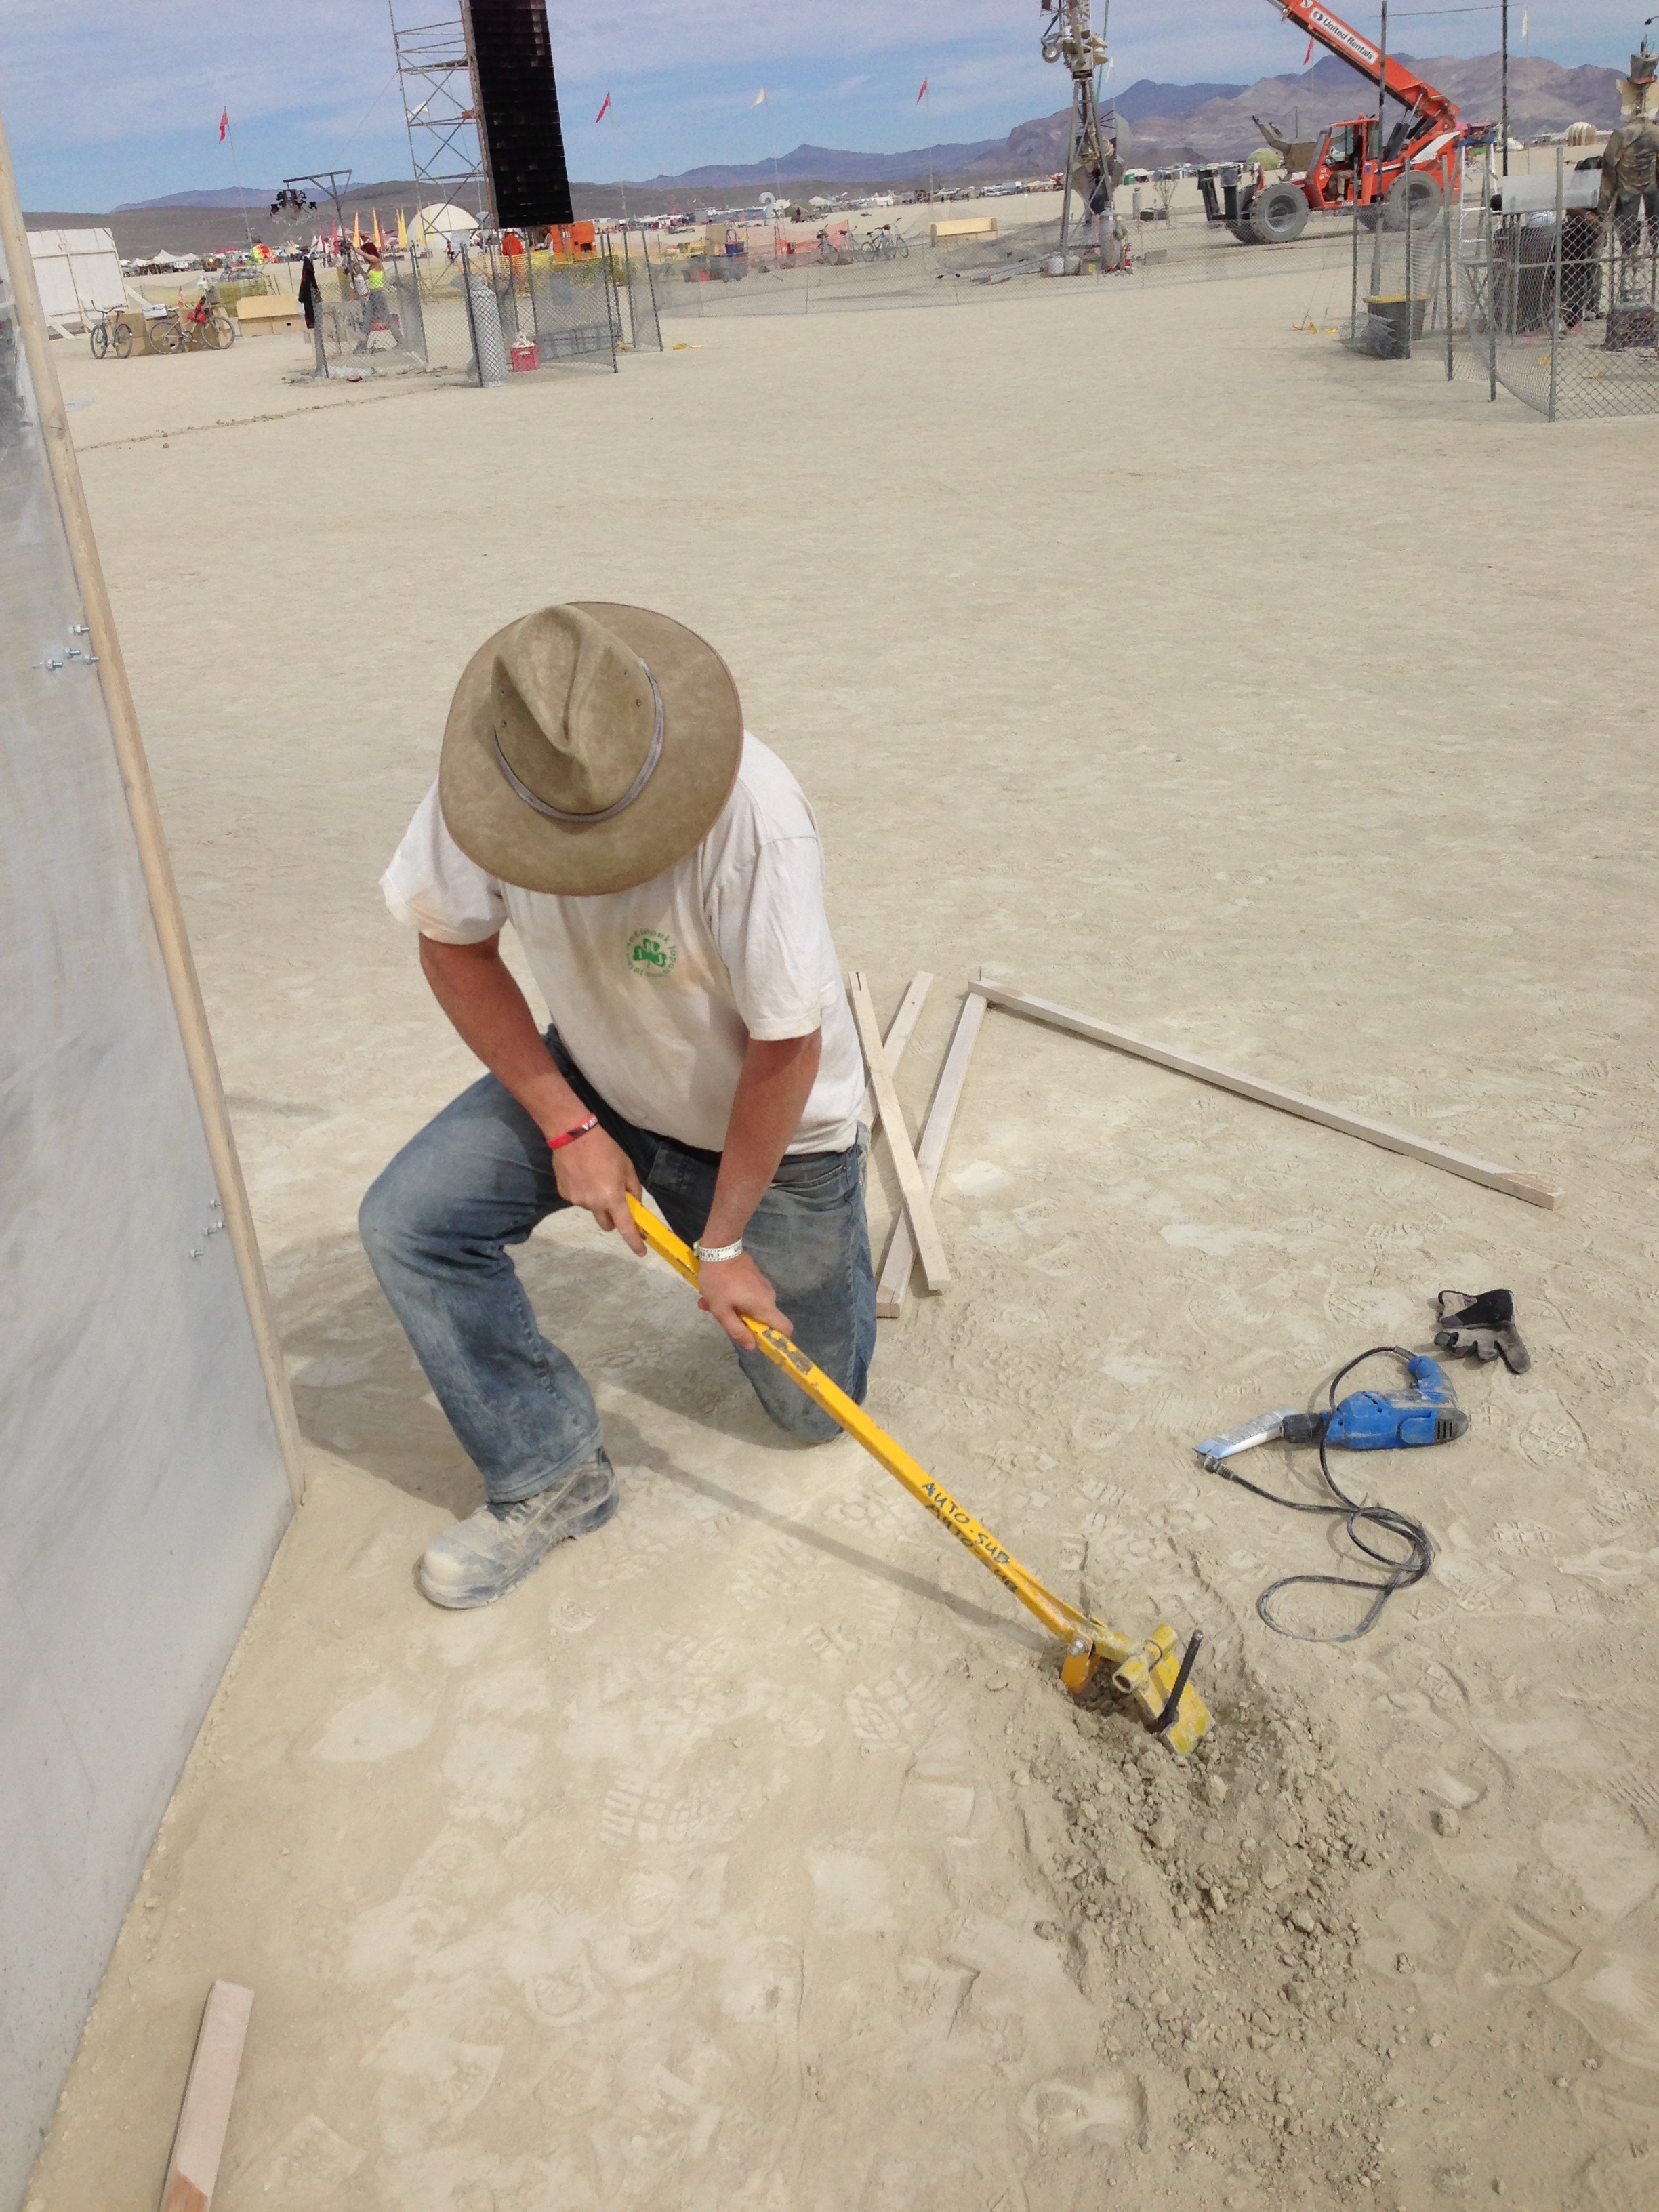
Last time, we talked about how one would make posts (and an installation) able to withstand a 90km/h windstorm. Today, we talk about a different component of the maze, the infamous quartz tube!

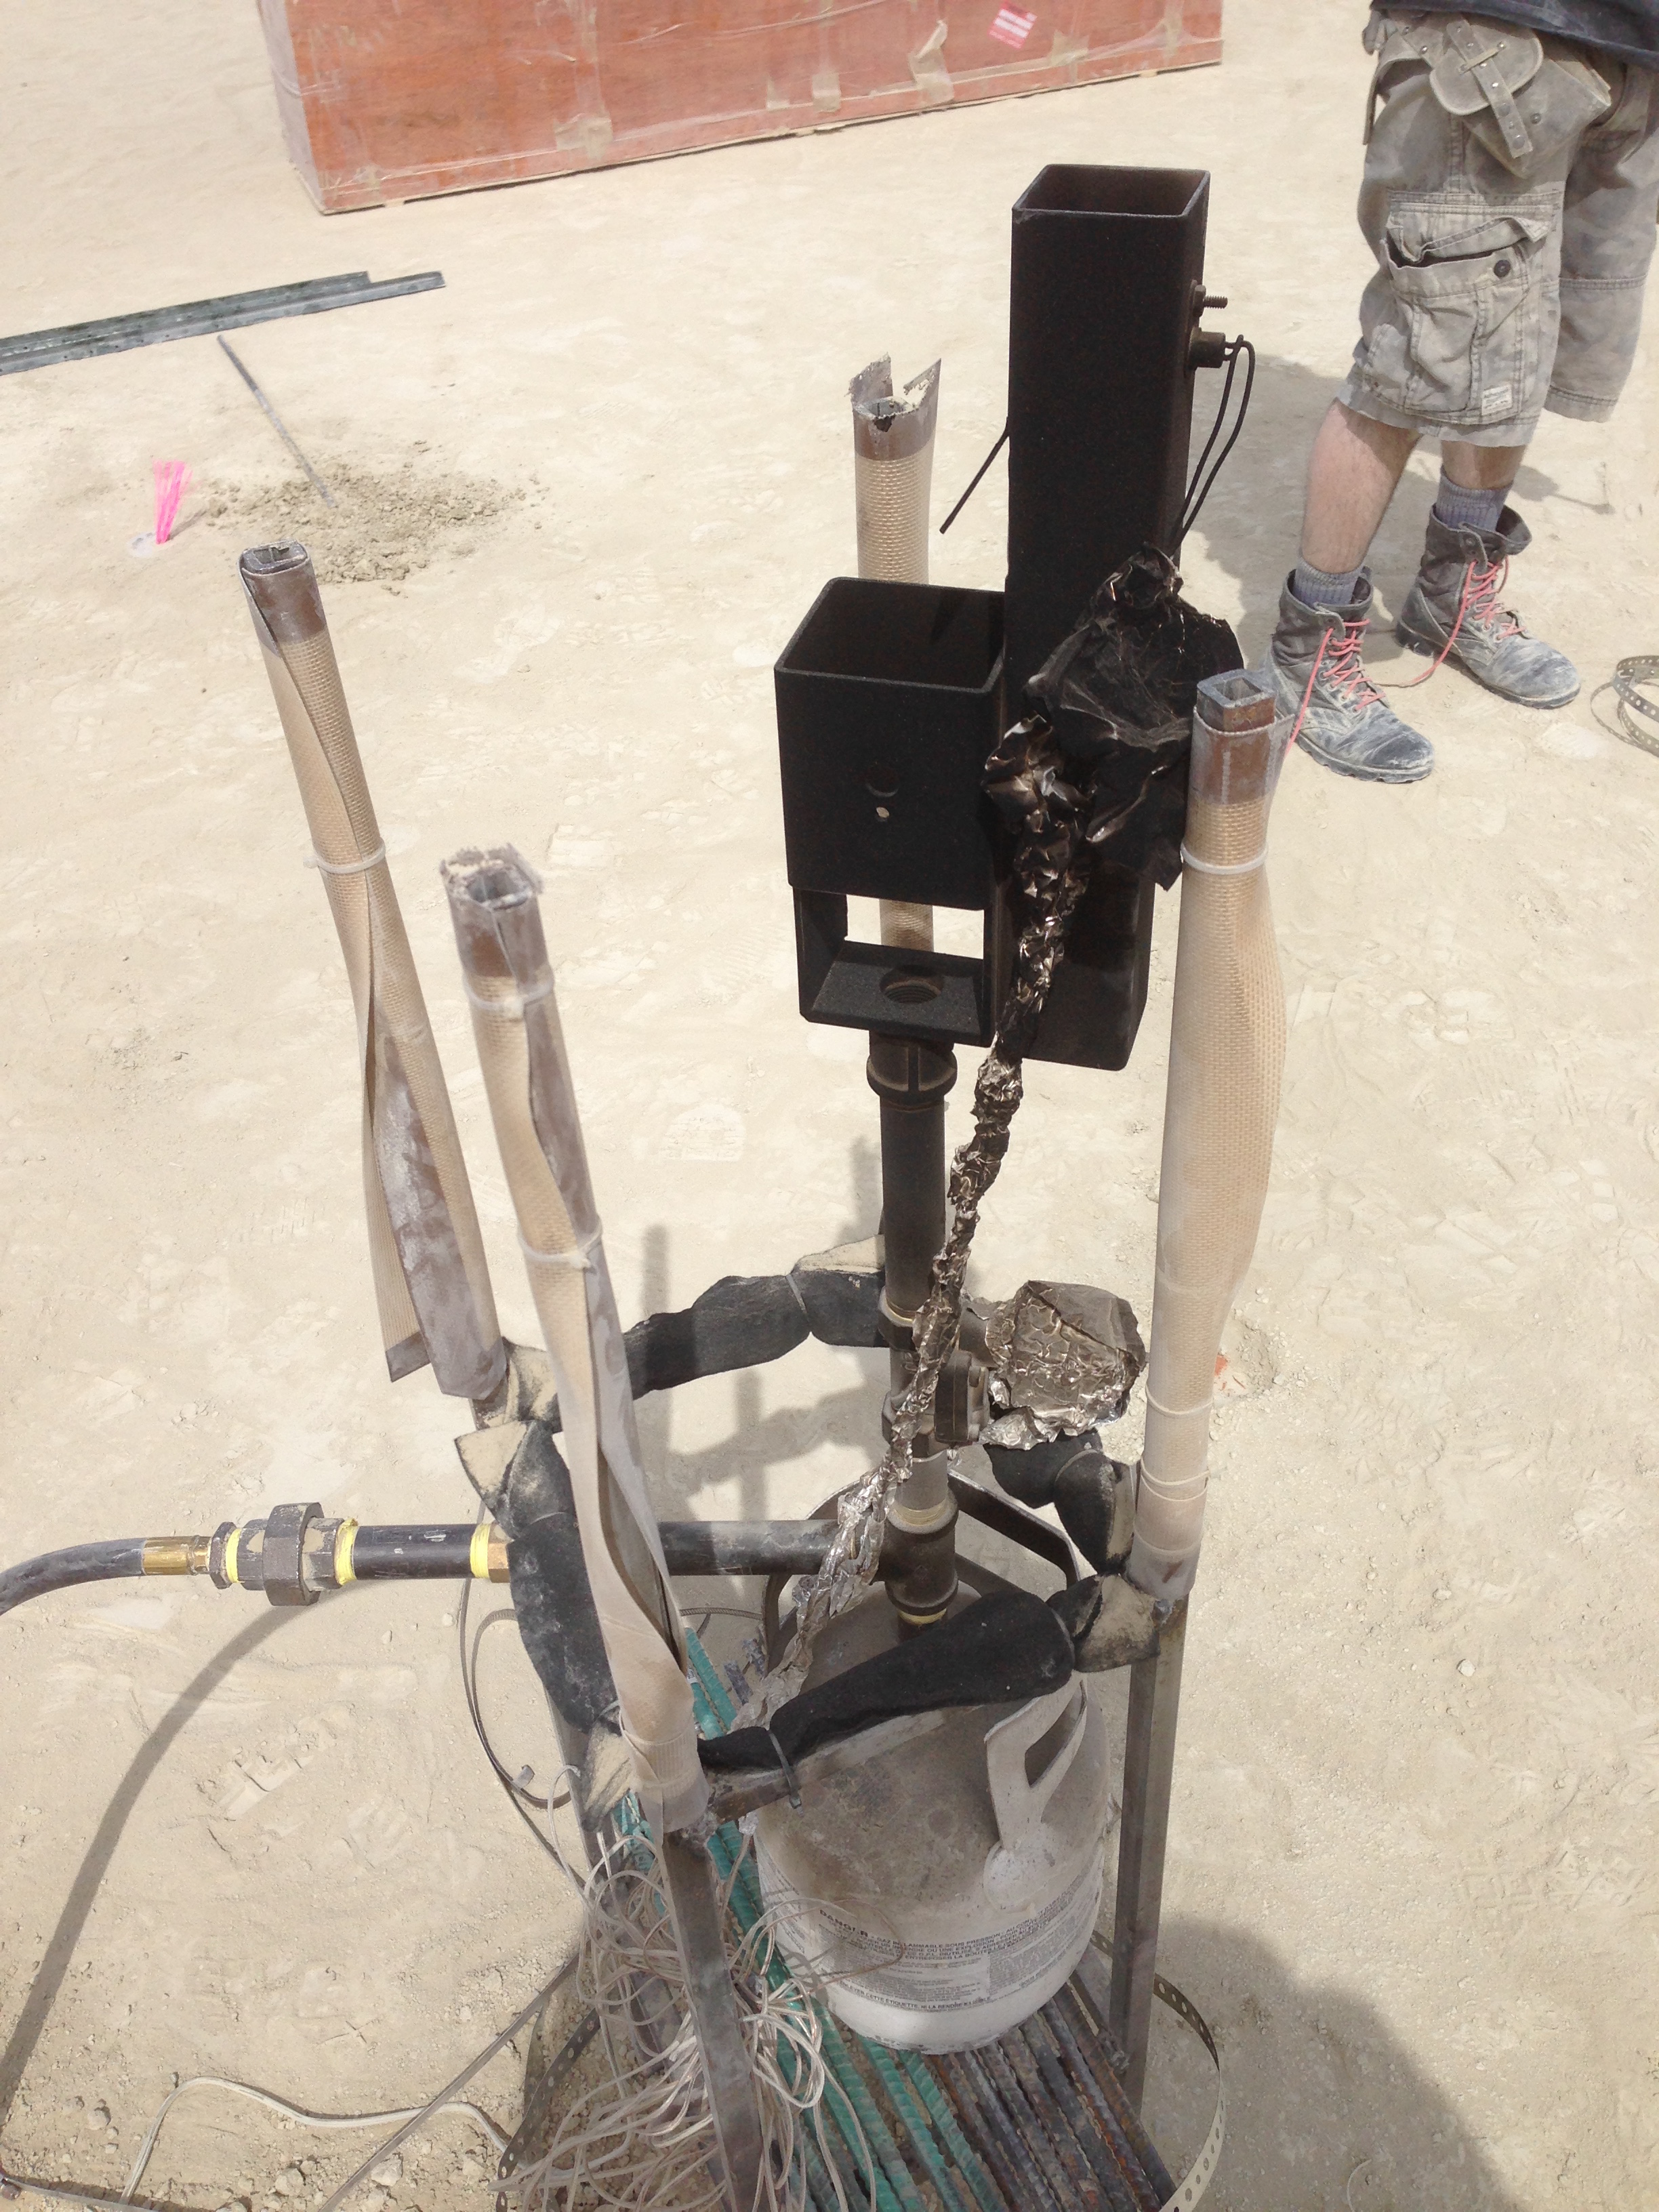
The main goal of the mirror maze was to make the participants feel like they were in the middle of a fire (and incidentally, not be able to see where it was coming from), while still being totally safe. There were a number of safety measures that we put in place:
– Quarter-turn valves by the tank and by the flame effect
– Using only propane-rated pipes, hose, solenoids, other valves, and tanks
– Using propane instead of a more dangerous fuel[1]
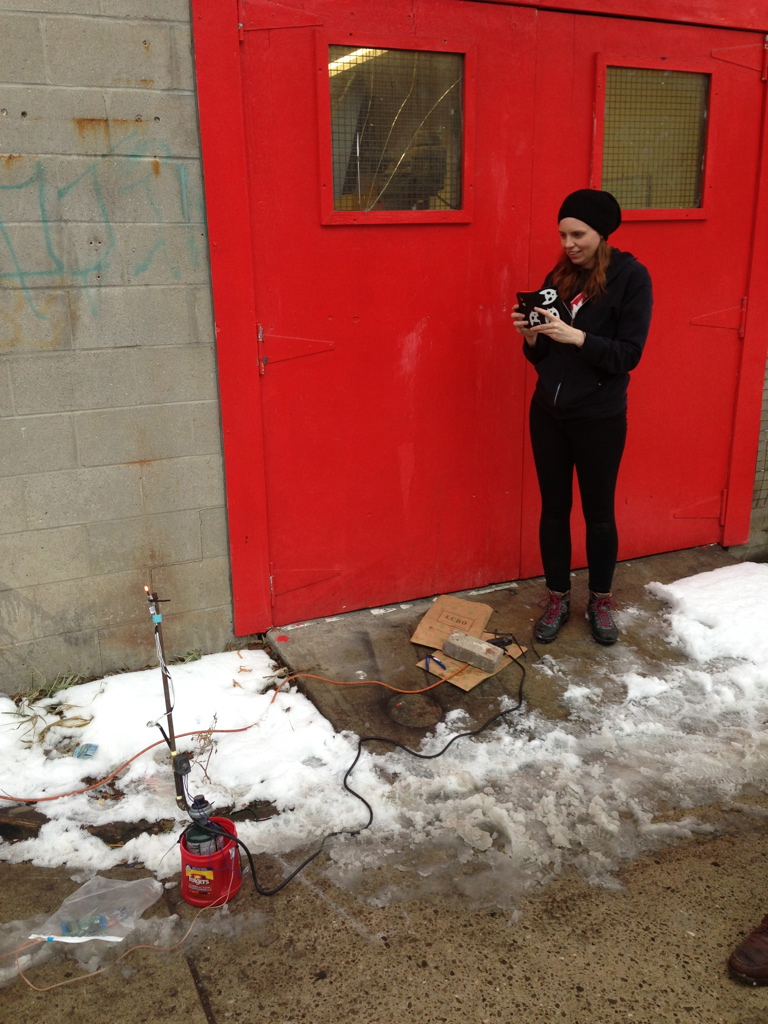
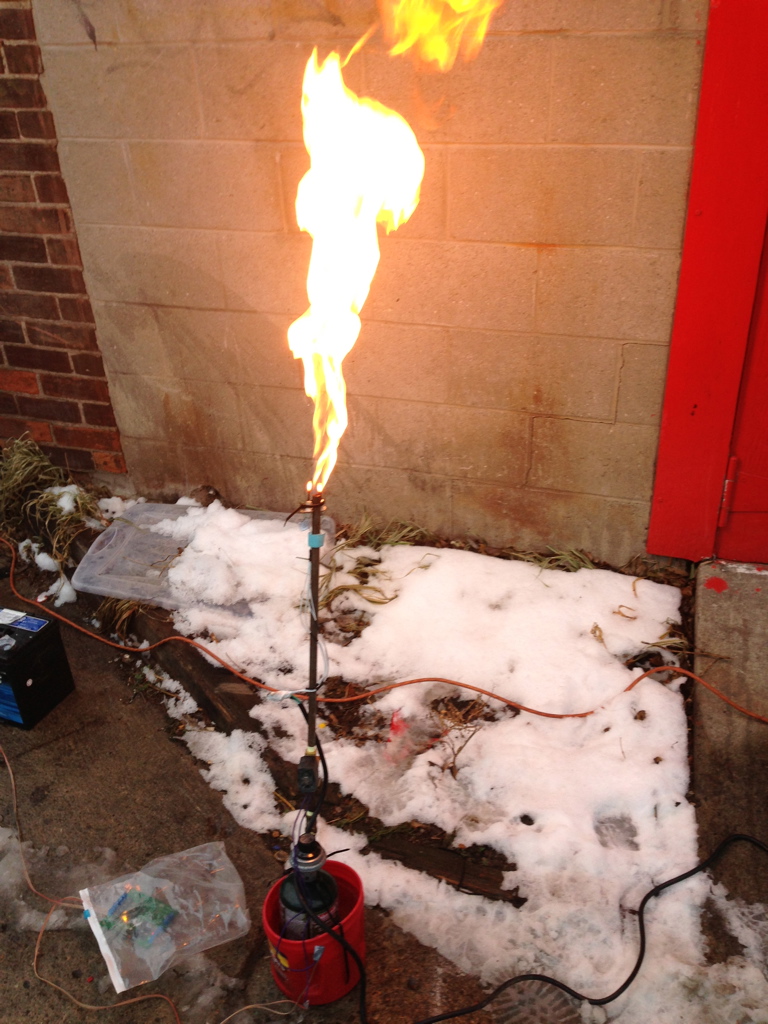
– Actively controlled flame effect
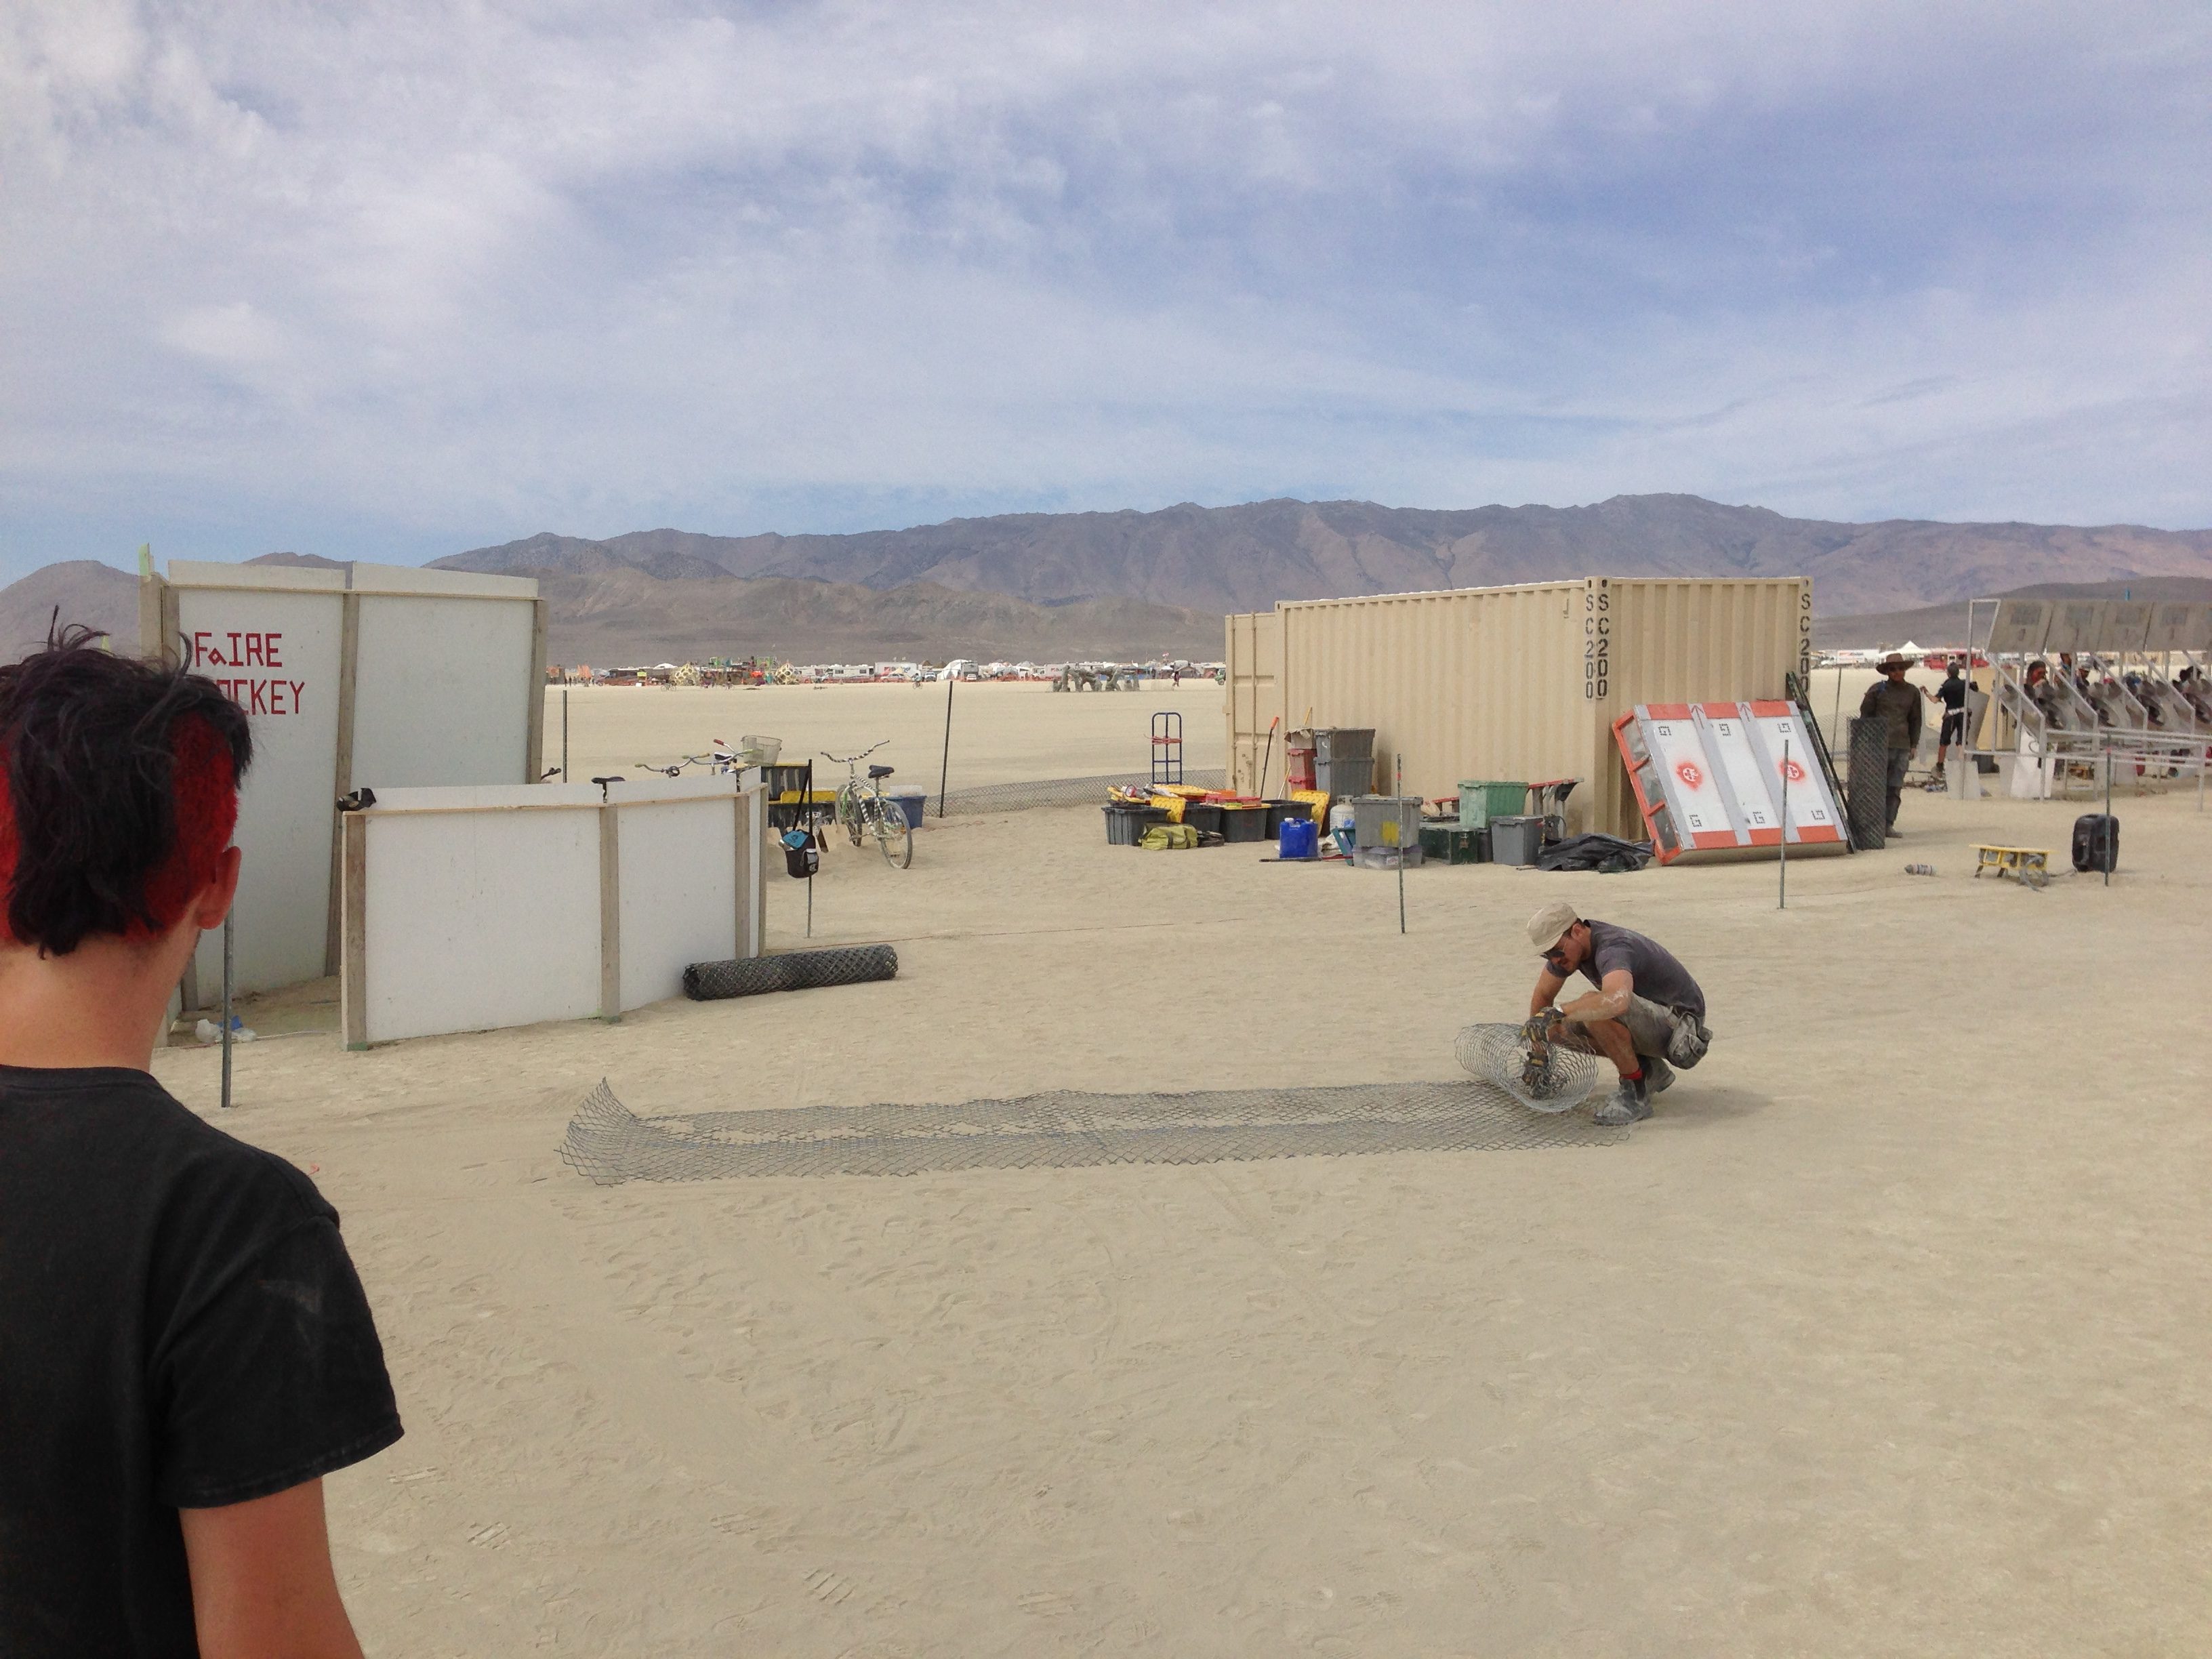
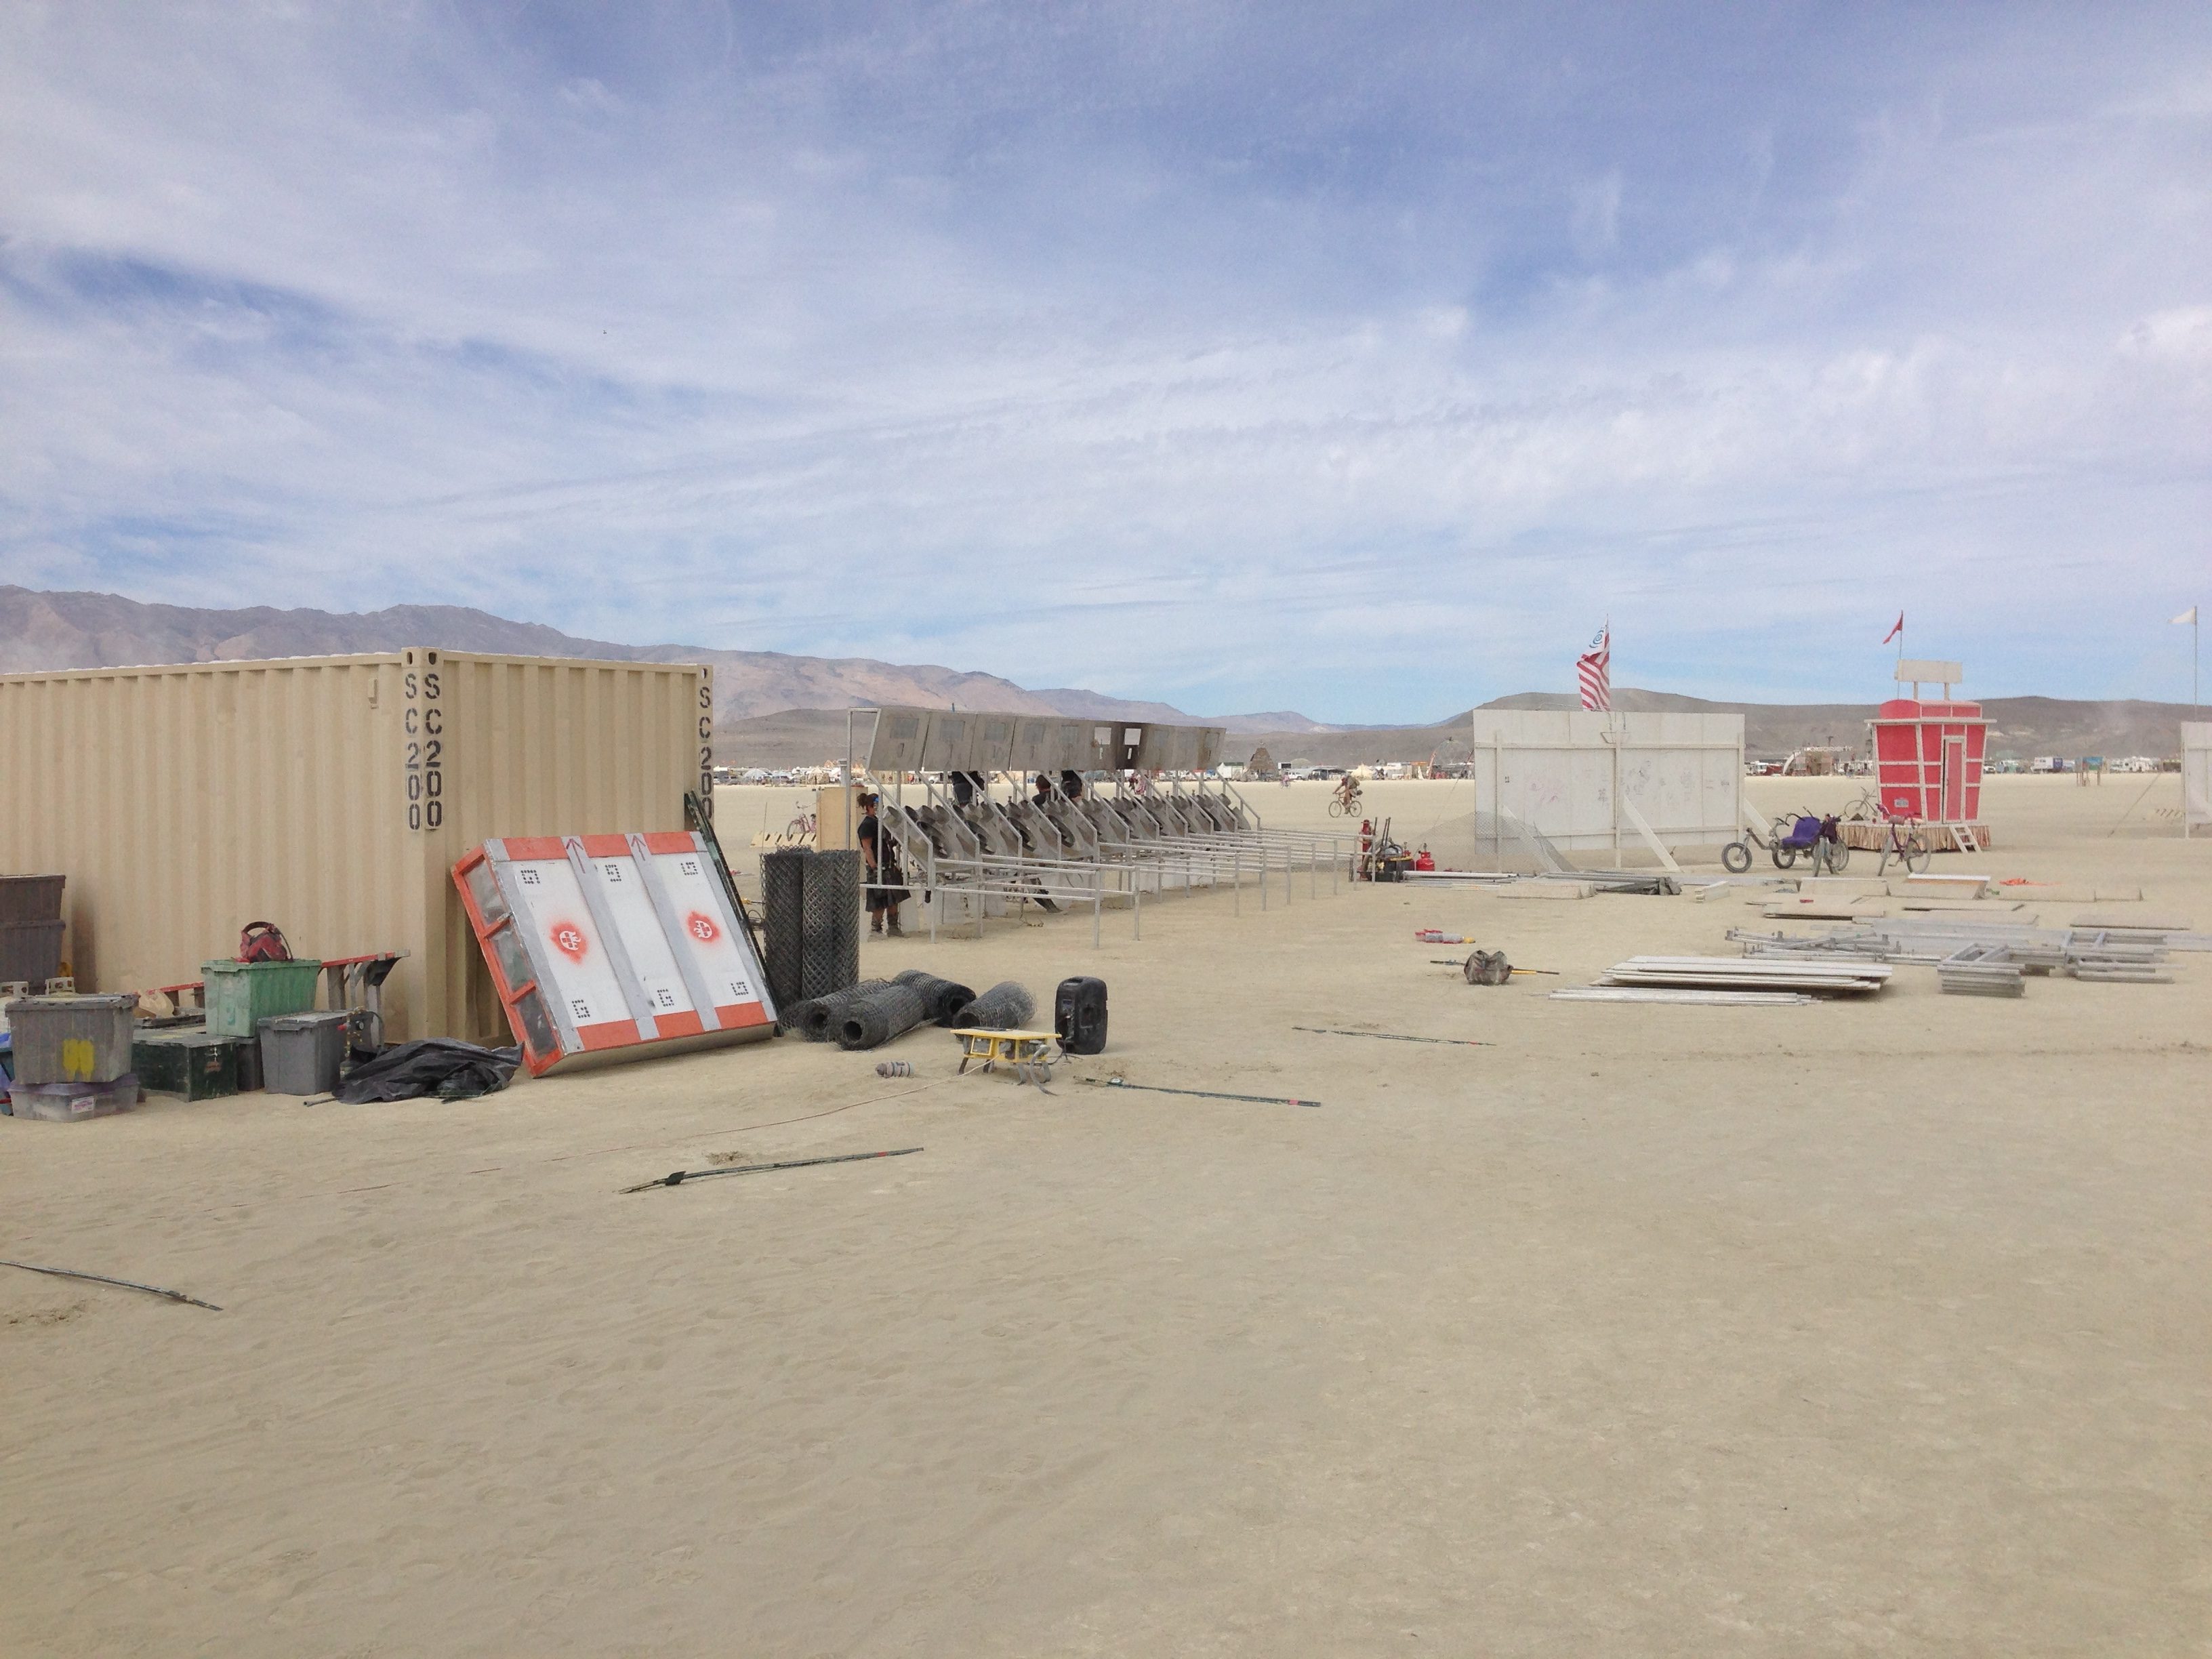
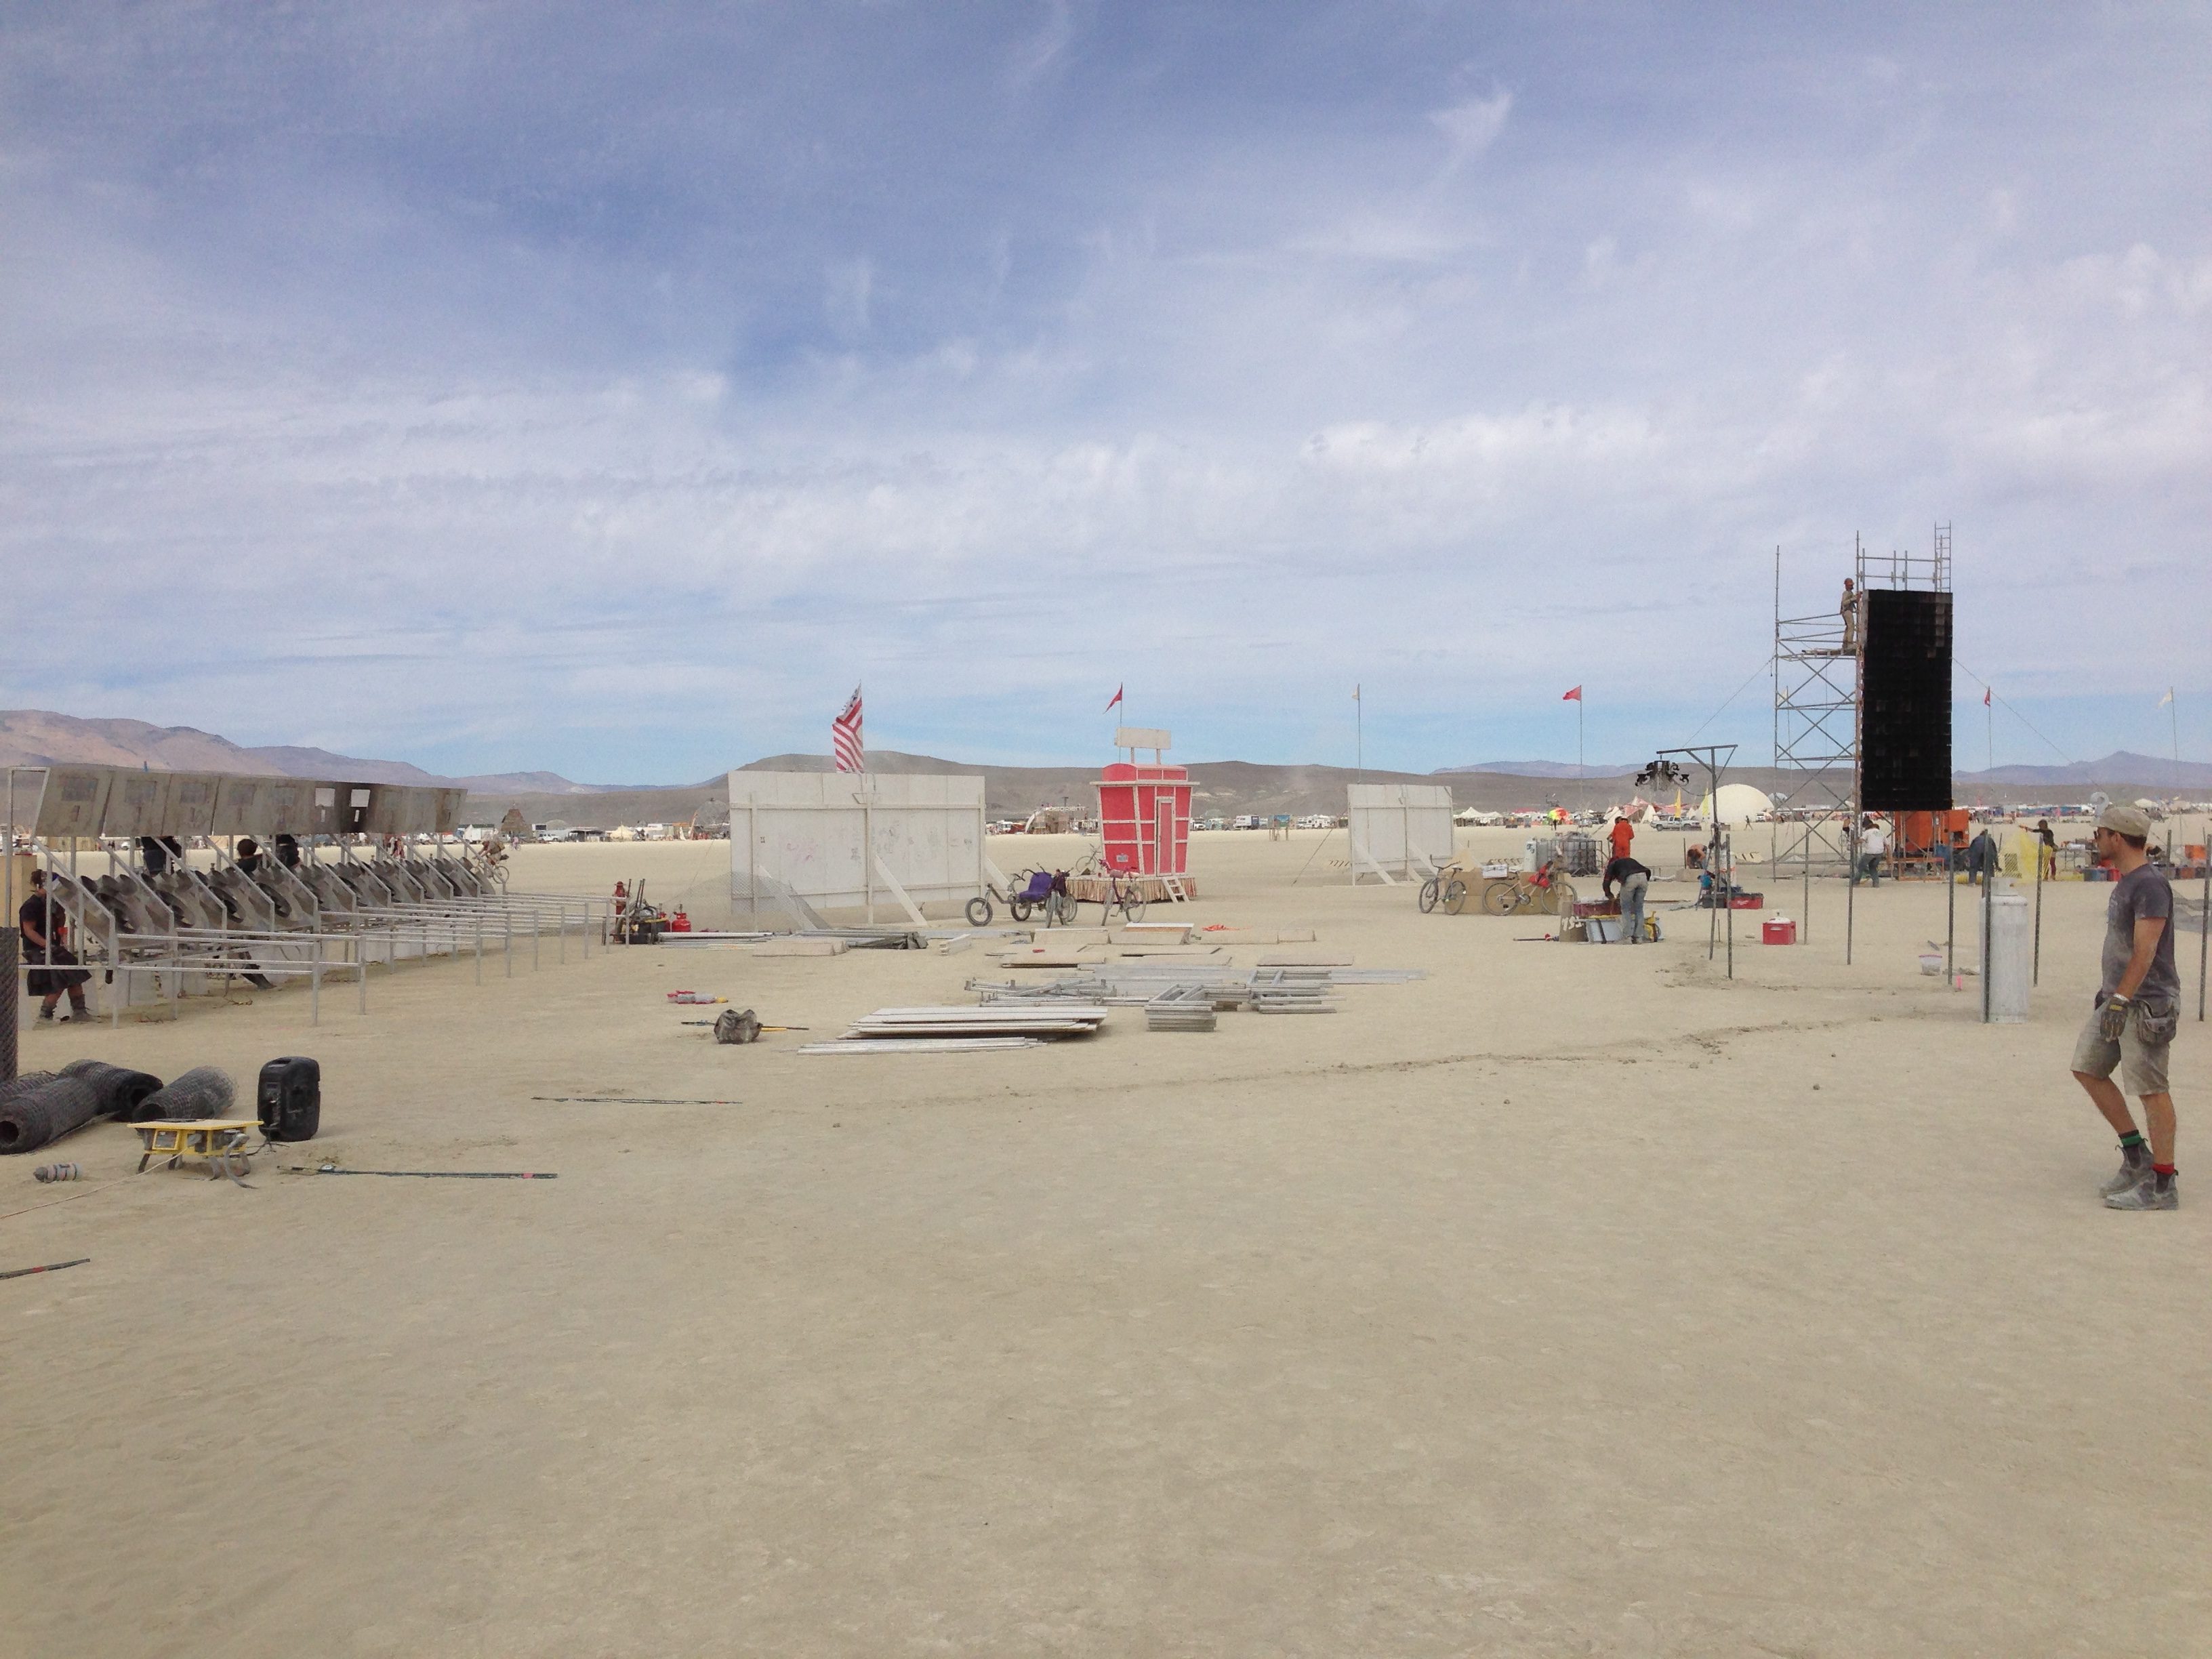
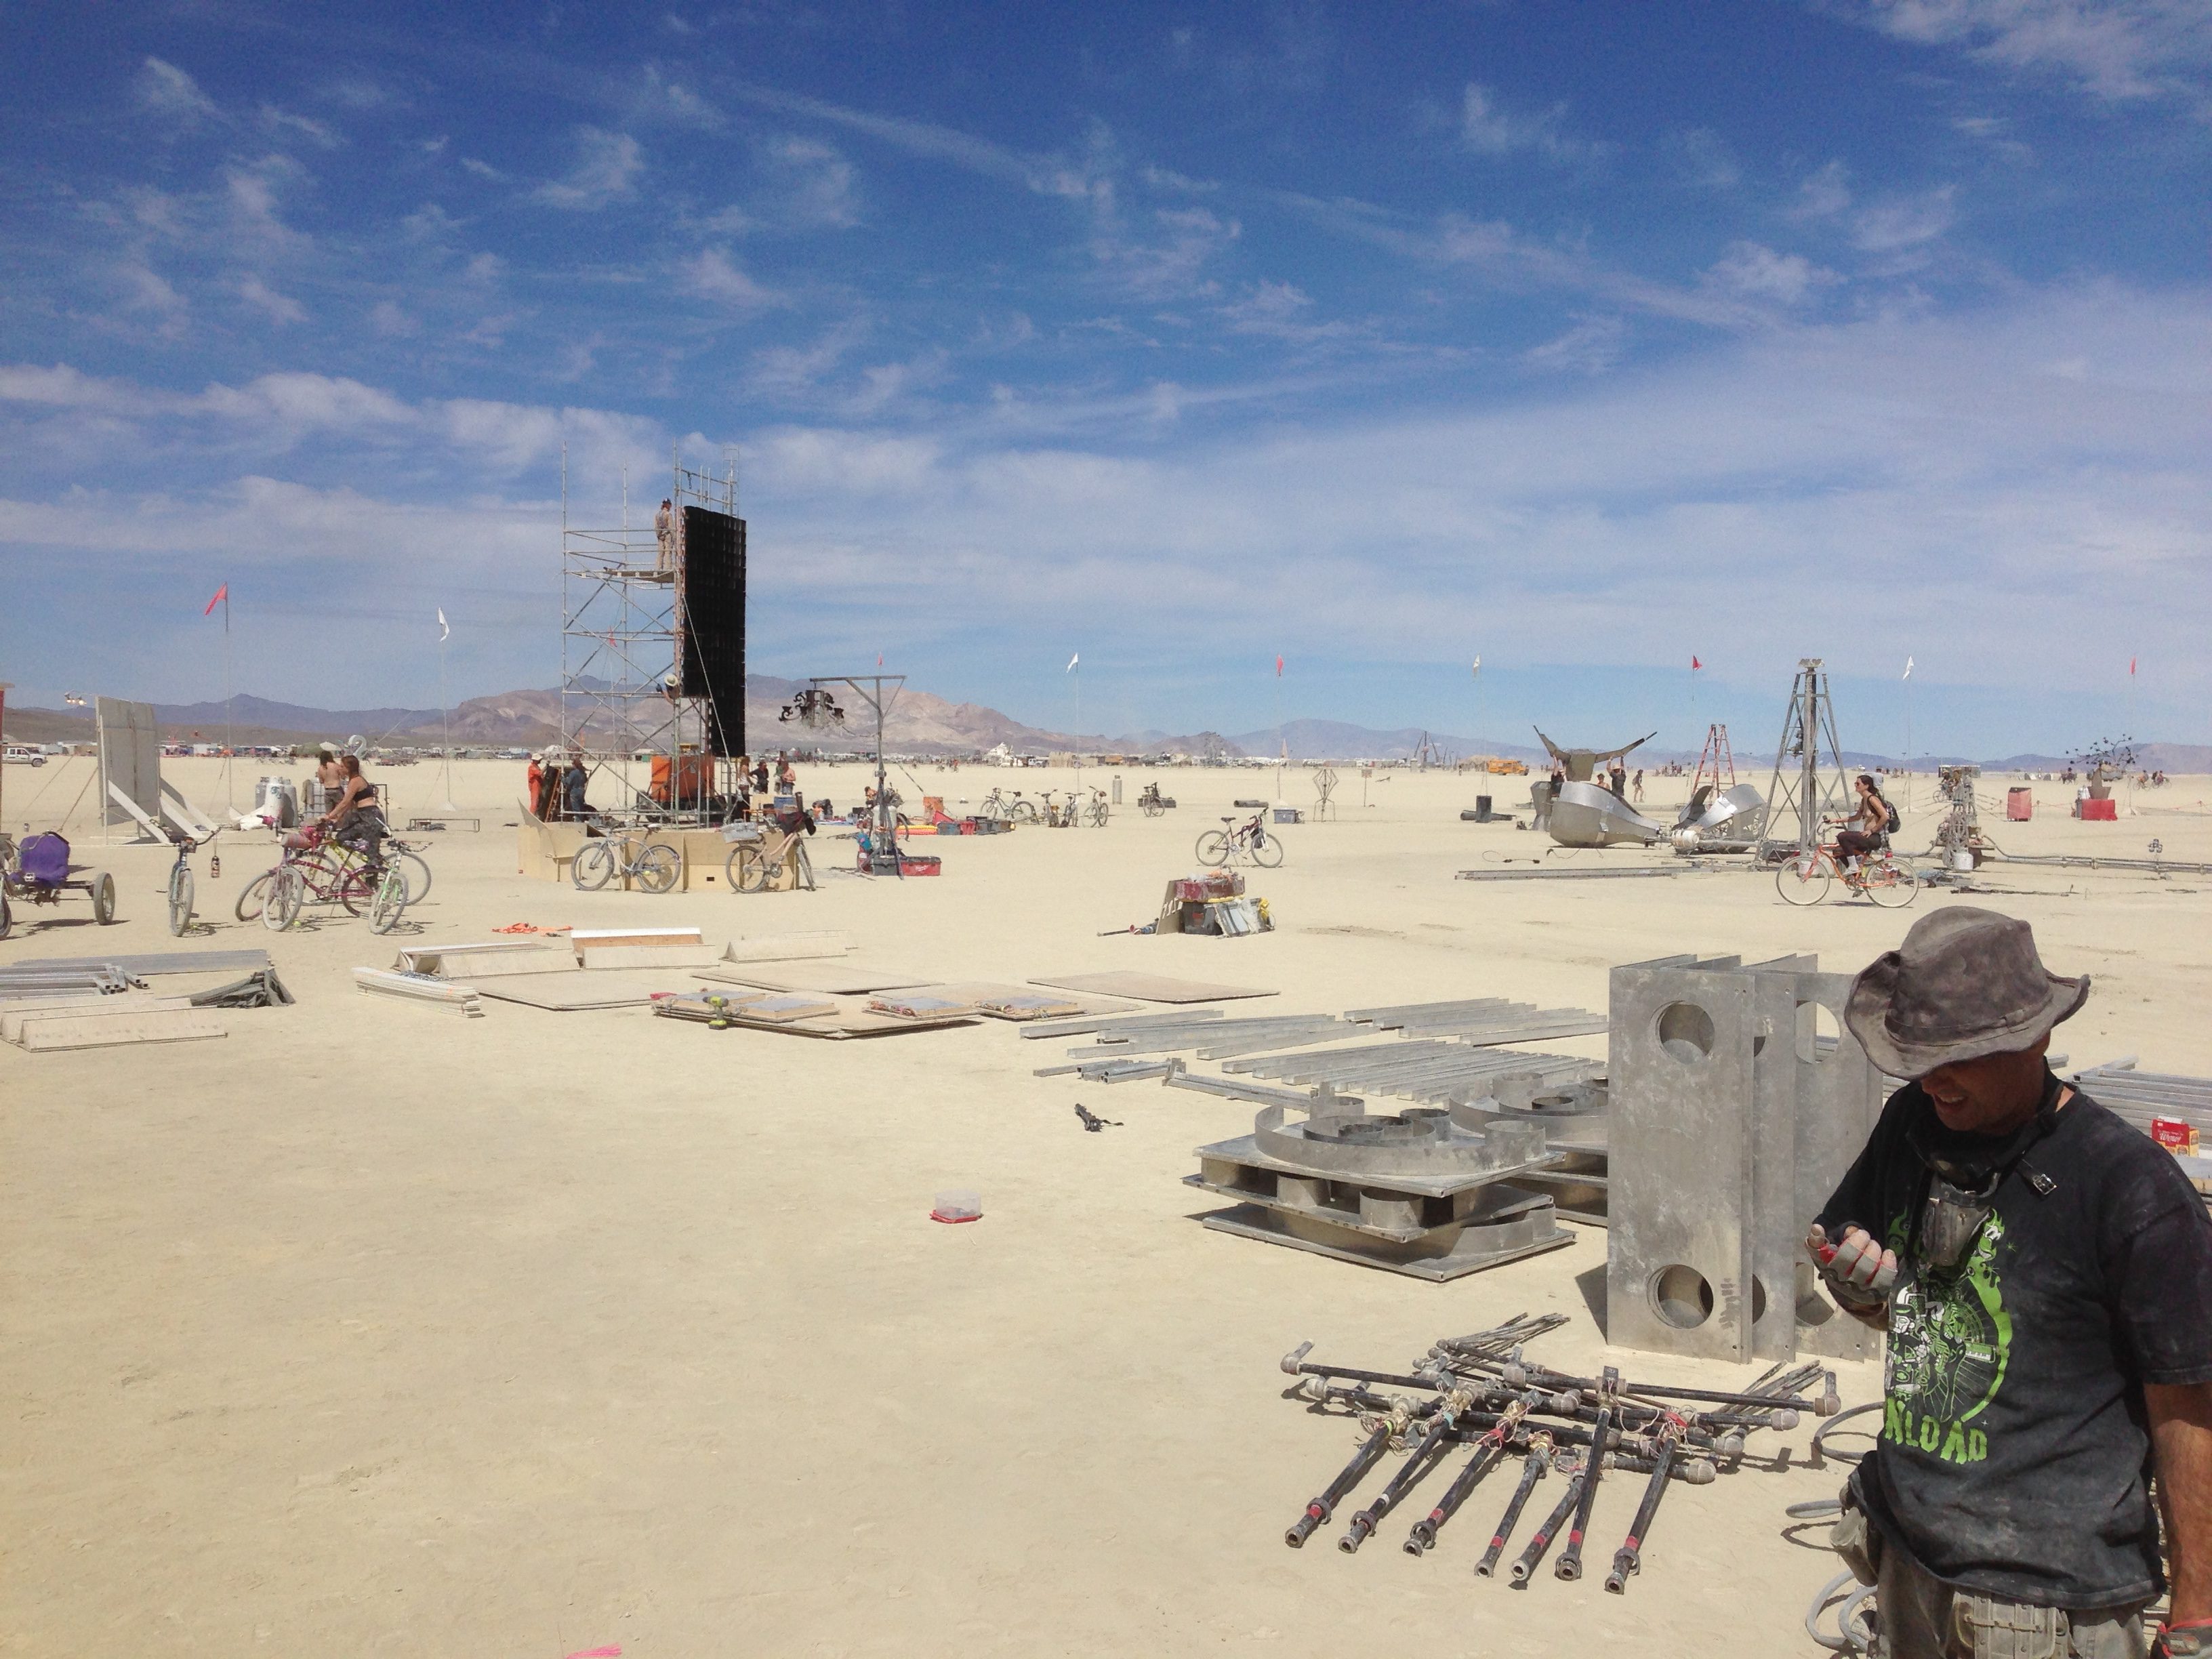
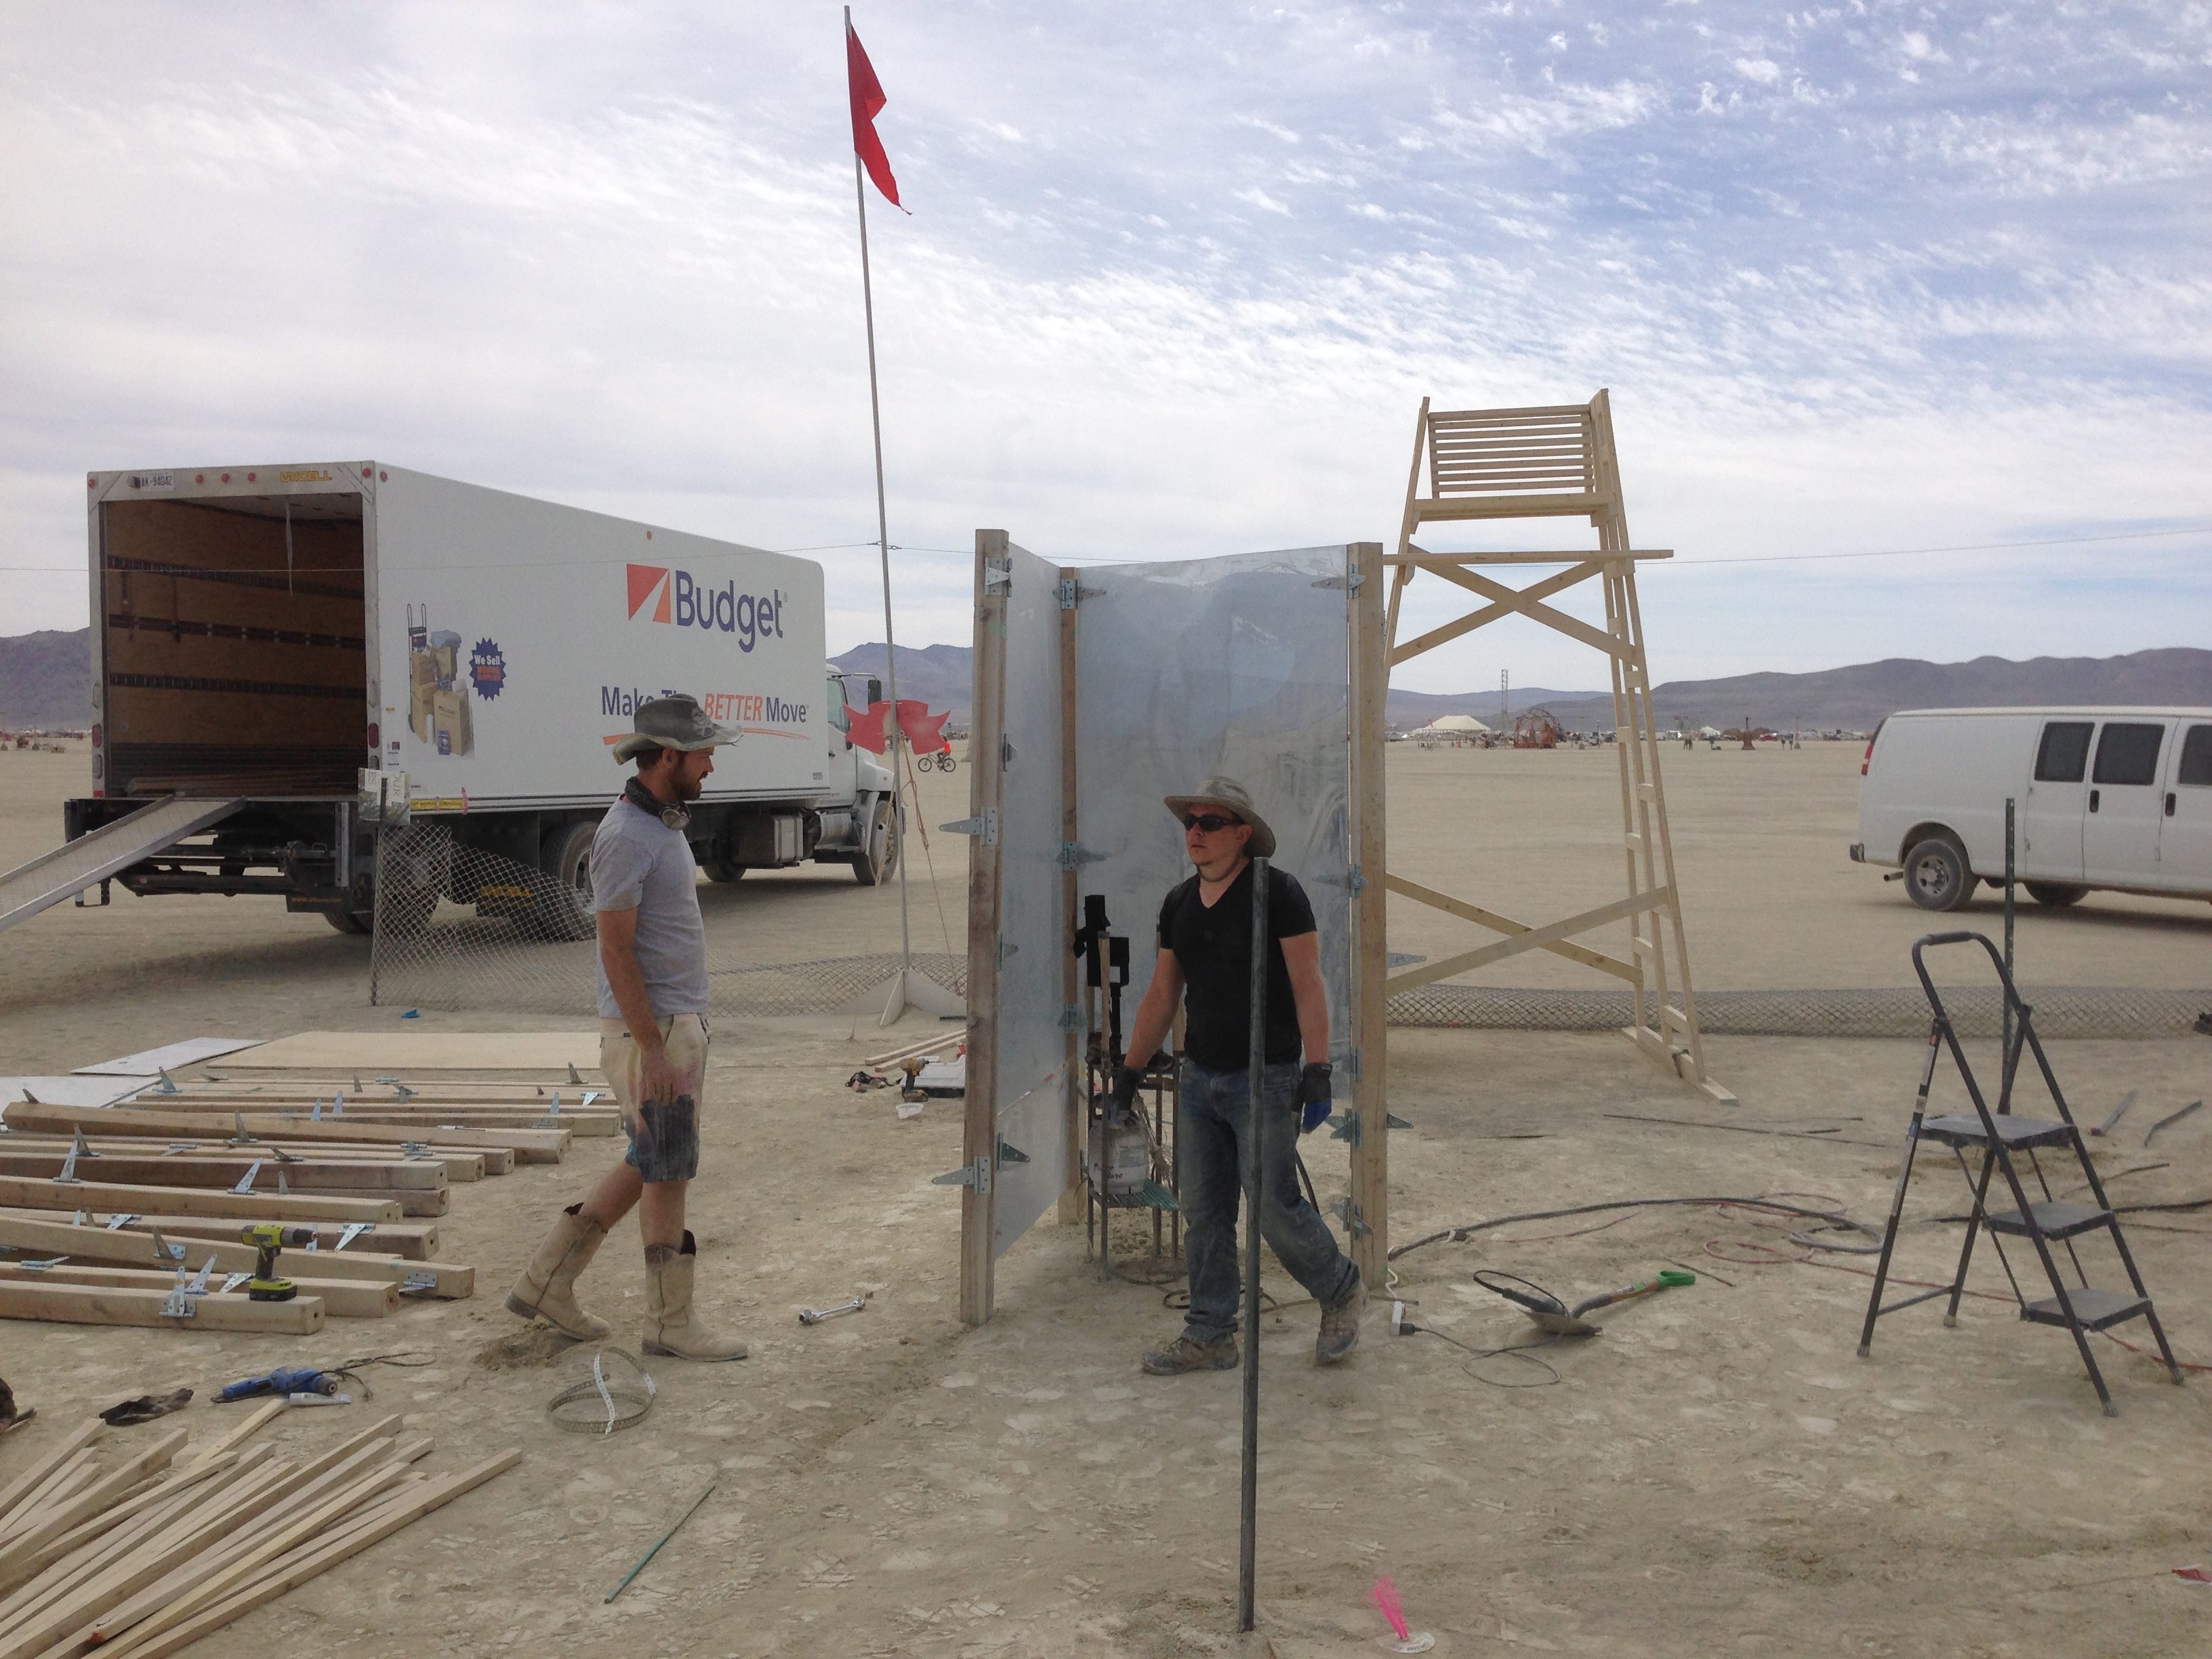
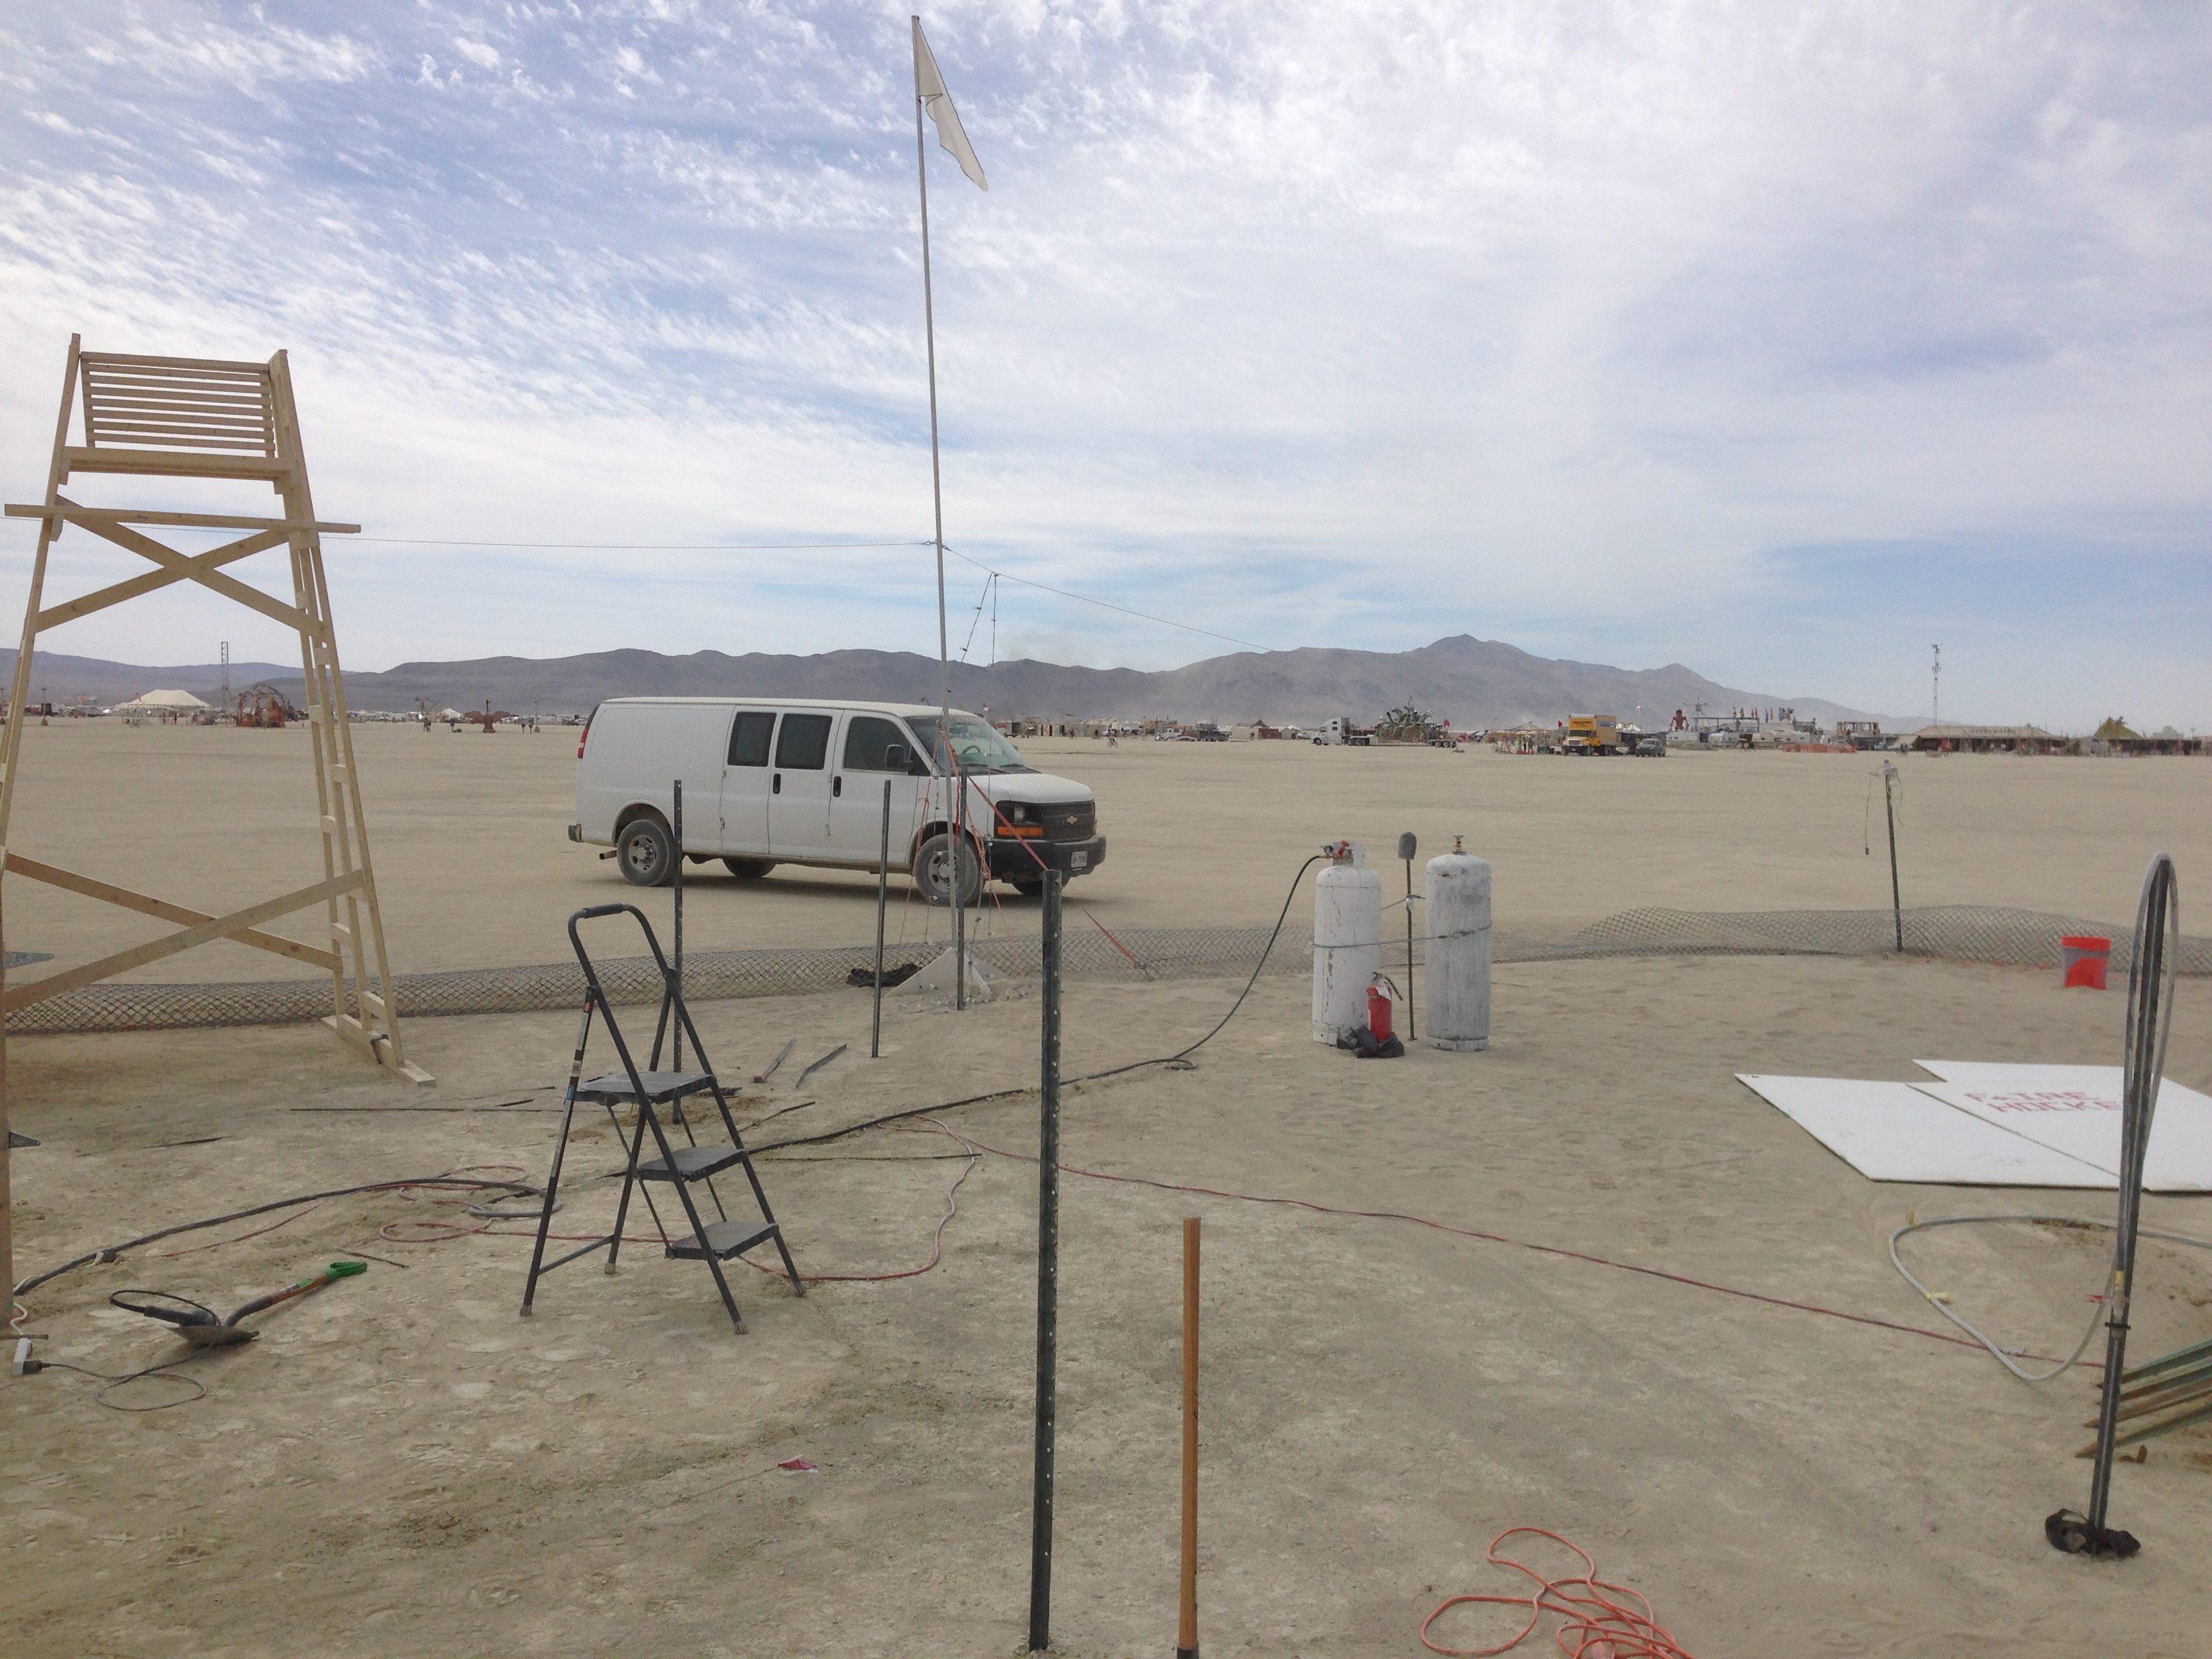
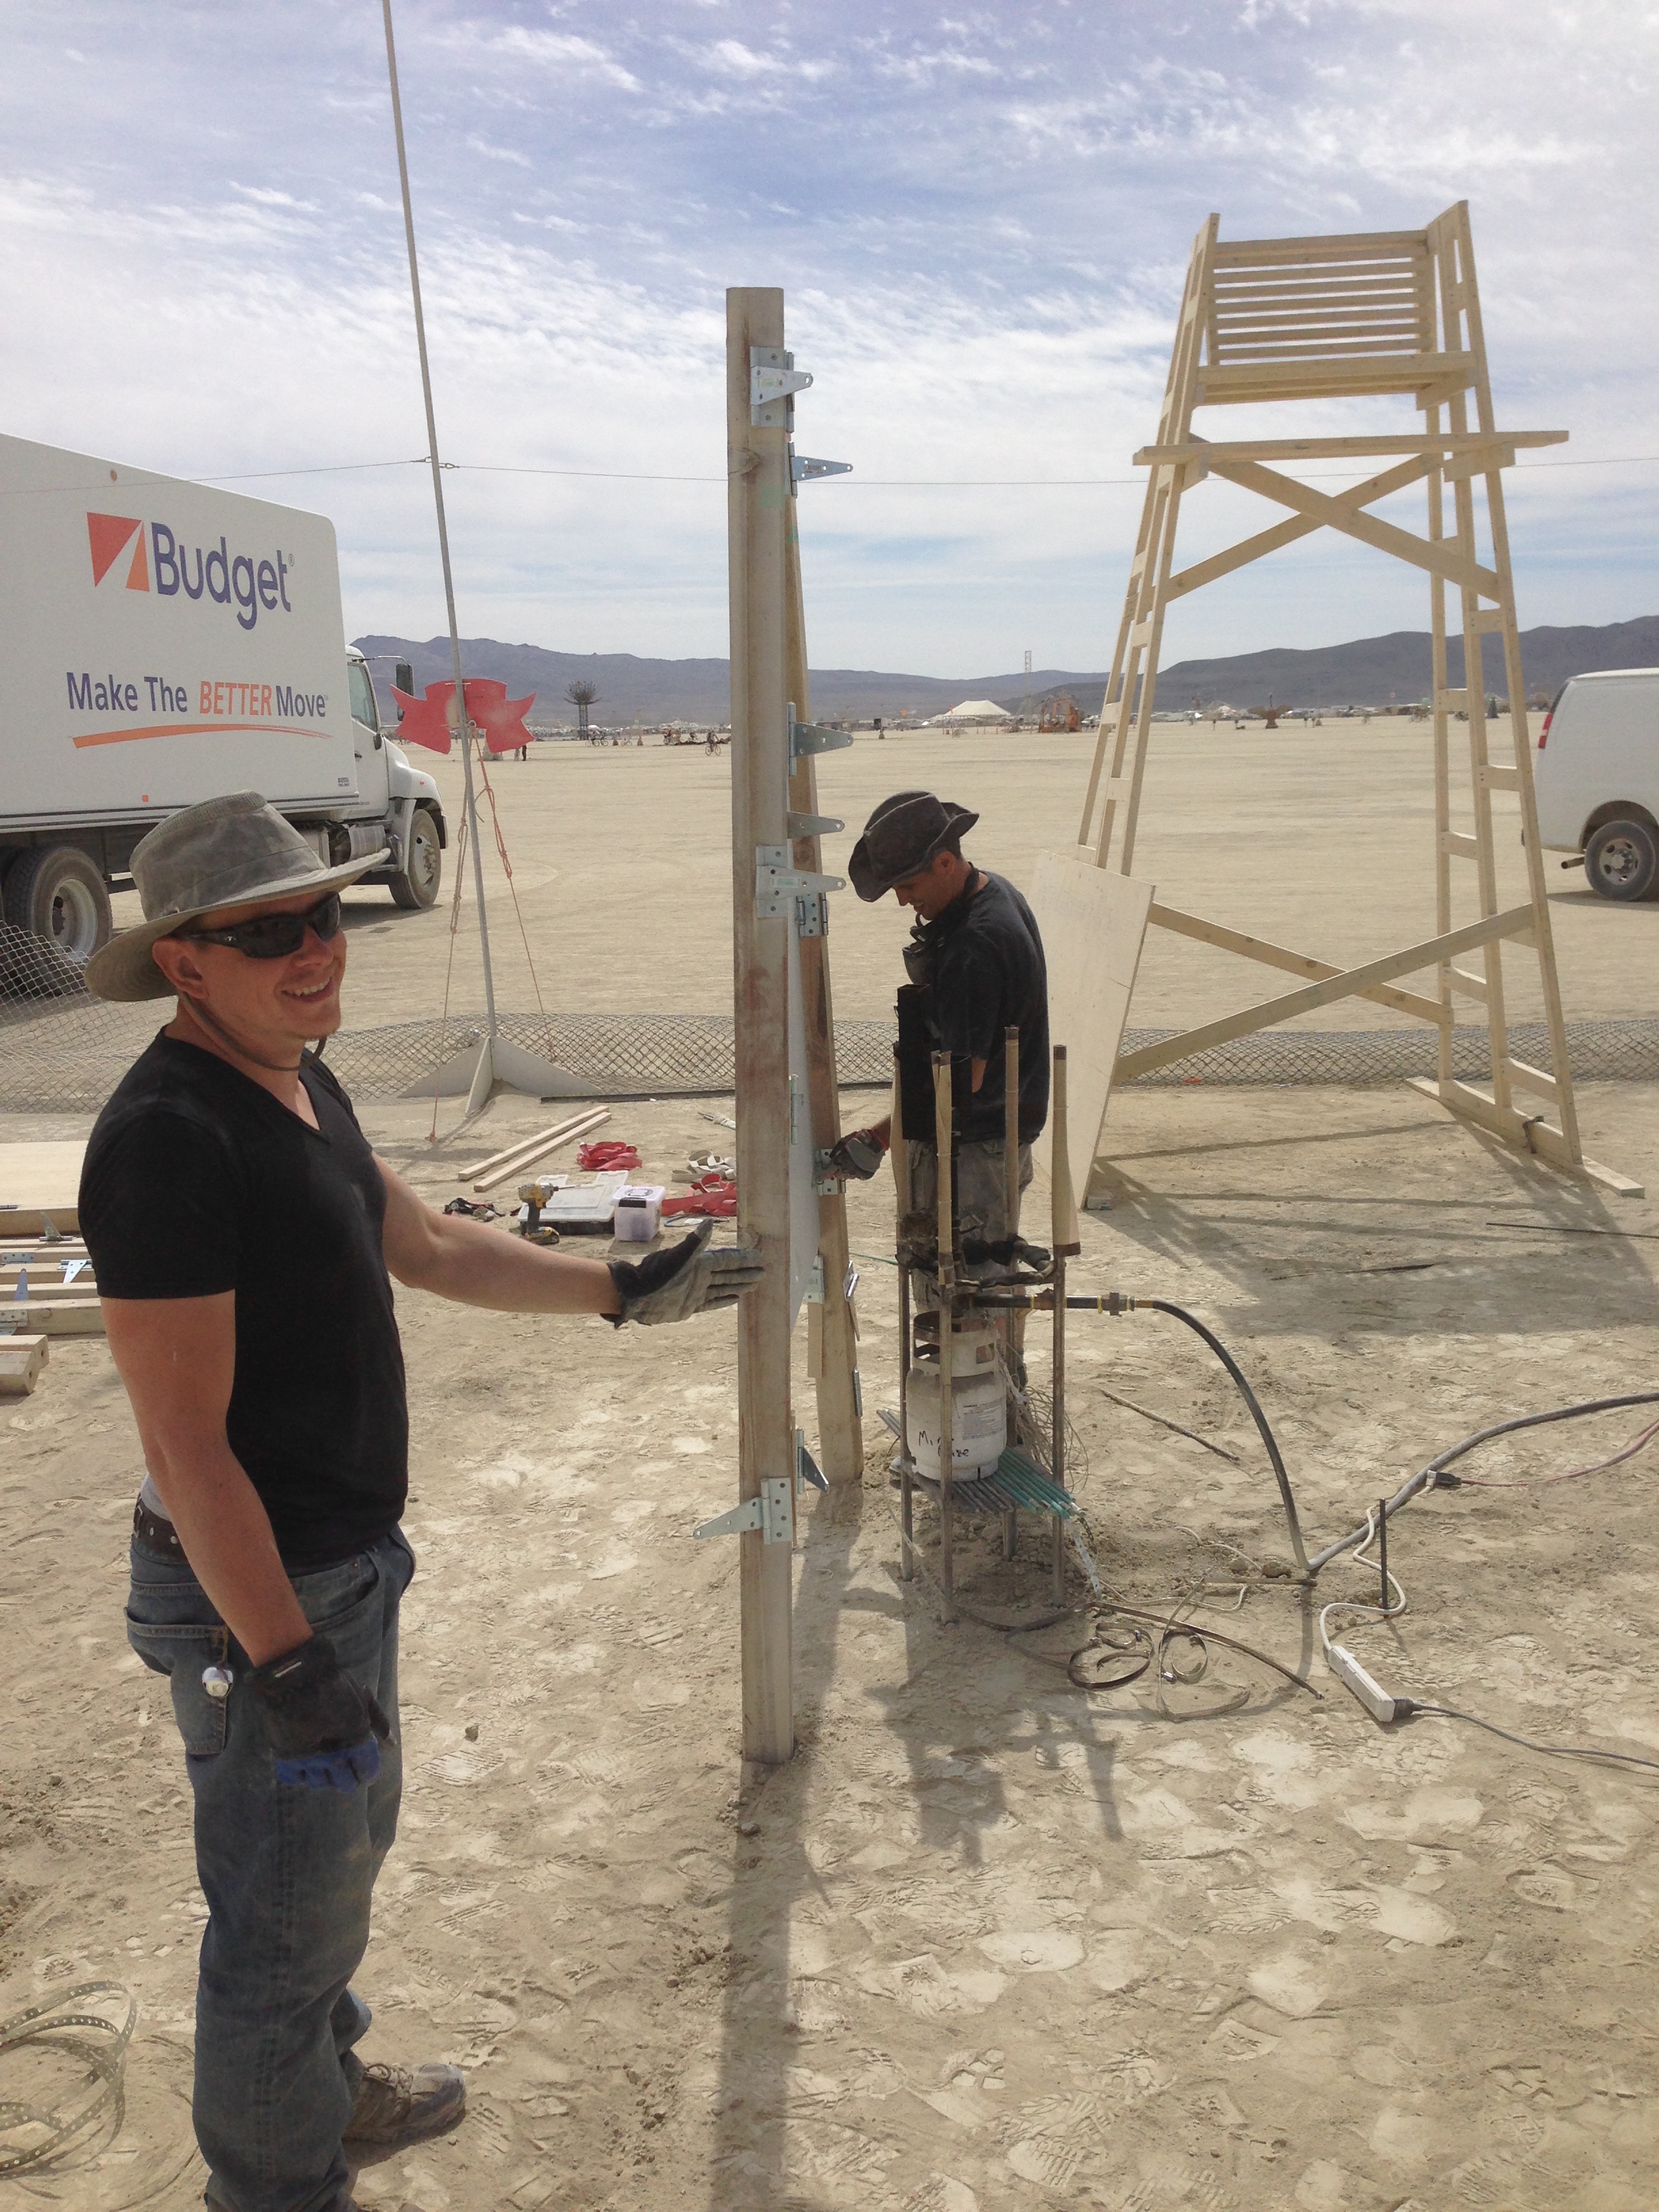
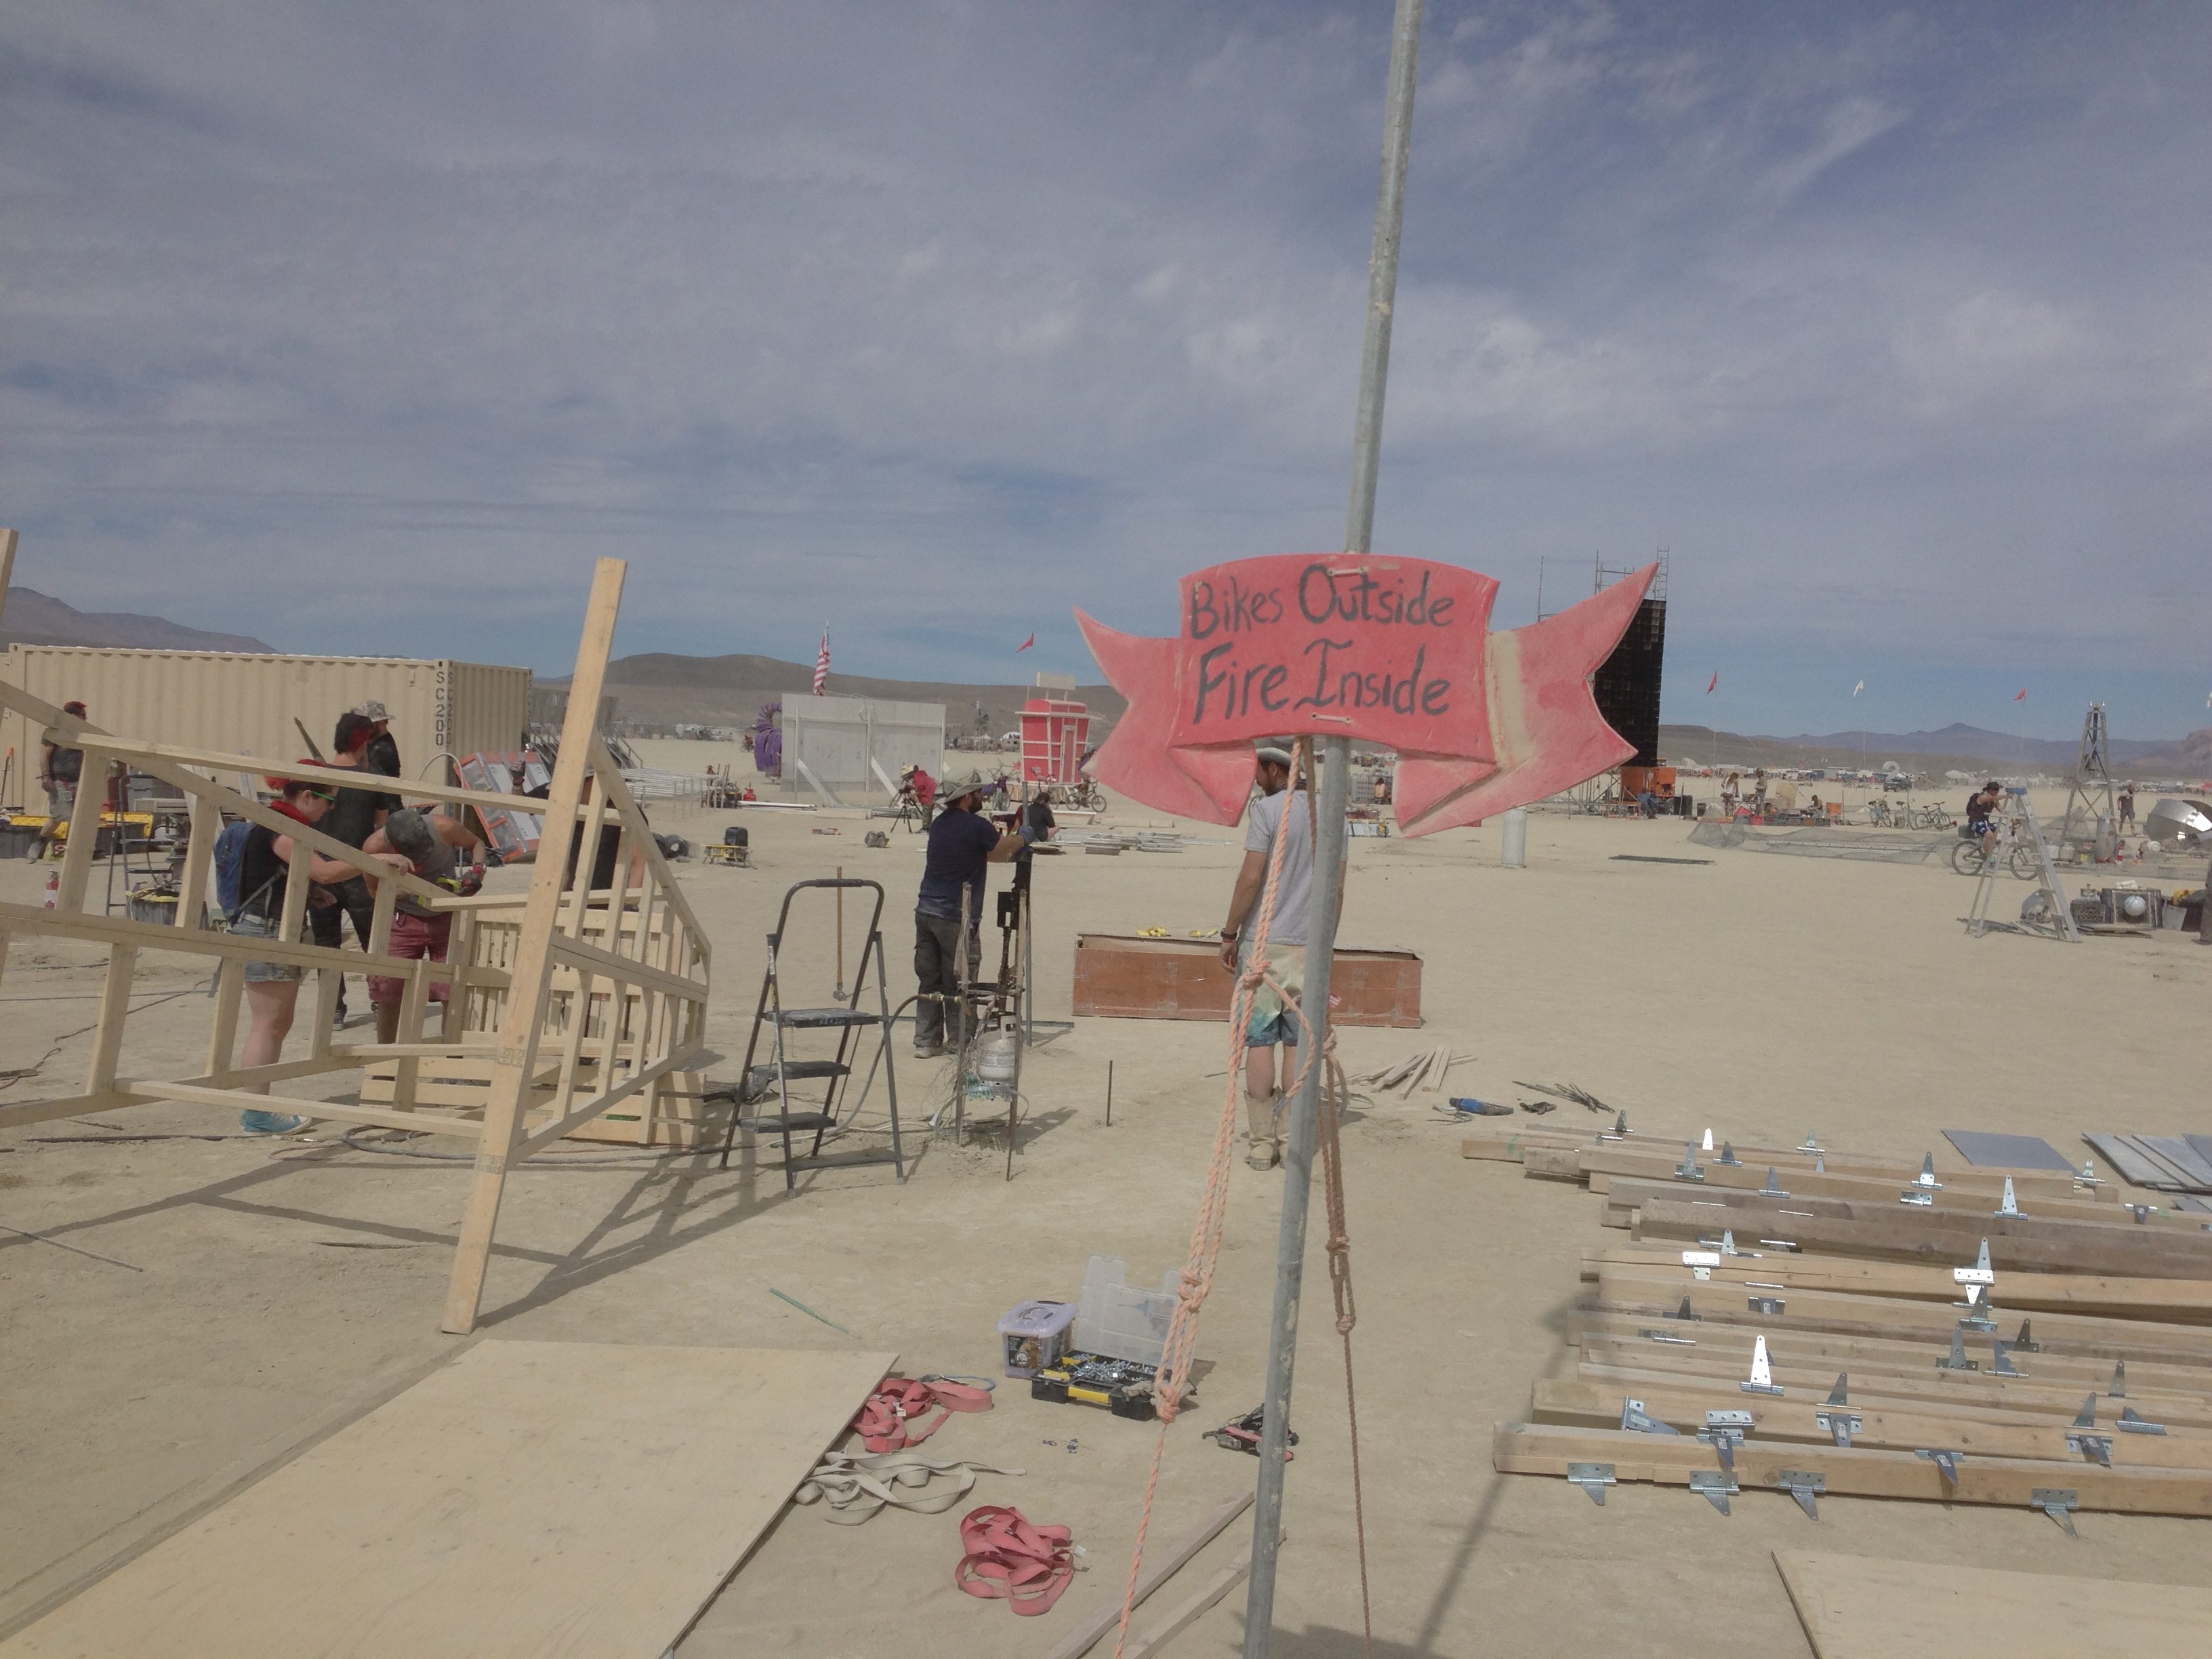
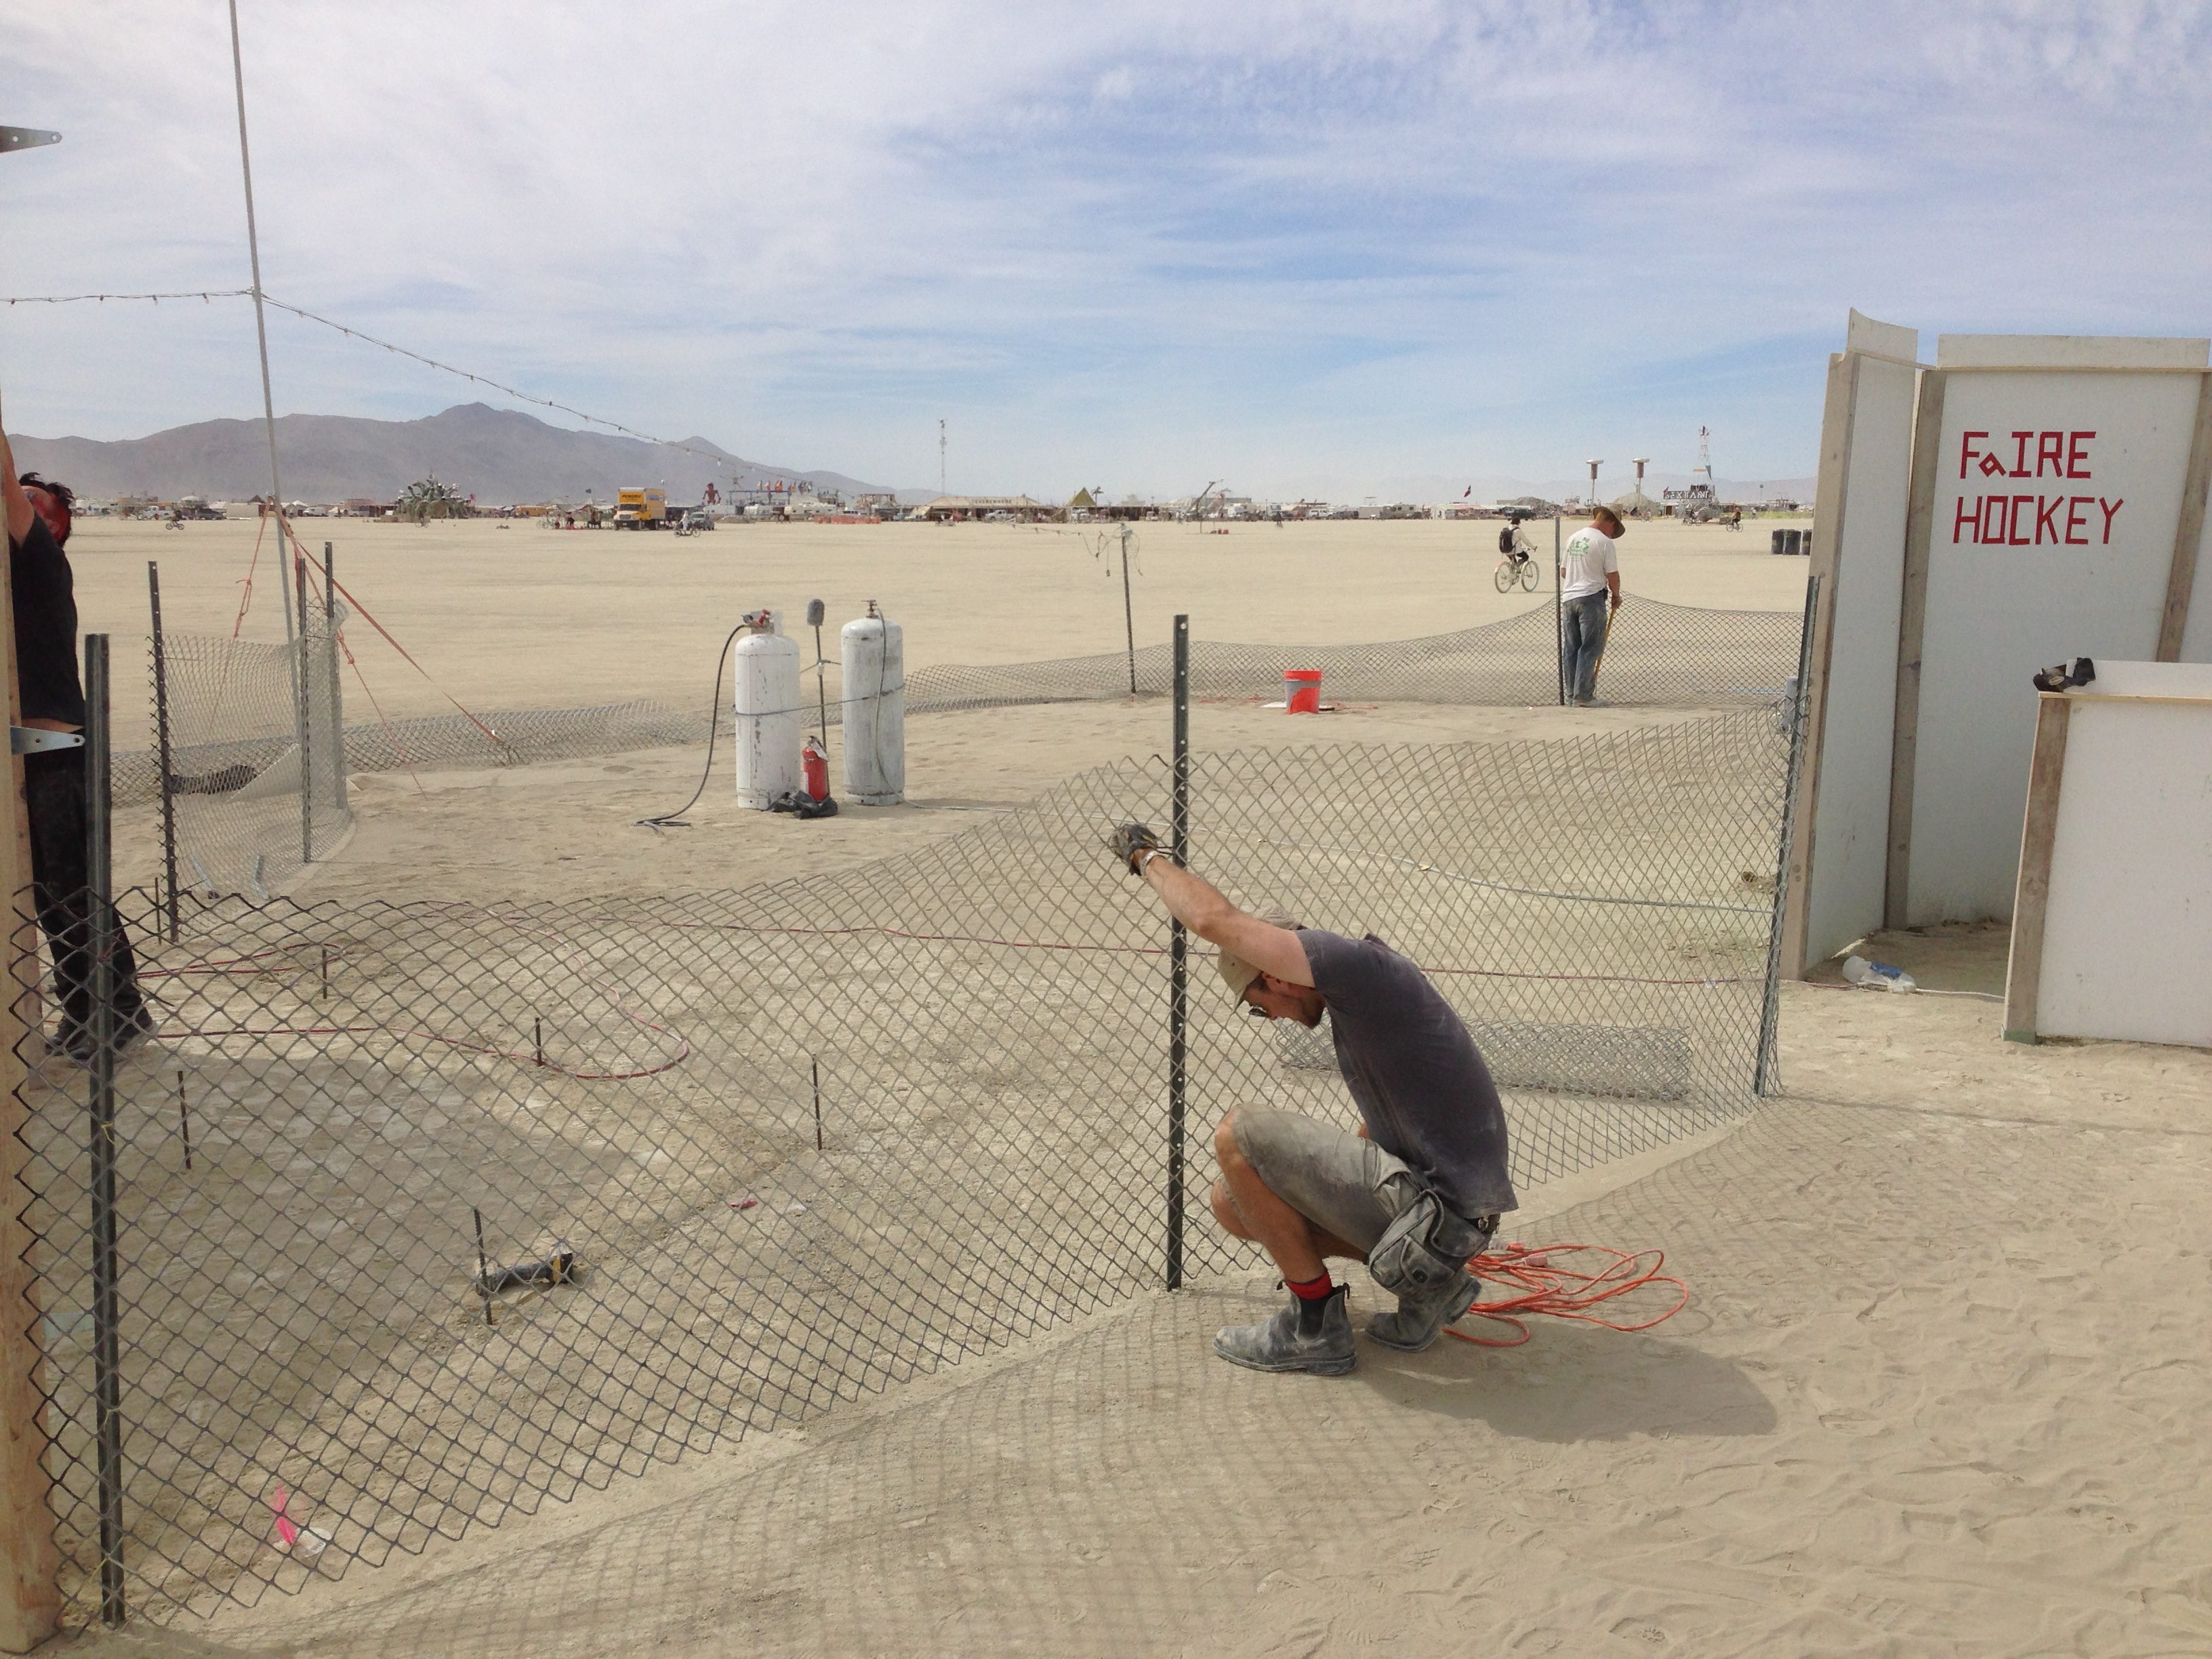
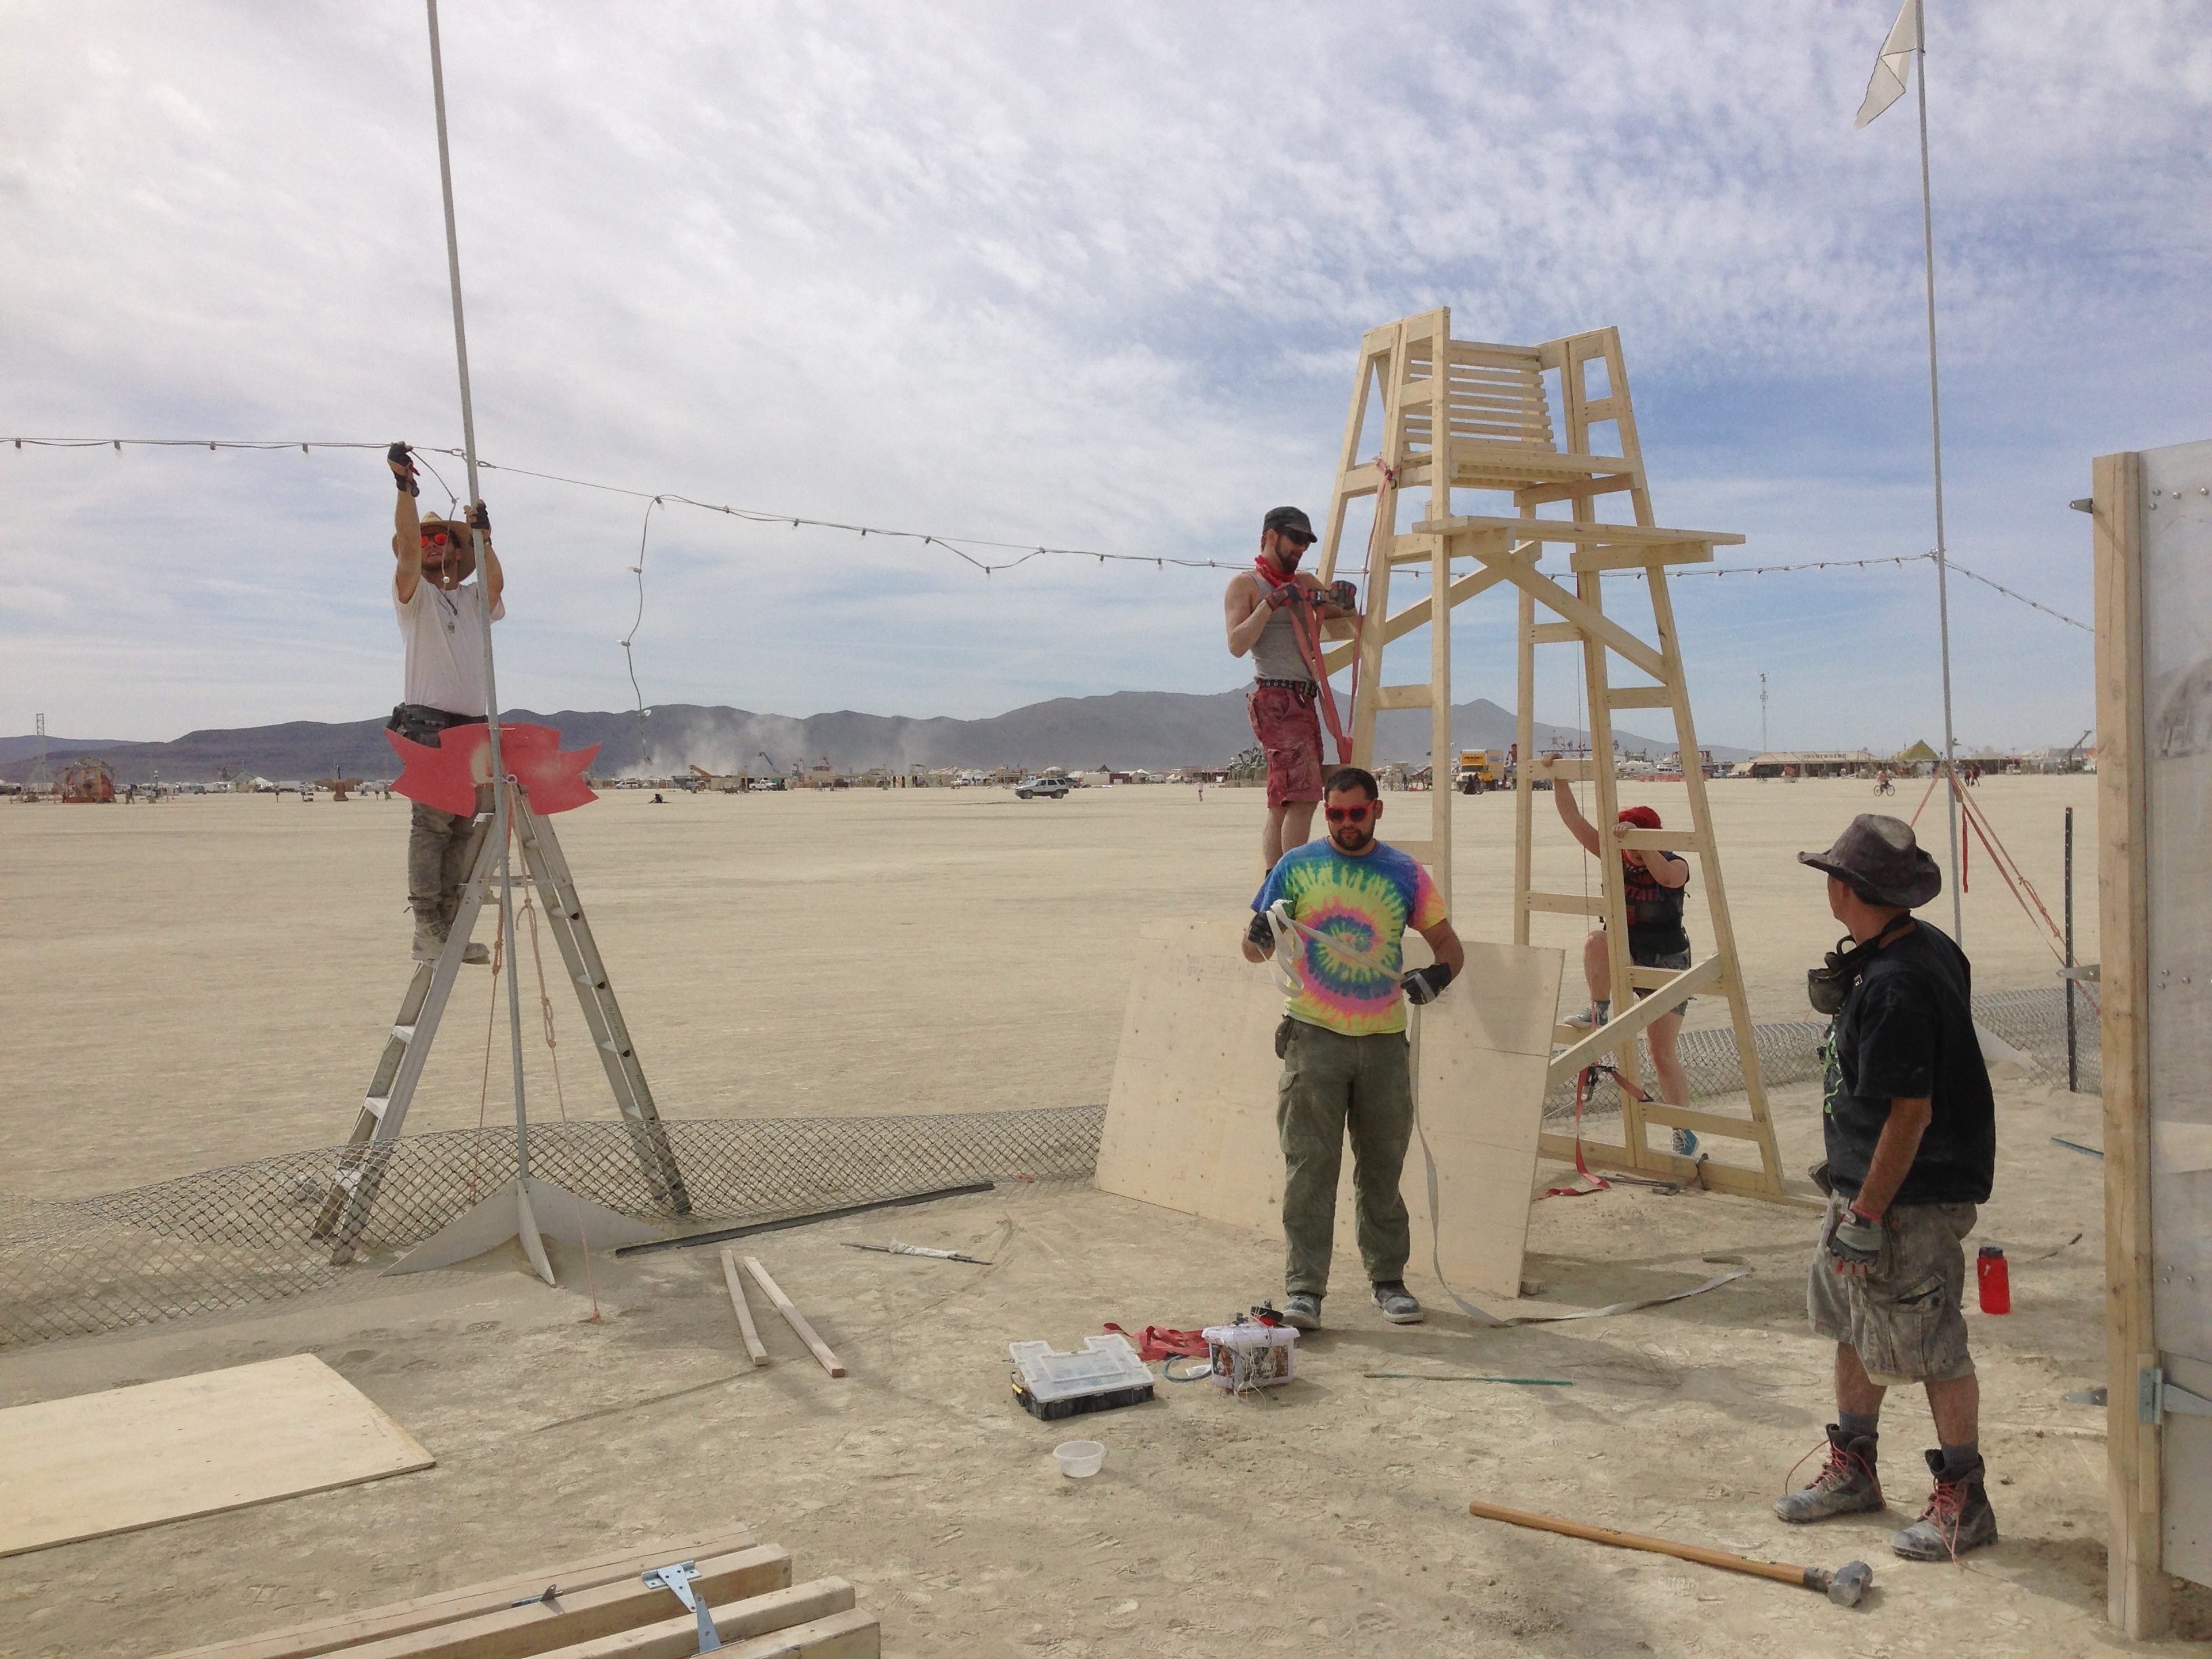
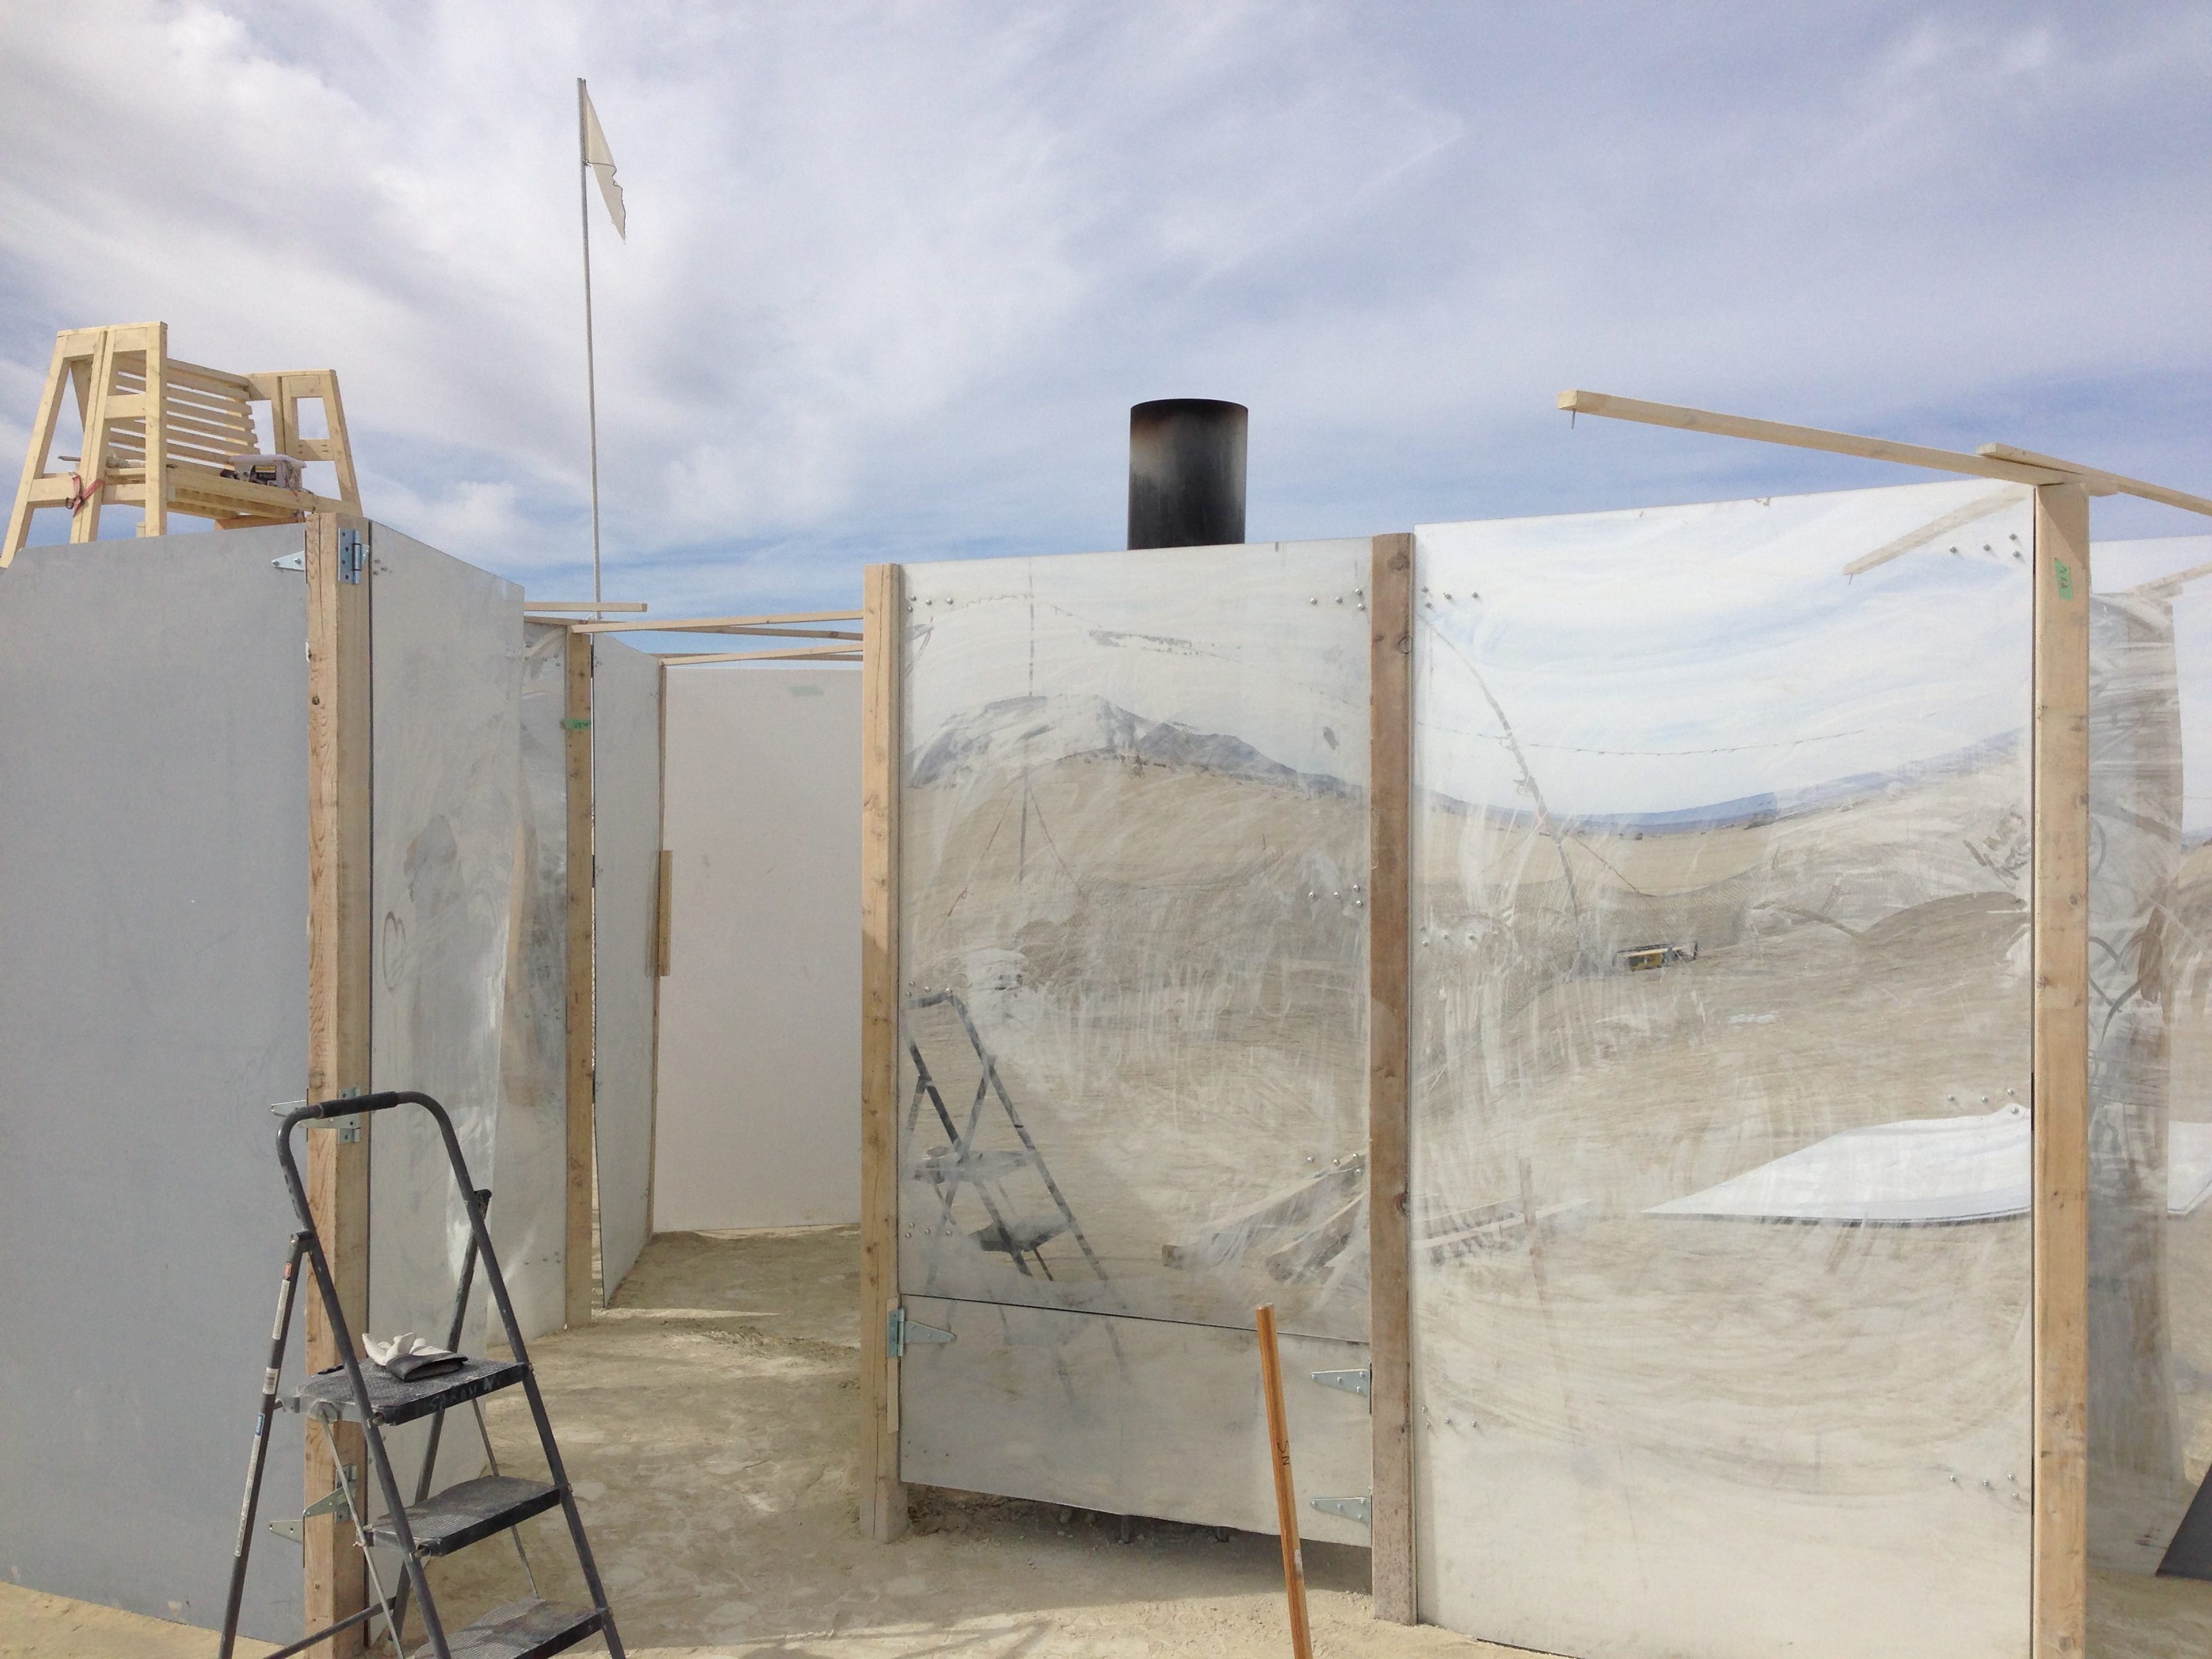
– ‘Lifeguard chair’ so that the flame effect operator could see the entire area around the flame effect (and the entire maze)
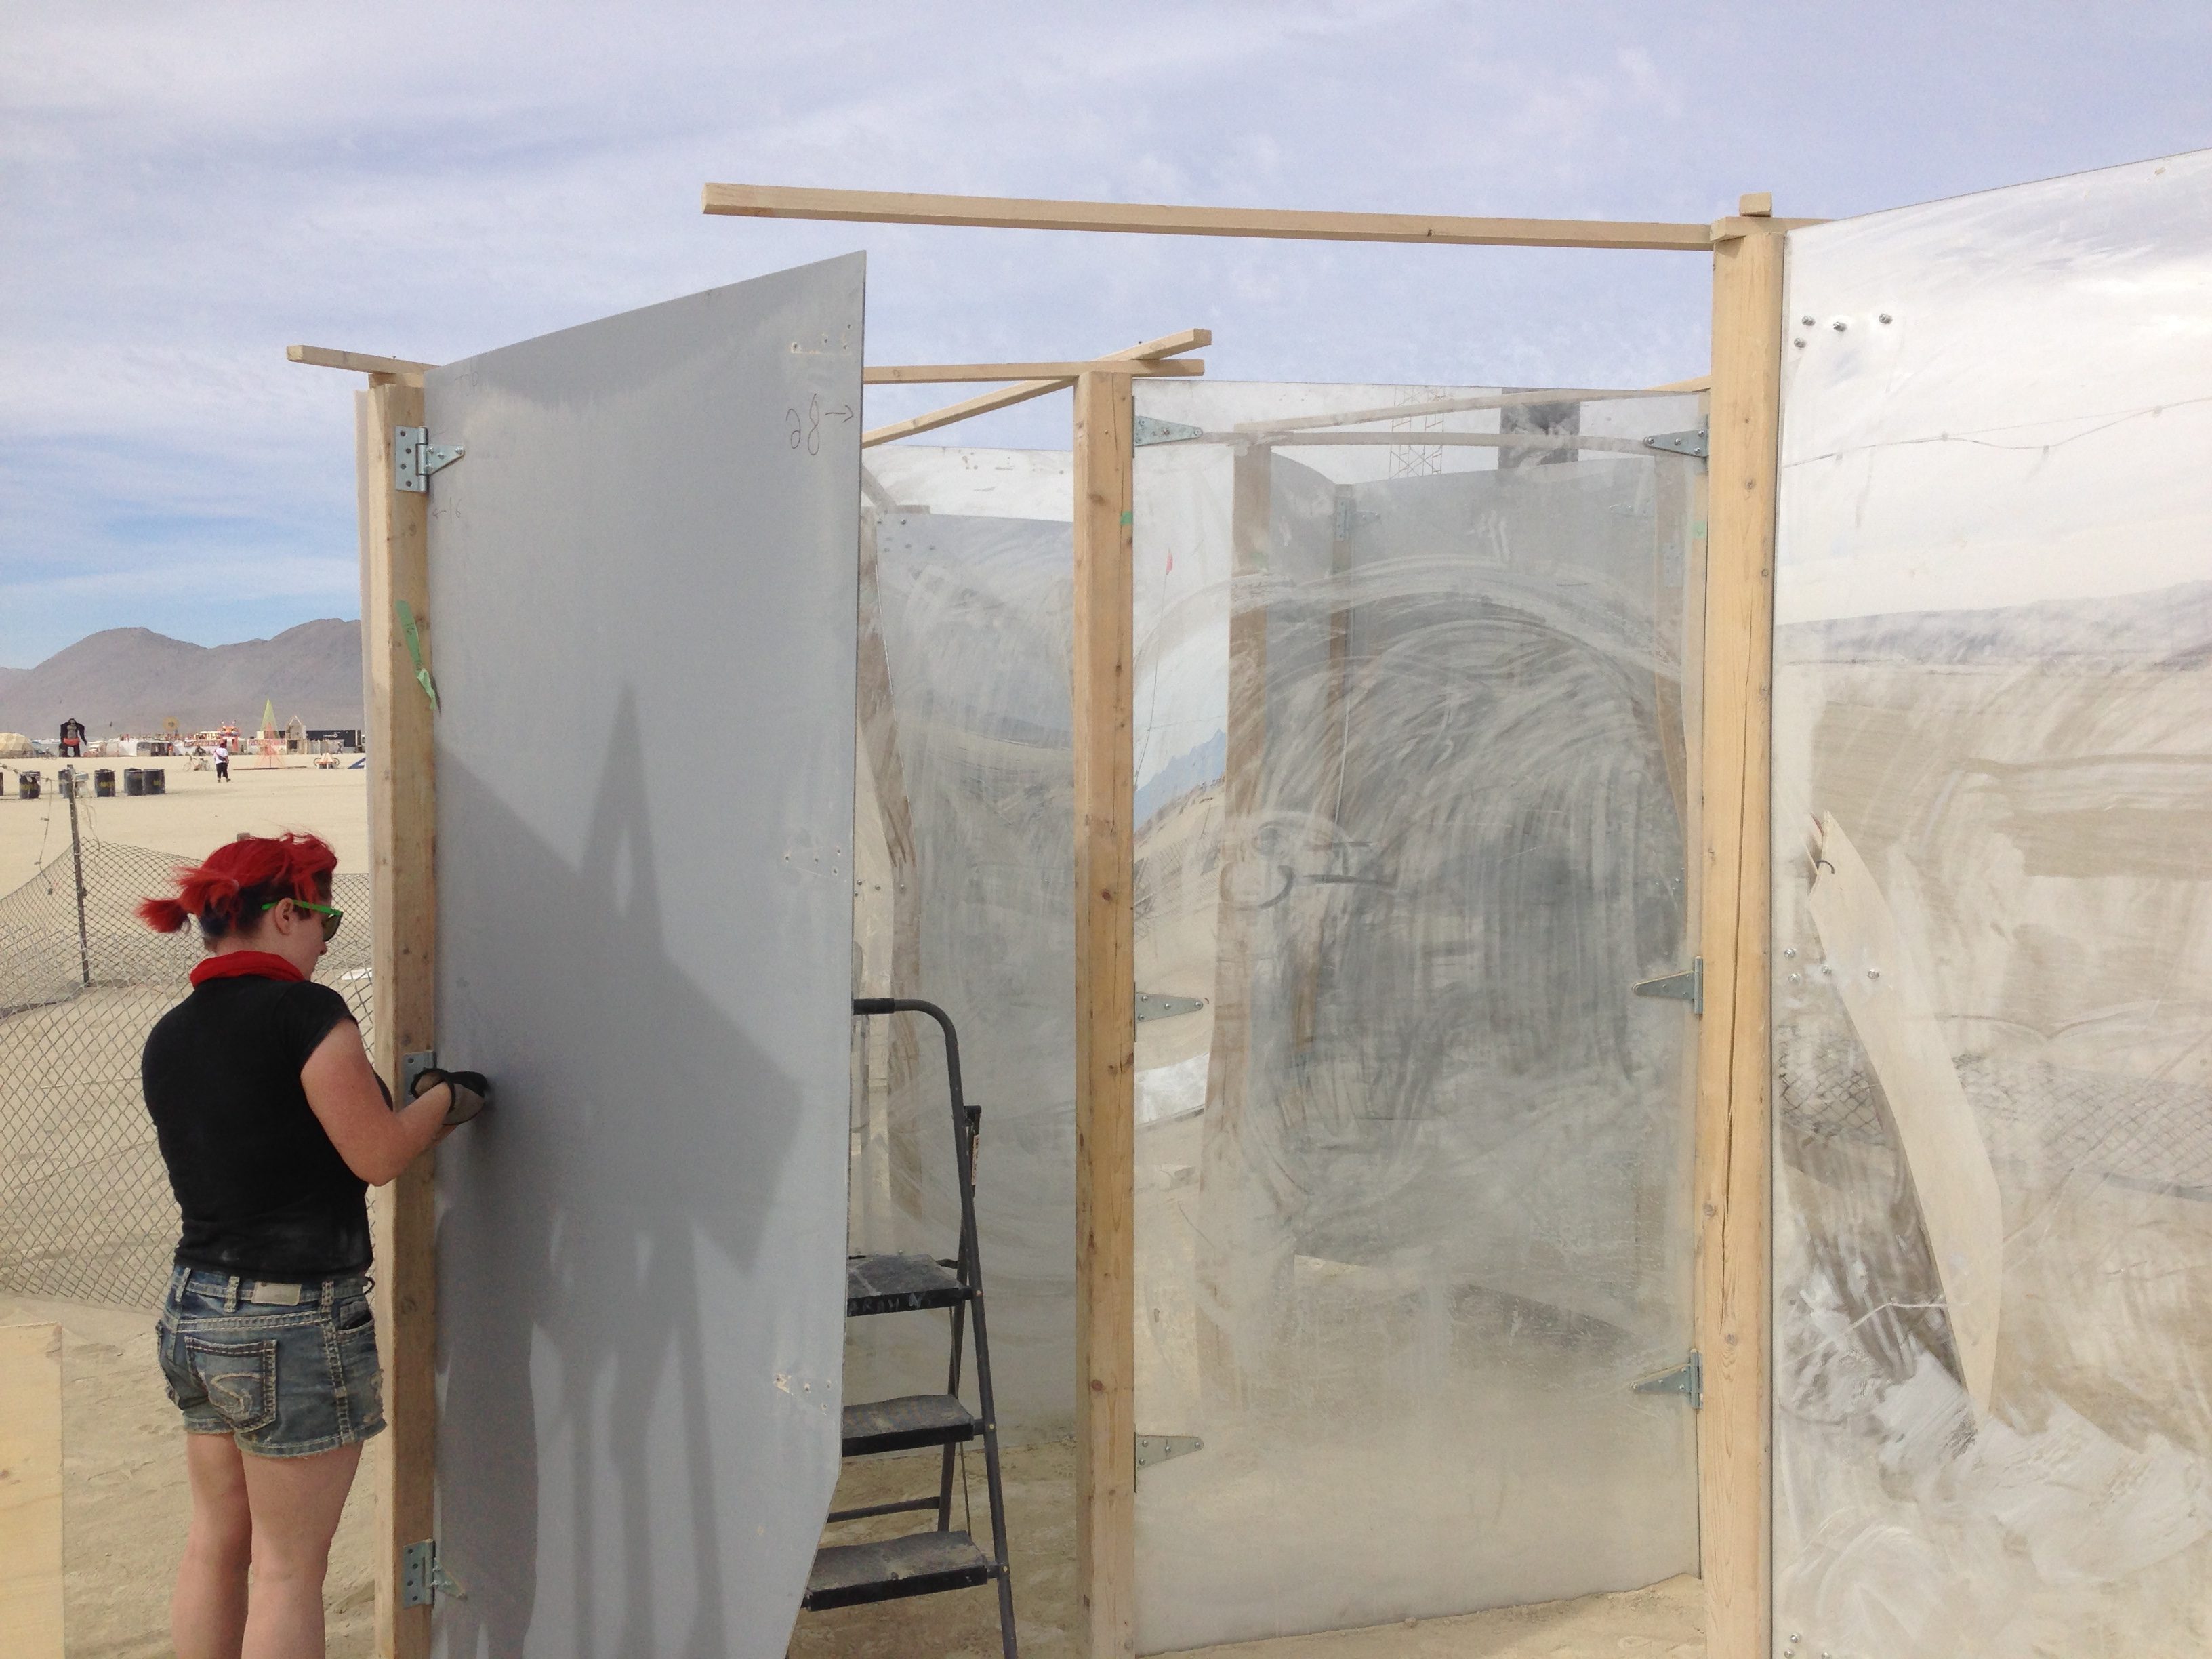
– Multiple physical barriers between the participants and the flame effect

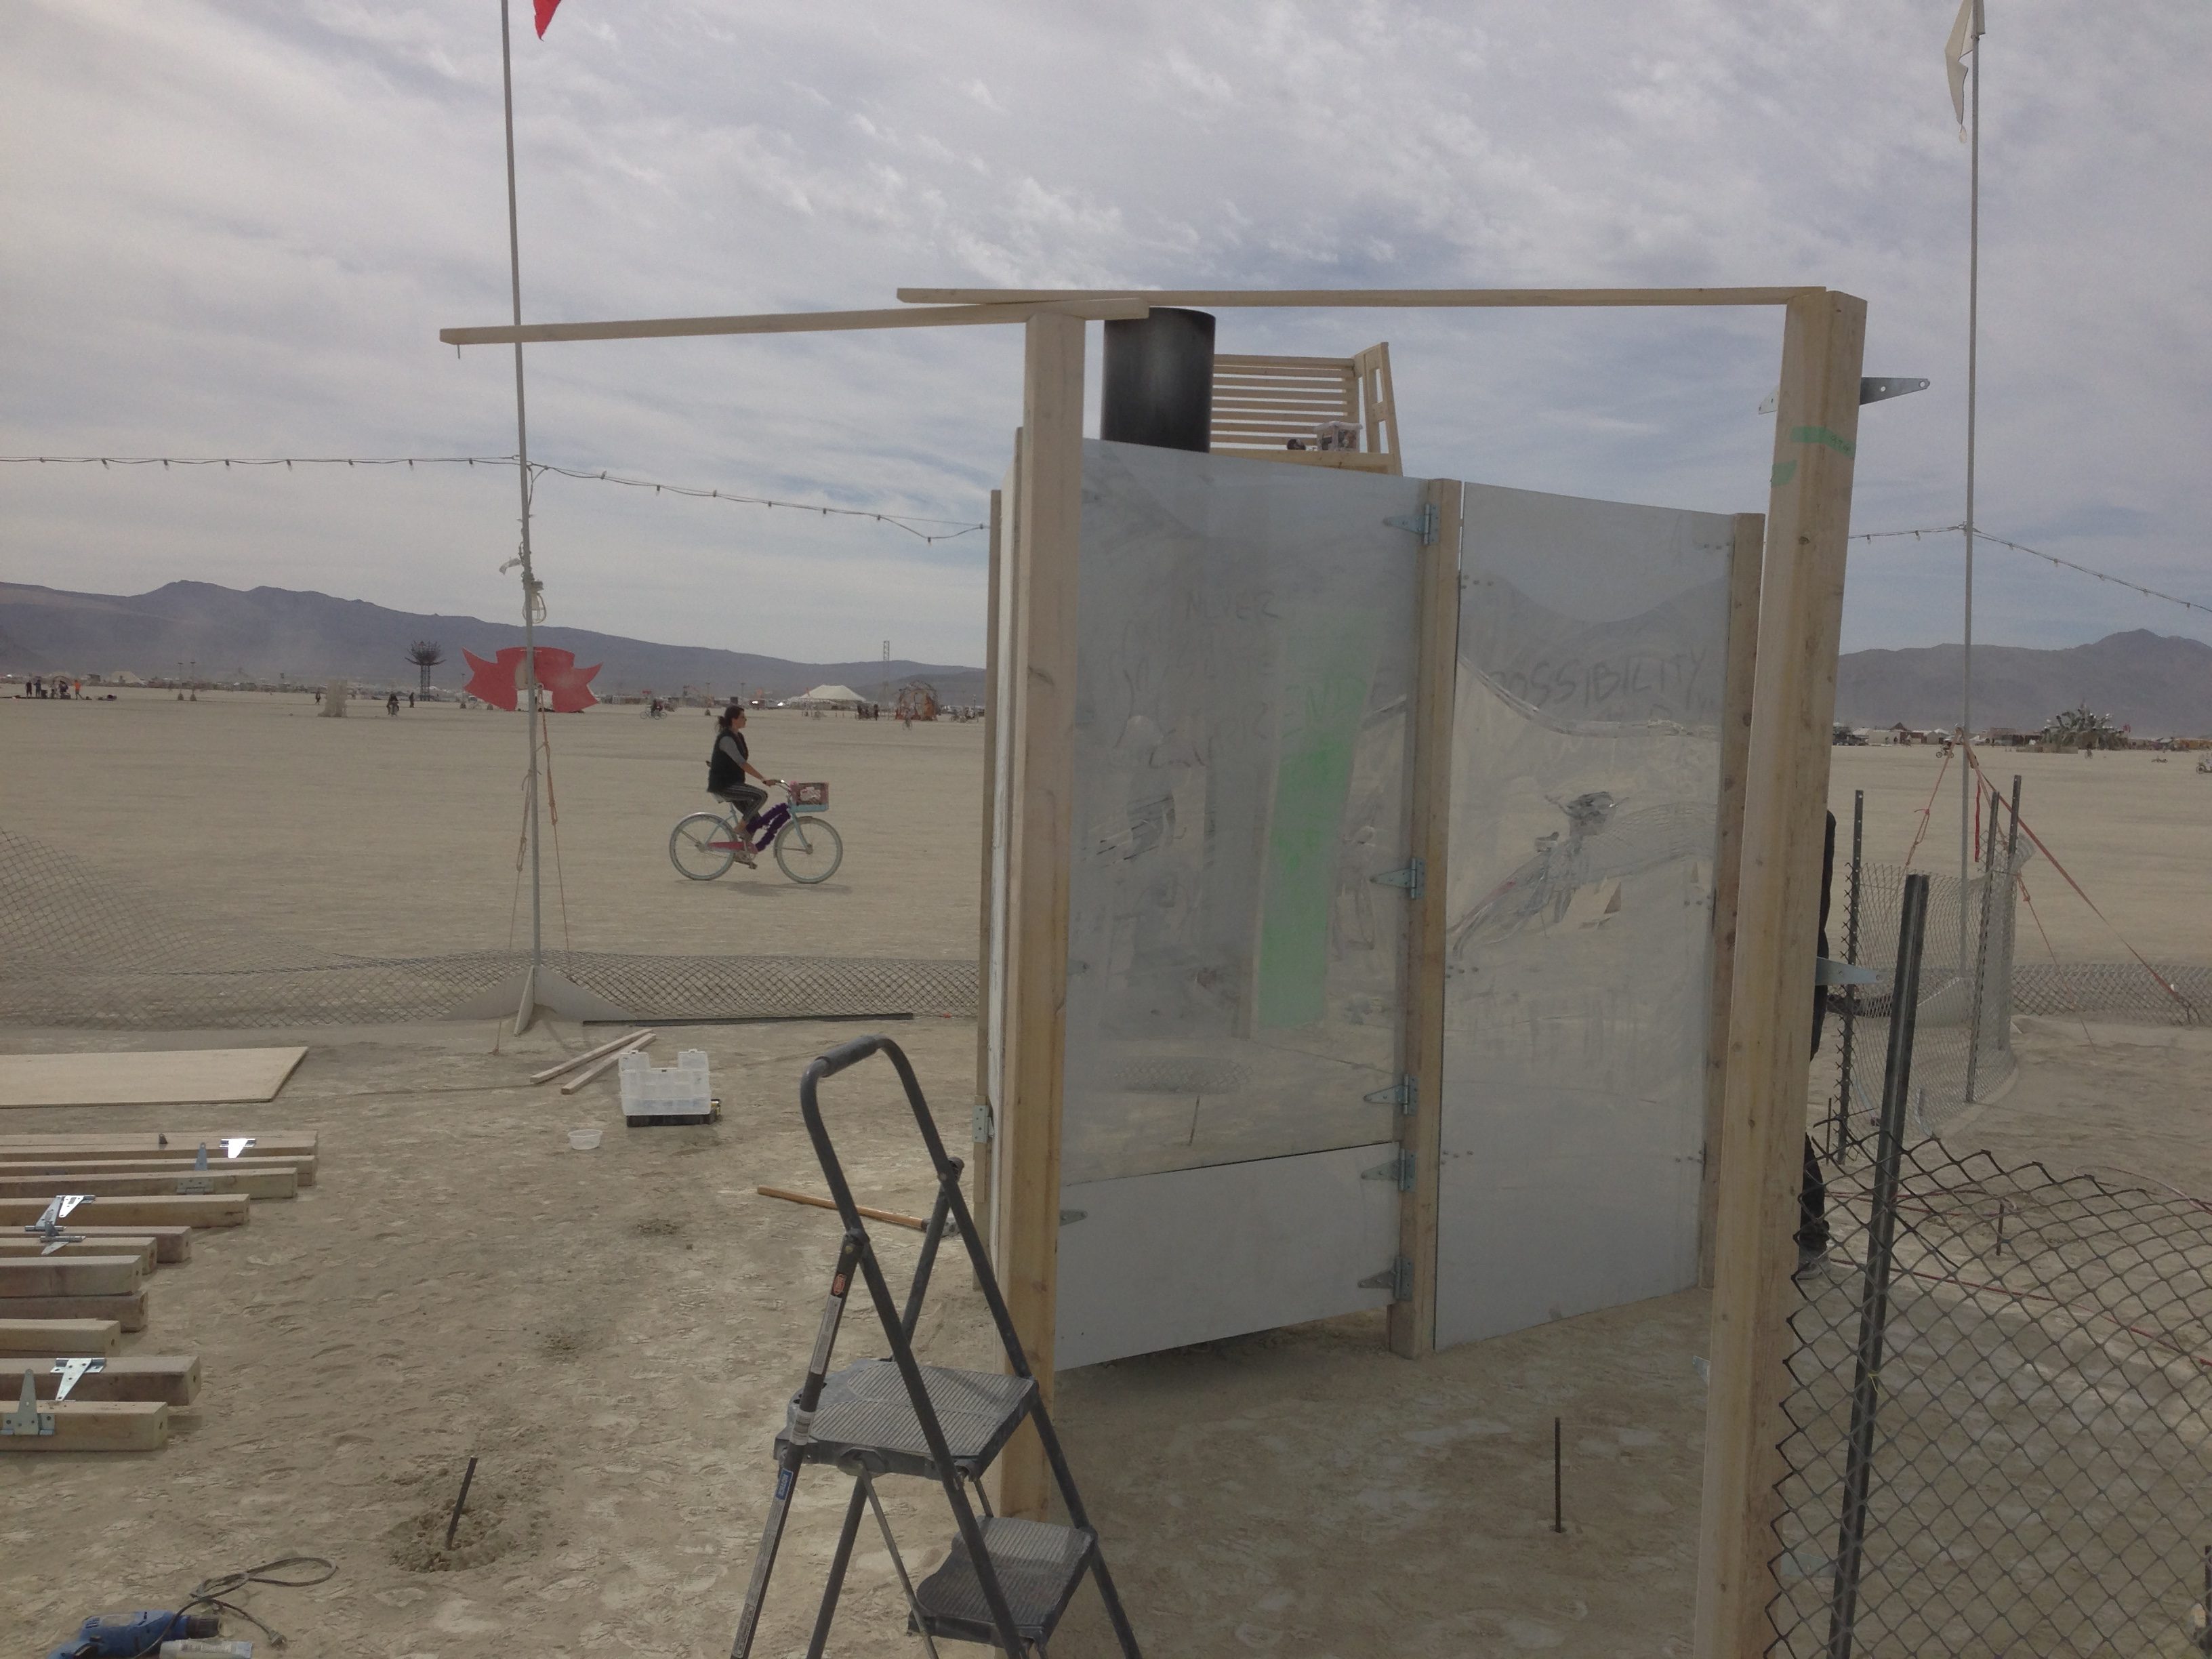
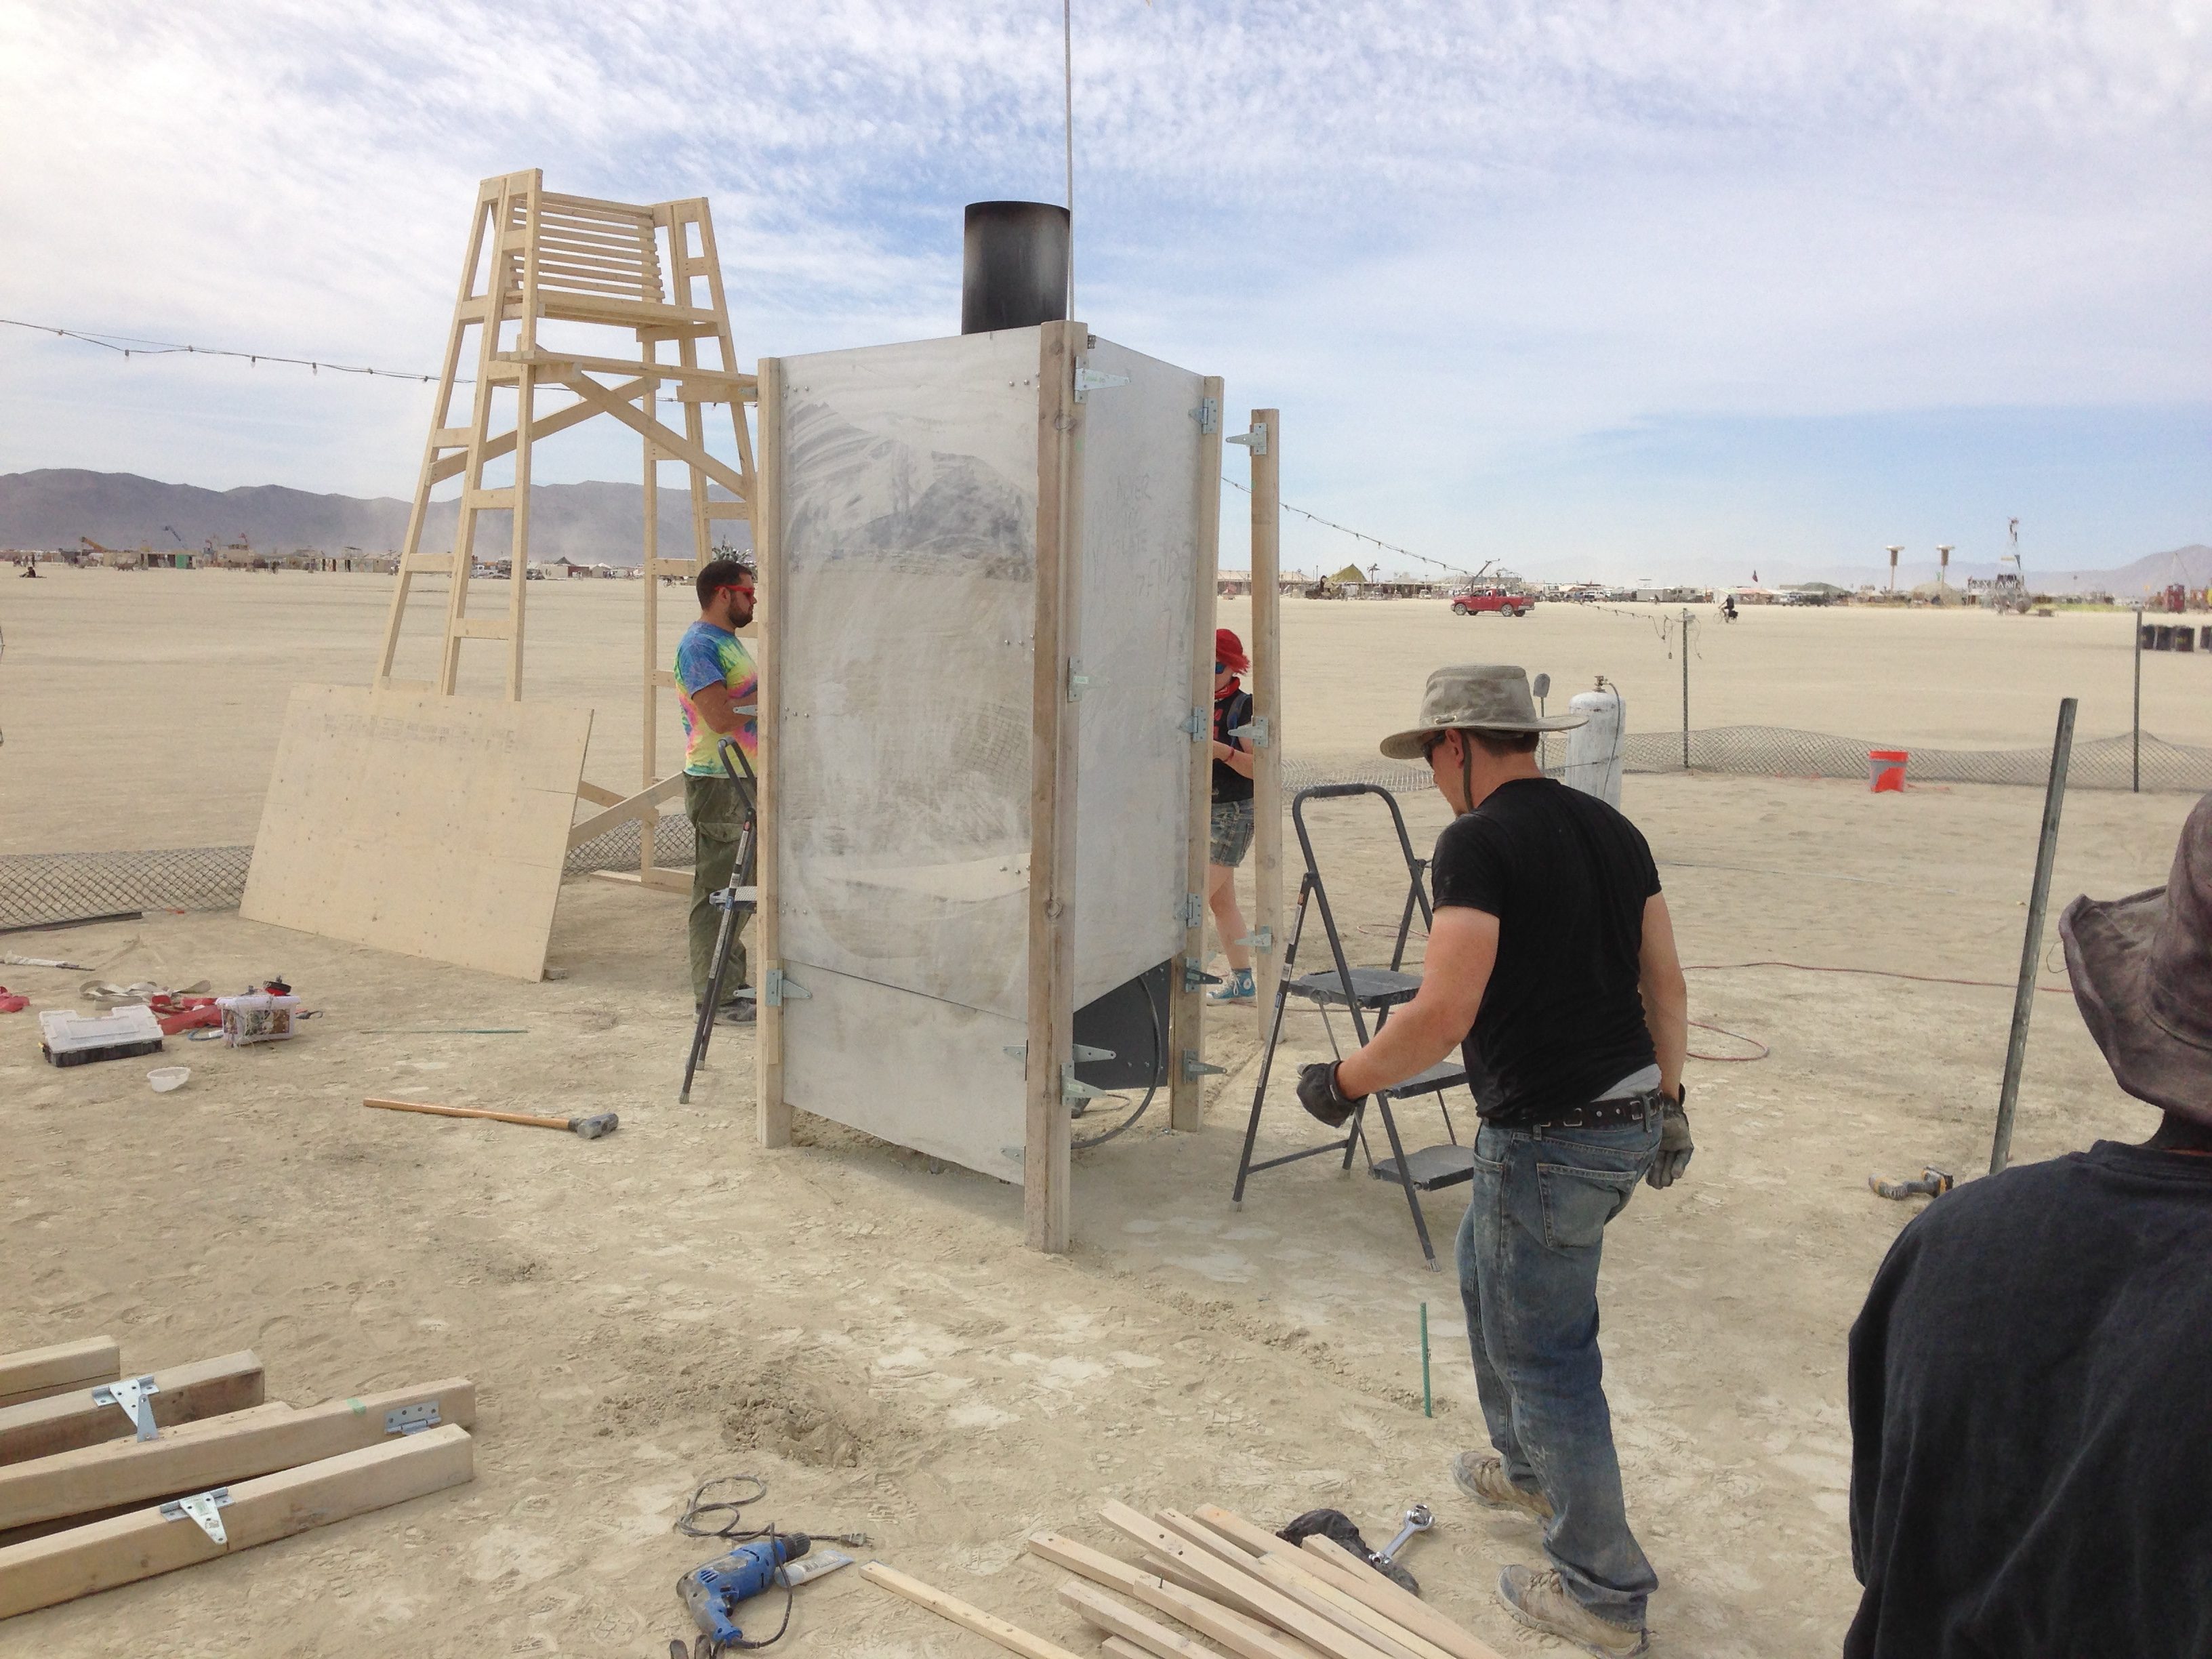
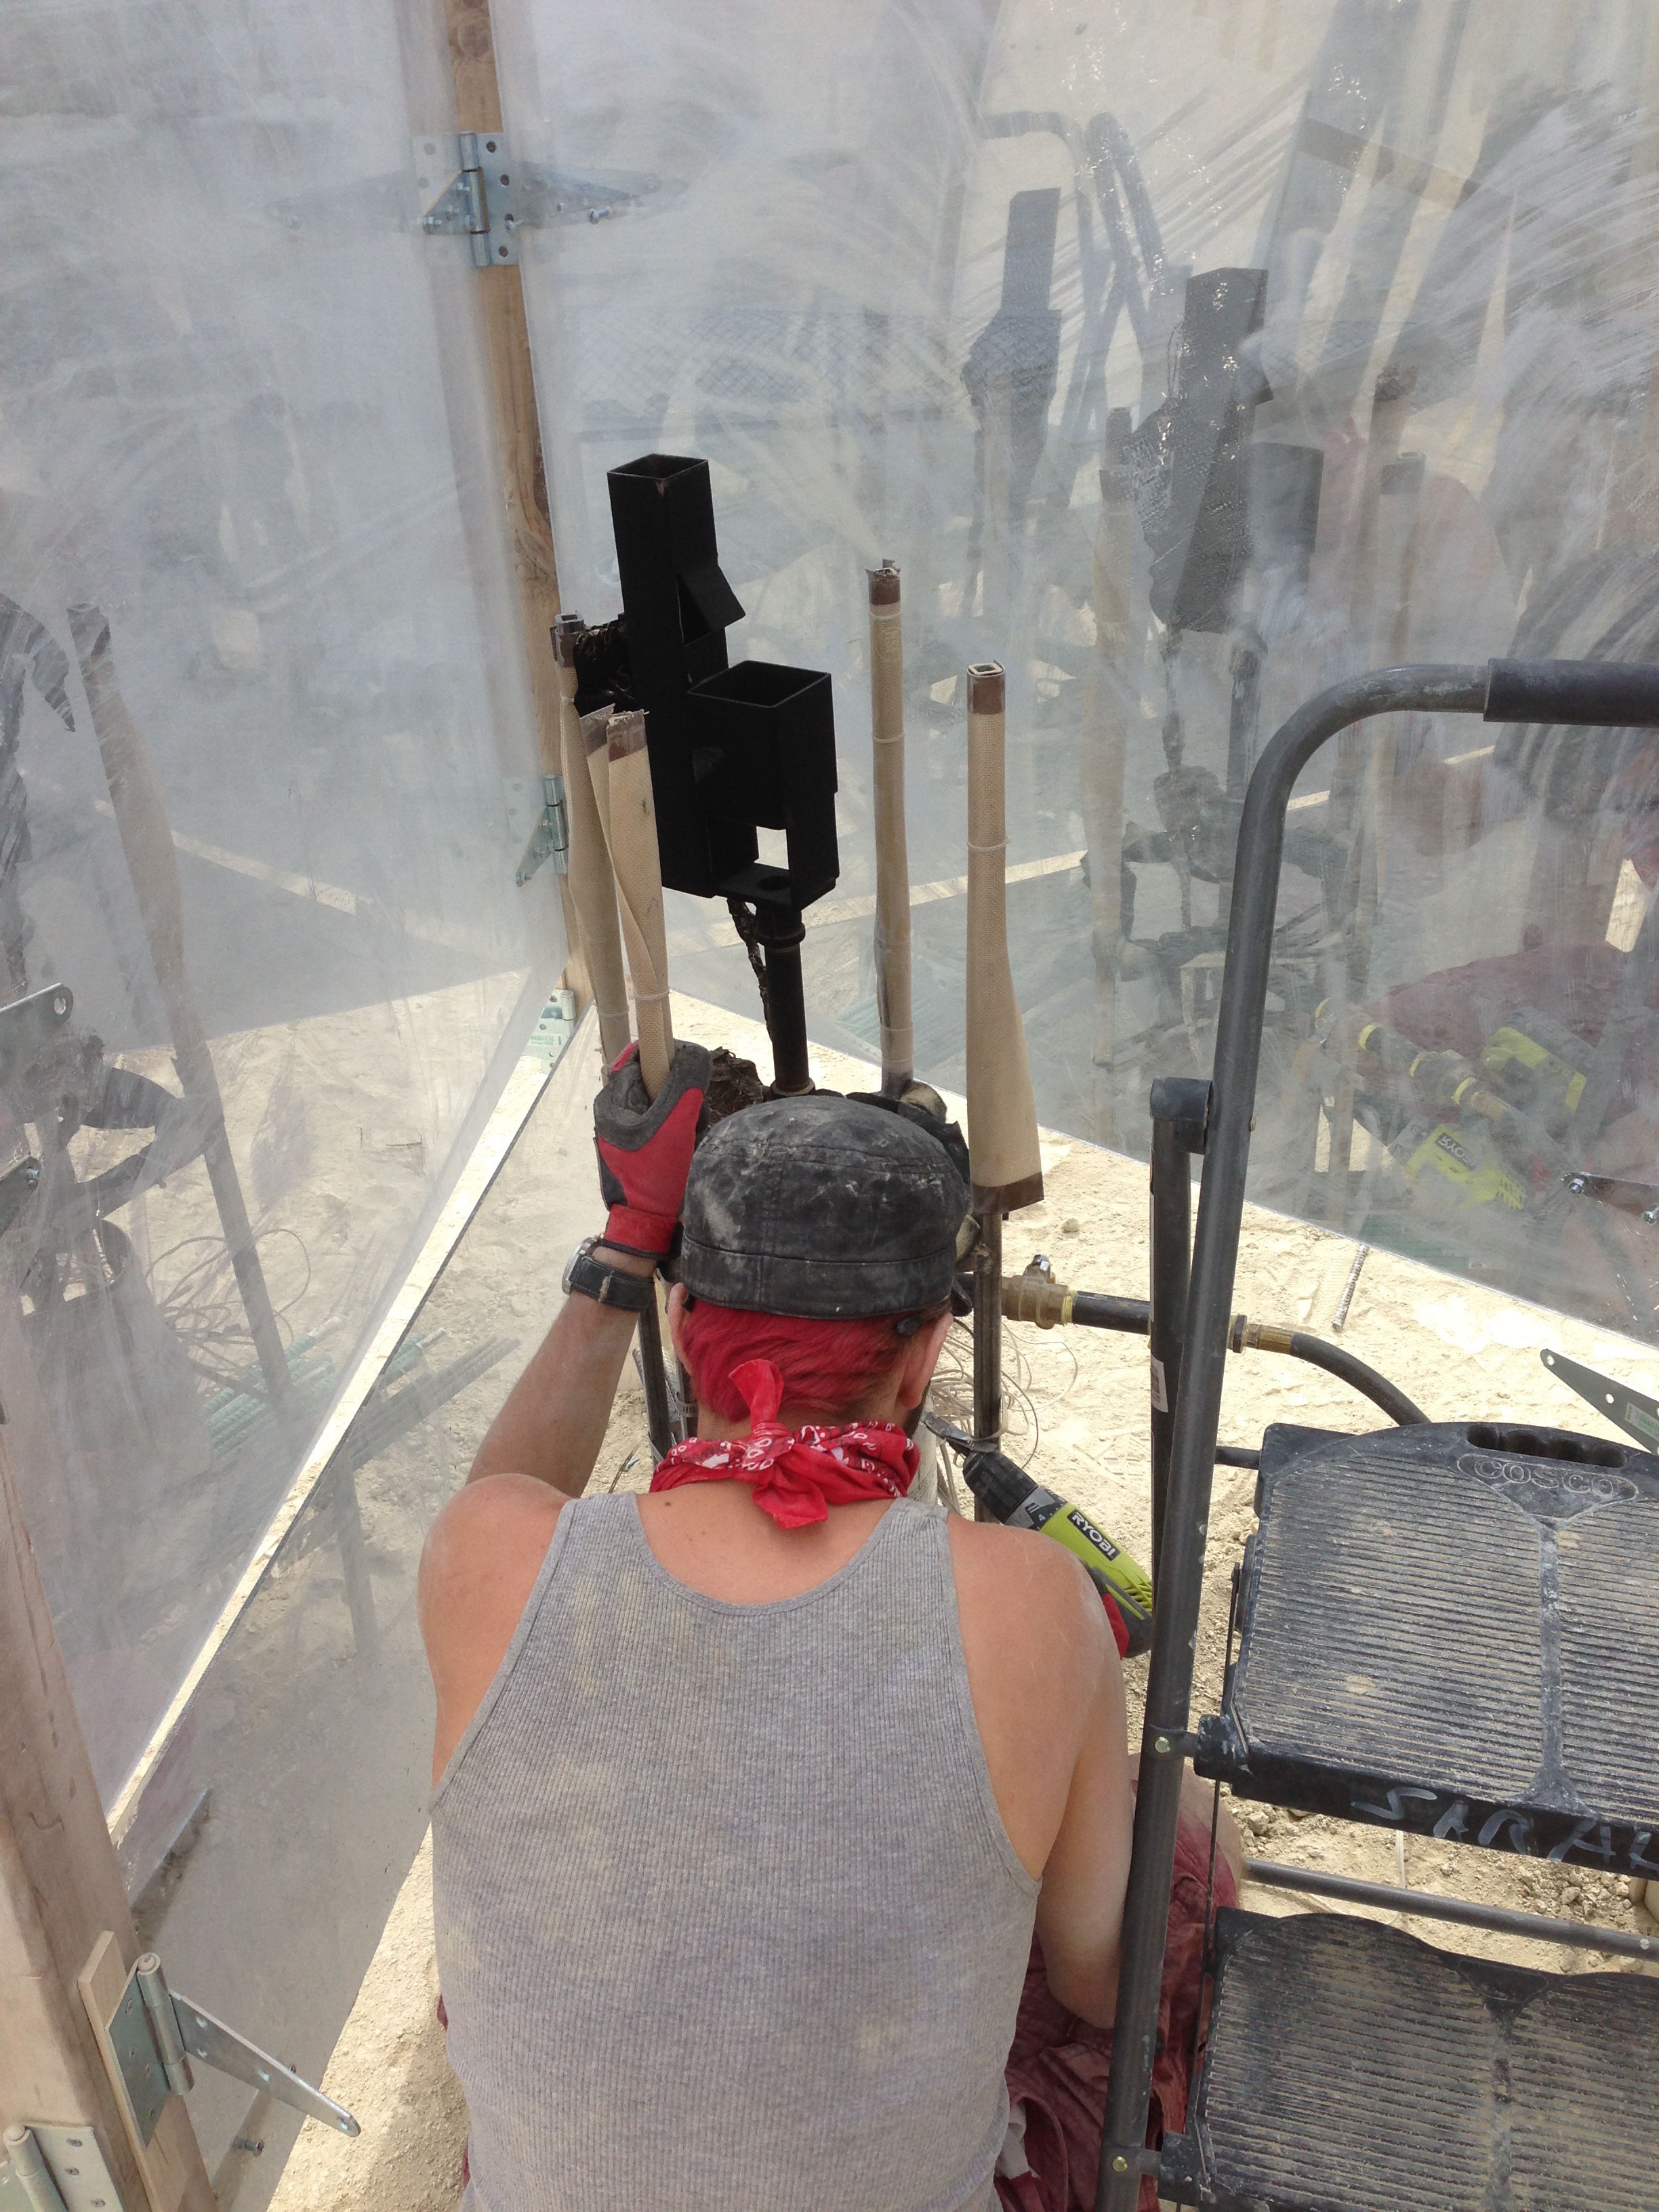
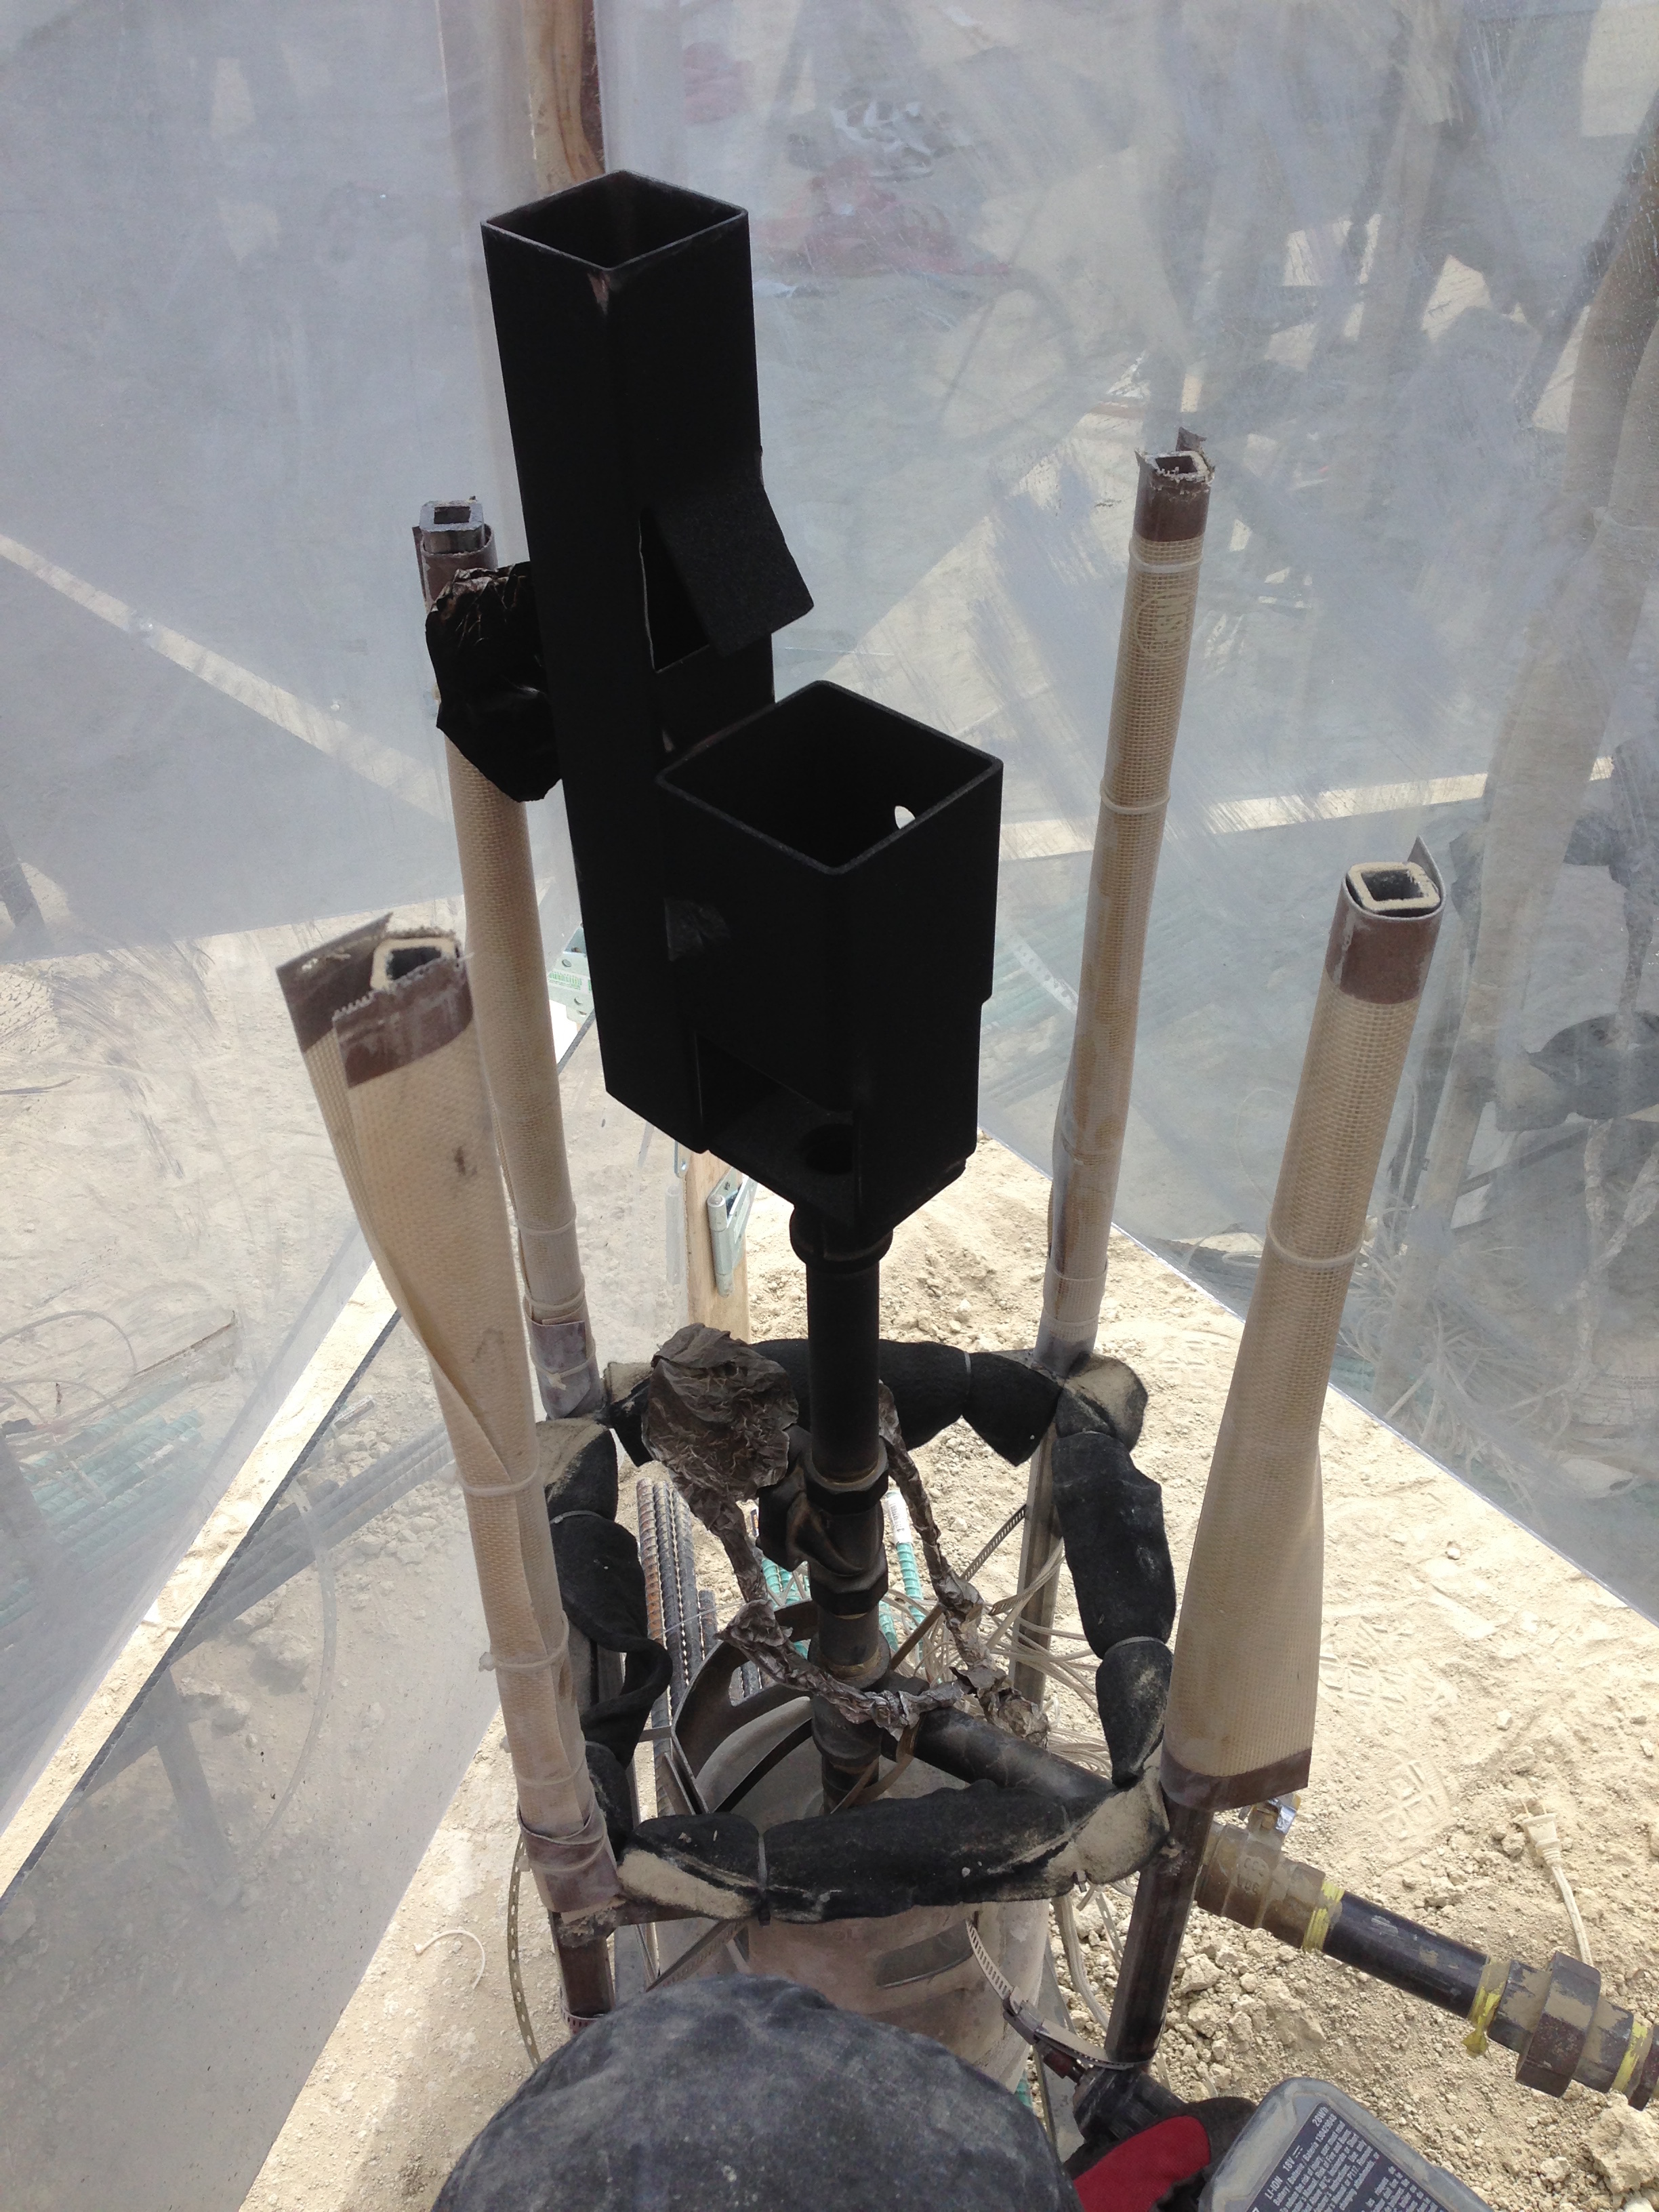
It is this last one that we want to talk about today. We had long decided that we wanted to enclose the flame effect within one of the four foot mirror triangles. This would give a physical barrier (the mirrors) between the participants and the flame effect. The trick was figuring out how to enclose the flame effect so that it wouldn’t melt the acrylic.

(Note that acrylic melts at 160C, normal glass melts at around 500C[2], and propane flames can reach 1980C if they are focused.)

The heat contours of a propane flame. (from Wikipedia)

We knew that we couldn’t use normal glass. For a brief while, we toyed with the idea of using ‘fireplace glass’, some sort of screen or glass that you would use to cover a fireplace, but there was nothing commercially available in the right size 7-8′ tall, and about 1′ wide.

Then S saw some of those outdoor flame effects inside glass-looking tubes, and (I believe it was Seth) suggested Quartz as the best solution for heat-resistant transparency.

(Note that Quartz has a melting temperature of around 1700C, but propane can only exceed that if it is specifically focused (blue flame), which our flame effect would never be for any length of time or for any significant volume. Thermal conductivity and heat dissipation would work in our favour here.)

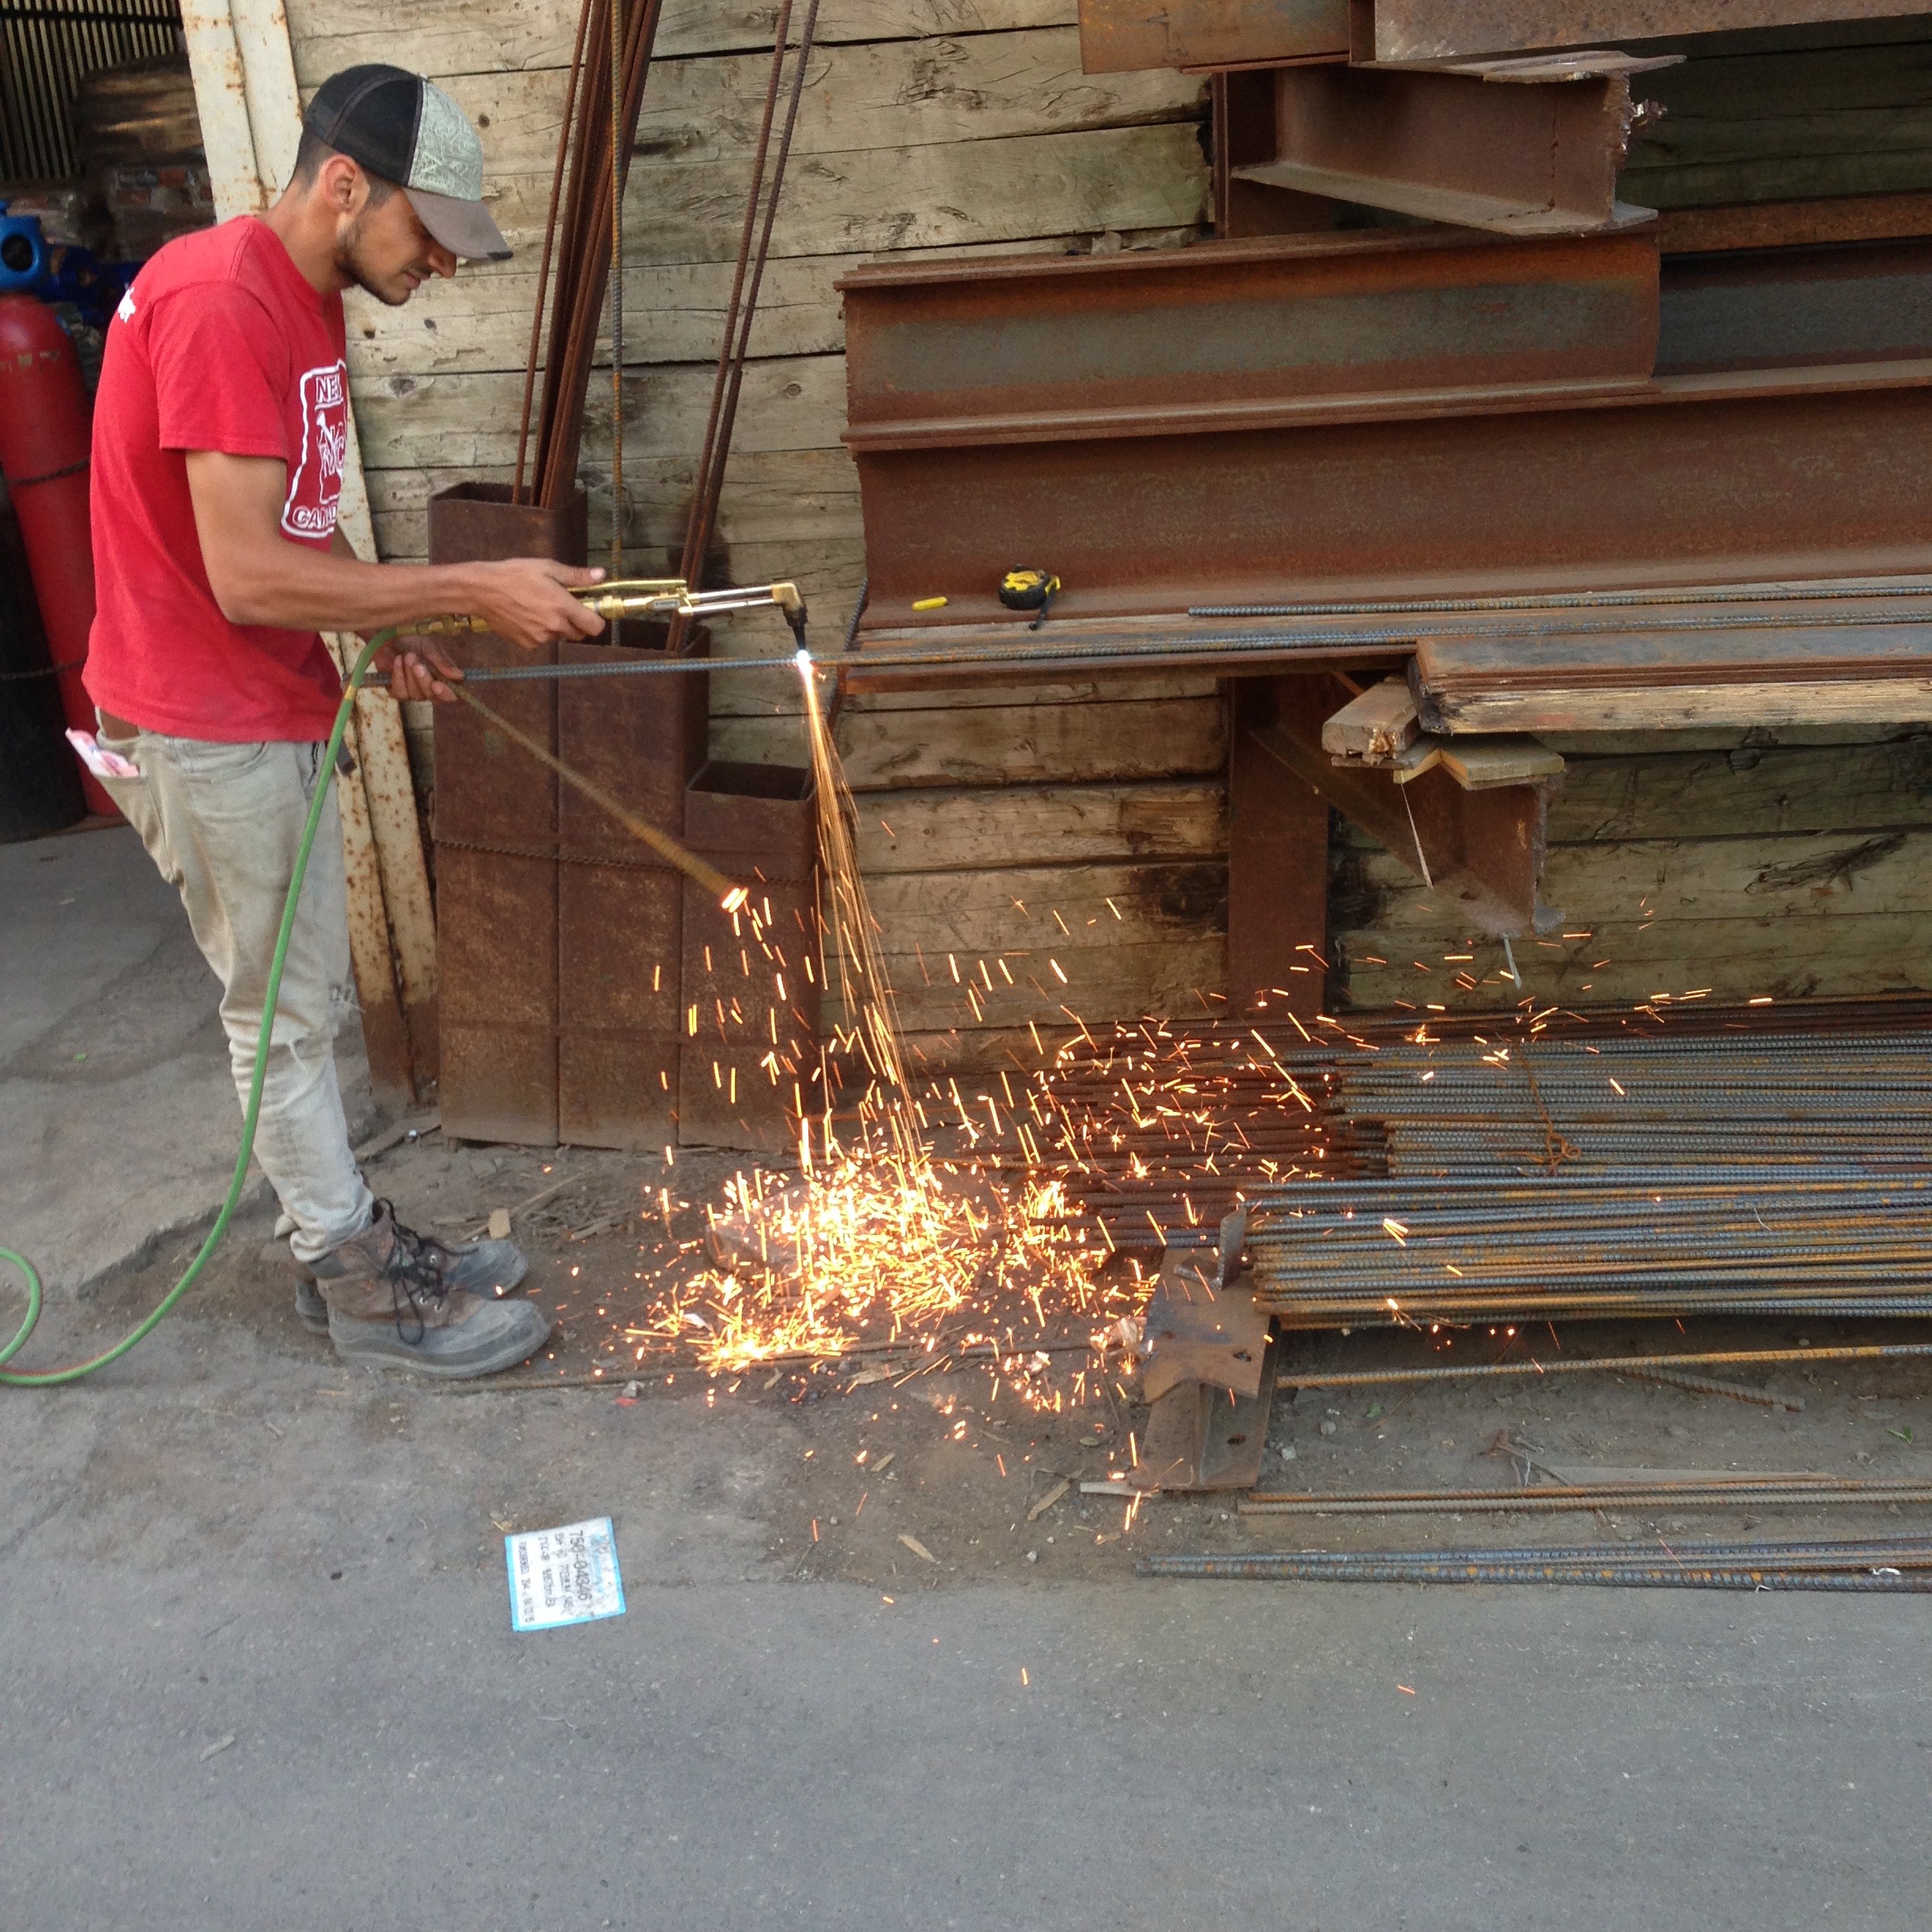
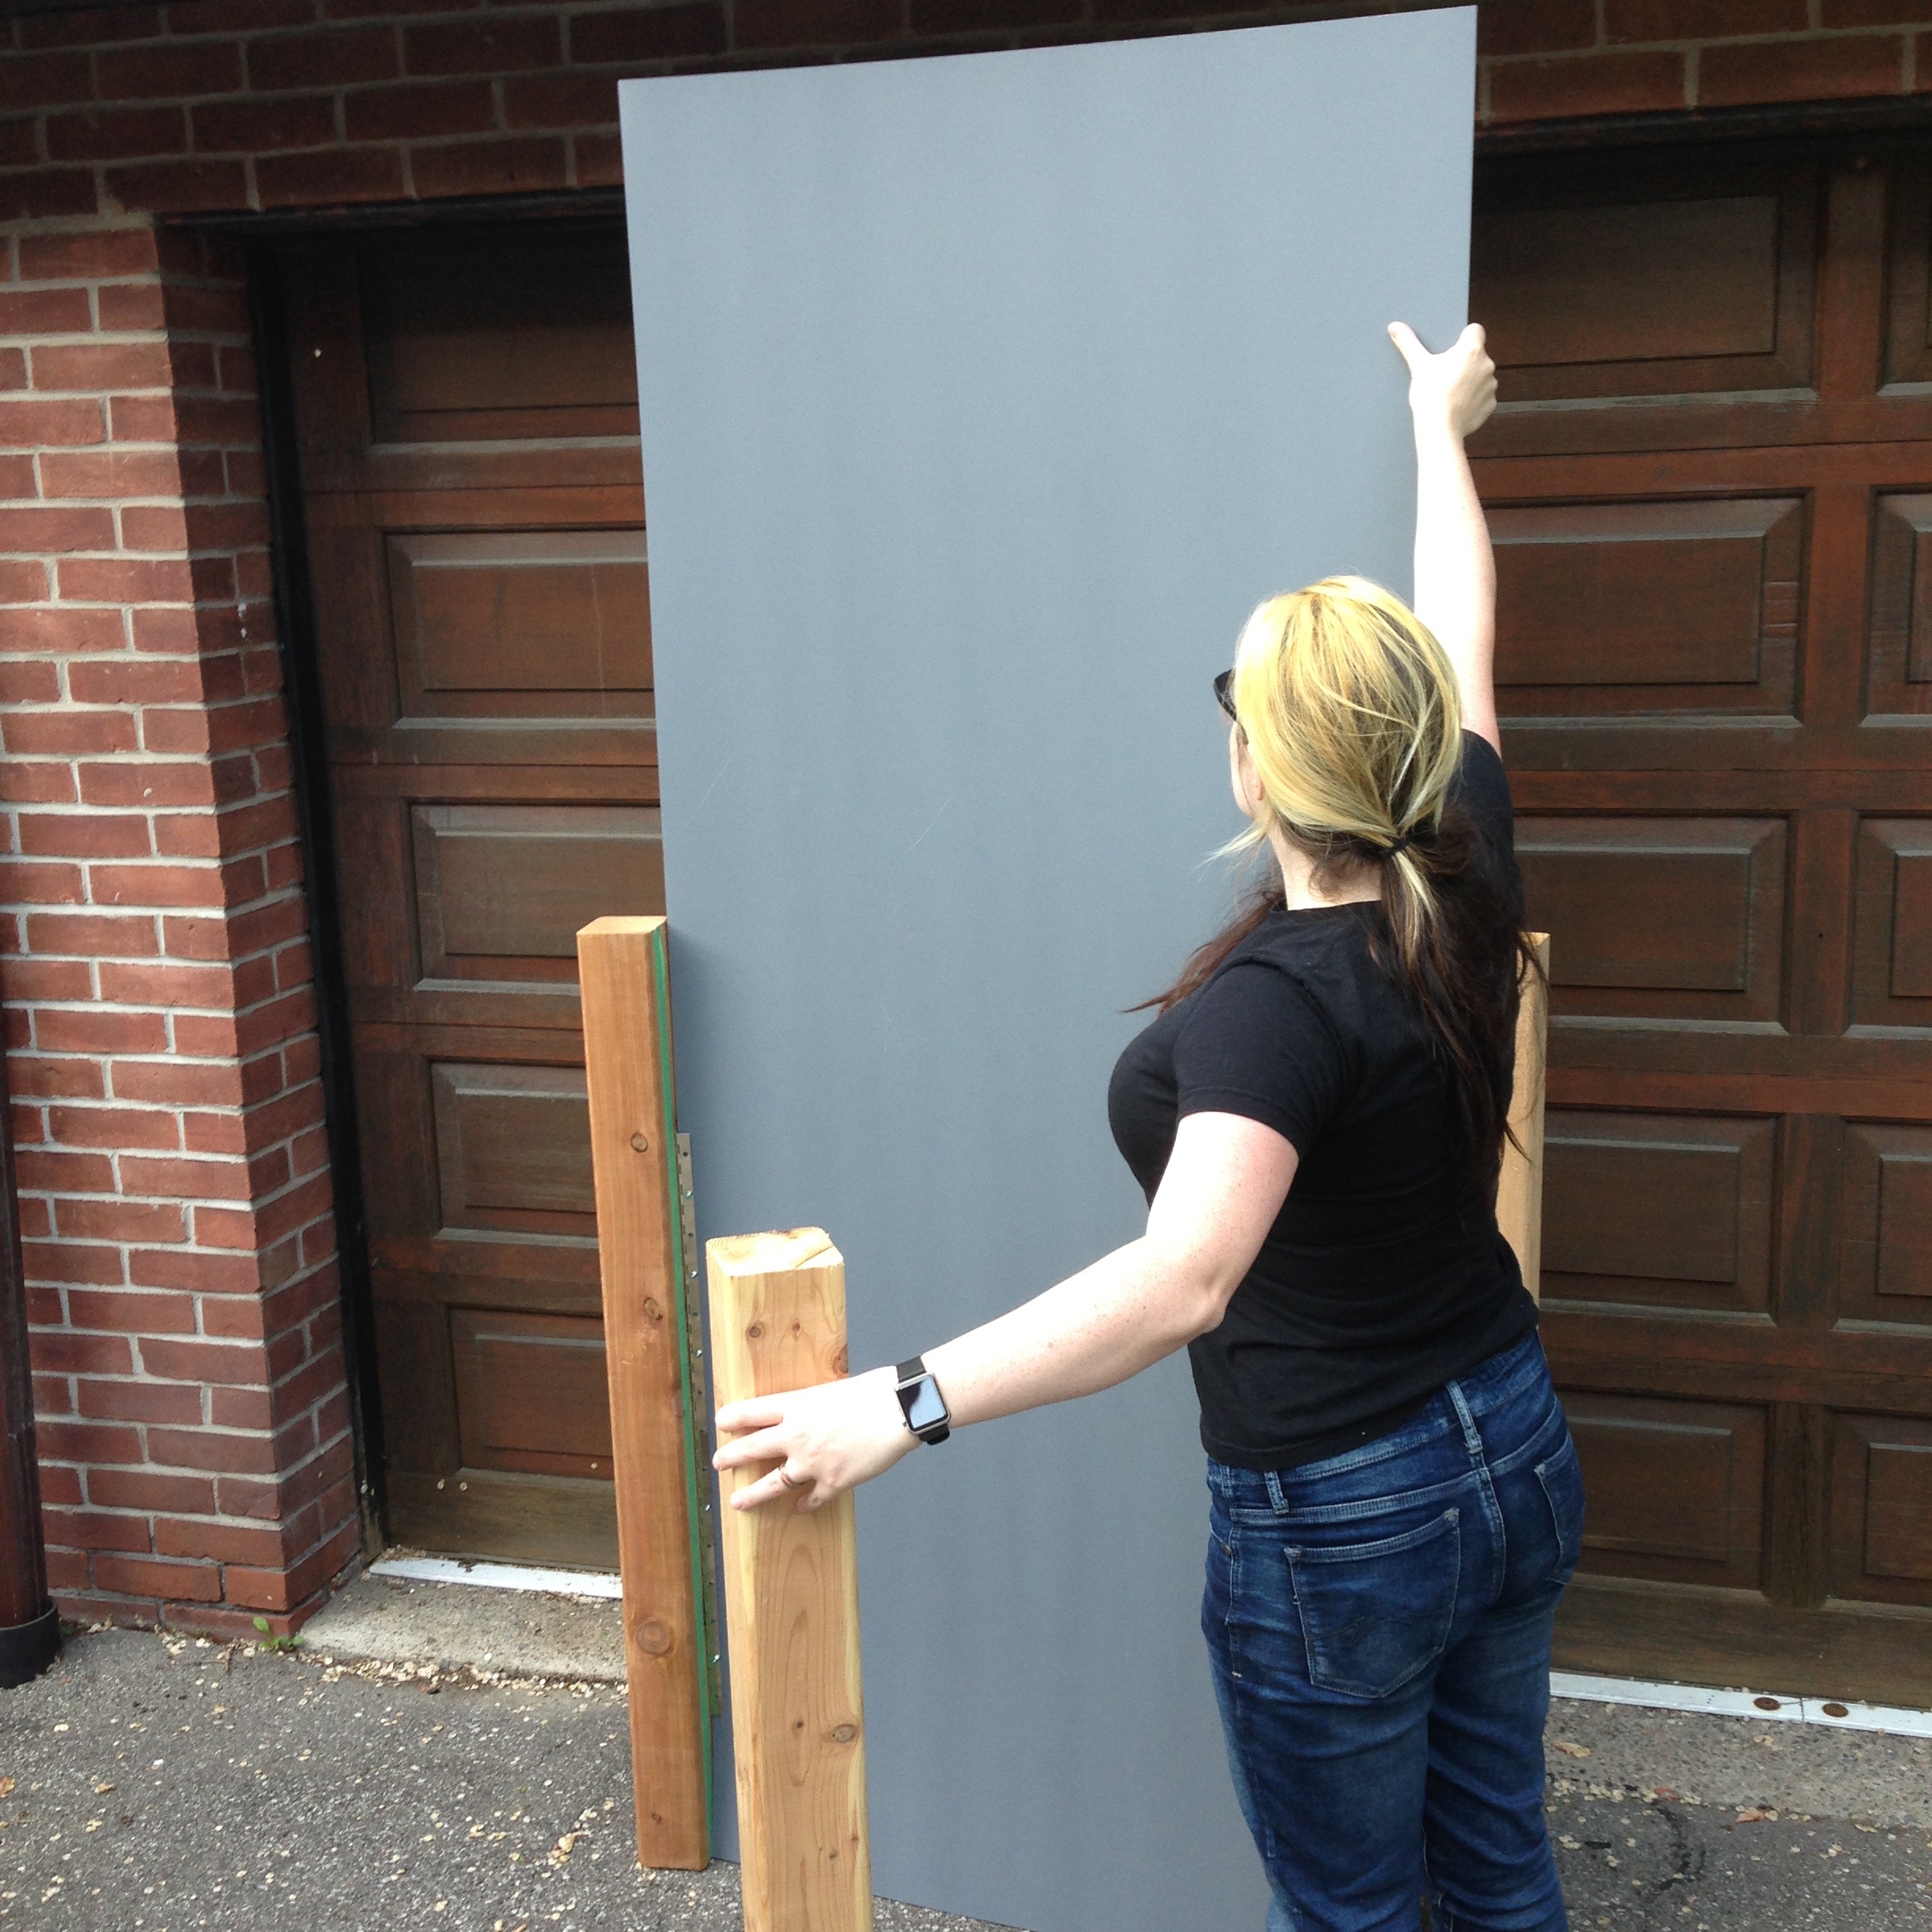
Okay, so we knew that we wanted a quartz tube of about 1′ diameter, and 7-8′ in length. So, how do you acquire such a thing? S made a number of inquiries, finding a few suppliers in the U.S., and a bunch of suppliers in China.[3] The U.S. suppliers being thousands of dollars more, we made the decision to attempt to source the tube from China.

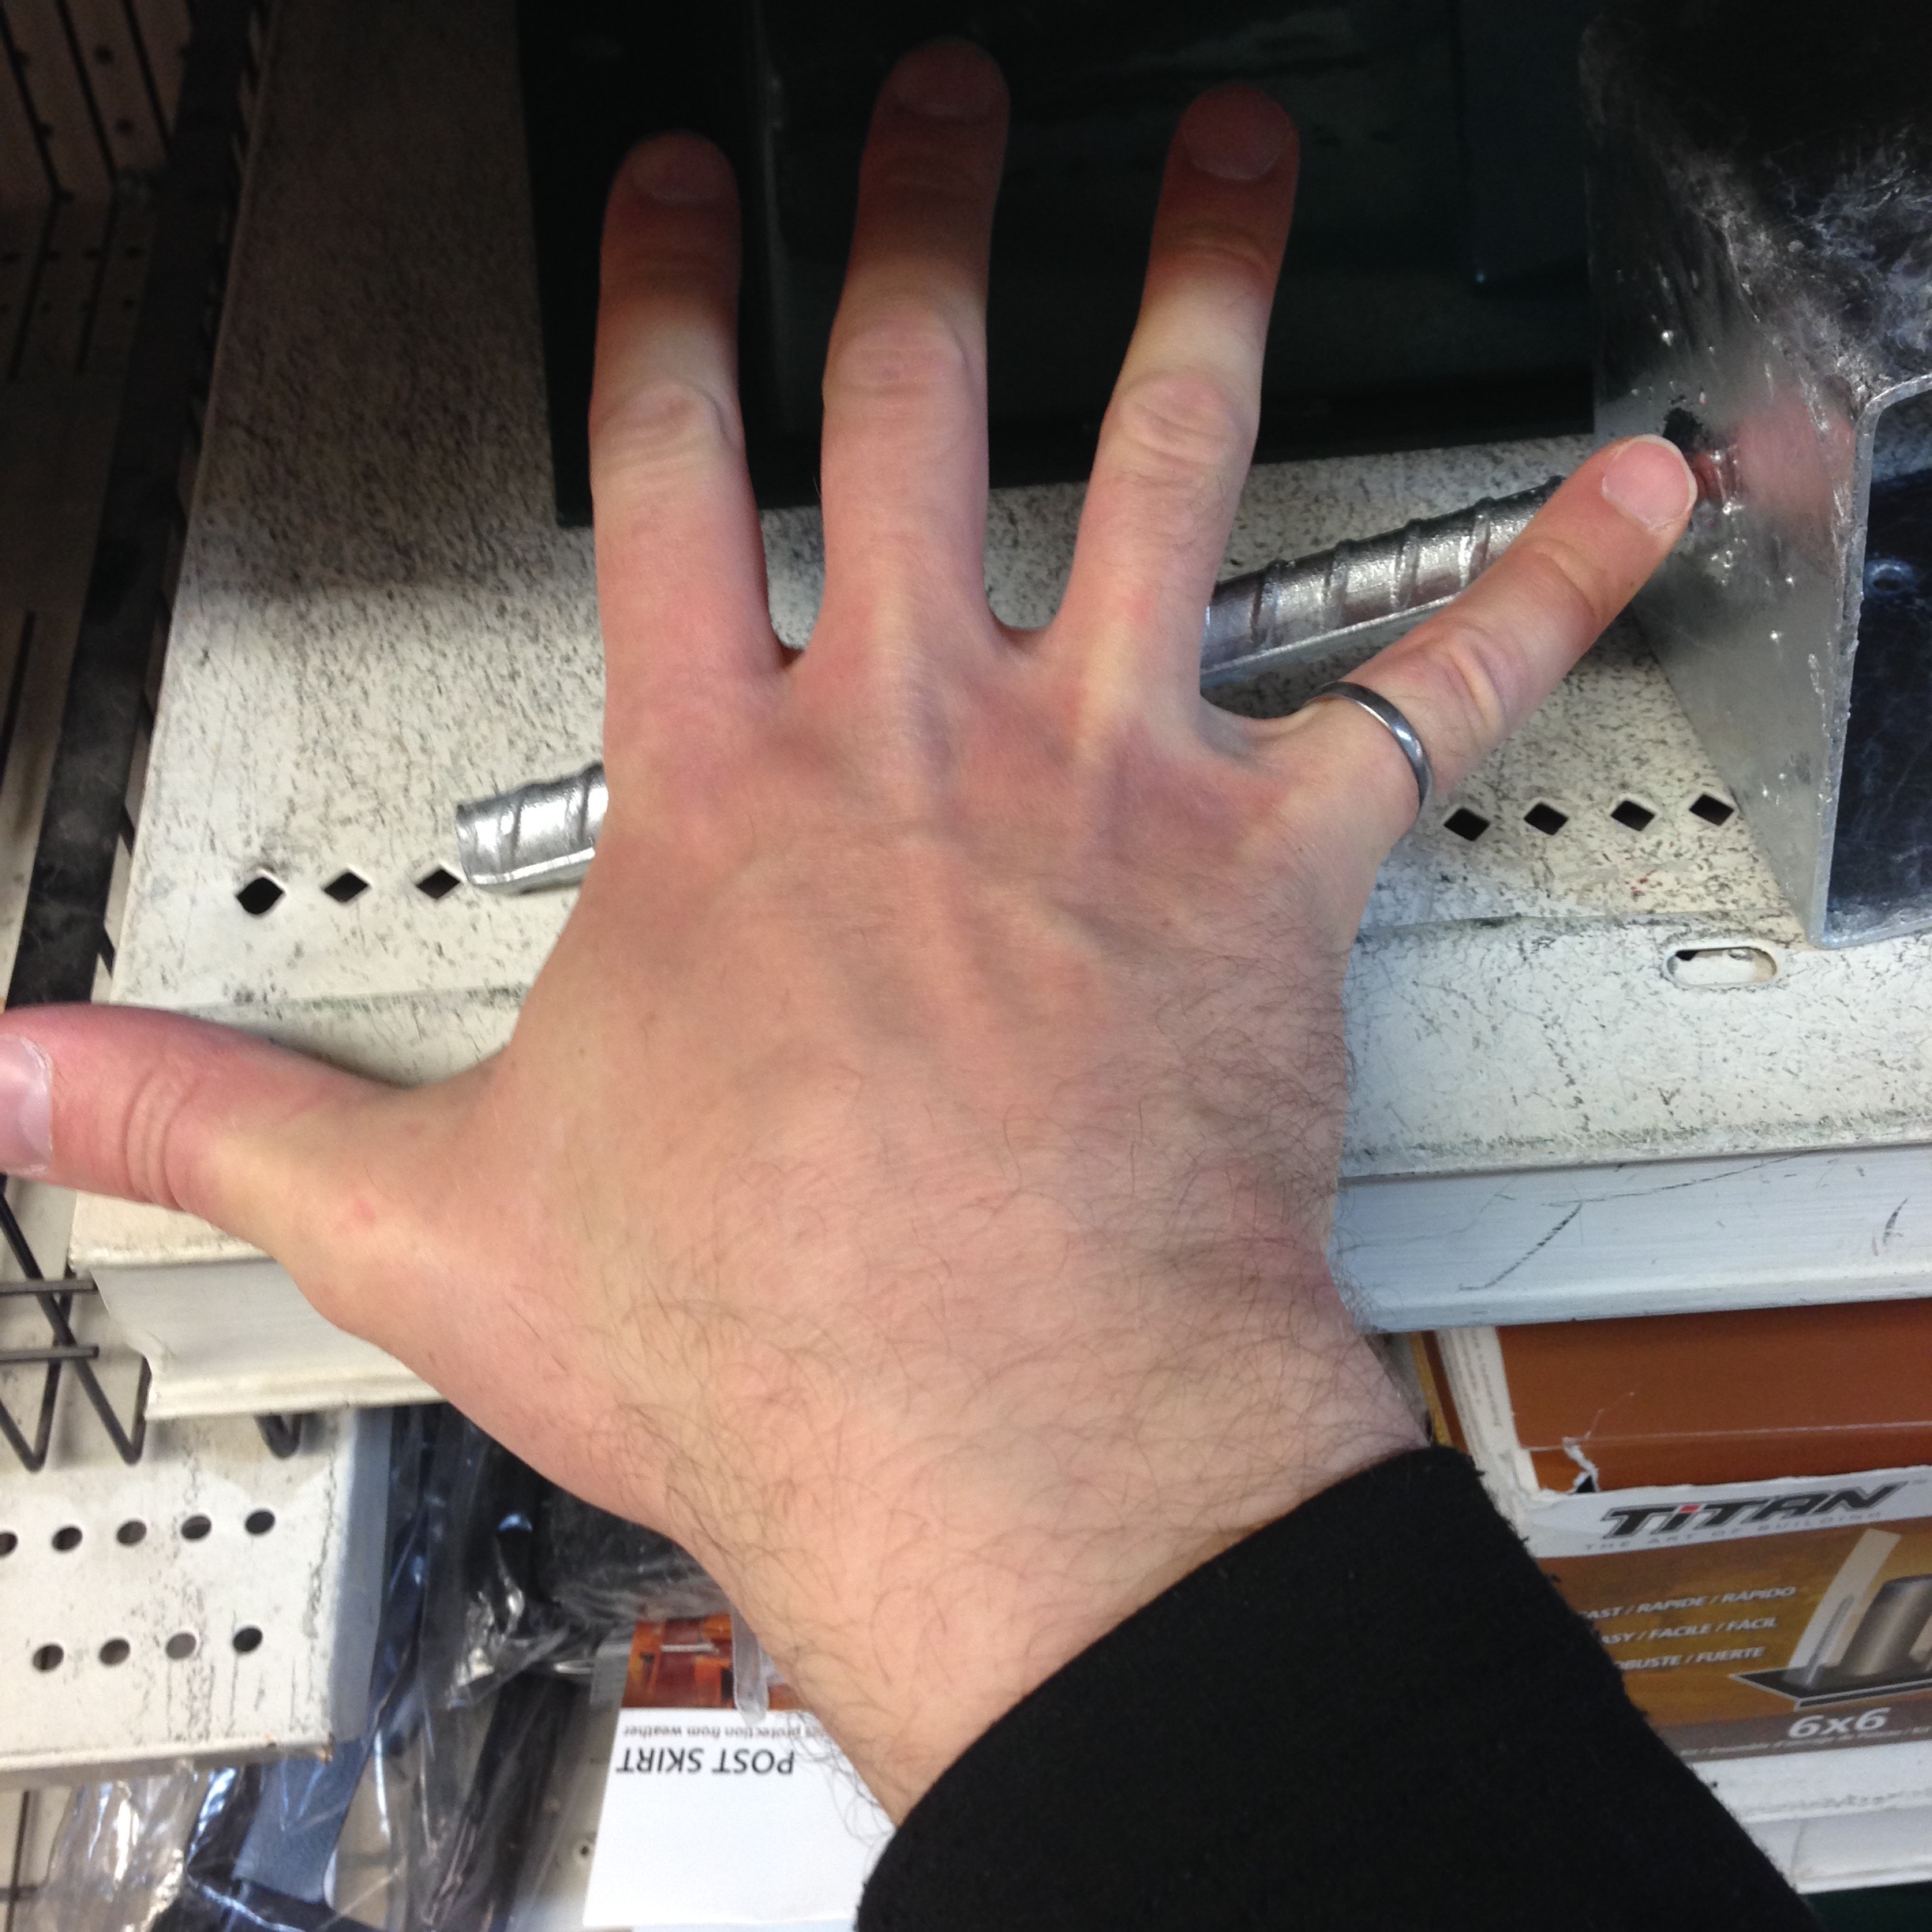
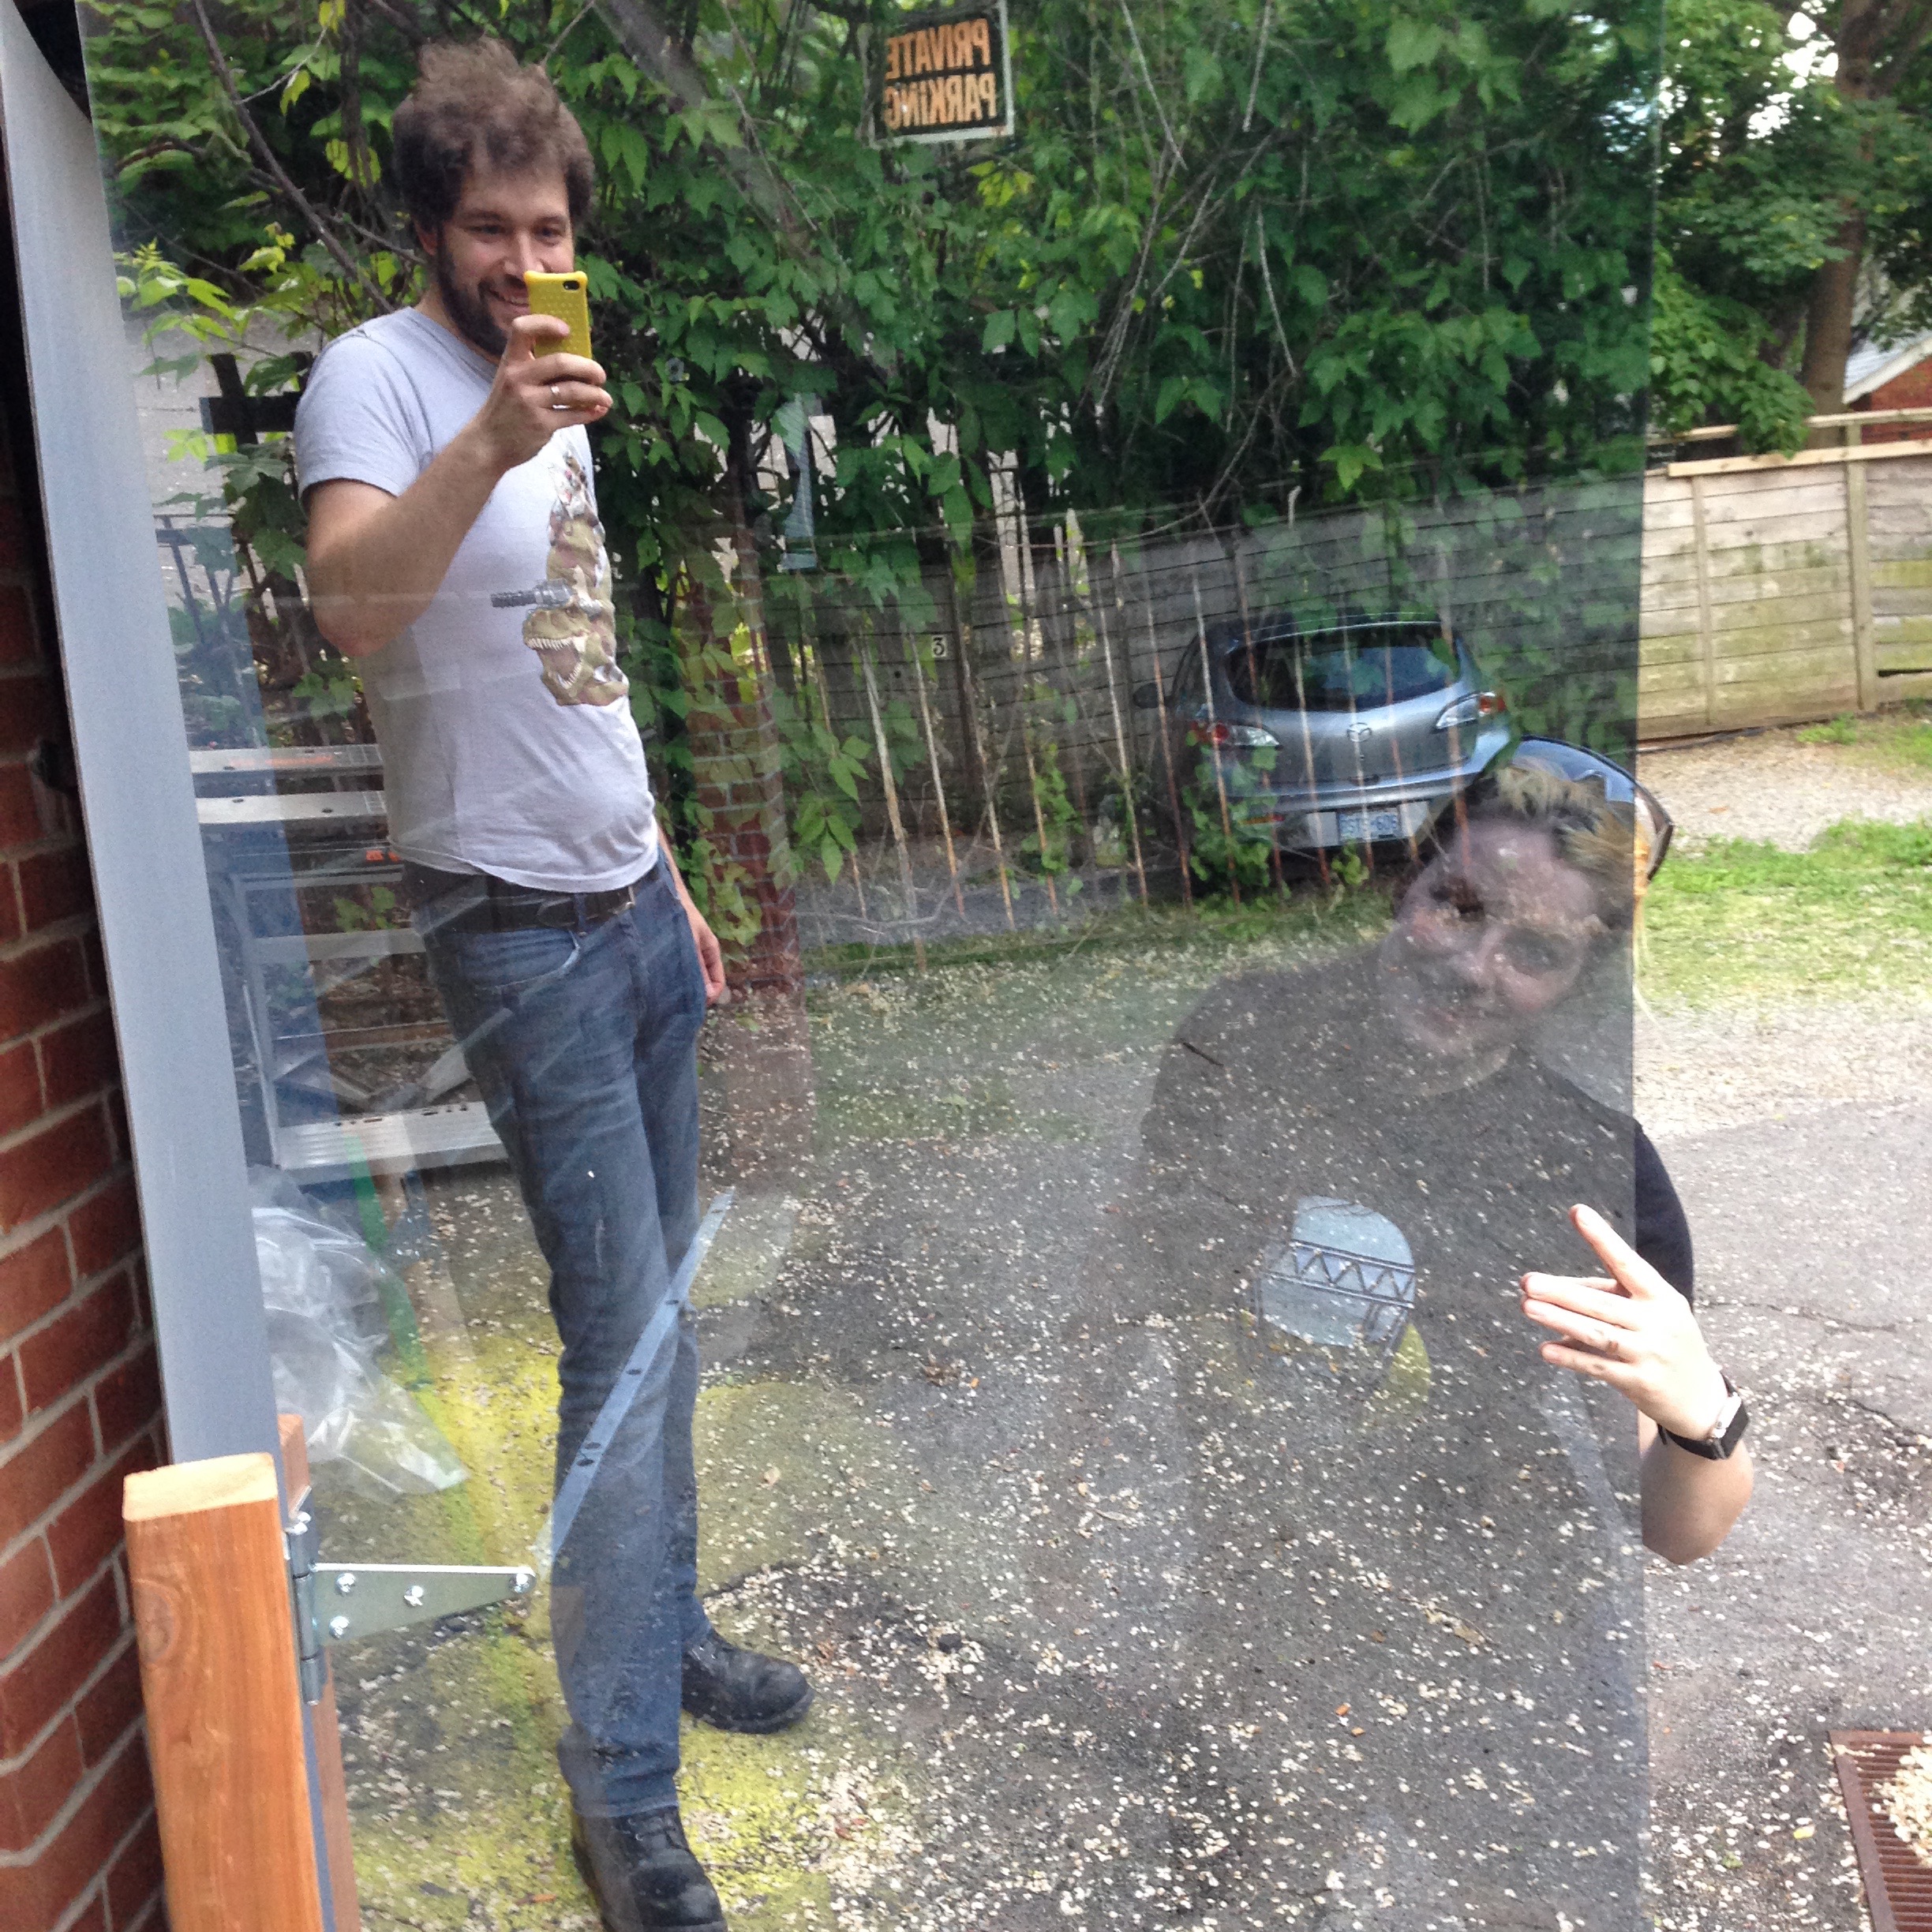
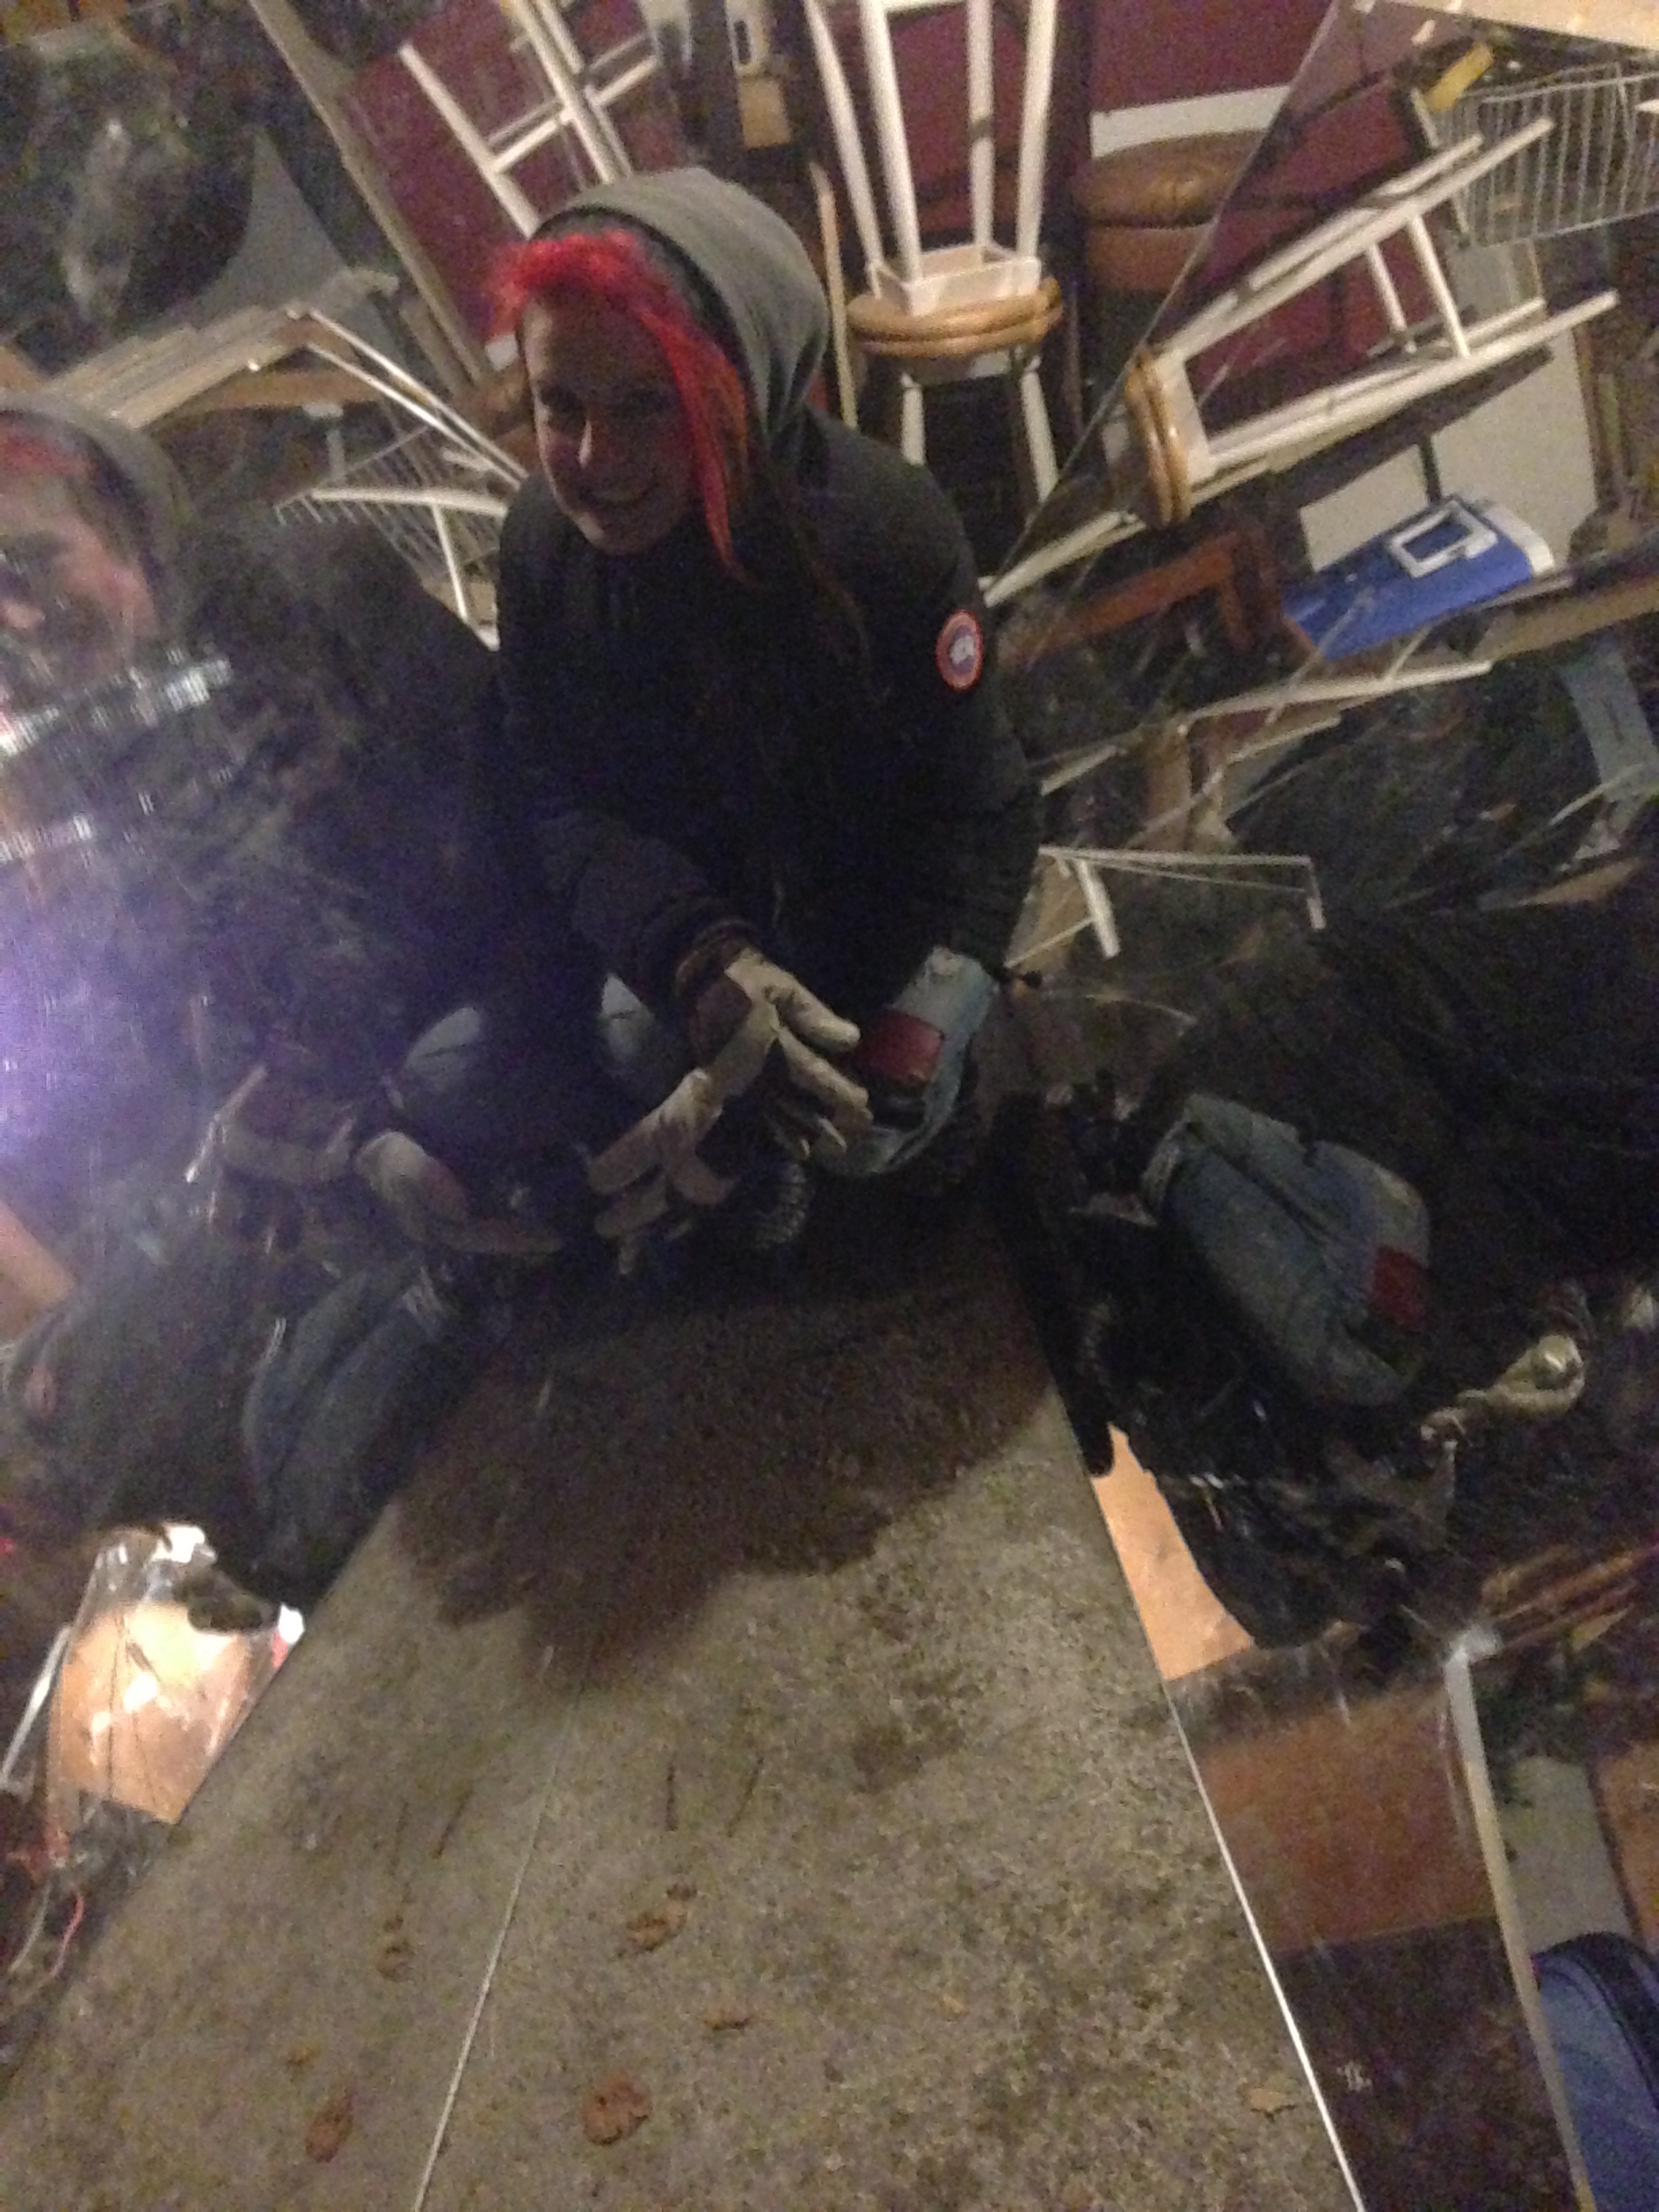
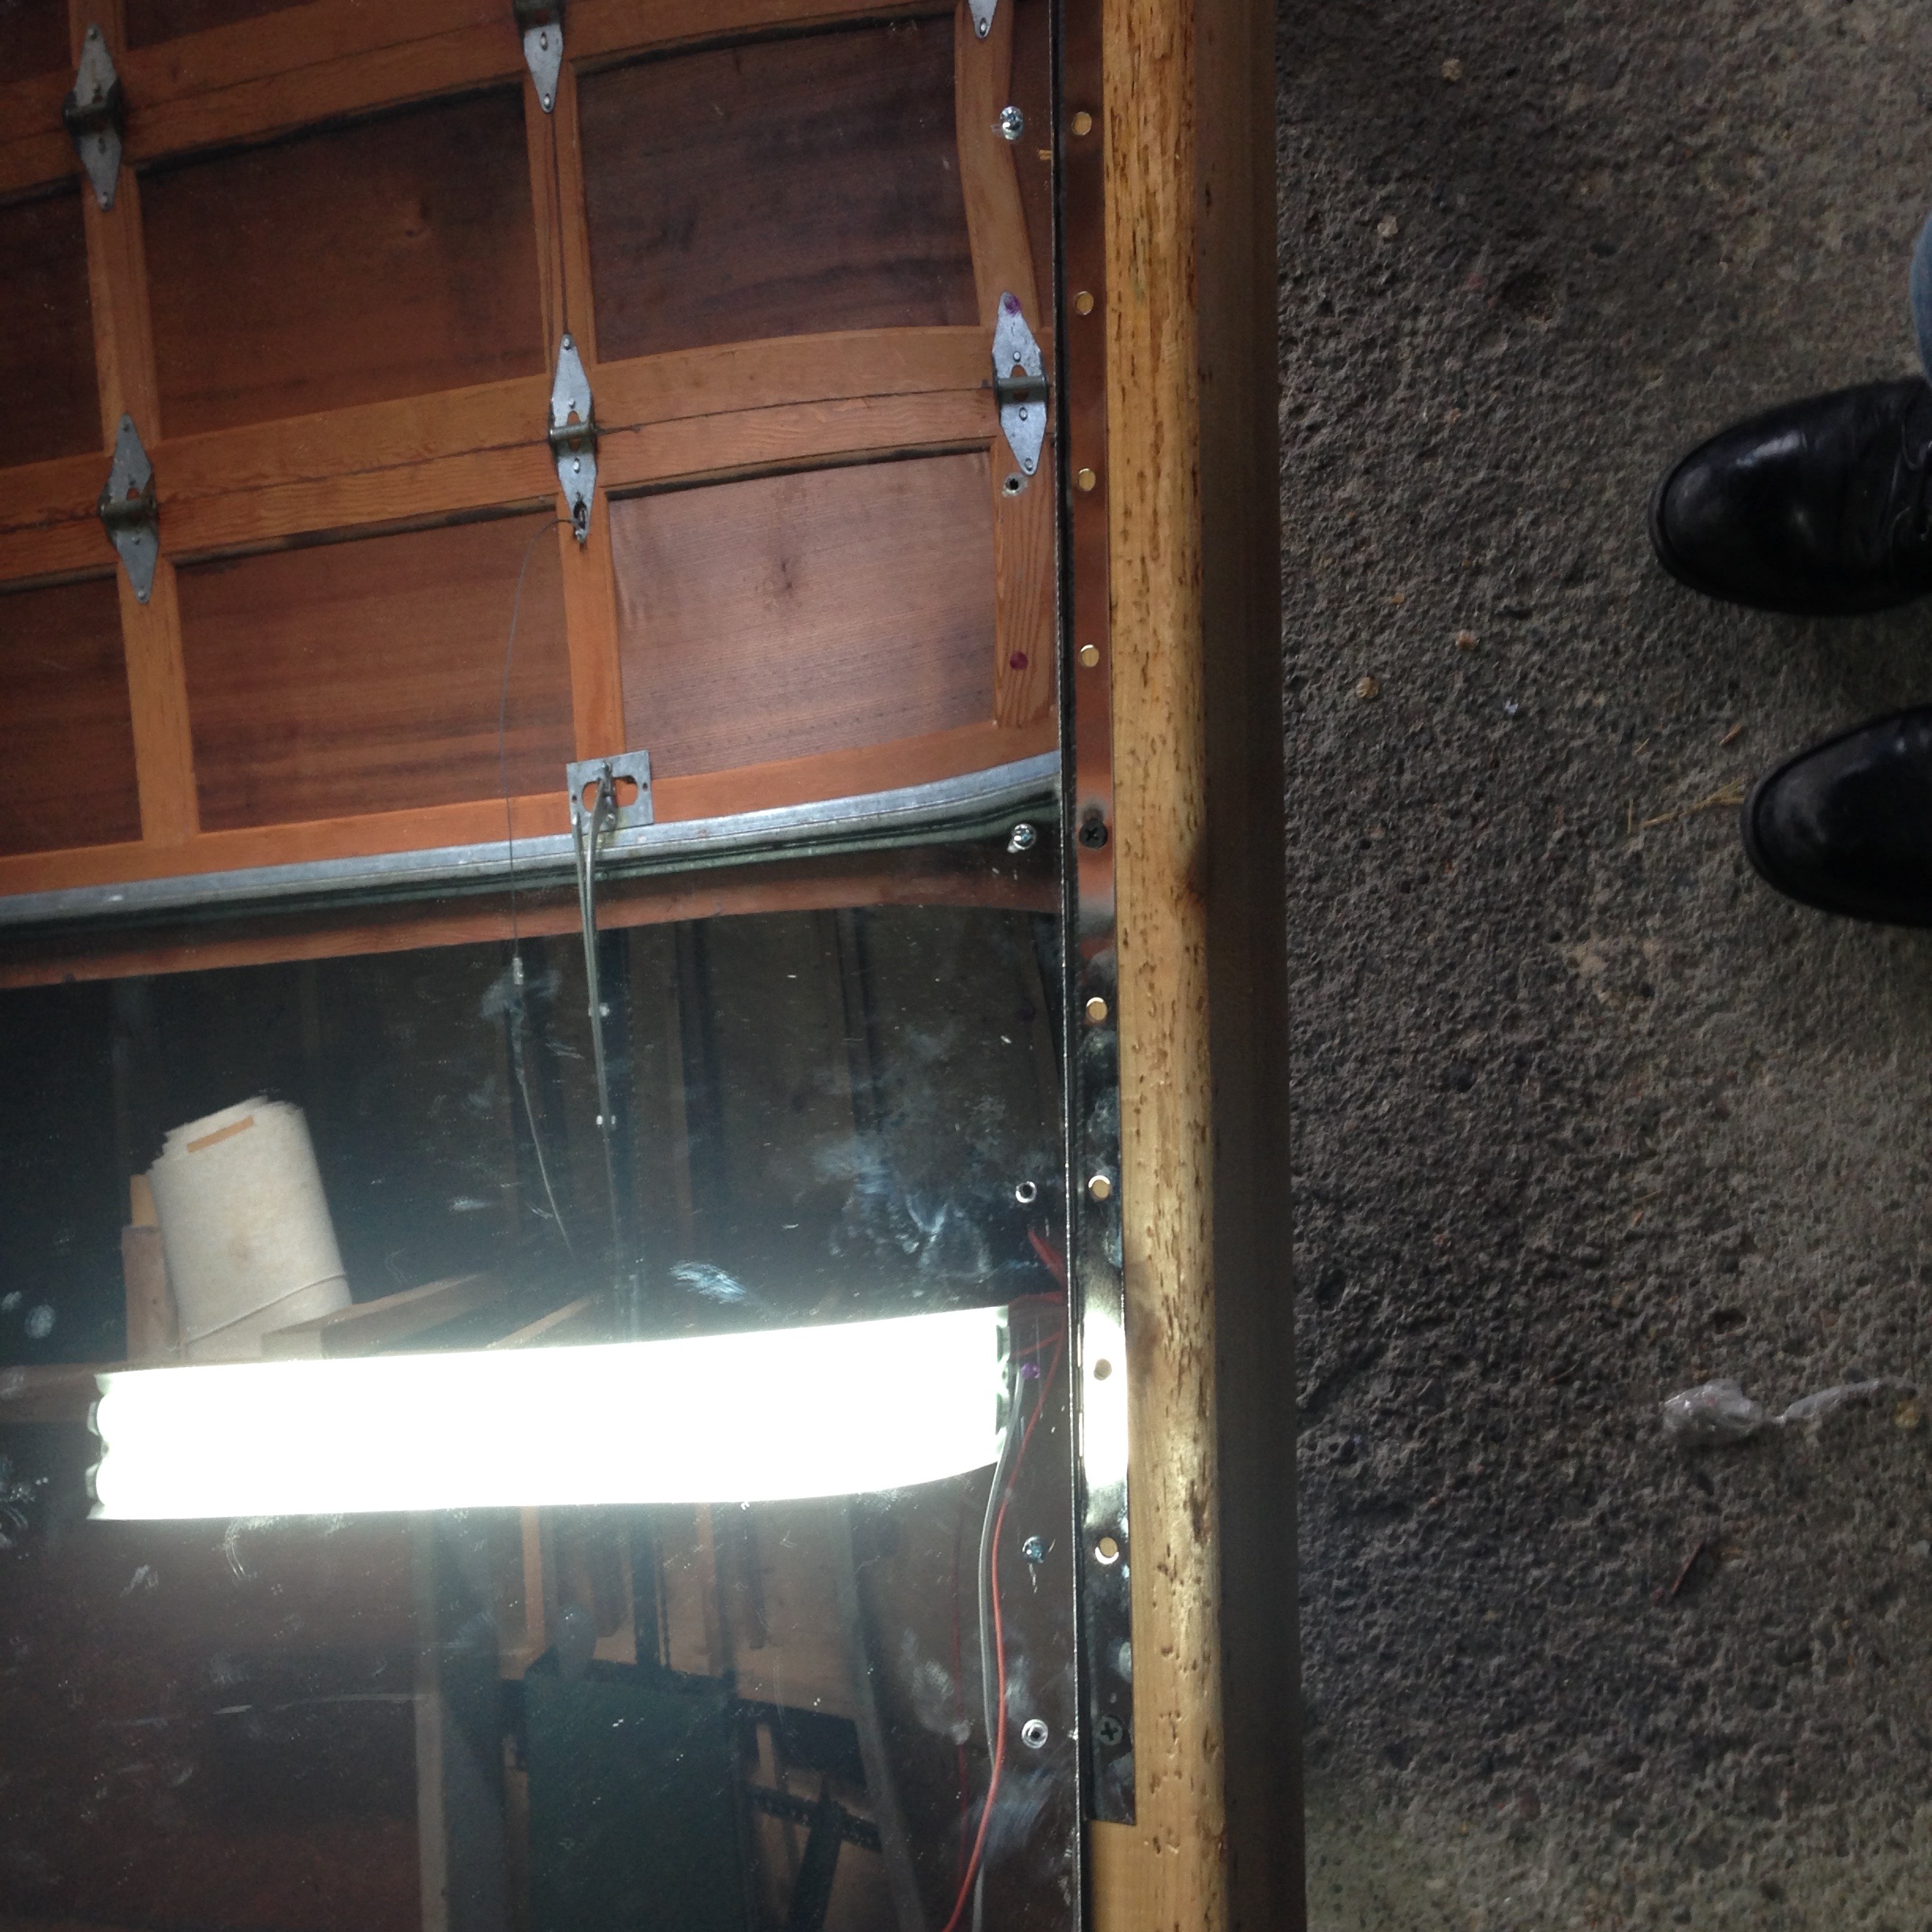
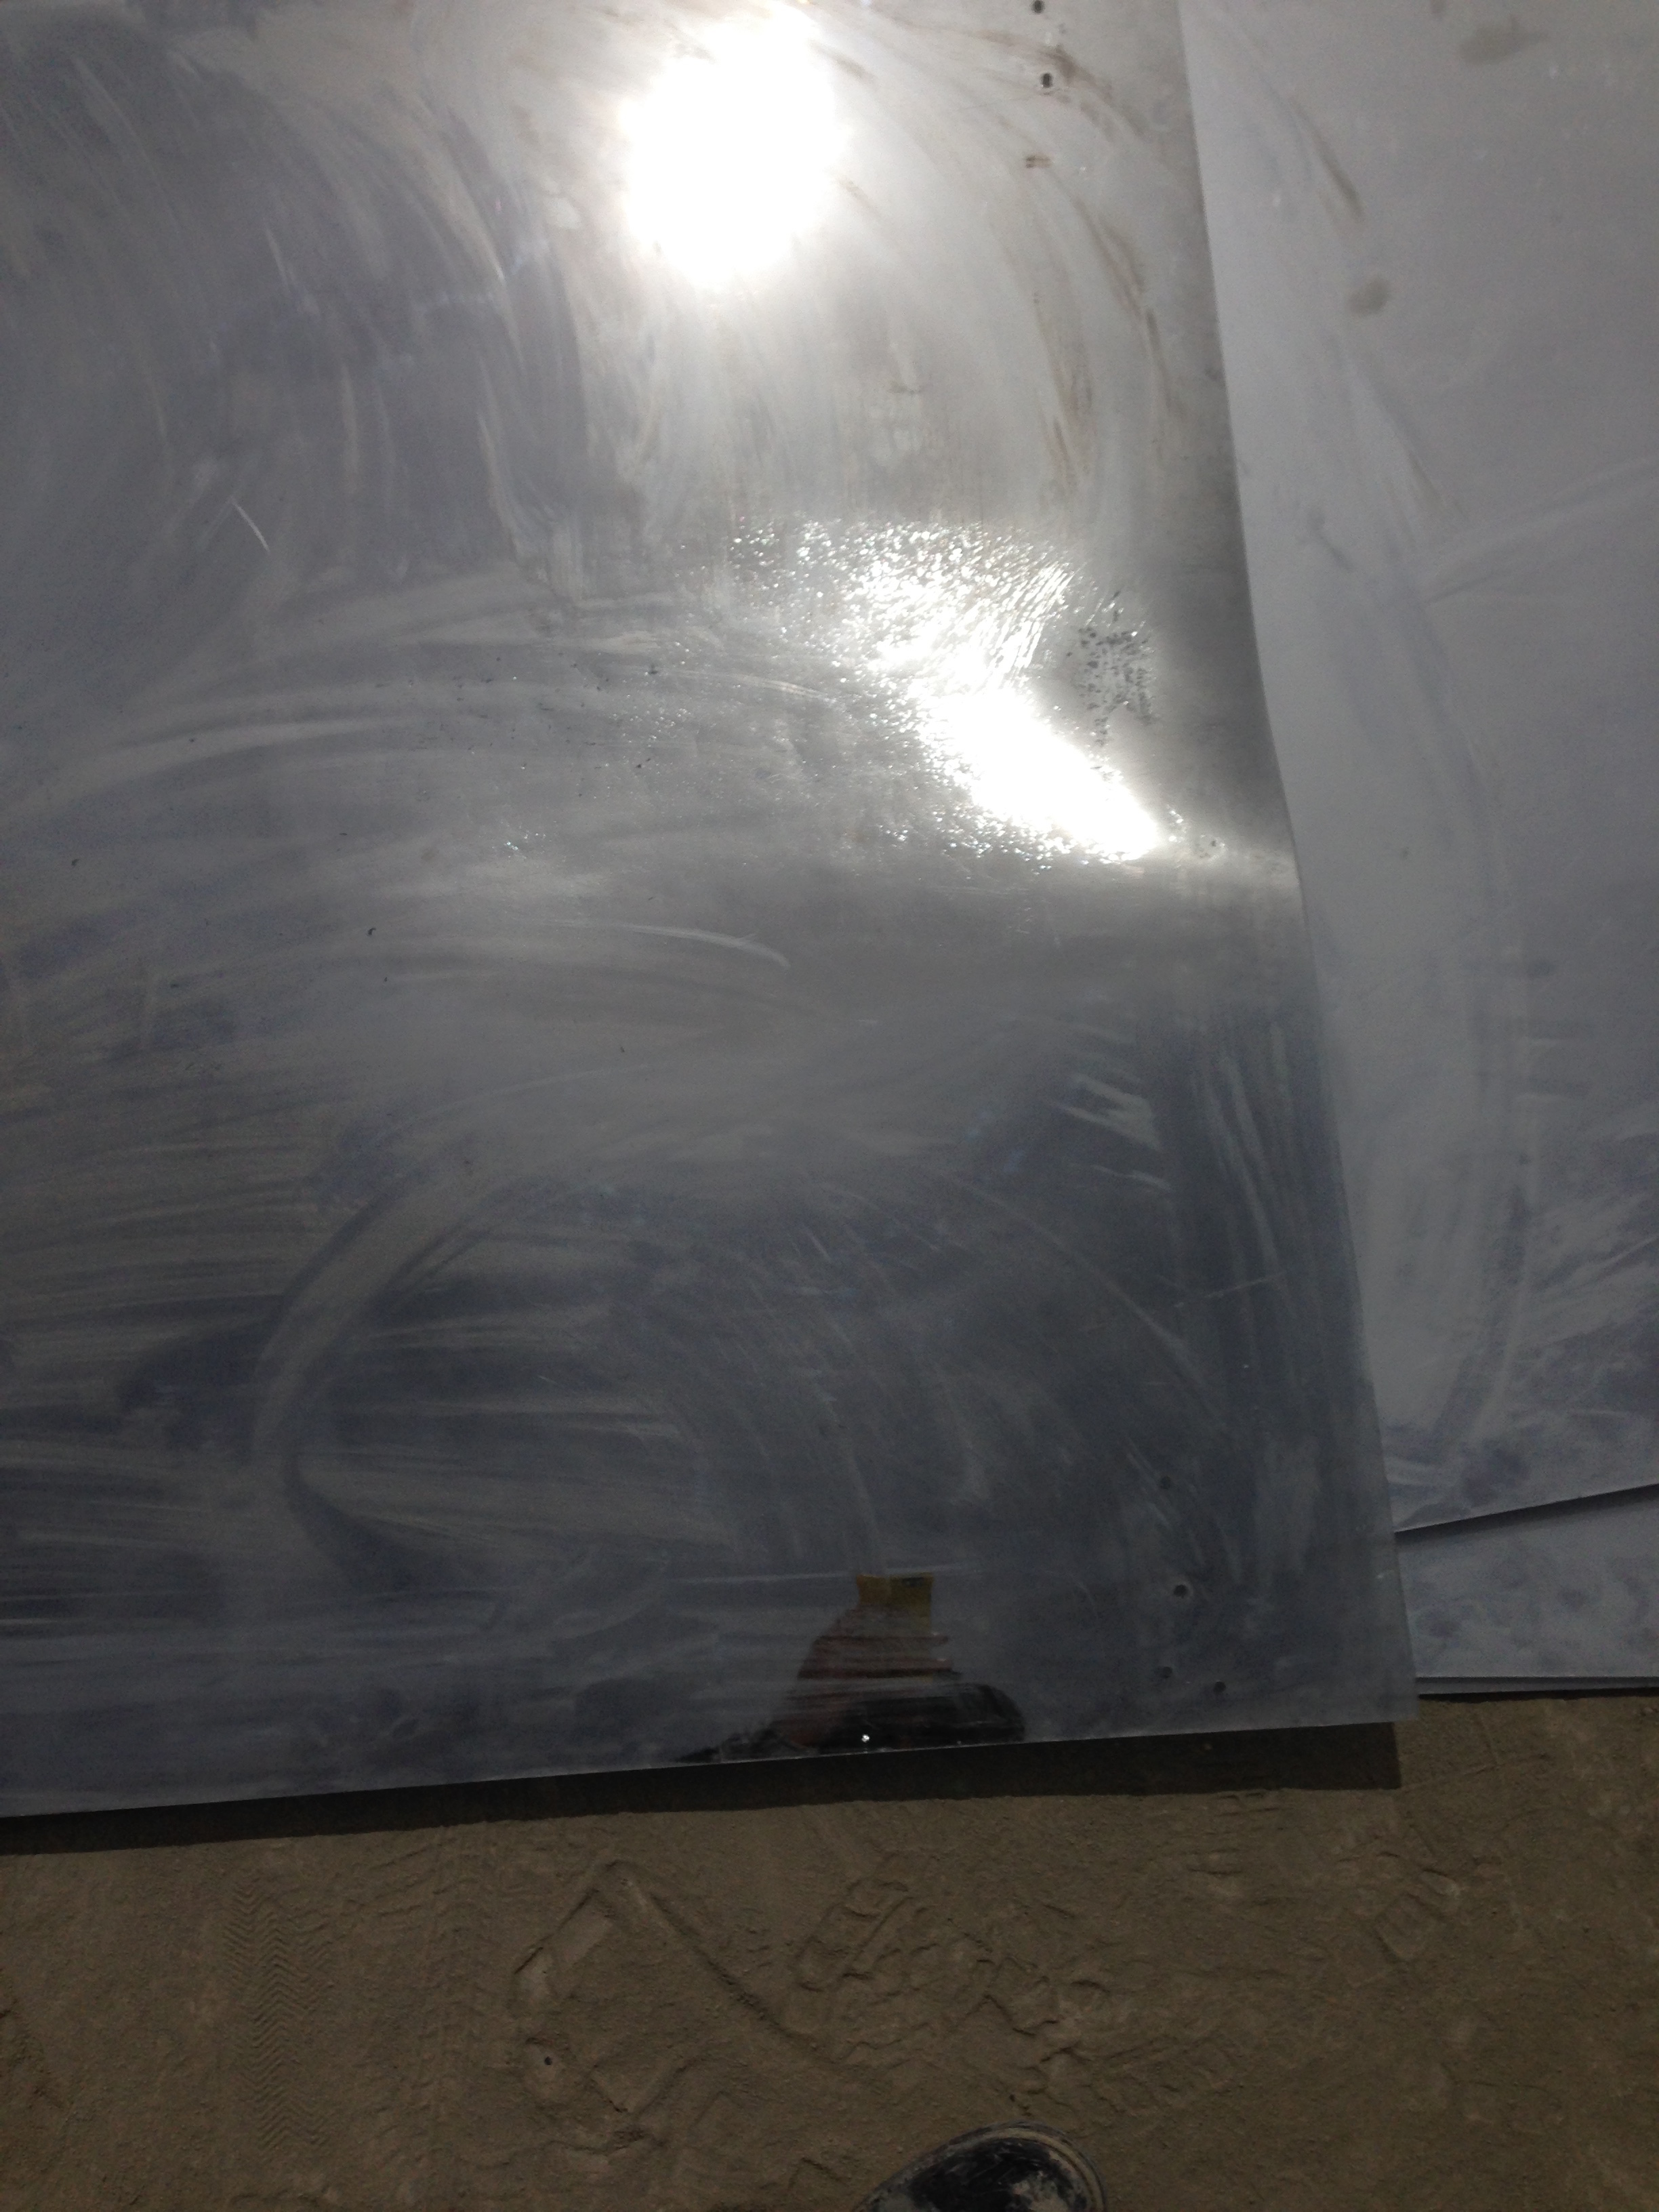
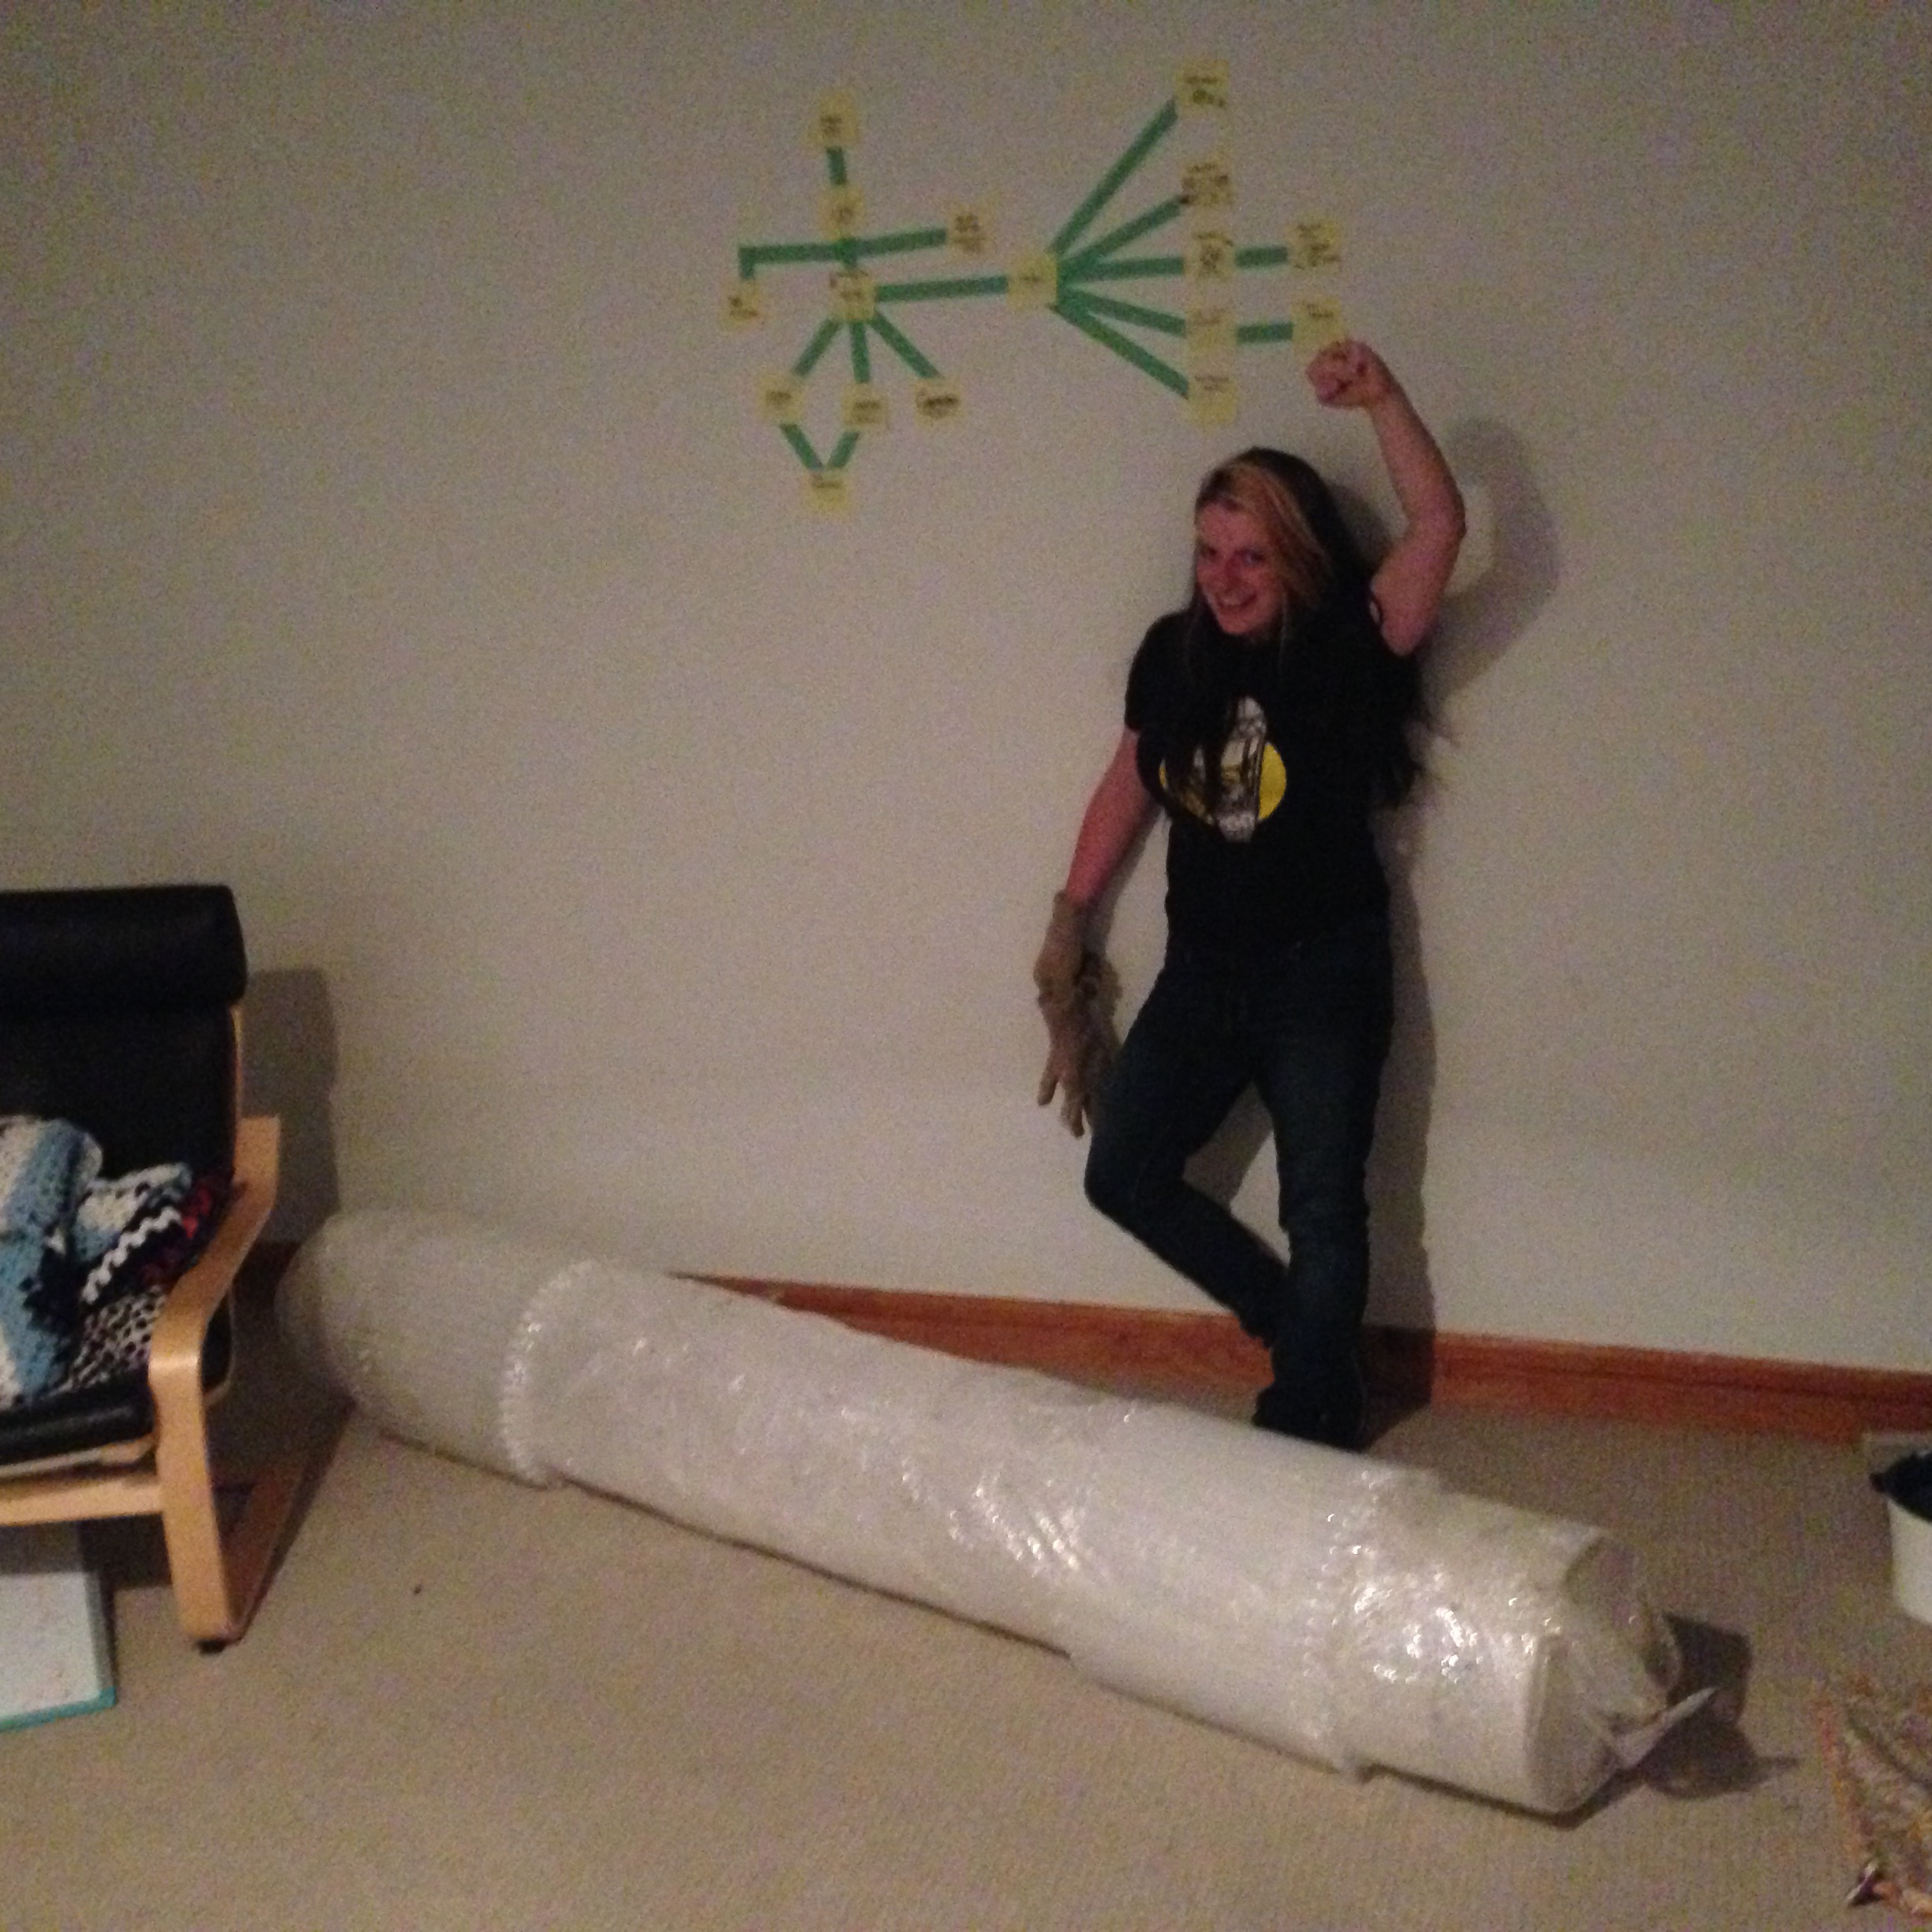
Weeks later (and some frantic middle of the night Mandarin phone messages later), we had our tube!:

A very happy (and tired) S shows off her newly acquired tube!
The tube was transported in a box that bit us multiple times.
#warningsigns
#warningsigns

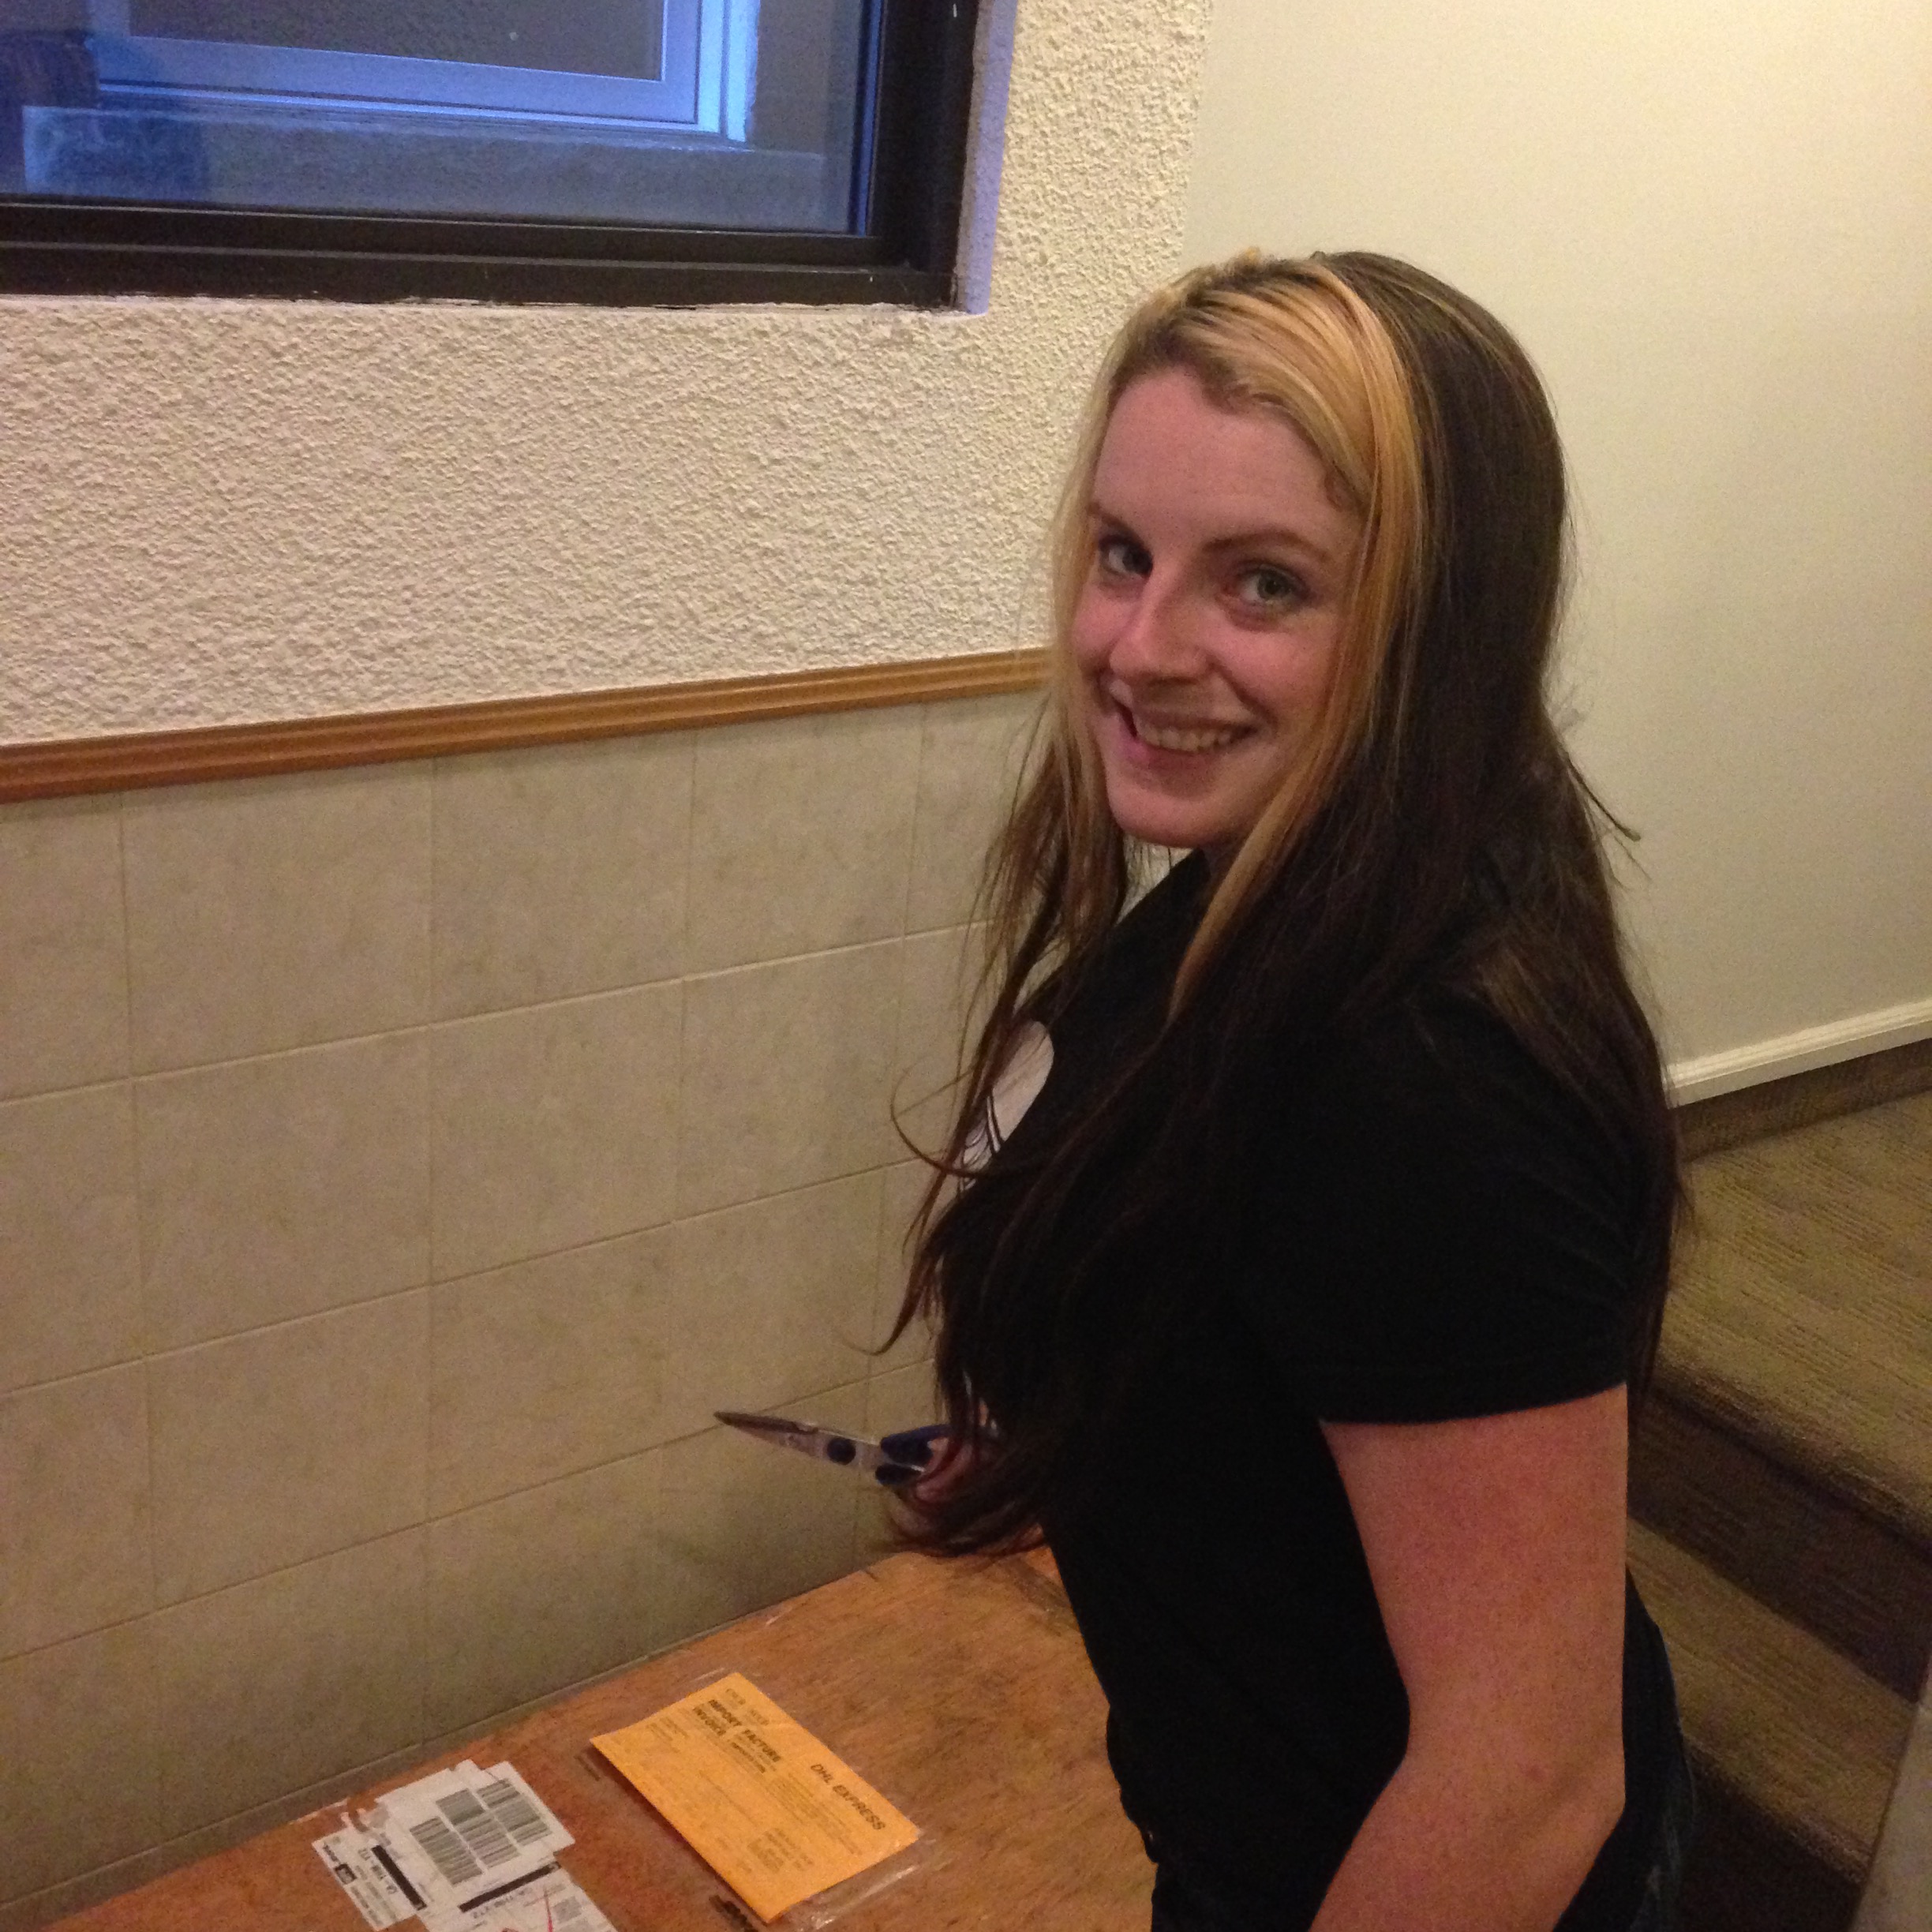
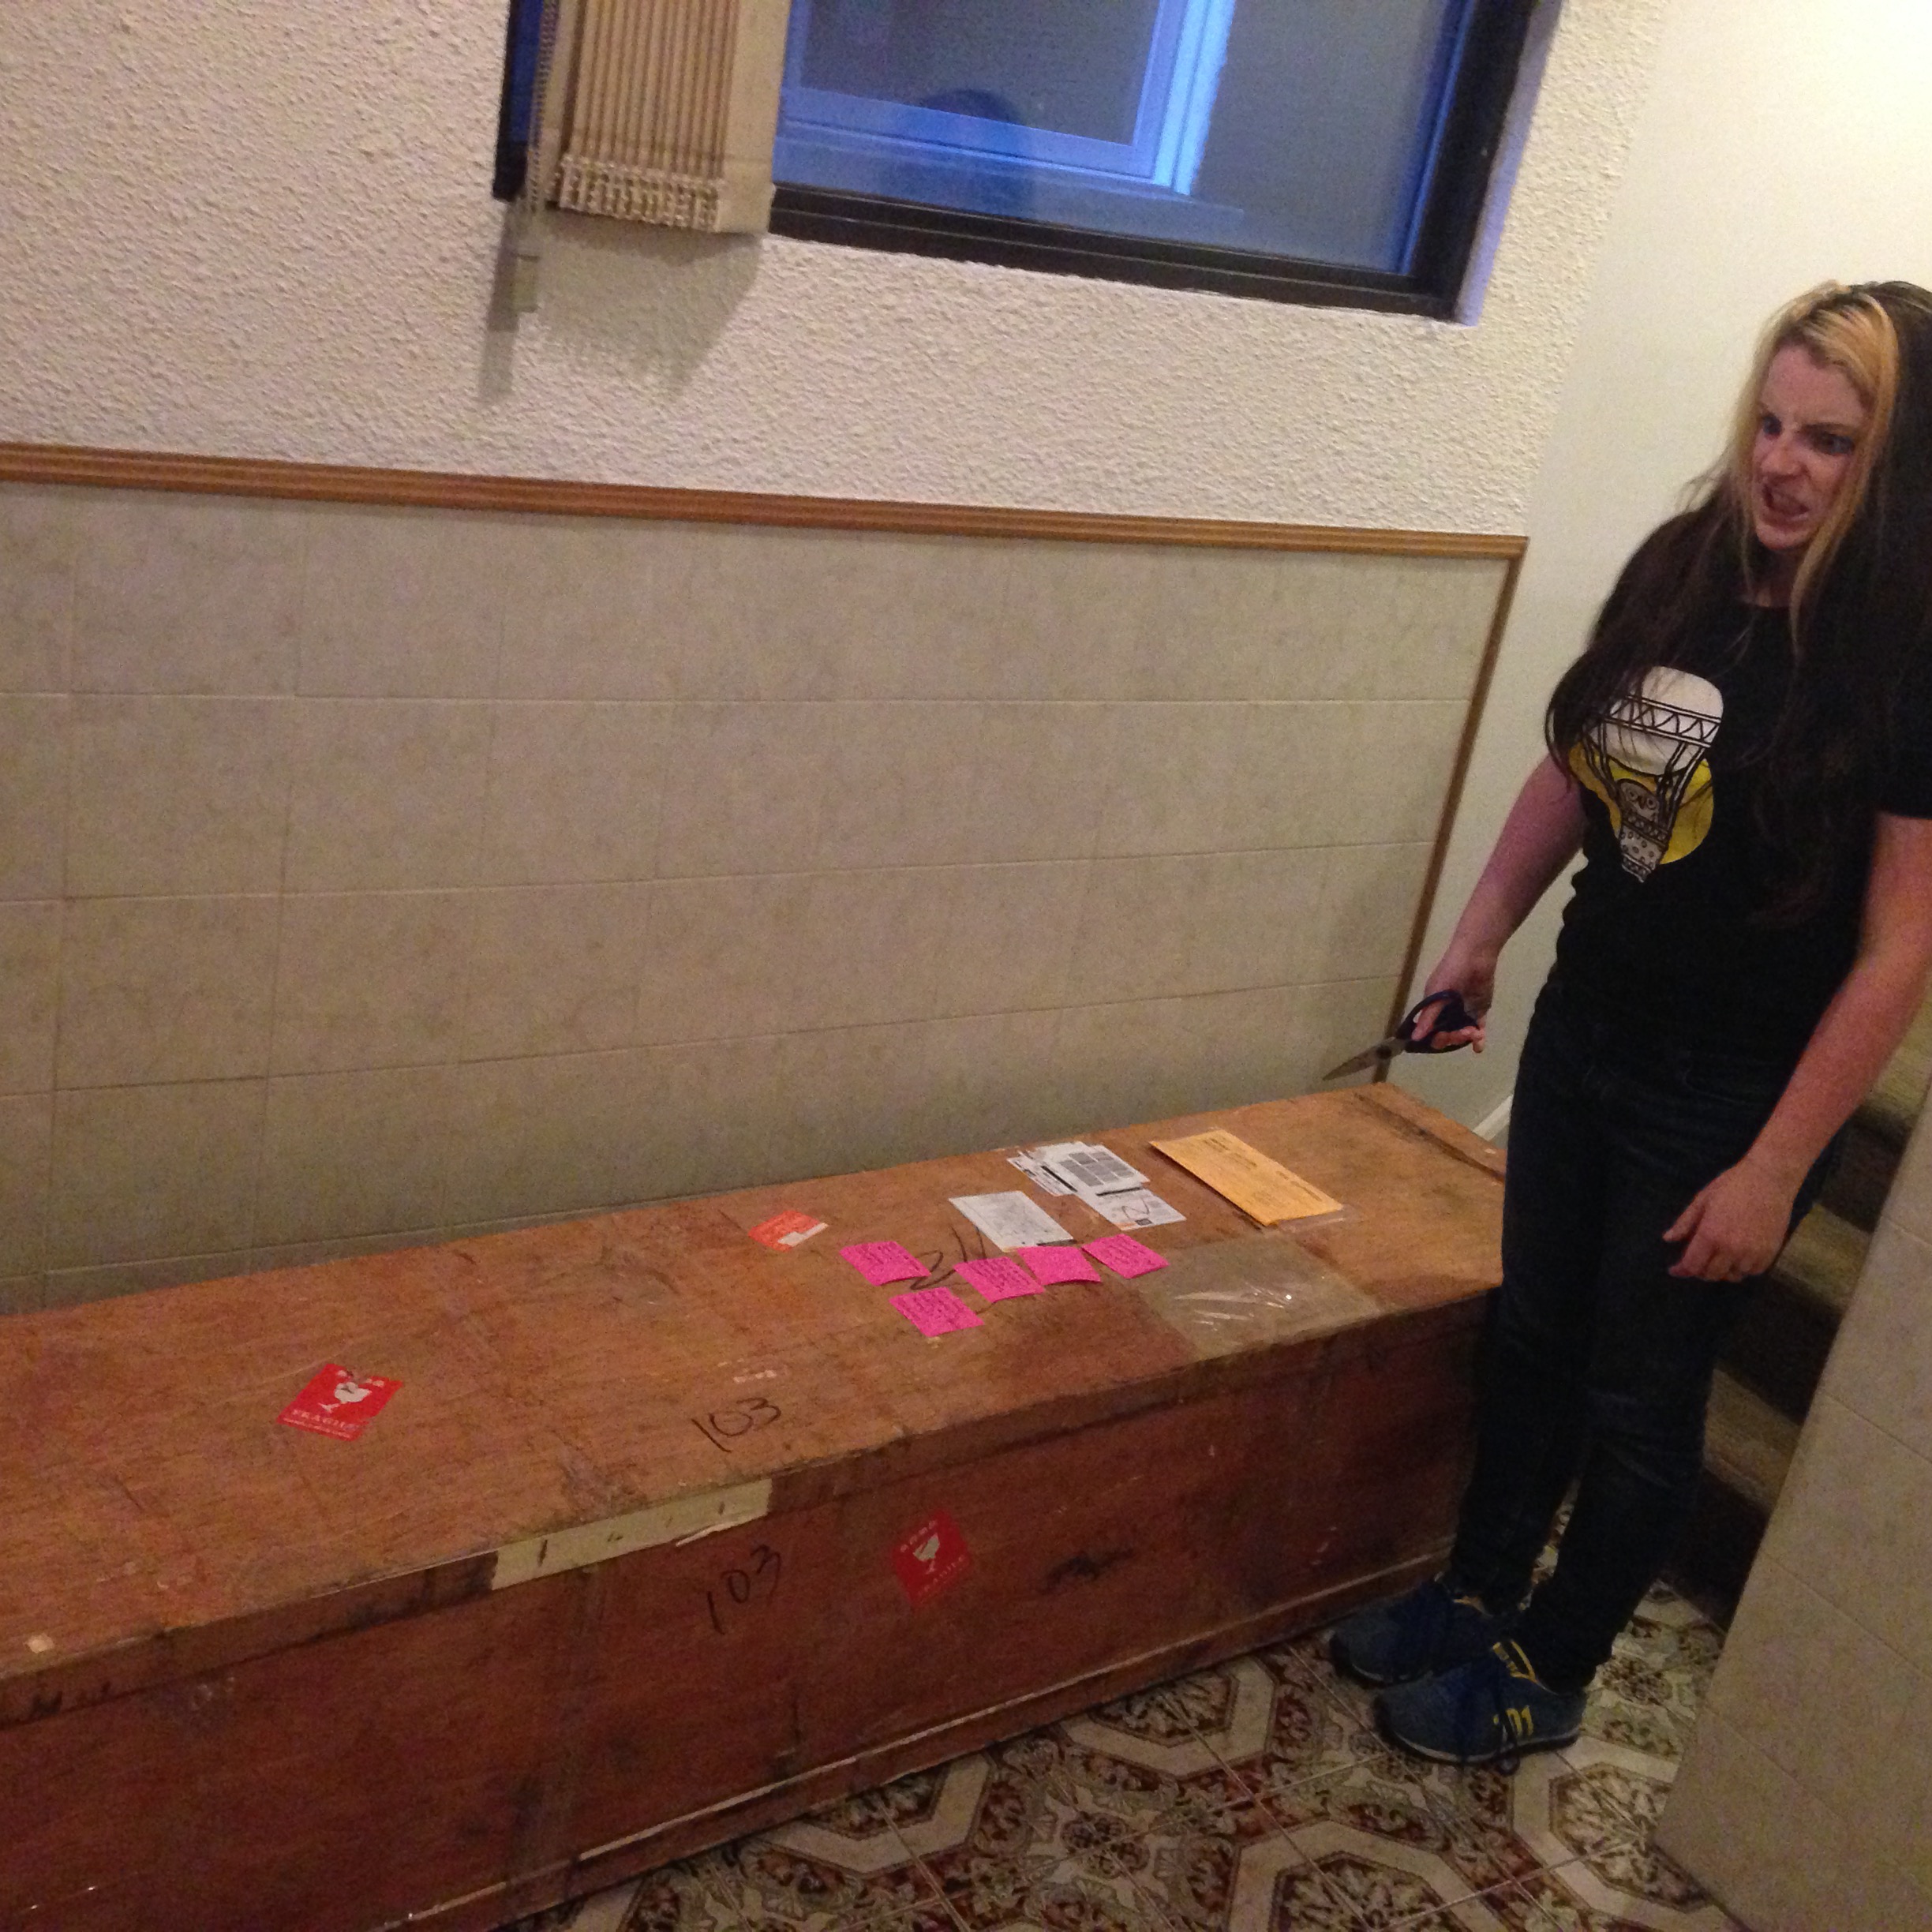
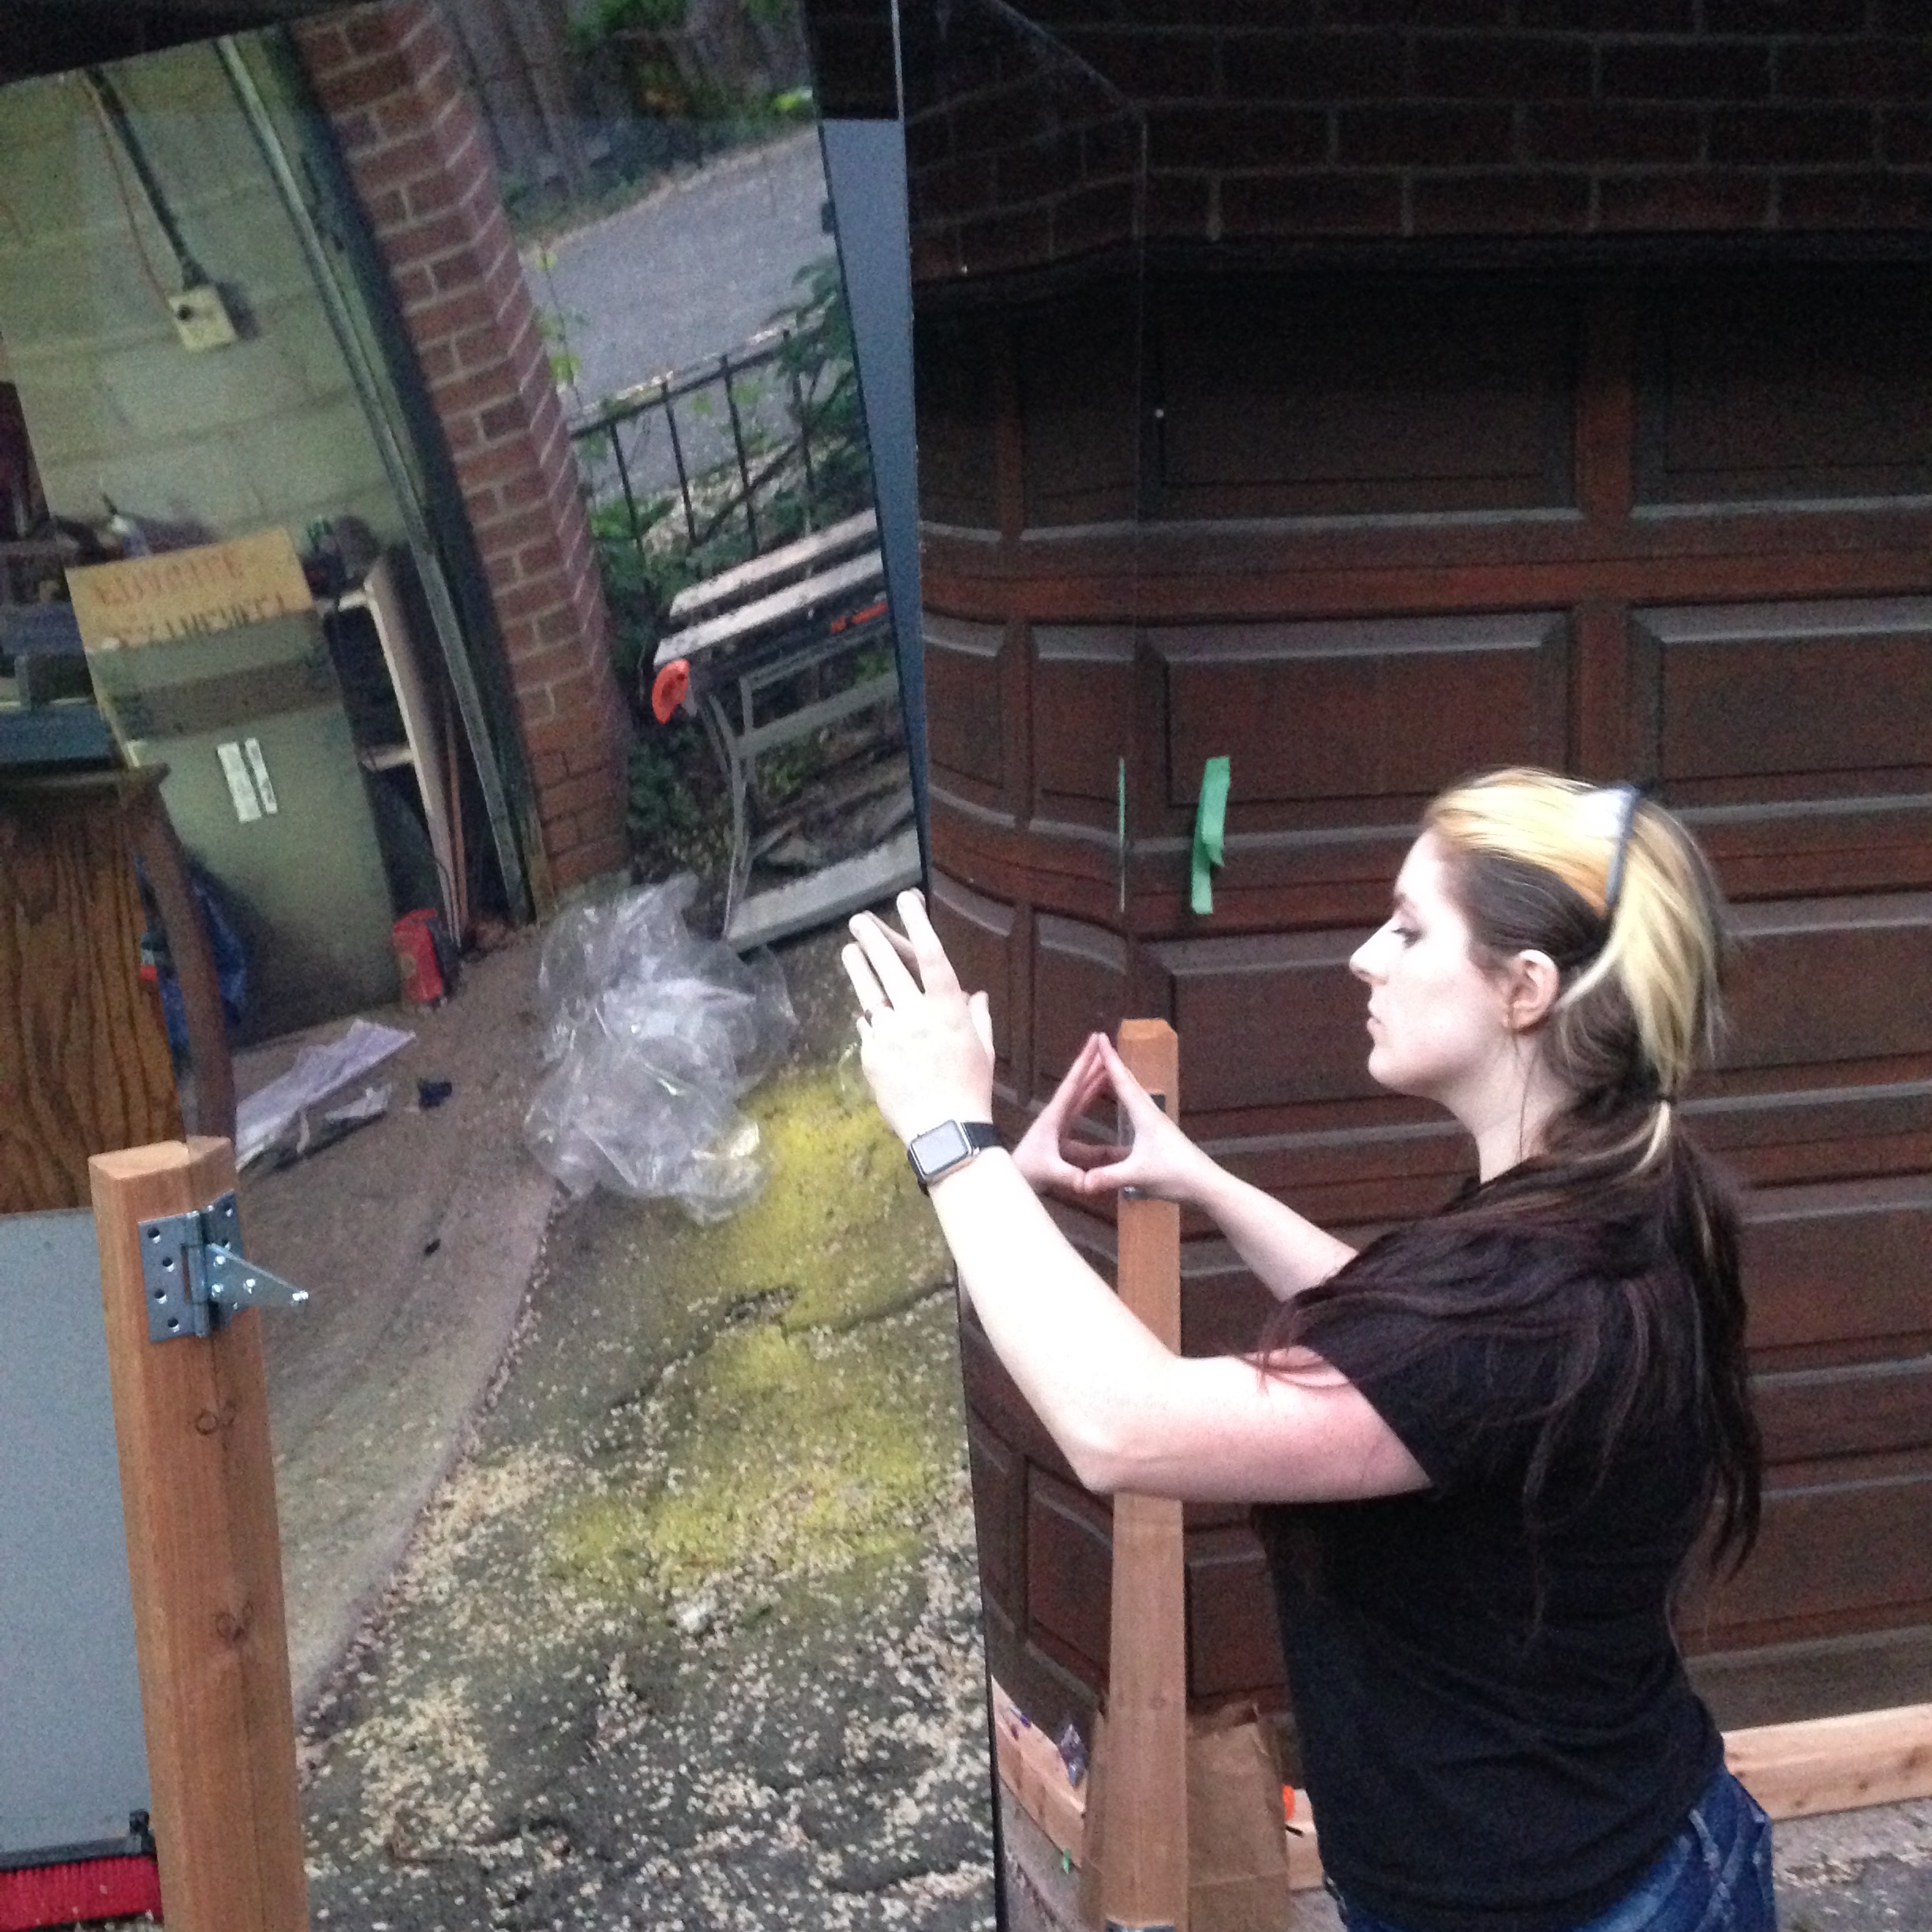
Just to give you a sense of scale (and triumph):

S for scale (and triumph!)

More on the tube later! Now on to hinges!

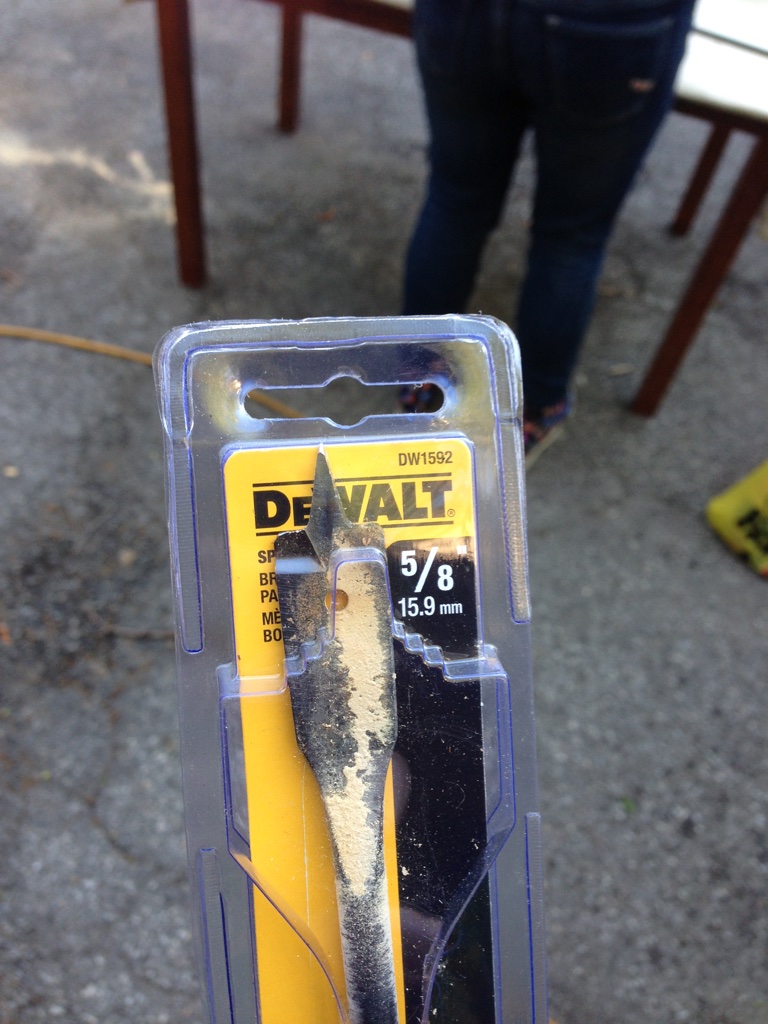
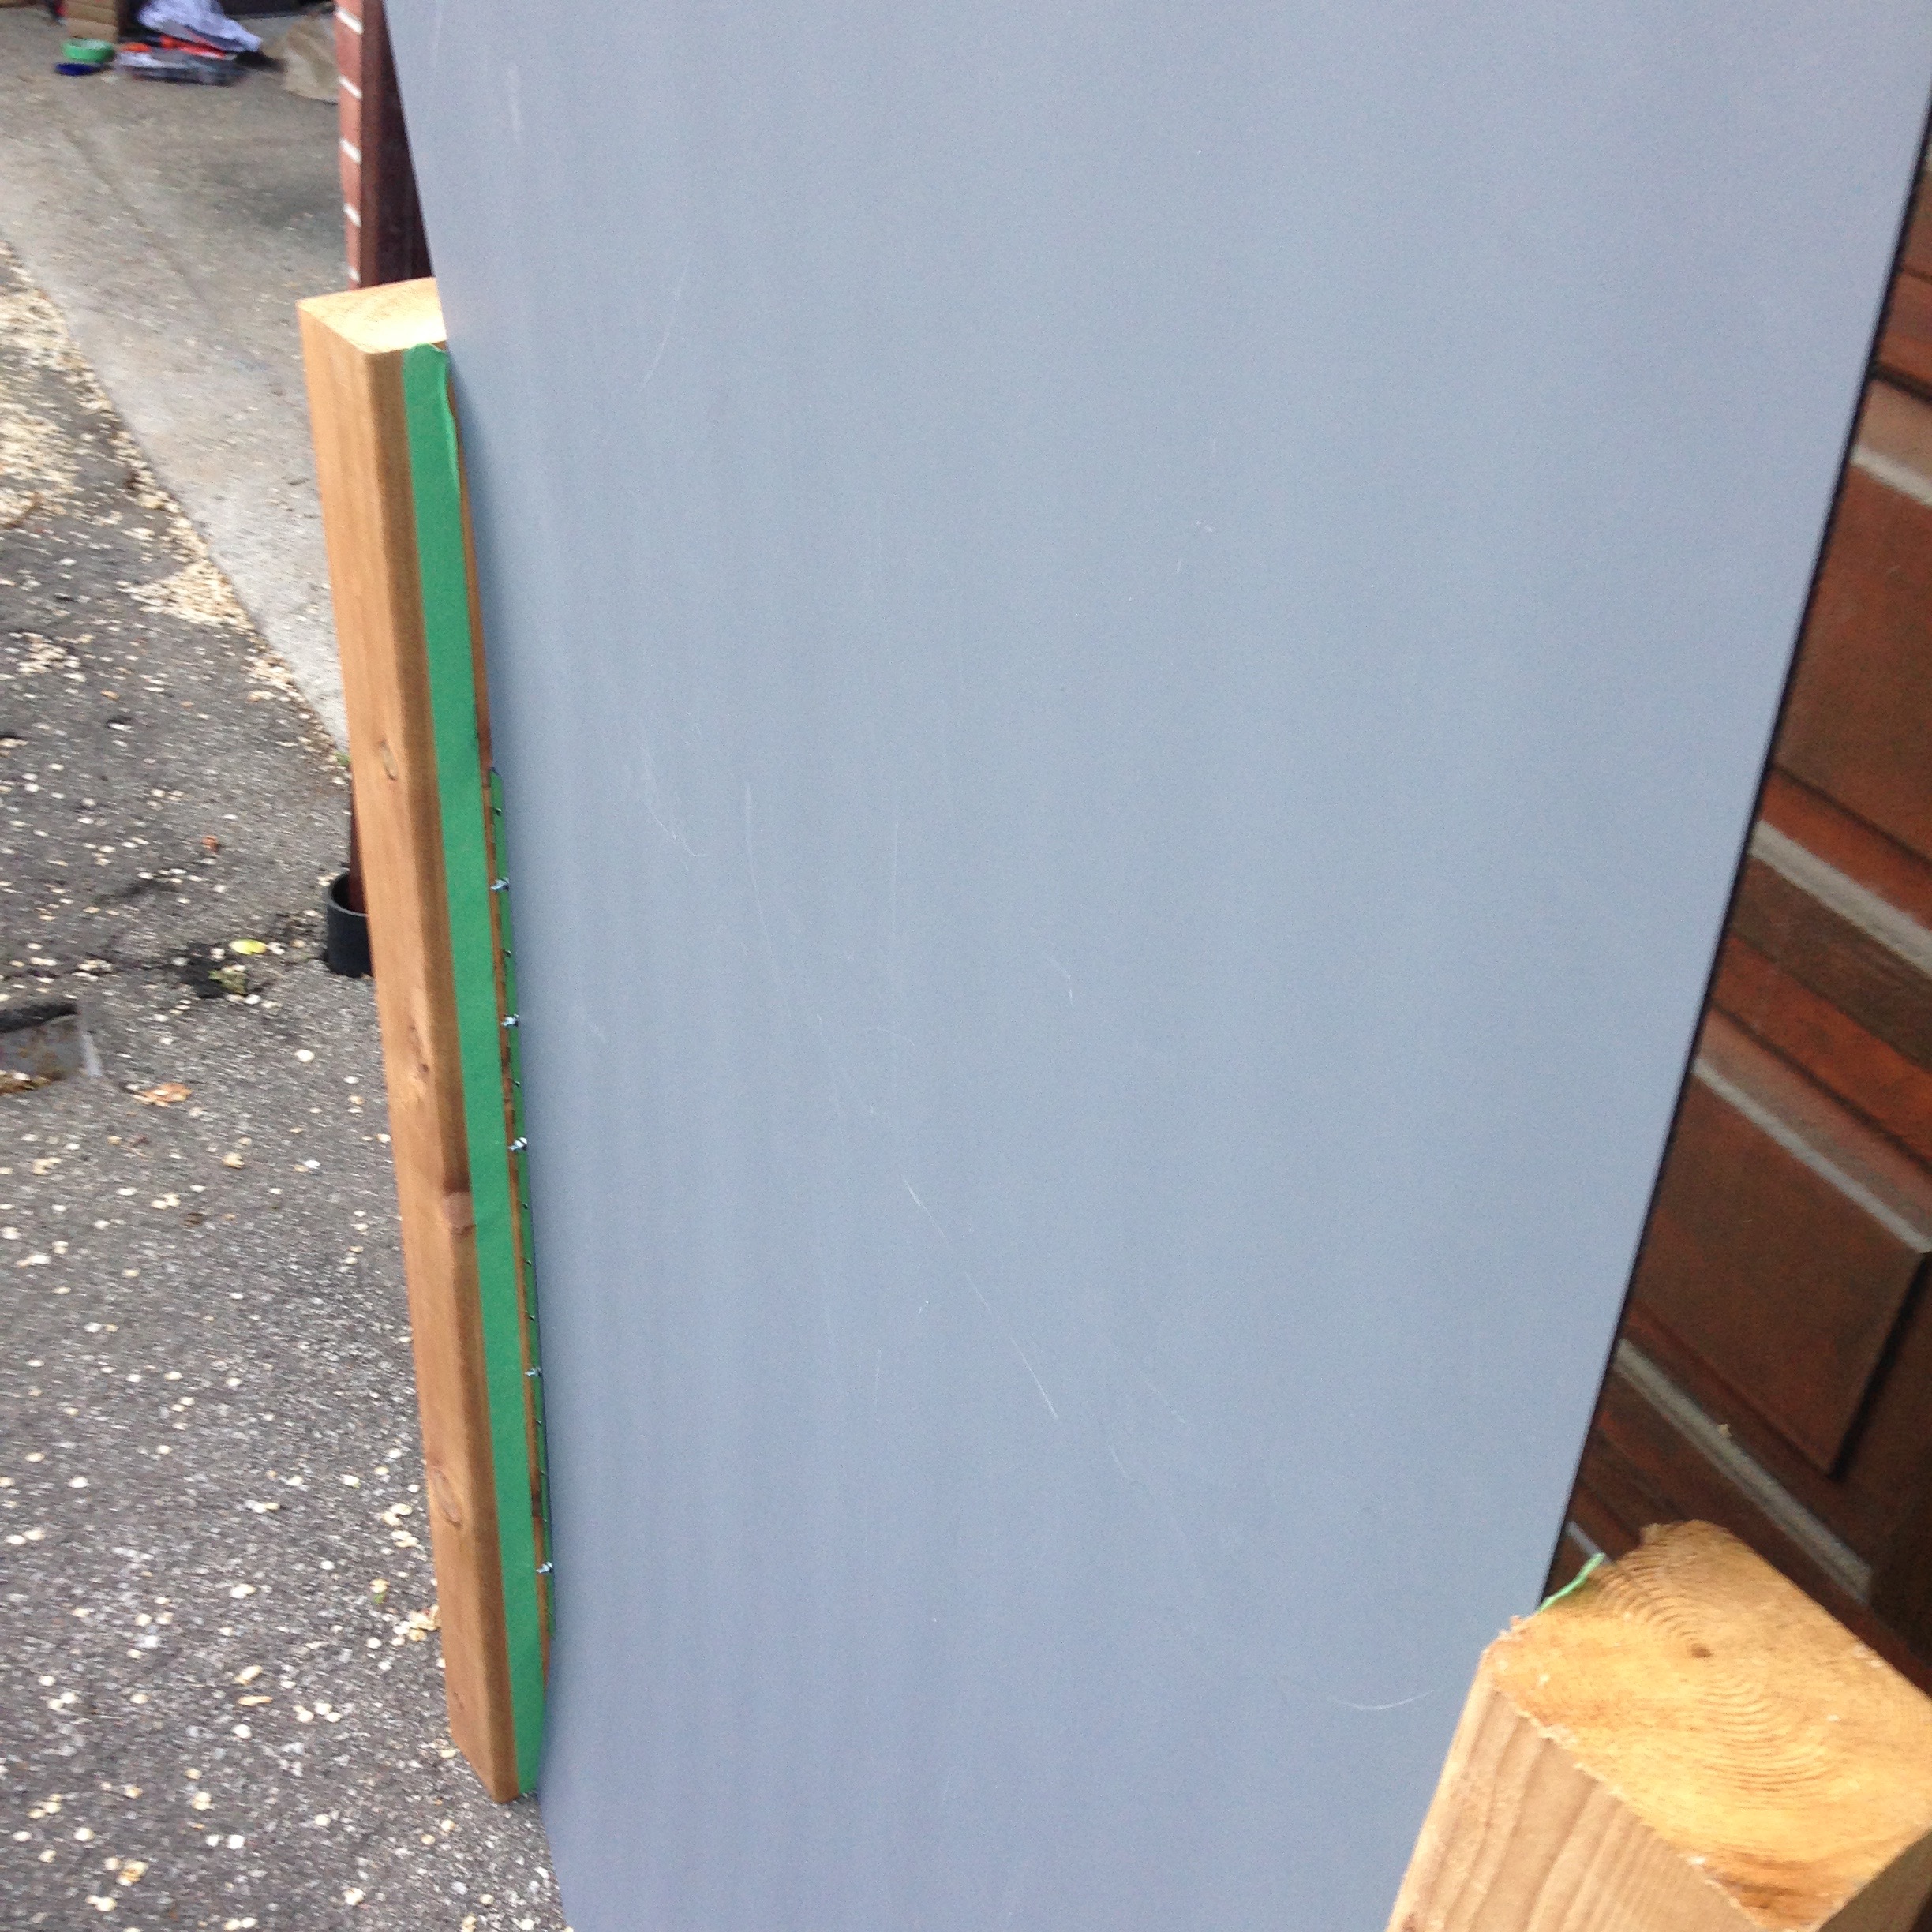
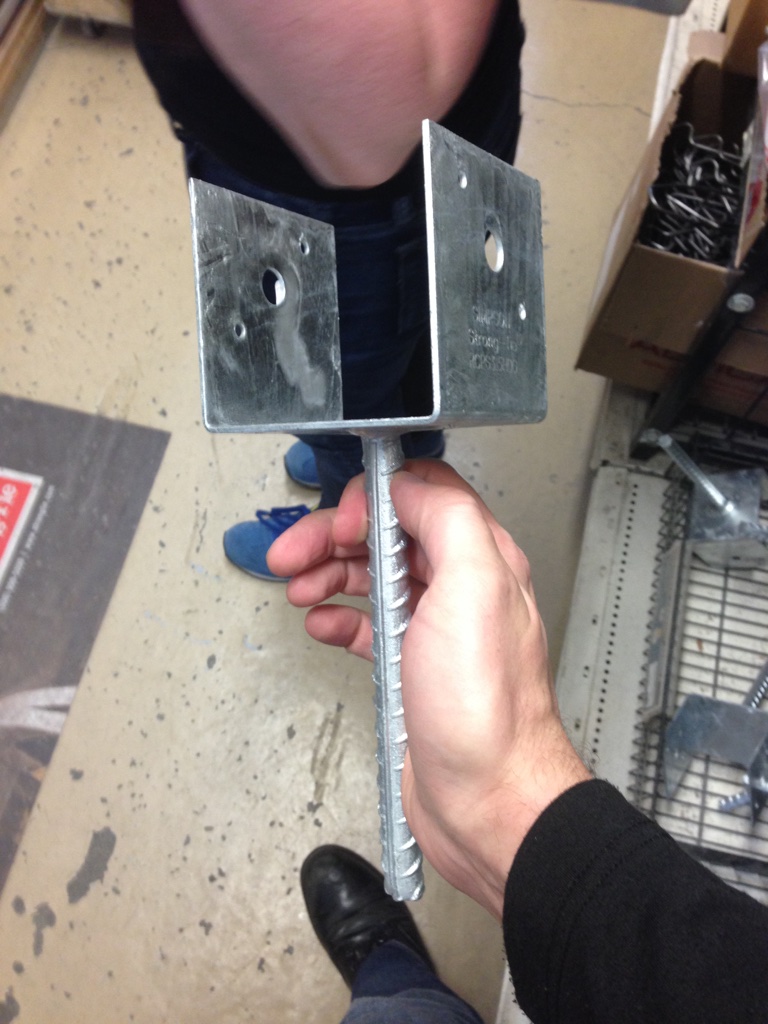
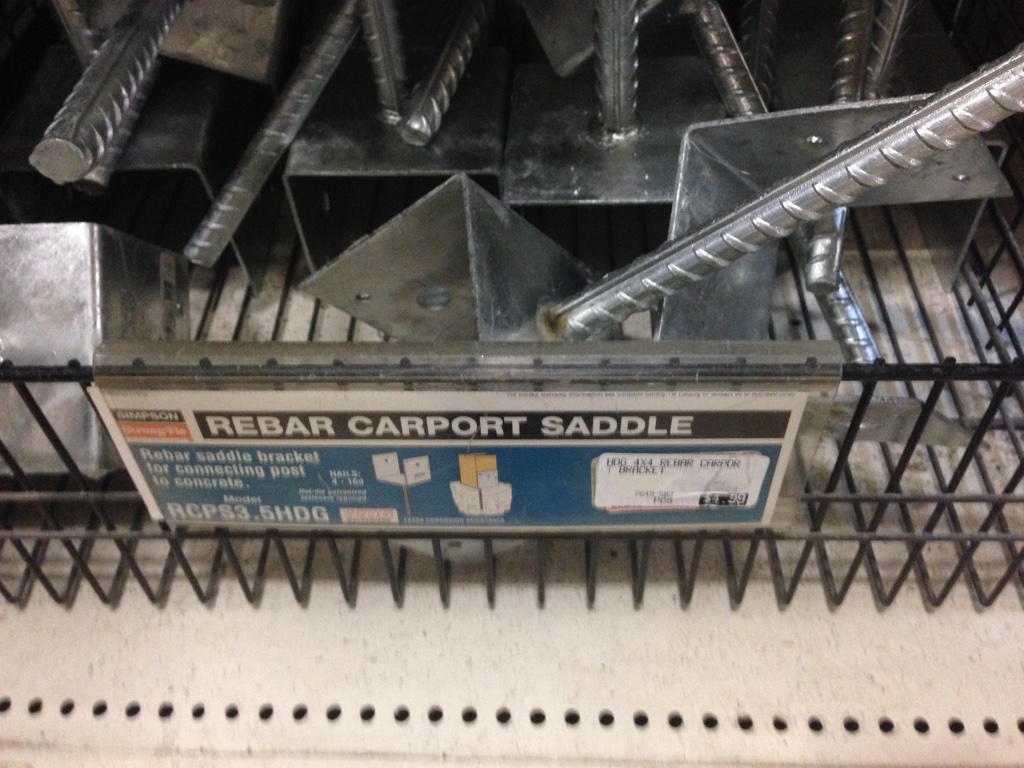
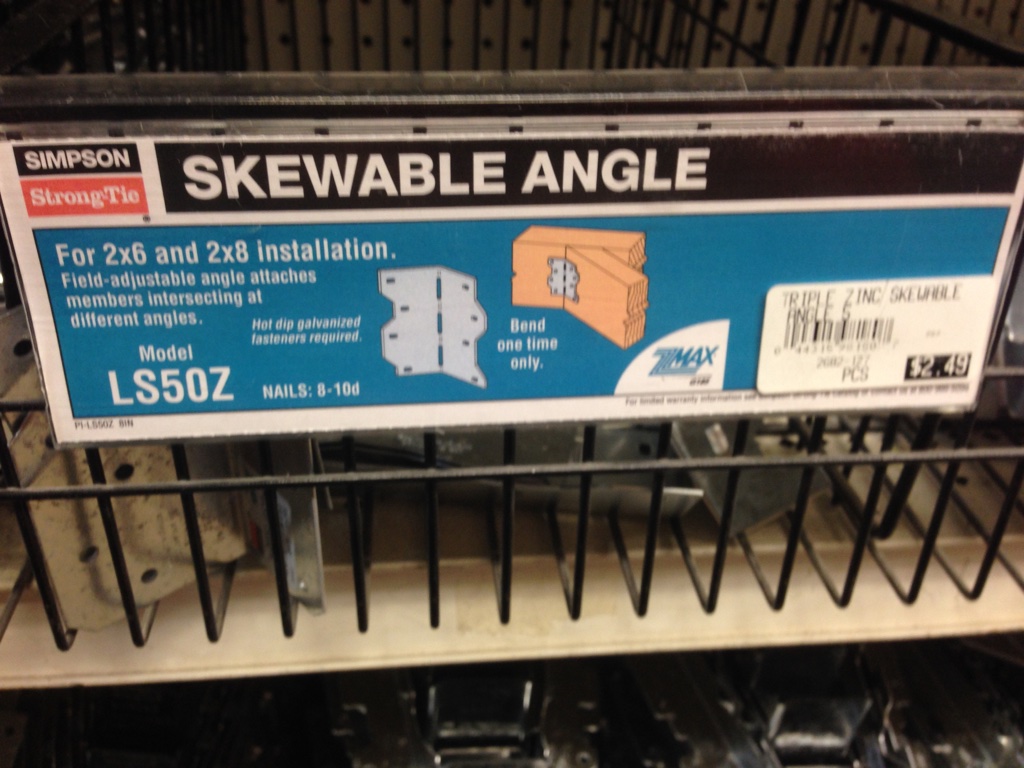
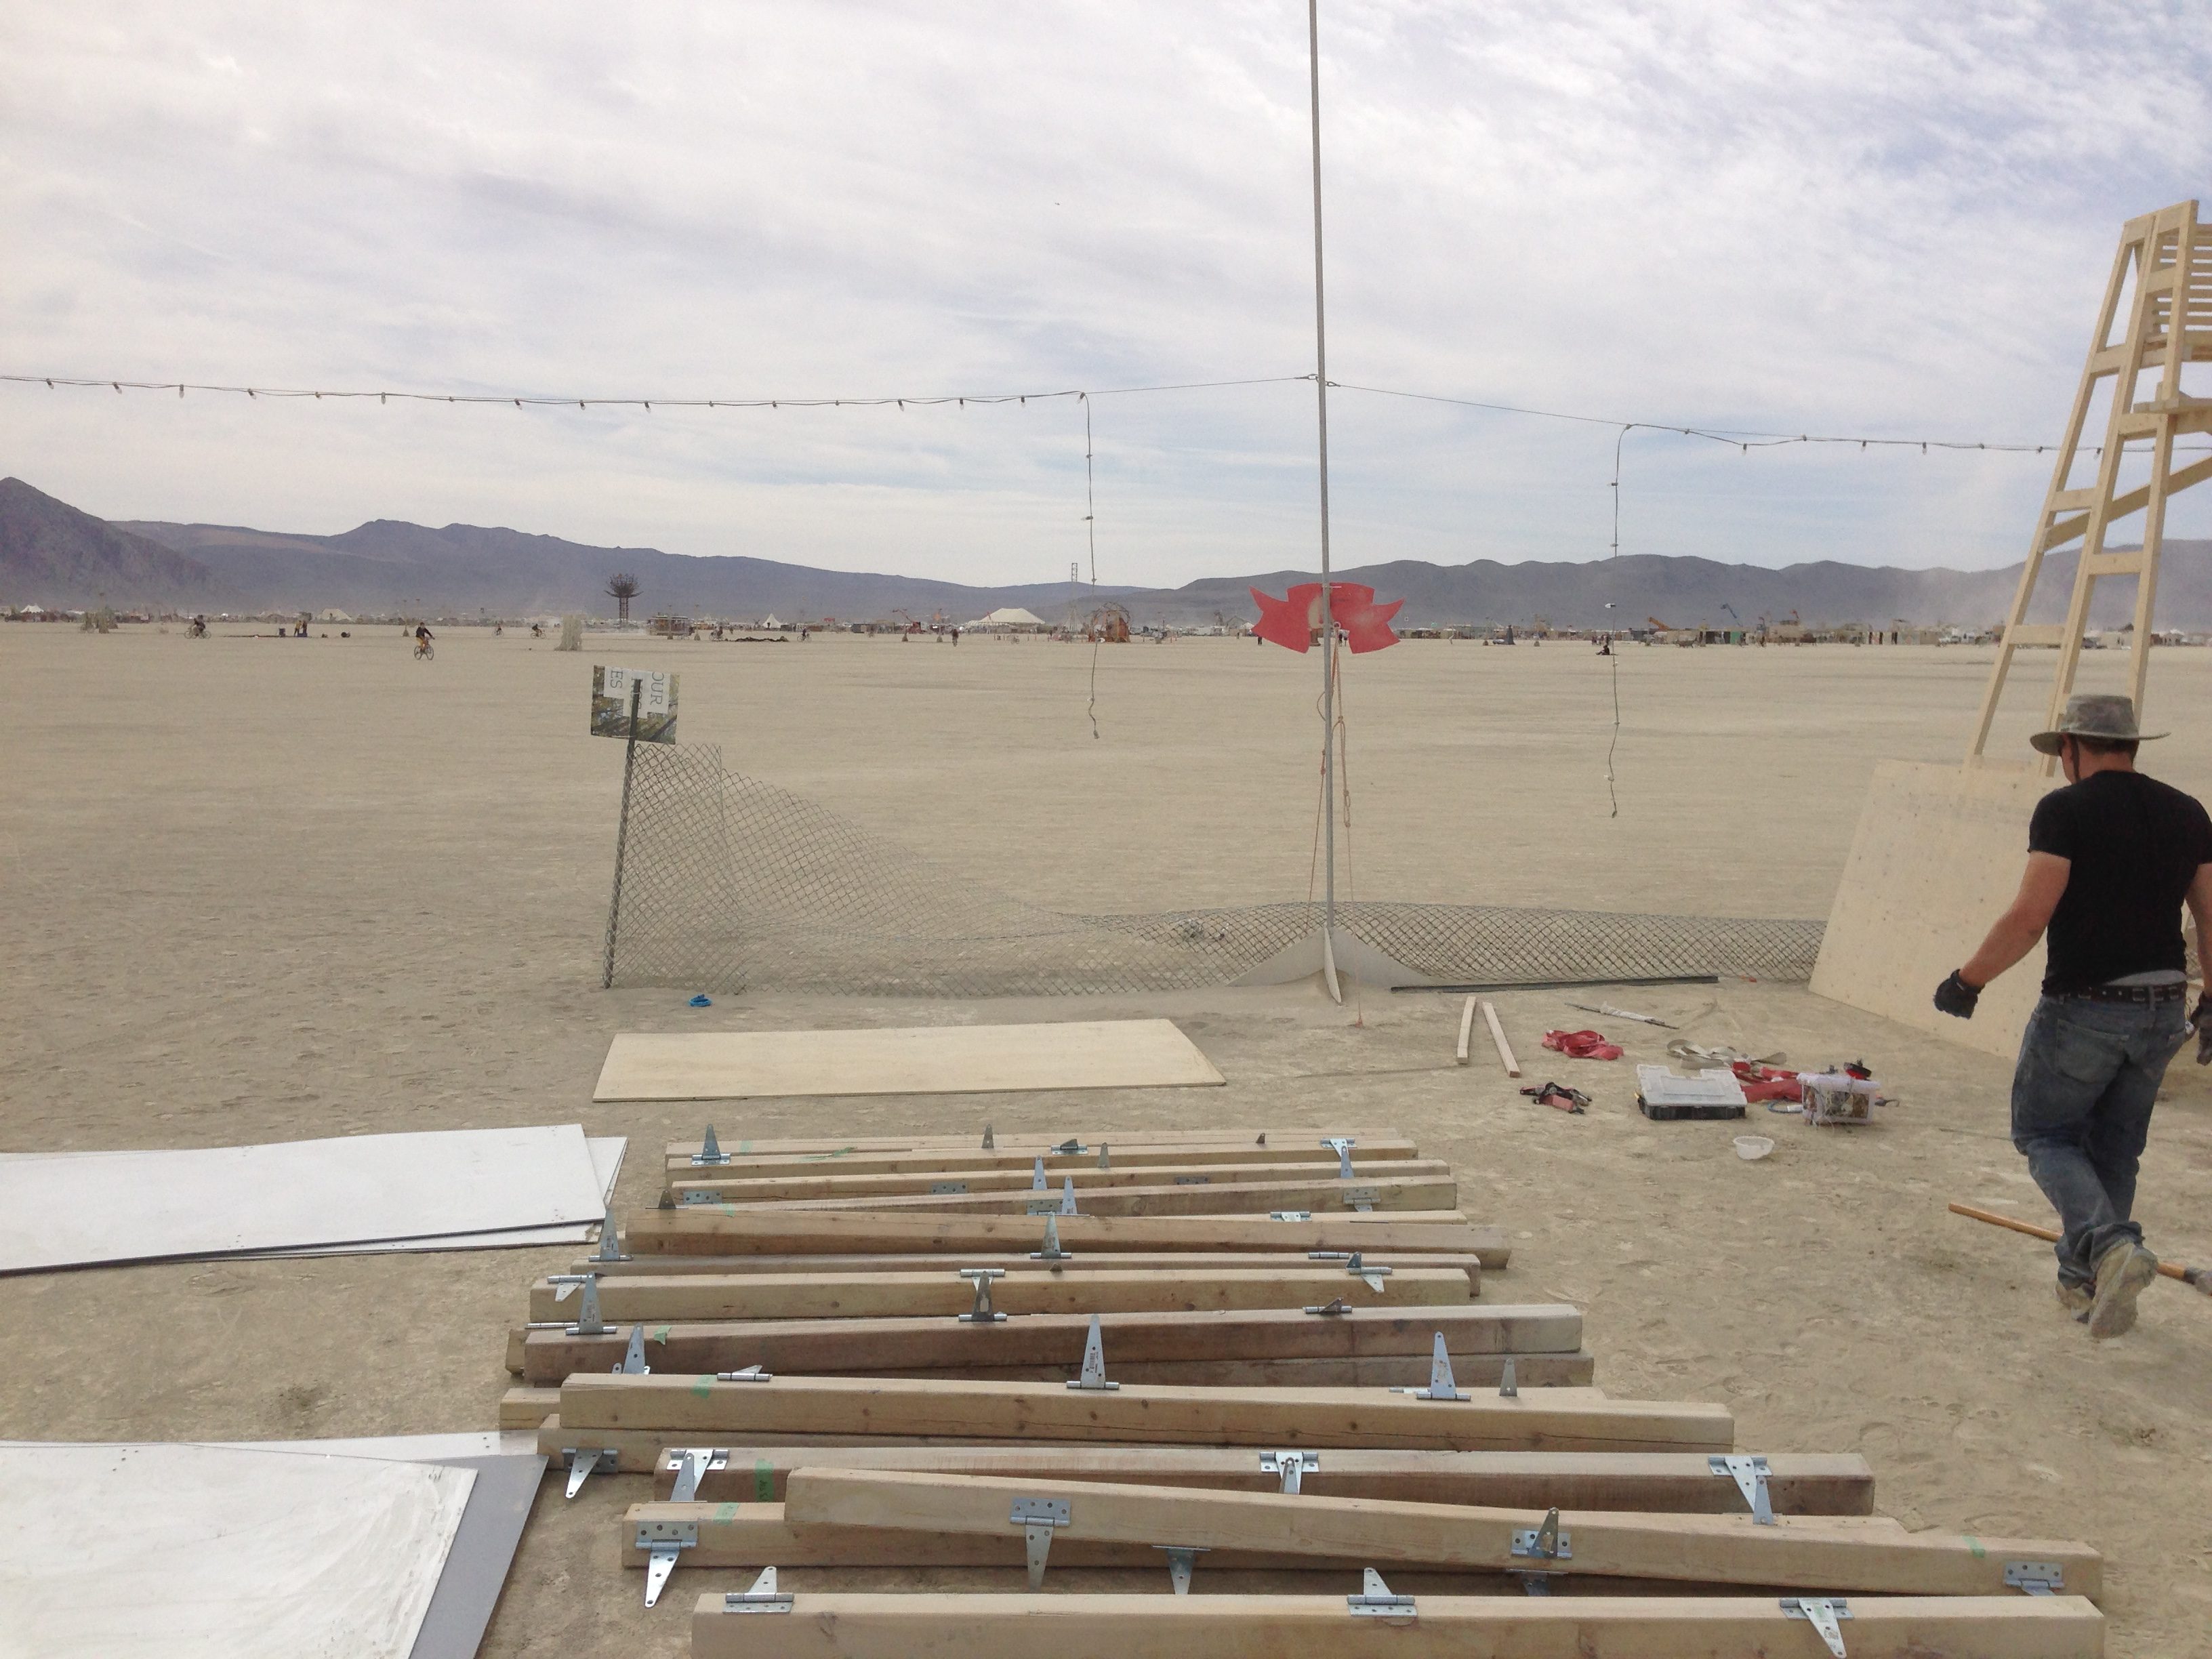
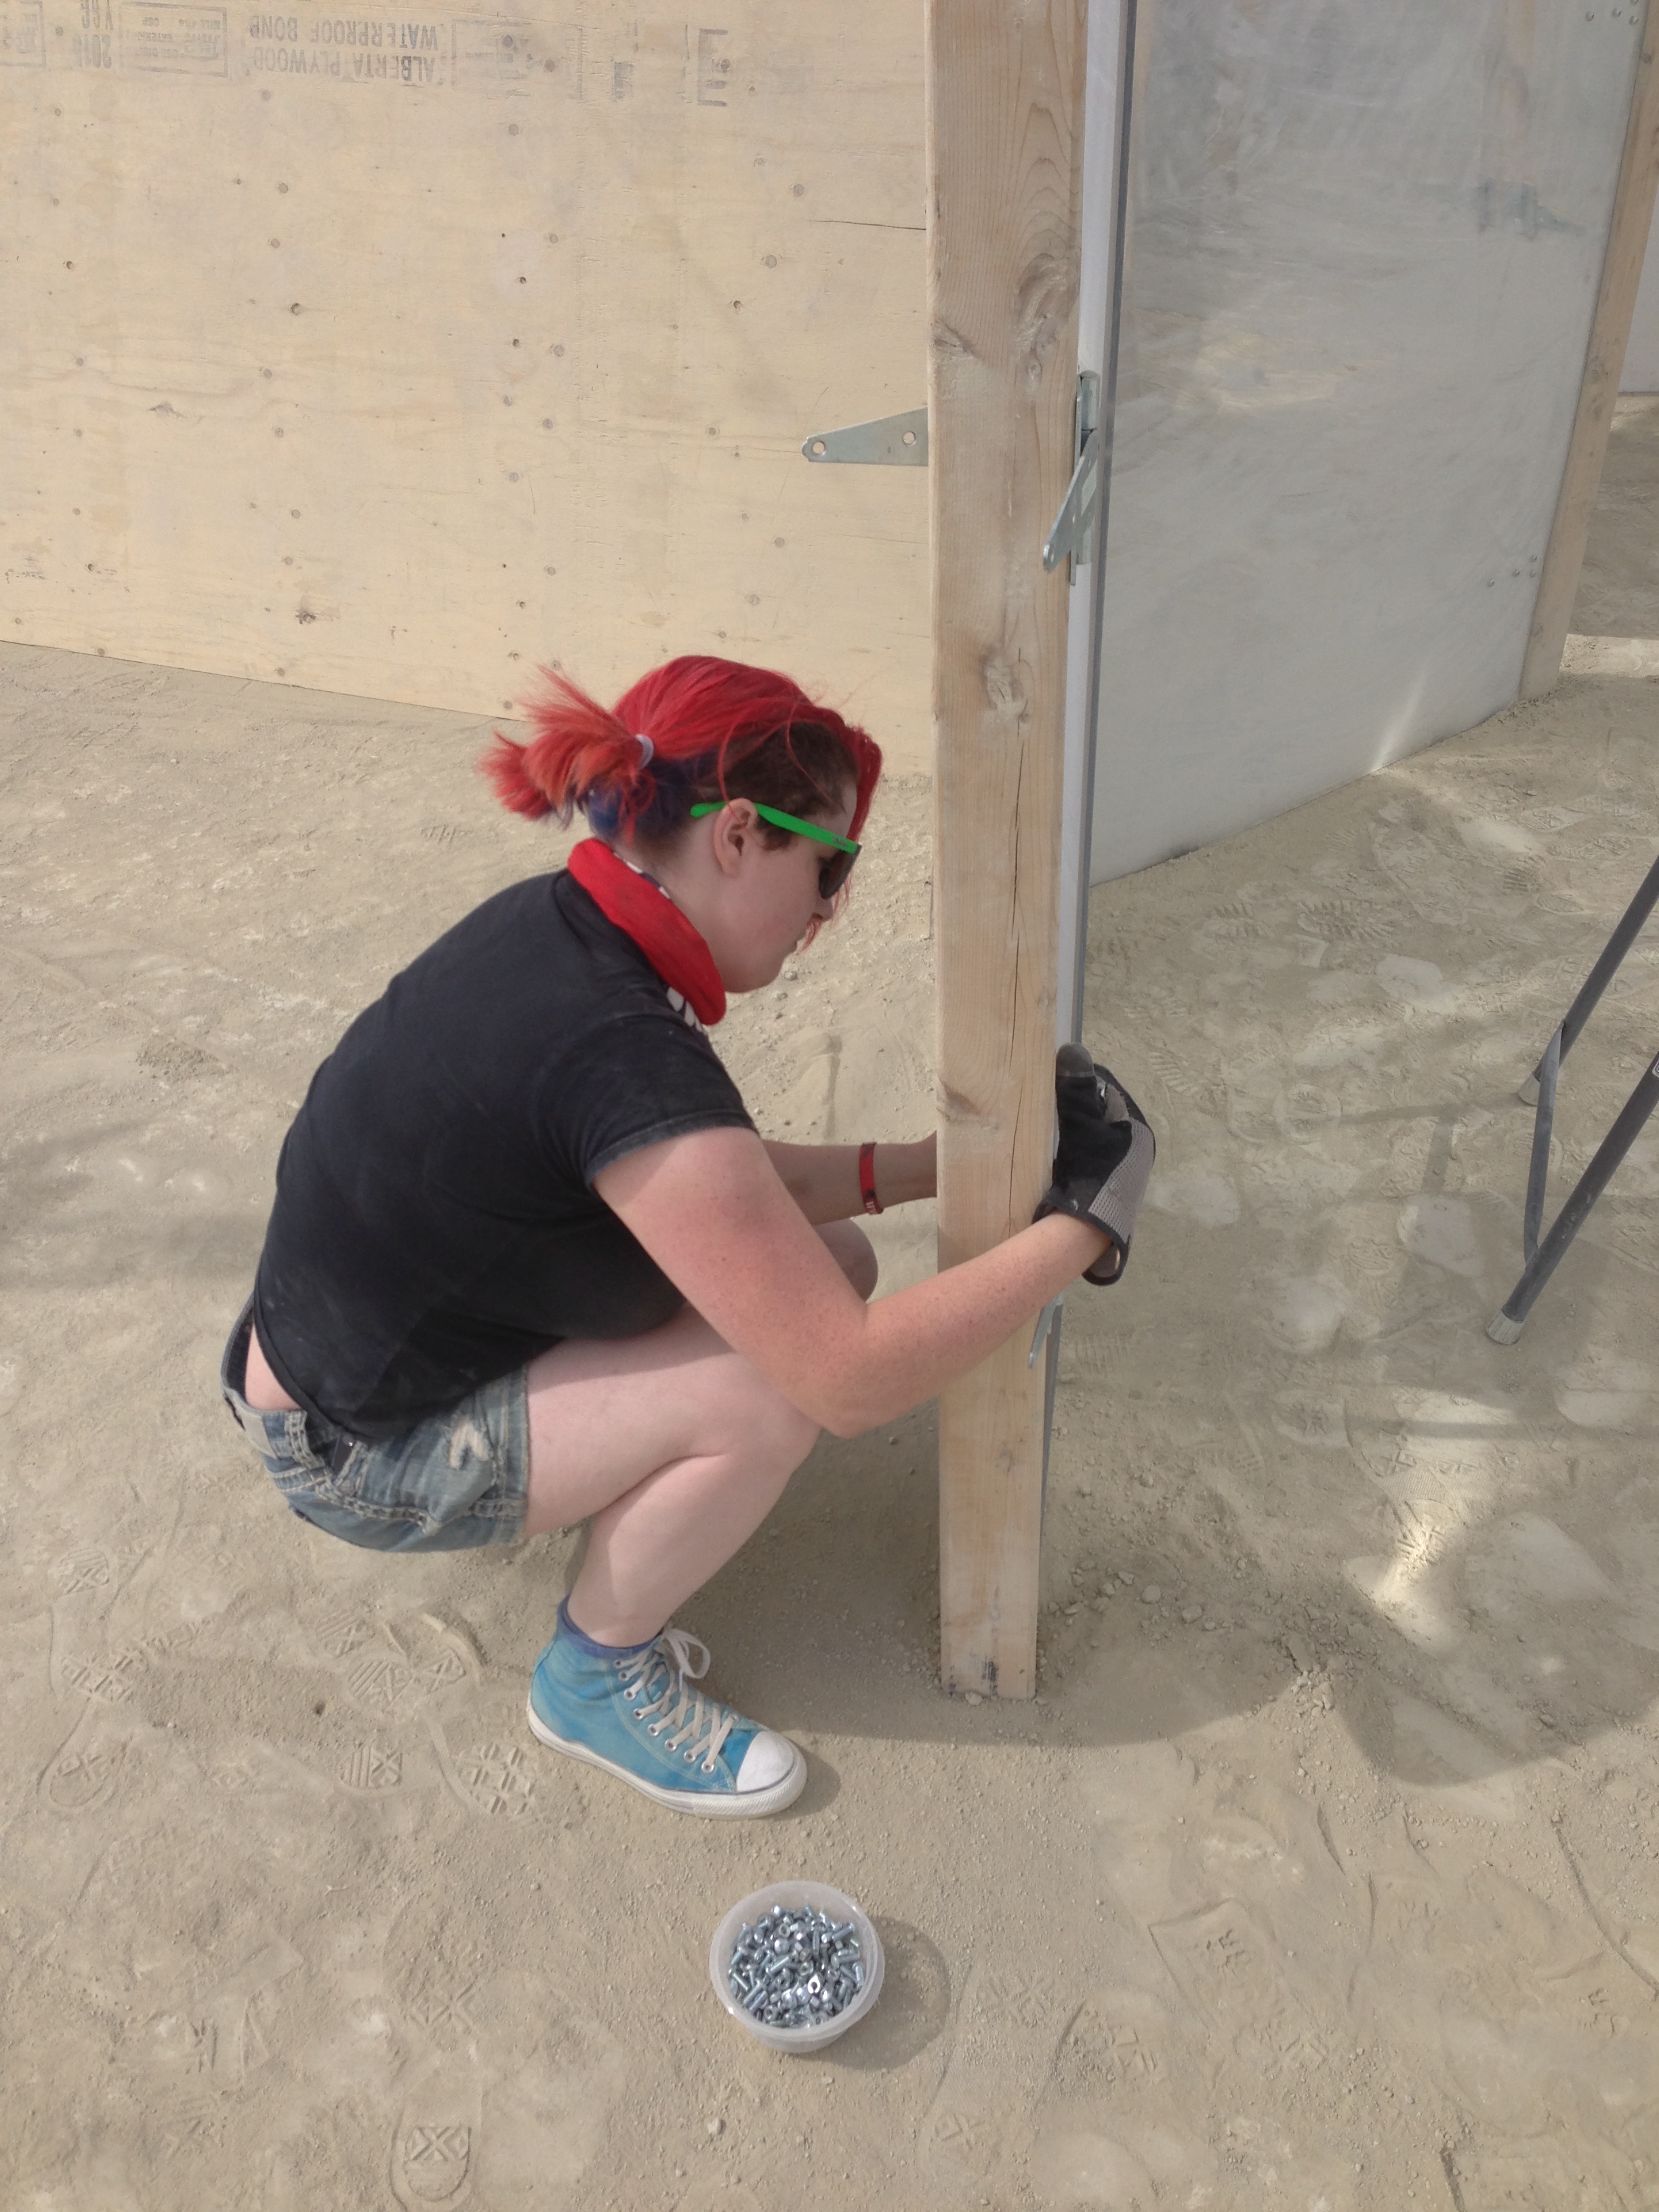
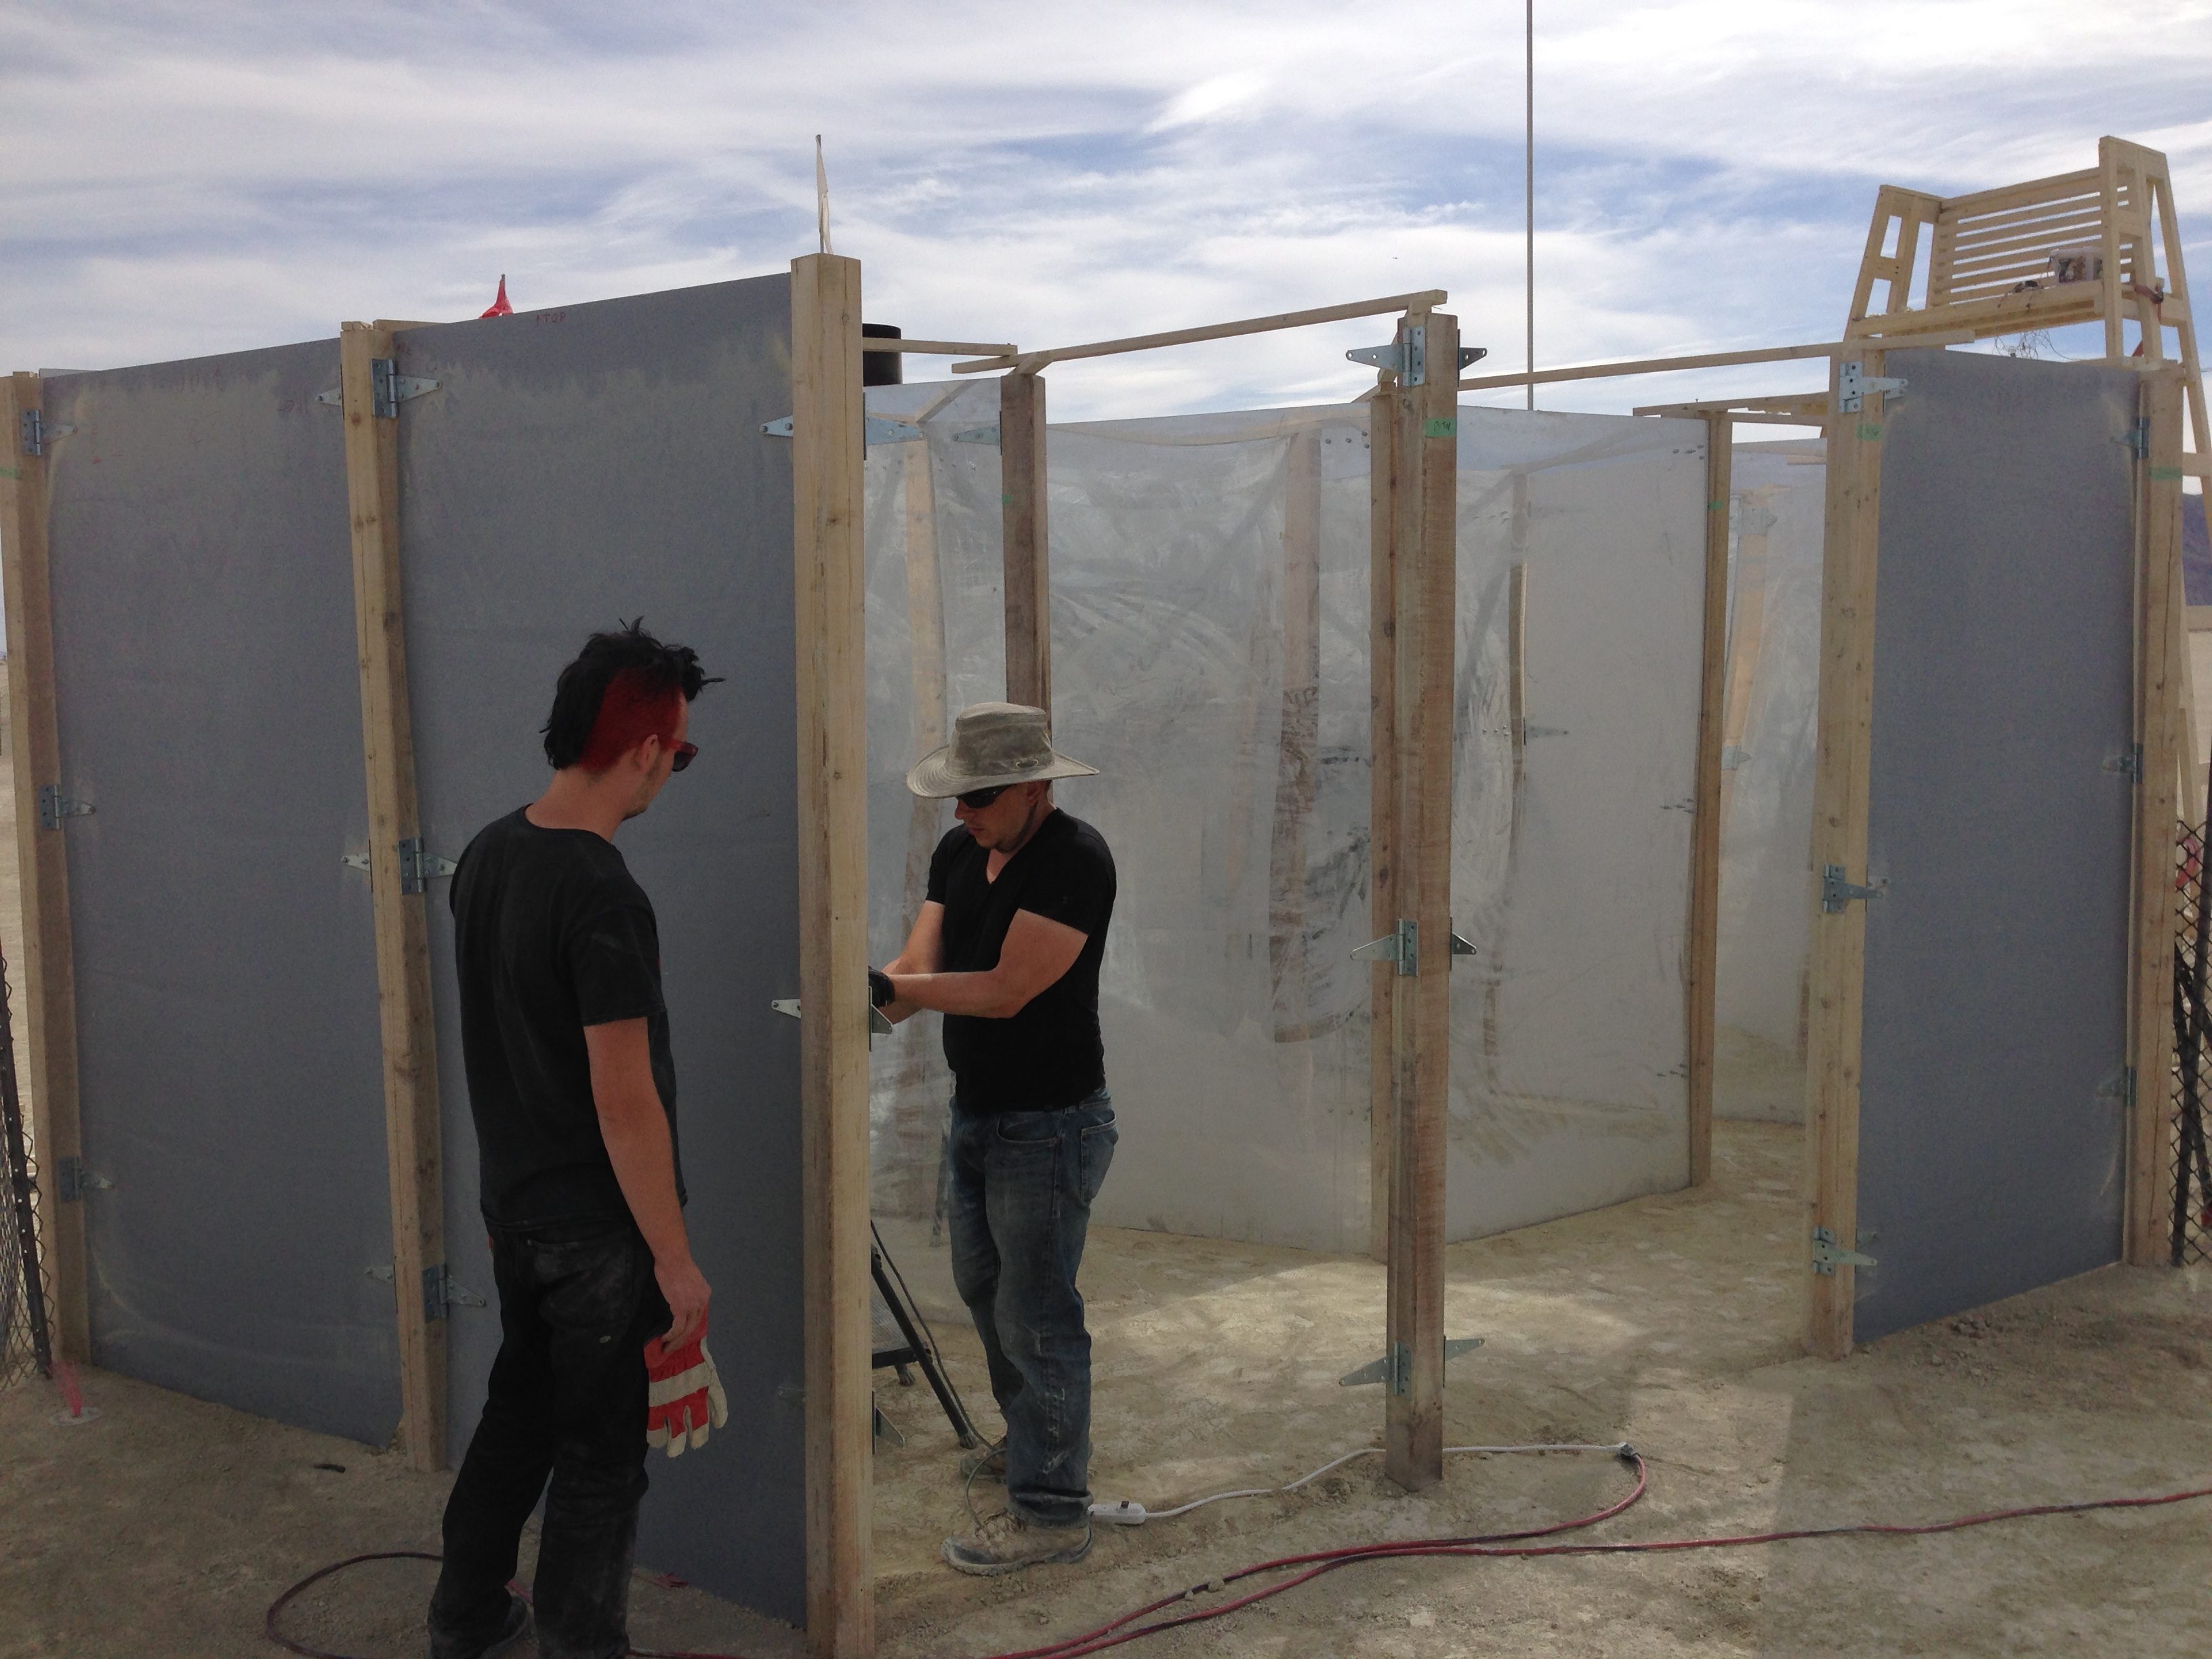
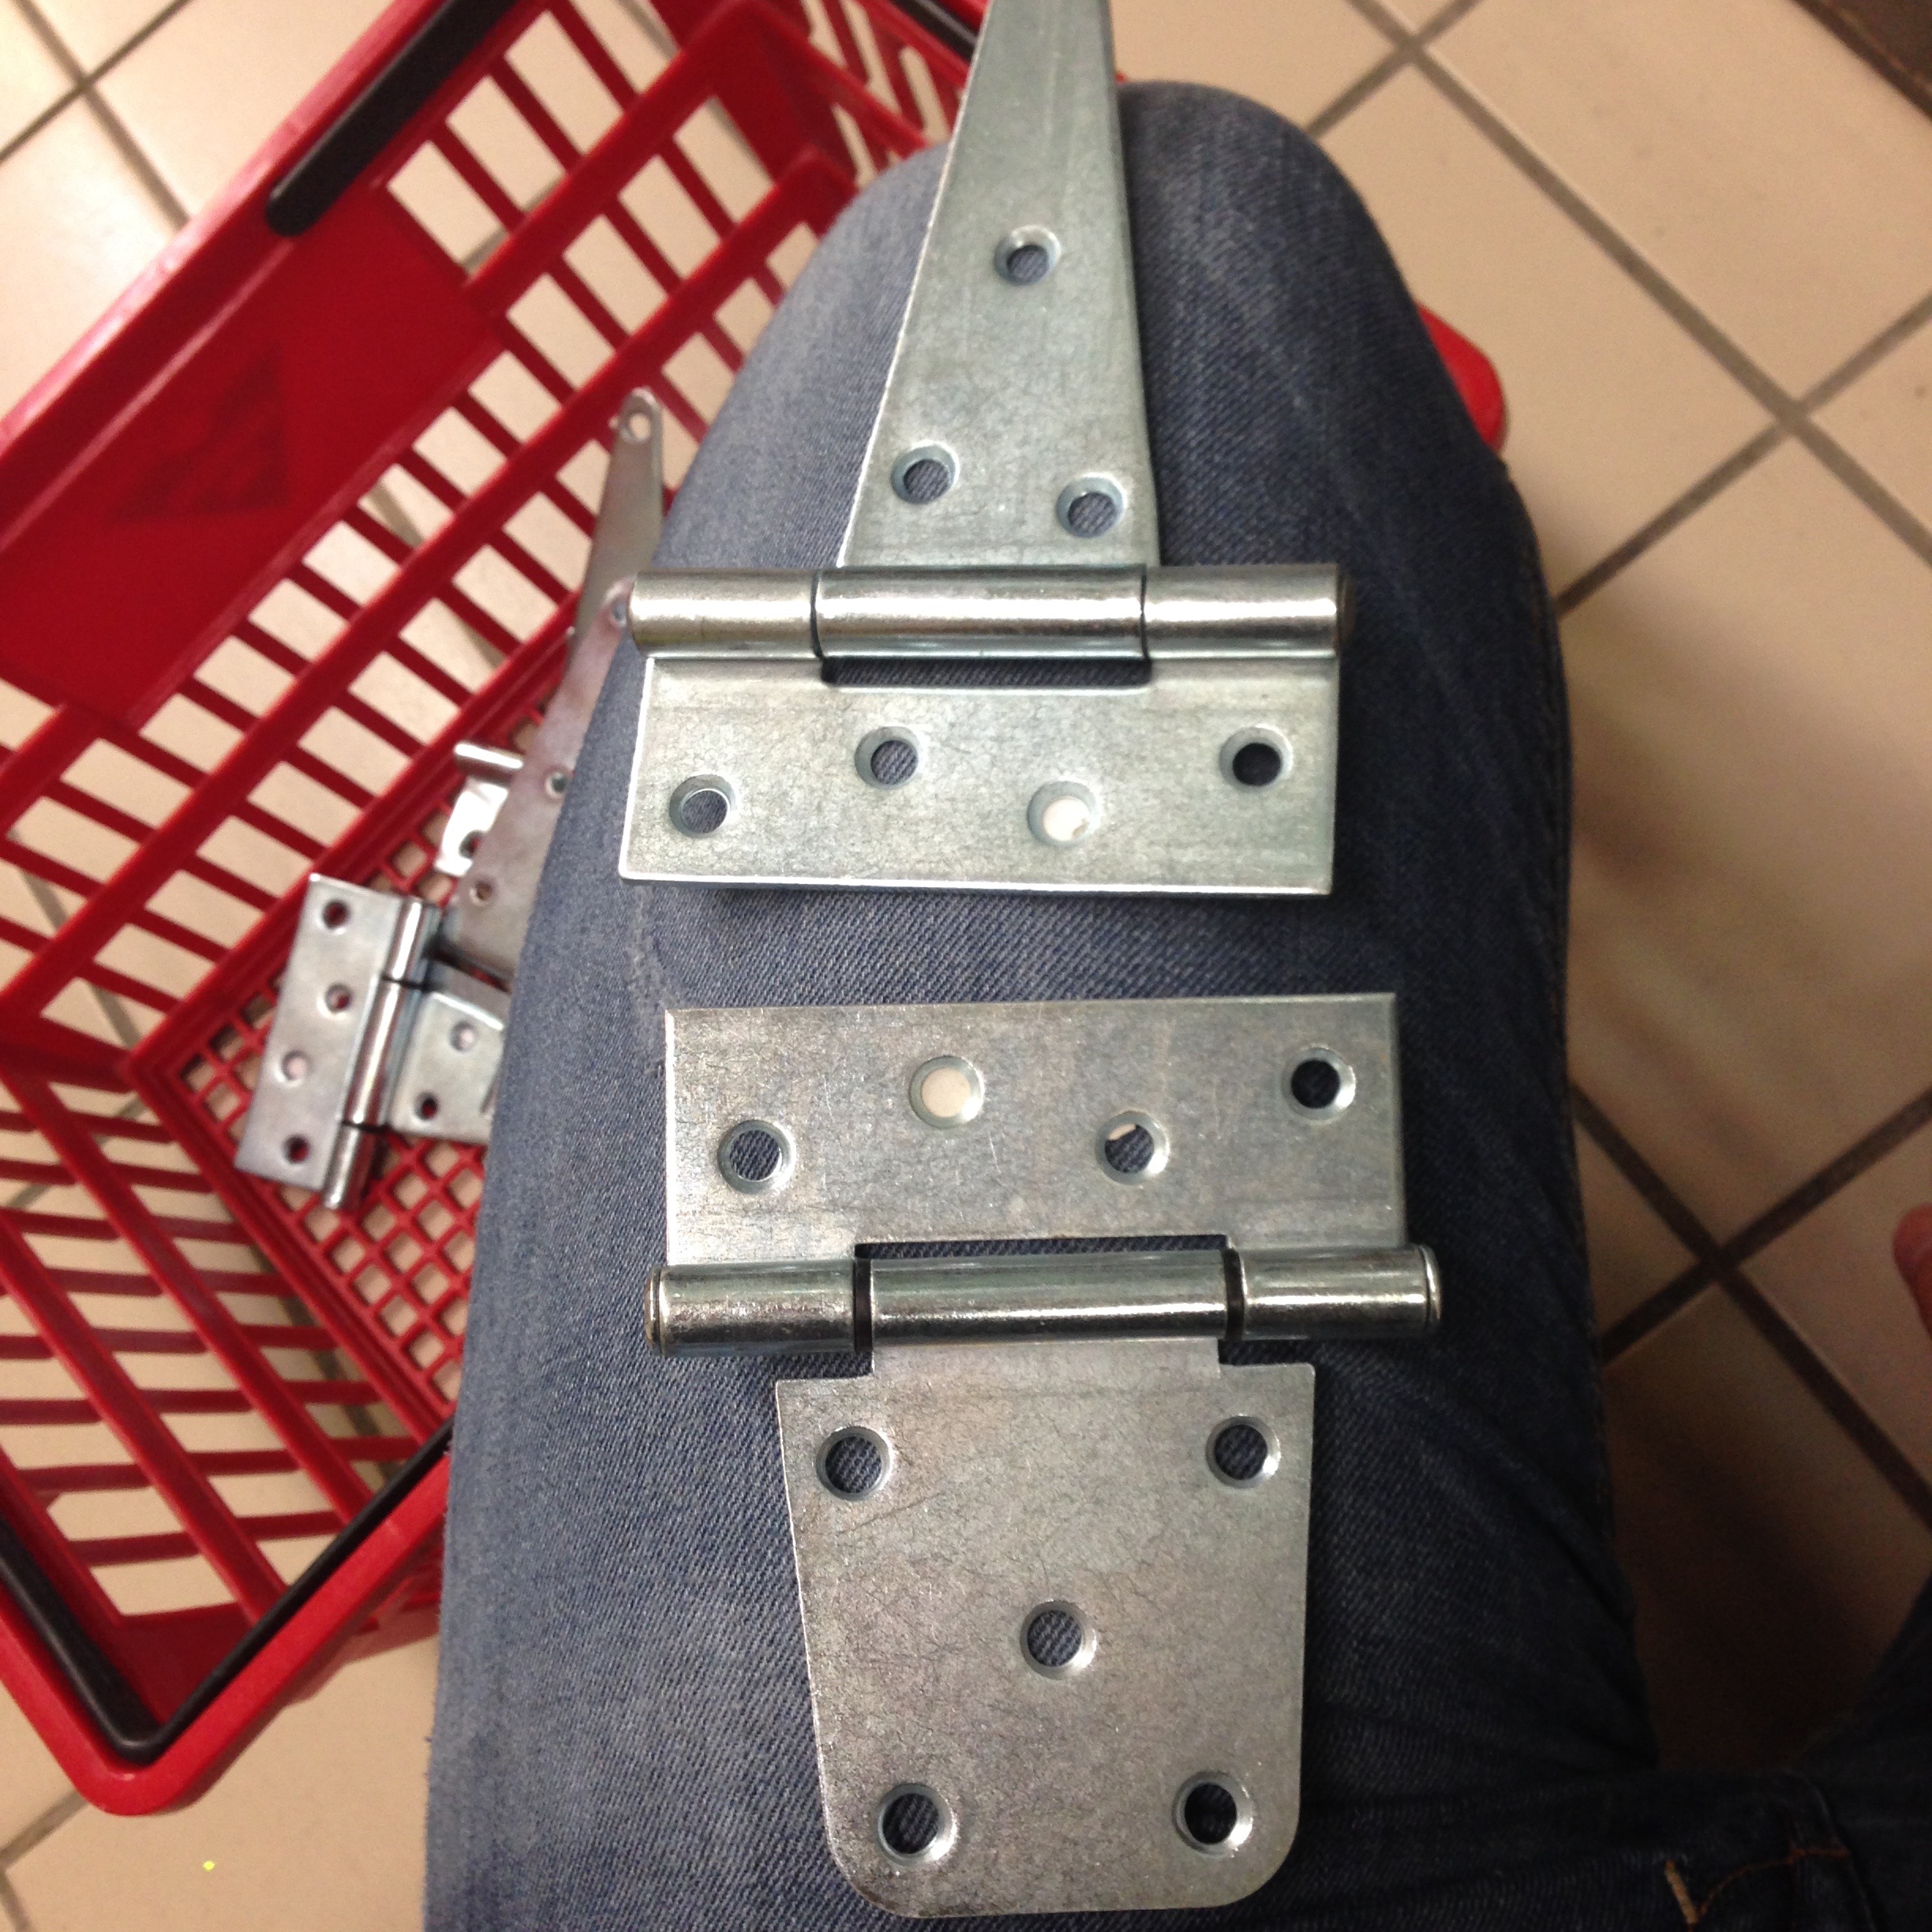
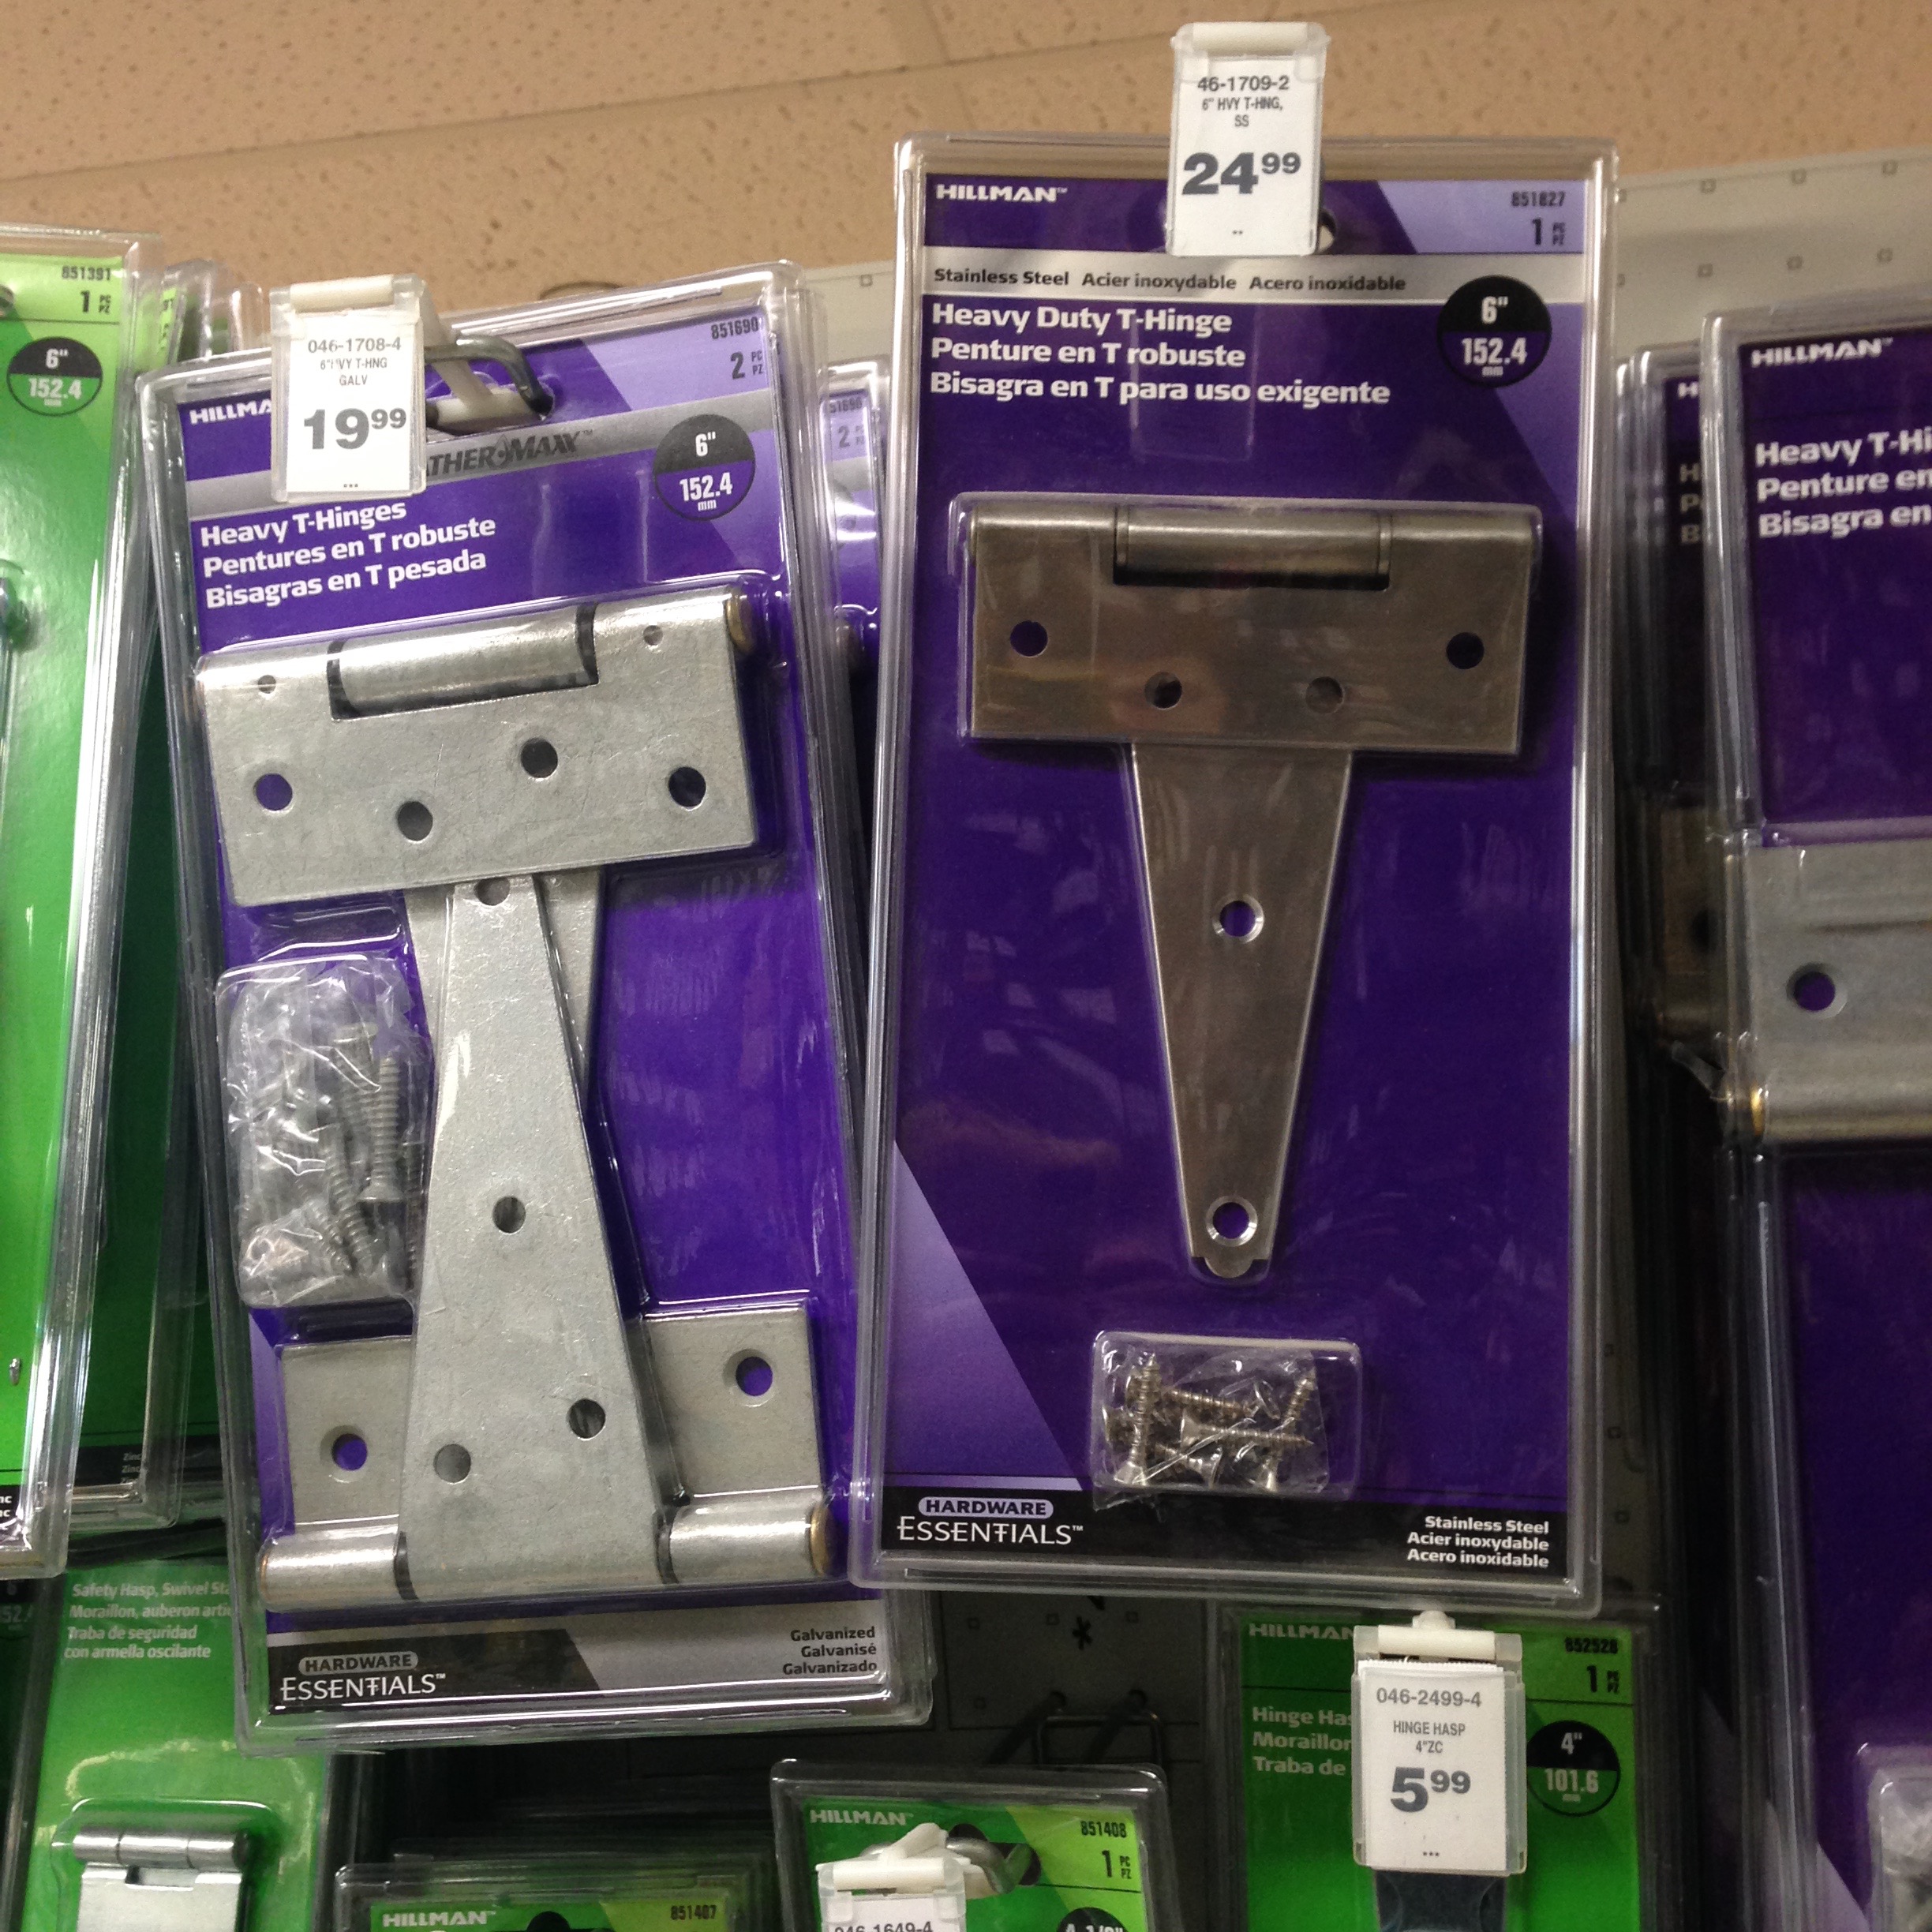
So, we had talked earlier about how we selected T-hinges over piano hinges because they were much stronger. What we had not mentioned was that there were numerous sizes of T-hinges, and other similar shapes of hinges:

Two different shapes of hinges.

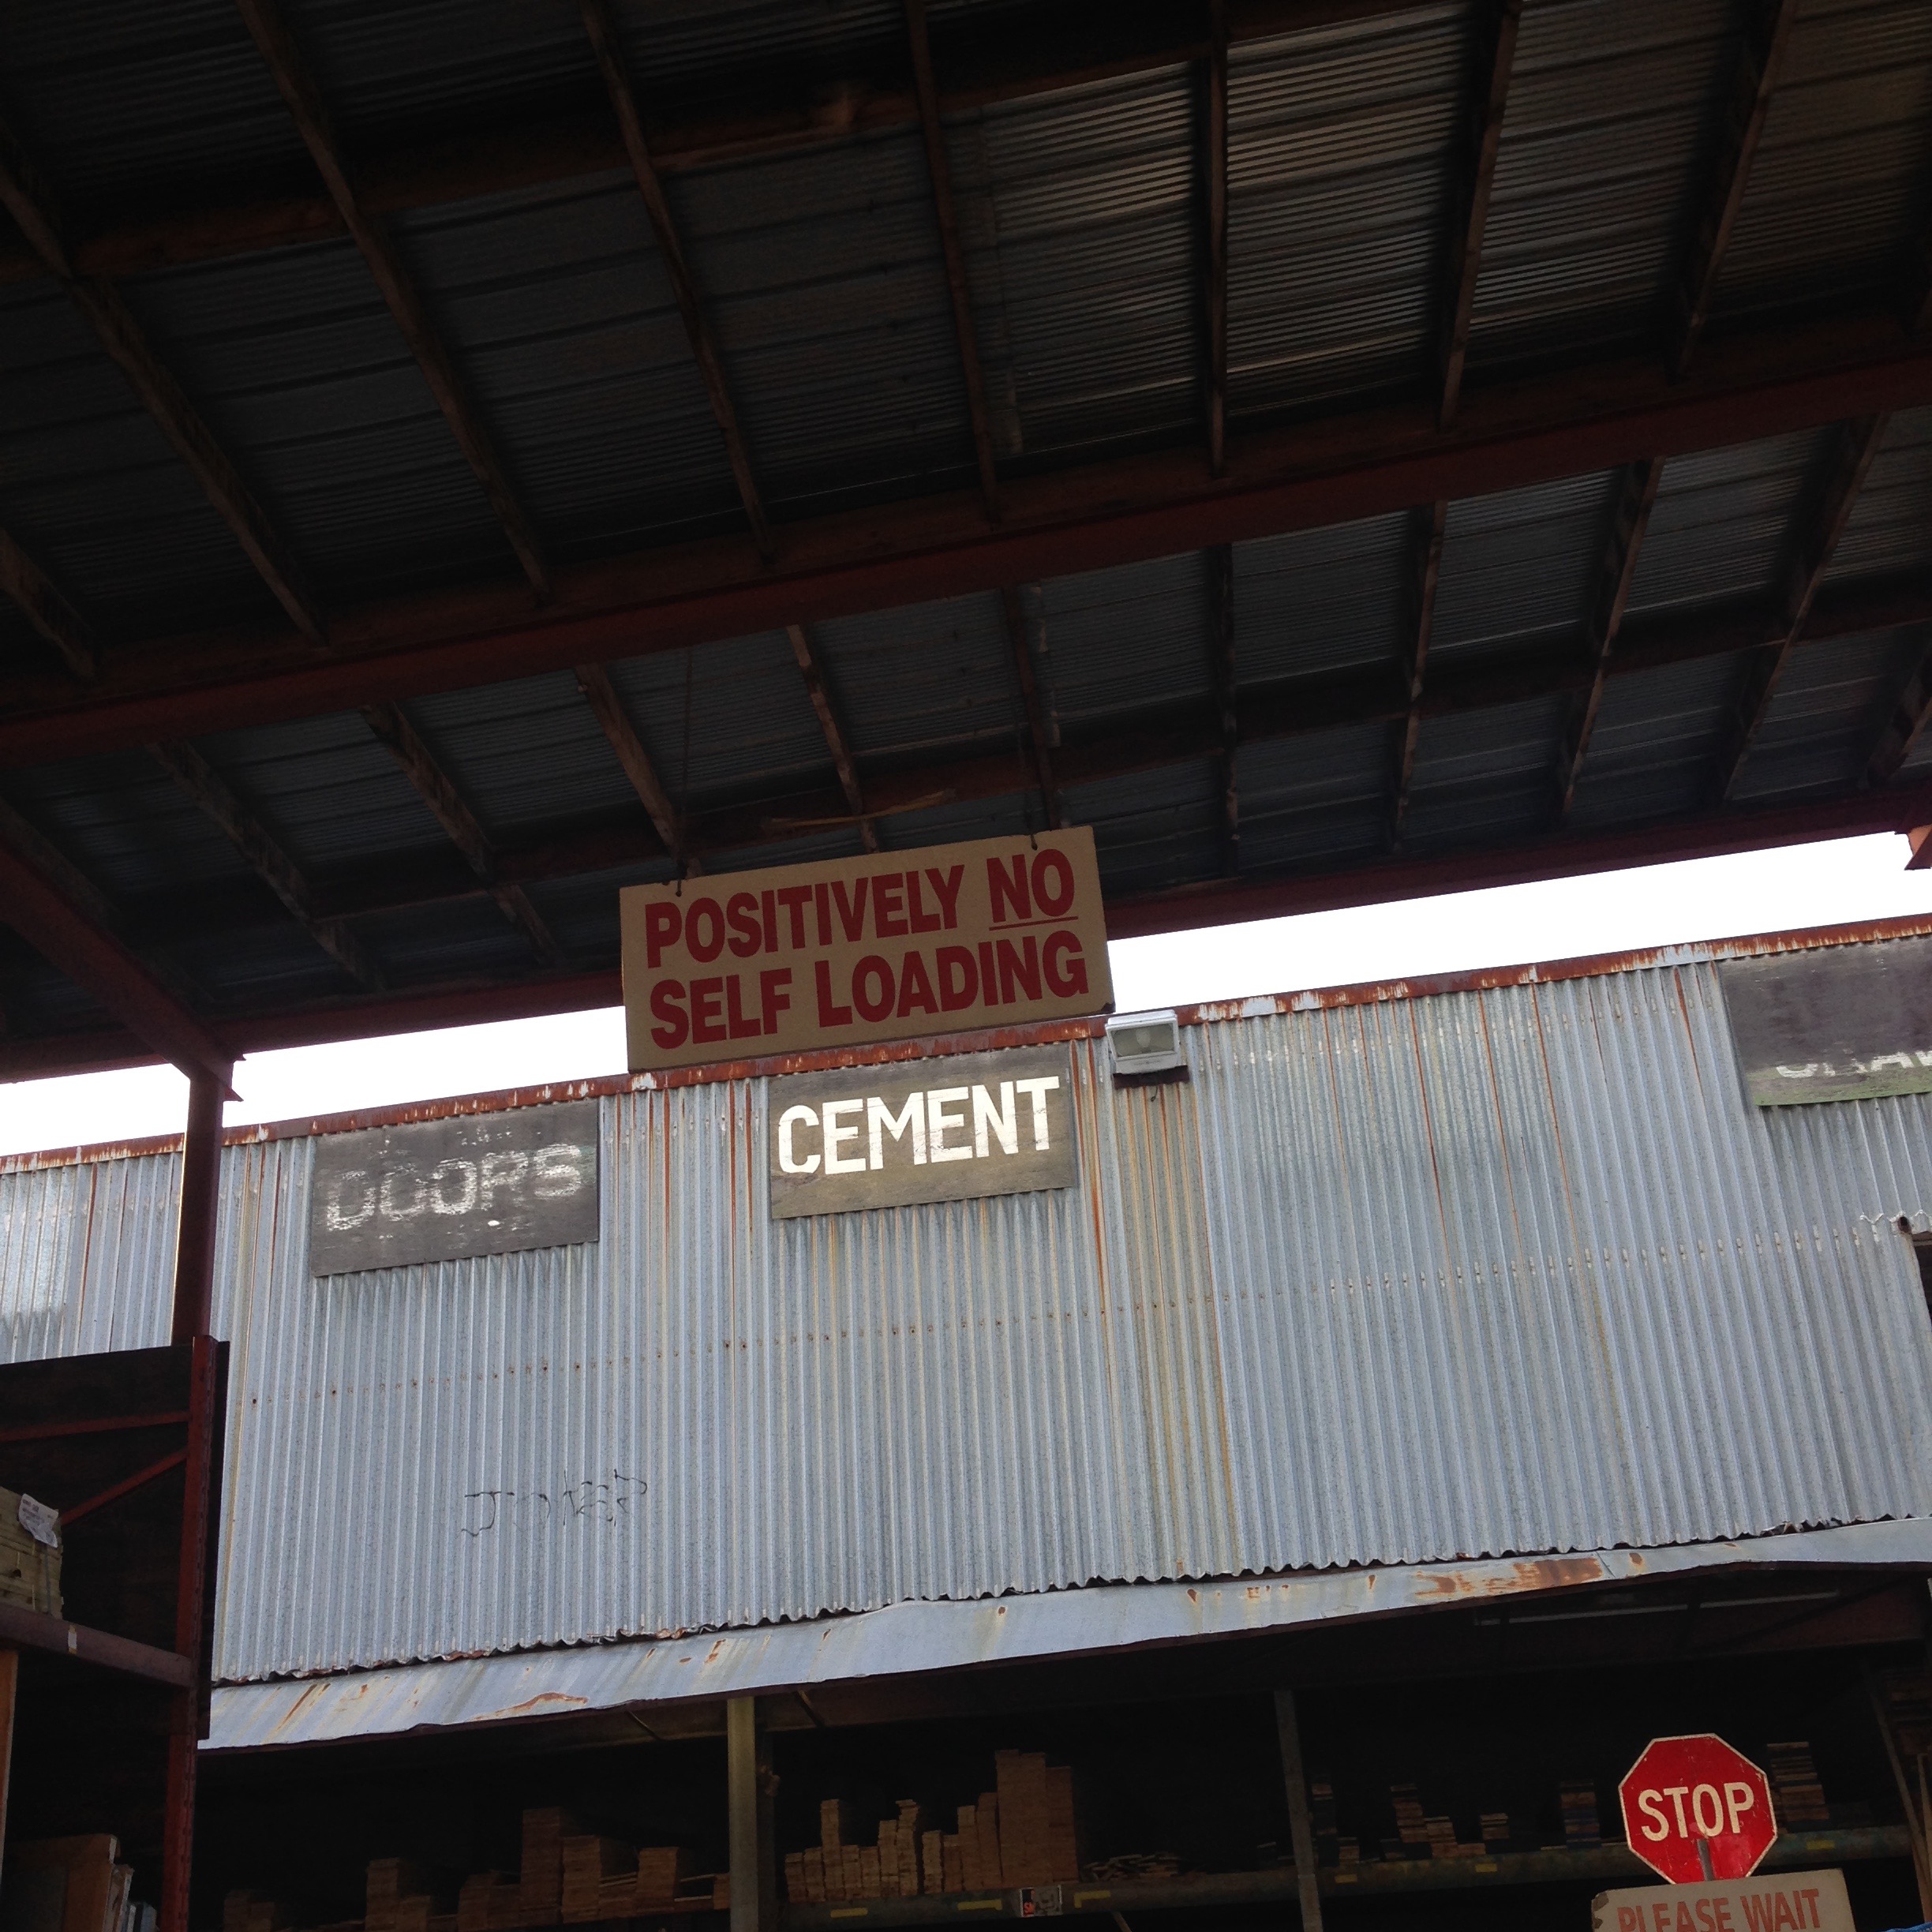
Also, when I was going out to purchase hinges, I would return to the same stores again and again (all the stores within bicycle range had been picked clean halfway through the project), and the double-price hinges (because they were extra galvanized or something) would start to look more and more tempting.

I strongly prefer using commodity items when building things, even if they’re not exactly what you want, because the economies of scale and mass production are difficult to beat.[4] However, when you combine this with building a large project and purchasing from retail stores who do ‘just-in-time’ resupply, you can often be left hanging after you’ve exhausted all of the stores in an easy radius.

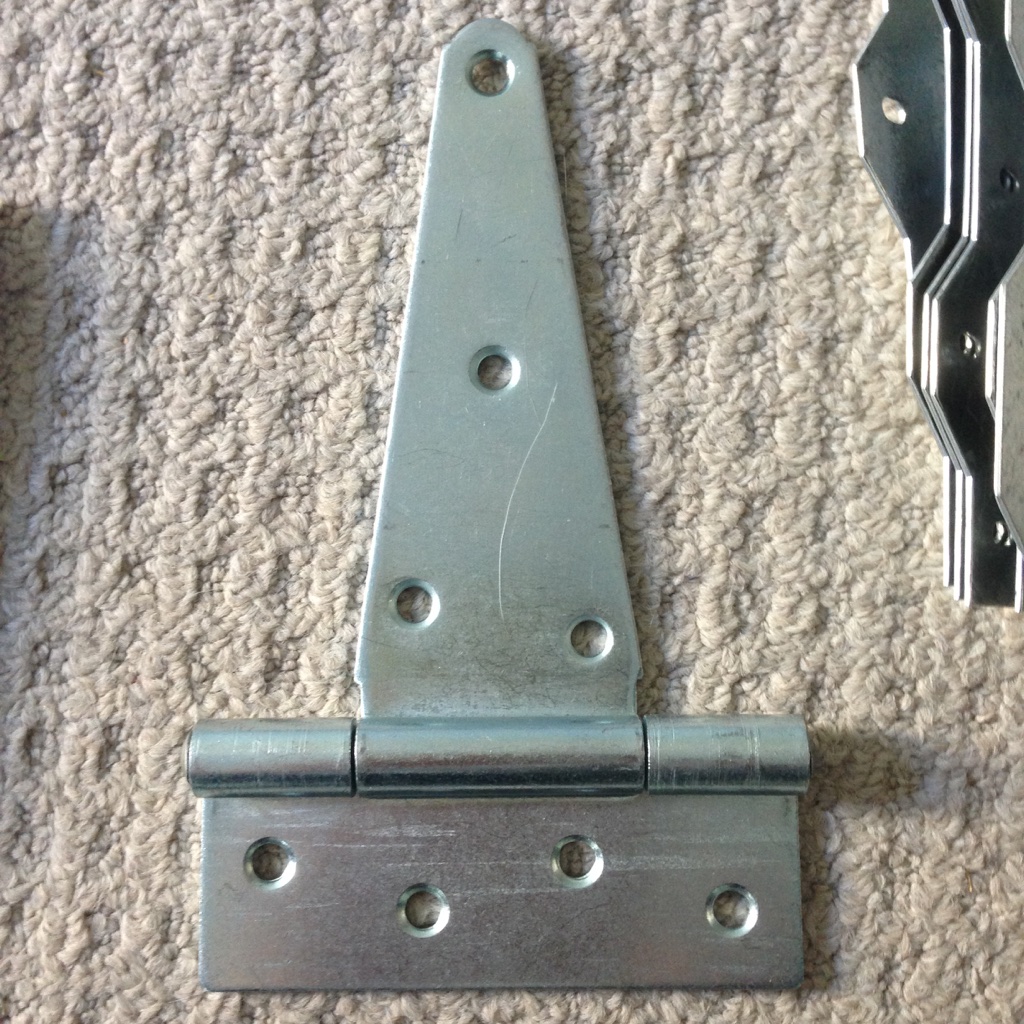
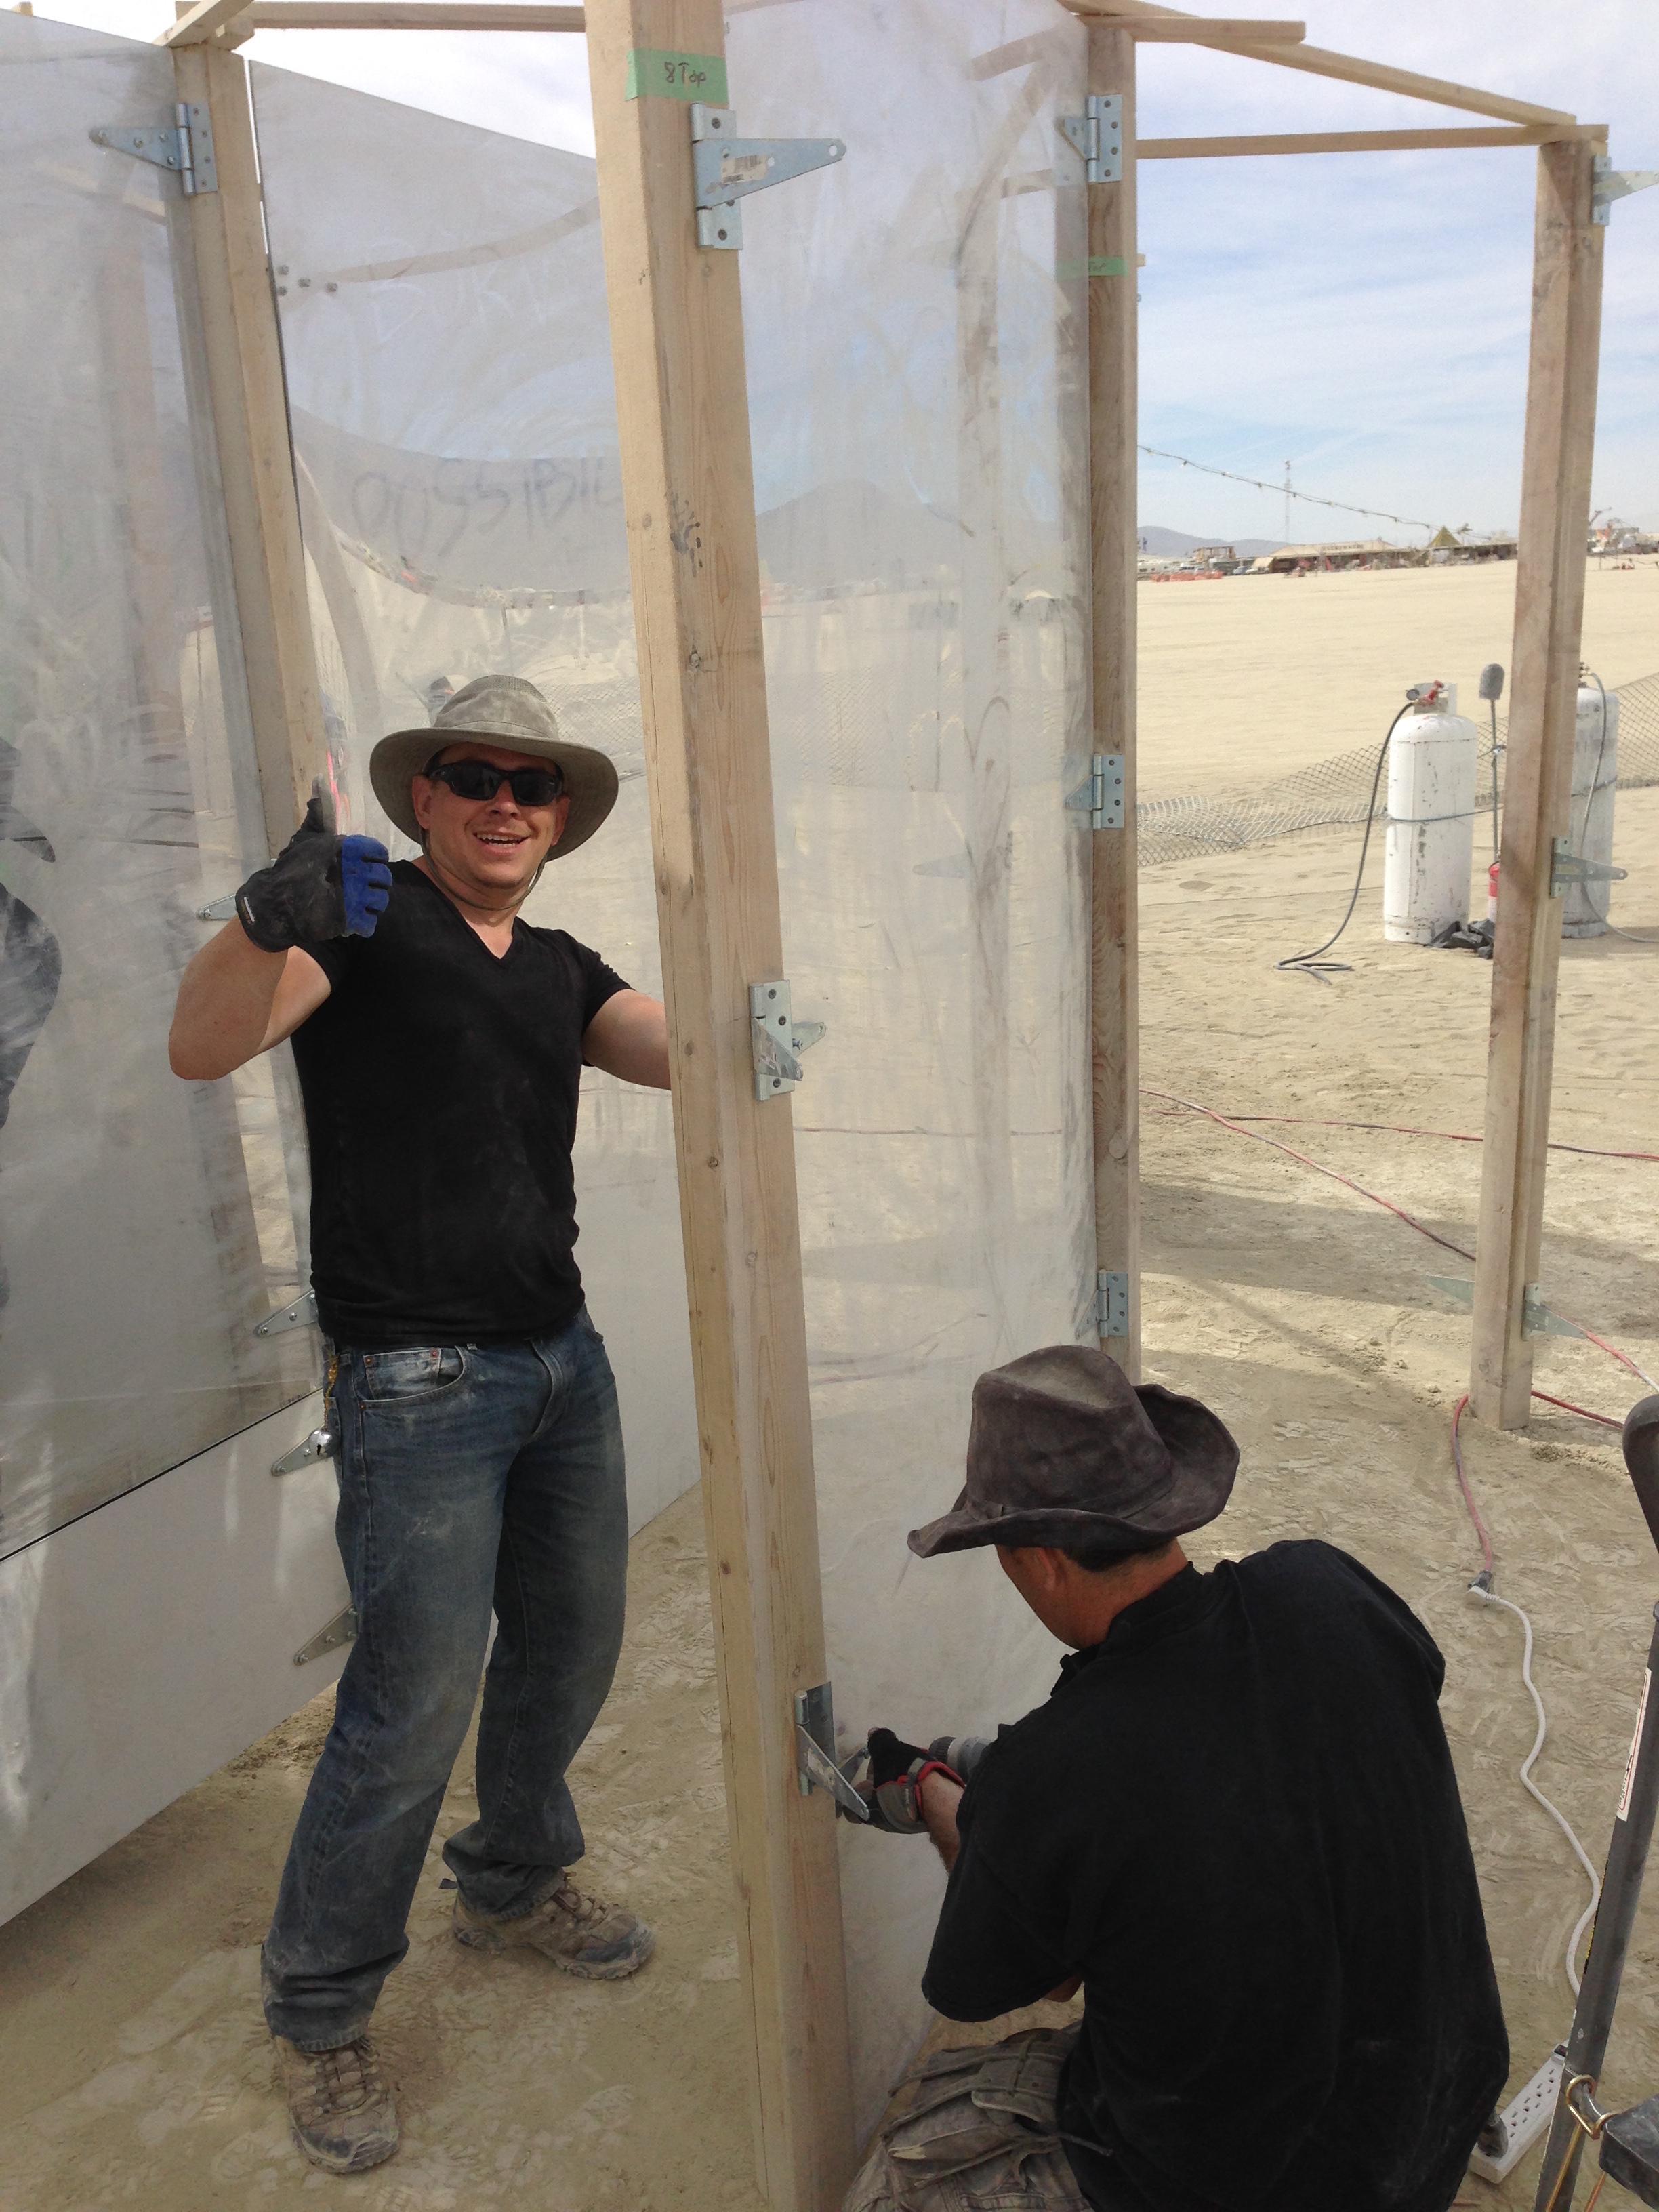
For this project, we needed 6 hinges per mirror, and we had in excess of 20 mirrors. Each store would have perhaps 12 useful hinges when it was fully stocked. We were lucky that I enjoy being a scrounger.

What is the difference?  Price is the difference!
What is the difference? Price is the difference!

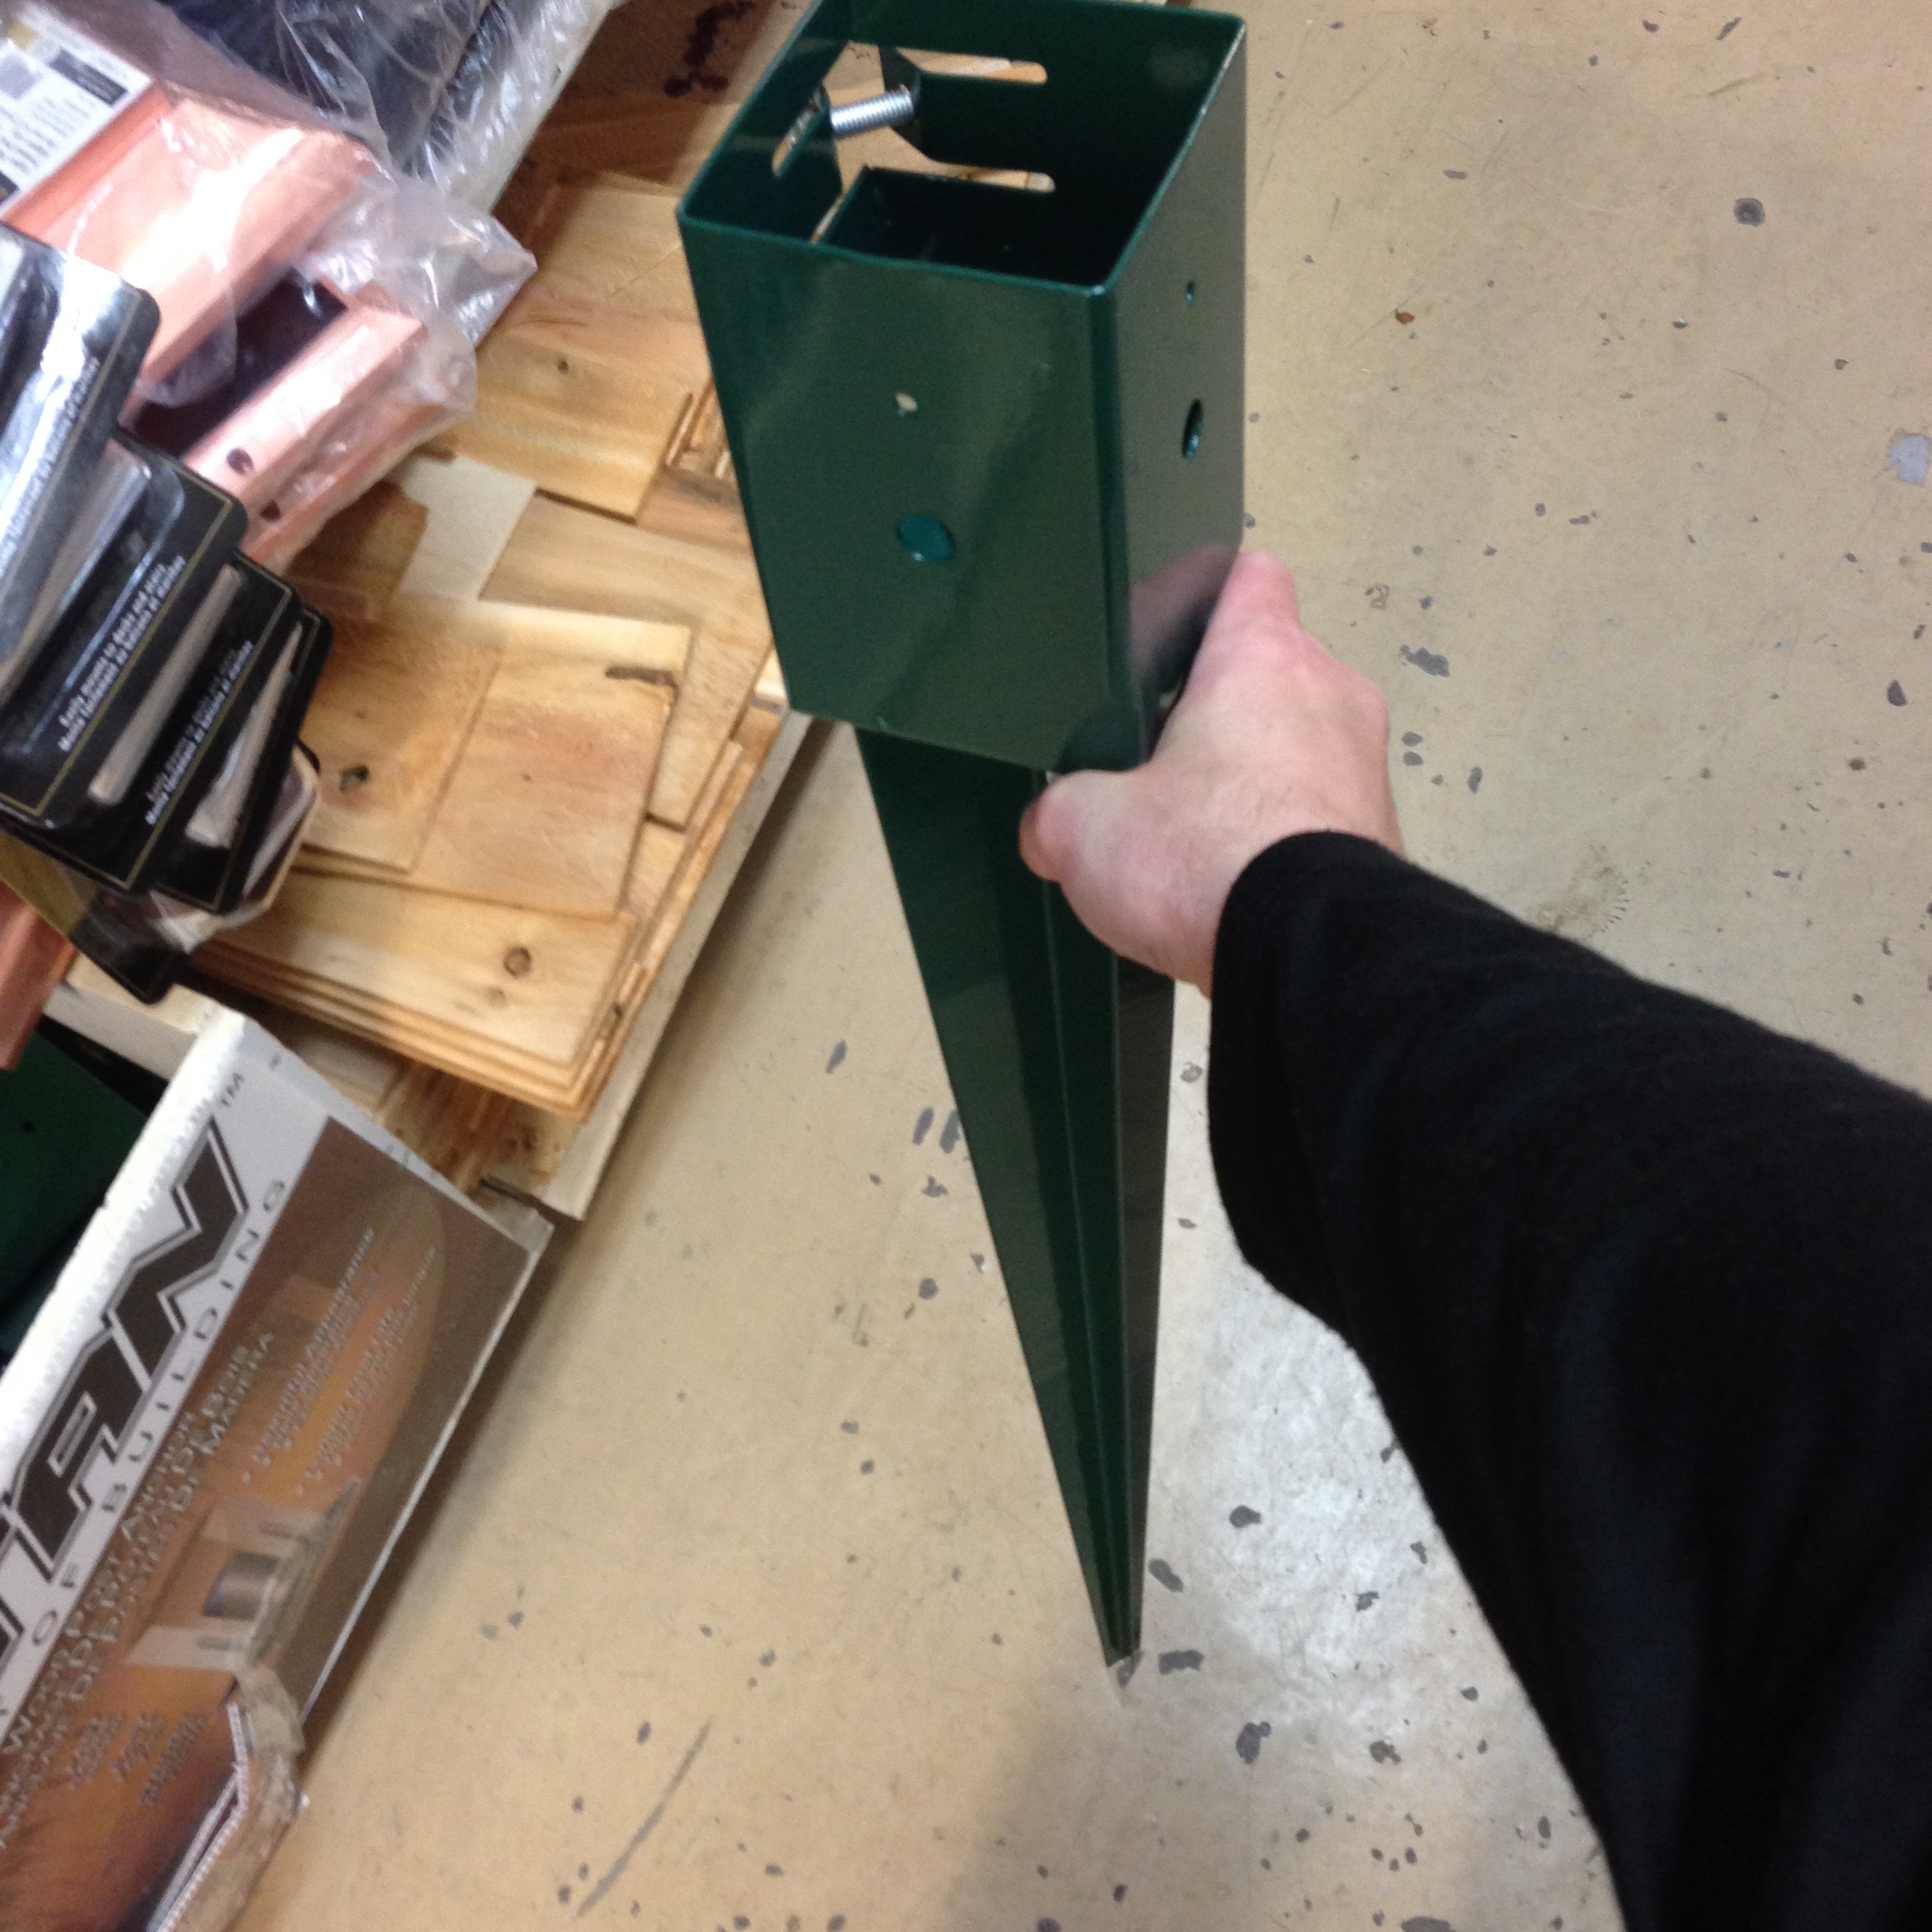
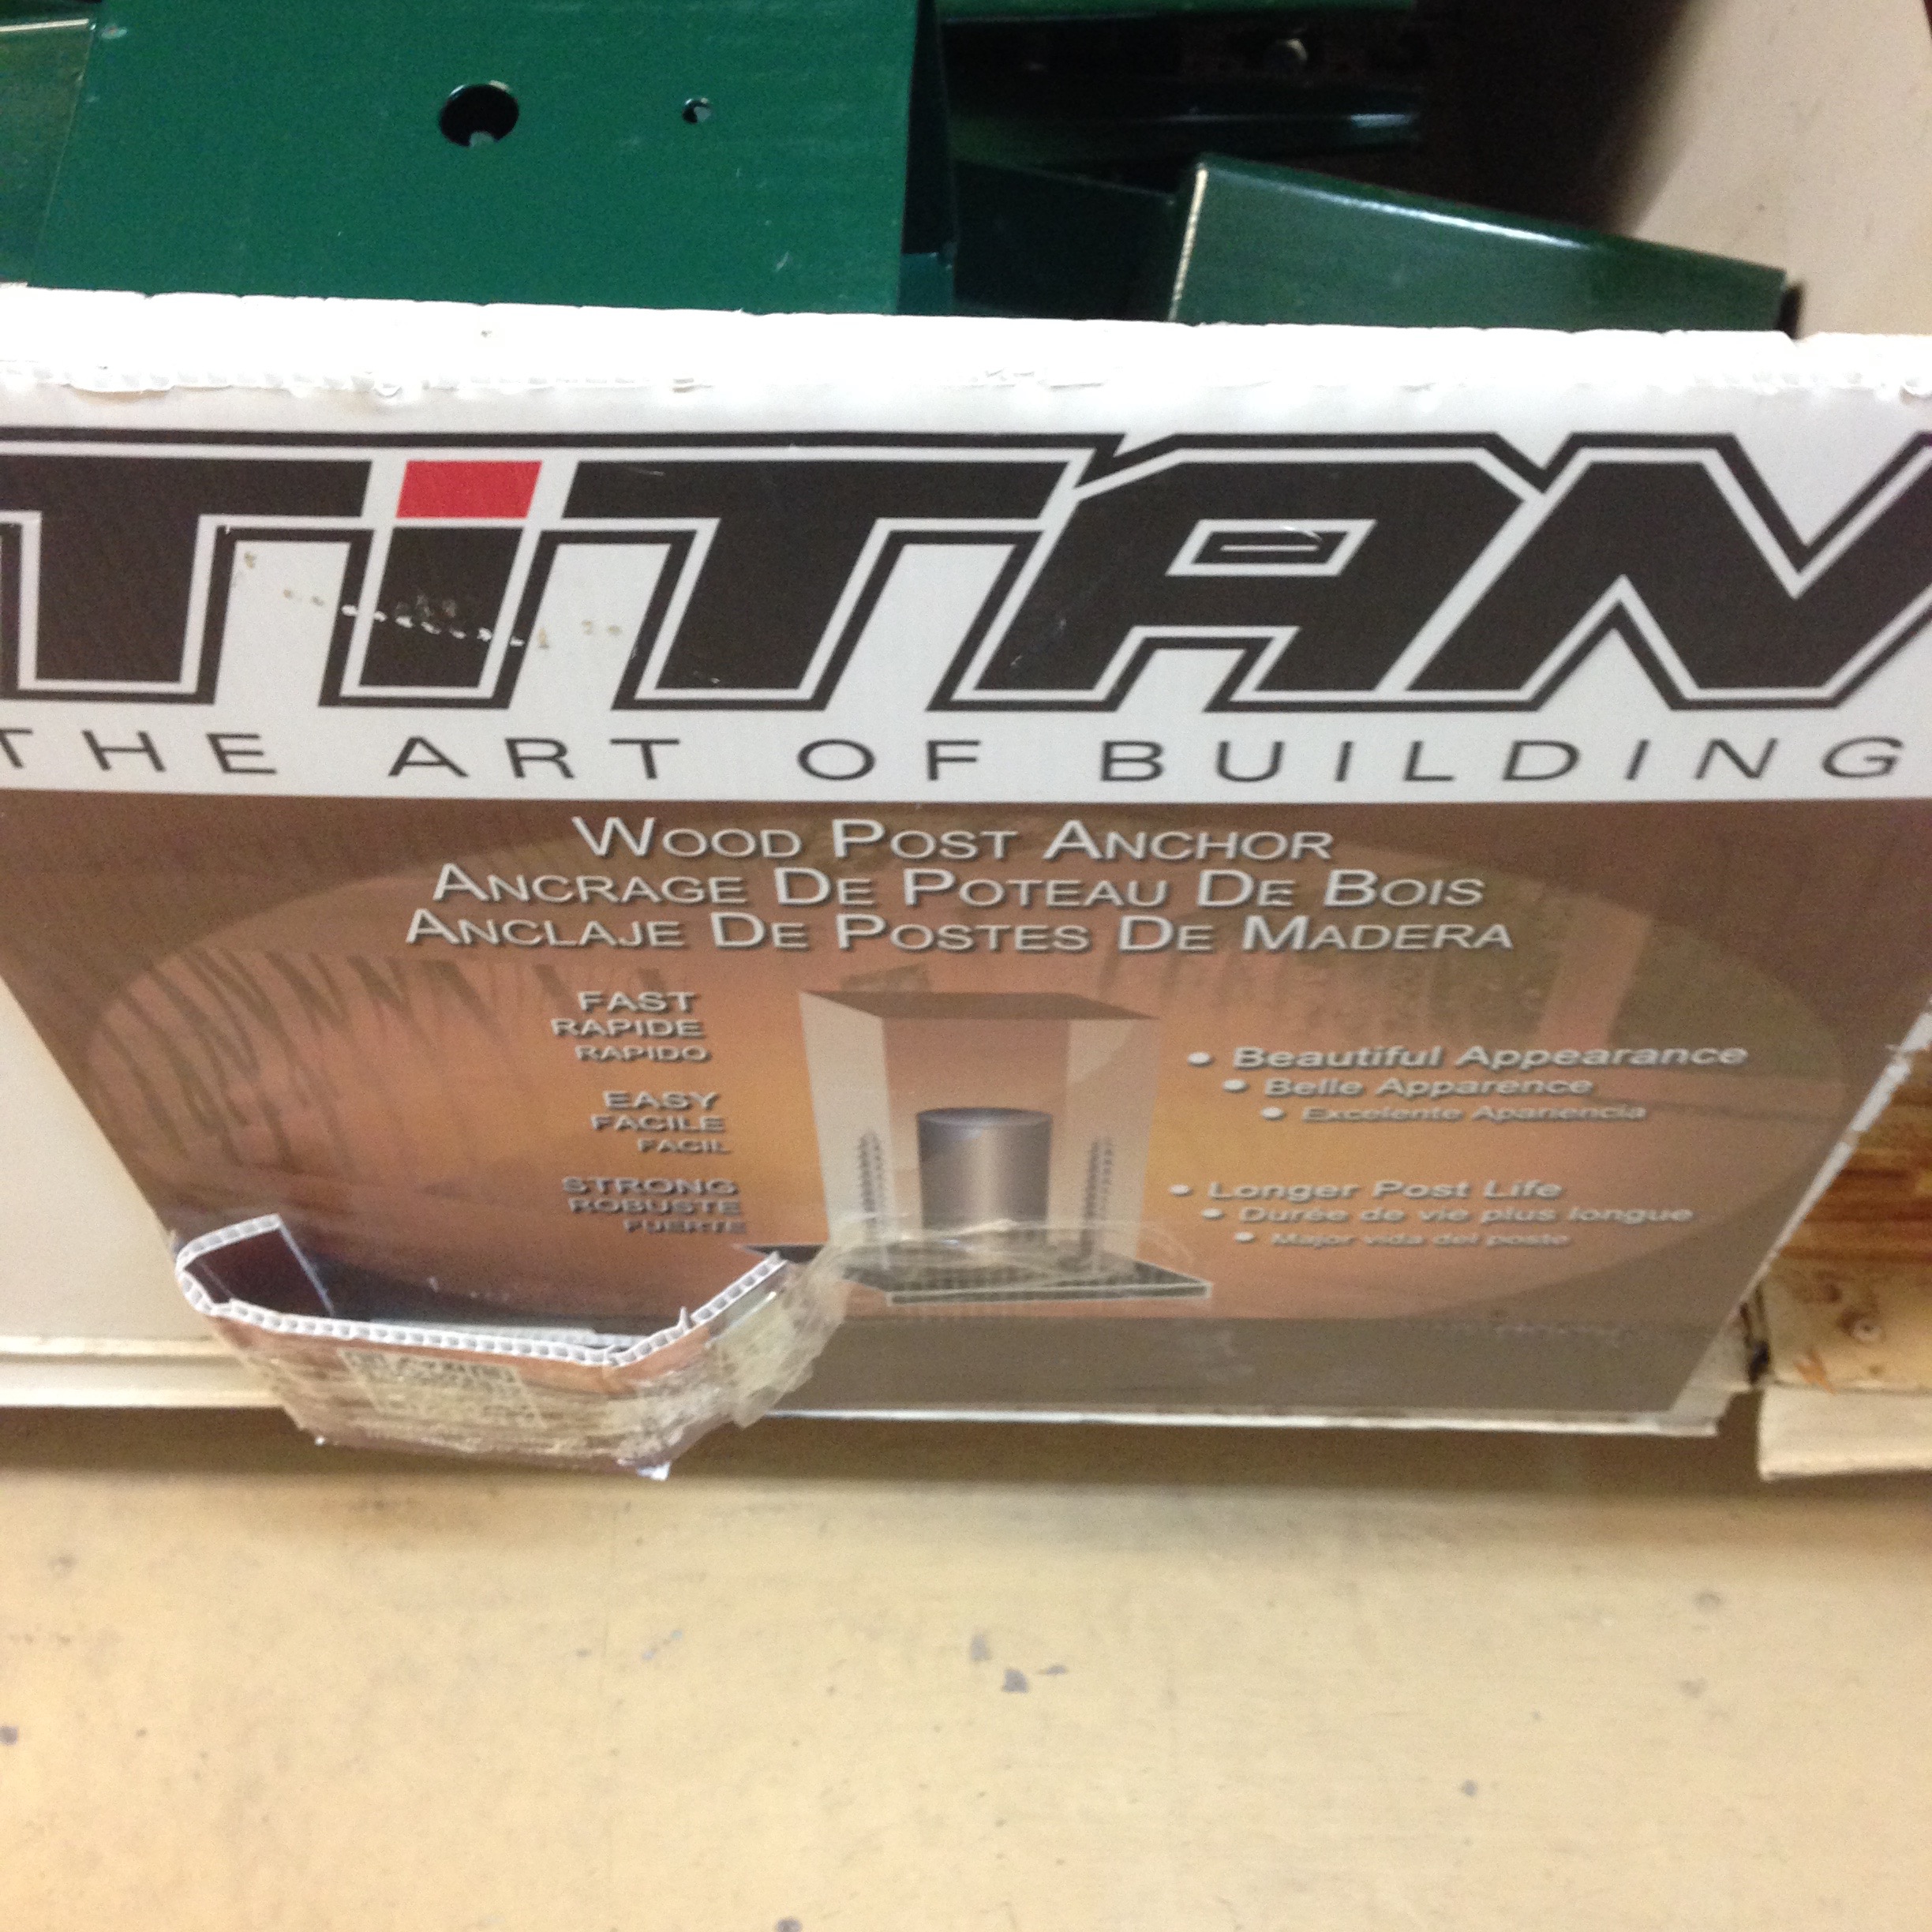
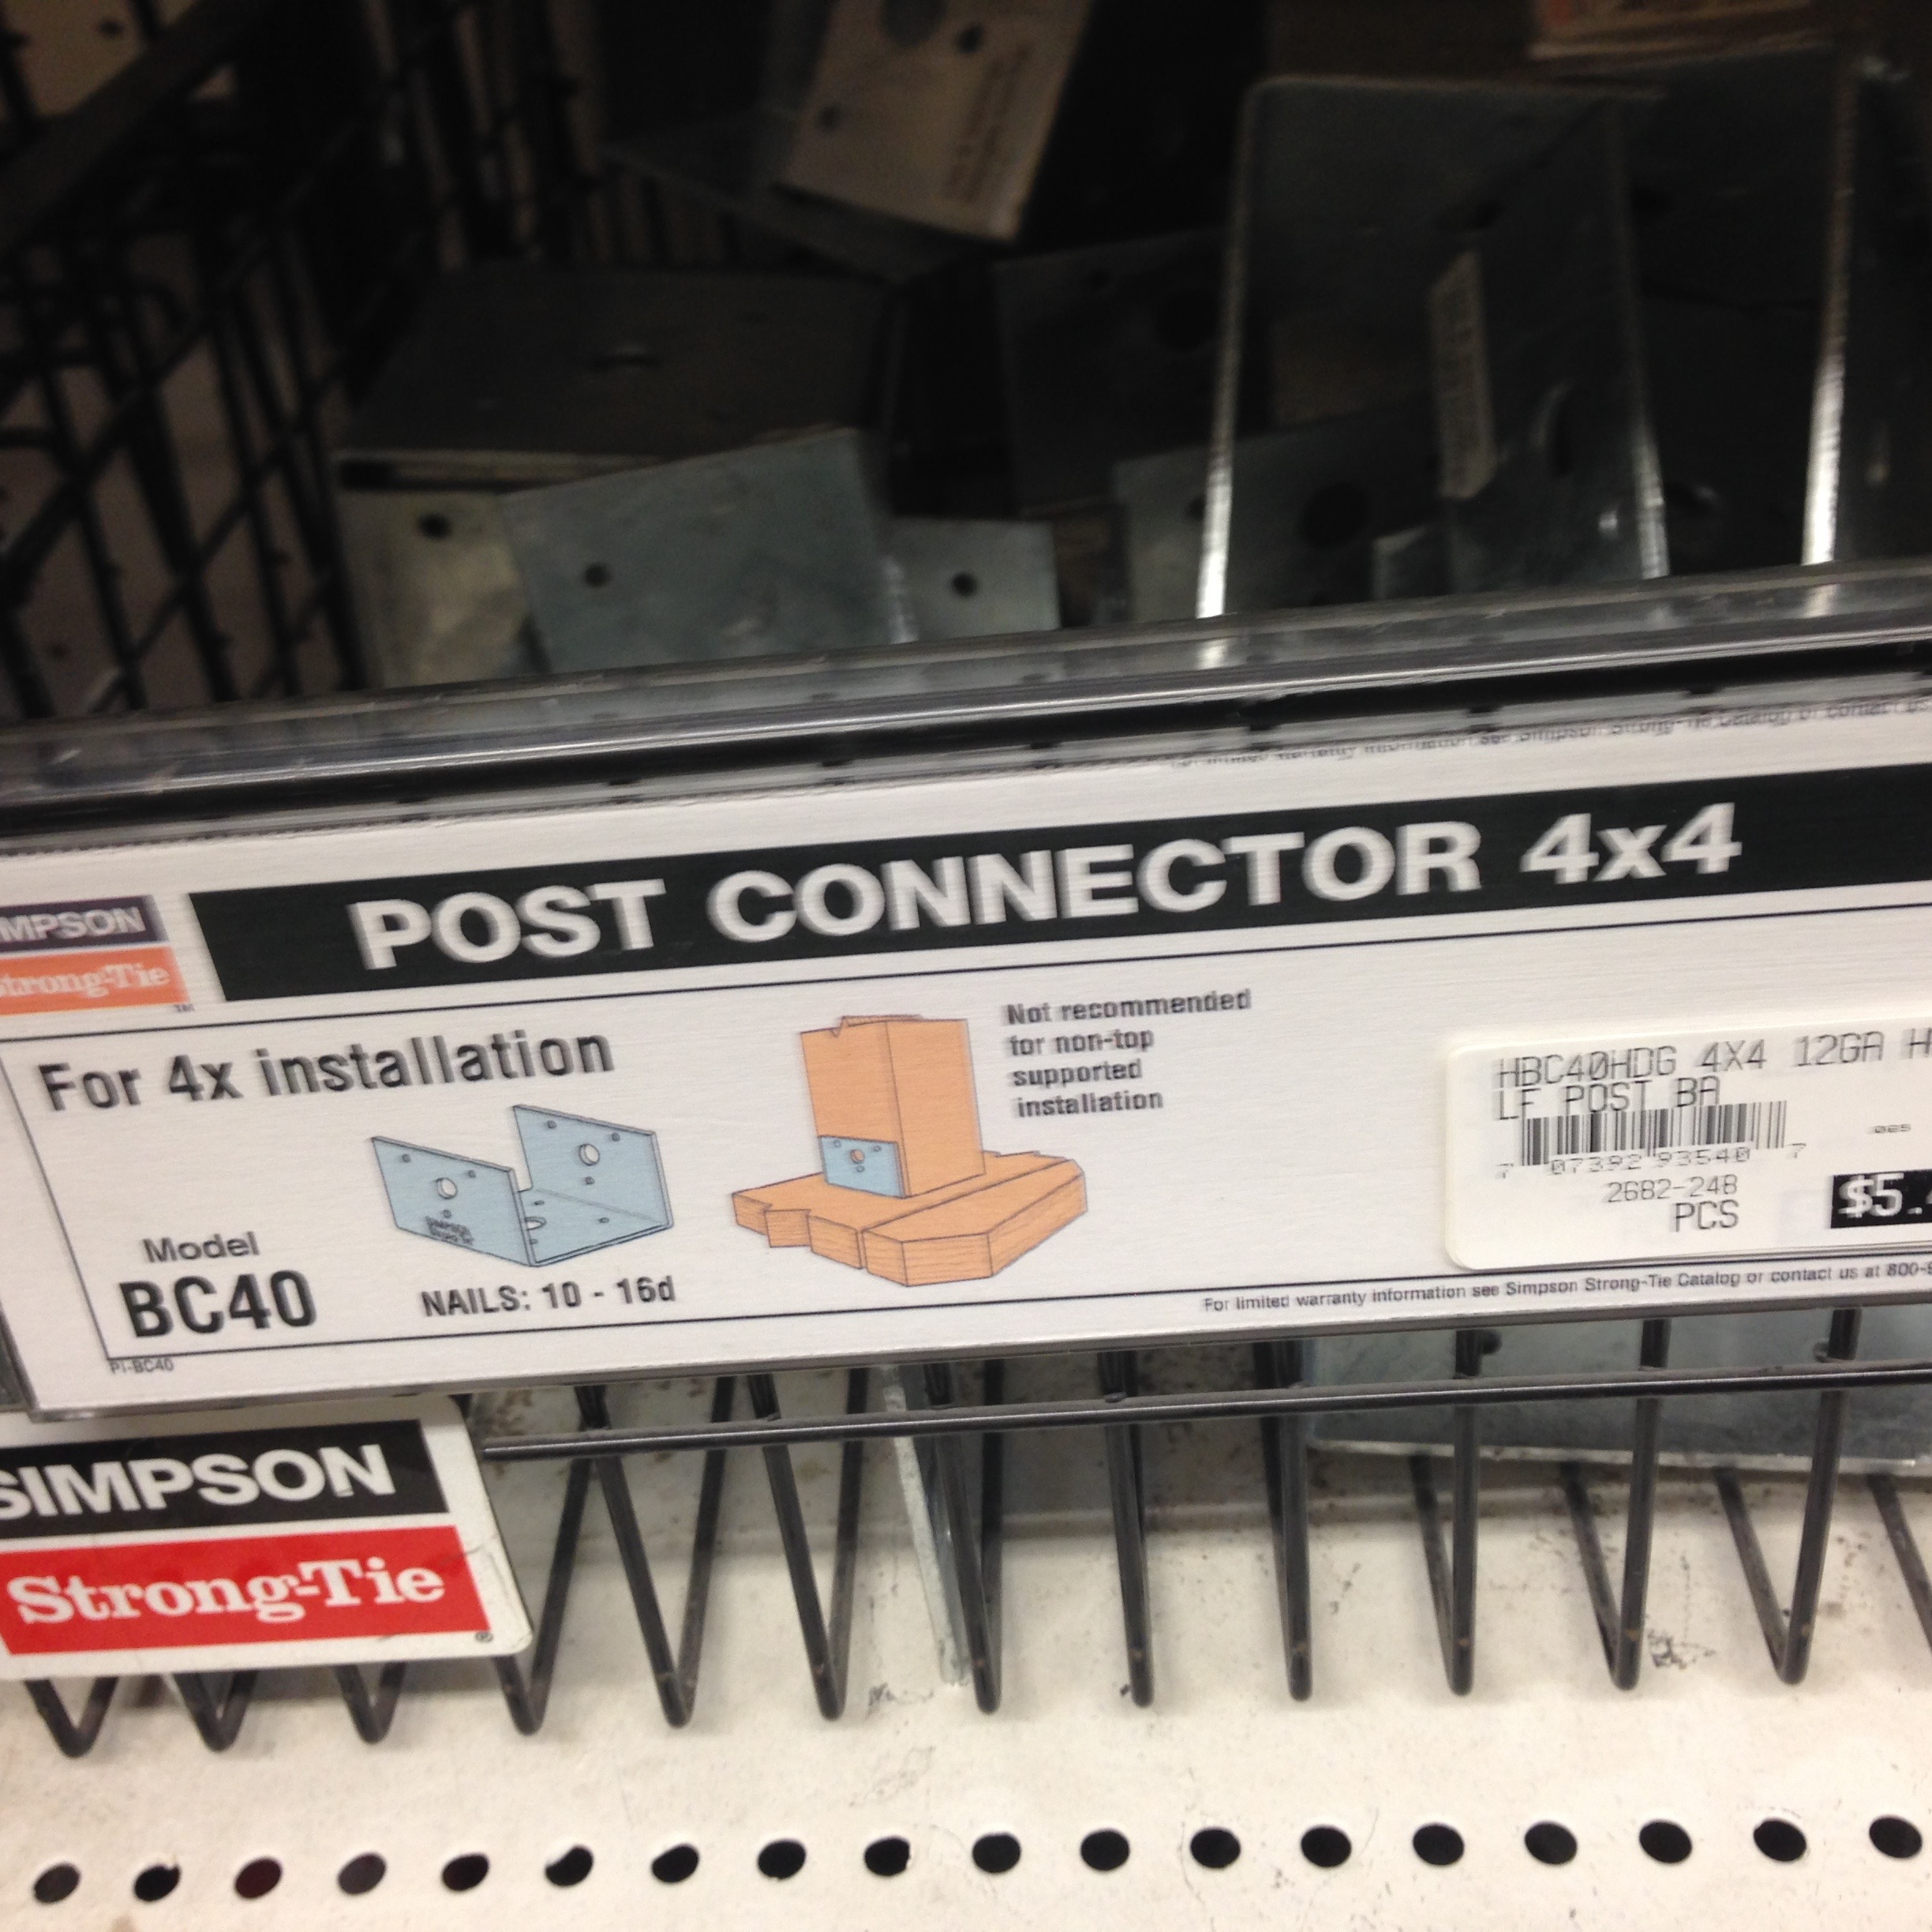
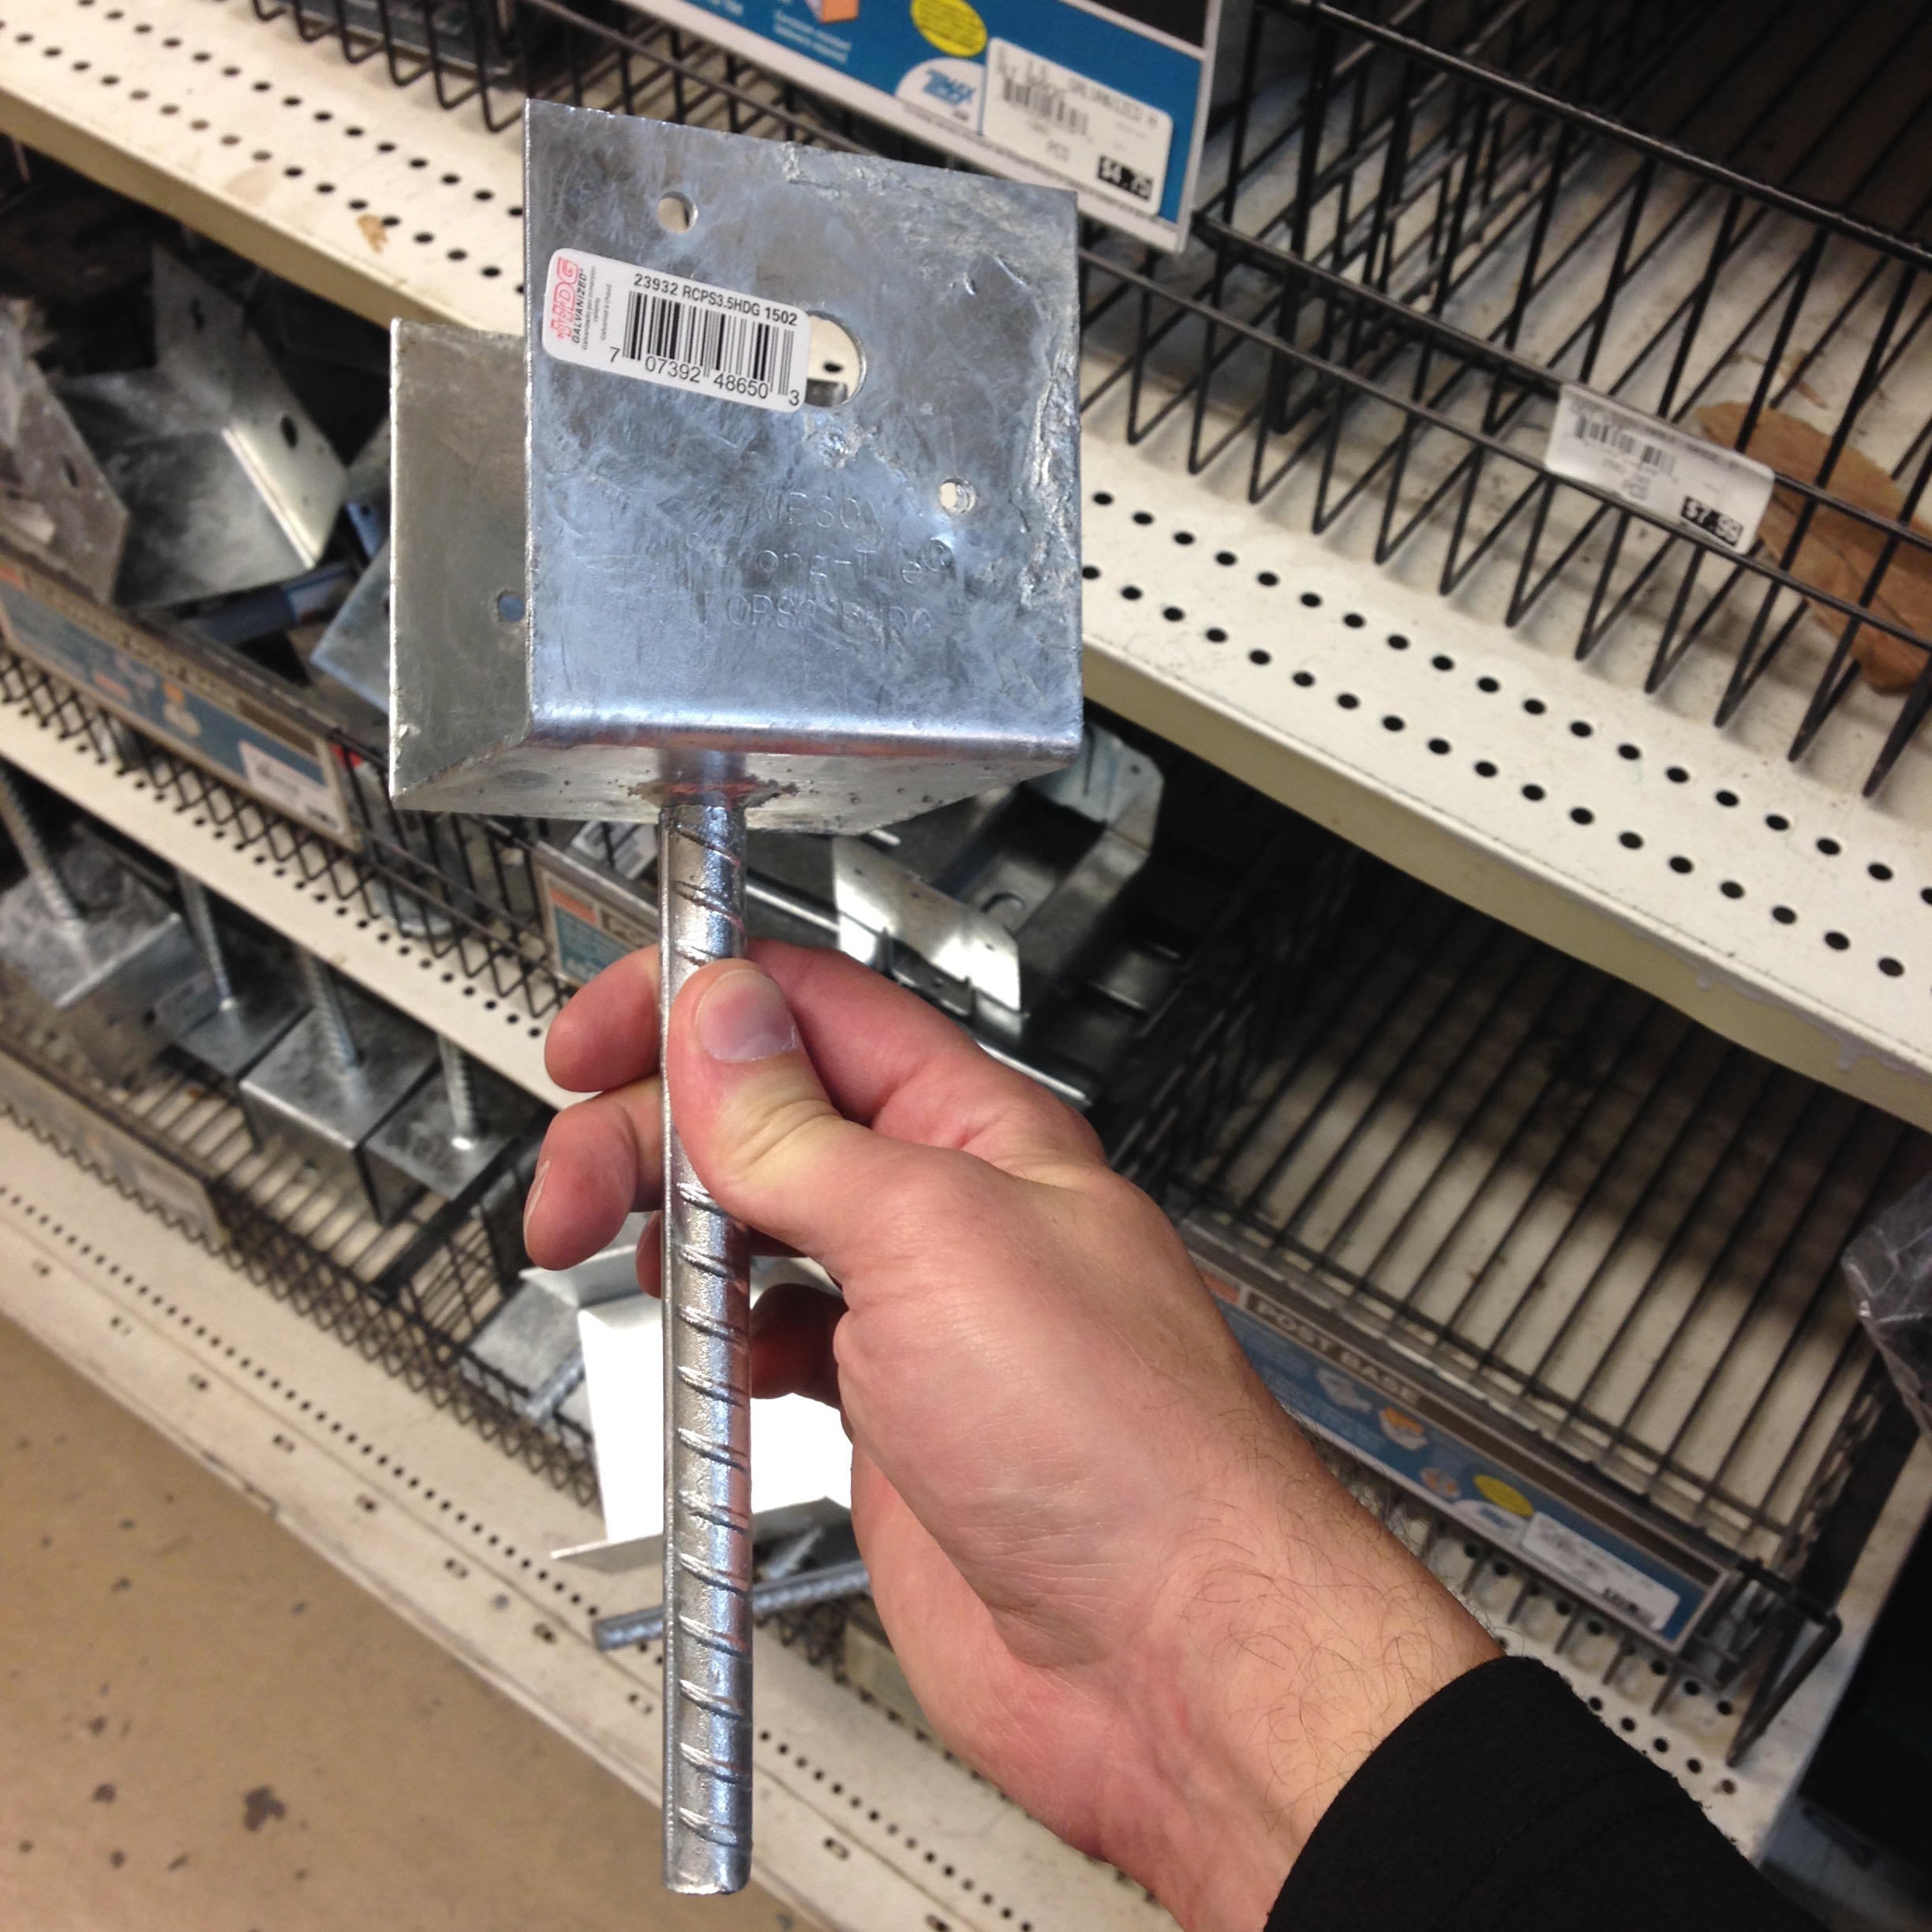
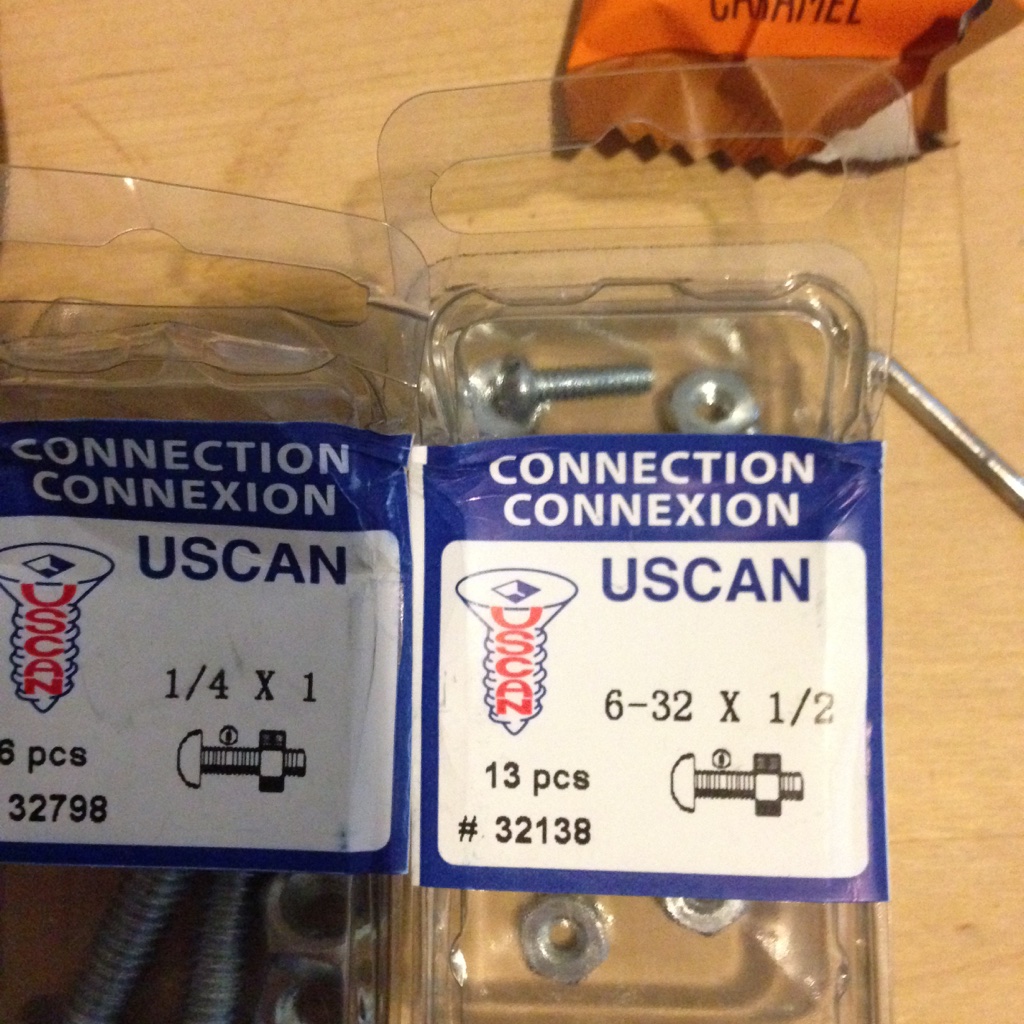
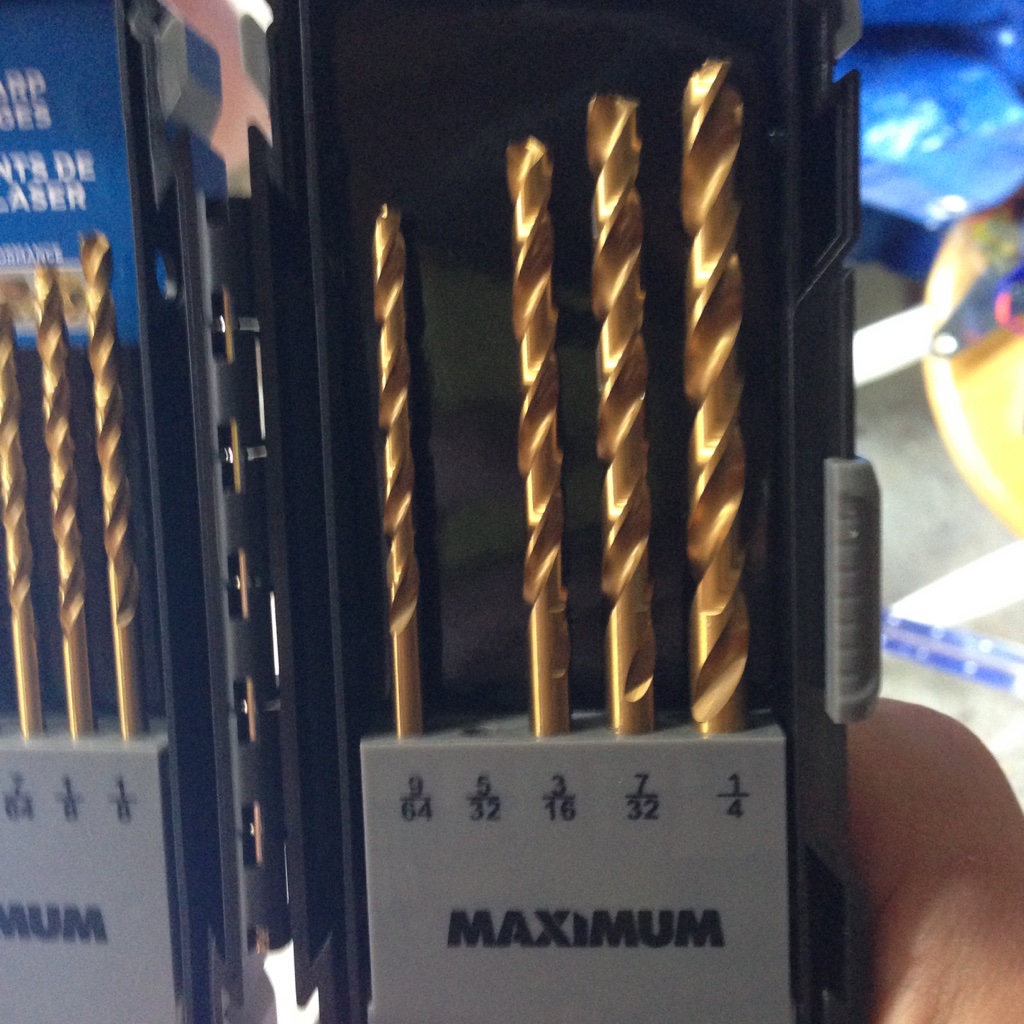
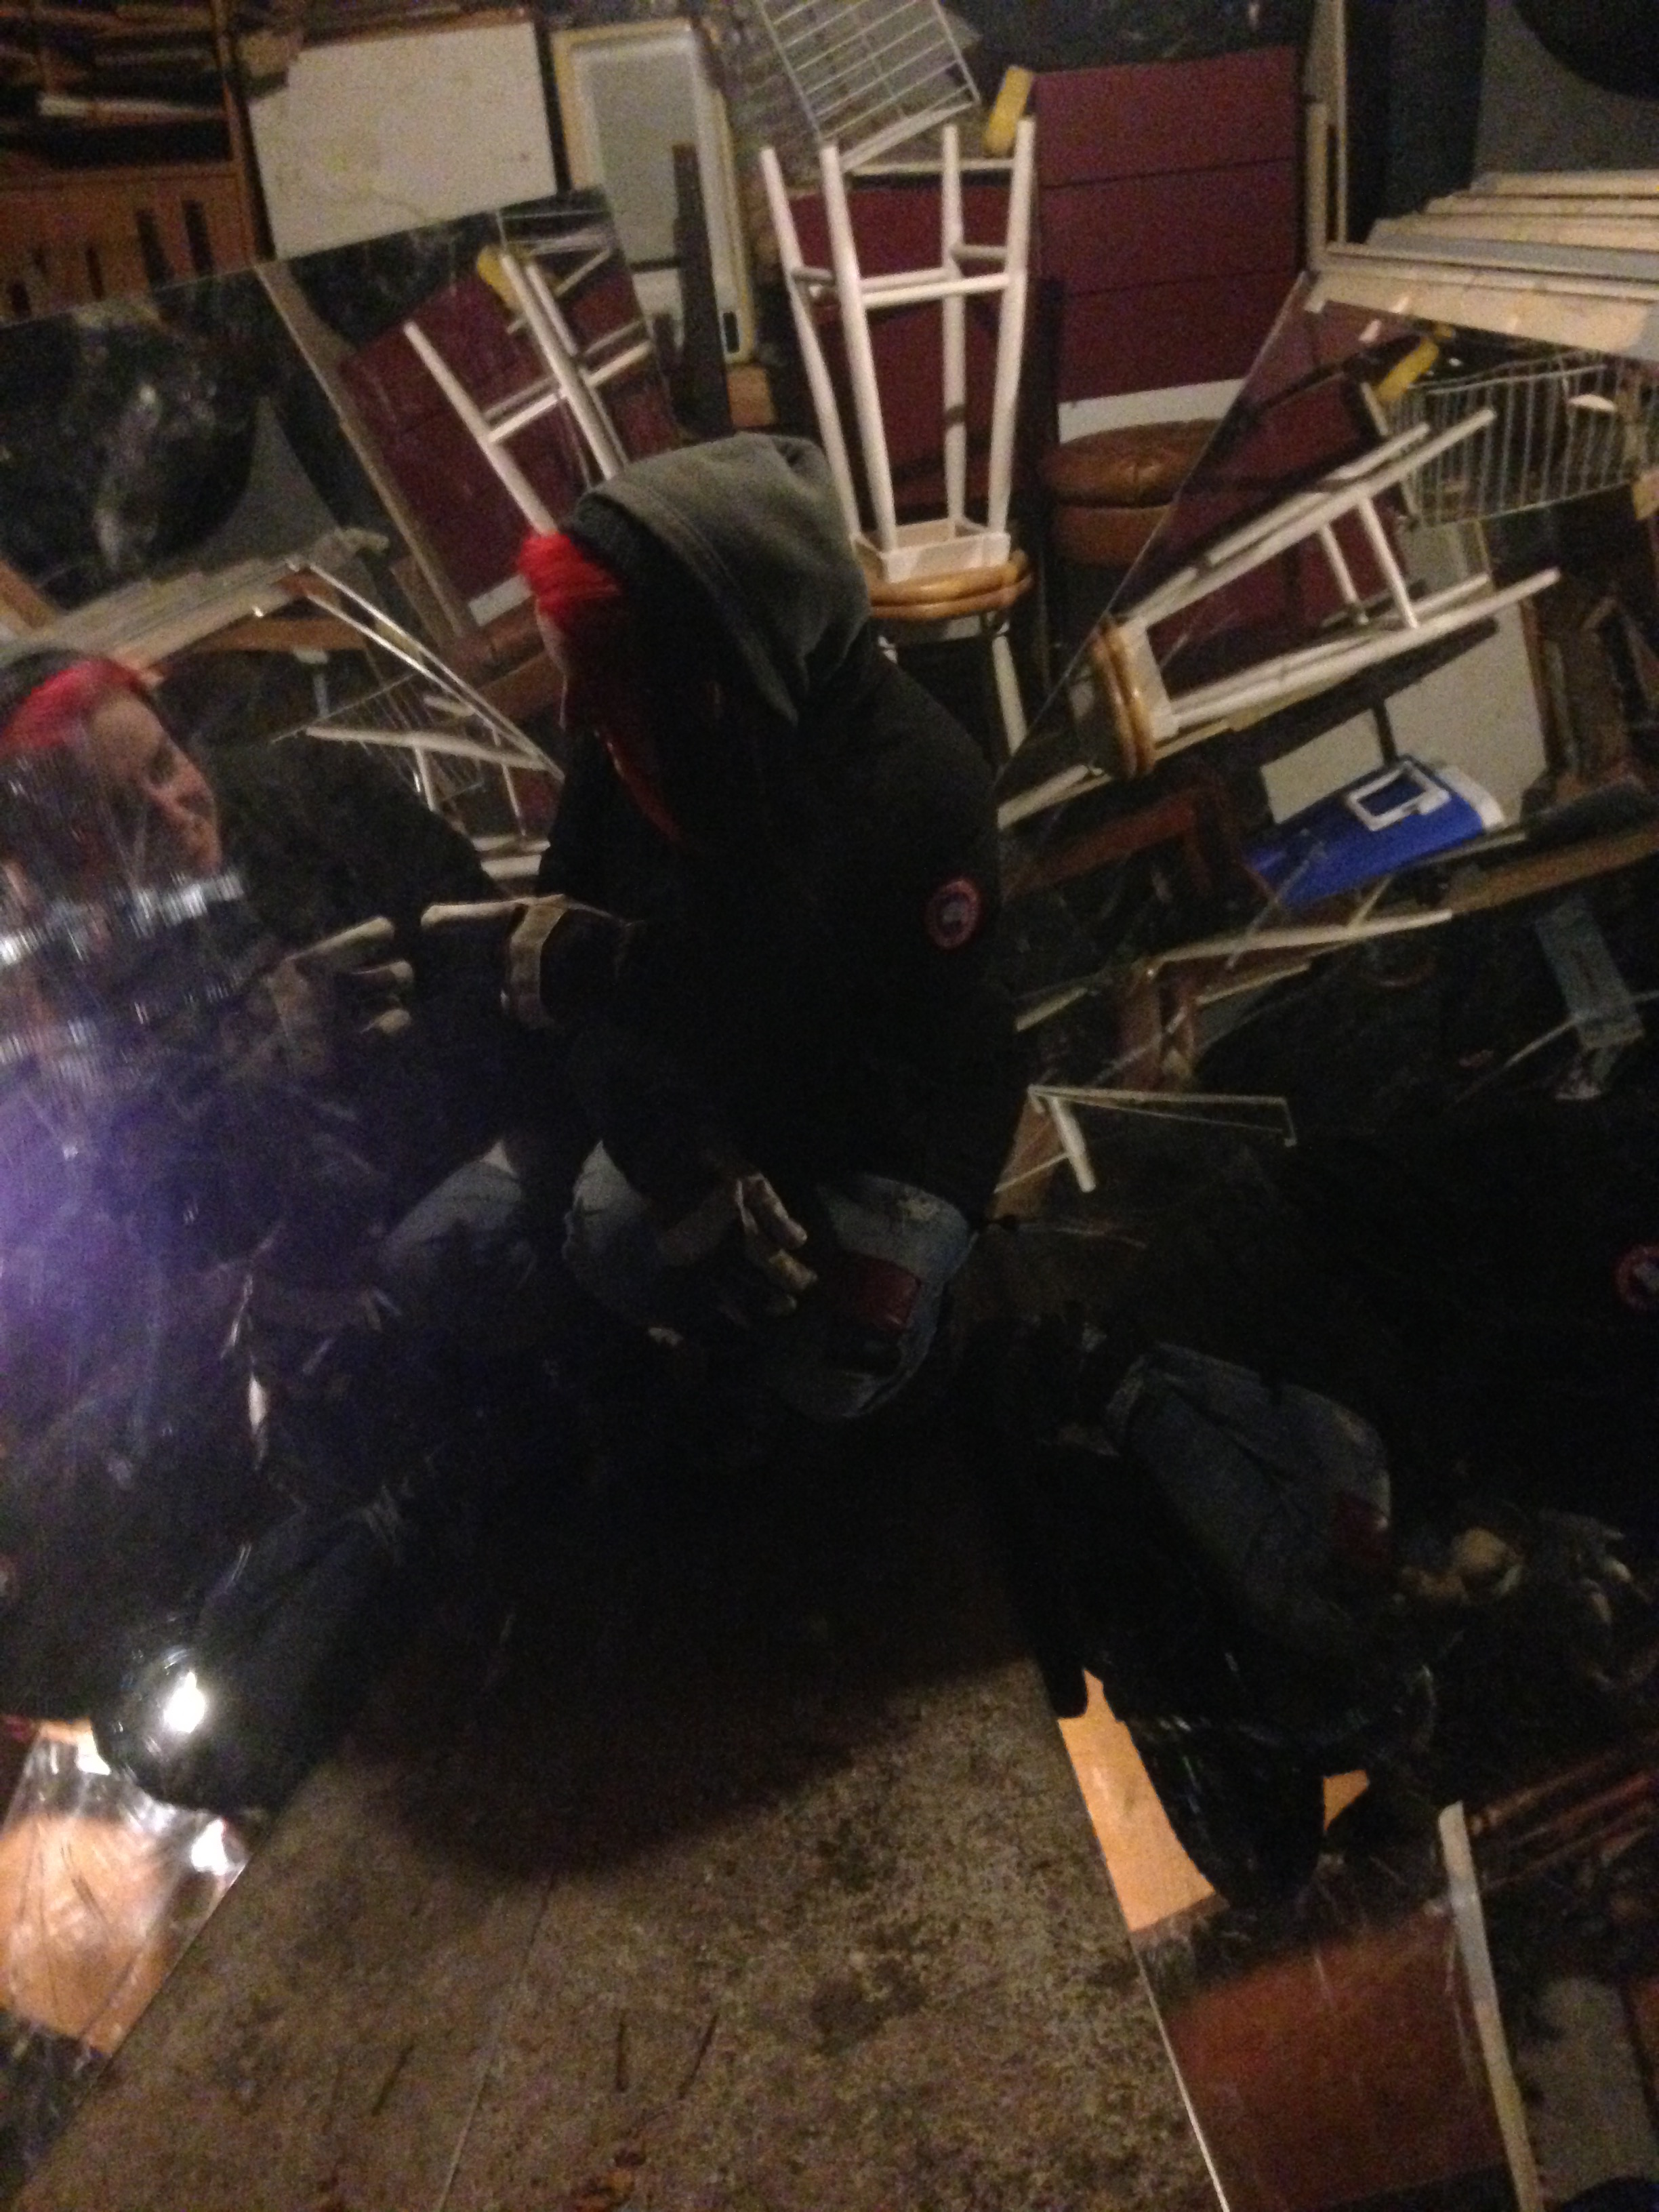
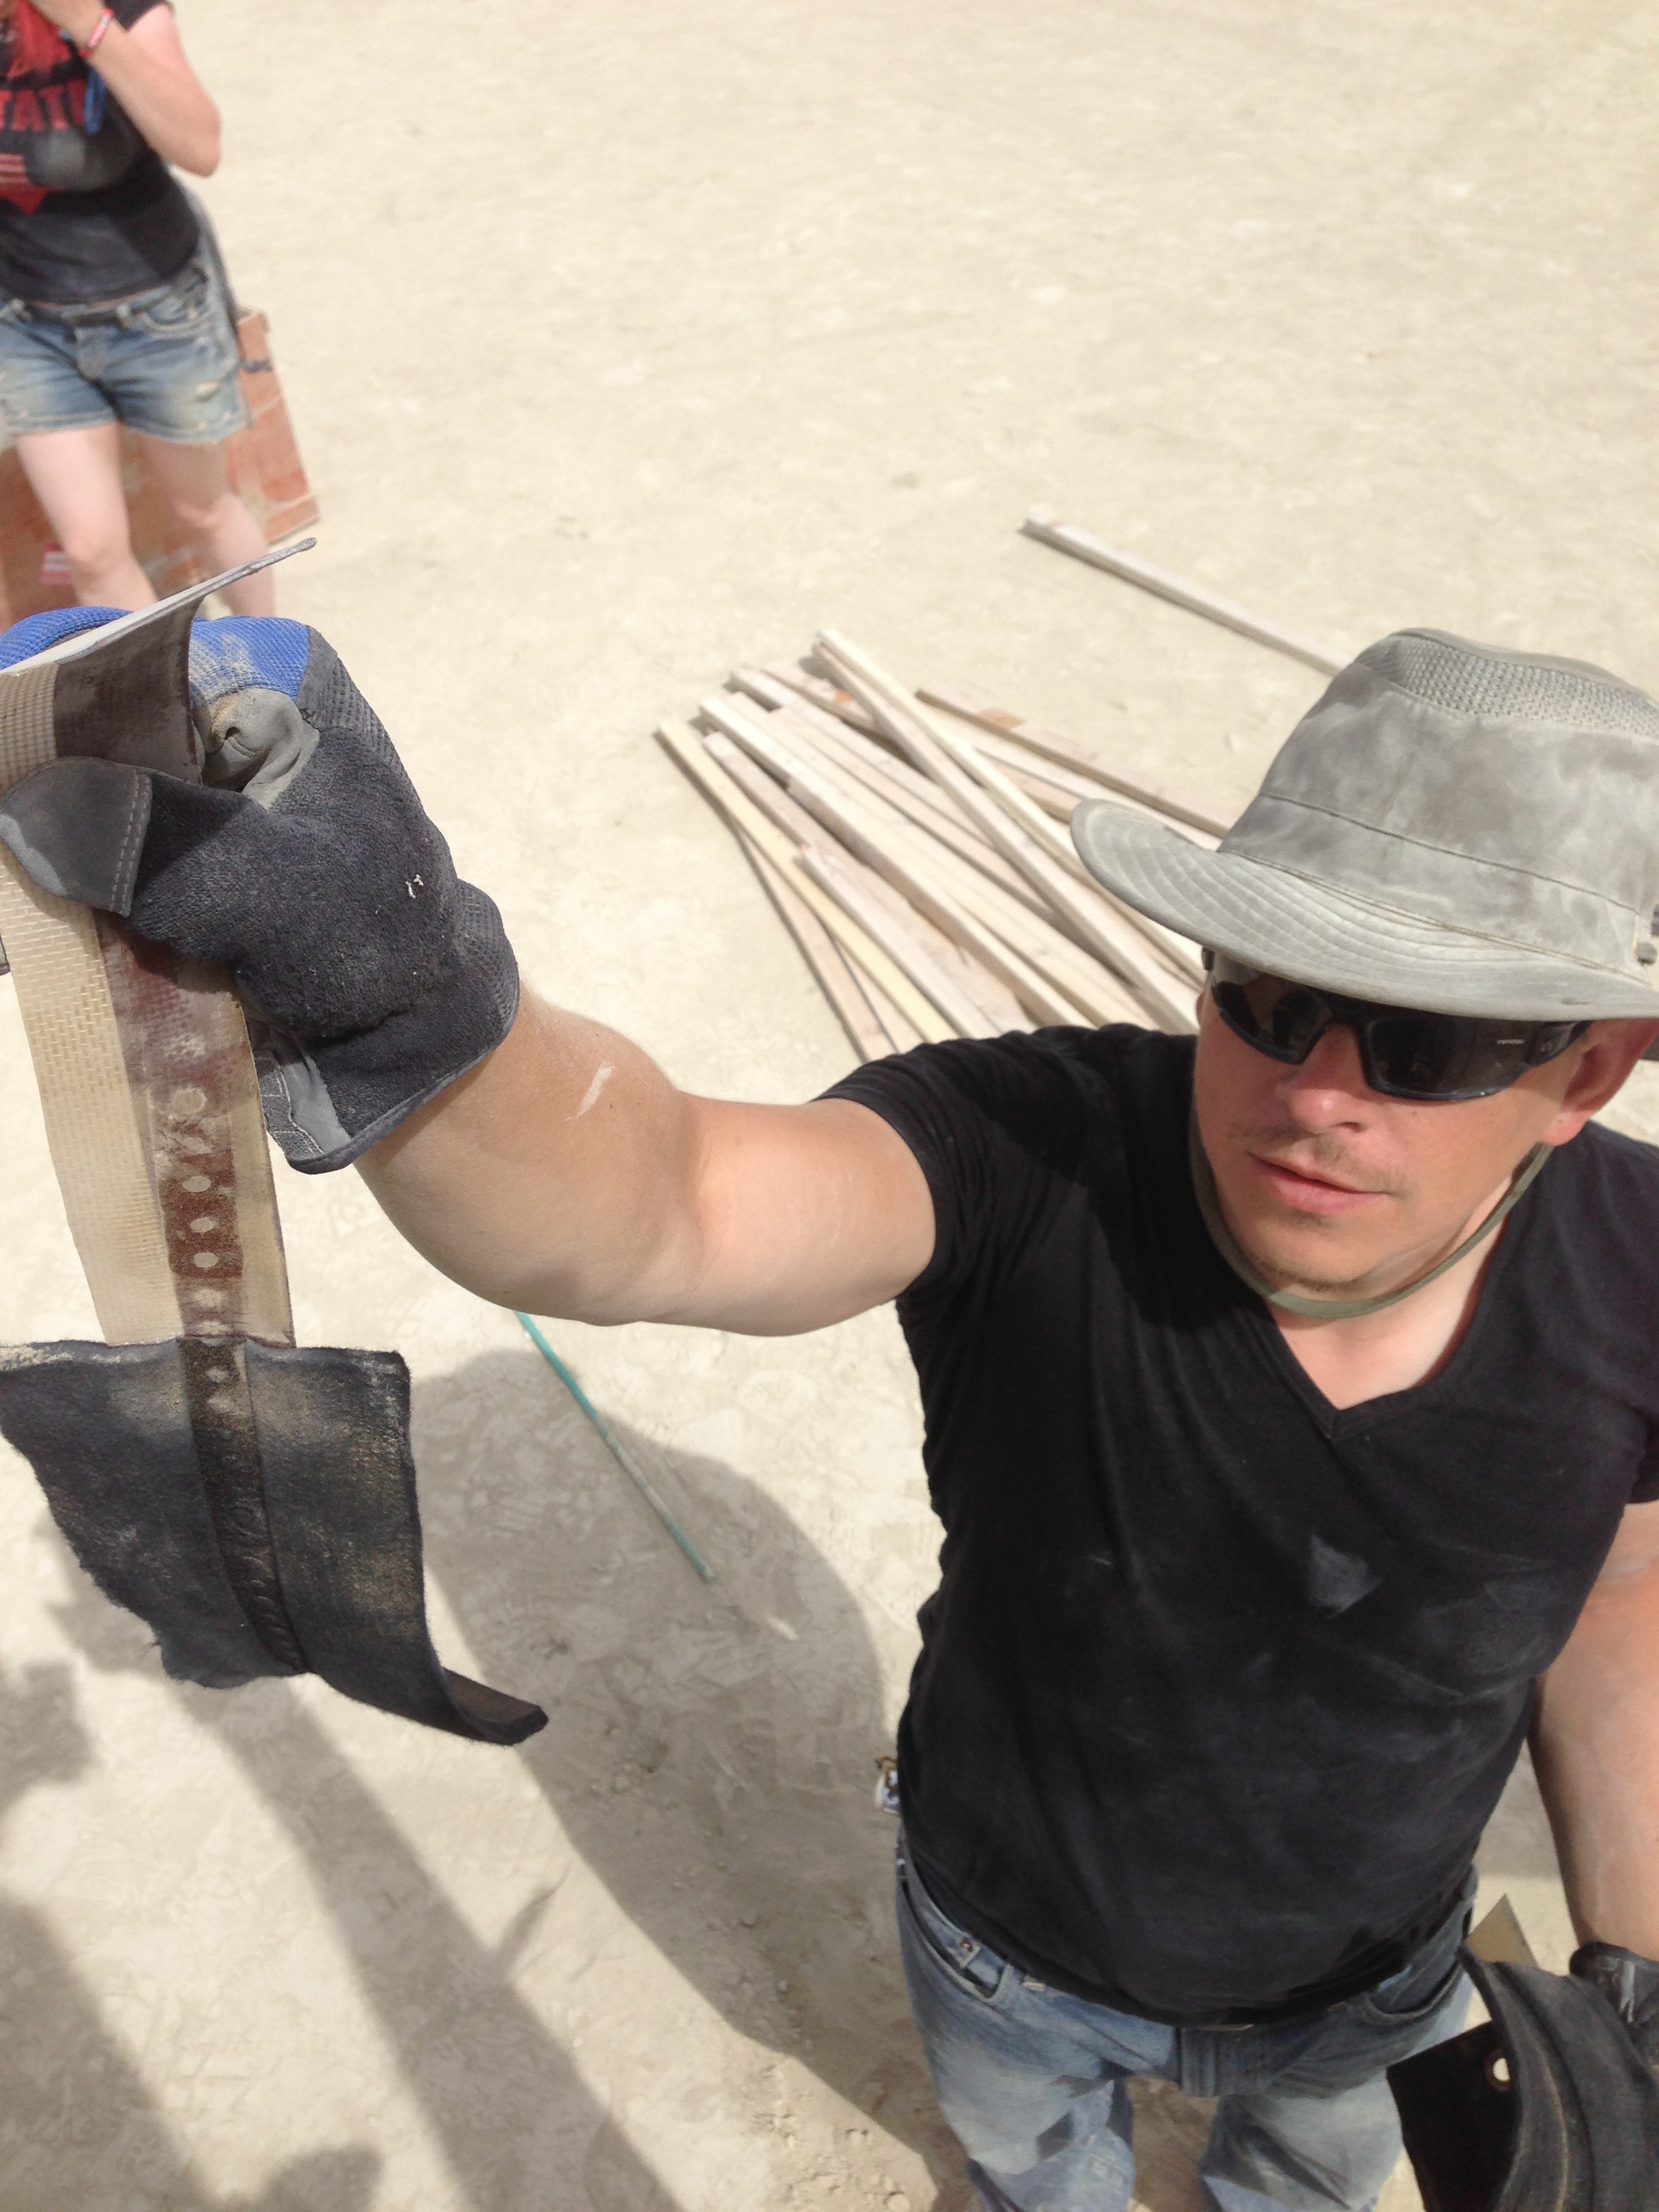
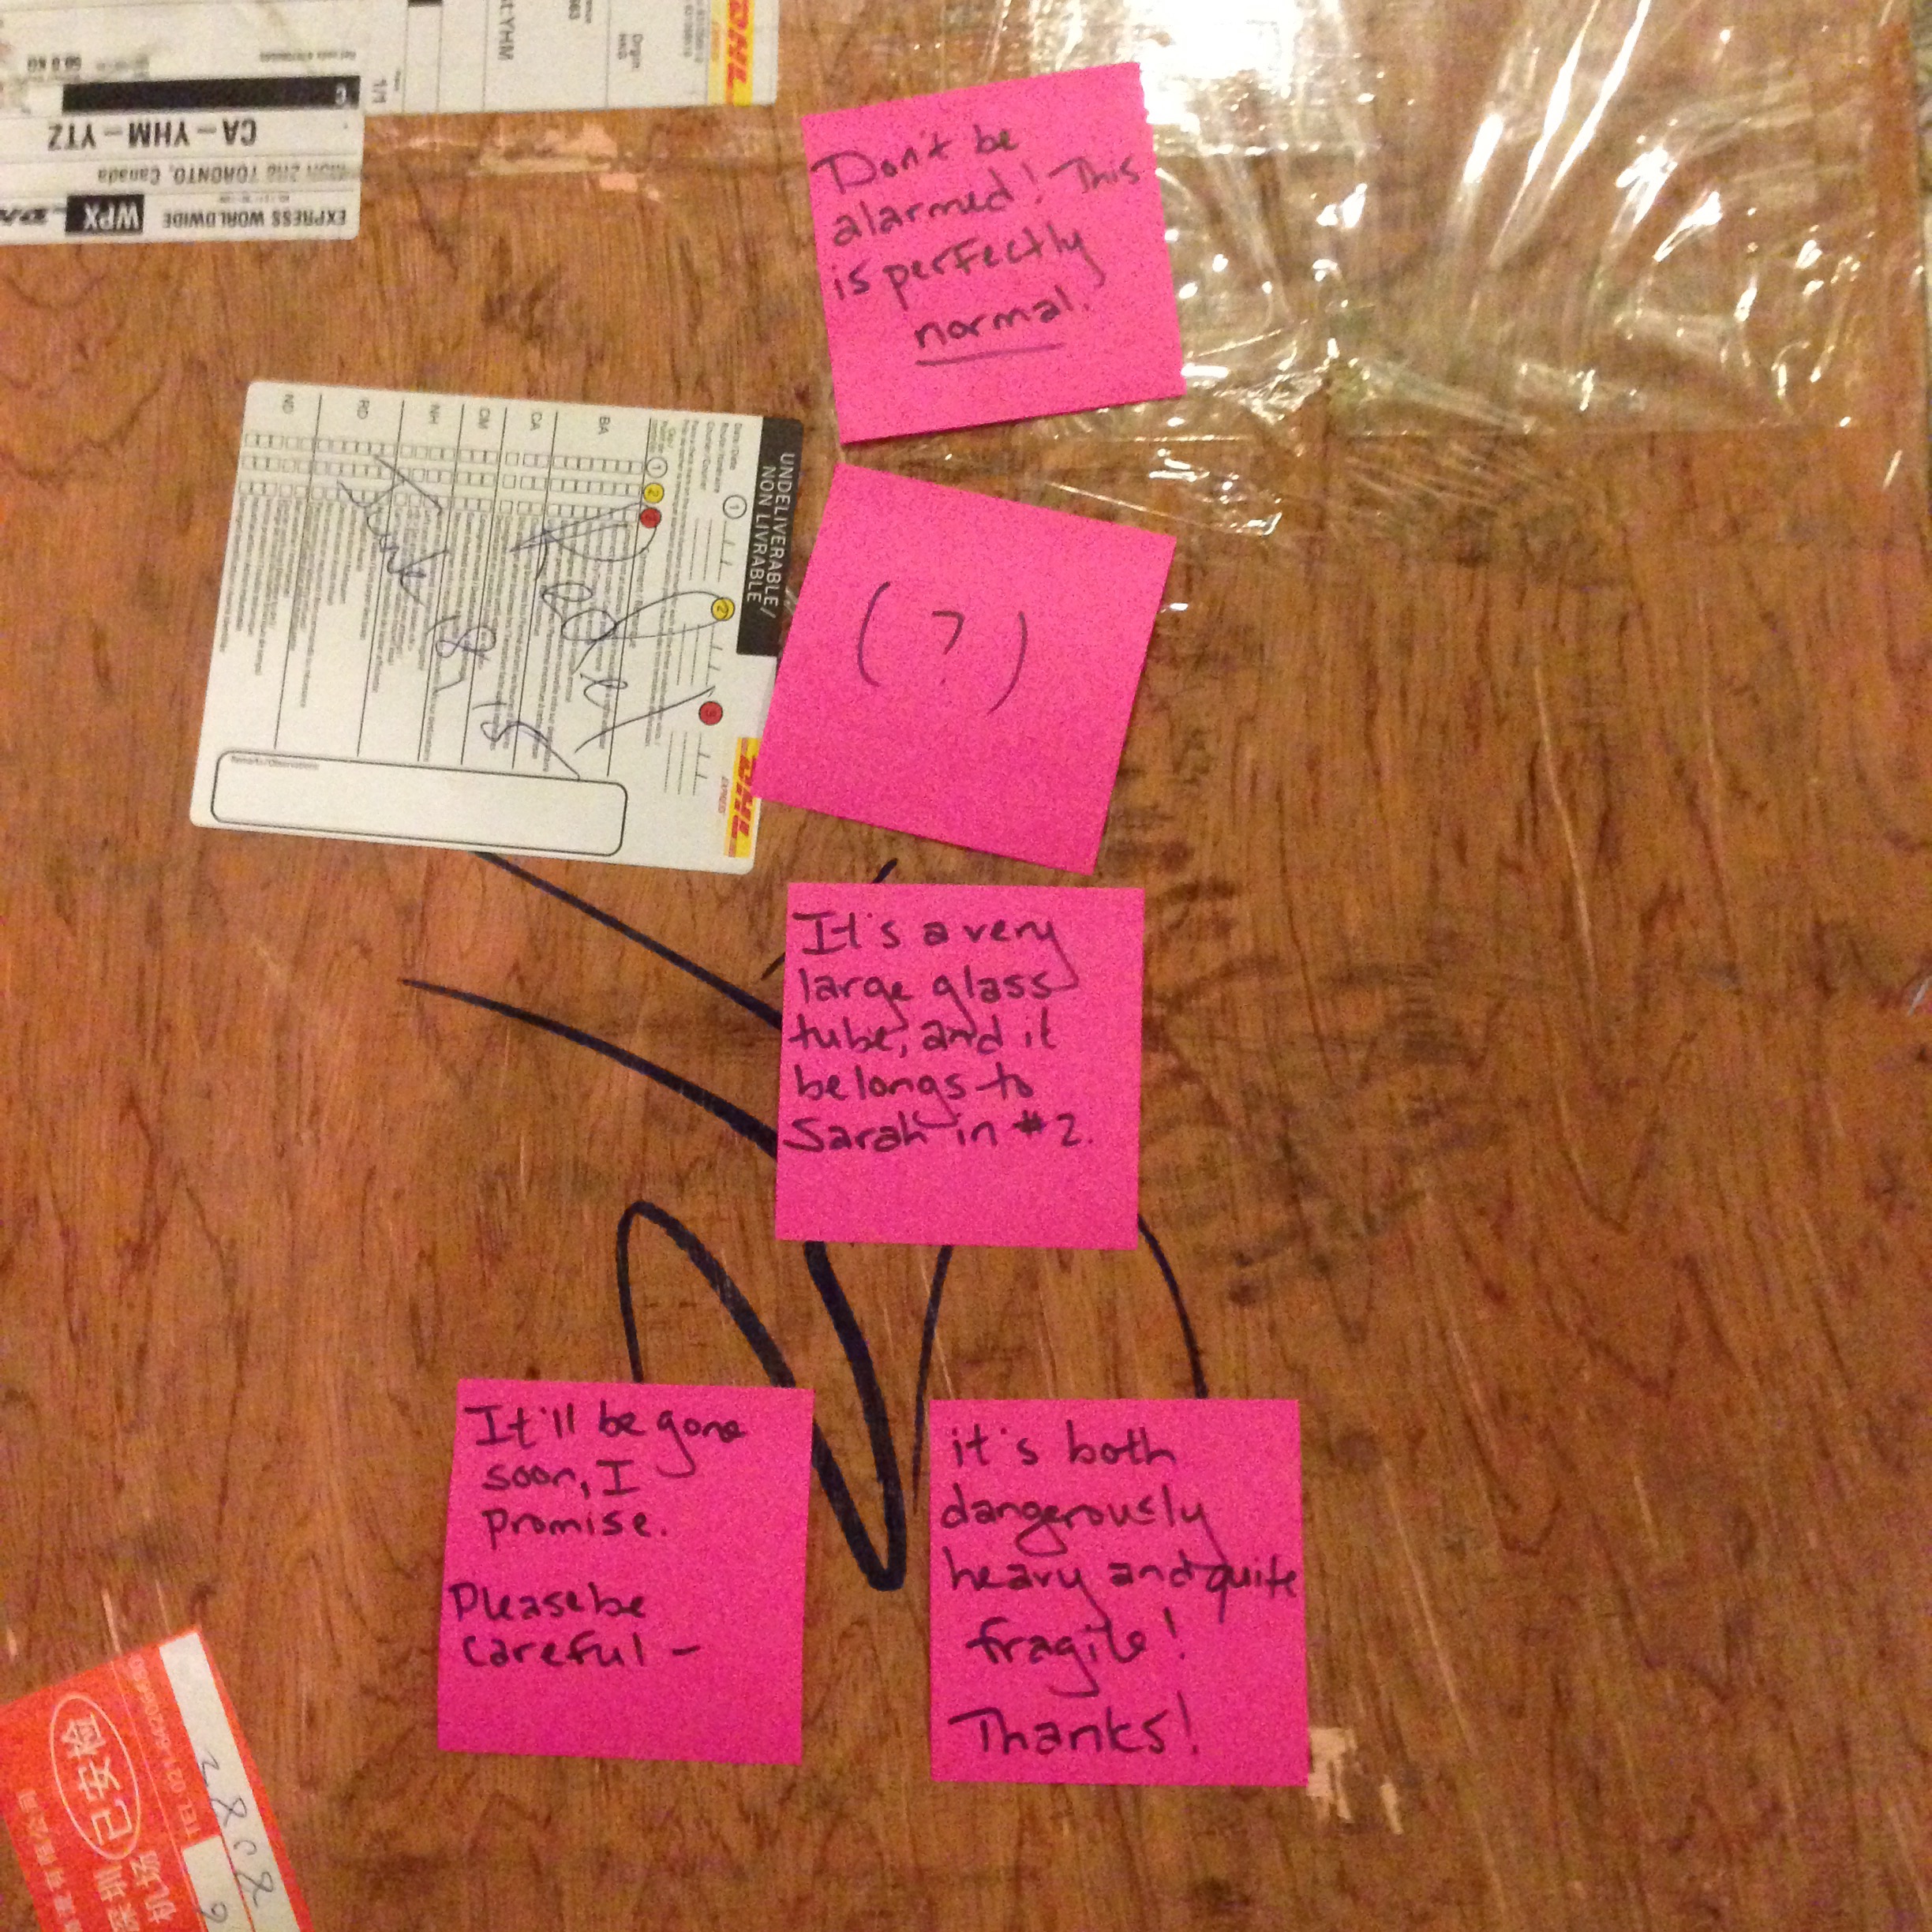
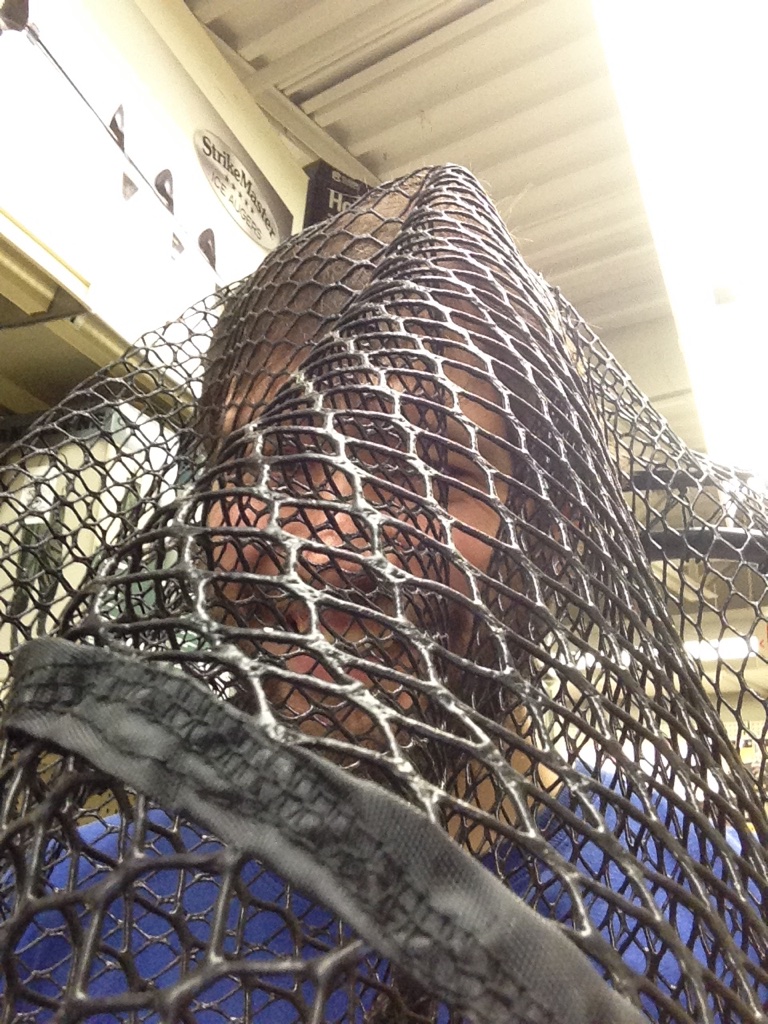
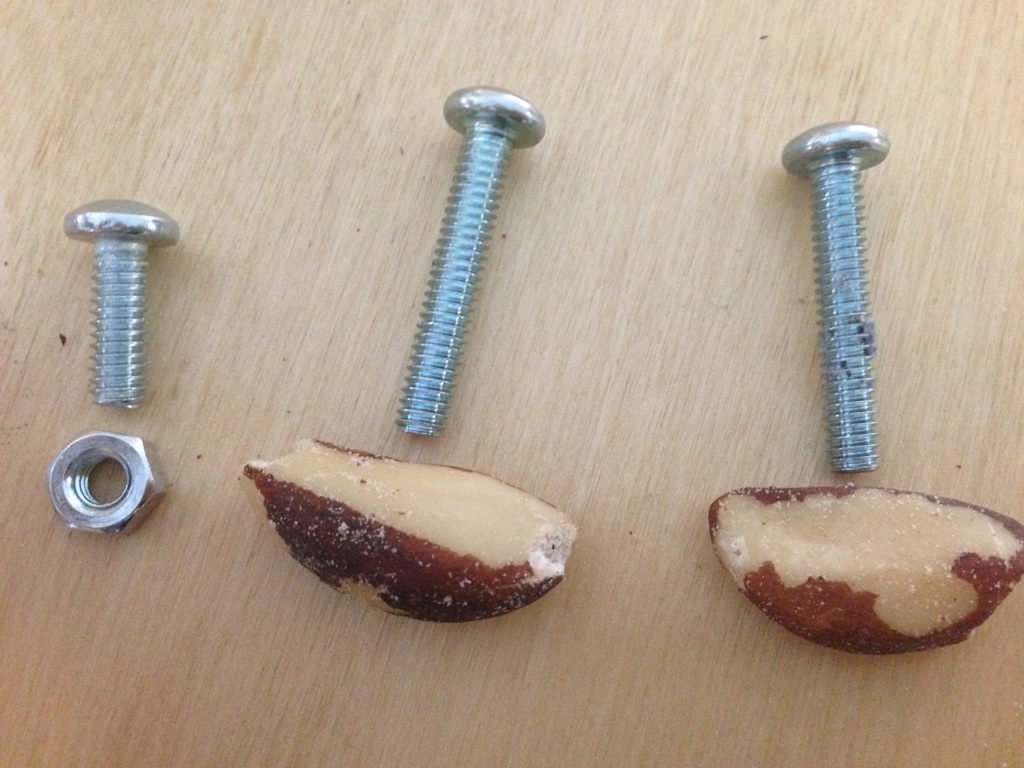
Of course, when one is scrounging, one sometimes scrounges something unexpected:

THE NET HAS NO EFFECT
NEITHER DOES THE FENCE
I AM NOT SURE WHAT THIS REPRESENTS
PINE BOLTS
PINE BOLTS

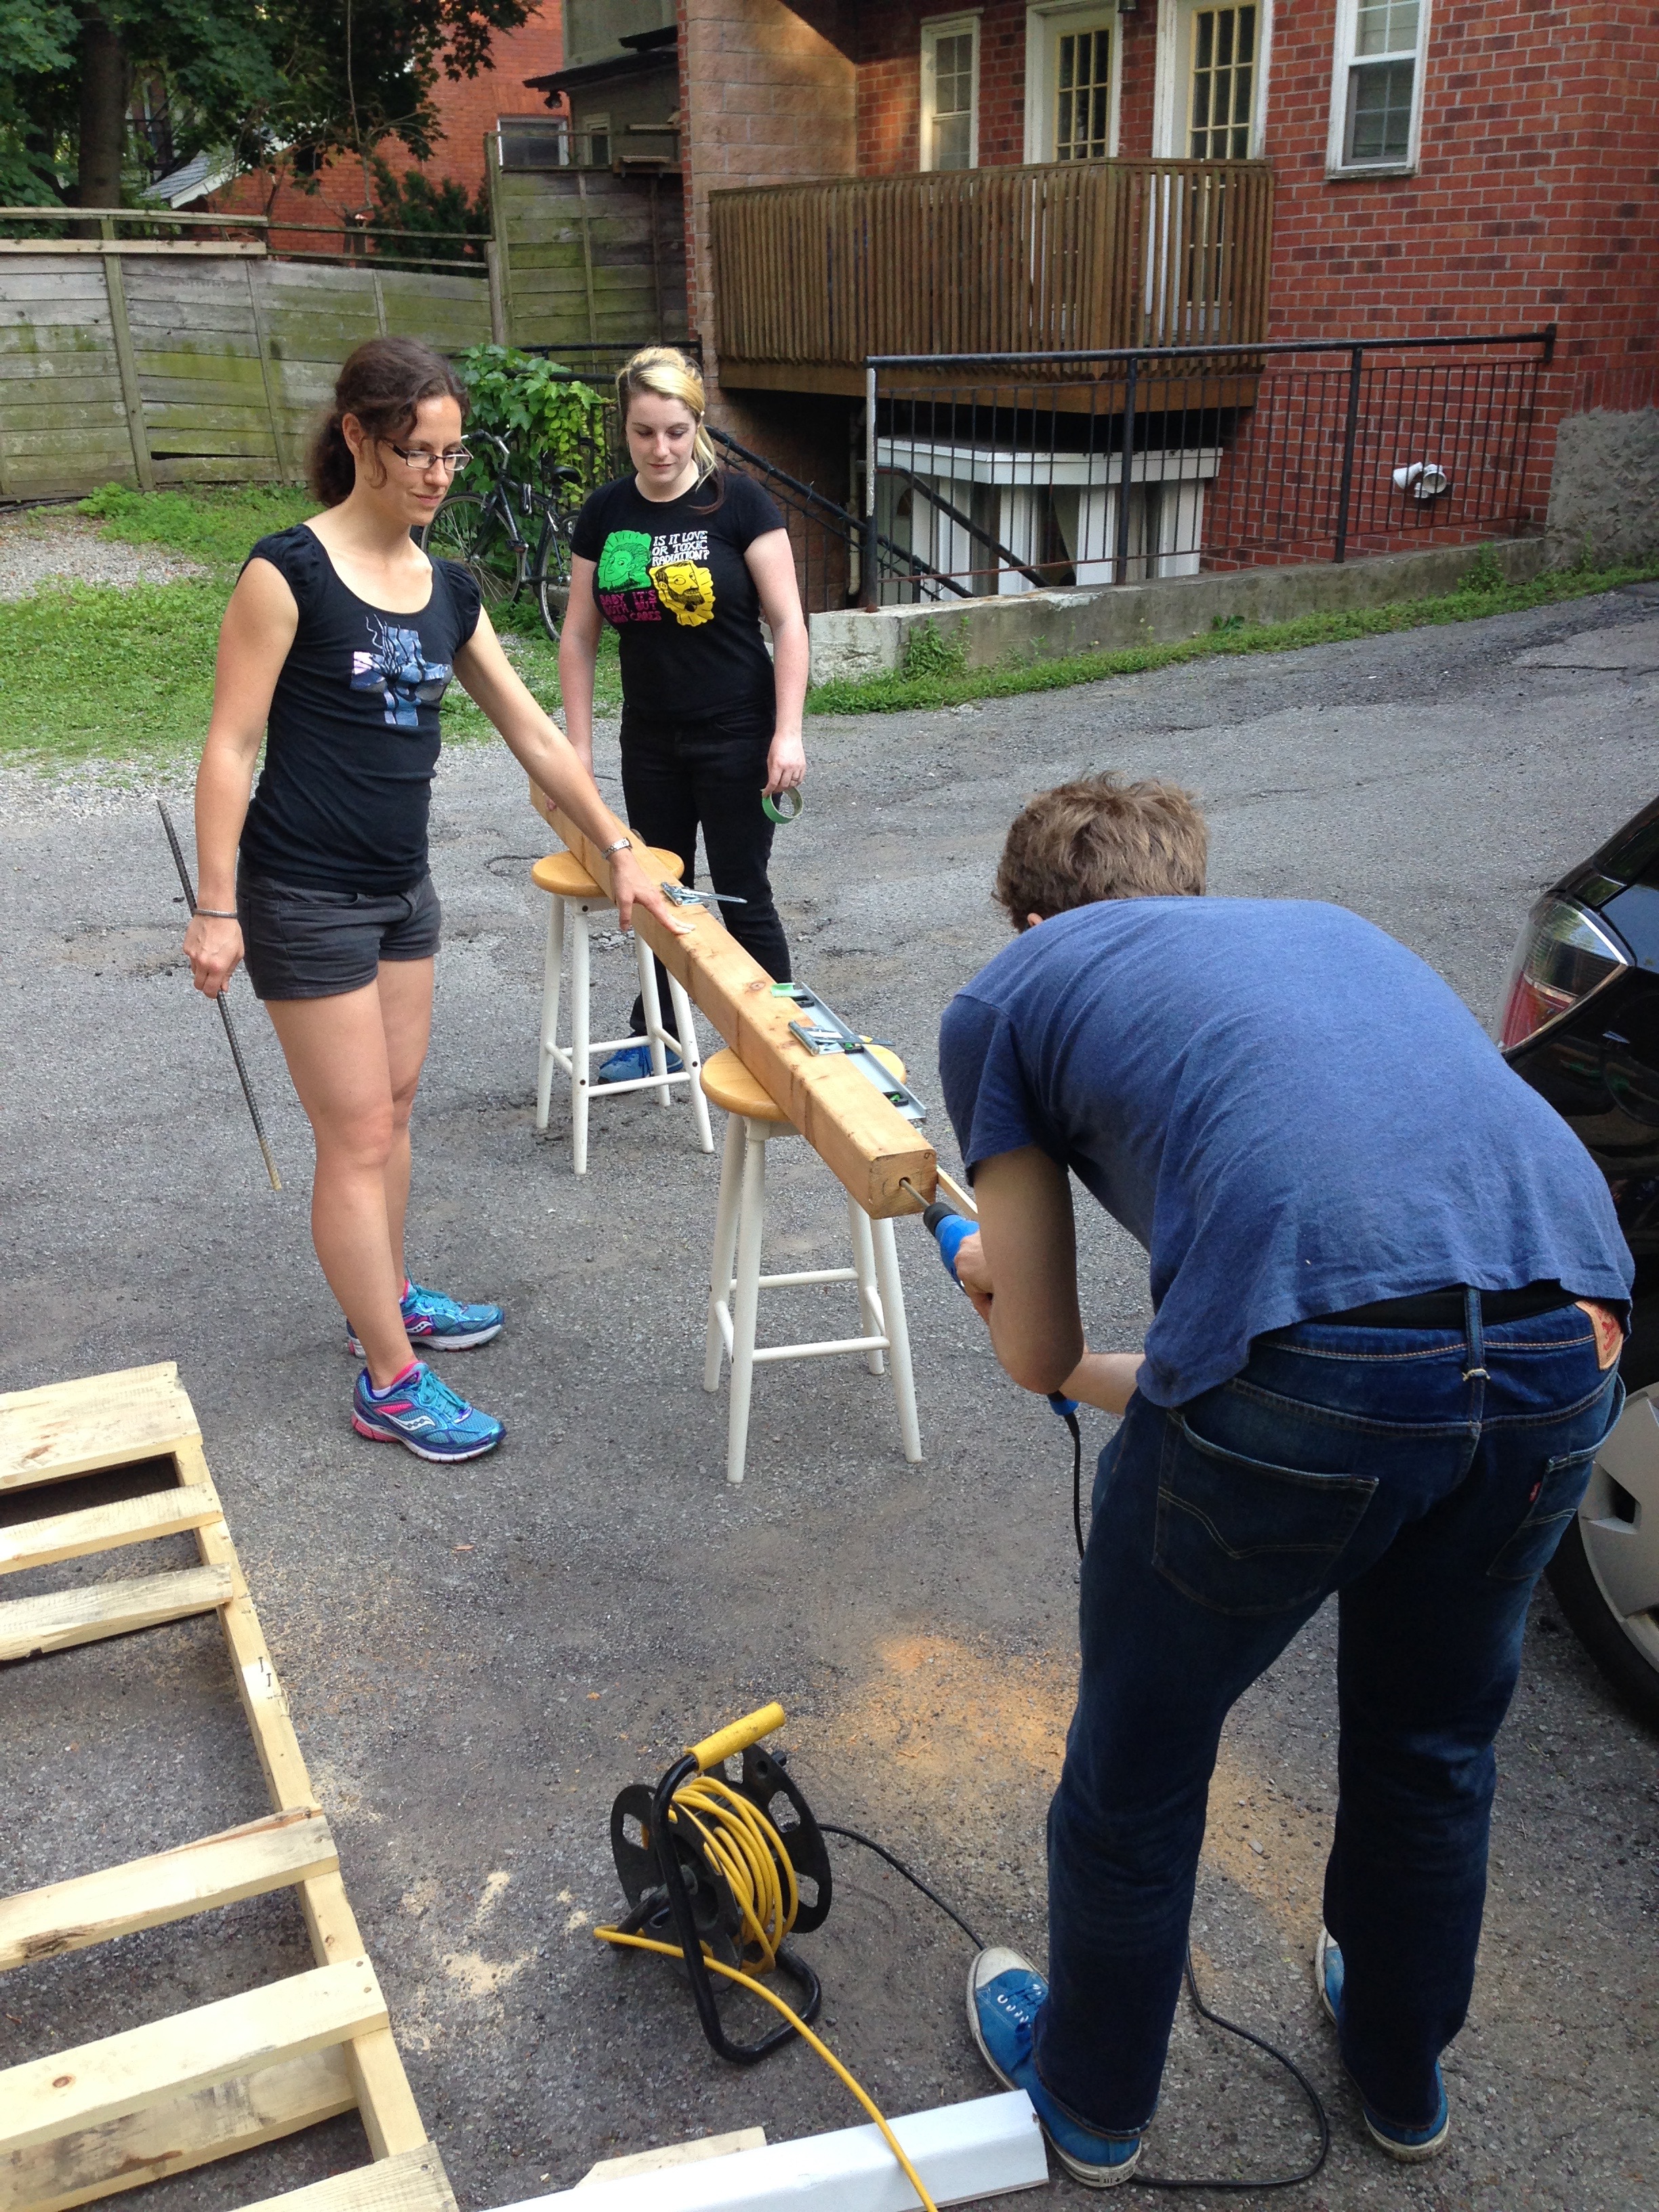
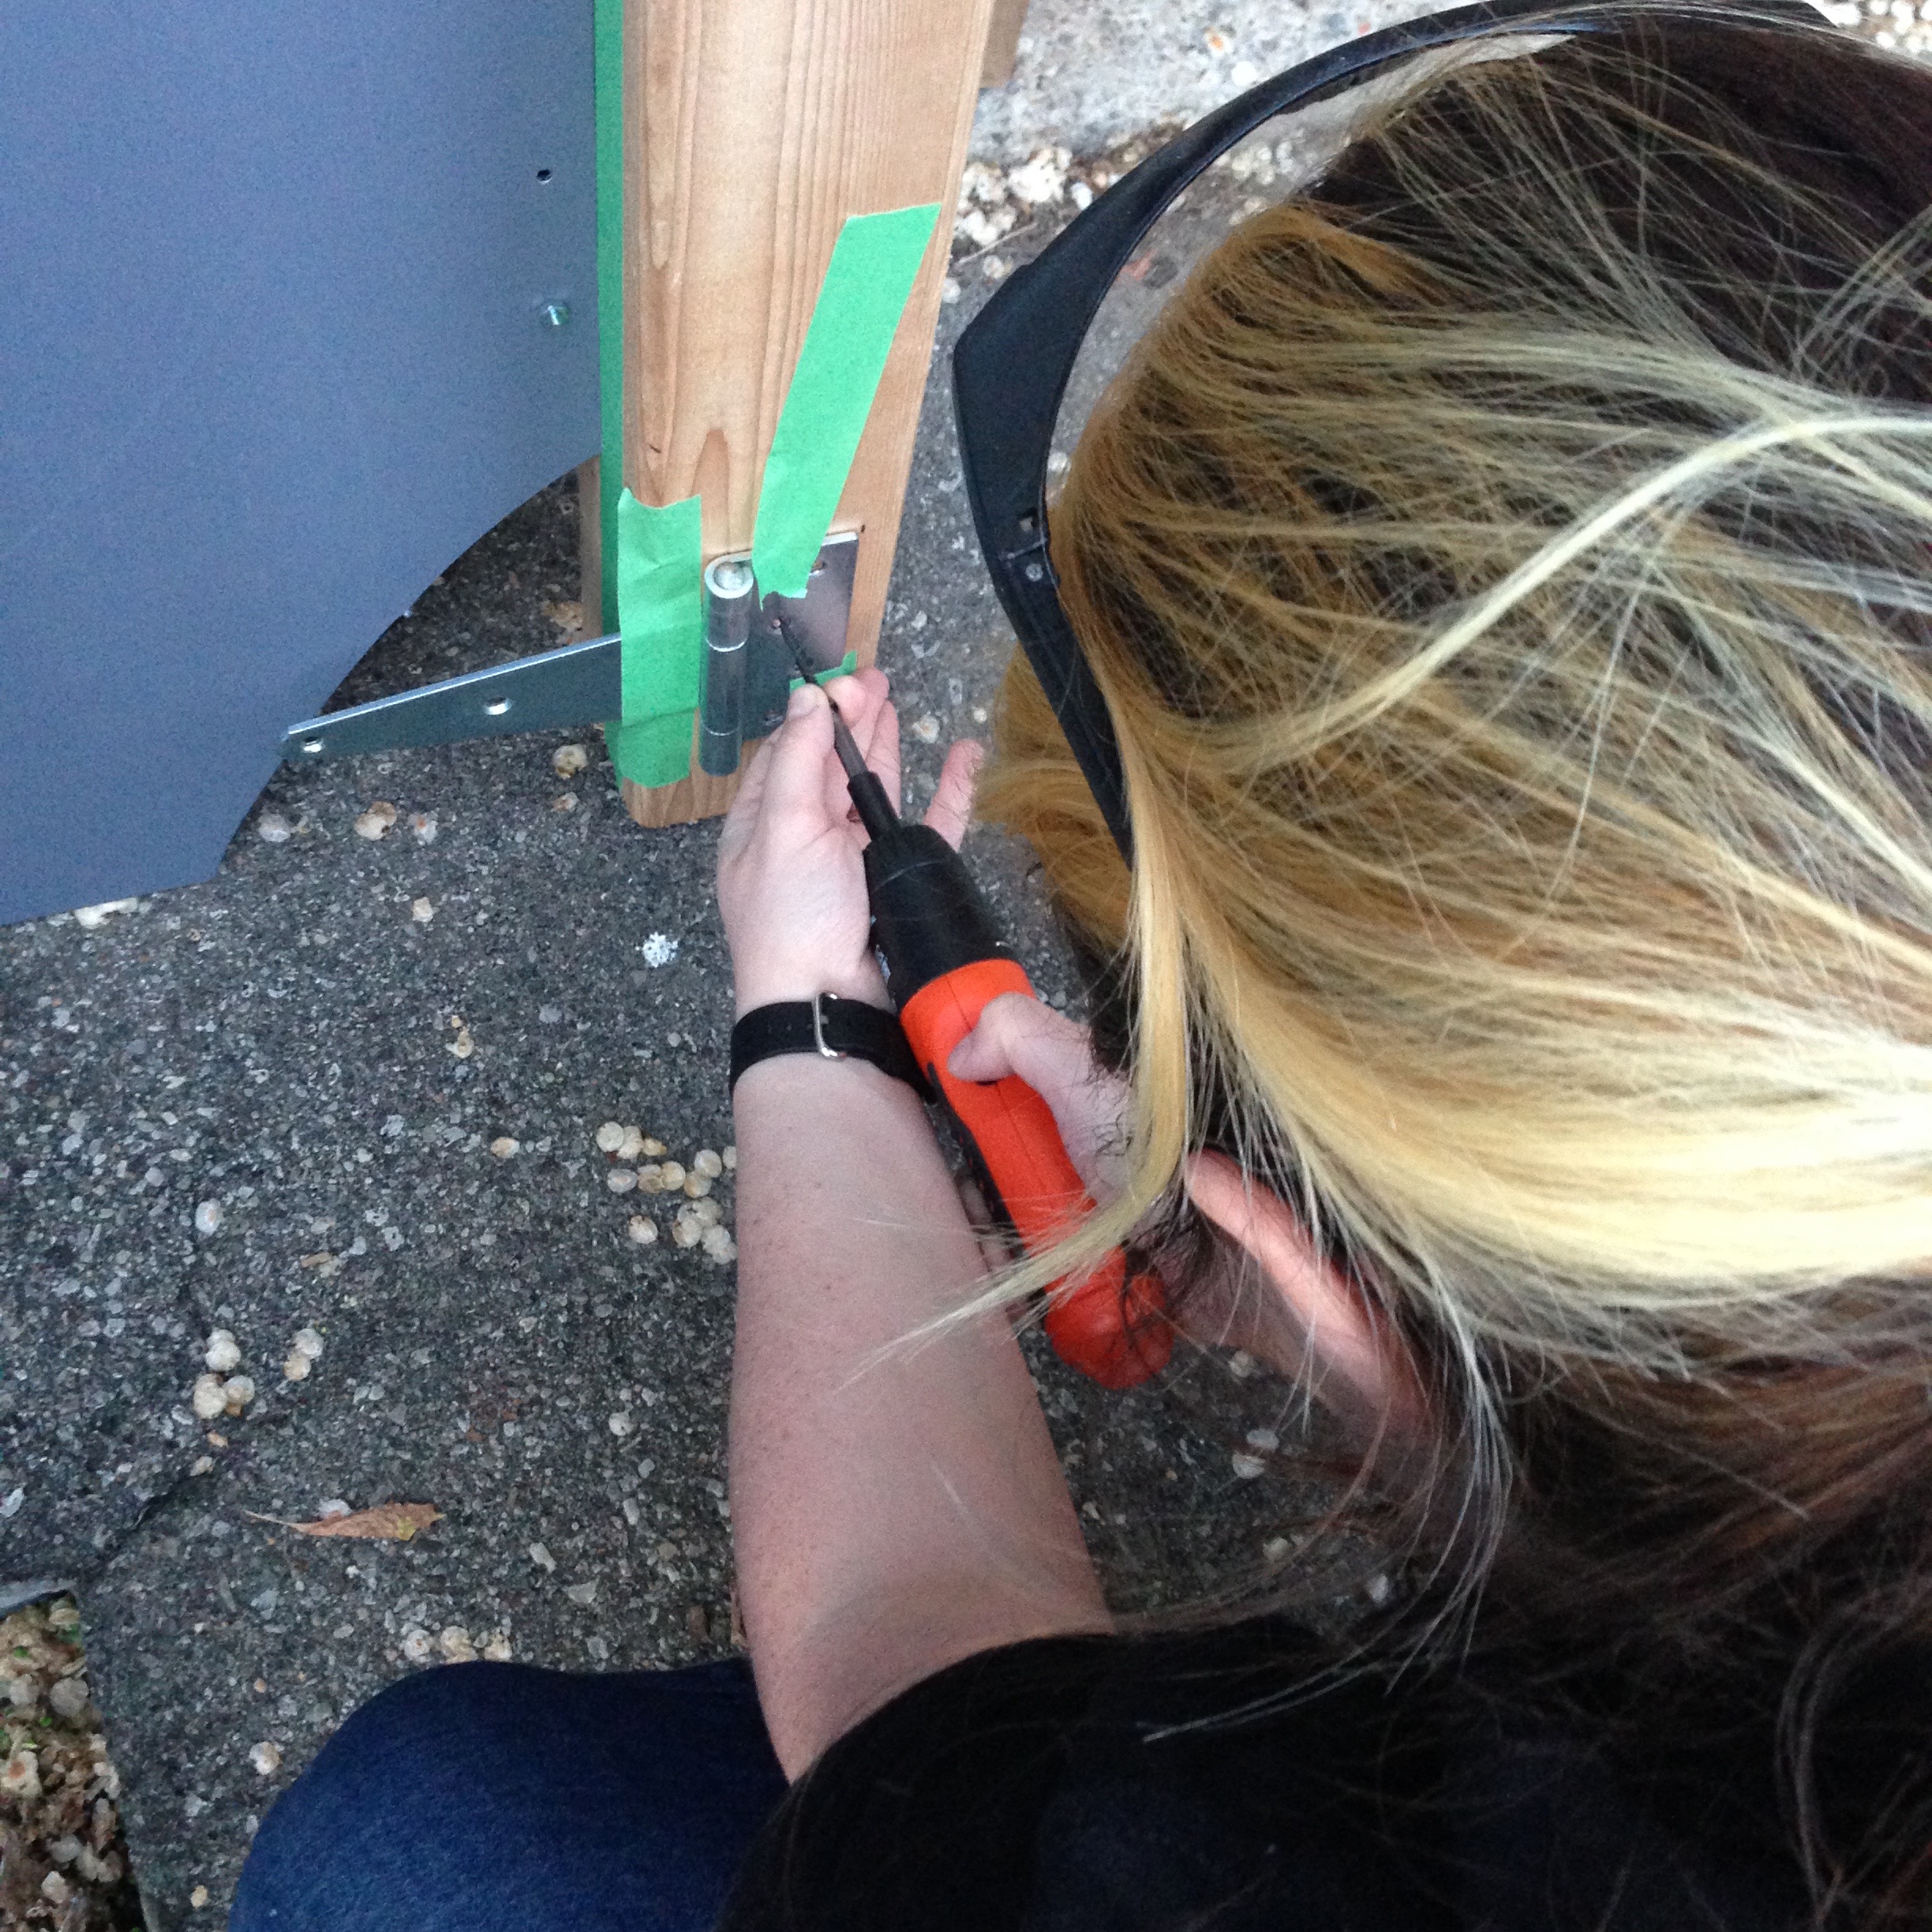
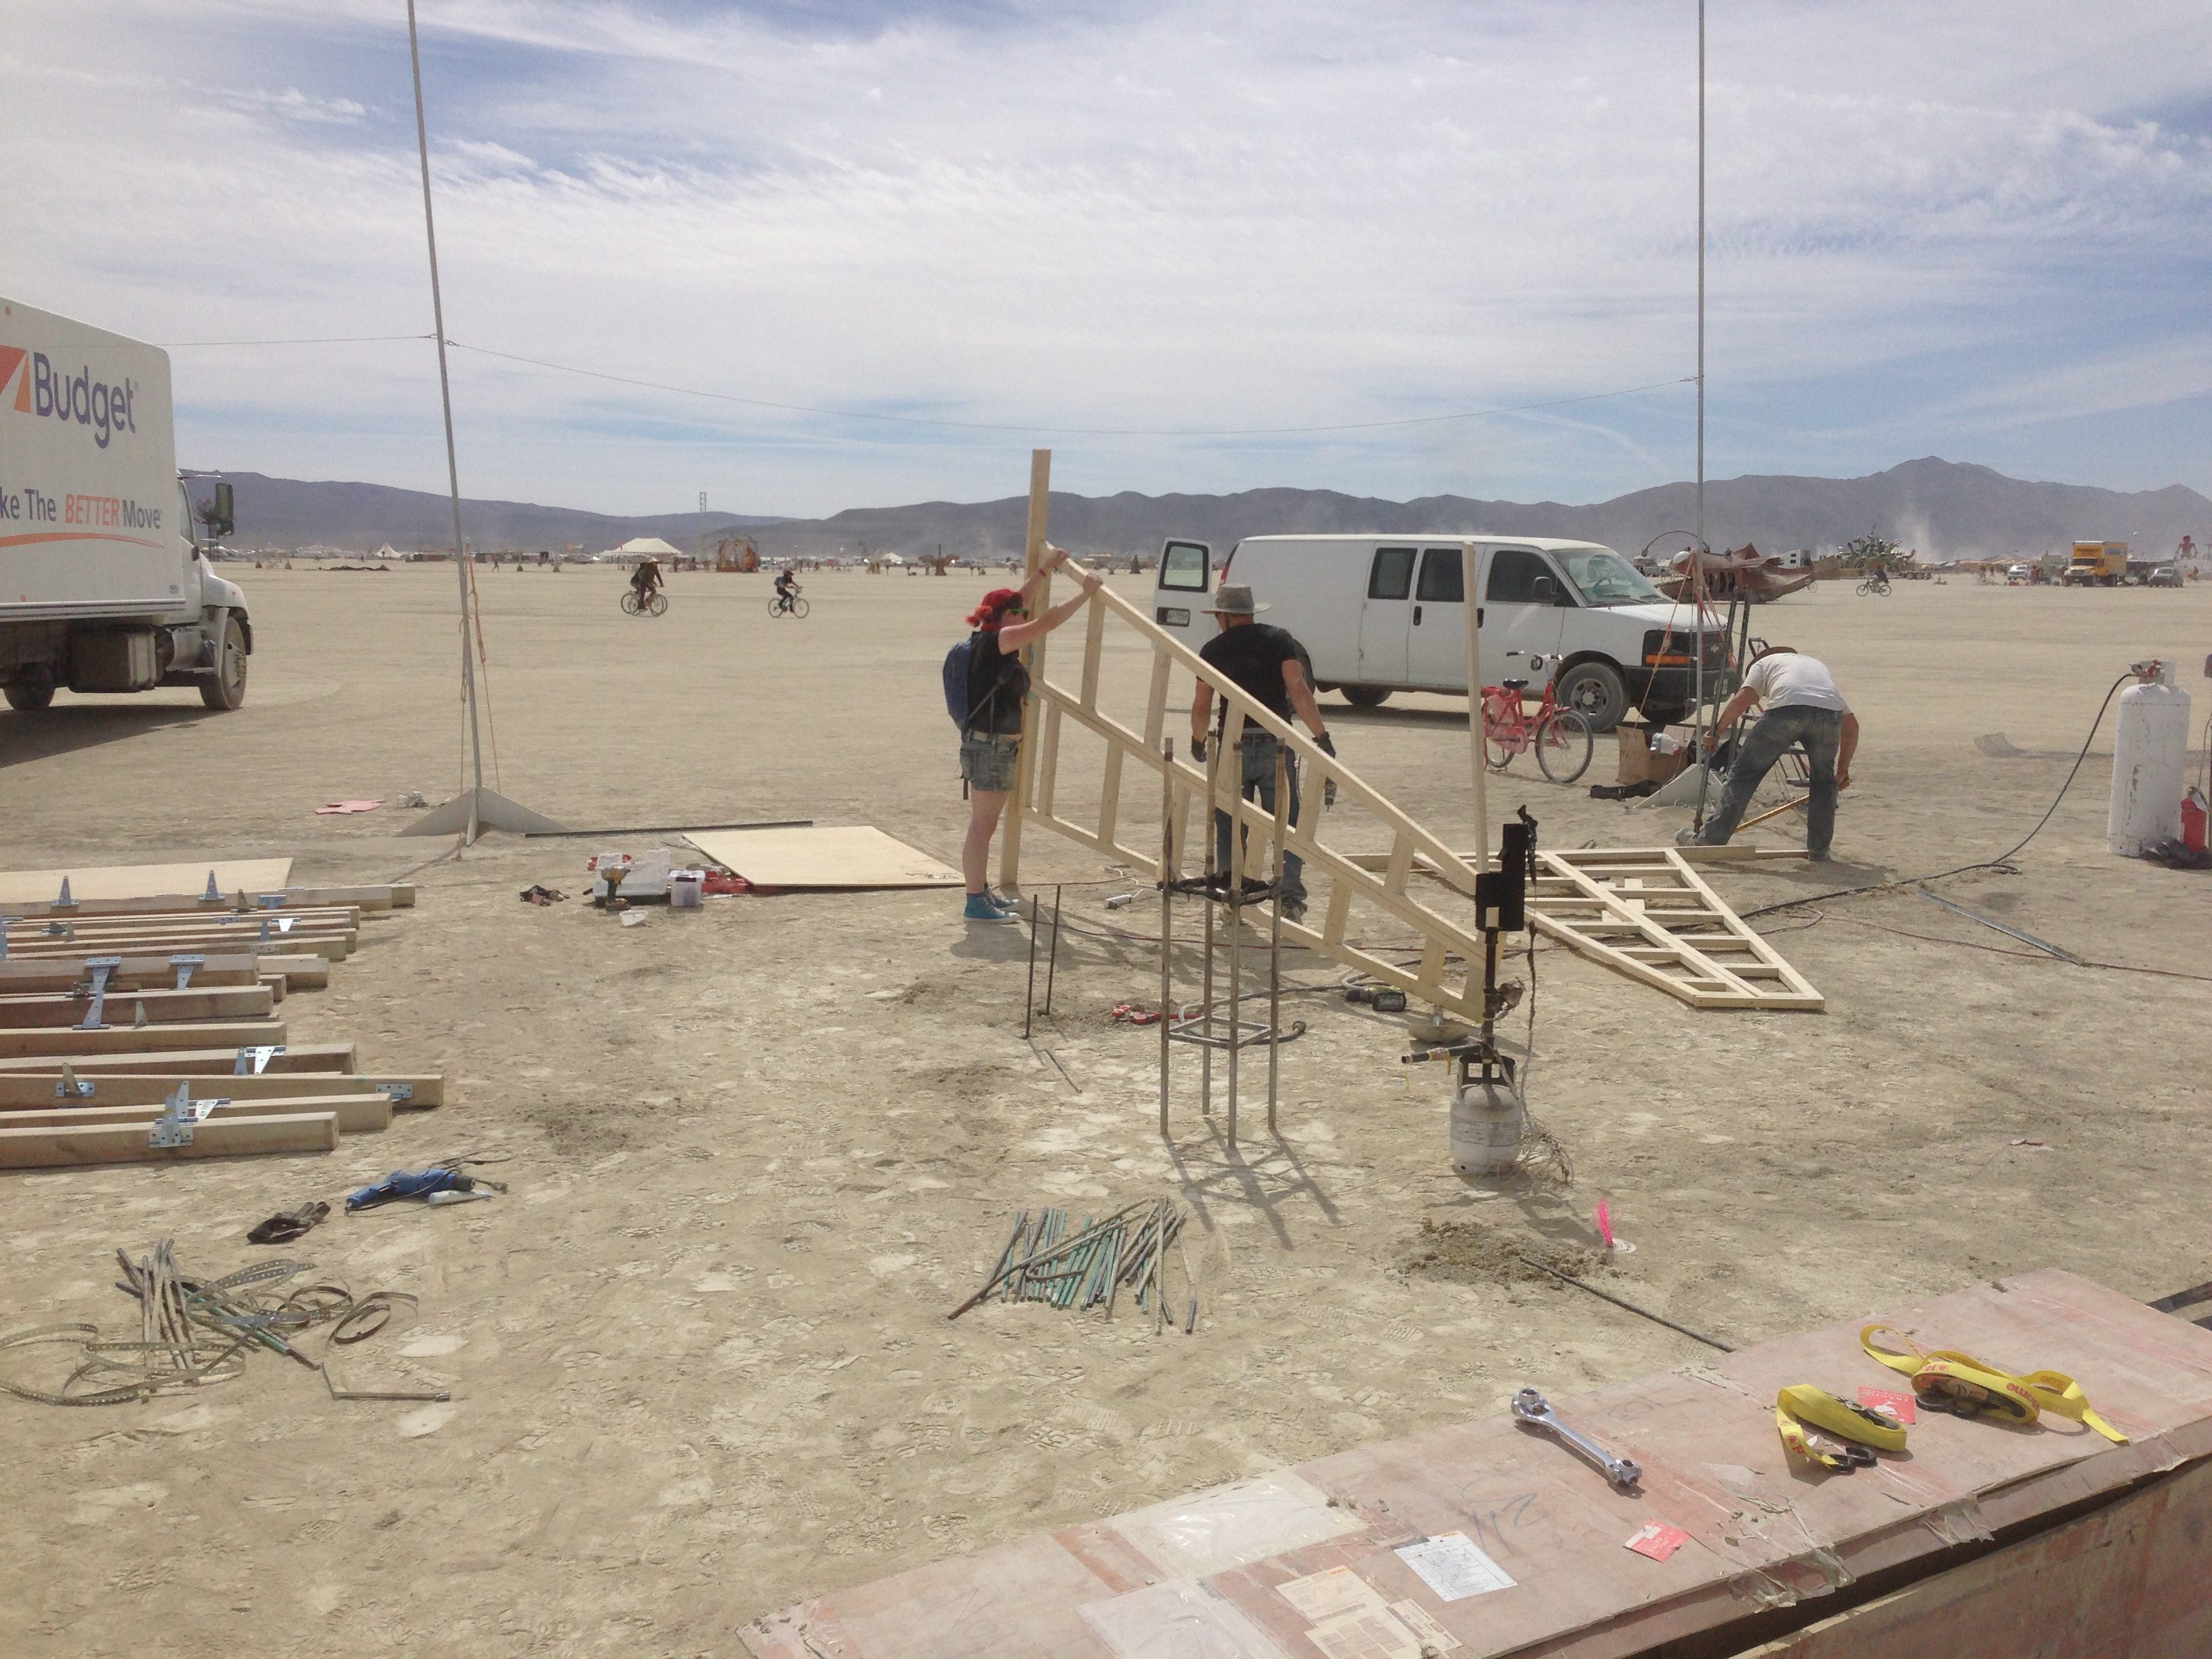
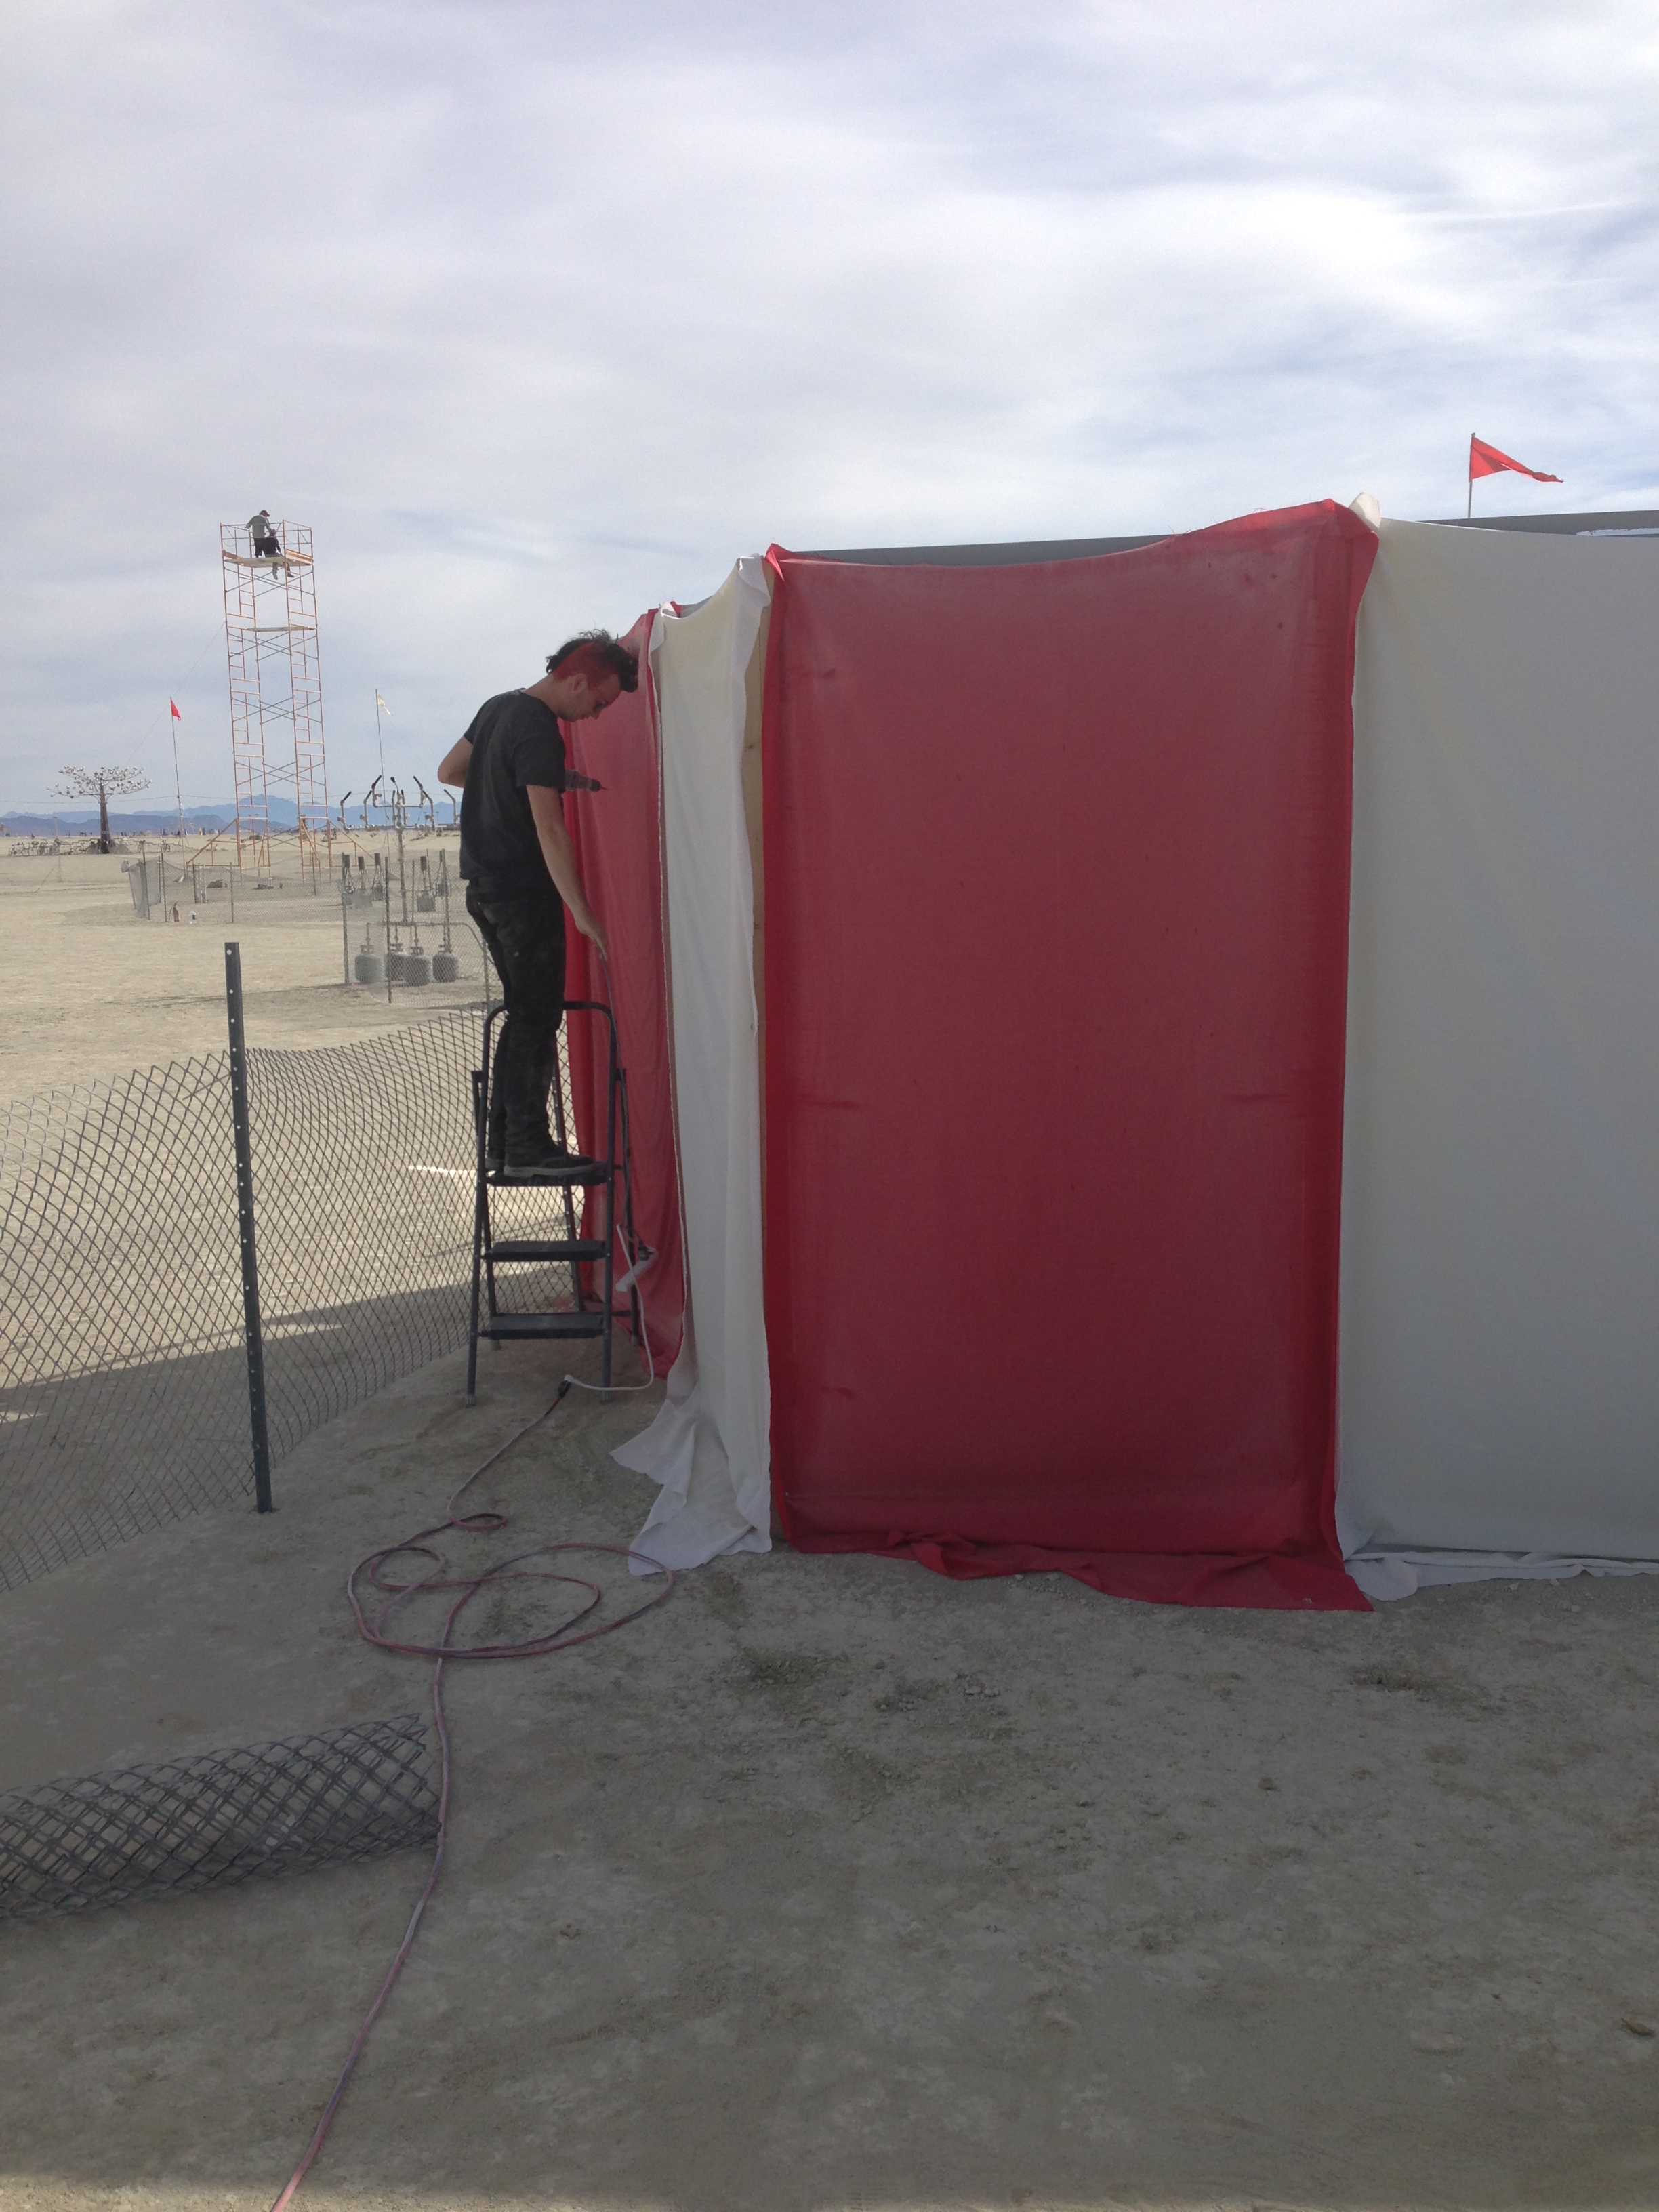
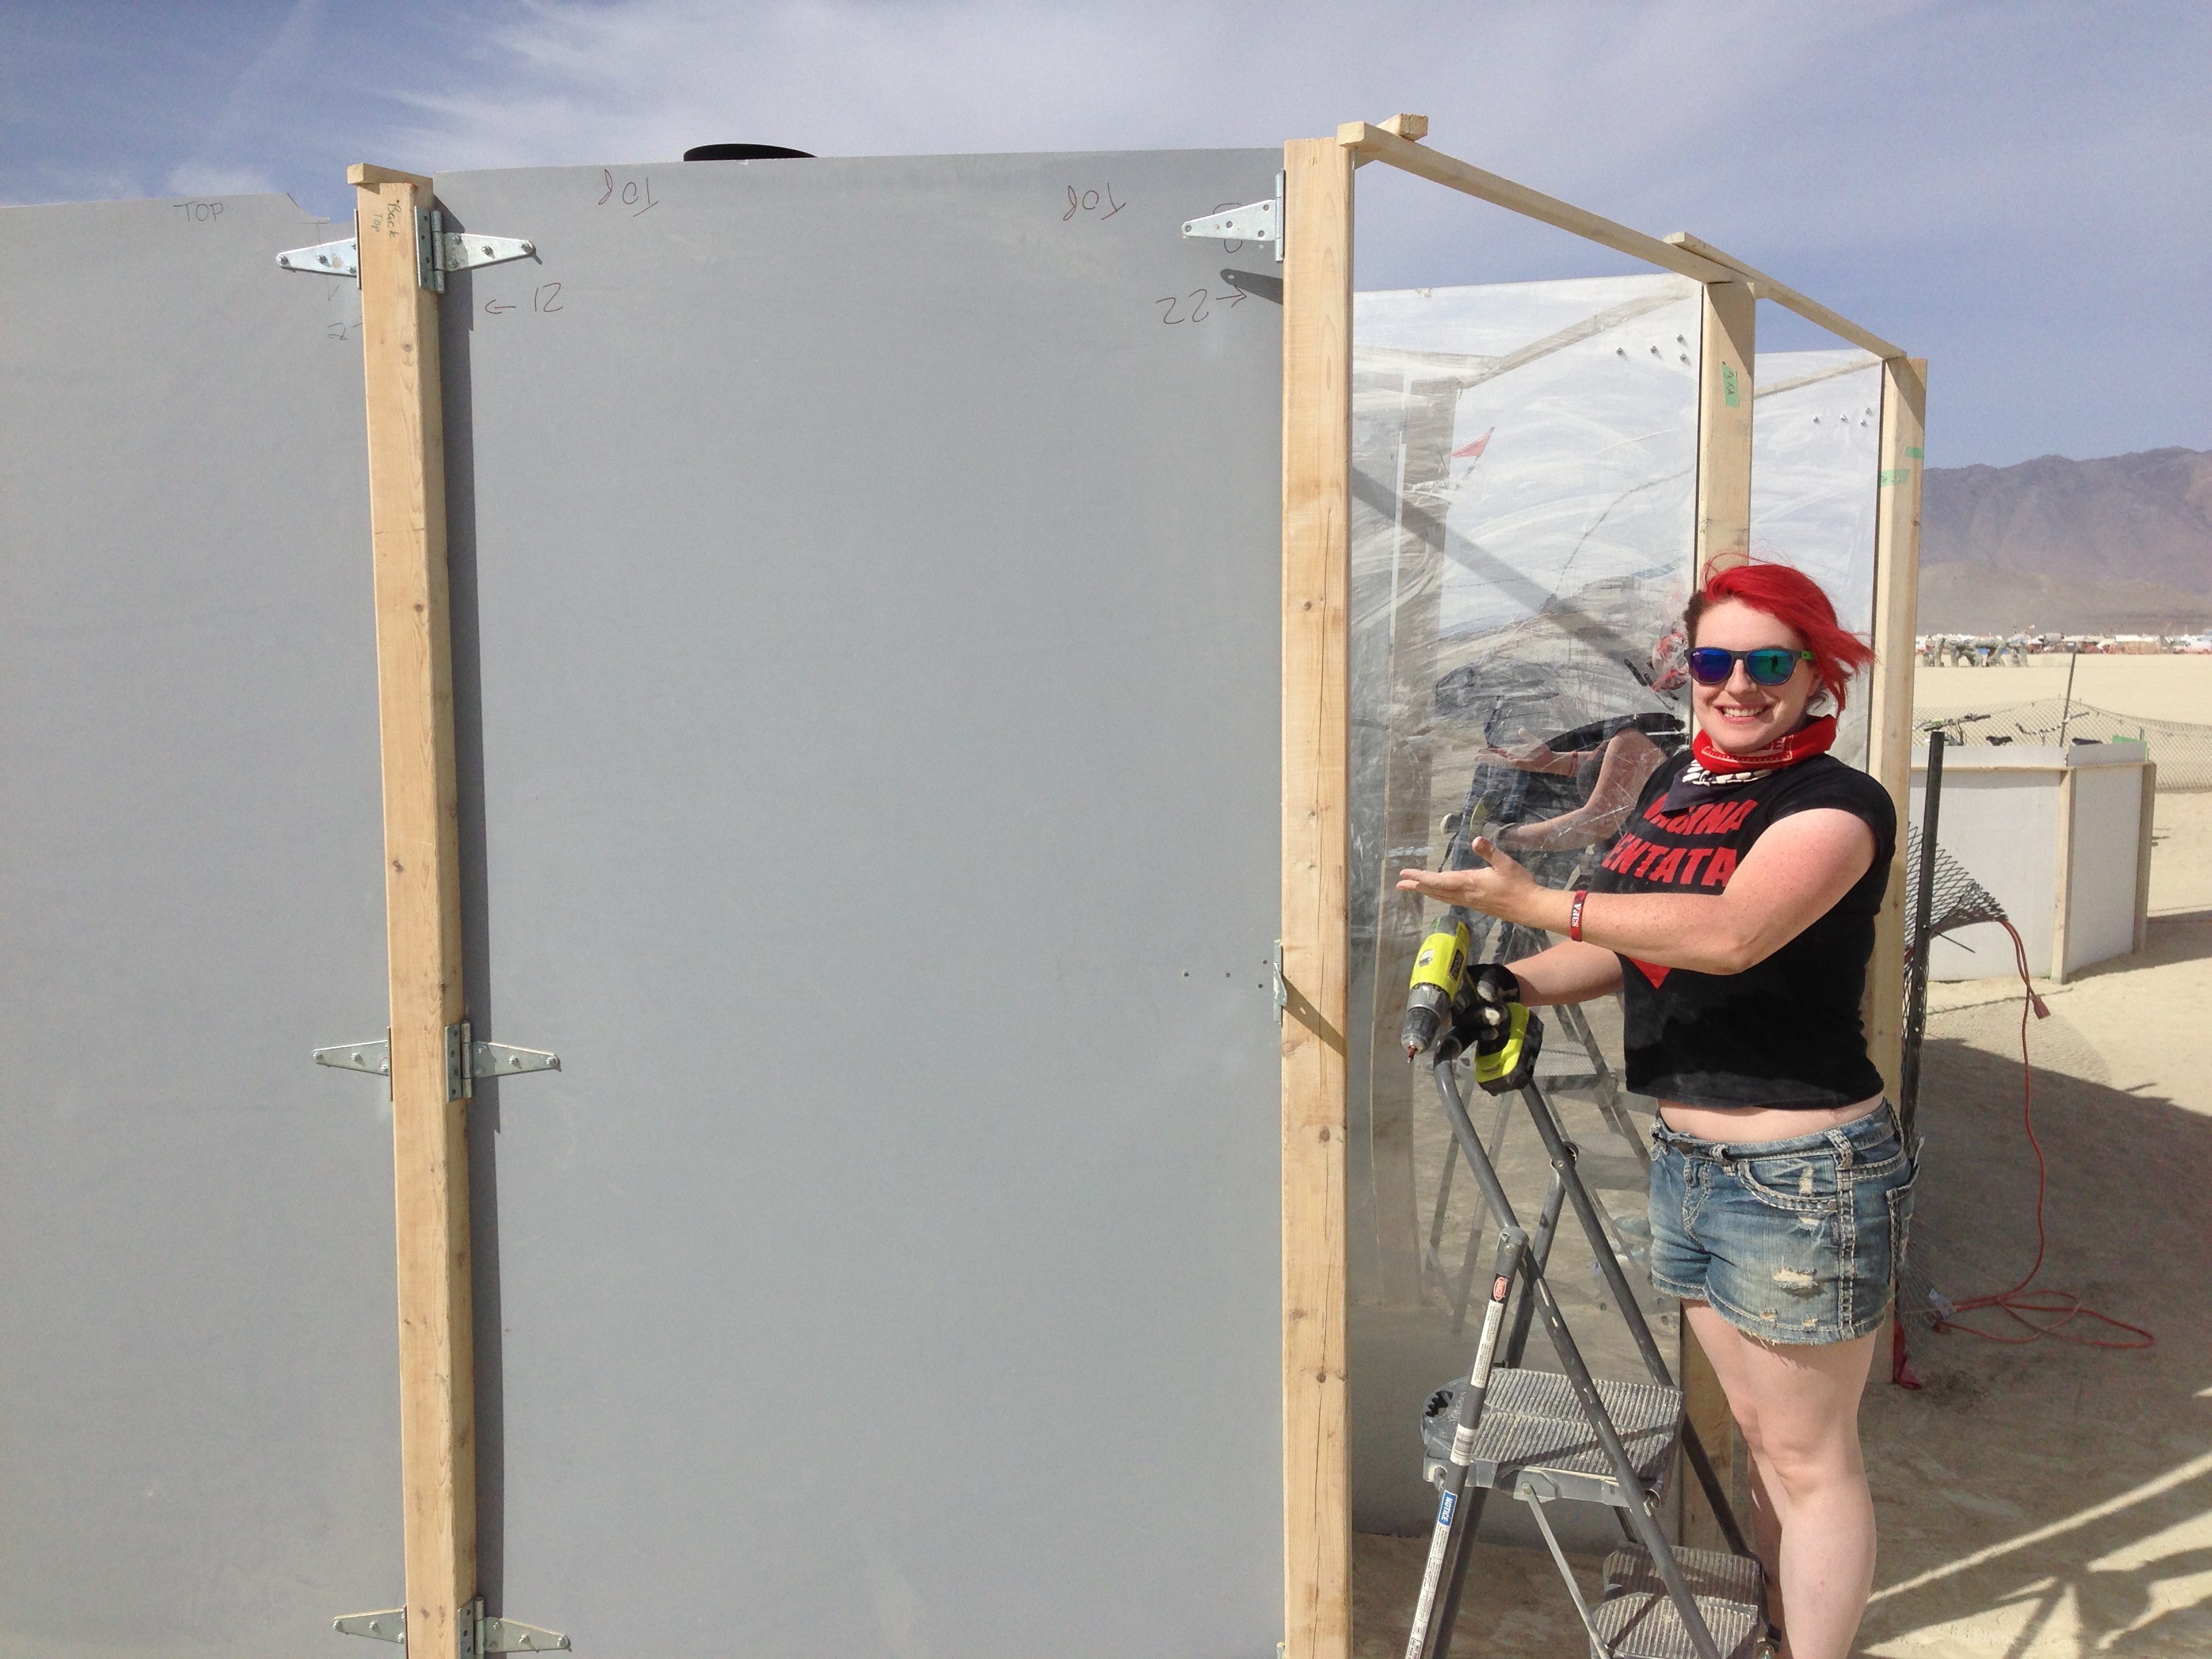
Stay tuned for next time, when we build our first complete production mirror panel, and some friends arrive to help!

[1]It is said that if you use a gaseous fuel, if you make a mistake, you lose some hair. With a liquid fuel (such as gasoline), if you make a mistake, you lose skin (or worse). Be safe!

[2]Glass is a fascinating topic that is far too complex and out of scope for this post.

[3]As far as she could tell, they might have been the same supplier, as they had very similar responses to inquiries.

[4]And it’s kinda fun to work around constraints like that.

Building the Mirror Blaze in Pictures IV: How do you Make Posts Withstand a Windstorm?

Last time, we showed our first integration test of the mirrors for Mirror Blaze. Later, we would test out the ‘Blaze’ (flame effect) part.

But in the meantime, we had to figure out the solution to a different vexing problem. There was a list of constraints we were designing for:
– Make a mirror maze
– Large enough for the public to walk through
– Large enough to feel like they’re getting lost
– Small enough (or with enough escape hatches) that they can get out quickly if something goes wrong
– Tall enough that people feel like they are completely inside and cannot escape that way
– Able to withstand alkali playa dust for a week
– Able to withstand 4 hours * 7 days of intermittent flame effect firing
– Inexpensive enough that we could afford it
– Able to withstand a 90km/h windstorm

It was this last constraint that vexed us the most. I had calculated that the wind force could reach something like a ton, but we didn’t want to go with the obvious guywire solution, because they would need to stick out for meters in all directions, and we’d be constantly tripping over them[1].

So, with this in mind, we returned to Home Hardware (New Canadians Lumber, really friendly and helpful people, we recommend them).

We looked at a number of different options for holding the posts in place. The one below was the most expensive option (They were about $15-20 each, IIRC), and I couldn’t imagine how back-breakingly difficult it would be to remove them from the ground when we were done. (Also, how would the mirrors fit around them, at the base? And, how would they stand up to wind? Would they bend up out of the hole?)

We kept coming back to this style of post holder.  What kept stopping us was the idea of trying to remove them from the ground when we were done, how we would attach the posts, and how horrifically expensive they were.

Some other options were not much better:

An even more expensive post holder?
This would work fine, if you could simply bolt things to playa.

But we kept coming back to this one:

Feels almost like the right idea...
Feels almost like the right idea…
Just not quite deep enough, but if it was...?
Just not quite deep enough, but if it was…?

It felt mostly like the correct shape, if only we could make the rebar longer, and better connect it to the post… (We had been told that for proper securing against a 90 km/h windstorm, you want your rebar to be 1-2′ into playa. We also knew that would torque the posts around a small connector like that something fierce.)

Then it hit us[2]! Just drill the rebar into the center of the post! Brilliant! All we needed was a 12-18″ drill bit[3]. It was time to go and test!

But first, we needed to go purchase some 1/2″ rebar:

I enjoyed this sign every time I saw it.

Welding, or un-welding, the sparks are always impressive:

Rebar purchase is exciting!

Then it was time for drilling[4]:

Mel and Geoff help S drill a post.

We managed to wear out more than one of the 18″[5] spade bits. Sawdust jam was frequent, even with the corded drill. (I can’t imagine doing this particular job with a cordless.):

We wore out a number of drill bits during this project.  Note the sawdust, and that this was an 18" bit.  (And that we used a 5/8" bit to drill out a hole for 1/2" rebar.)
We wore out a number of drill bits during this project. Note the sawdust, and that this was an 18″ bit. (And that we used a 5/8″ bit to drill out a hole for 1/2″ rebar.)

And success! Here is the finished post:

Note my classy protective gloves.

And here it is, freestanding, showing that we could put them up using only rebar, and no guywires[6]!

"So, how'd you end up as a post?"  "Ssh!  I'm trying to hold my balance for rebar monthly!"
“So, how’d you end up as a post?” “Ssh! I’m trying to hold my balance for rebar monthly!”

Tune in next time, for when we go into production, and a wide and varied cast of characters literally come out of the woodwork to help. Stay tuned!

[1]And they look terrible.

[2]I honestly don’t remember where this idea came from. We had been asking people this question for months. It might have been one of the kind gentlemen at New Canadian. (I really cannot recommend them enough.)

[3]Spade bit, but we’ll cover that later.

[4]This is actually a picture from much later, in our production process, but I couldn’t find any from the prototyping stage.

[5]18″ or 24″, I can’t recall.

[6]Well, we would also need top wind-bracing, but that’s a story for another time.

Building the Mirror Blaze in Pictures III: First Integration Test!

Last time, we talked about some of the basic components in Mirror Blaze. Today, we’ll talk about how we combined them for the first time.

As I mentioned before, we had purchased four 4’x8′ acrylic mirrors, three single-sided, and only one double sided (as they were significantly more expensive). The designs we were thinking of involved dozens of mirrors, including one or more sets of triangle-enclosed flame effects, but we needed to test all kinds of things before settling on a design.

One of the best decisions we made was to use 4″x4″ cedar for our posts. The options were treated wood (the green-tinted wood that you see used for many outside emplacements), and cedar. We initially liked the cedar because it smelled better, but I think the fact that it was about half the weight was what decided it for us. 8′ 4″x4″ posts are not too too heavy, but when you have to stevedore them repeatedly, and pack and unpack them from the garage each time you want to do construction, each kilo saved is worth it.

S ponders the fundamental character of cedar post.
It is laughter!
It is laughter!

This was our test of two different types of hinges. We thought to try piano hinges and T-hinges. S recalls that the piano hinges were almost flimsy, bending when we lifted them. Thinking about it, the T-hinges are designed and build for exactly what we were trying to do with them.

Our first panel test!  Note the piano hinge on the left and the T-hinges on the right.
Our first panel test! Note the piano hinge on the left and the T-hinges on the right.

We also had an incident with the acrylic sometime during the early part of this test. As I recall, the first time I tried to drill holes in the acrylic, it cracked, and made the missing corner you see in the picture below. We eventually concluded that this was probably because the acrylic was too thin (our test acrylic was less than half of the thickness of the acrylic we actually used for the project), but I remained terrified of the prospect throughout the remainder of the project.

S hard at work.  (Note the missing corner from my first attempt at drilling acrylic.)
S hard at work. (Note the missing corner from my first attempt at drilling acrylic.)

The two types of bolts used for piano hinges and T-hinges:

The two types of bolts we used in this early test.

IIRC, we ended up drilling 1/4″ holes for the bolts.

I should probably mention at this point that we screwed the hinges into the posts, and drilled holes in the mirrors so that we could bolt the hinges to the mirrors. This worked out for testing and assembly. It worked well enough that even though we had never assembled more than about 1/4 of the project at a time before going to the Burn, it all fit together exactly once we got there. I remain proud that we accomplished this.

The one you need is always the one missing...
The one you need is always the one missing…

More geometry testing:

S does her best impression of a mirror triangle.

We had a lot of fun with the two-way mirrors. Note how clean and pristine they are here, compared with how things looked on playa.

Two-way mirrors are so much fun (and spooky)!

This was our first time putting three mirrors together in a triangle. This, and the next video, were when we really started thinking that this could really work!

S, assembling our first triangle!

Our first flame test with the two-way mirror! It worked! 😀

Building the Mirror Blaze in Pictures II: First Mirror and Post Experiments

Last time, we talked a little about some of the inspirations and lead up to the Mirror Blaze project. Today, we’re going to show our first experiments with mirrors and posts, from May and June 2015.

First, a note about how cats react to power tools:

Lyra reacting to power tools.

The first mirrors arrived sometime in February, a time of somber reflection:

Reflection, yes.  Somber, only your S knows for sure.
Reflection, yes. Somber, only your S knows for sure.

This first set of mirrors, which would end up being about 90% of the mirrors in the final mirror maze, were a wonderful gift from Trevyn. It’s not overstating it to say that this project would not have been possible (or would have cost twice as much) without his generous help:

Our first mirrors!  Thanks, Trevyn!
Our first mirrors! Thanks, Trevyn!

It being cold, and the mirrors being held together with double sided tape, we separated them as best we could, and went inside to wait out as much of the Canadian winter as we could.

We spent the time plotting geometry, and trying to uncover which shapes were most likely to contain a cat:

Apparently, triangles are non-optimal for containment of cats.
Having escaped her triangle confinement, Lyra investigates the wild clothes rack she felled earlier.

Note that the triangle in the photos above is 4′ per side, as the mirrors we were planning to use were 4′ or 4’1″ per side.

On June 6th, it was finally time to do our first experiments and build! We knew that we would have to purchase at least three two-way mirrors (to surround the flame effect), so we had purchased some half-thickness mirrors (three one-way, one two-way), in the hope that they would be thick enough to use.

We had two major problems that we were still trying to solve, though. The first was how to keep the structure up without using guy wires. We had experienced the horrors of tripping over guy wires every night in 2013, and we wanted to avoid this at all cost.

We had the bright idea of attaching the wooden 4″x4″ posts (we had at this point mostly decided on 4″x4″ wooden posts, after all of our ideas of custom-made metal 6-way symmetric metal posts fell by the wayside) into the ground with some sort of post or attachment. These ‘carport rebar’ devices felt very close to what we were looking for, but we were designing for 90km/h windstorms blowing on upright 4’x8′ panels. It’s difficult to see in the picture, but the rebar is only about 8″ long coming out of the bottom of the saddle, and we thought we would want at least a foot, probably two to be able to withstand the wind. Also, my wood-splitting and torque fears were triggered by the idea of only having one sideways bolt holding the post in place about 2″ from the bottom of the post, where it would be subject to the highest torque with not much wood right at the tip of the post taking all of the strain. However, as you’ll see later, this was the genesis of an idea:

The glimmerings of an idea...
The glimmerings of an idea…
'Rebar' and 'saddle'.  How can you go wrong?
‘Rebar’ and ‘saddle’. How can you go wrong?

The other main problem was how to reliably and precisely make 60 degree angles between the mirrors, so that we would get the true tessellated triangular prism ‘hall of mirrors’ effect. We thought of using ‘Skewable Angle’ bendable metal connectors:

'Skewable Angle' bendable metal.  Just like a hinge, but cheaper and more fragile!
‘Skewable Angle’ bendable metal. Just like a hinge, but cheaper and more fragile!

But looking at them, it occurred to us that we could just use hinges. They’d be more expensive, but but much more flexible, and likely much more durable. Thinking about it, hinges would allow more flexible assembly (and a lot of headaches, but that’s another story). We decided to try two different types of hinges, piano hinges:

Piano hinges like you've never seen them before!
Piano hinges like you’ve never seen them before!

And T-hinges. (It’s funny, looking at the product pages now, it’s clear that we wanted T-hinges, for their durability, and the simple fact that they’re built specifically for outdoor doors and gates, but at the time, it was difficult to know what was important in the design. We could only test and hope.):

This hinge suits you to a T!

Next time, we’ll talk about how we used all of these components for our first integration test! Stay tuned!

Building the Mirror Blaze in Pictures I: Preludes and Inspirations

So, you may have been following our adventures with Mirror Blaze at Burning Man in 2015. However, there was a significant amount of work put in by many people to make it work.

But before all of that, it started with sparks of inspiration. Or perhaps more precisely, flames of inspiration from S. We had been to the Burn with Site 3 Fire Arts in 2013 (pictures forthcoming[1]), and in late 2014, we had started talking about putting something together for 2015 (August/Sept).

Sometime in December, I was hanging out with some of my friends who do fire spinning, and (in addition to being pretty cool), it helped keep fire art at the top of our minds:

Darq spins some fire poi.

I also thought enough of this picture of the Man to screenshot it, perhaps to remind myself:

An iconic photo of the Man.

The other members of S3FA were also experimenting with various flame effects, such as Carrie’s Sniffly Dragon:

Carrie shows off her 'Sniffly Dragon'.
Carrie shows off her ‘Sniffly Dragon’.
Carrie's 'Sniffly Dragon', aflame.
Carrie’s ‘Sniffly Dragon’, aflame.

Along the way, after the success of the Charcade in 2013, we decided to put together a ‘Charnival’. Many ideas were thought up. I don’t remember if these were from a brainstorming session with all of S3FA, or just S and I, but I do remember that it was S’s idea to do a flaming mirror maze[0]:

Some of our wacky ideas for a Charnival.

You can see a number of ideas here which made their way into the Charnival (either on their own, or from a brainstorming session such as this one). Specifically, a ring toss game (‘Flaming Hookers’), the hall of mirrors and fire mirror maze were combined into Mirror Blaze, and there was a high striker (‘Hellblazer‘), amongst many others:

Some more wacky Charnival ideas.

One of the other wacky ideas that was discussed was a fire-bumper-car game, working title ‘Crash & Burn’. There was vigorous discussion about the artistic direction of this project, and I ended up facilitating[2] a session where we settled on a combined vision:

IMG_8669

'Dark', or 'Sparkle Pony'?  A very important question.
‘Dark’, or ‘Sparkle Pony’? A very important question.

Sadly, ‘Crash & Burn’ did not receive enough funding to go forward, but it lives on (in a fiery way) in our hearts.

We did go forward with Mirror Blaze, and this was apparently one of the initial Google searches I did while we were first researching geometries:

A glimpse into what we were thinking about early on in the Mirror Blaze process.

Next time, I’ll start in on the Mirror Blaze design and build process. Stay tuned!

[0]My posts are almost by necessity from my perspective. The initial idea, and most of the driving force for Mirror Blaze came from S. (Just ask her about the quartz tube story!)

[1]Don’t ask about the order that I post pictures. I don’t know, either.

[2]This was the first time that I really facilitated a meeting like this, and it really cemented my desire to do more facilitation. If you’re wondering what it looks like when I run/host a meeting, it may look something like:

This is what happens when I host/run a meeting.

Burning Man 2015 in Pictures LXVII: Teardown of the rest of the Charnival

Last time, we saw our intrepid crew teardown the last of Mirror Blaze. Today, the rest of the Charnival!

M & M work on disassembling Francis the Fantastic.
#metaphotography
#metaphotography
E looks on as C 'rolls the fence'.
E looks on as C ‘rolls the fence’.
M & C are caught in an instant of slow-time.
The furious dissasembly of Riskee Ball continues!
l-r: Riskee Ball dissasembly, Charnival Front of House, Fire Tetris, C.
The hardy team working on Riskee Ball.  l-r: AD, KZ, CH, AL, RL.
The hardy team working on Riskee Ball. l-r: AD, KZ, CH, AL, RL.
Splat takes a break in the shade while Mike surveys his packing of Francis.
The Riskee Ball dissassembly crew, hard at work.  l-r: Mike, Andrea, Steph(?), Kosta, NekoBus, Greg.
The Riskee Ball dissassembly crew, hard at work. l-r: Mike, Andrea, Steph(?), Kosta, NekoBus, Greg.

Dug takes a break and surveys the

Splat surveys what is left of the skin on his fingers.

Burning Man 2015 in Pictures LXVI: The Last of the Mirror Blaze Teardown!

Last time, we followed our intrepid adventurers as they continued the teardown of Mirror Blaze. Today, we follow them as they complete this task.[1]

MF & GL walk by the remaining upright parts of Mirror Blaze.
The non-mirror parts of Mirror Blaze.
Fire and acrylic mirrors.  Sometimes they have an effect on each other.
Fire and acrylic mirrors. Sometimes they have an effect on each other.

Here you can see the warping of the two-sided mirrors which were immediately surrounding the flame effect quartz tube.

Greg and splat work on the final mirror!
And the lifeguard chair comes down!
l-r: Lifeguard Stand, Stepstool, Flamey, Quartz Tube, Charnival Sign, Mirror Posts.
Flamey side view.  Note the use of rebar, and the large amount of non-flammable fabric and teflon used to protect the quartz tube.
Flamey side view. Note the use of rebar, and the large amount of non-flammable fabric and teflon used to protect the quartz tube.
Note the aluminum foil protecting the wiring.
S, G, & M bring down the last part of the lifeguard stand.  Done!
S, G, & M bring down the last part of the lifeguard stand. Done!
B stands triumphant with Flamey.

[1]Still arduous, but took about 1/3 as long as putting it together (not including MOOP sweep).

Burning Man 2015 in Pictures LXV: Mirror Blaze Teardown Continues!

Last time, we watched the first stage of the Mirror Blaze teardown. Today, we witness the second part of the teardown, and some of the (very very very sooty) effects of having flame effect equipment in an enclosed tube for a week.

Mirror Blaze, at the start of phase II.  Note the wind bracing sticks at the top.
Mirror Blaze, at the start of phase II. Note the wind bracing sticks at the top.
Callum pulls up the fence protecting the fuel depot for Mirror Blaze and FaIRE Hockey.
l-r: Case, Kosta, Kevin, S (slight case of clamber), and Splat
l-r: Kevin, S (slight case of peeping), Greg, Splat
The disassembled pieces of Mirror Blaze pile up!
Greg holds up some of the padding used to protect the quartz tube from the metal straps holding it up.
The quartz tube, marks left over by the silicone and not-so-flammable fabric padding.
The quartz tube, in situ.  Note the sooty colour.
The quartz tube, in situ. Note the sooty colour.
Kosta unhoking 'Flamey', the flame effect.
Kosta unhoking ‘Flamey’, the flame effect.
'Flamey' is quite 'sooty'.  But the aluminum foil protecting the wiring held up!
‘Flamey’ is quite ‘sooty’. But the aluminum foil protecting the wiring held up!

Next time, the rest of the Mirror Blaze tear down!

Burning Man in Pictures 2015 LXIV: The Teardown Begins!

Last time, our intrepid adventurers gave Mirror Blaze a sendoff with a last mighty *FOOM* on its last night in operation for 2015.

Today, we follow them as they start the teardown of the Charnival.

First, to set the scene, we have a pic of Evan working on the ‘big top’ outer casing of Mirror Blaze:

Evan starting to bring down the big top.

Then an important montage of S showing how a mirror is supposed to be detached from the posts:

S starts detaching the mirror...
S starts detaching the mirror…
One side done!
One side done!
The first side done, she starts detaching the other side.
S demonstrates the proper way to become mirrorximist.
The tube stands alone.
Evan and Greg remove another mirror.
Marc shows the proper technique for removing rebar from playa.
Greg and Splat, serious as always.
Greg and Splat show the proper breakdown decorum.

Burning Man 2015 in Pictures LXIII: Sunlight Poutine and Mirror Blaze Final Night!

(Last time with our intrepid heroes…)

Midnight Poutine. There is nothing quite like it. You would think that the time of day would make no difference in the taste of a food, but you would be wrong[1].

Midnight Poutine.  A true institution.
Midnight Poutine. A true institution.
The Quebecois flag.  A welcoming sight far away from home.
The Quebecois flag. A welcoming sight far away from home.

[1]It could also be the temperature, or the altitude, or the (lack of) humidity,

The S3FA crew in a candid moment.

Moving on from Midnight Poutine, our trusty crew traveled back to the installation, spotting some friends along the way:

Carberus!
Carberus!
The Charnival at night...but wait...who's that?
The Charnival at night…but wait…who’s that?
"Hello Adventurers.  You are almost at the end of your quest.  Remember all that you have learned, and to put all of the pieces together..."
“Hello Adventurers. You are almost at the end of your quest. Remember all that you have learned, and to put all of the pieces together…”

Climbing up on top of a shipping container, the crew watched for the signal that the Man was about to burn. And there it was! The arms were raised!:

After the Man burned, it was time to make a little fire of our own!

S went up to the top of the lifeguard stand to test the Blaze part of Mirror Blaze, blowing a fiery kiss:

S blows a fiery kiss!

We then went into the maze, to celebrate a final *FOOM* before teardown and cleanup:

Our intrepid heroes celebrate the final *FOOM* of 2015!
Our happy and satisfied heroes!

Join us next time, when we start teardown and cleanup, the most important parts of any installation!