Last time, we showed our first integration test of the mirrors for Mirror Blaze. Later, we would test out the ‘Blaze’ (flame effect) part.
But in the meantime, we had to figure out the solution to a different vexing problem. There was a list of constraints we were designing for:
– Make a mirror maze
– Large enough for the public to walk through
– Large enough to feel like they’re getting lost
– Small enough (or with enough escape hatches) that they can get out quickly if something goes wrong
– Tall enough that people feel like they are completely inside and cannot escape that way
– Able to withstand alkali playa dust for a week
– Able to withstand 4 hours * 7 days of intermittent flame effect firing
– Inexpensive enough that we could afford it
– Able to withstand a 90km/h windstorm
It was this last constraint that vexed us the most. I had calculated that the wind force could reach something like a ton, but we didn’t want to go with the obvious guywire solution, because they would need to stick out for meters in all directions, and we’d be constantly tripping over them[1].
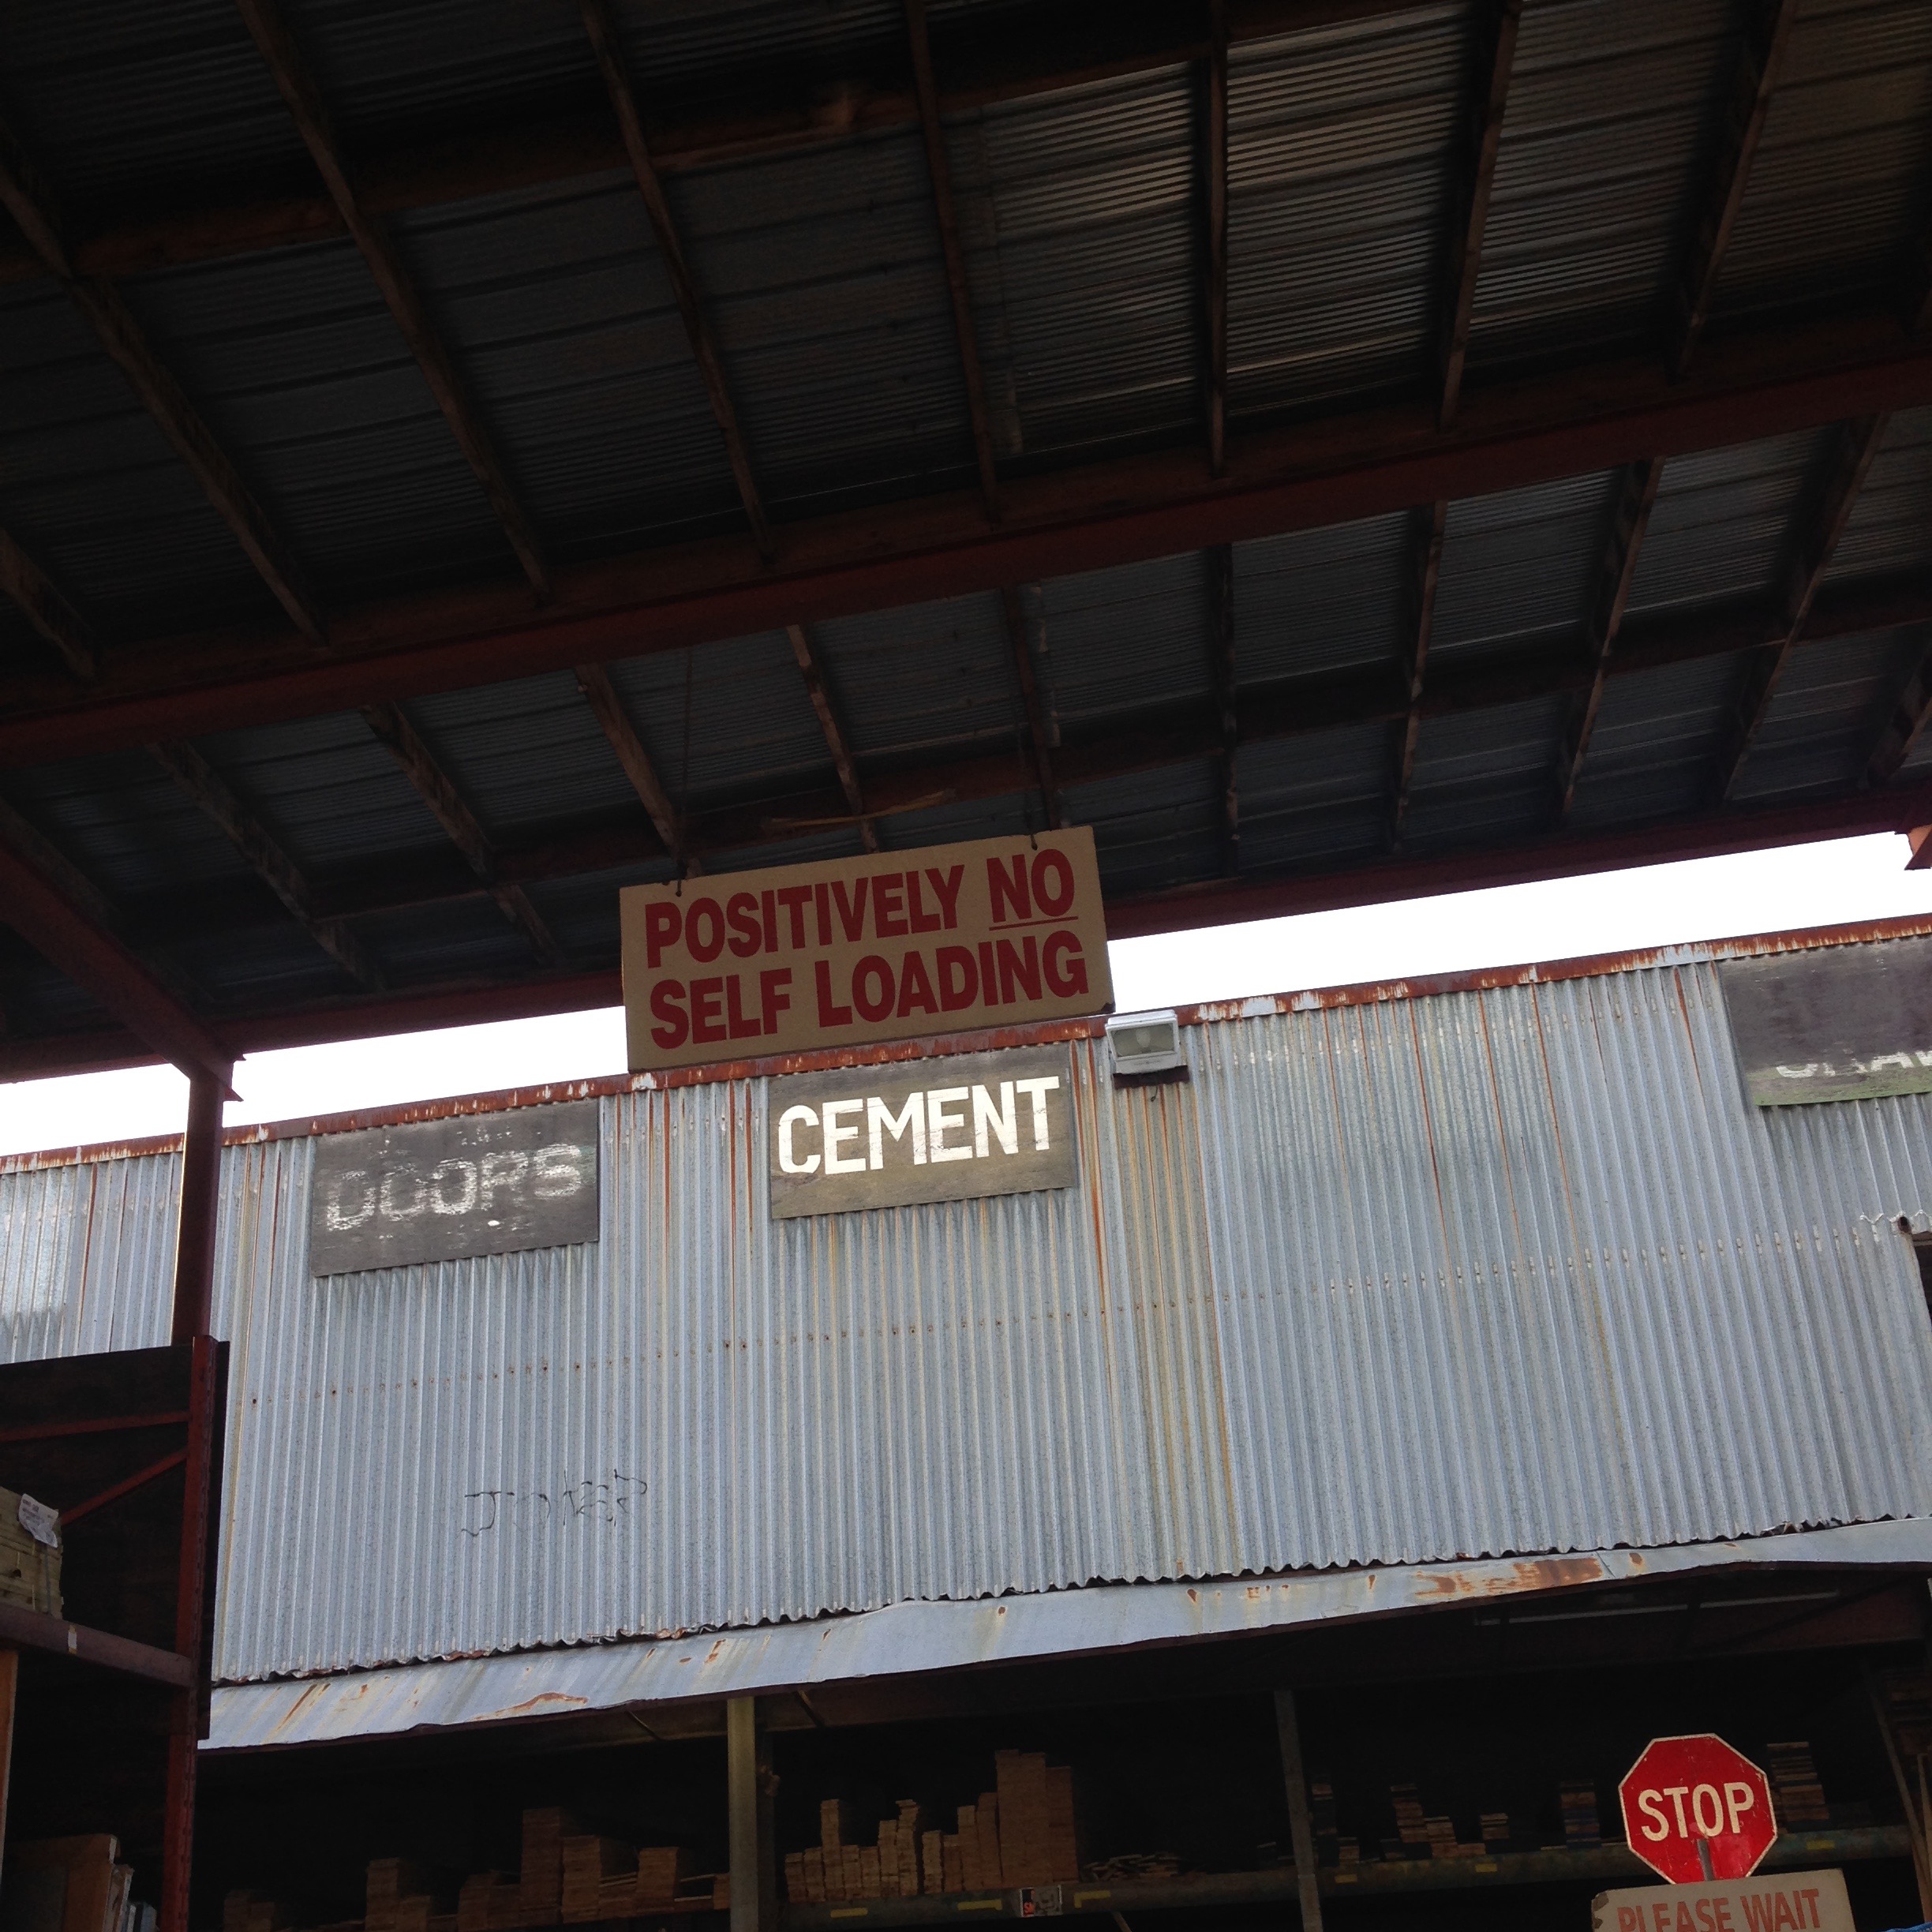
So, with this in mind, we returned to Home Hardware (New Canadians Lumber, really friendly and helpful people, we recommend them).
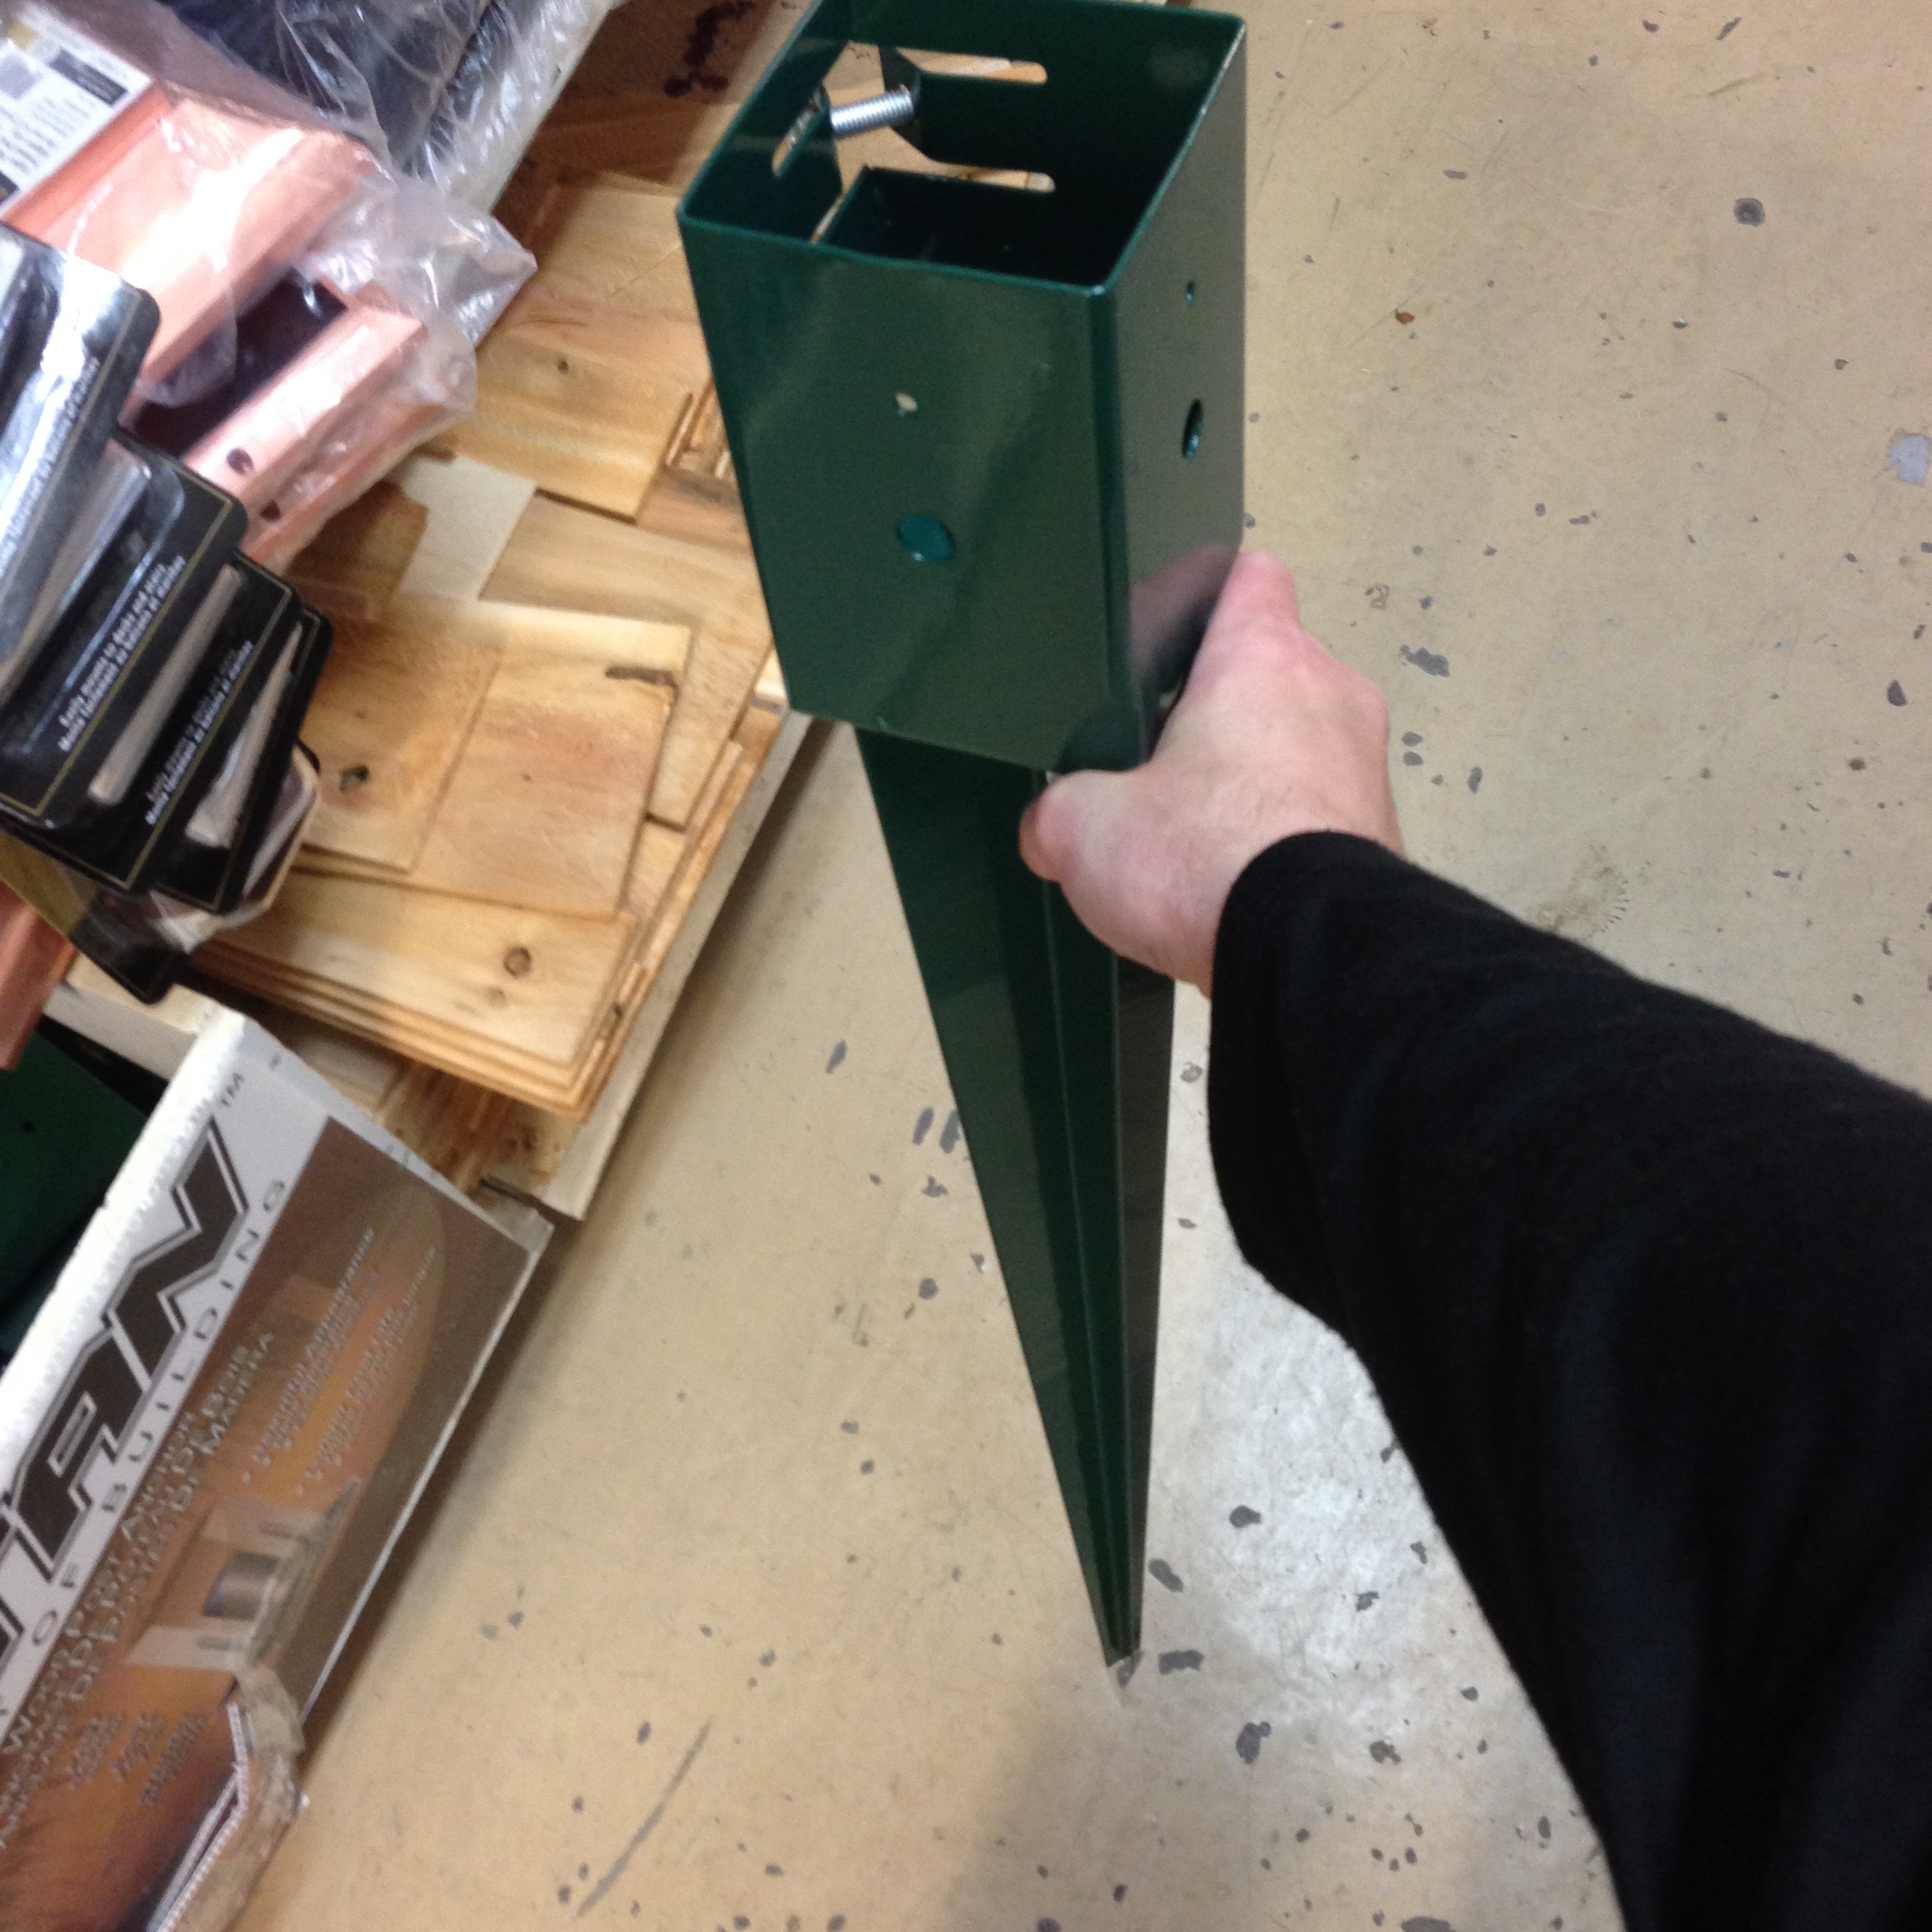
We looked at a number of different options for holding the posts in place. The one below was the most expensive option (They were about $15-20 each, IIRC), and I couldn’t imagine how back-breakingly difficult it would be to remove them from the ground when we were done. (Also, how would the mirrors fit around them, at the base? And, how would they stand up to wind? Would they bend up out of the hole?)
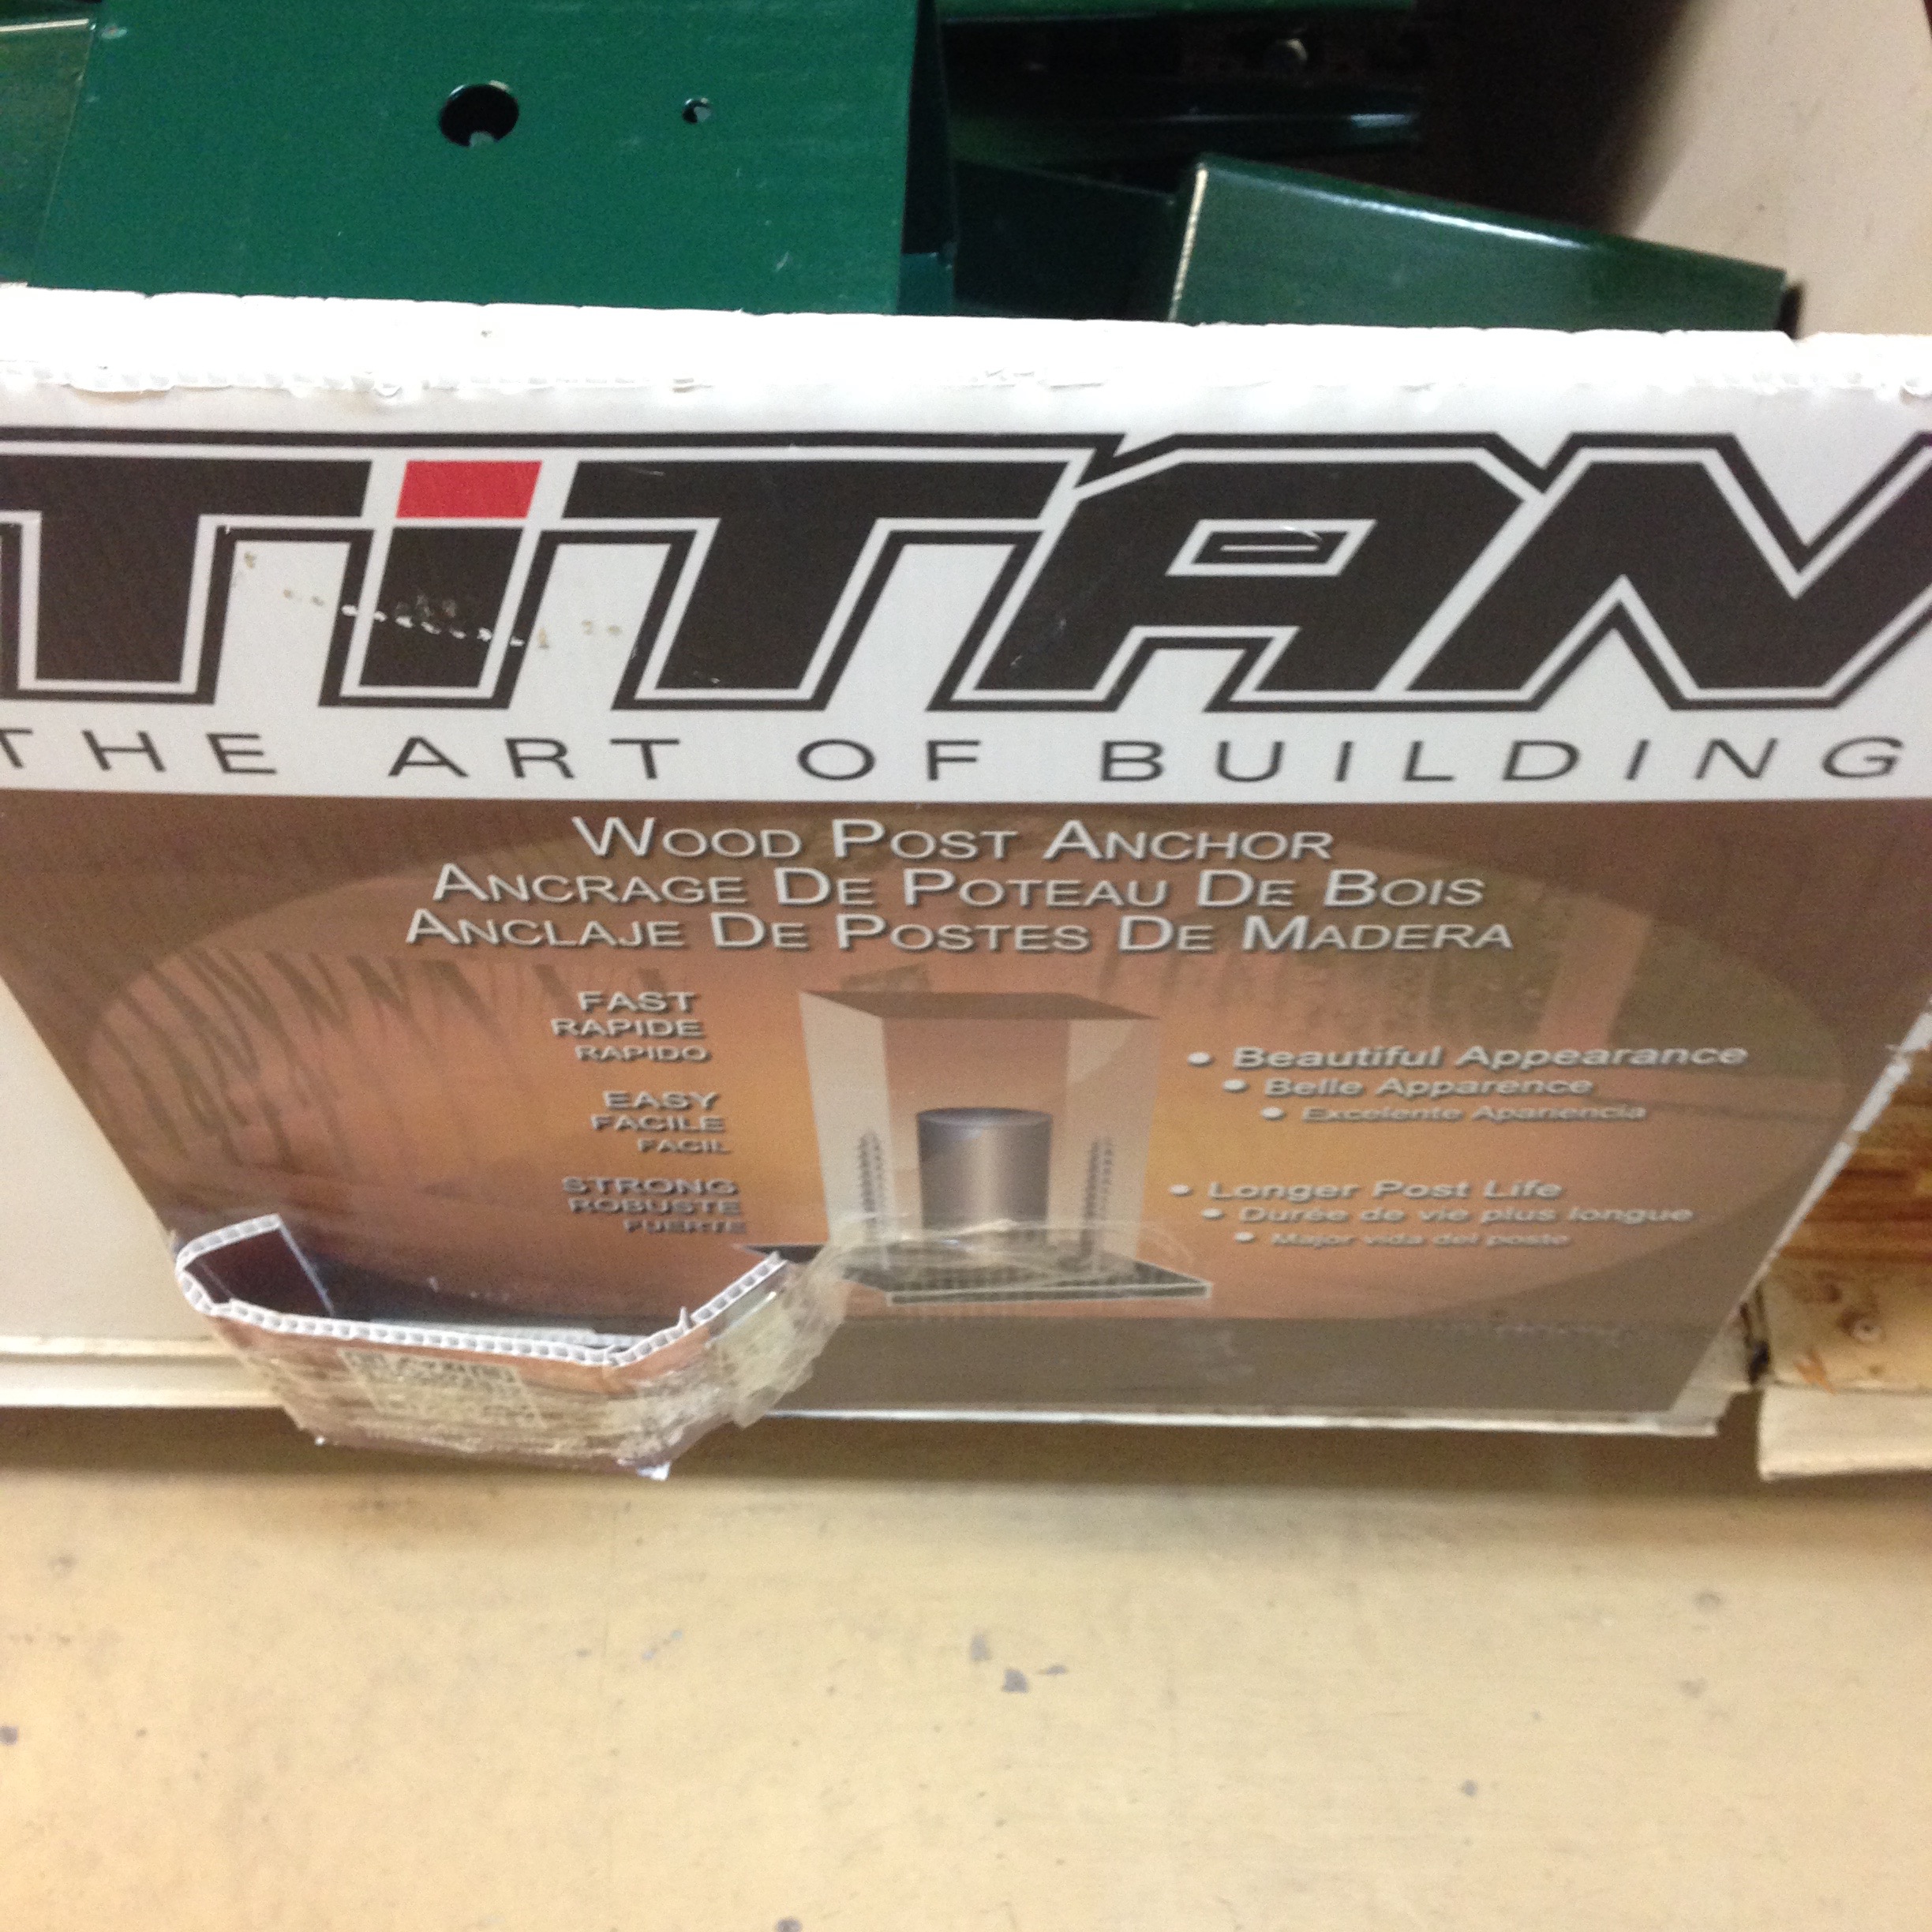
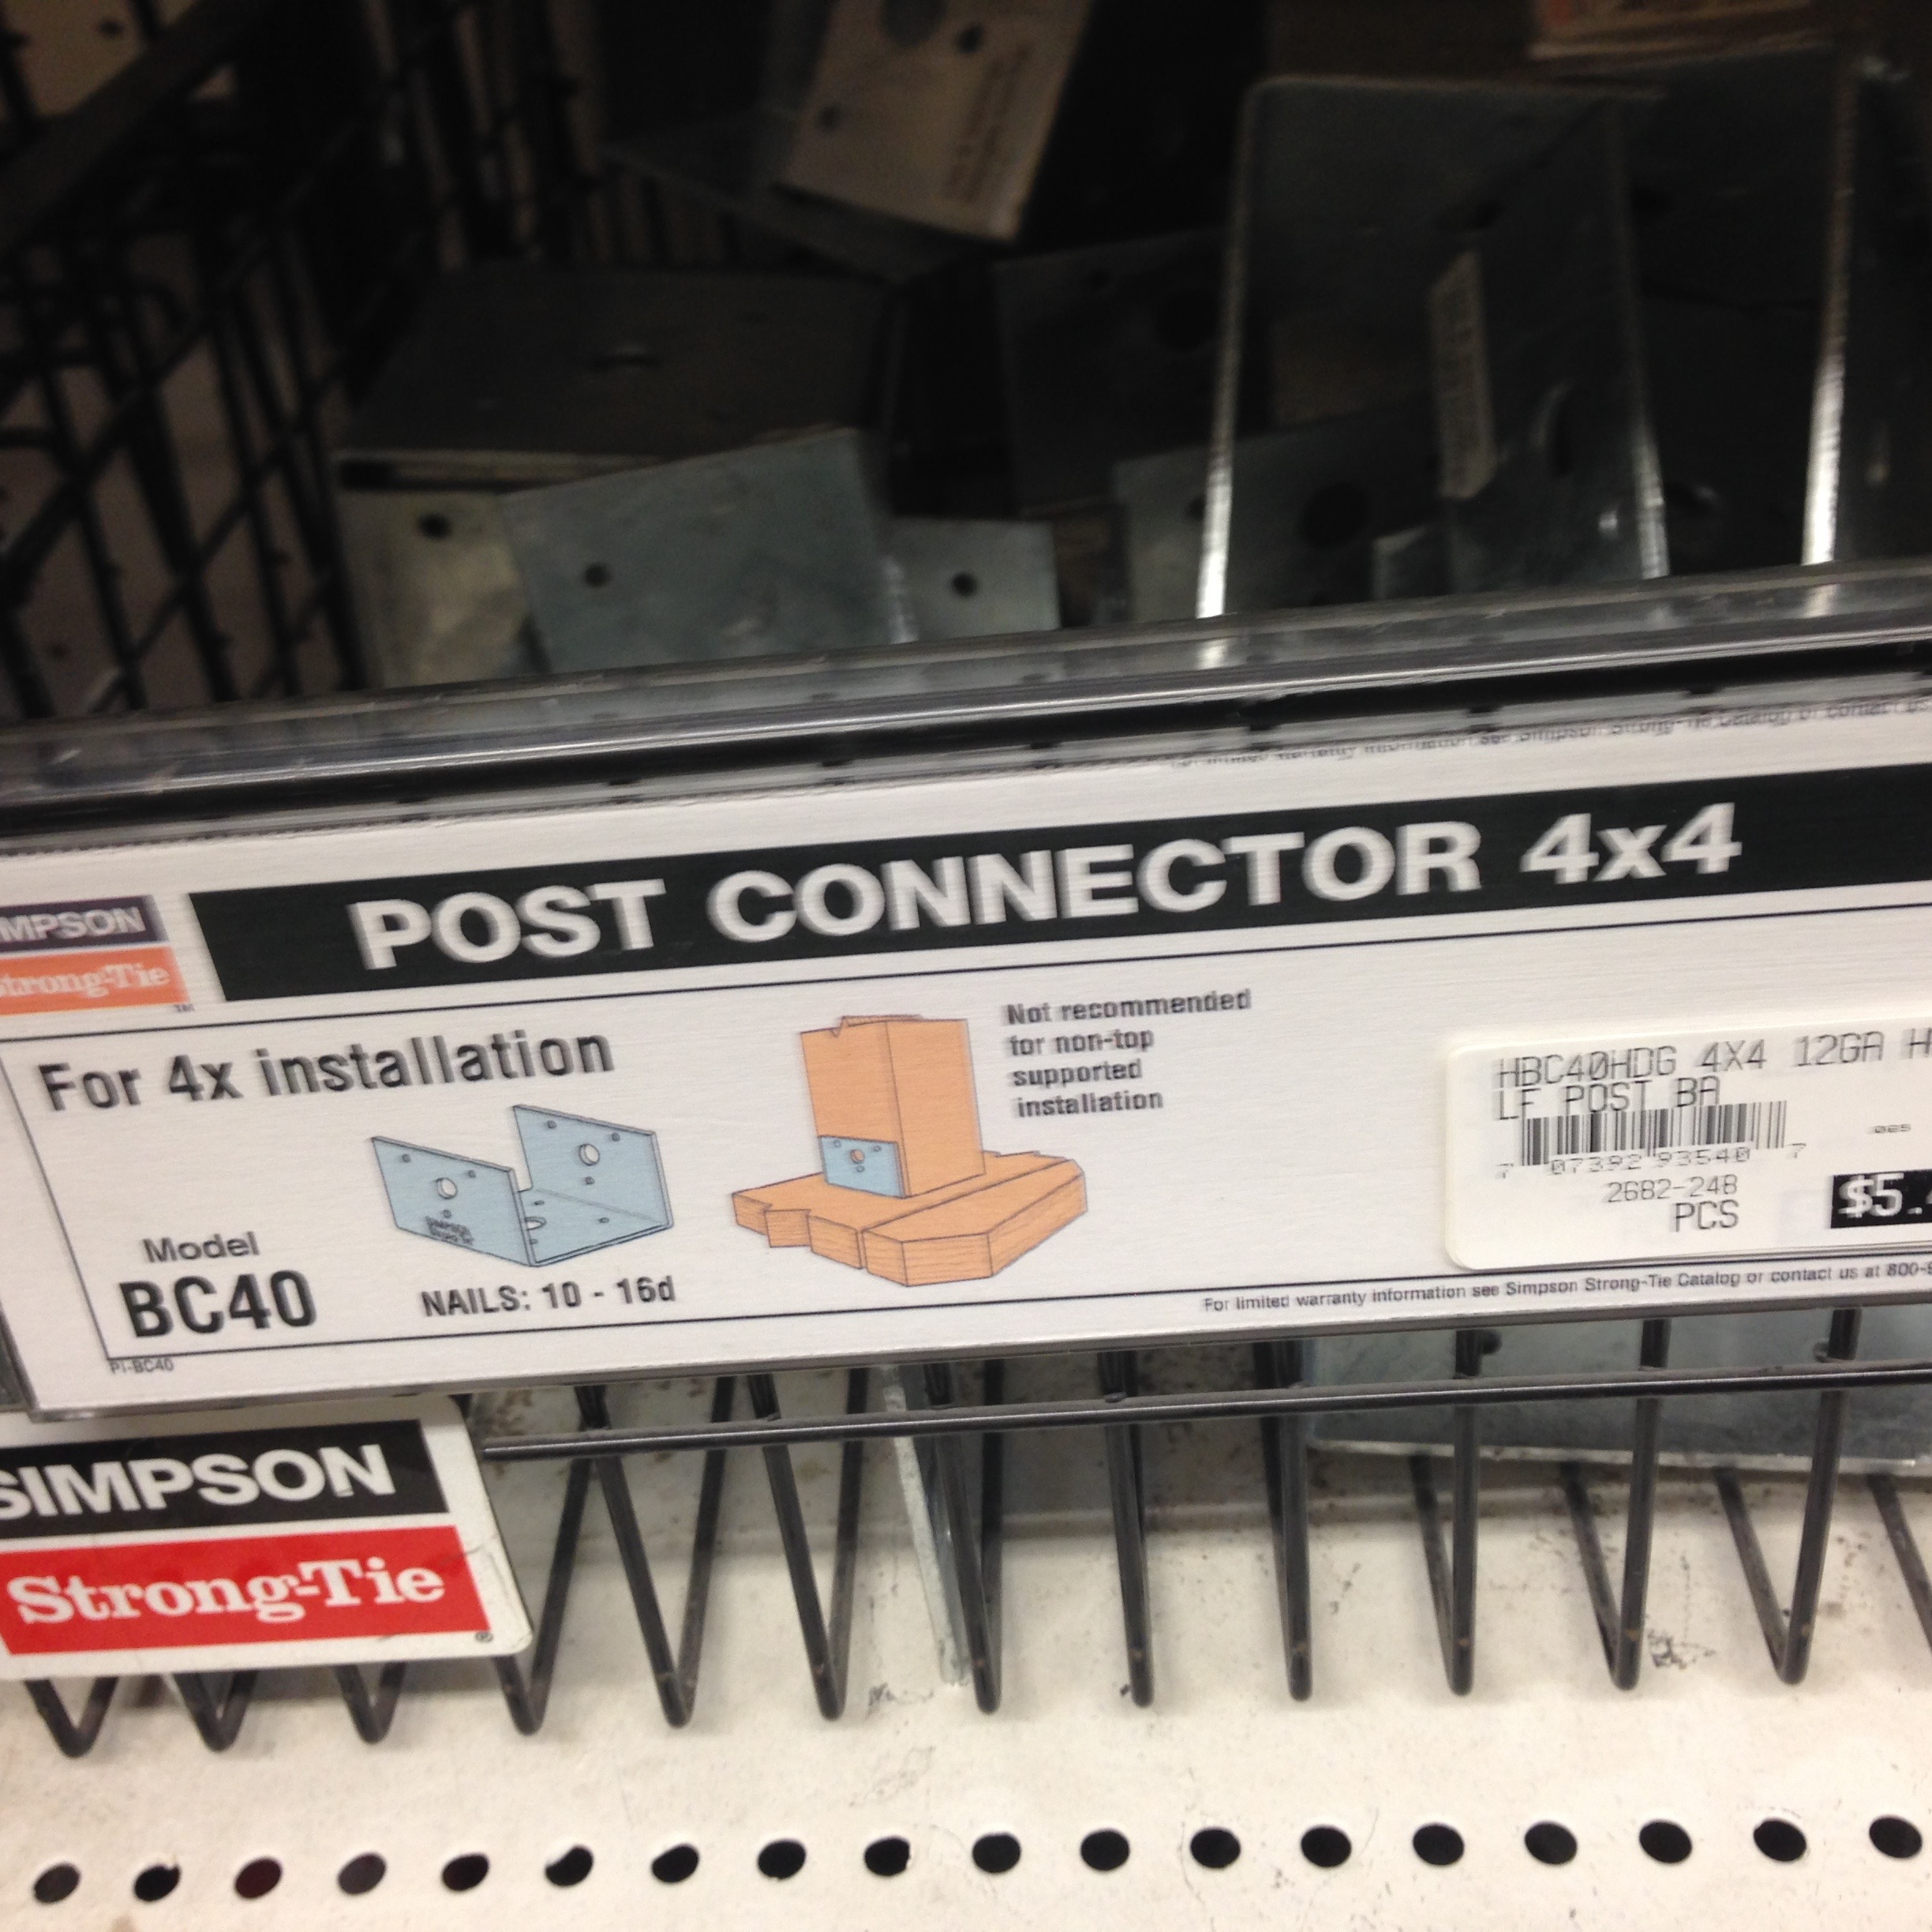
Some other options were not much better:
But we kept coming back to this one:
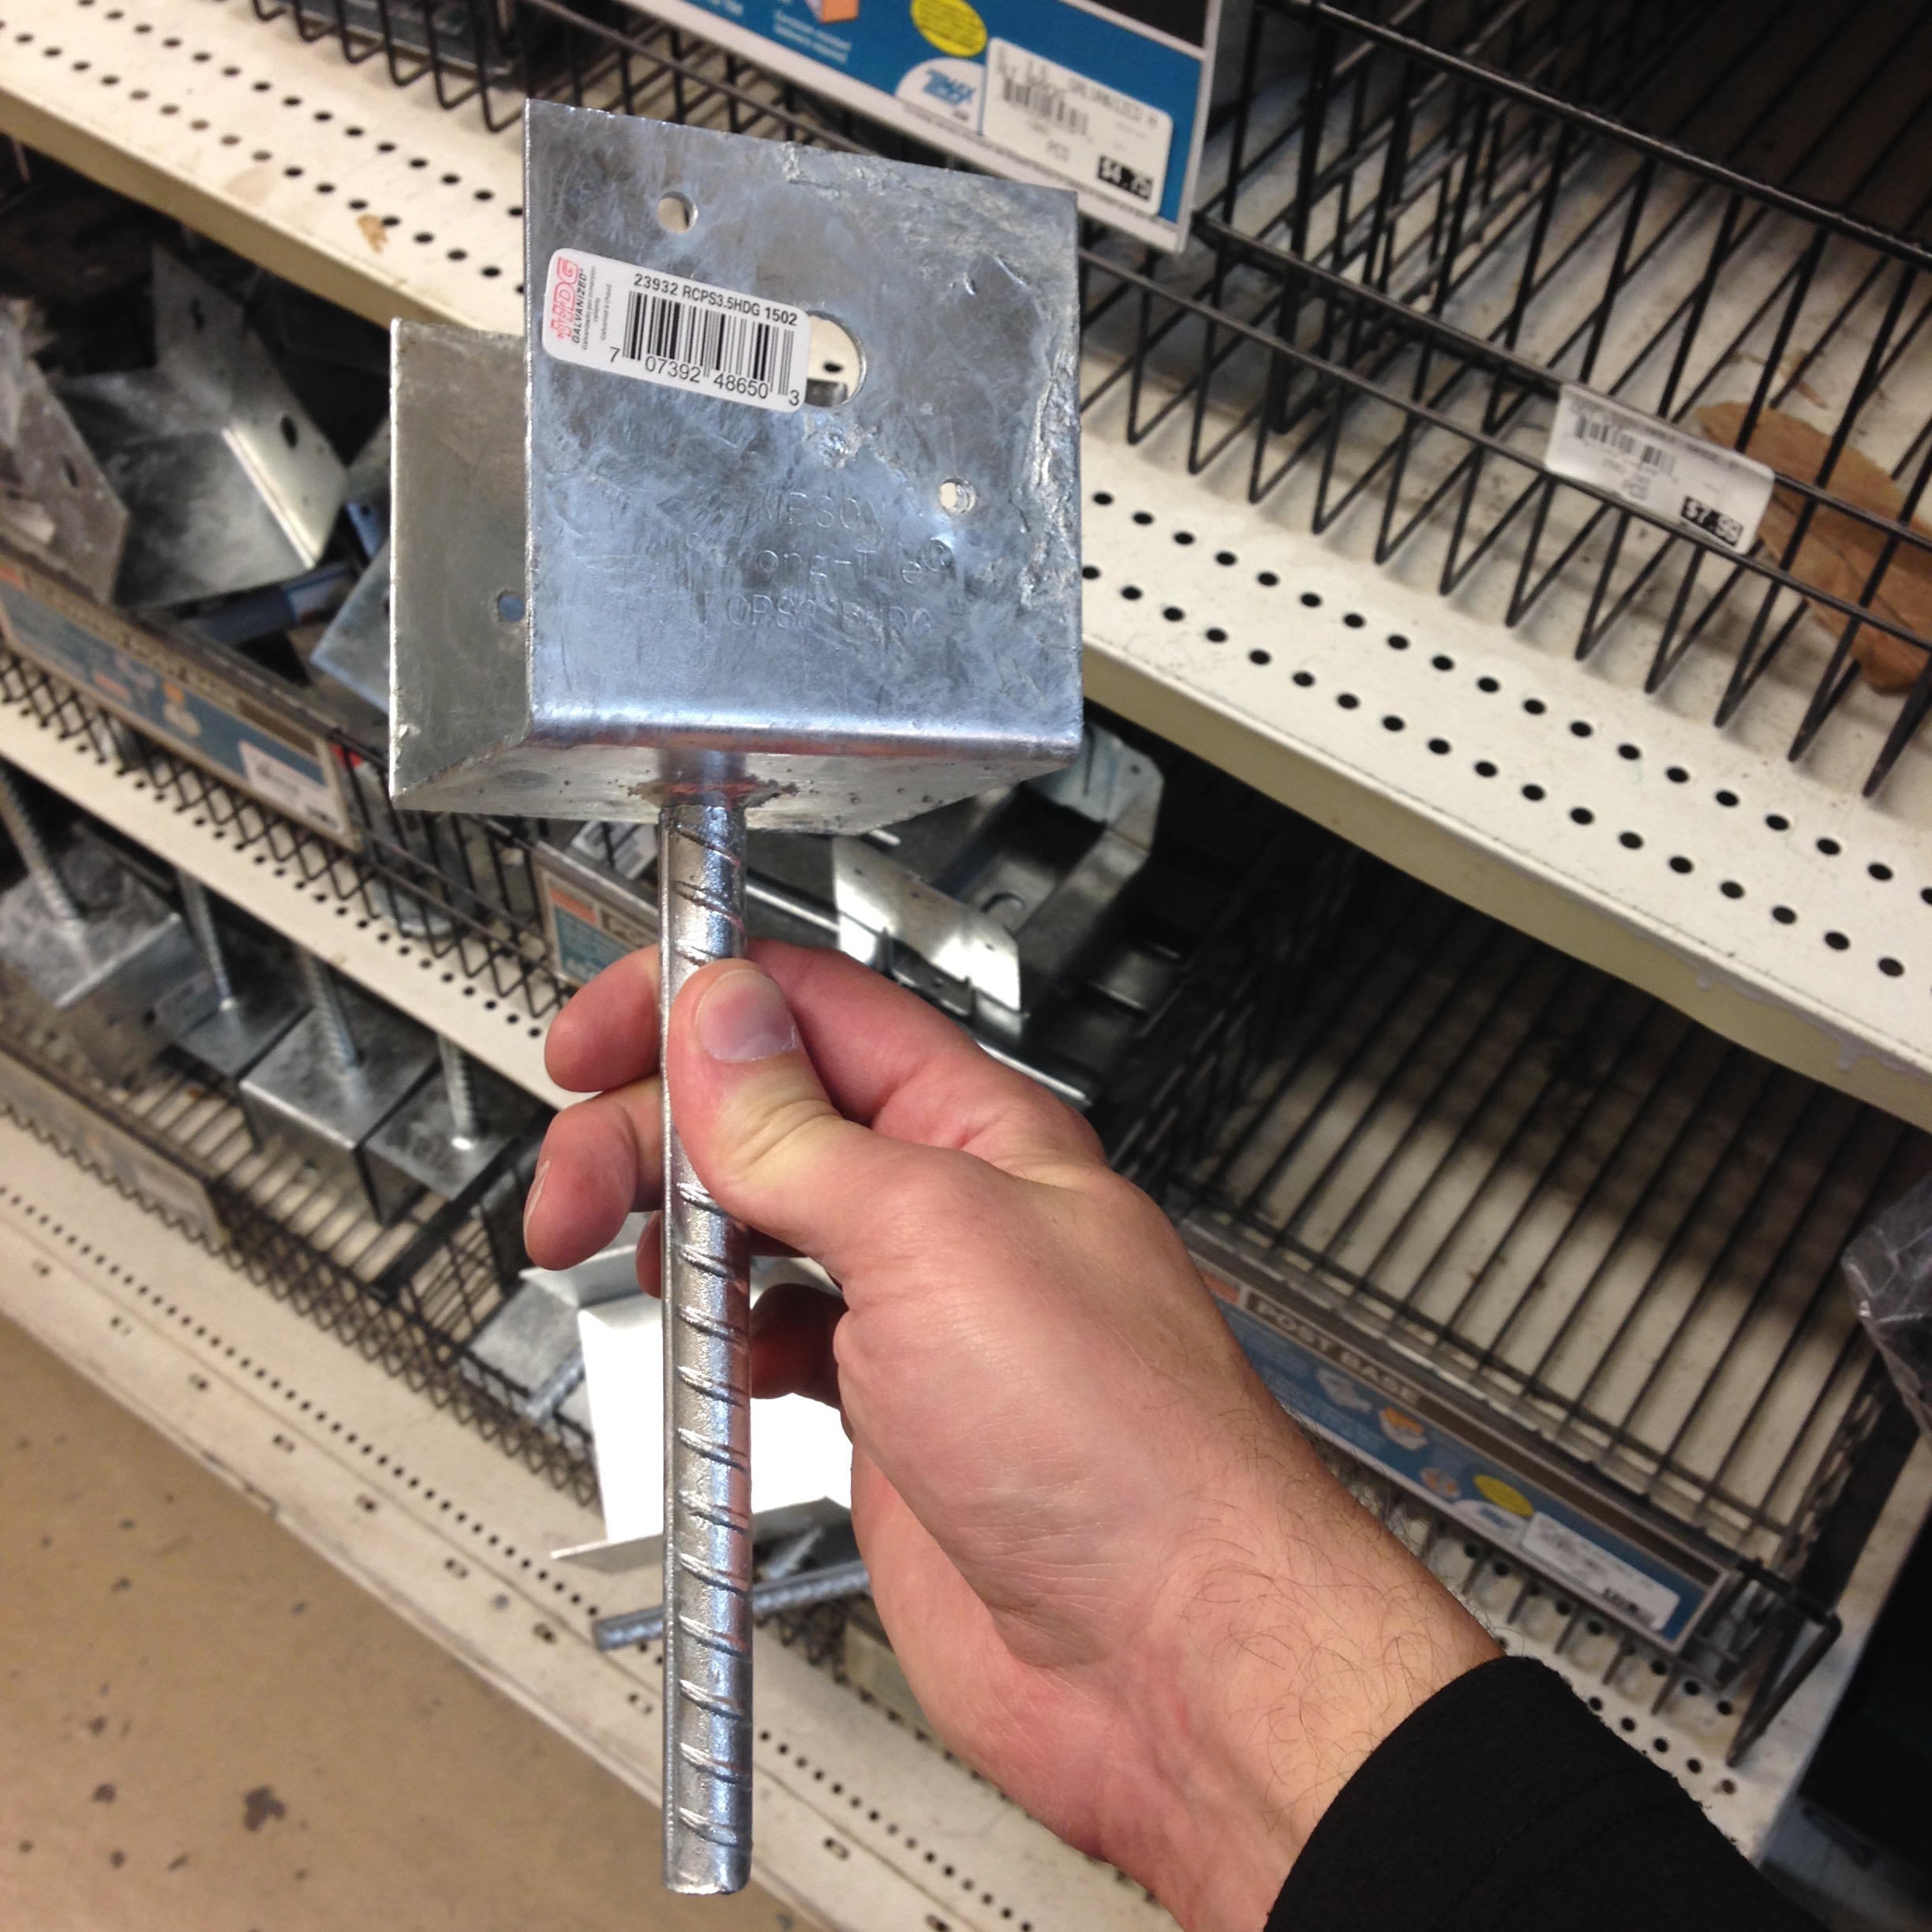
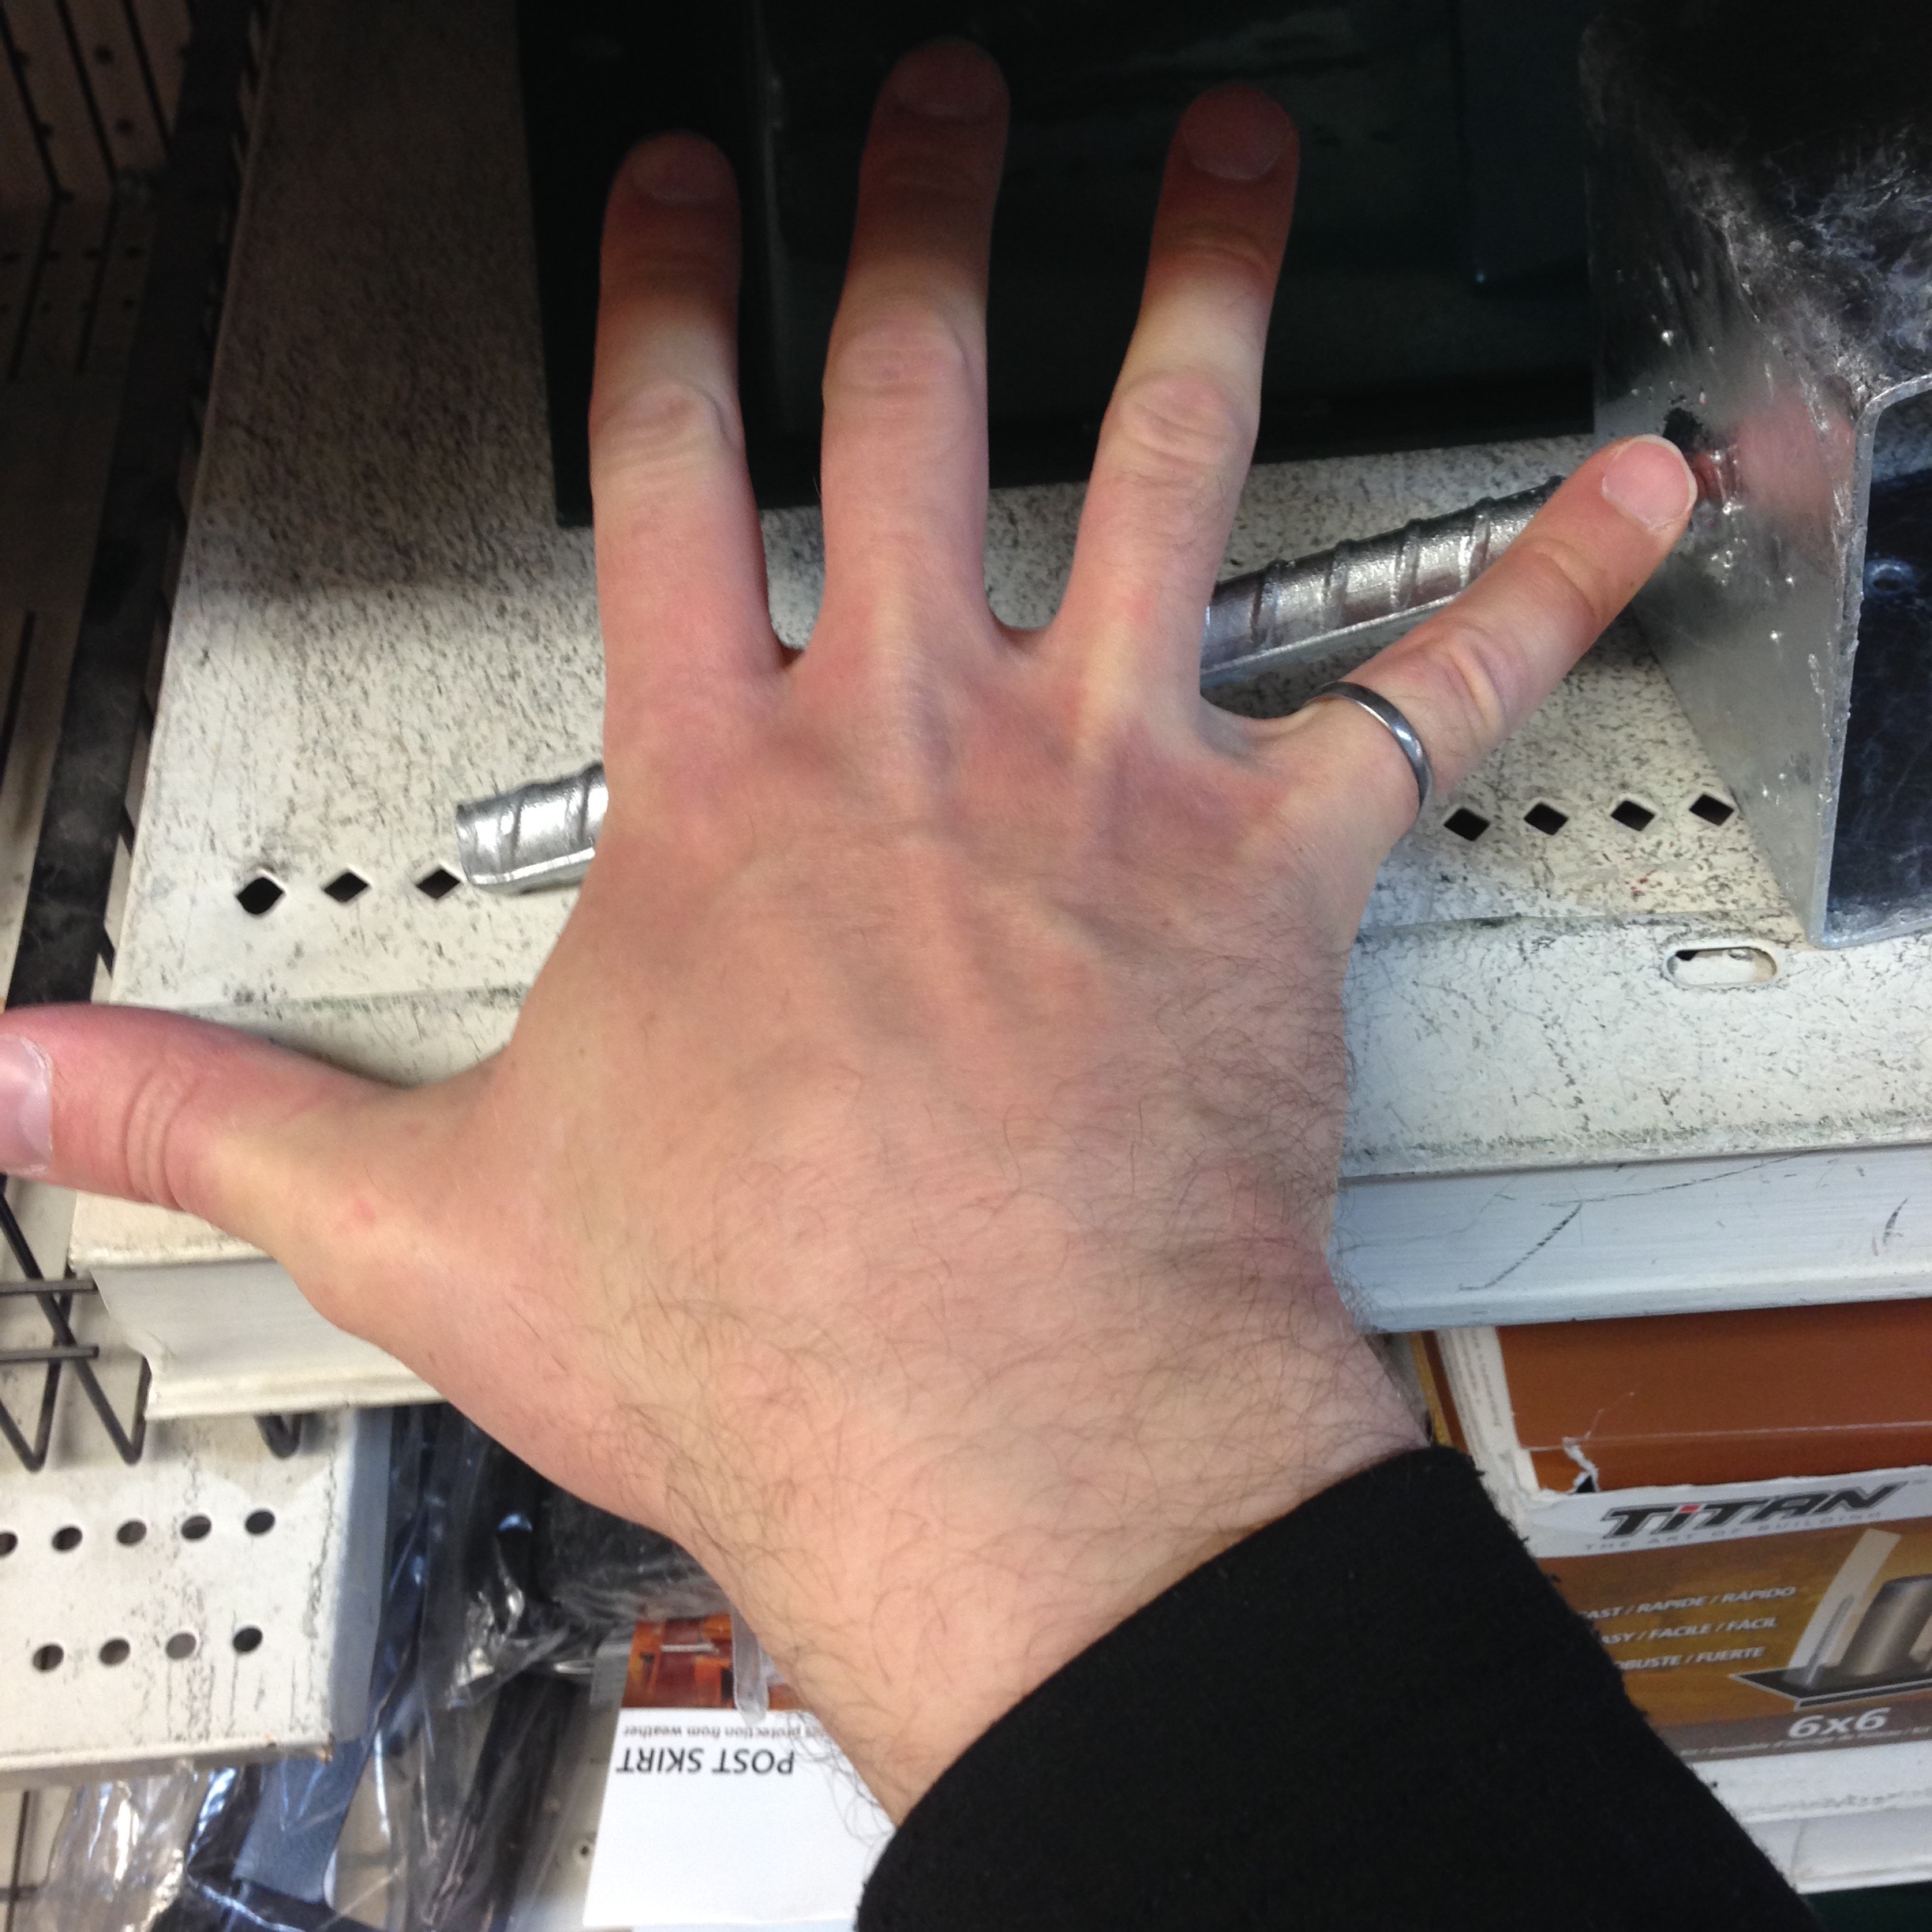
It felt mostly like the correct shape, if only we could make the rebar longer, and better connect it to the post… (We had been told that for proper securing against a 90 km/h windstorm, you want your rebar to be 1-2′ into playa. We also knew that would torque the posts around a small connector like that something fierce.)
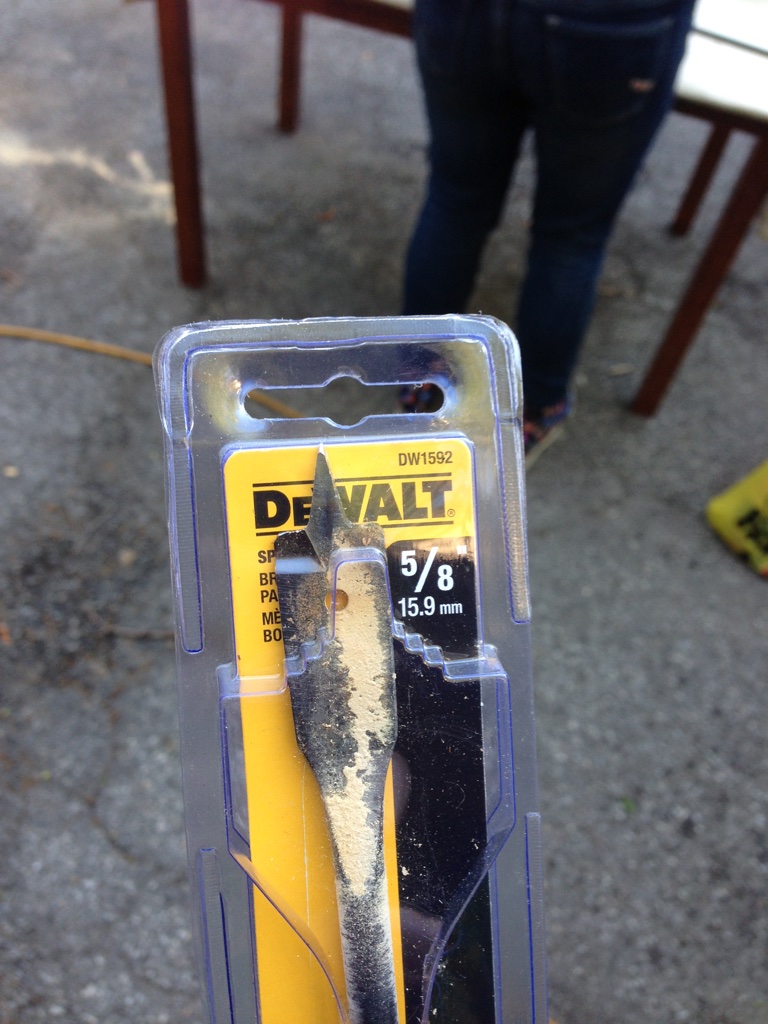
Then it hit us[2]! Just drill the rebar into the center of the post! Brilliant! All we needed was a 12-18″ drill bit[3]. It was time to go and test!
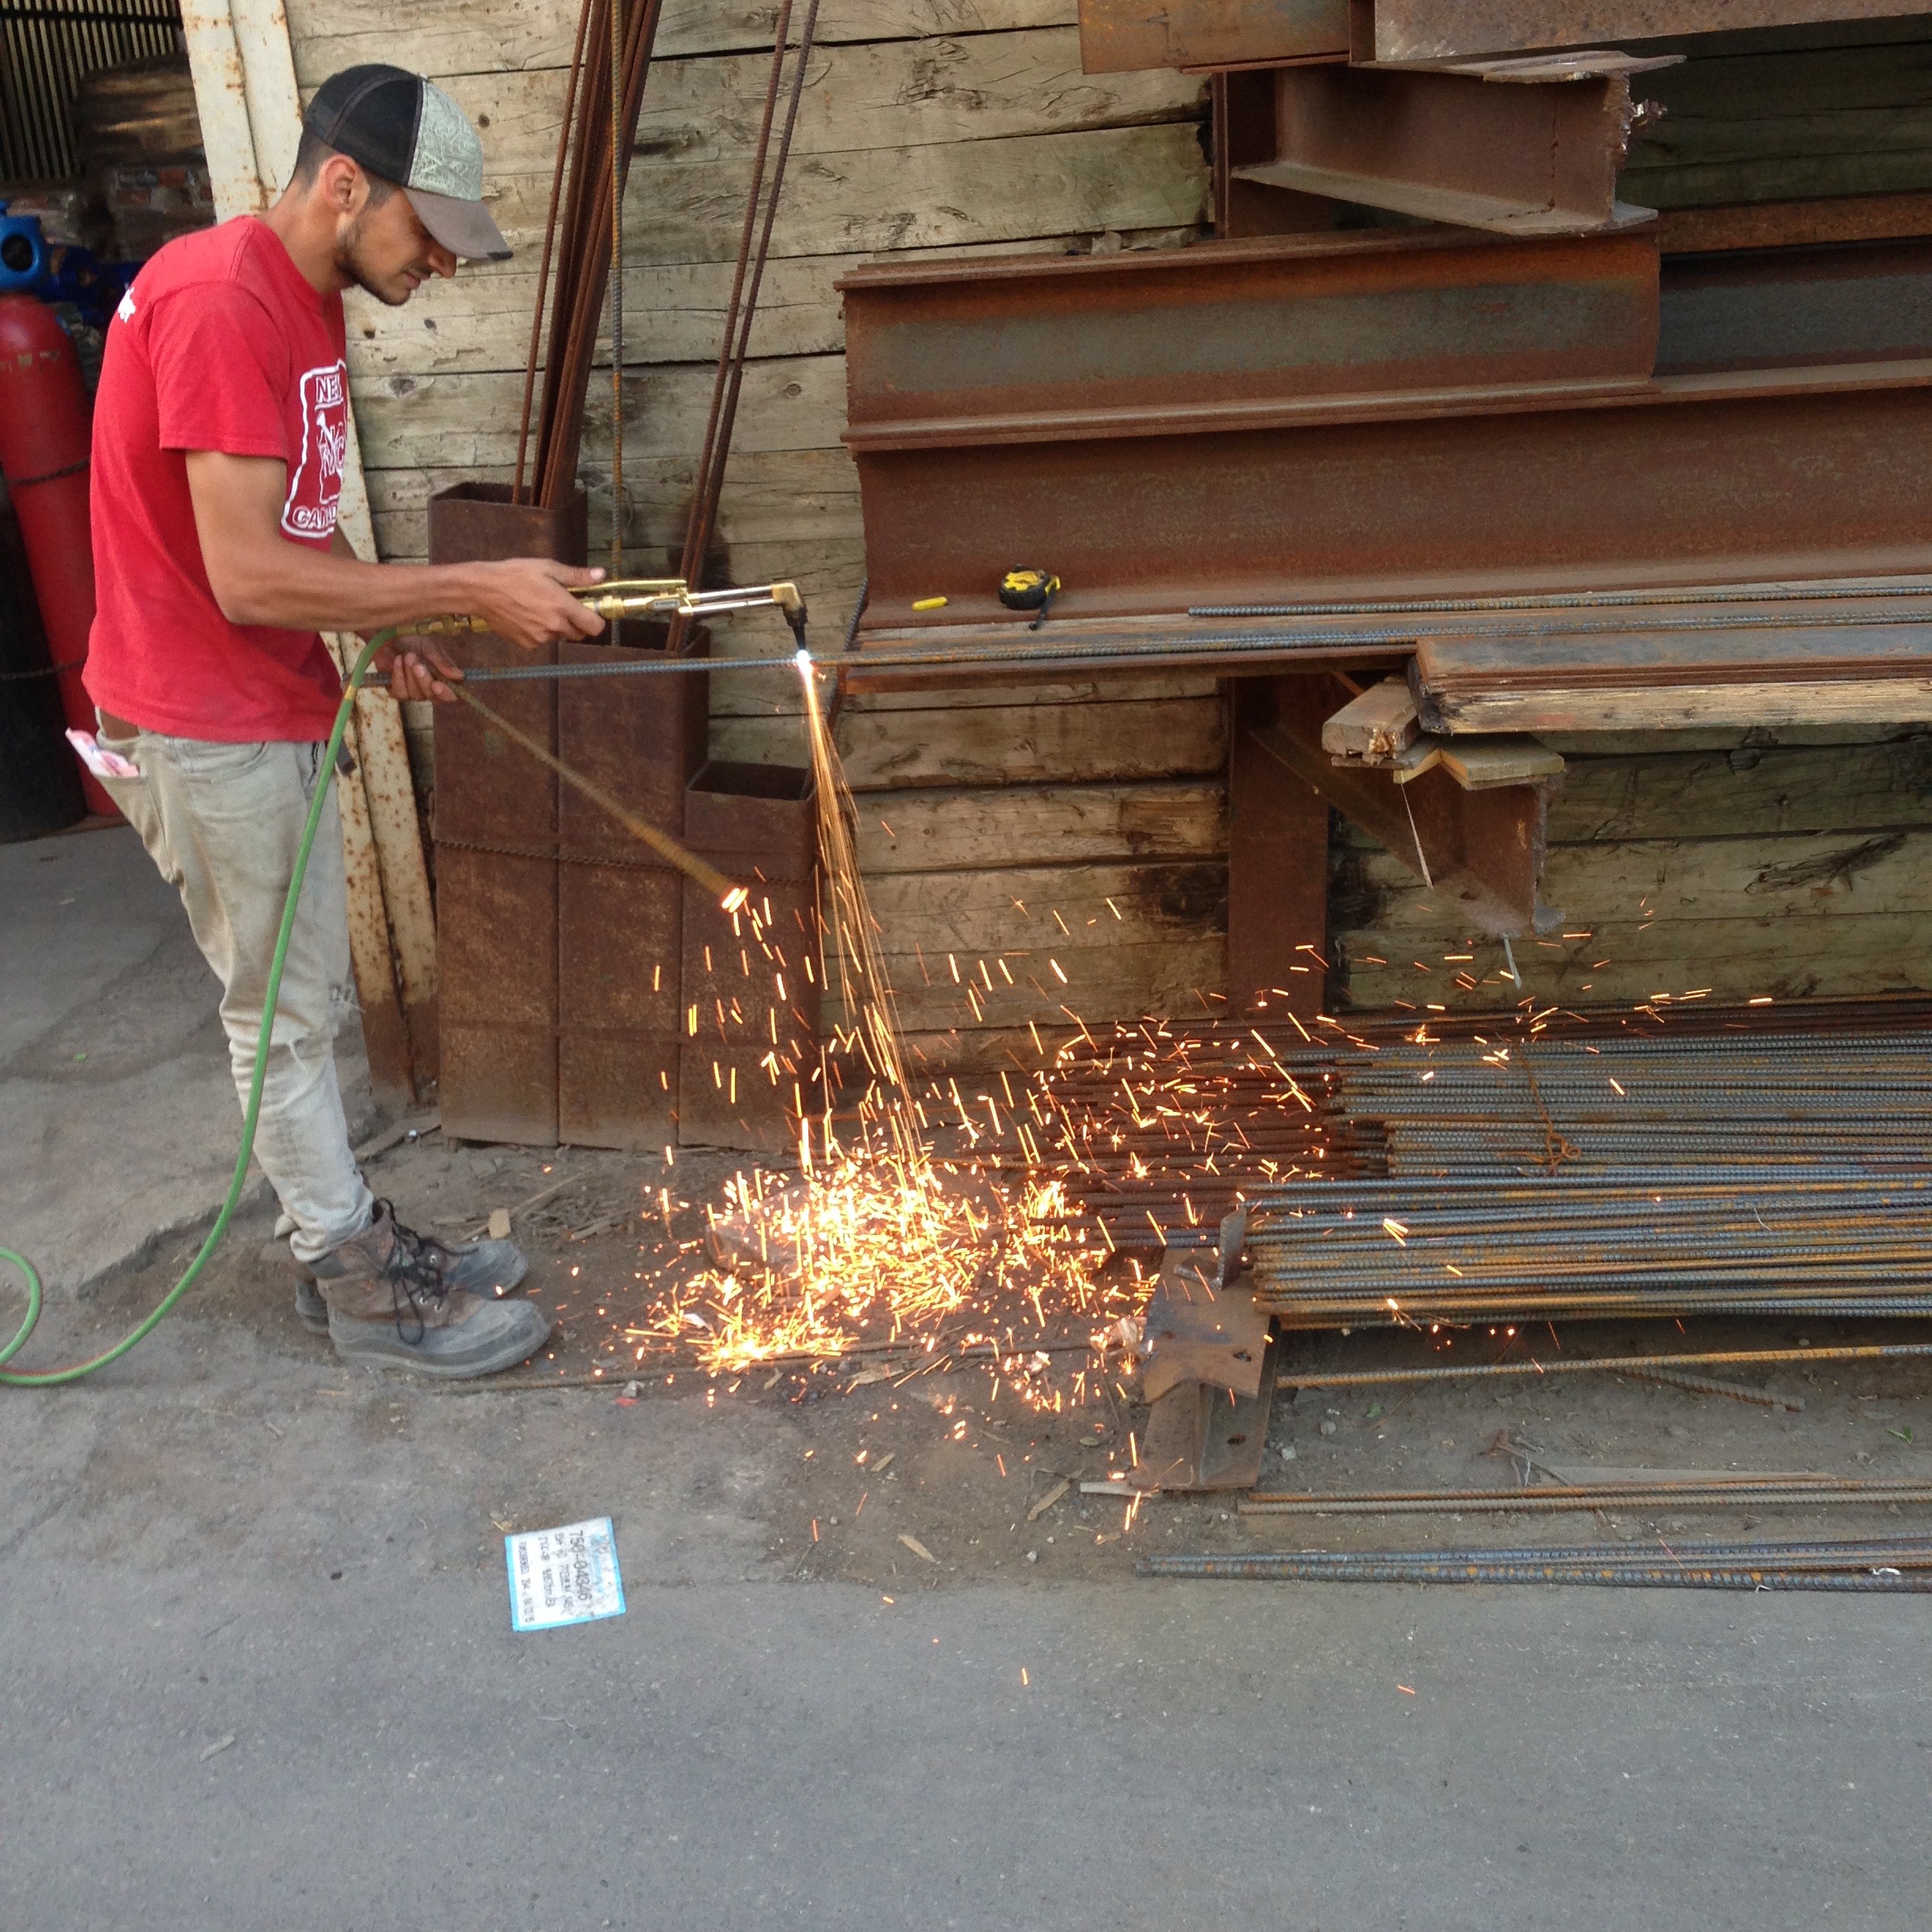
But first, we needed to go purchase some 1/2″ rebar:
Welding, or un-welding, the sparks are always impressive:
Then it was time for drilling[4]:
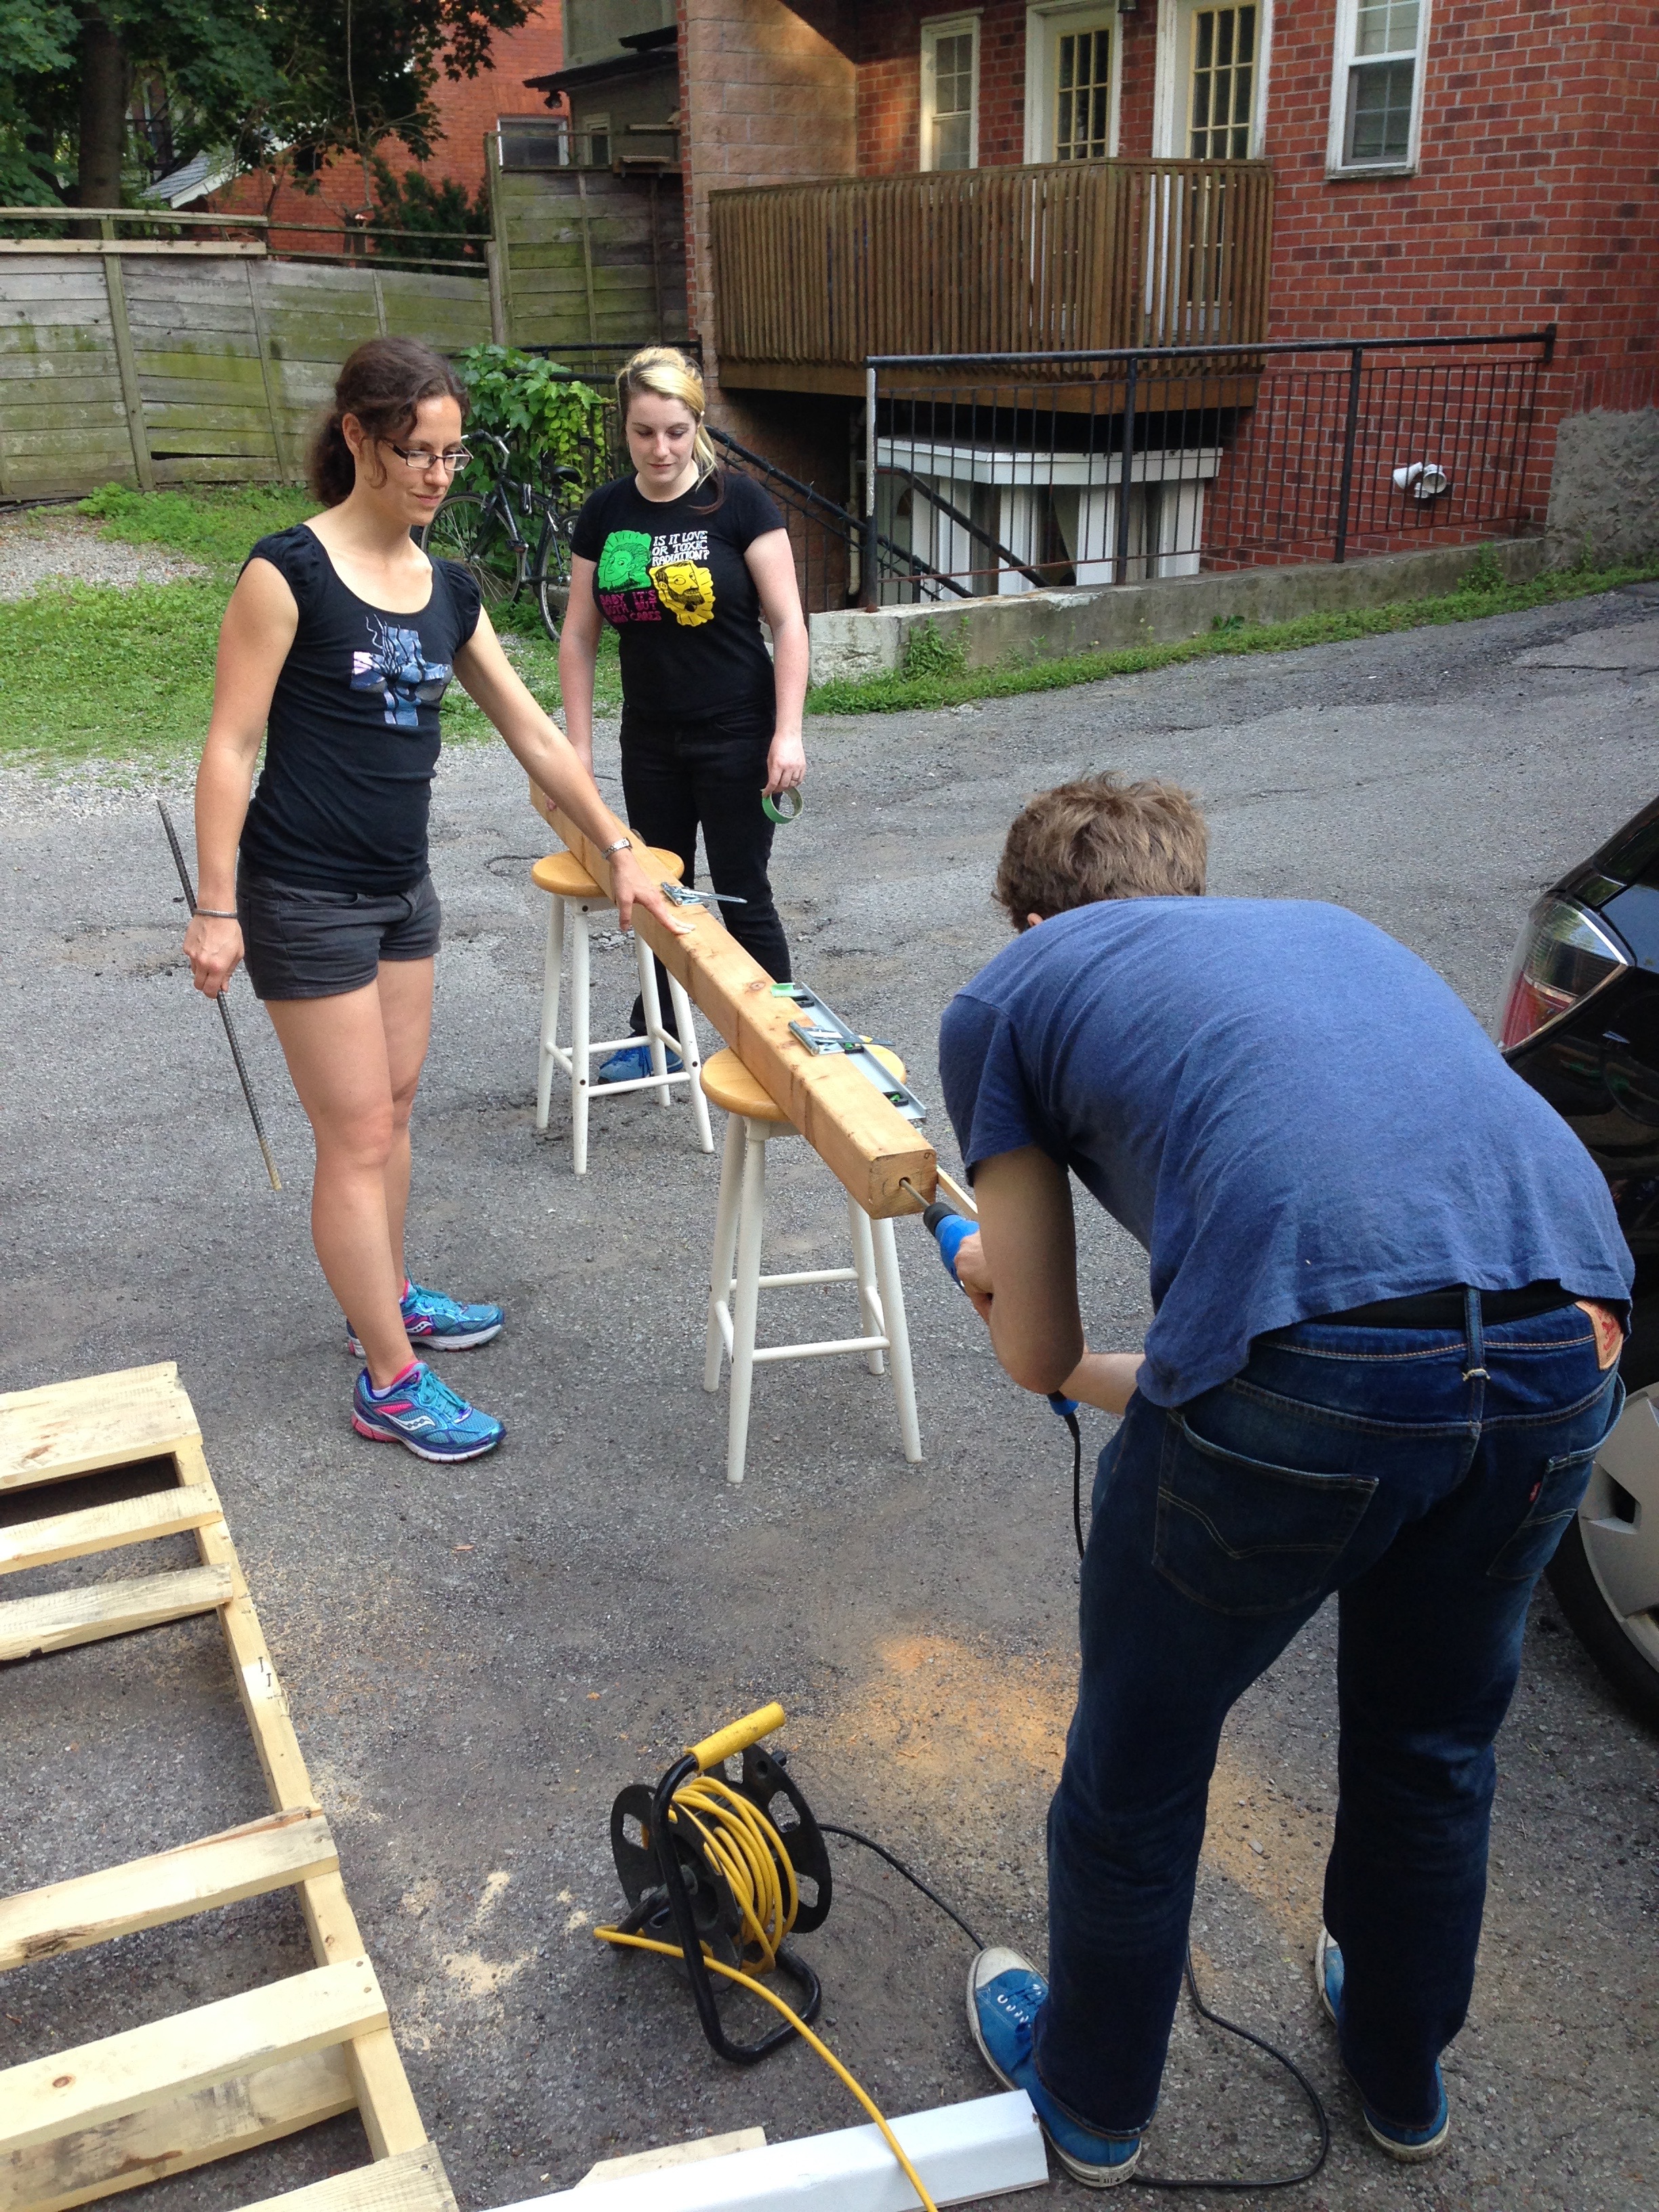
We managed to wear out more than one of the 18″[5] spade bits. Sawdust jam was frequent, even with the corded drill. (I can’t imagine doing this particular job with a cordless.):
And success! Here is the finished post:
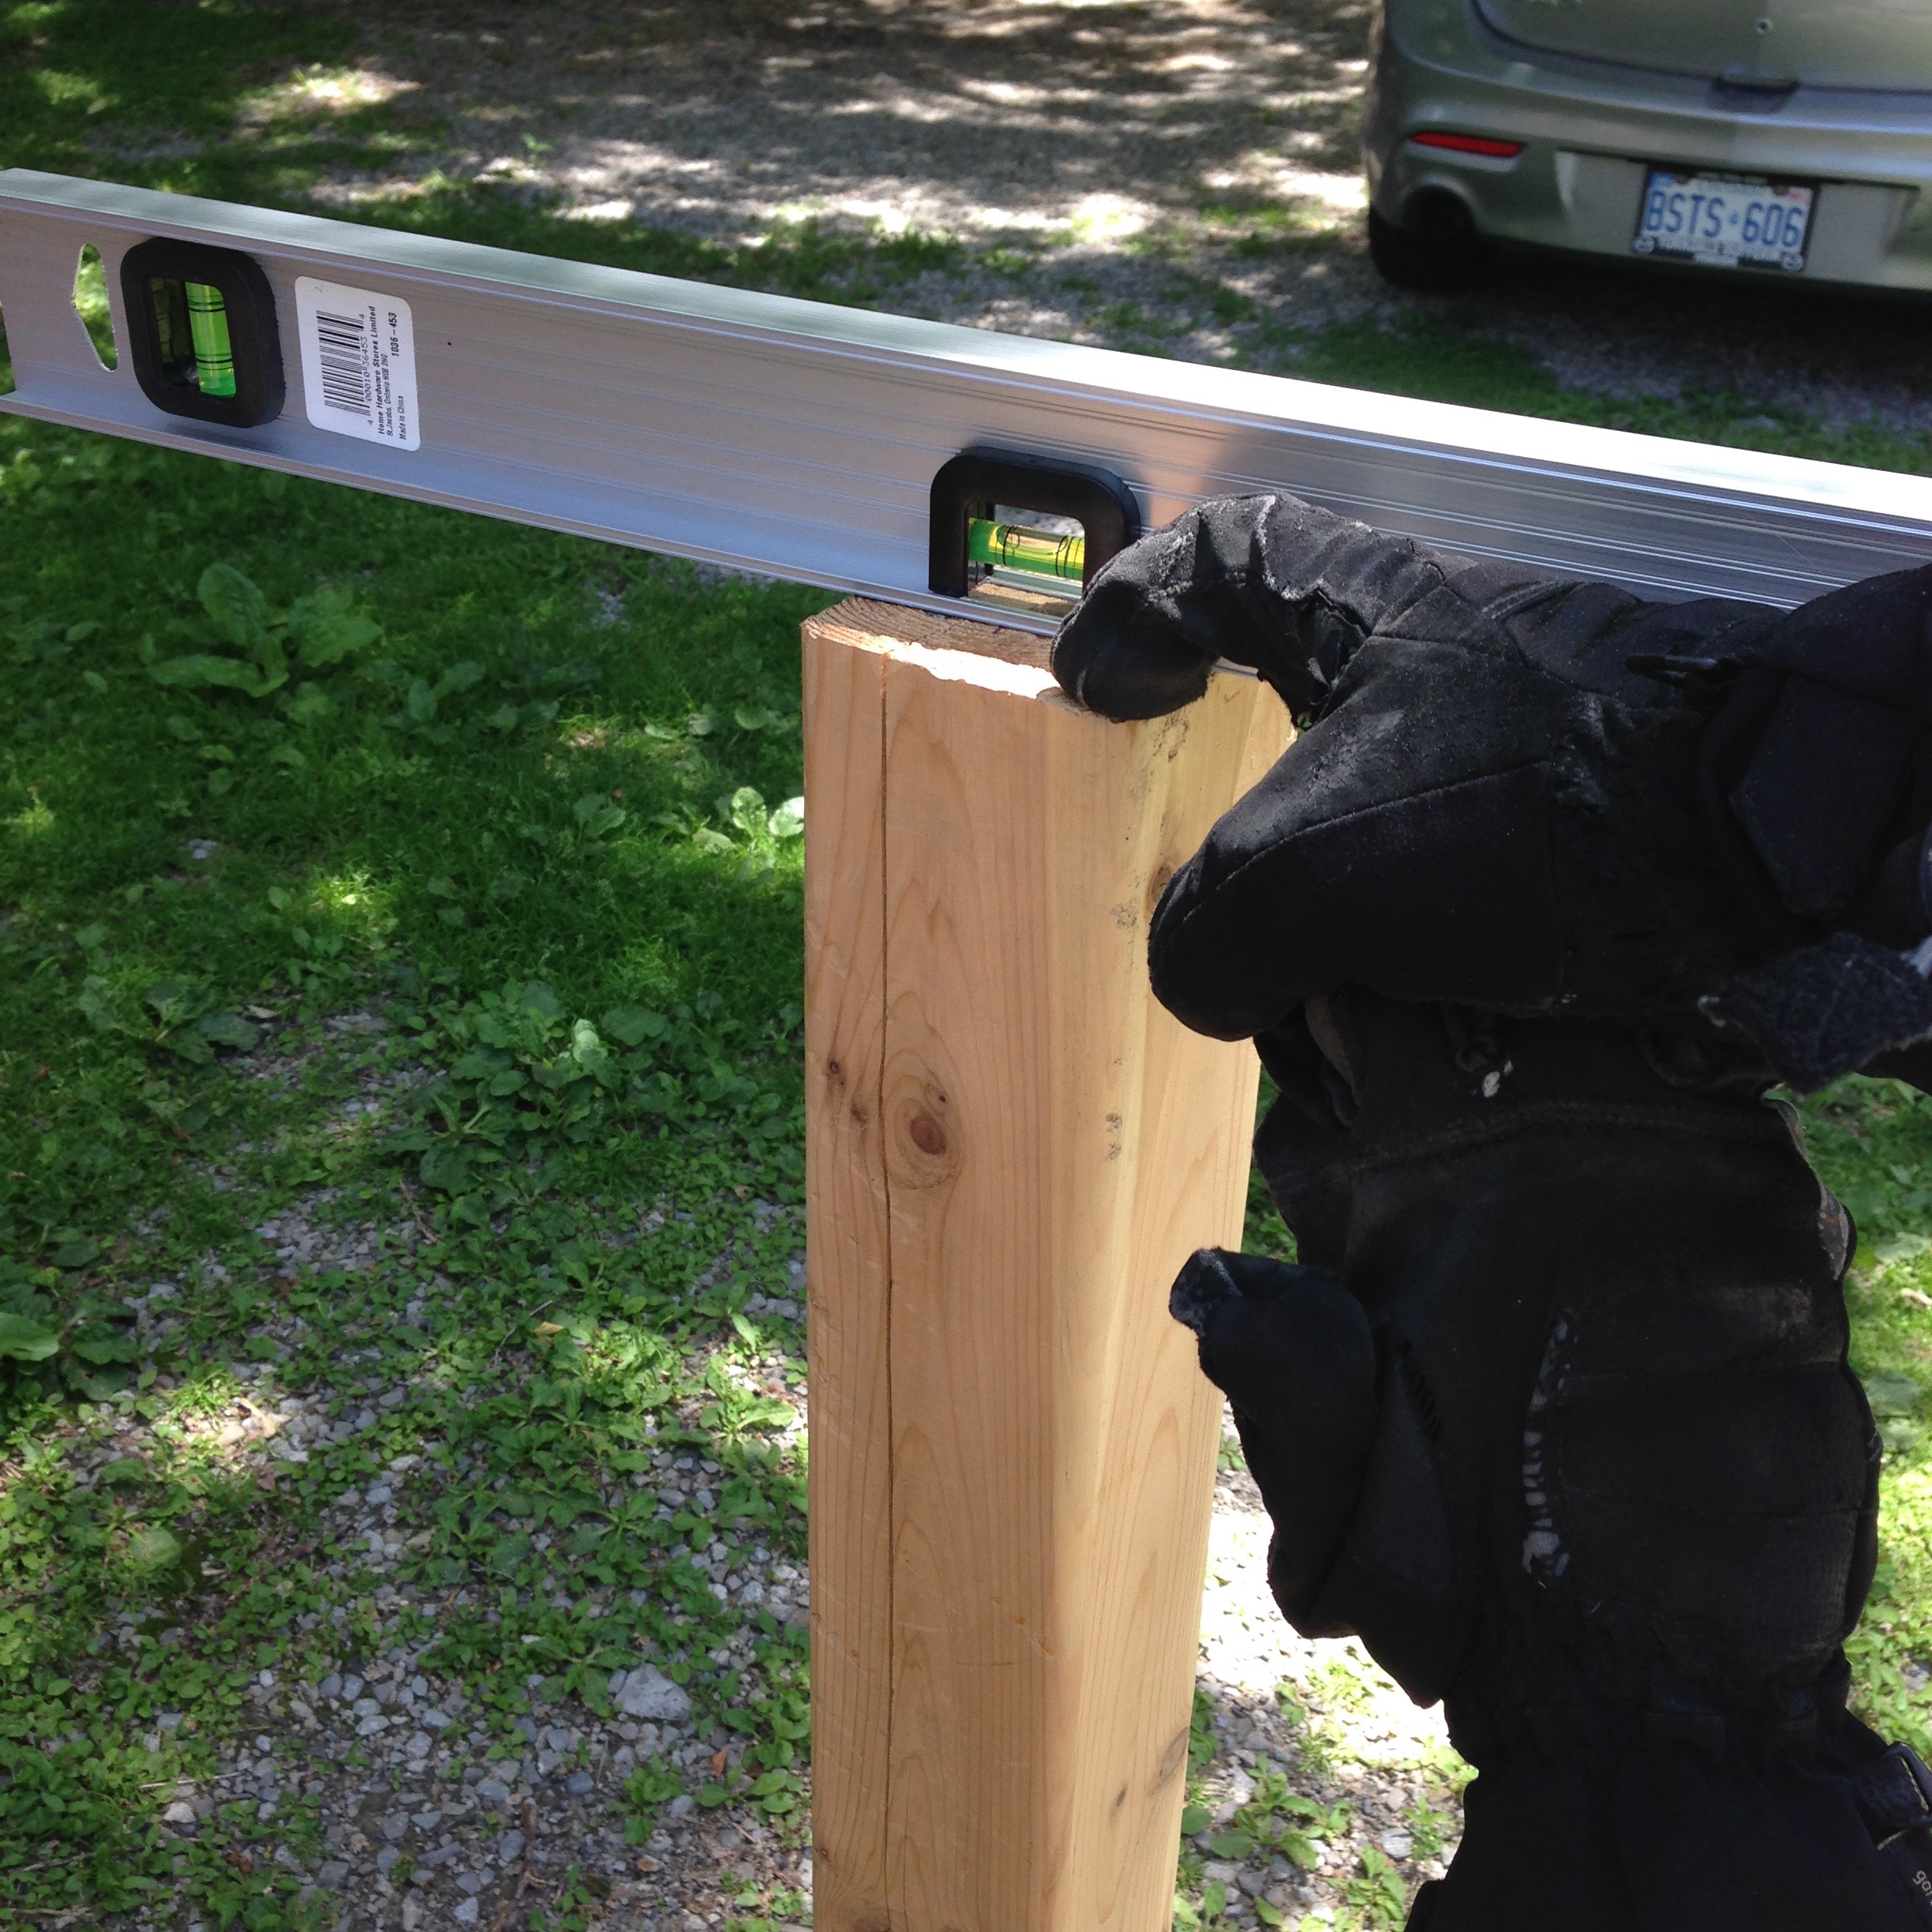
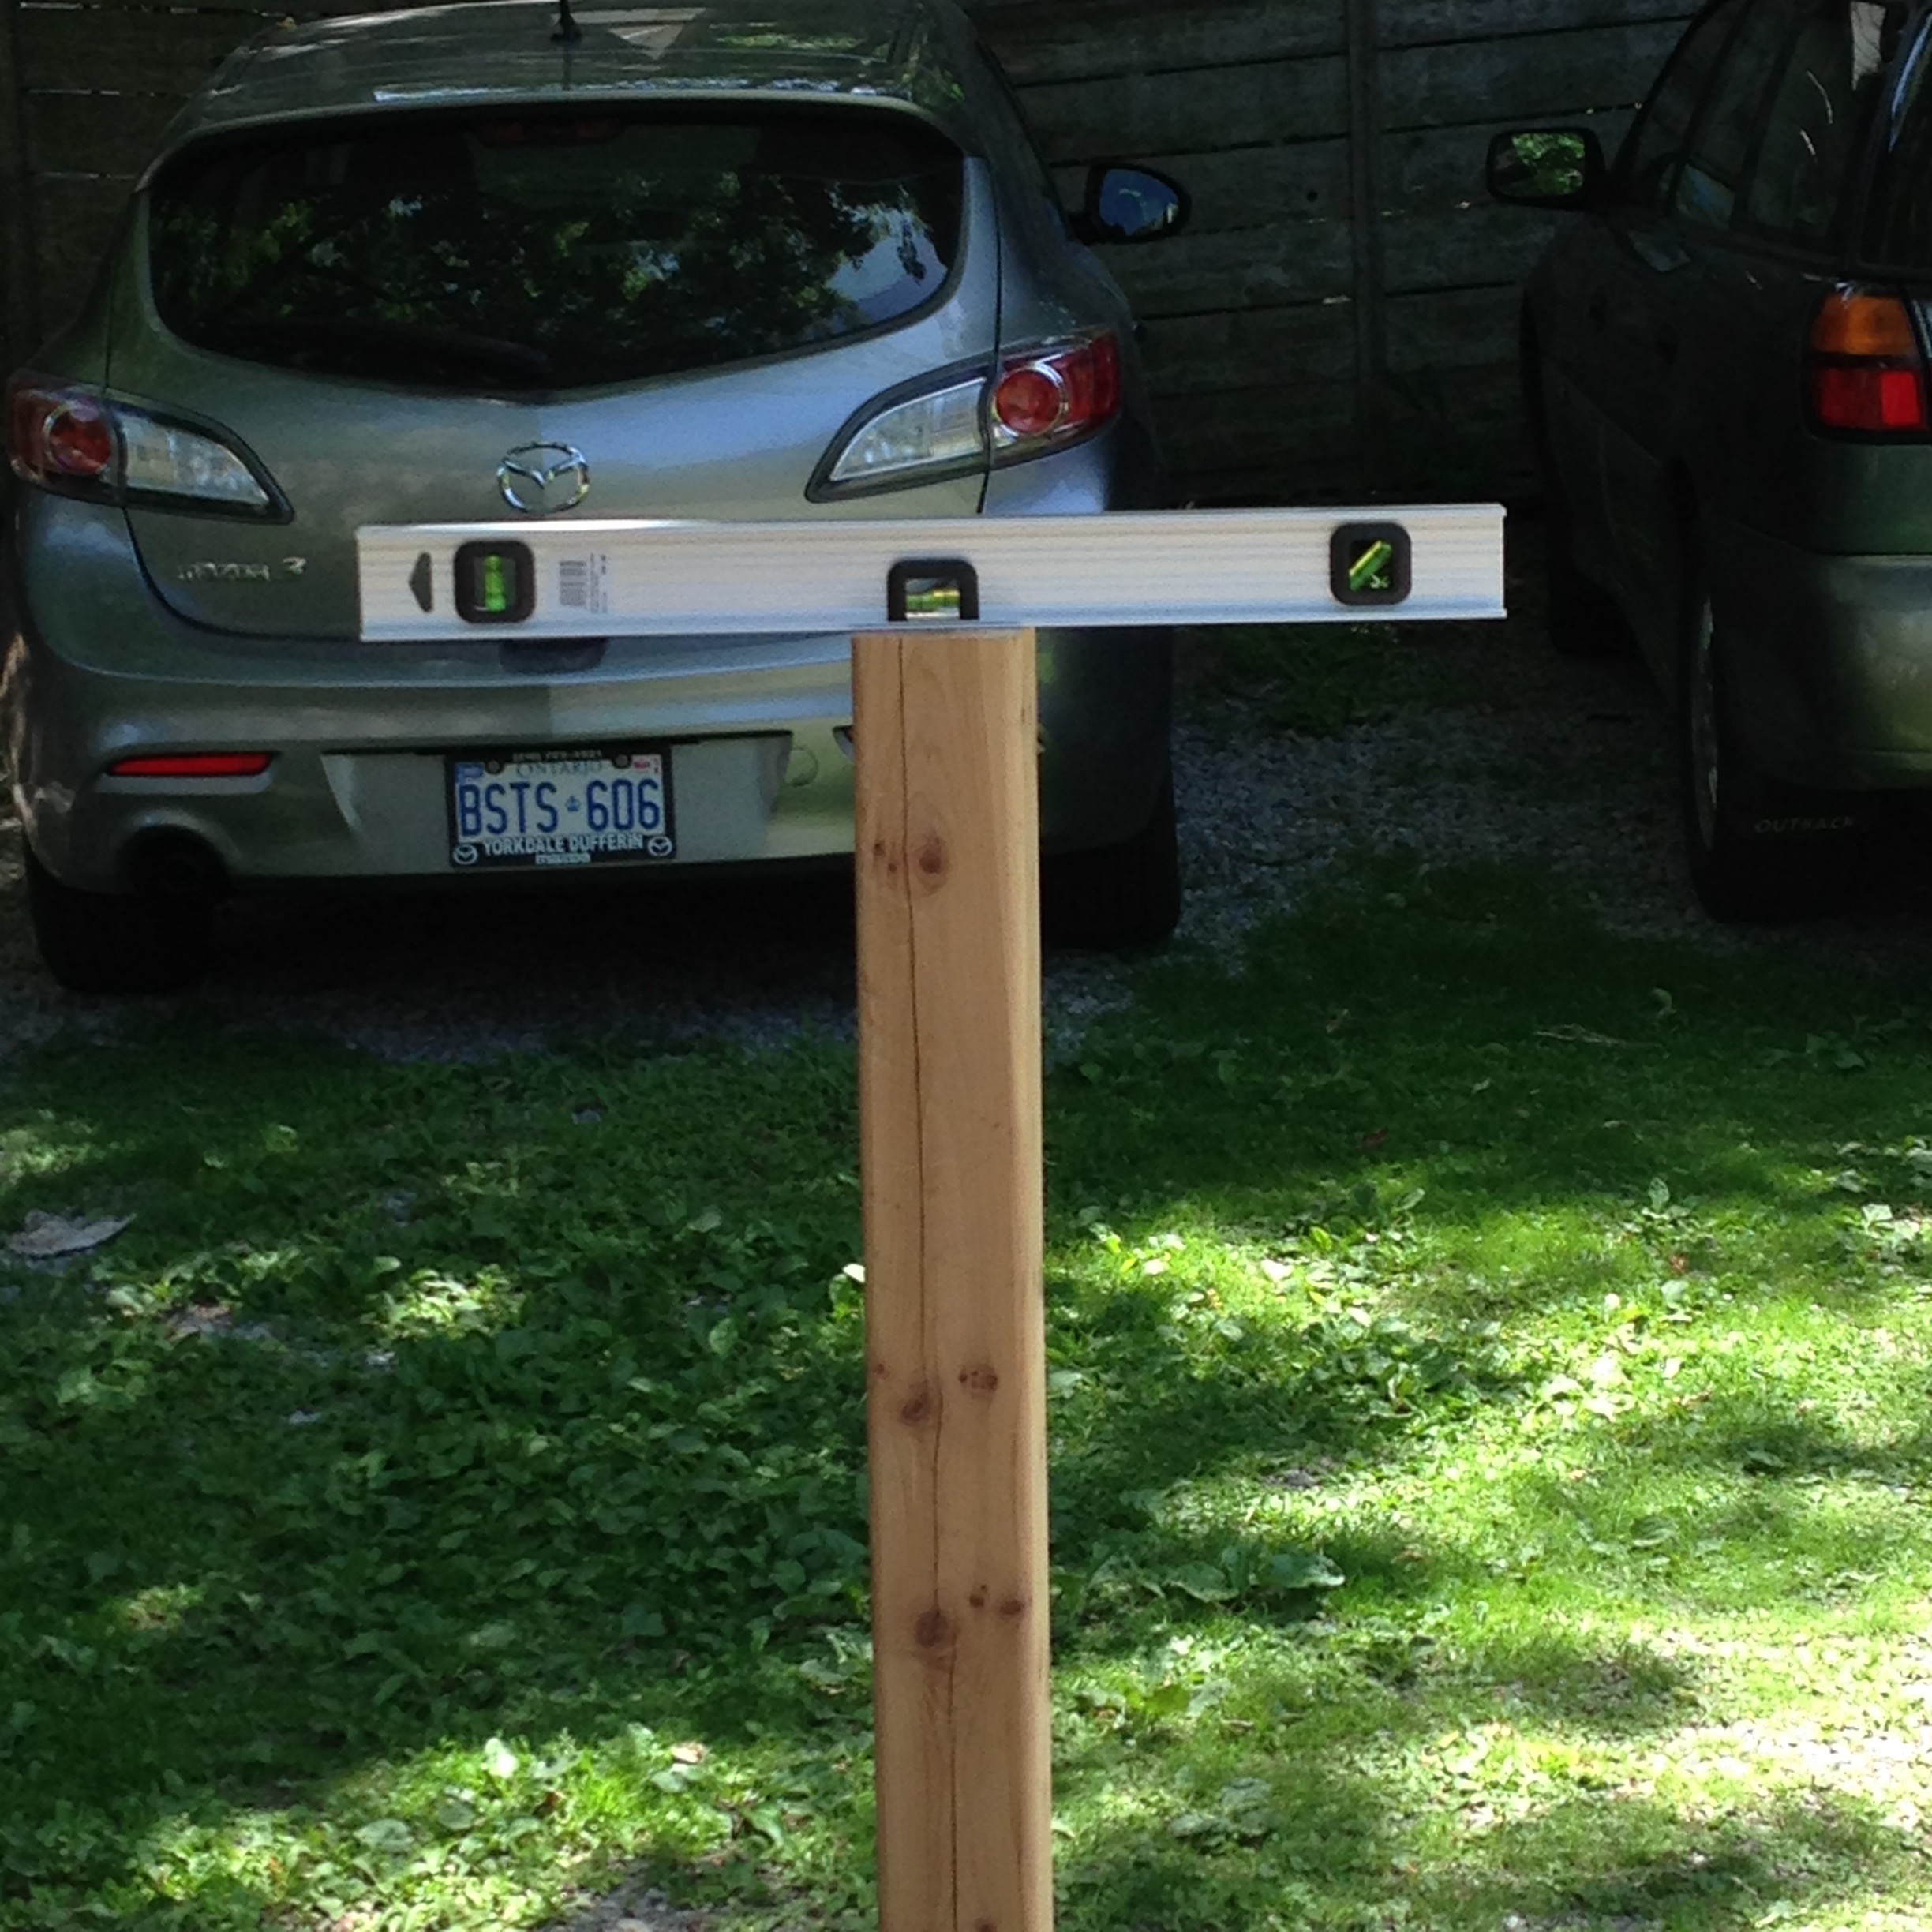
And here it is, freestanding, showing that we could put them up using only rebar, and no guywires[6]!
Tune in next time, for when we go into production, and a wide and varied cast of characters literally come out of the woodwork to help. Stay tuned!
[1]And they look terrible.
[2]I honestly don’t remember where this idea came from. We had been asking people this question for months. It might have been one of the kind gentlemen at New Canadian. (I really cannot recommend them enough.)
[3]Spade bit, but we’ll cover that later.
[4]This is actually a picture from much later, in our production process, but I couldn’t find any from the prototyping stage.
[5]18″ or 24″, I can’t recall.
[6]Well, we would also need top wind-bracing, but that’s a story for another time.
One thought on “Building the Mirror Blaze in Pictures IV: How do you Make Posts Withstand a Windstorm?”