Last time, we talked about some of the basic components in Mirror Blaze. Today, we’ll talk about how we combined them for the first time.
As I mentioned before, we had purchased four 4’x8′ acrylic mirrors, three single-sided, and only one double sided (as they were significantly more expensive). The designs we were thinking of involved dozens of mirrors, including one or more sets of triangle-enclosed flame effects, but we needed to test all kinds of things before settling on a design.
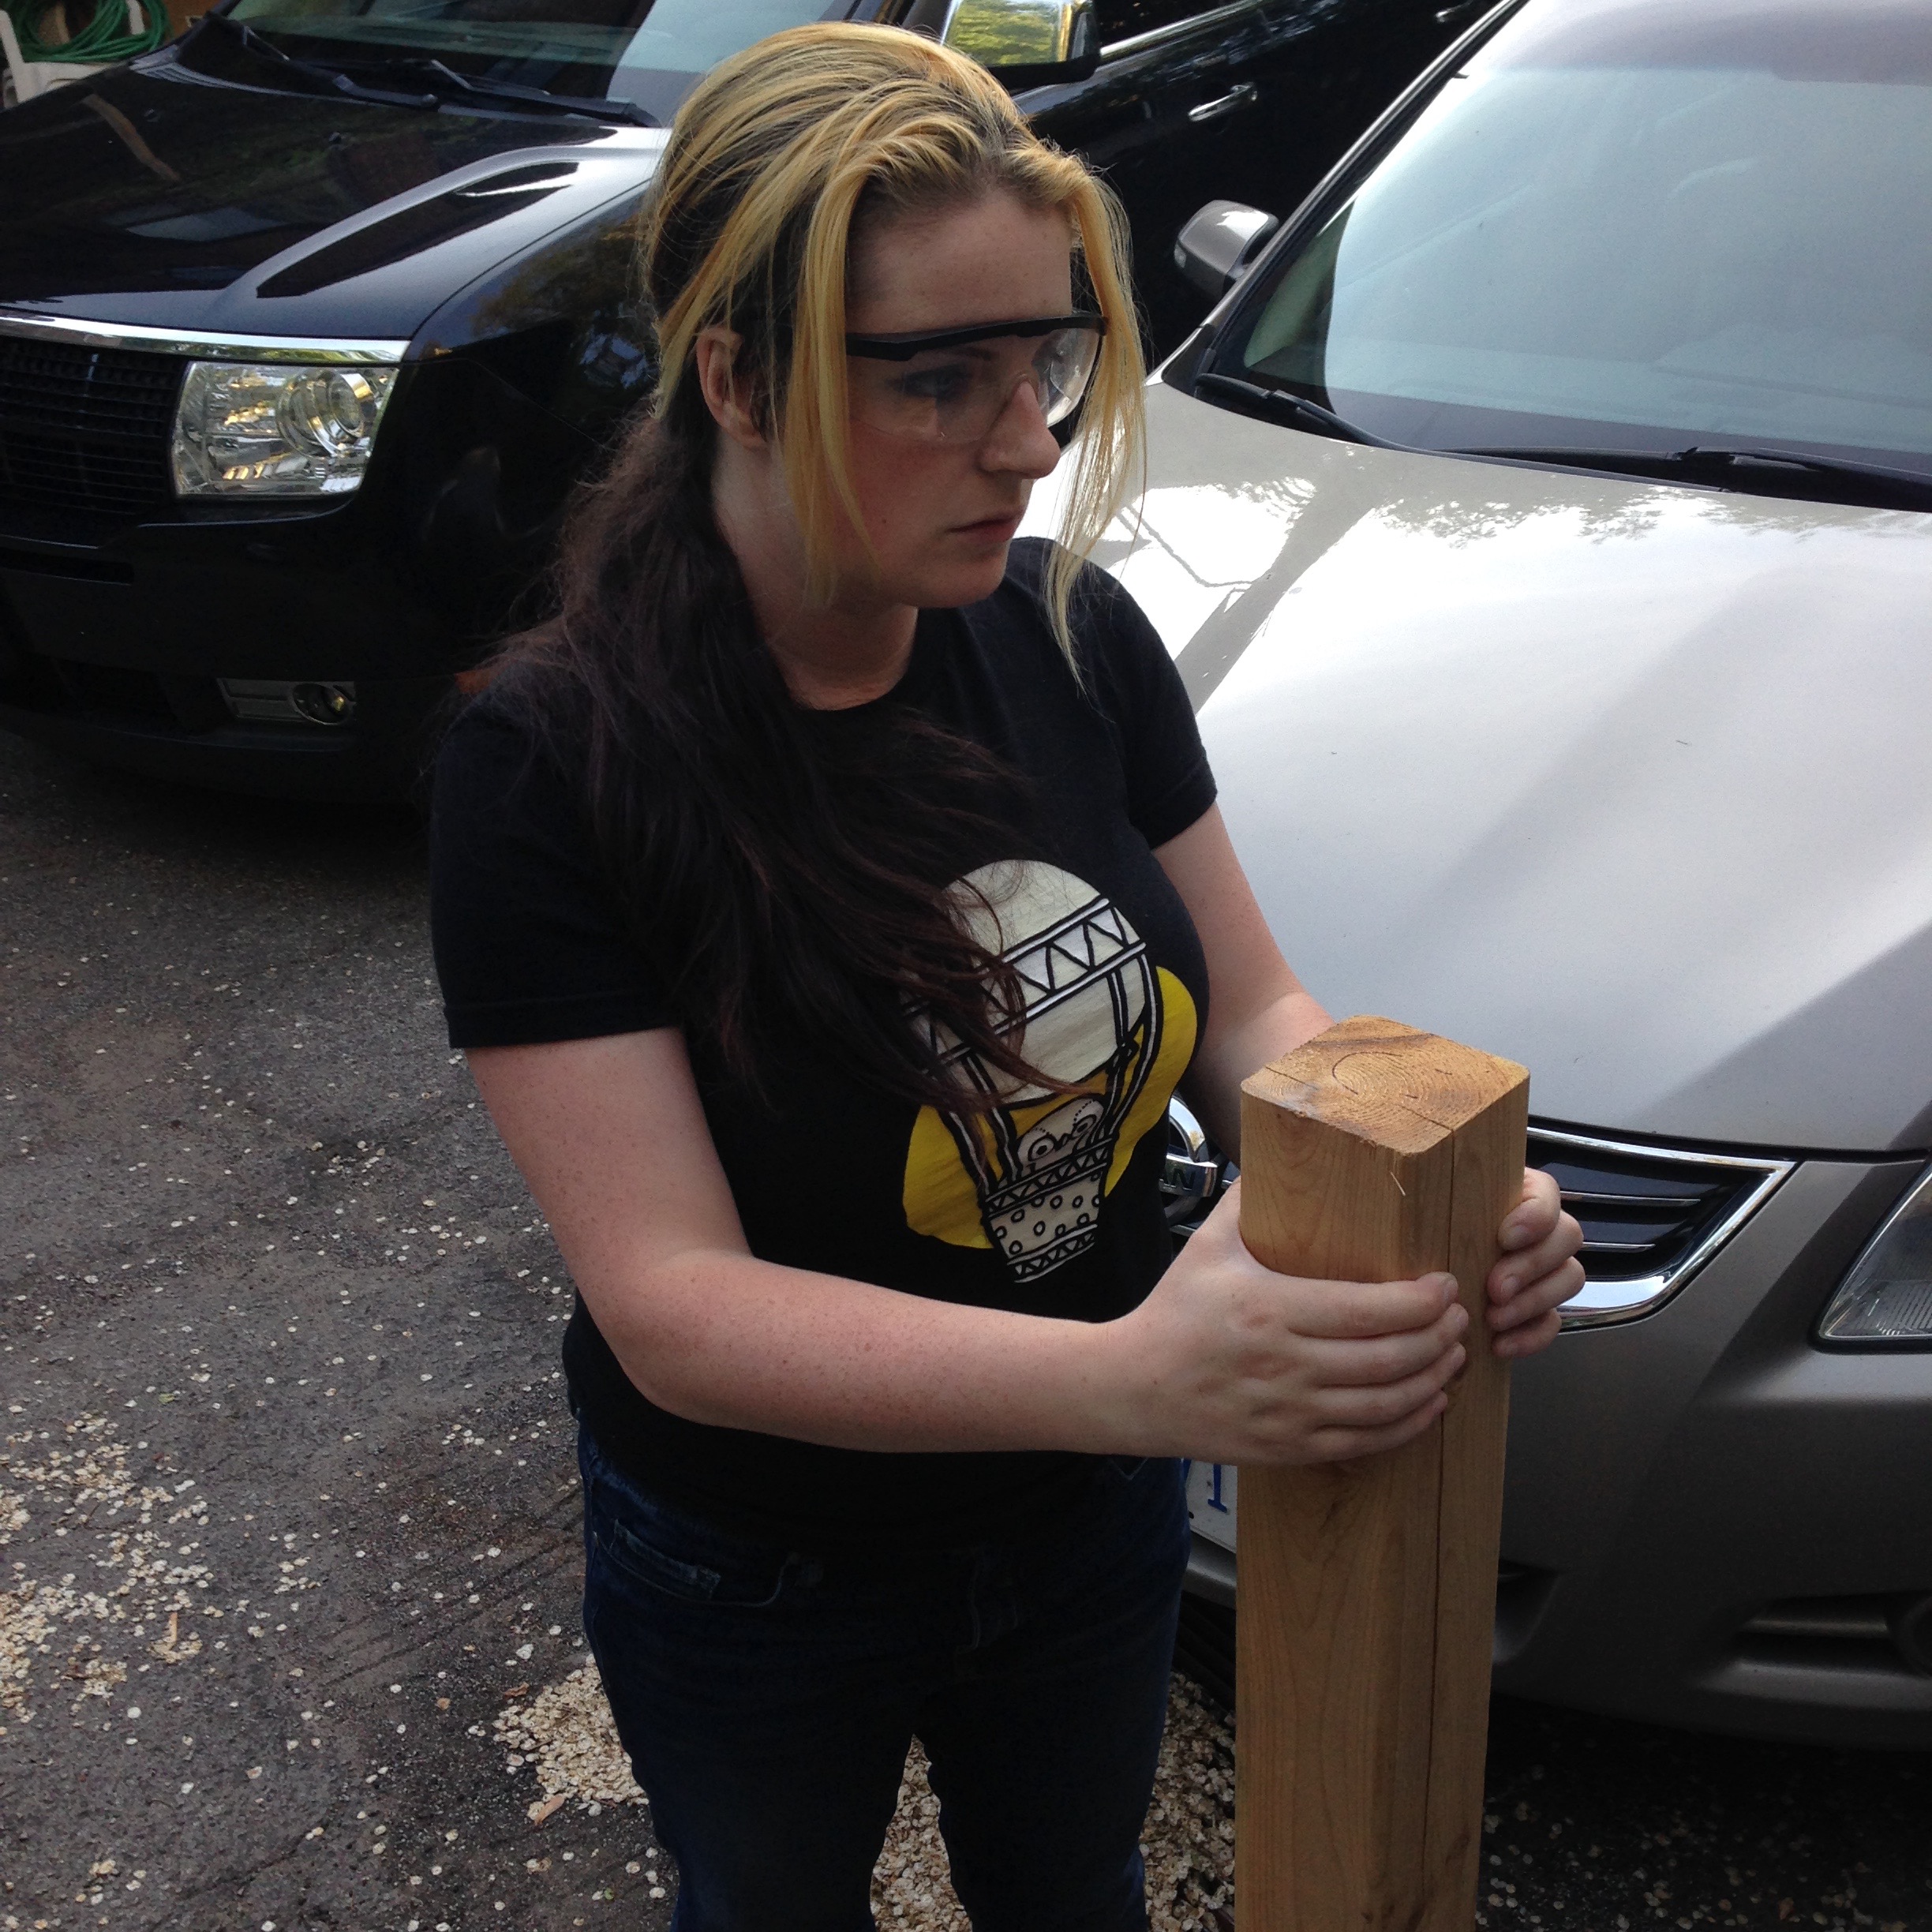
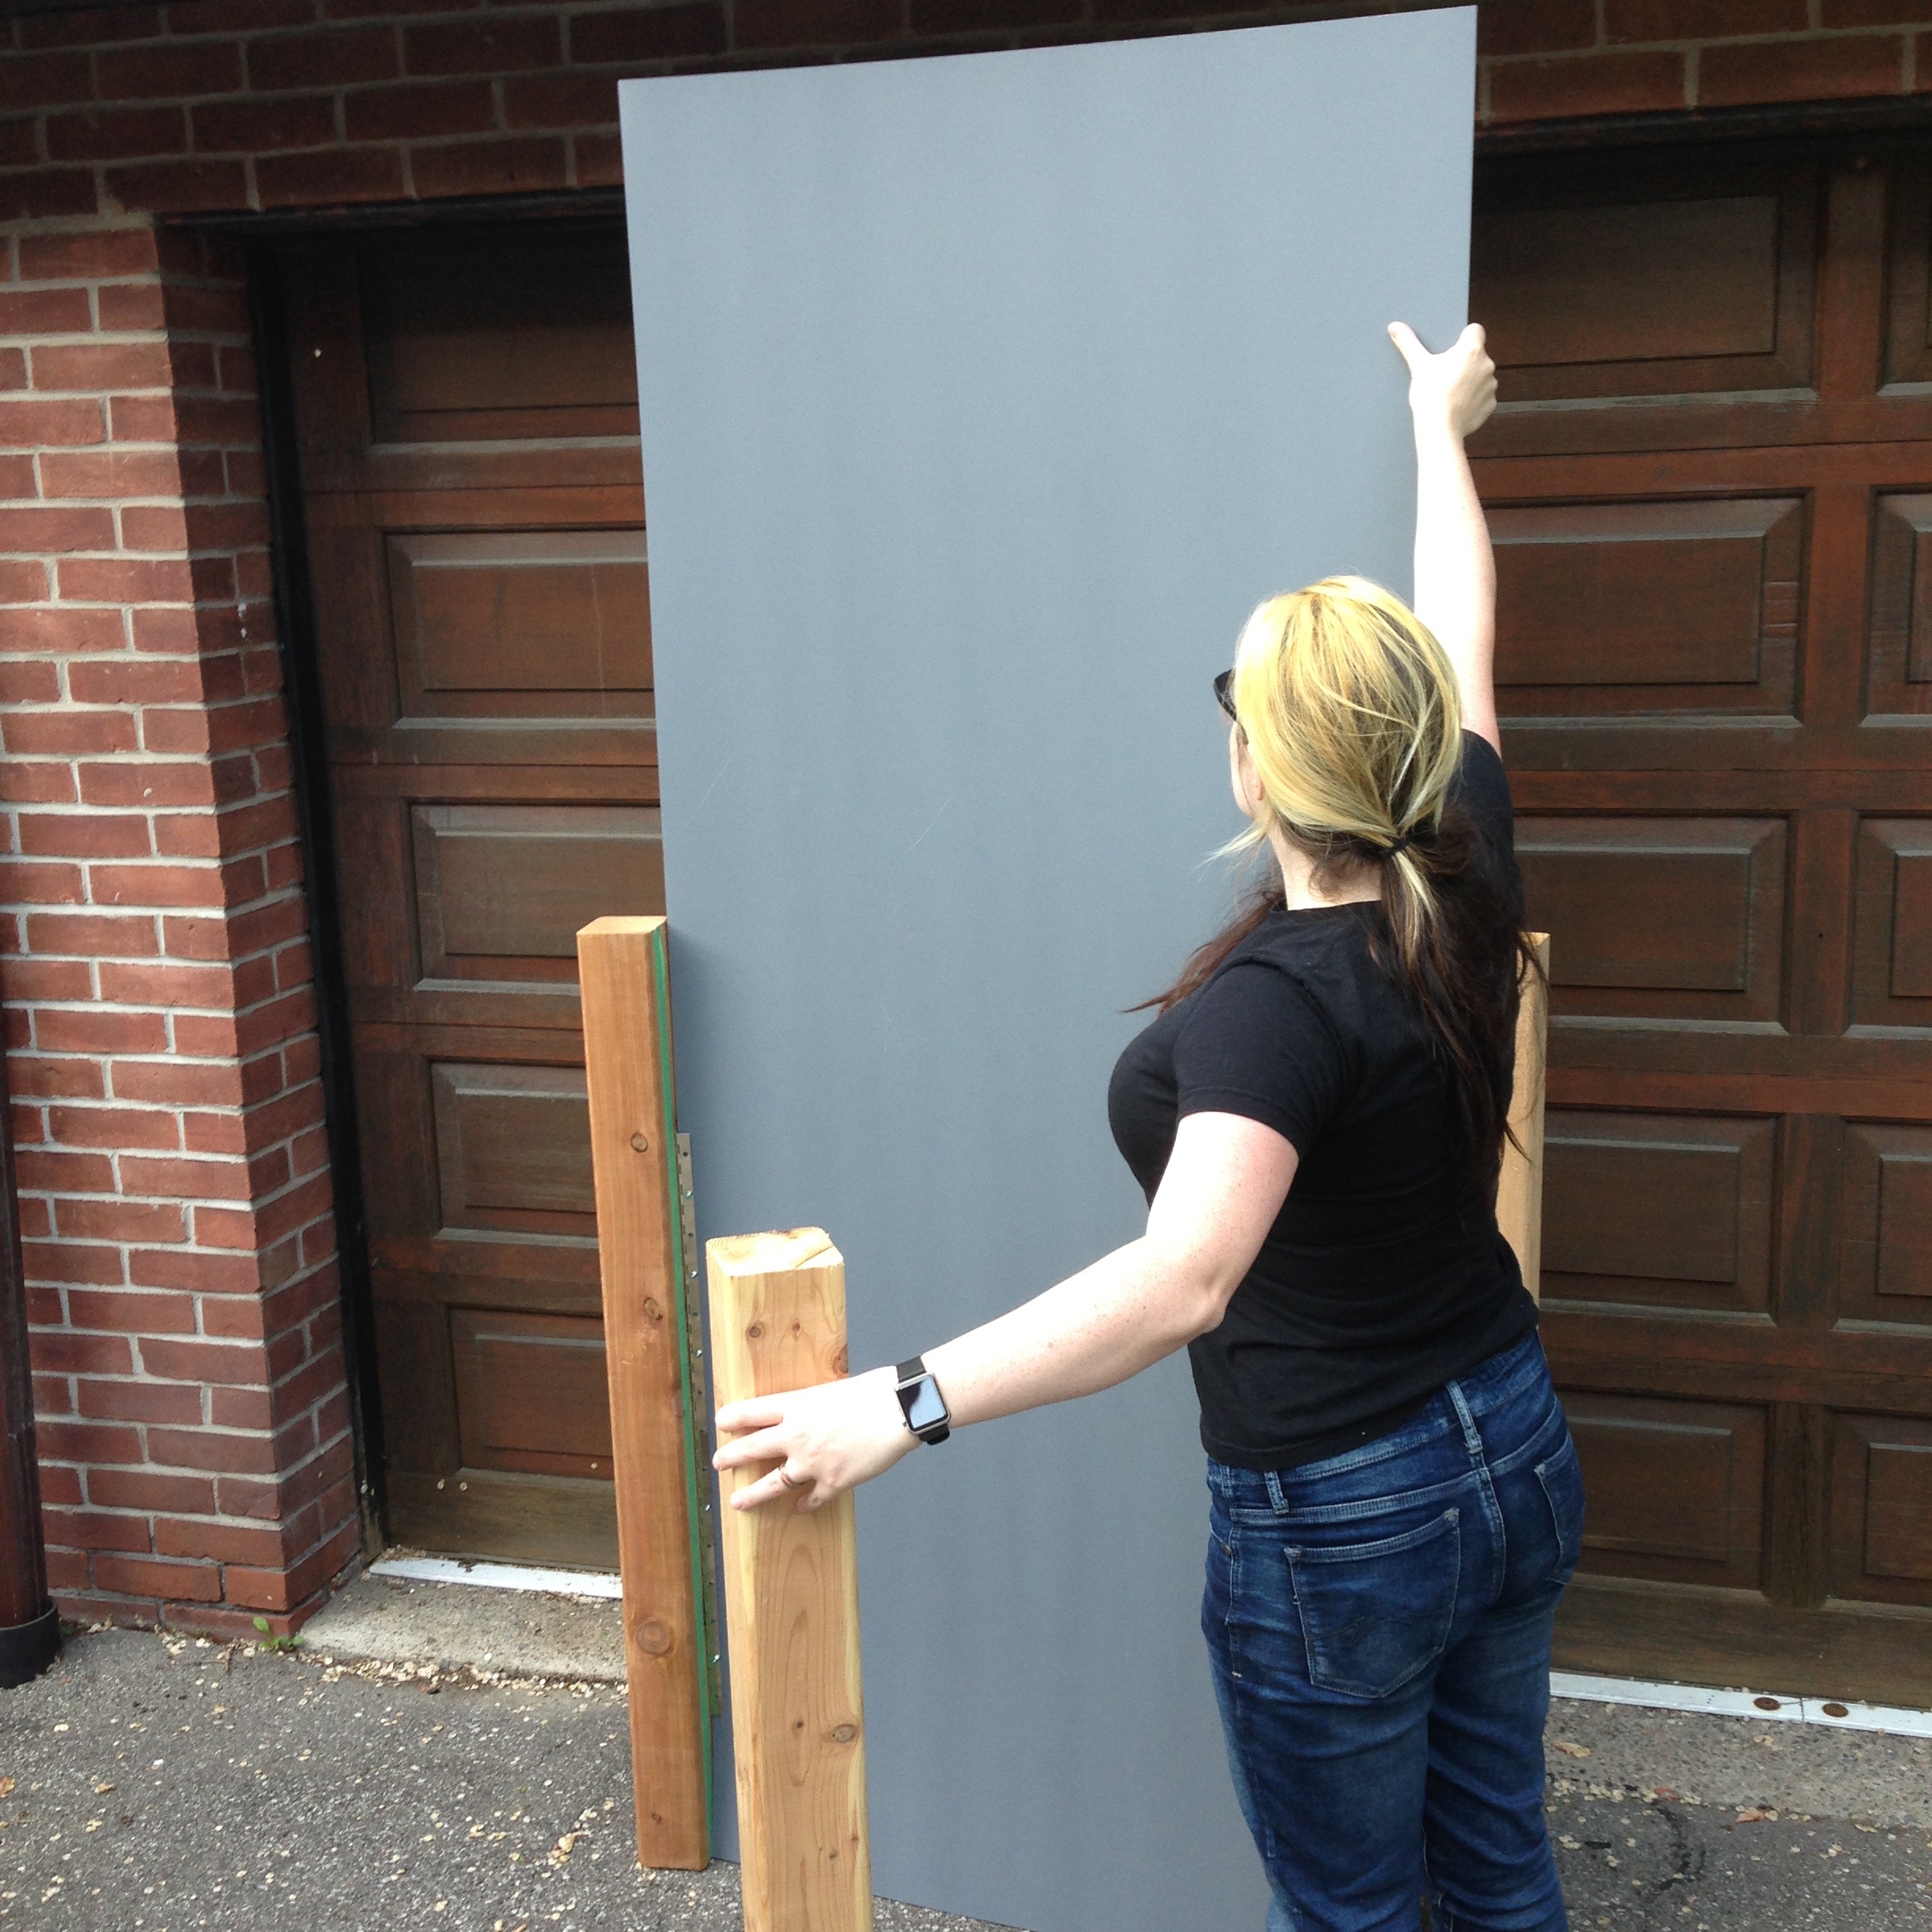
One of the best decisions we made was to use 4″x4″ cedar for our posts. The options were treated wood (the green-tinted wood that you see used for many outside emplacements), and cedar. We initially liked the cedar because it smelled better, but I think the fact that it was about half the weight was what decided it for us. 8′ 4″x4″ posts are not too too heavy, but when you have to stevedore them repeatedly, and pack and unpack them from the garage each time you want to do construction, each kilo saved is worth it.

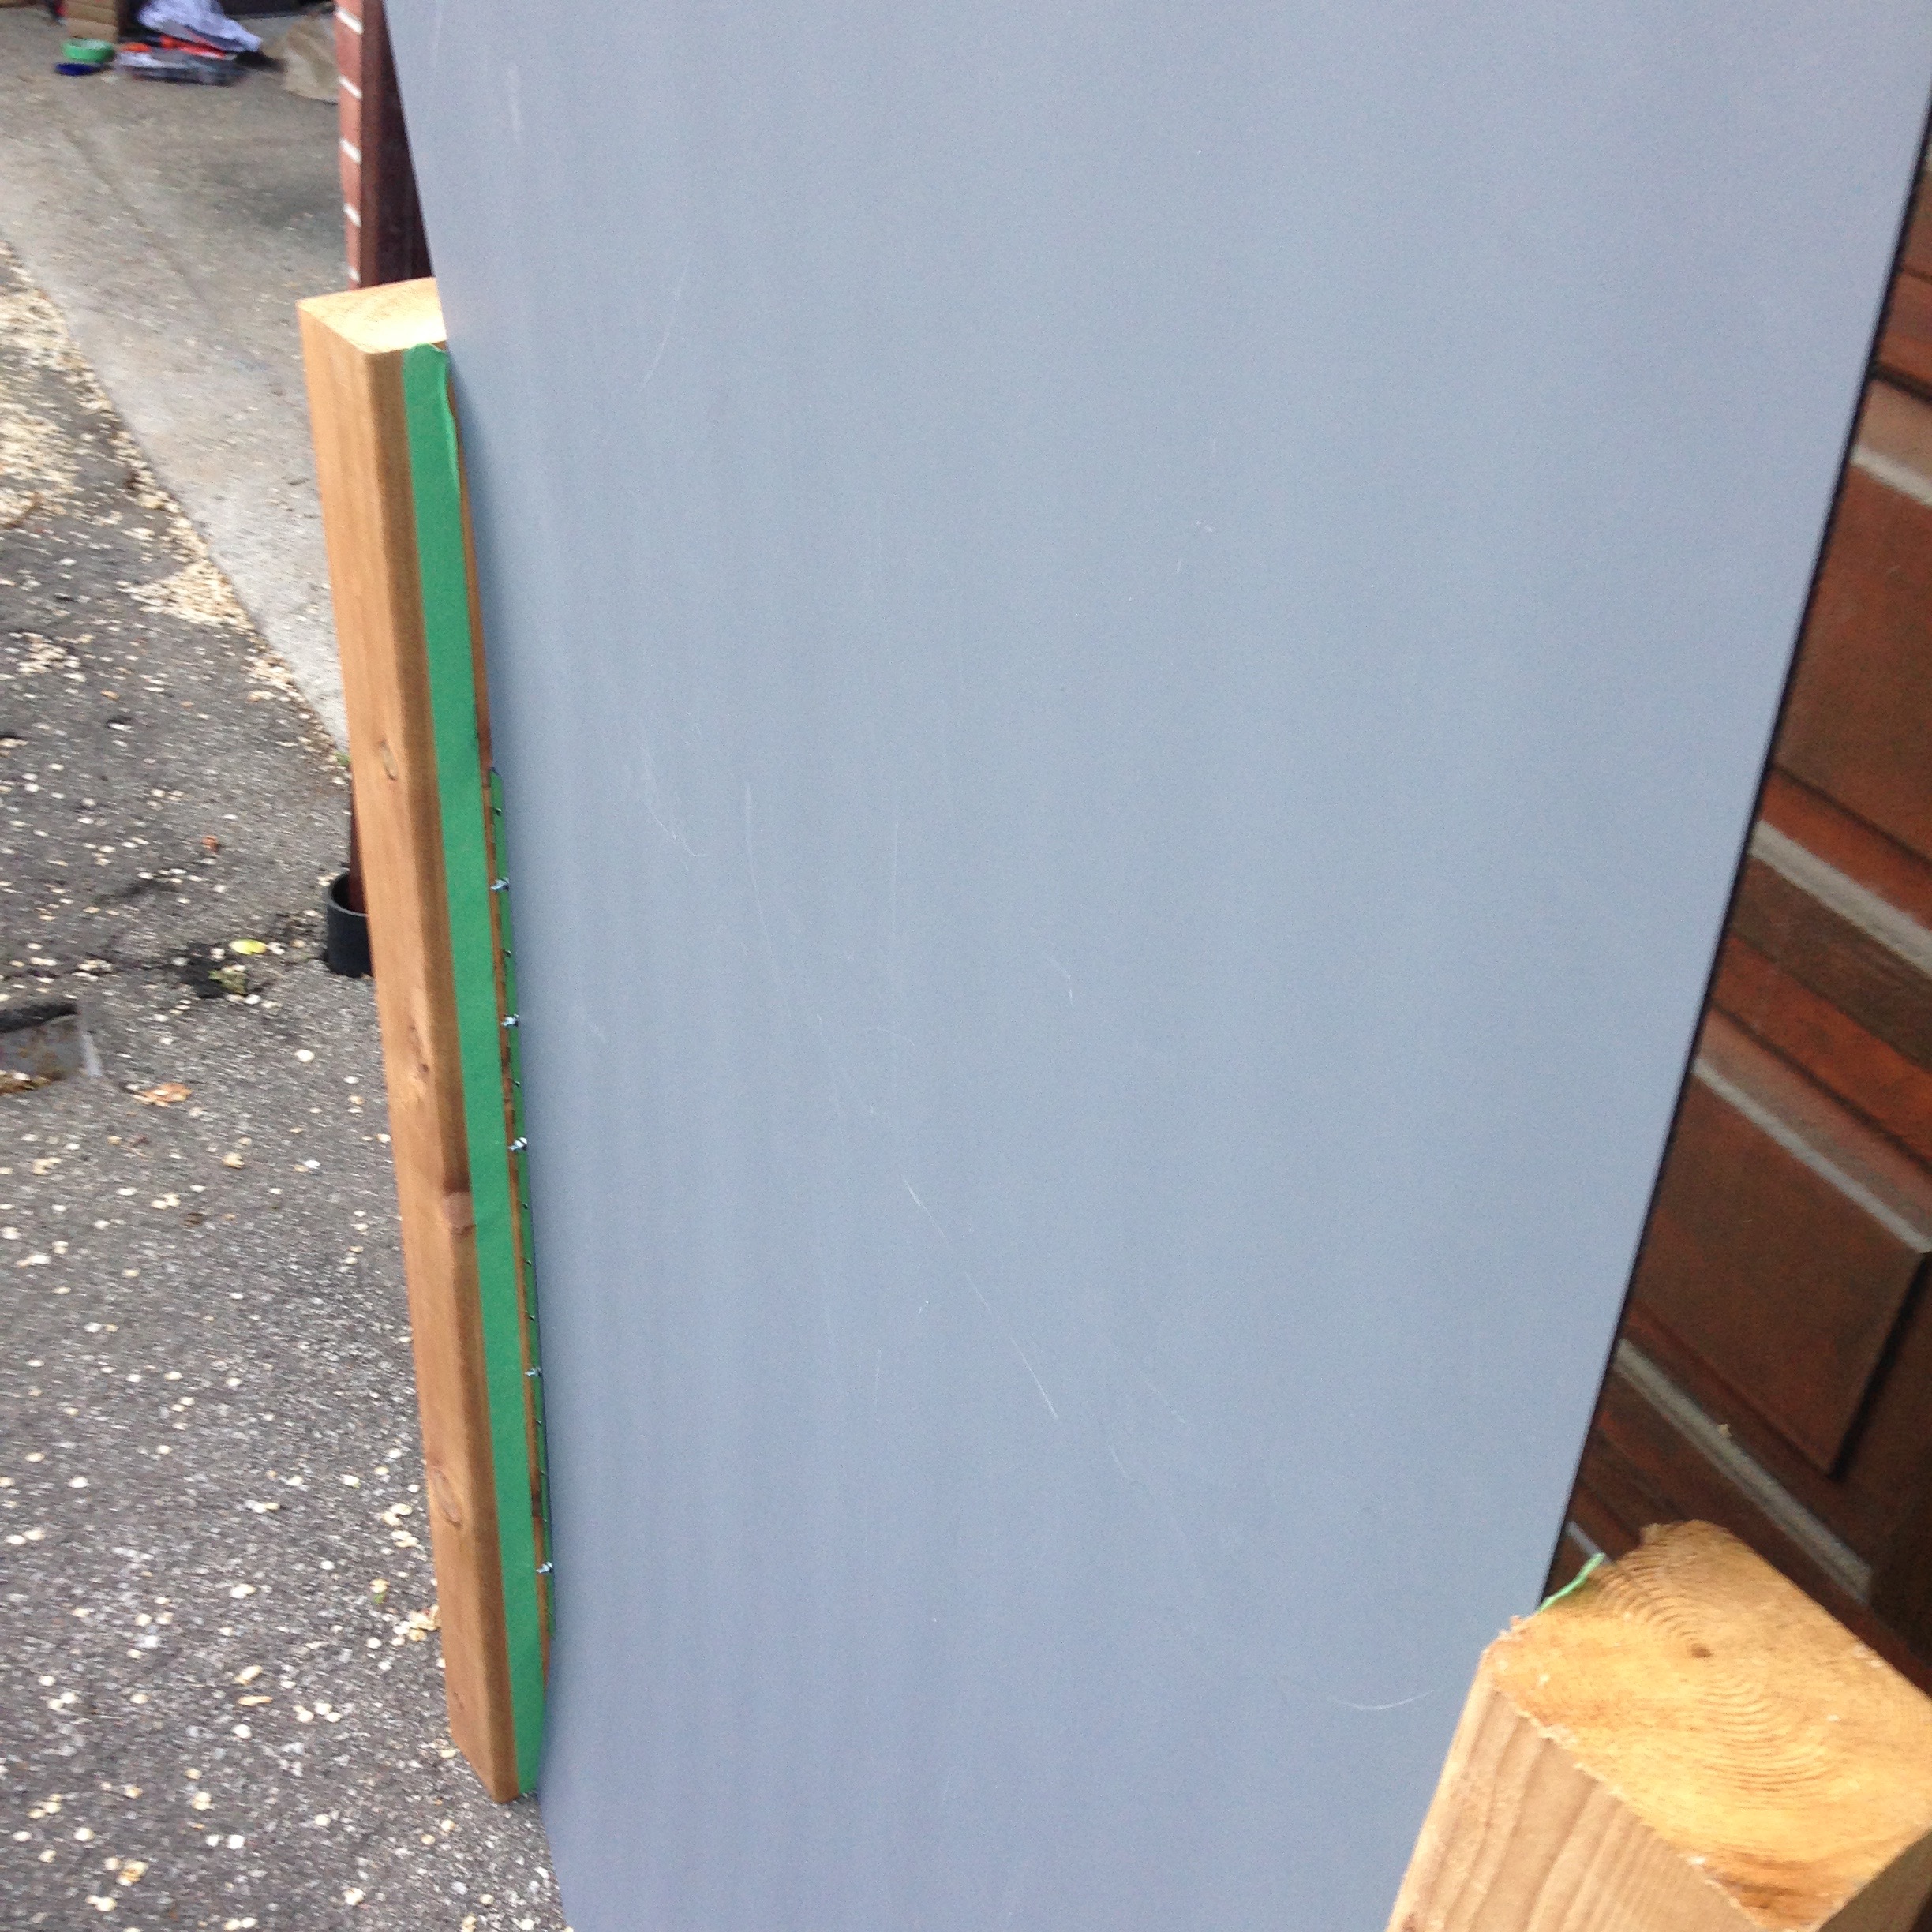
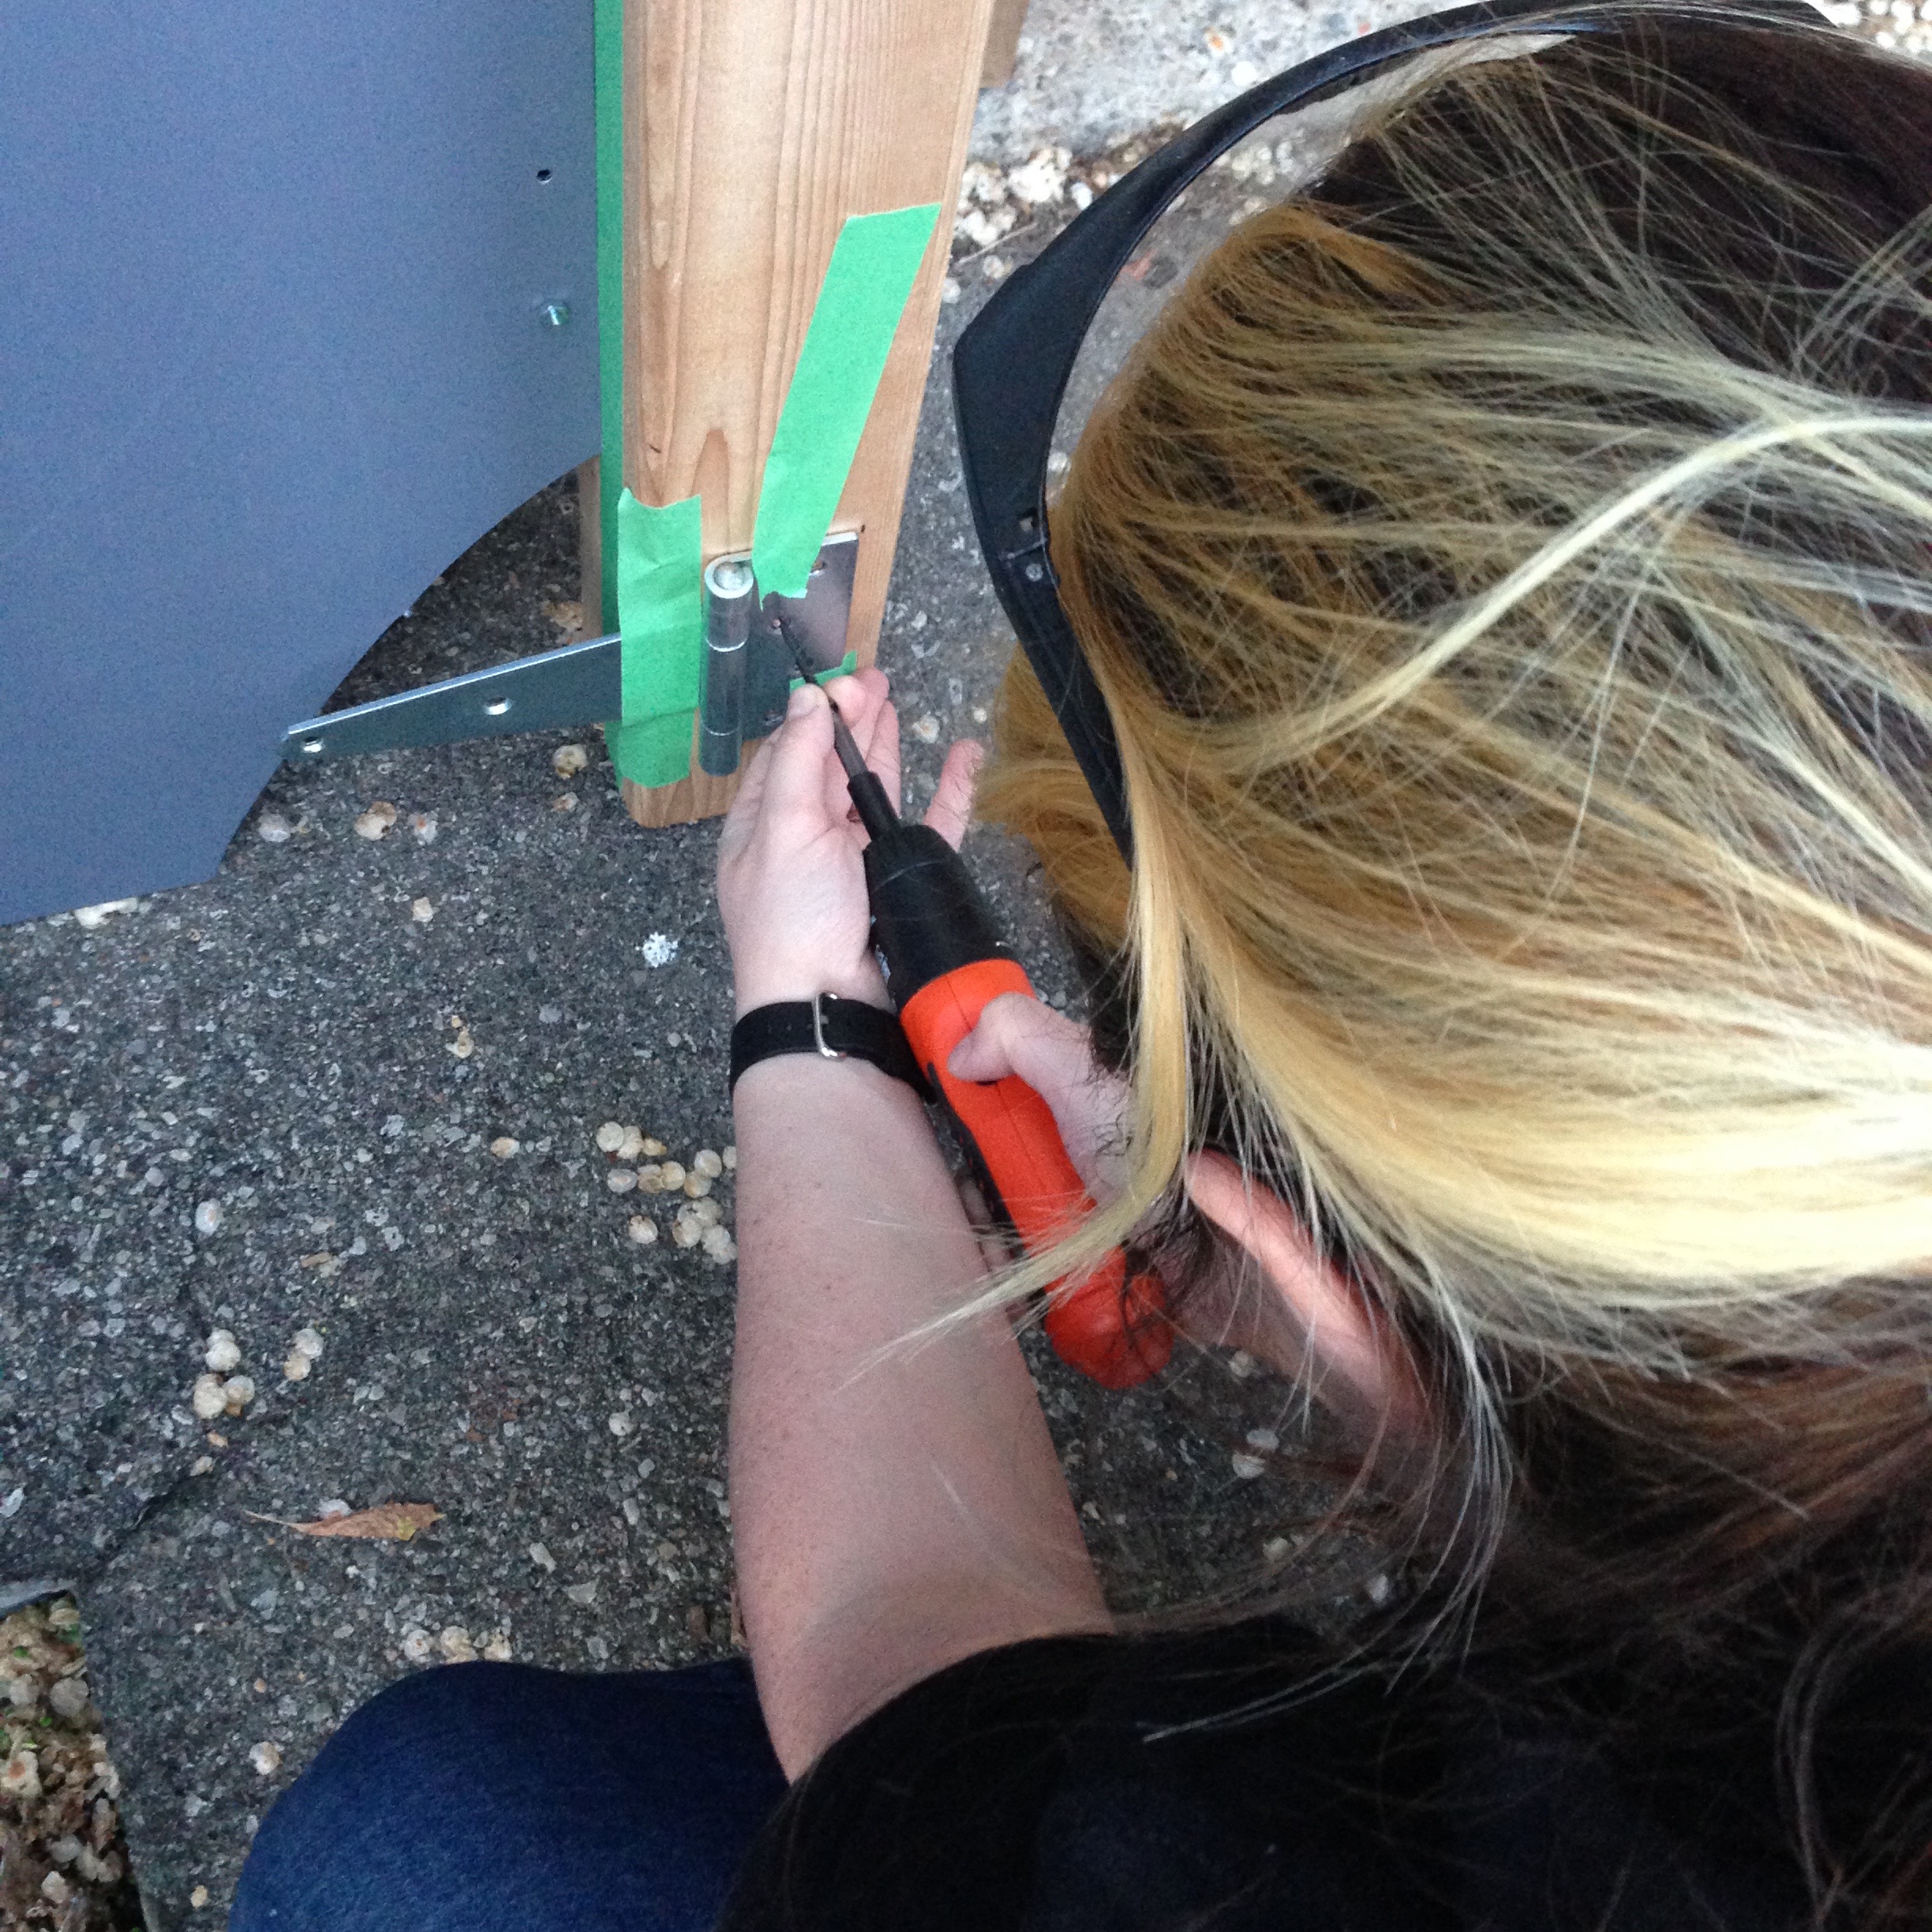
This was our test of two different types of hinges. We thought to try piano hinges and T-hinges. S recalls that the piano hinges were almost flimsy, bending when we lifted them. Thinking about it, the T-hinges are designed and build for exactly what we were trying to do with them.
We also had an incident with the acrylic sometime during the early part of this test. As I recall, the first time I tried to drill holes in the acrylic, it cracked, and made the missing corner you see in the picture below. We eventually concluded that this was probably because the acrylic was too thin (our test acrylic was less than half of the thickness of the acrylic we actually used for the project), but I remained terrified of the prospect throughout the remainder of the project.
The two types of bolts used for piano hinges and T-hinges:
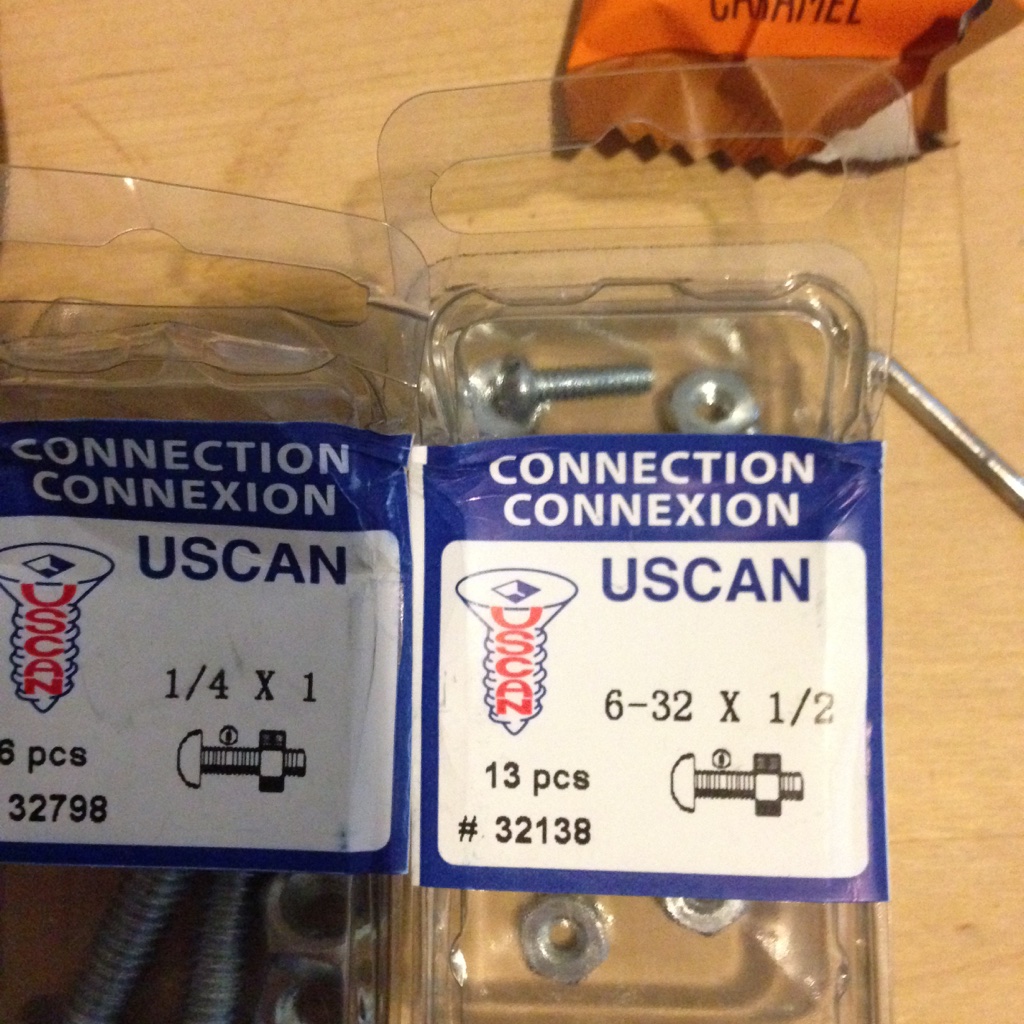
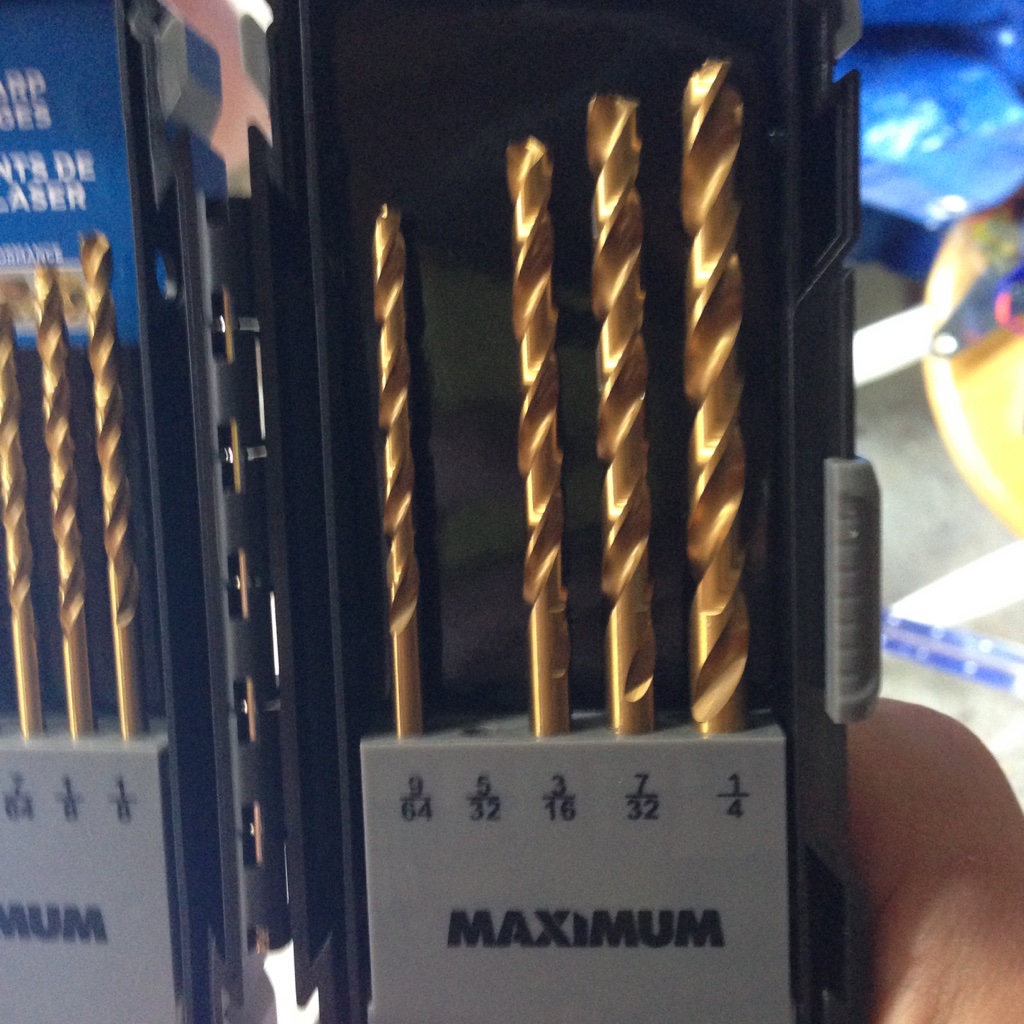
IIRC, we ended up drilling 1/4″ holes for the bolts.
I should probably mention at this point that we screwed the hinges into the posts, and drilled holes in the mirrors so that we could bolt the hinges to the mirrors. This worked out for testing and assembly. It worked well enough that even though we had never assembled more than about 1/4 of the project at a time before going to the Burn, it all fit together exactly once we got there. I remain proud that we accomplished this.
More geometry testing:
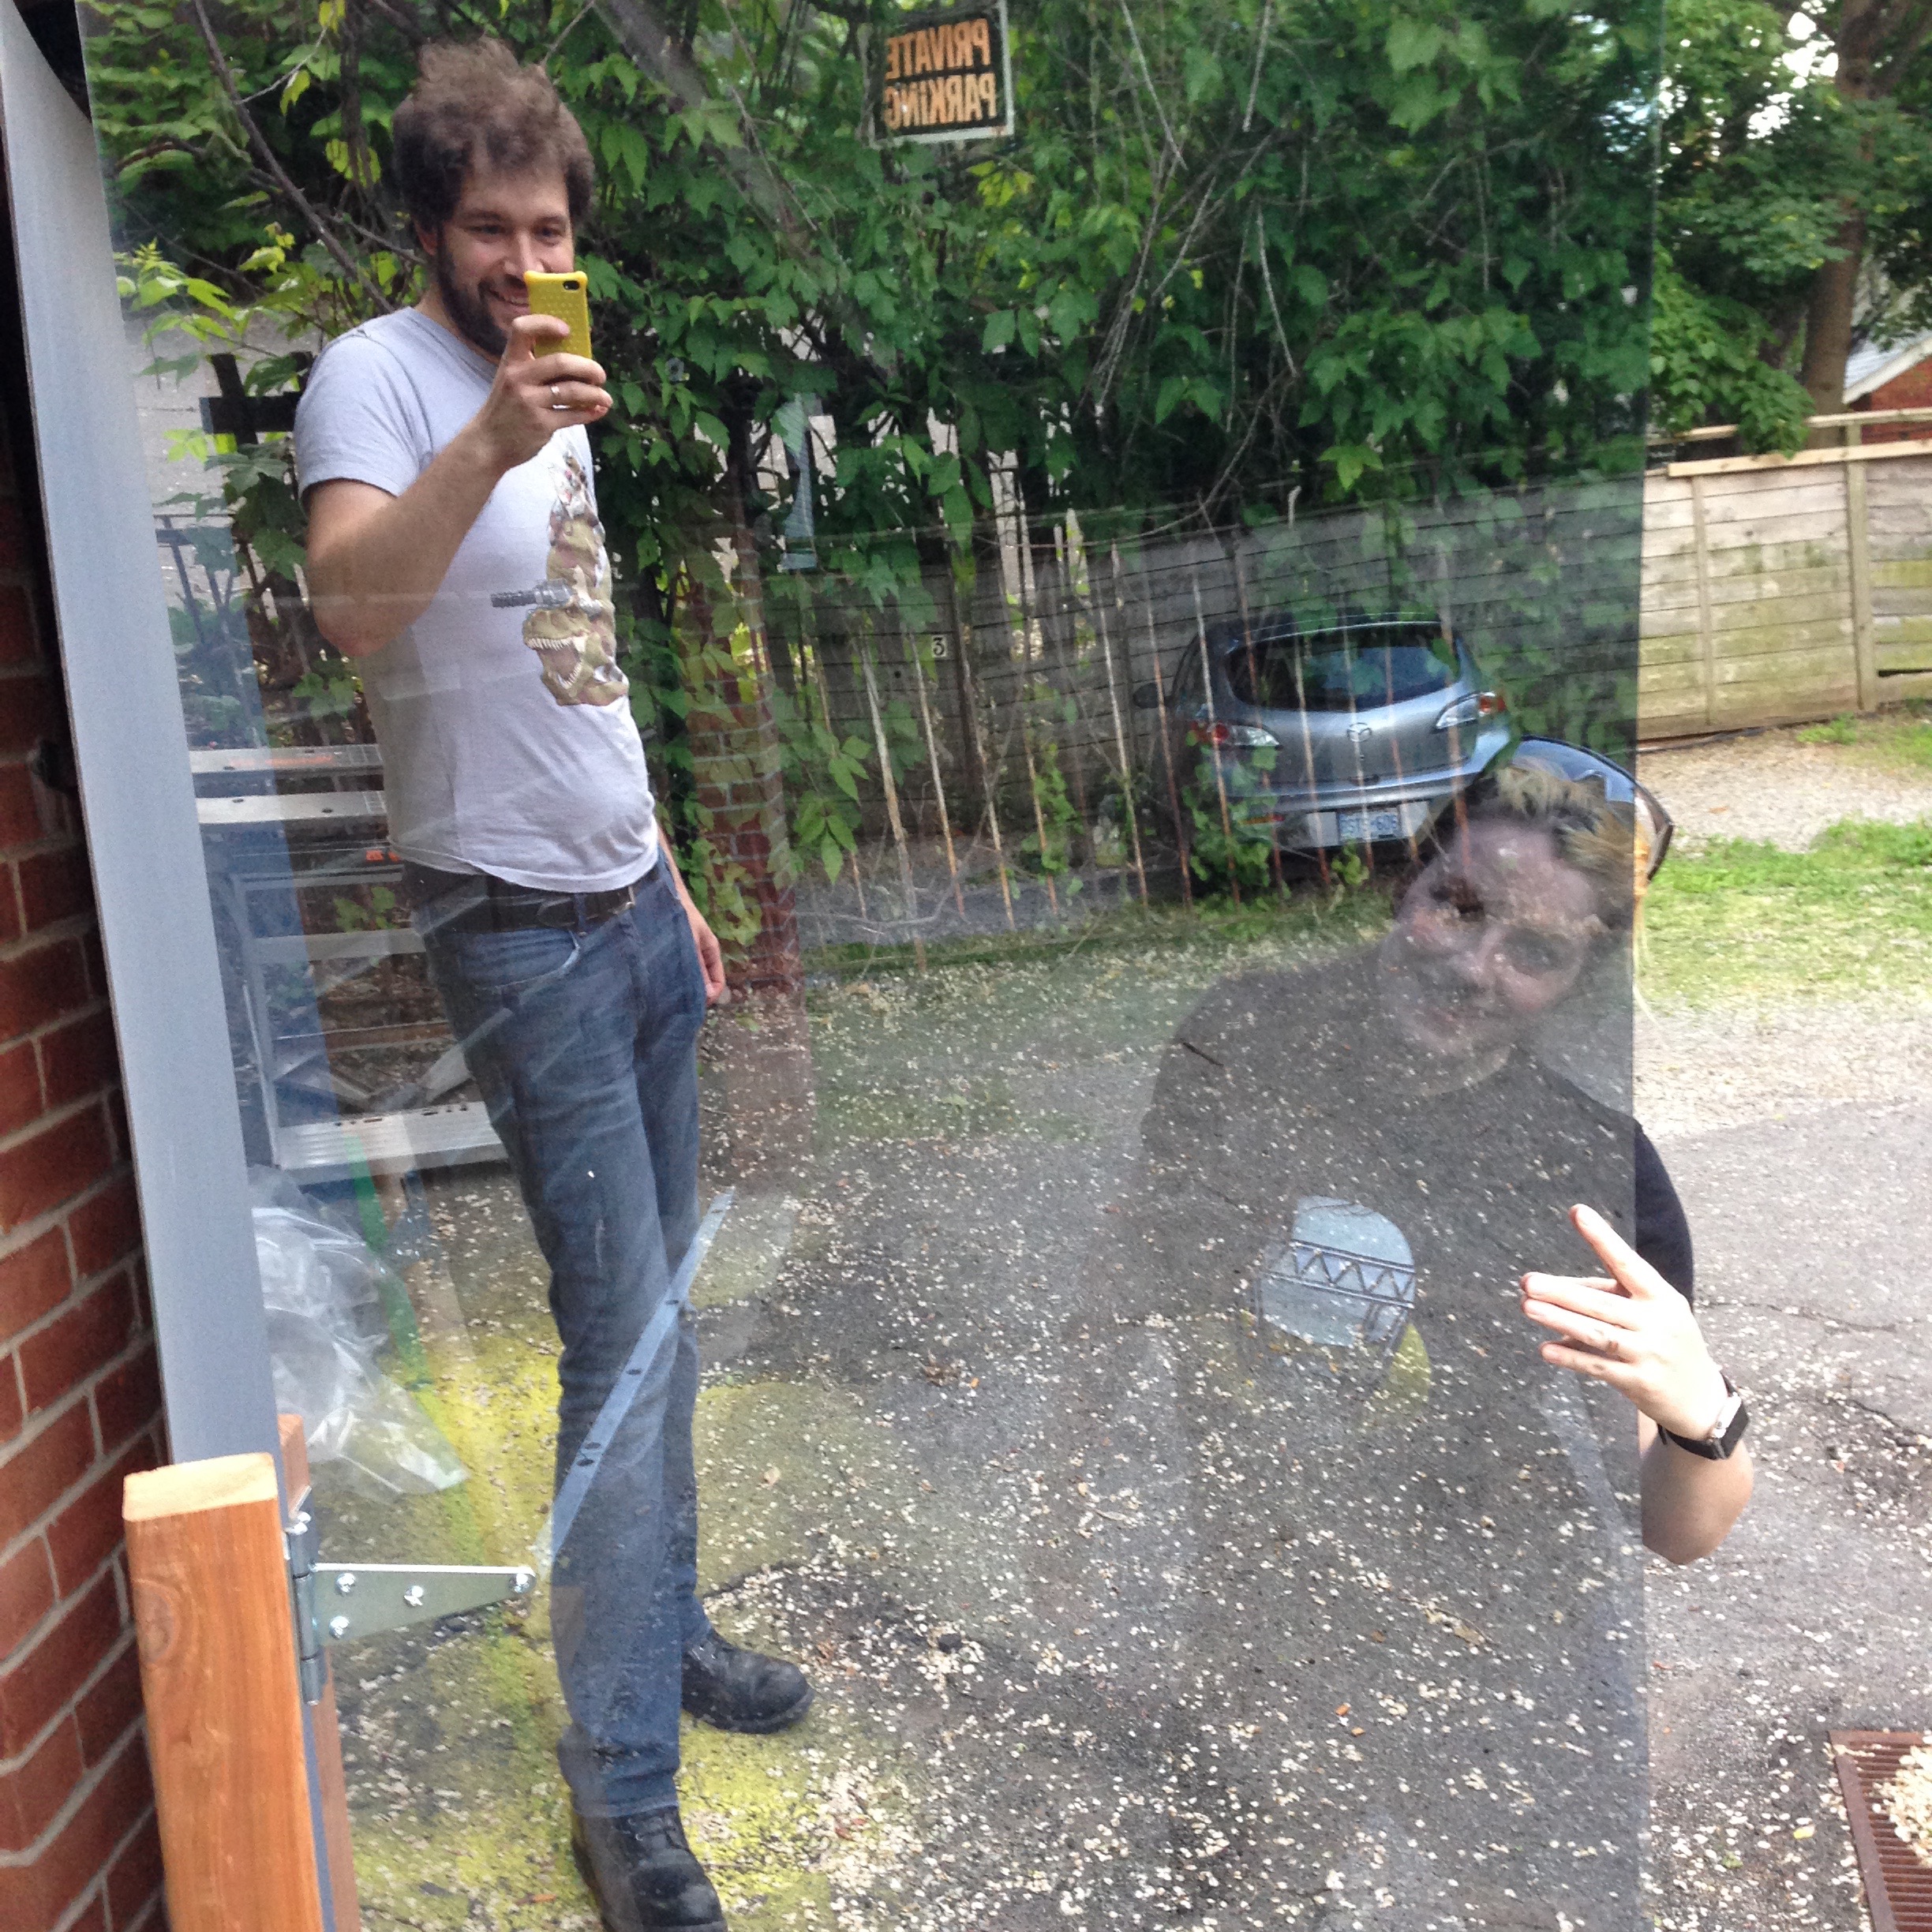
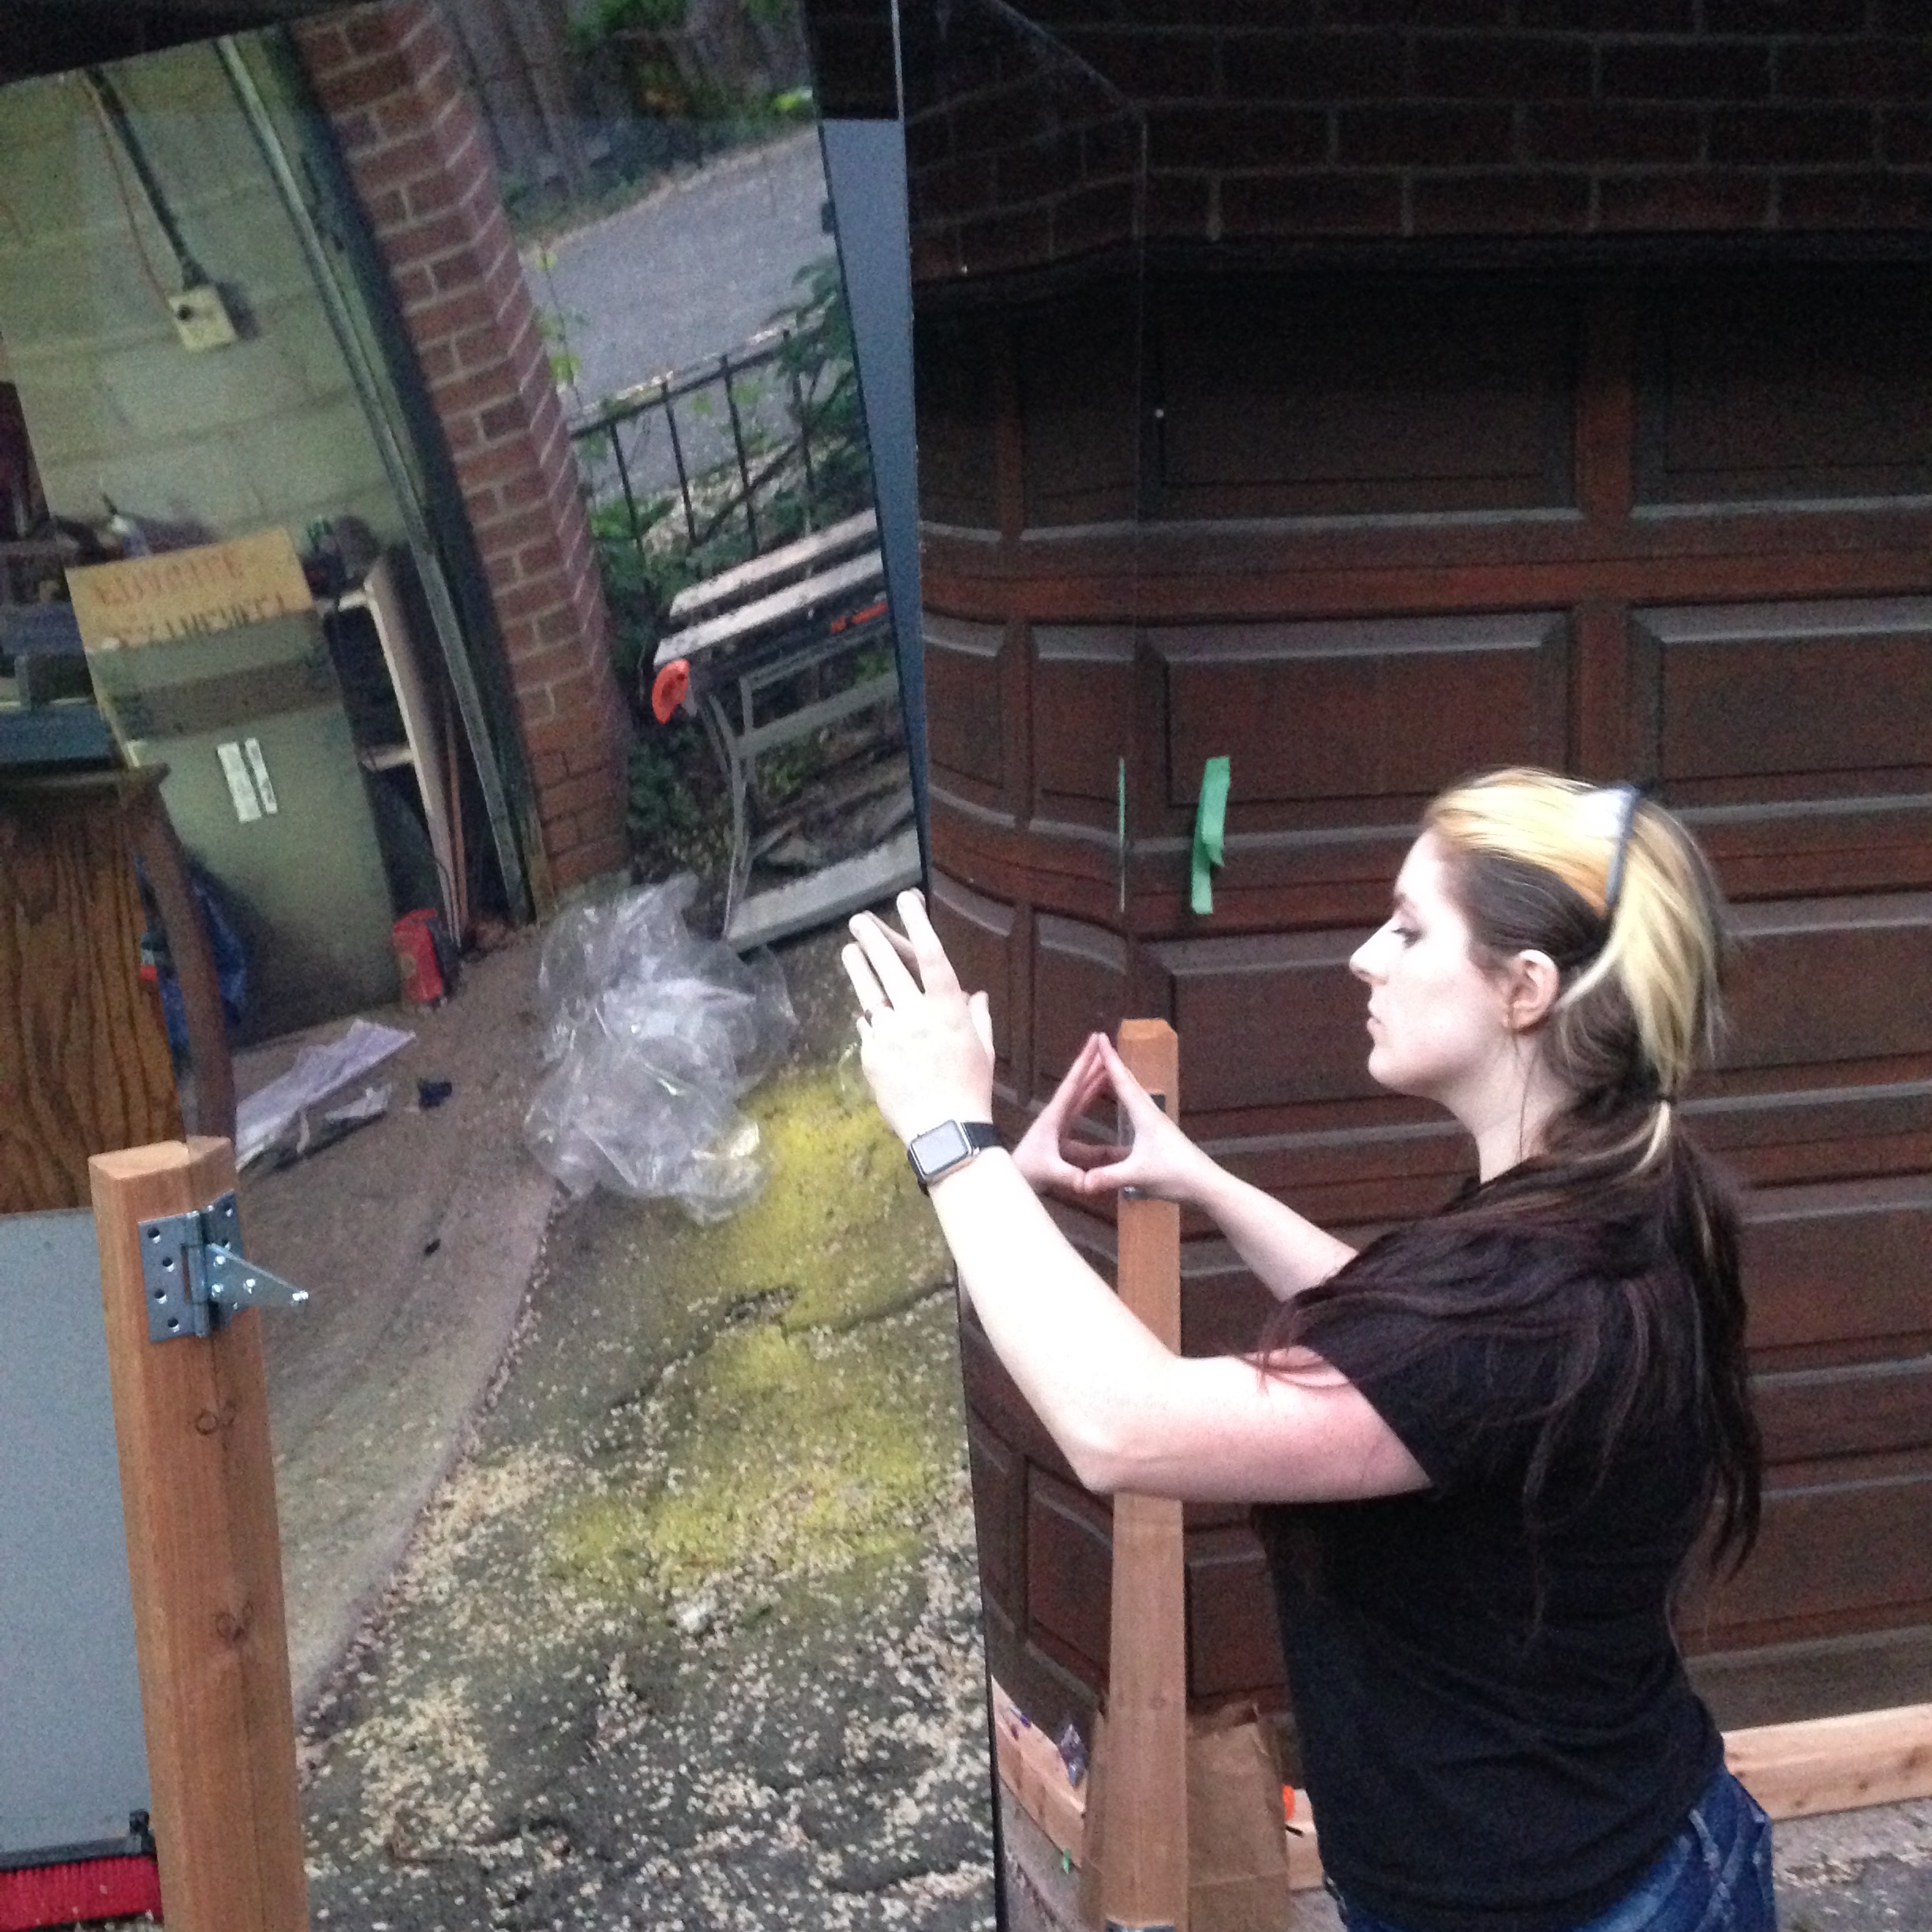
We had a lot of fun with the two-way mirrors. Note how clean and pristine they are here, compared with how things looked on playa.
This was our first time putting three mirrors together in a triangle. This, and the next video, were when we really started thinking that this could really work!
Our first flame test with the two-way mirror! It worked! 😀
One thought on “Building the Mirror Blaze in Pictures III: First Integration Test!”