Last time, we talked about what happened when Mirror Blaze encountered water. Today, it is time for fire!
But first, we went and consulted Magical Trevyn. He gave us some advice about scoreboards, and we continued on our way:
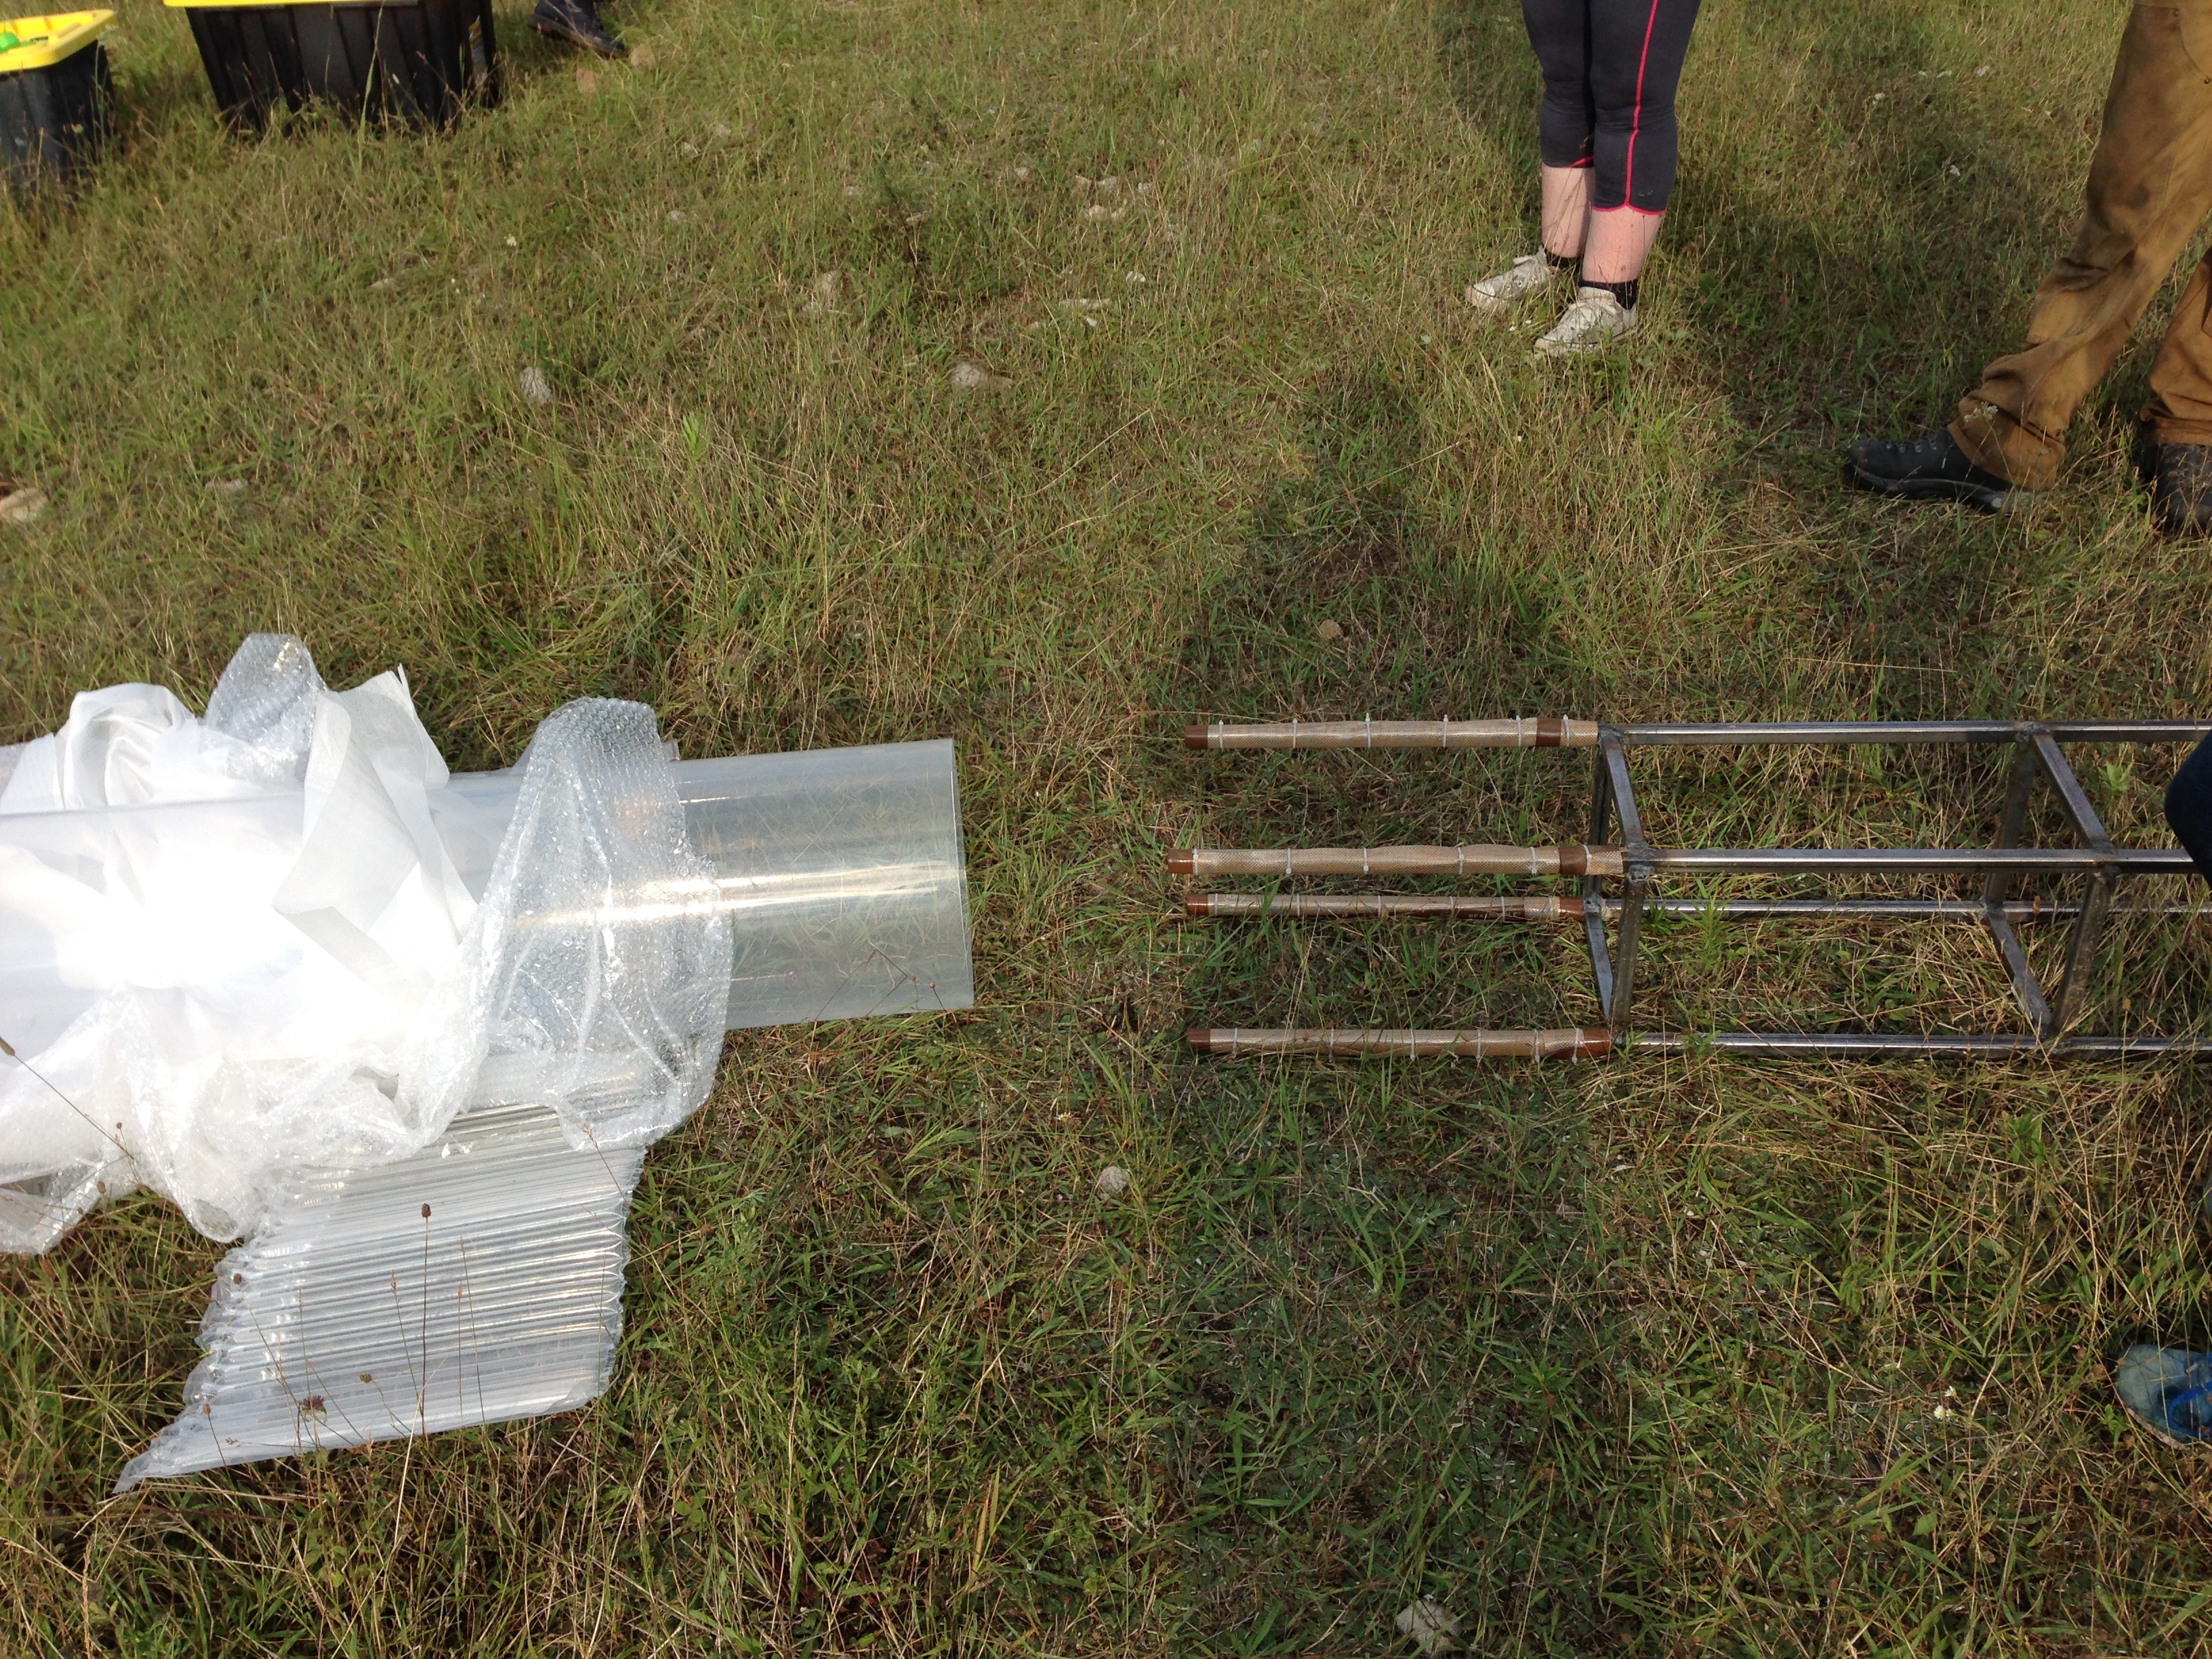
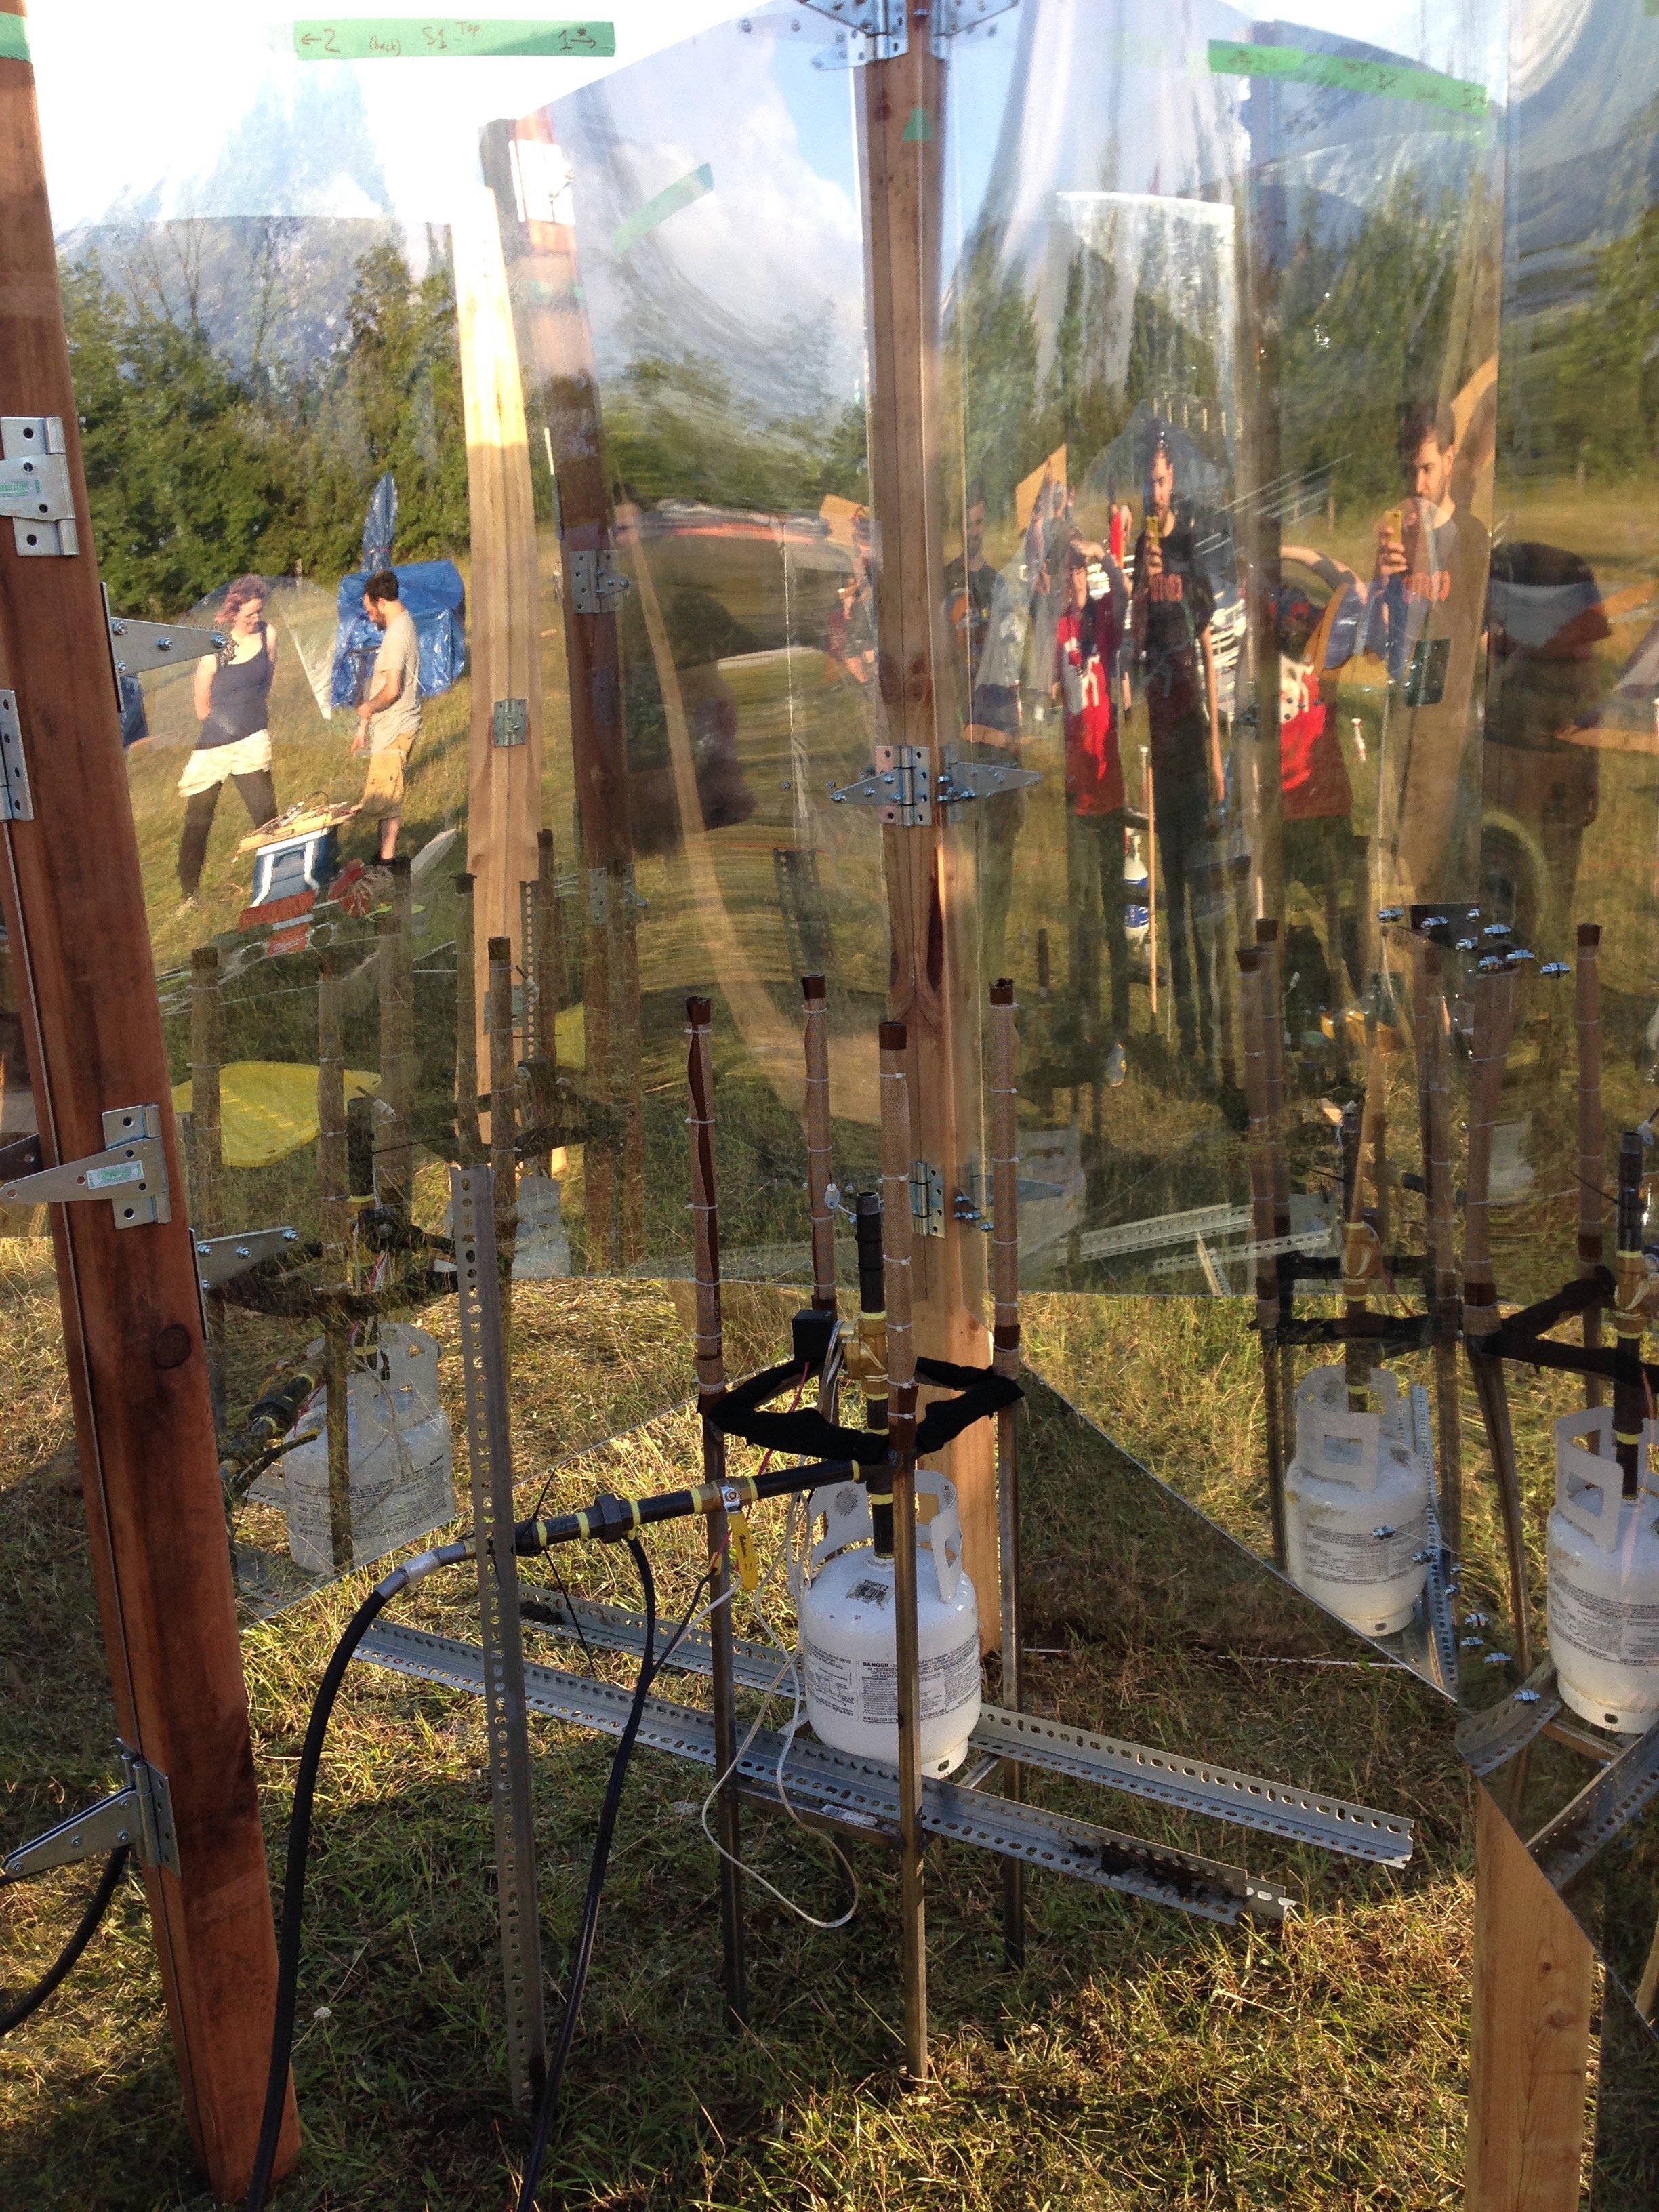
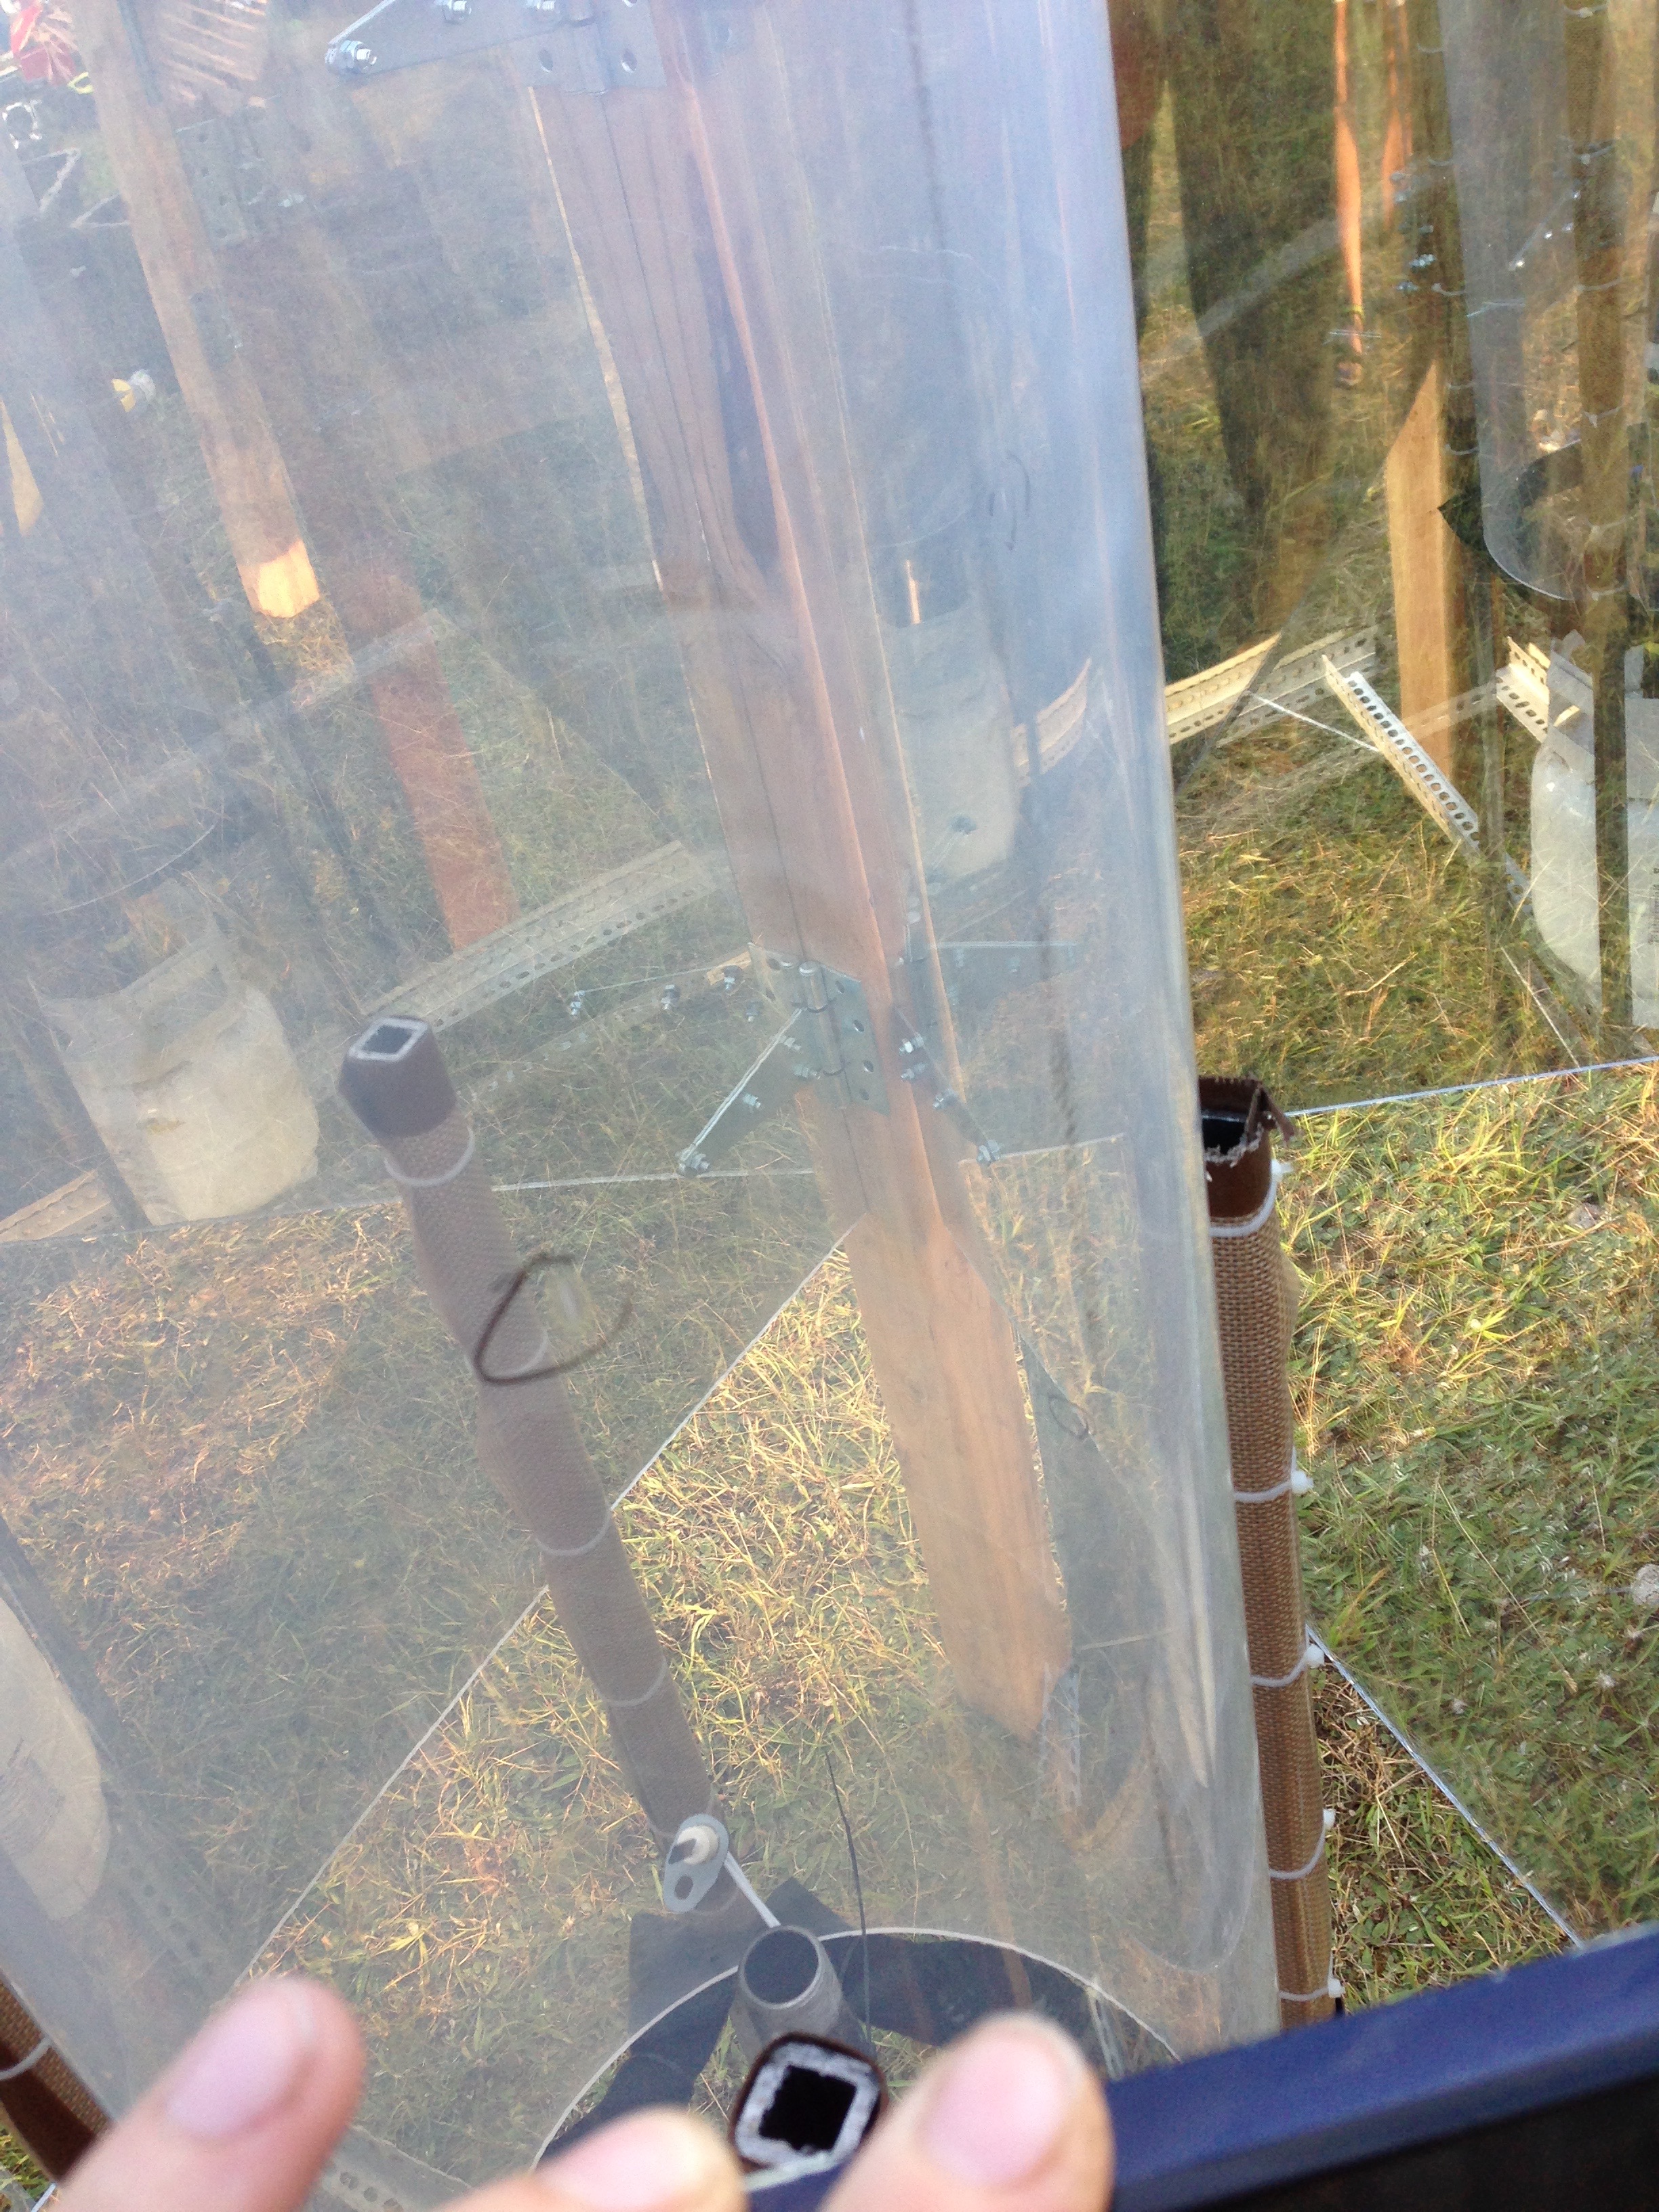
If you wish to make a flaming mirror maze from scratch, you must first invent the universe. You also need all of the components. First, we gathered the quartz tube and welded metal stand:
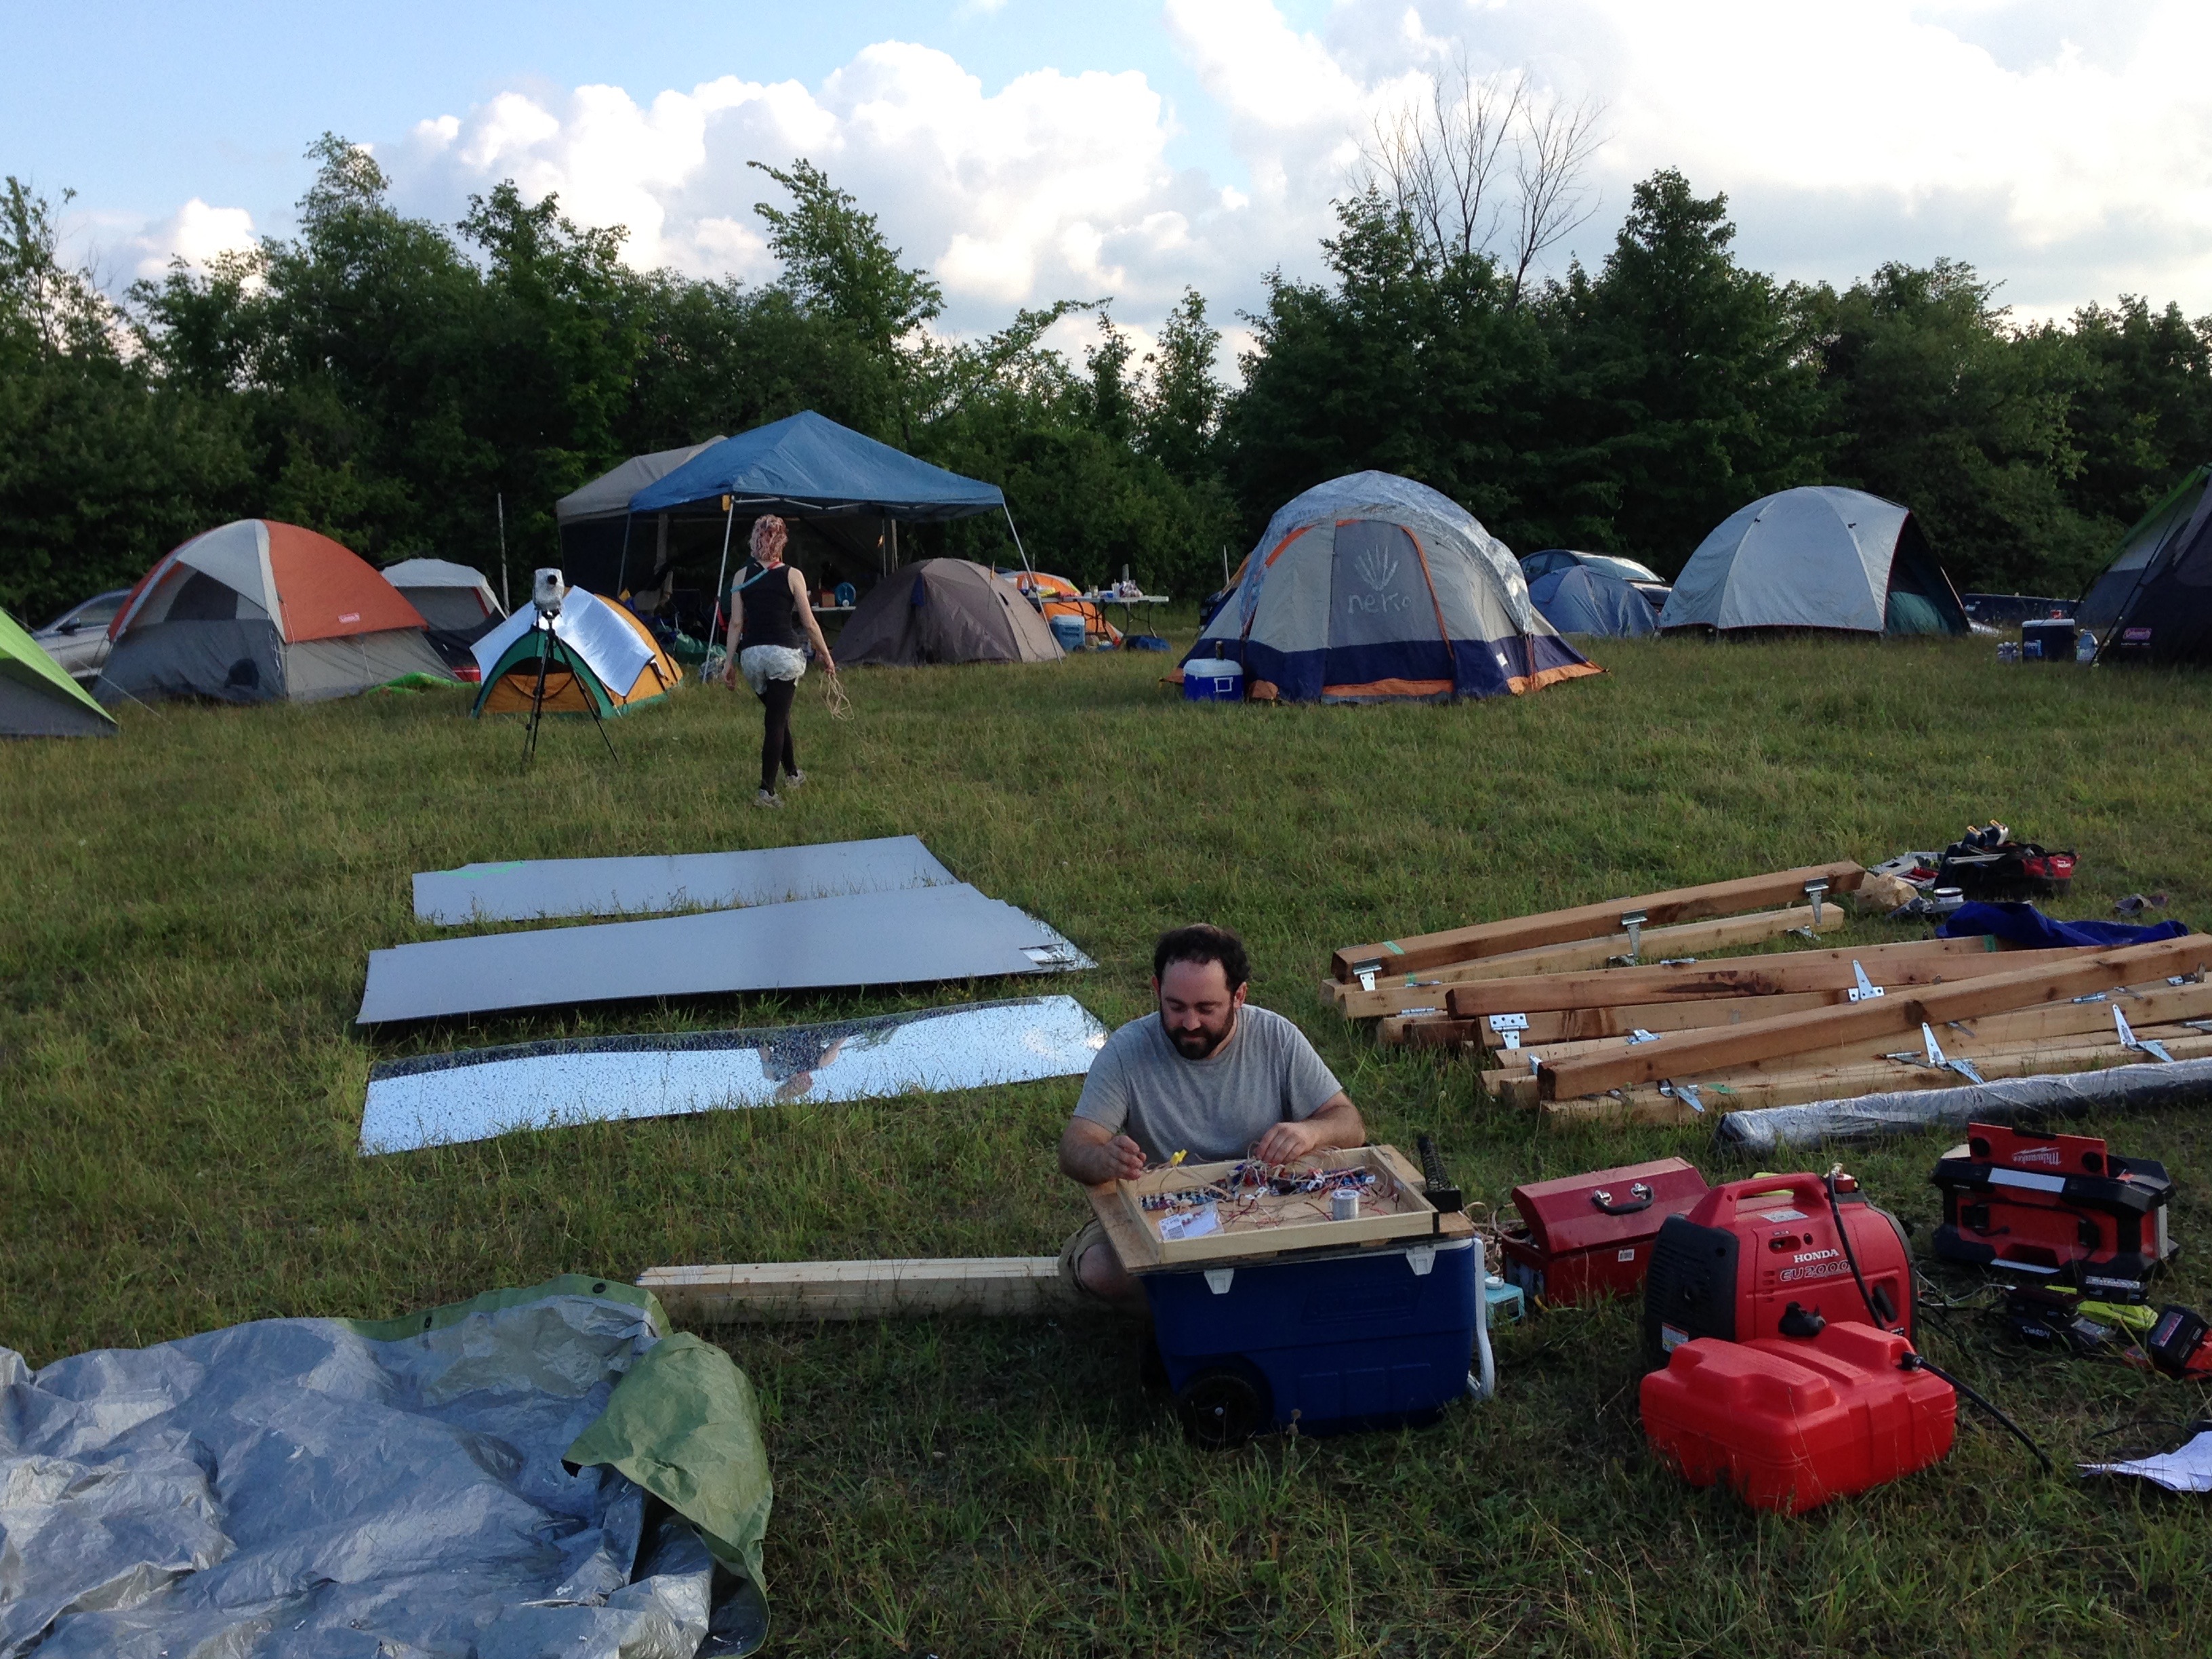
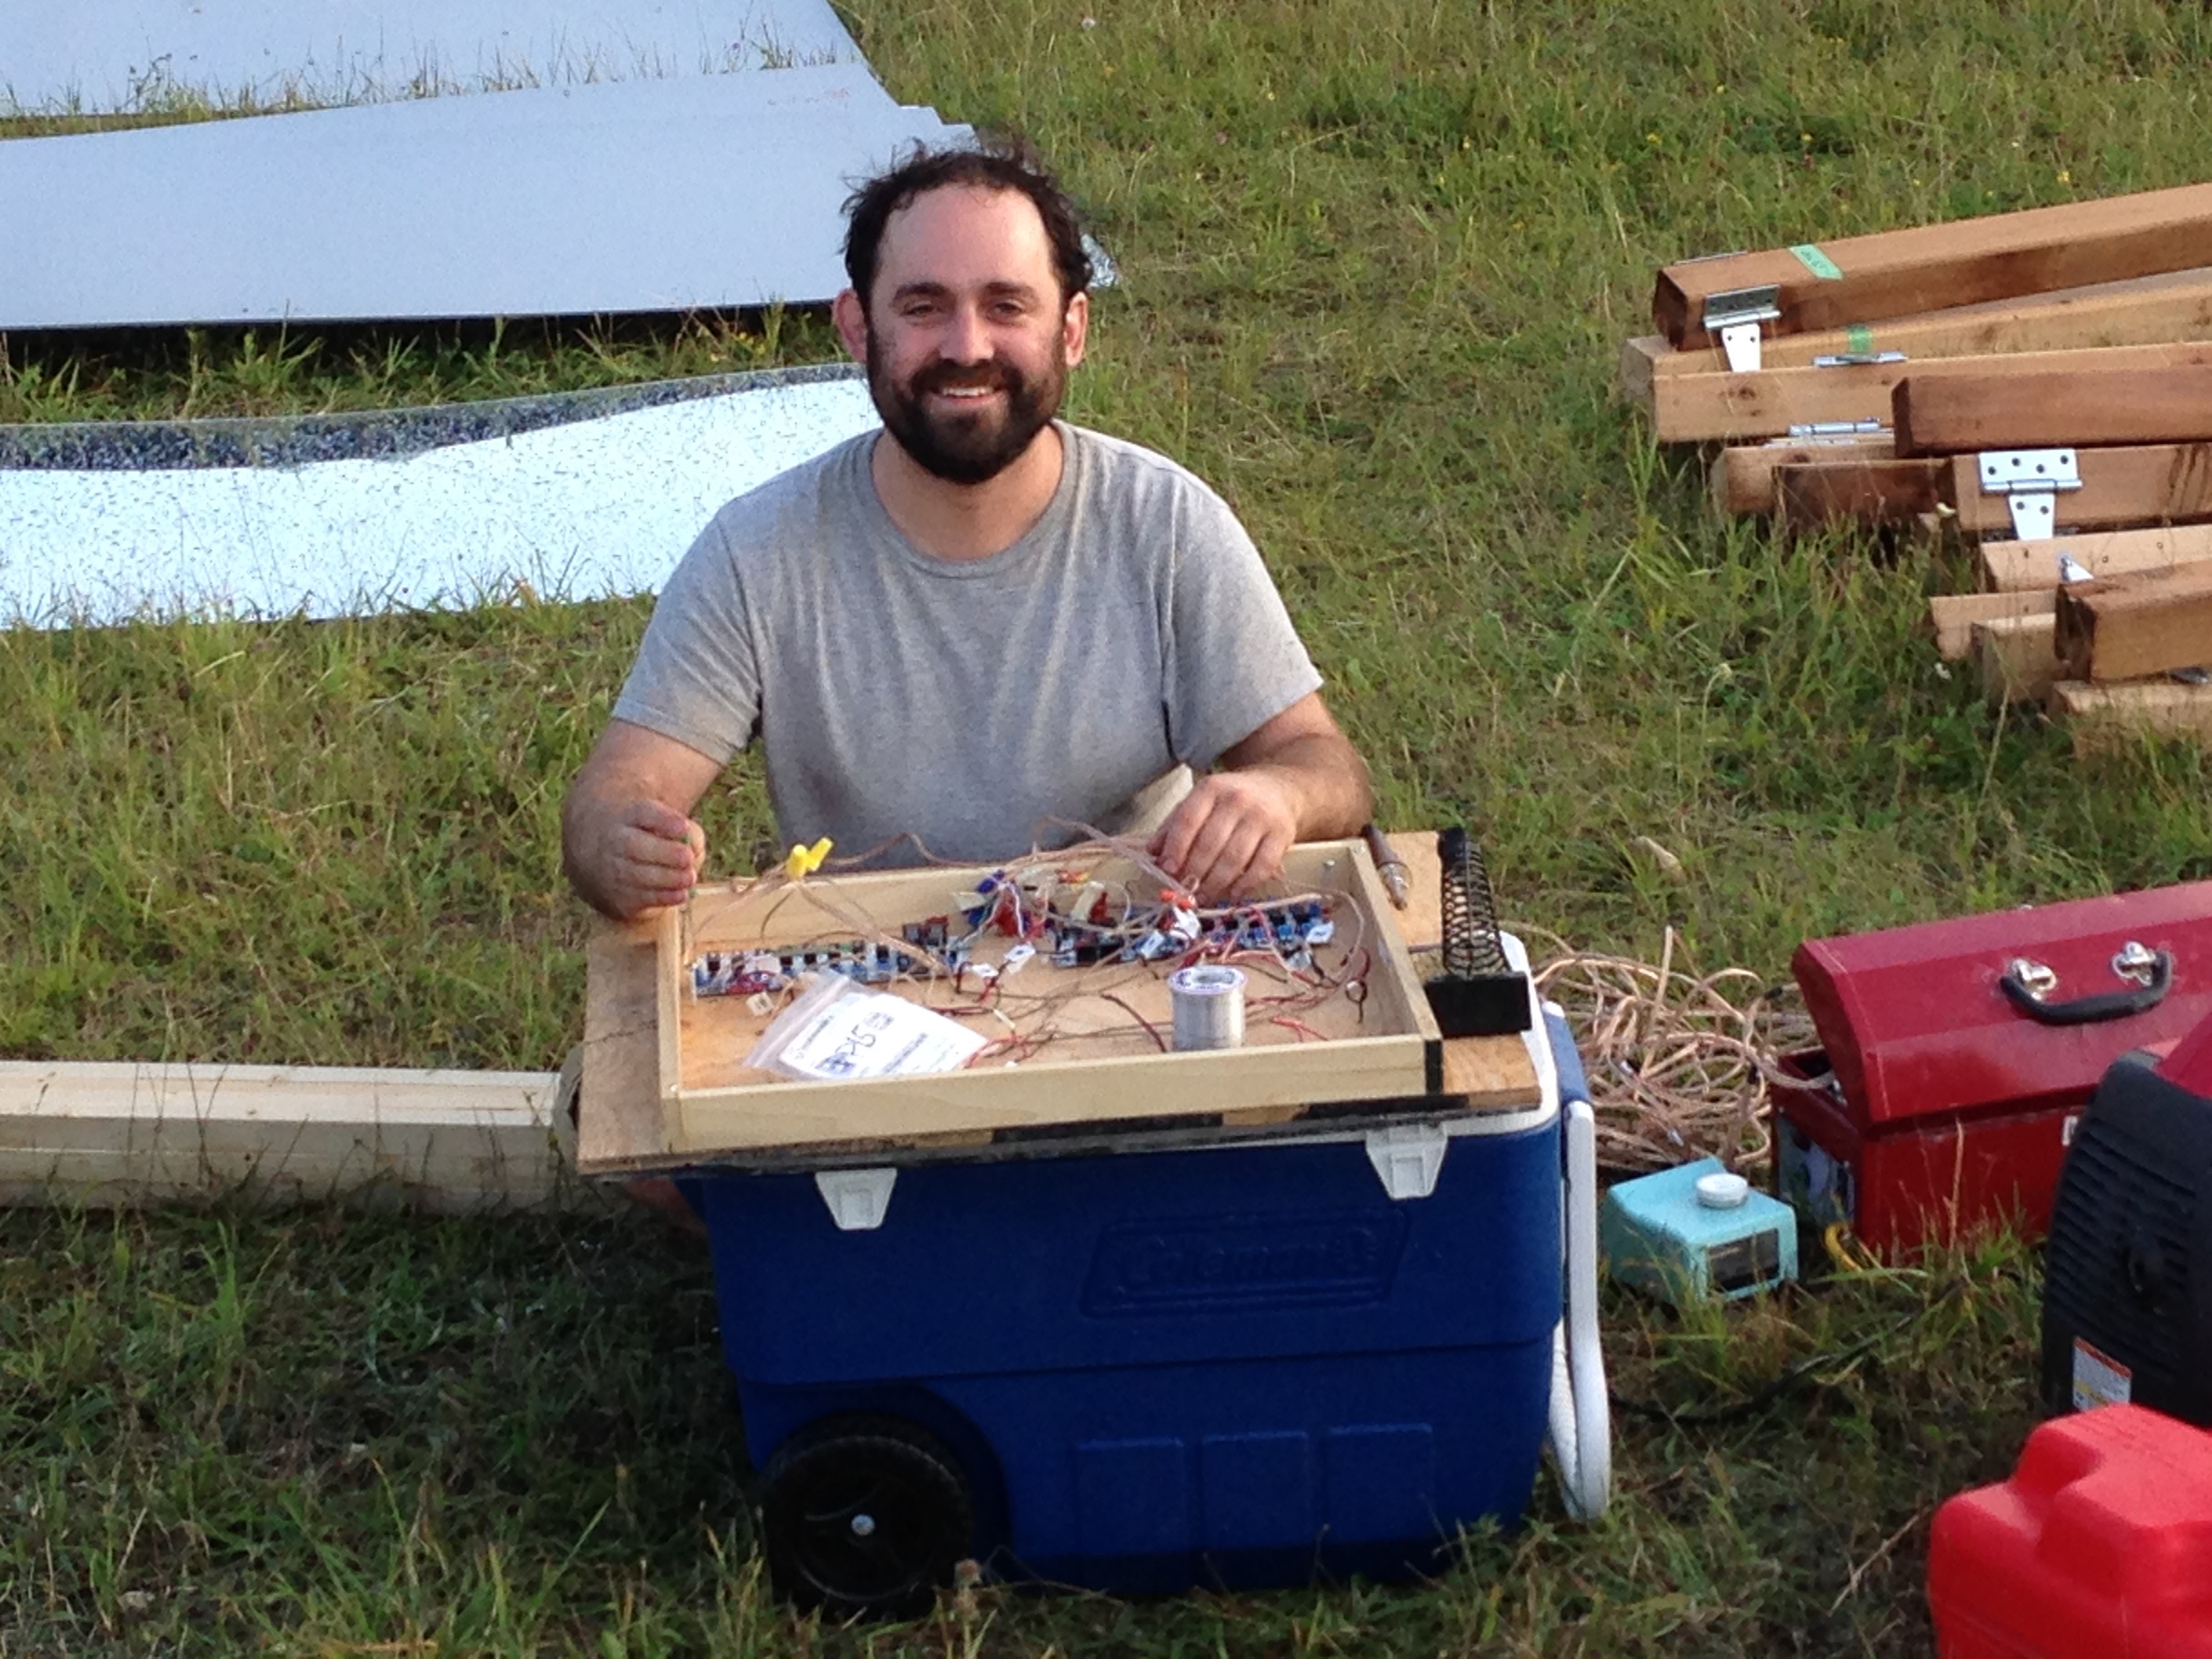
Then we did a few tests of Flamey[1], with Marc offering debugging help from (mostly) upwind:
Flamey test 1:
Flamey test 2:
Even Cynthia got a chance to try the flame effect:

Then was the part I was most afraid of. I had learned welding approximately 1 week before, and my first ever welded item was going to be supporting our dozens of pounds, expensive and difficult to source quartz tube.
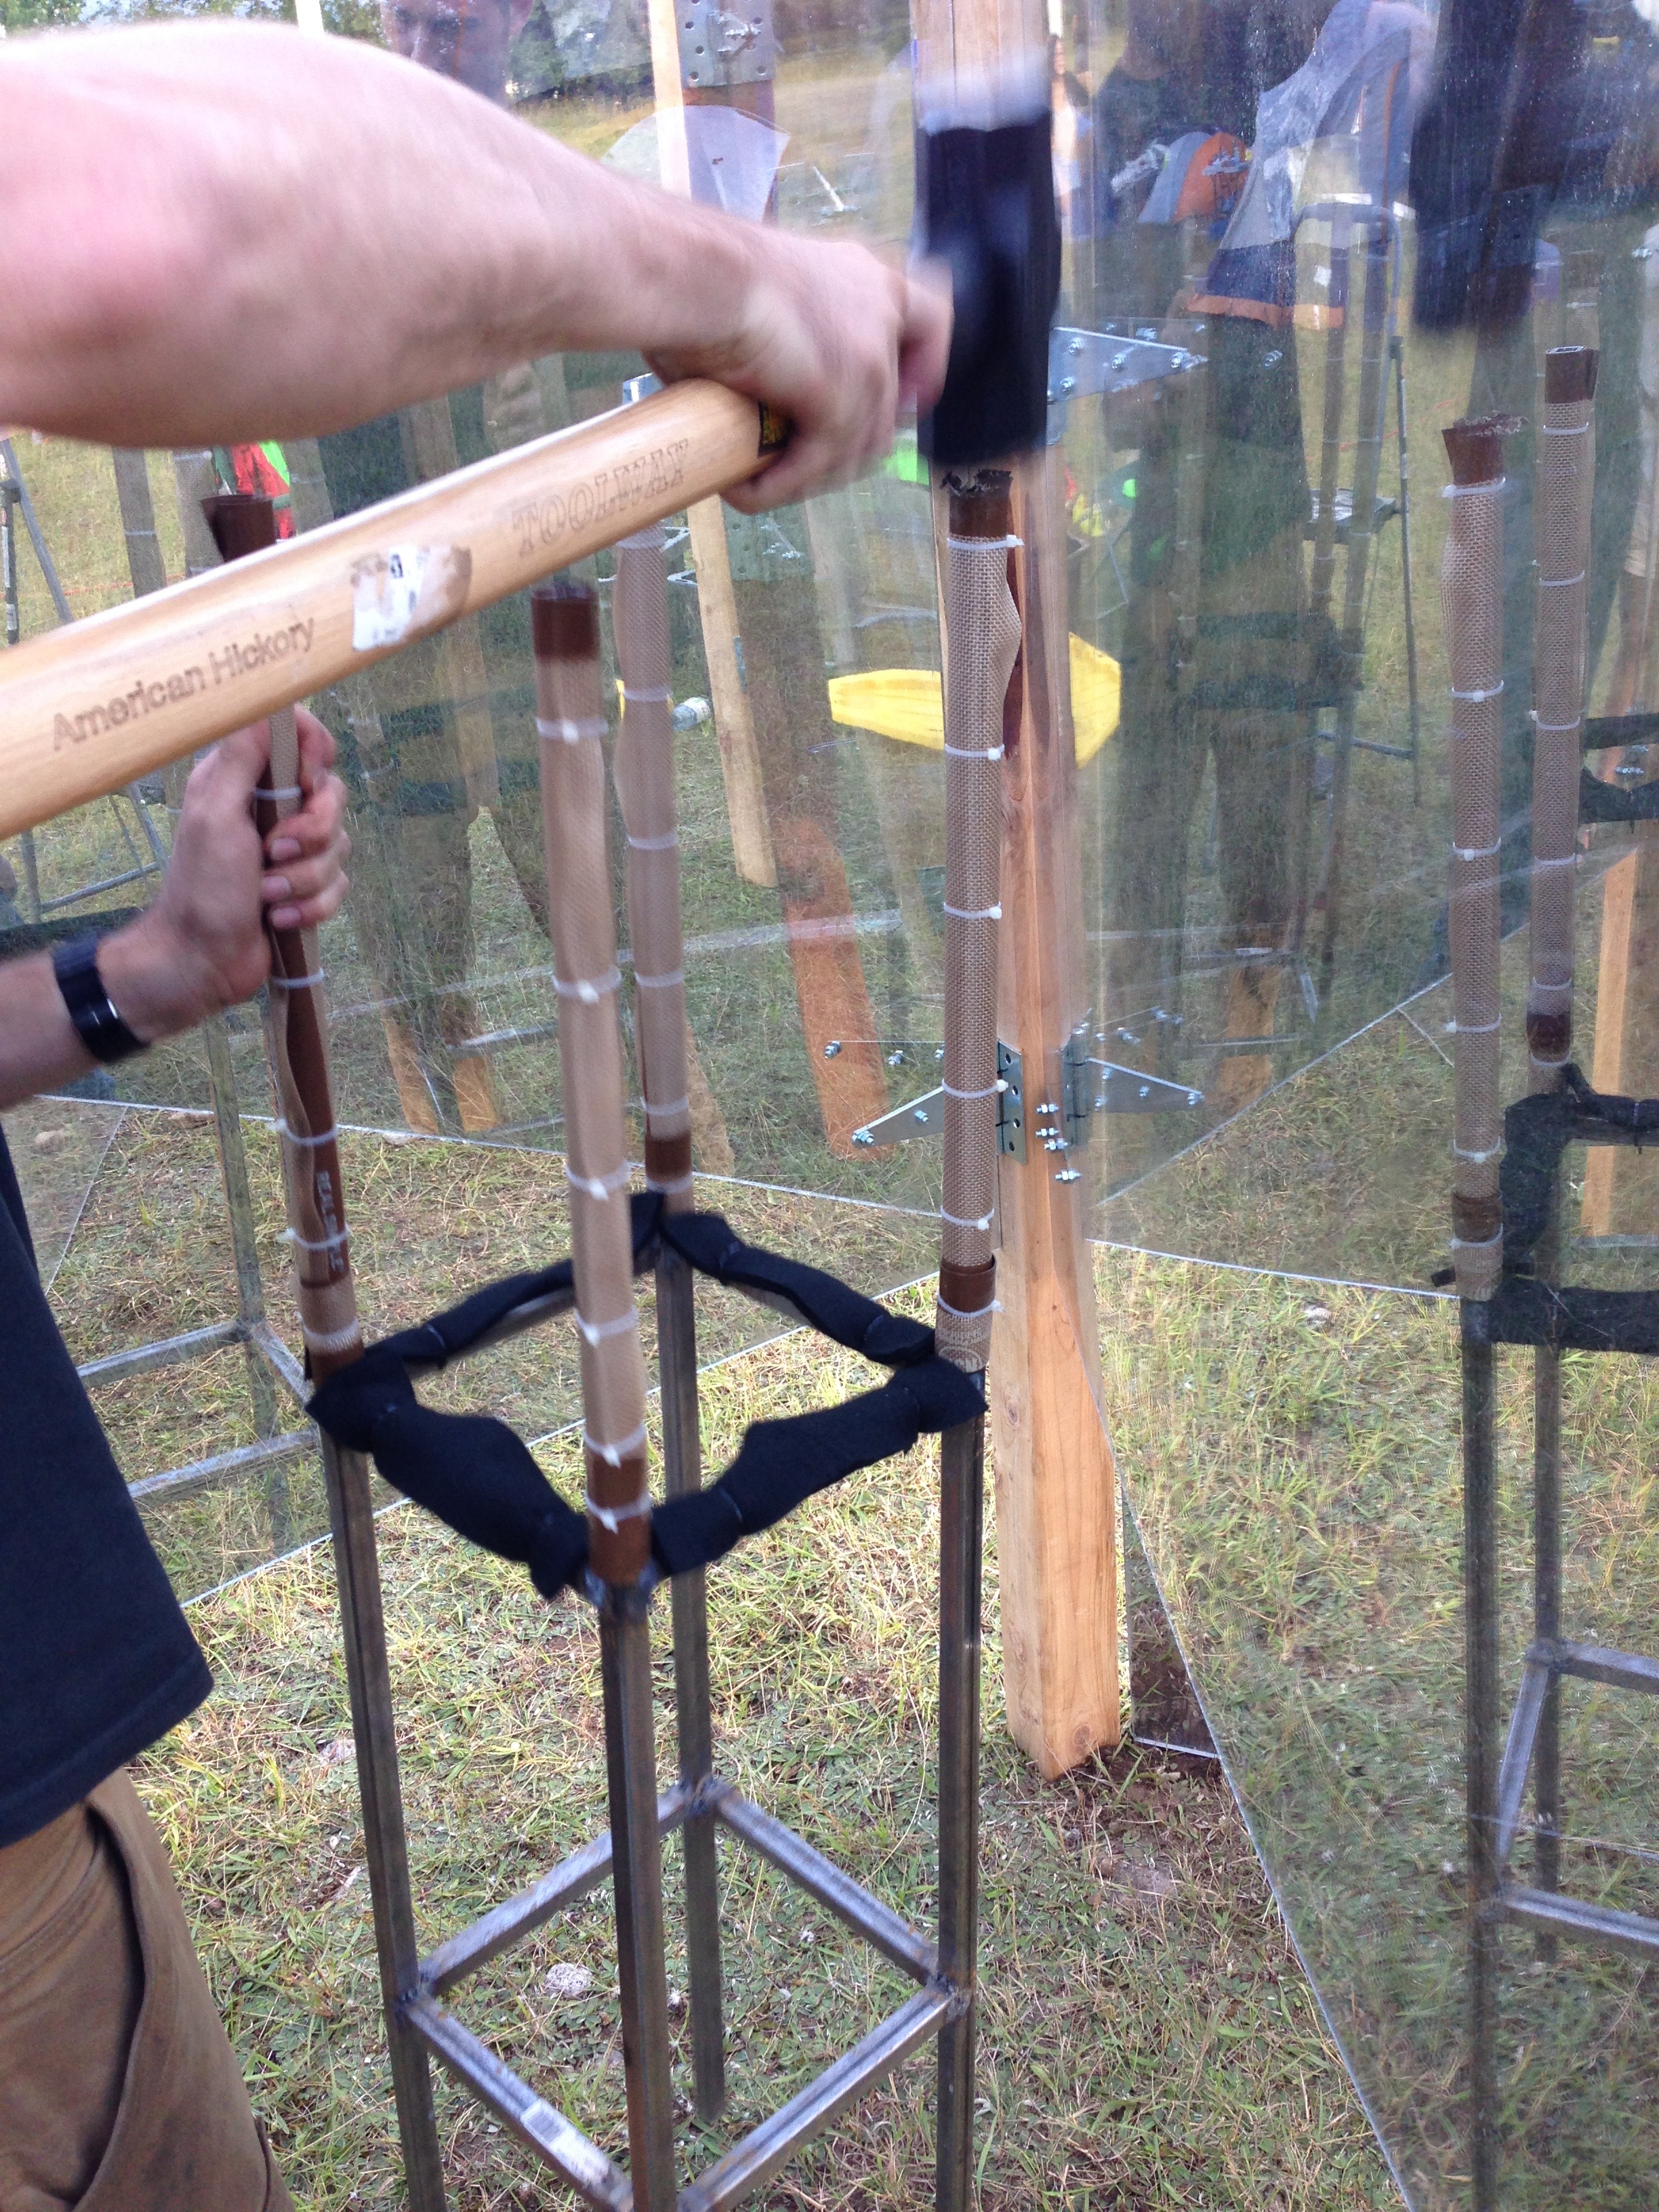
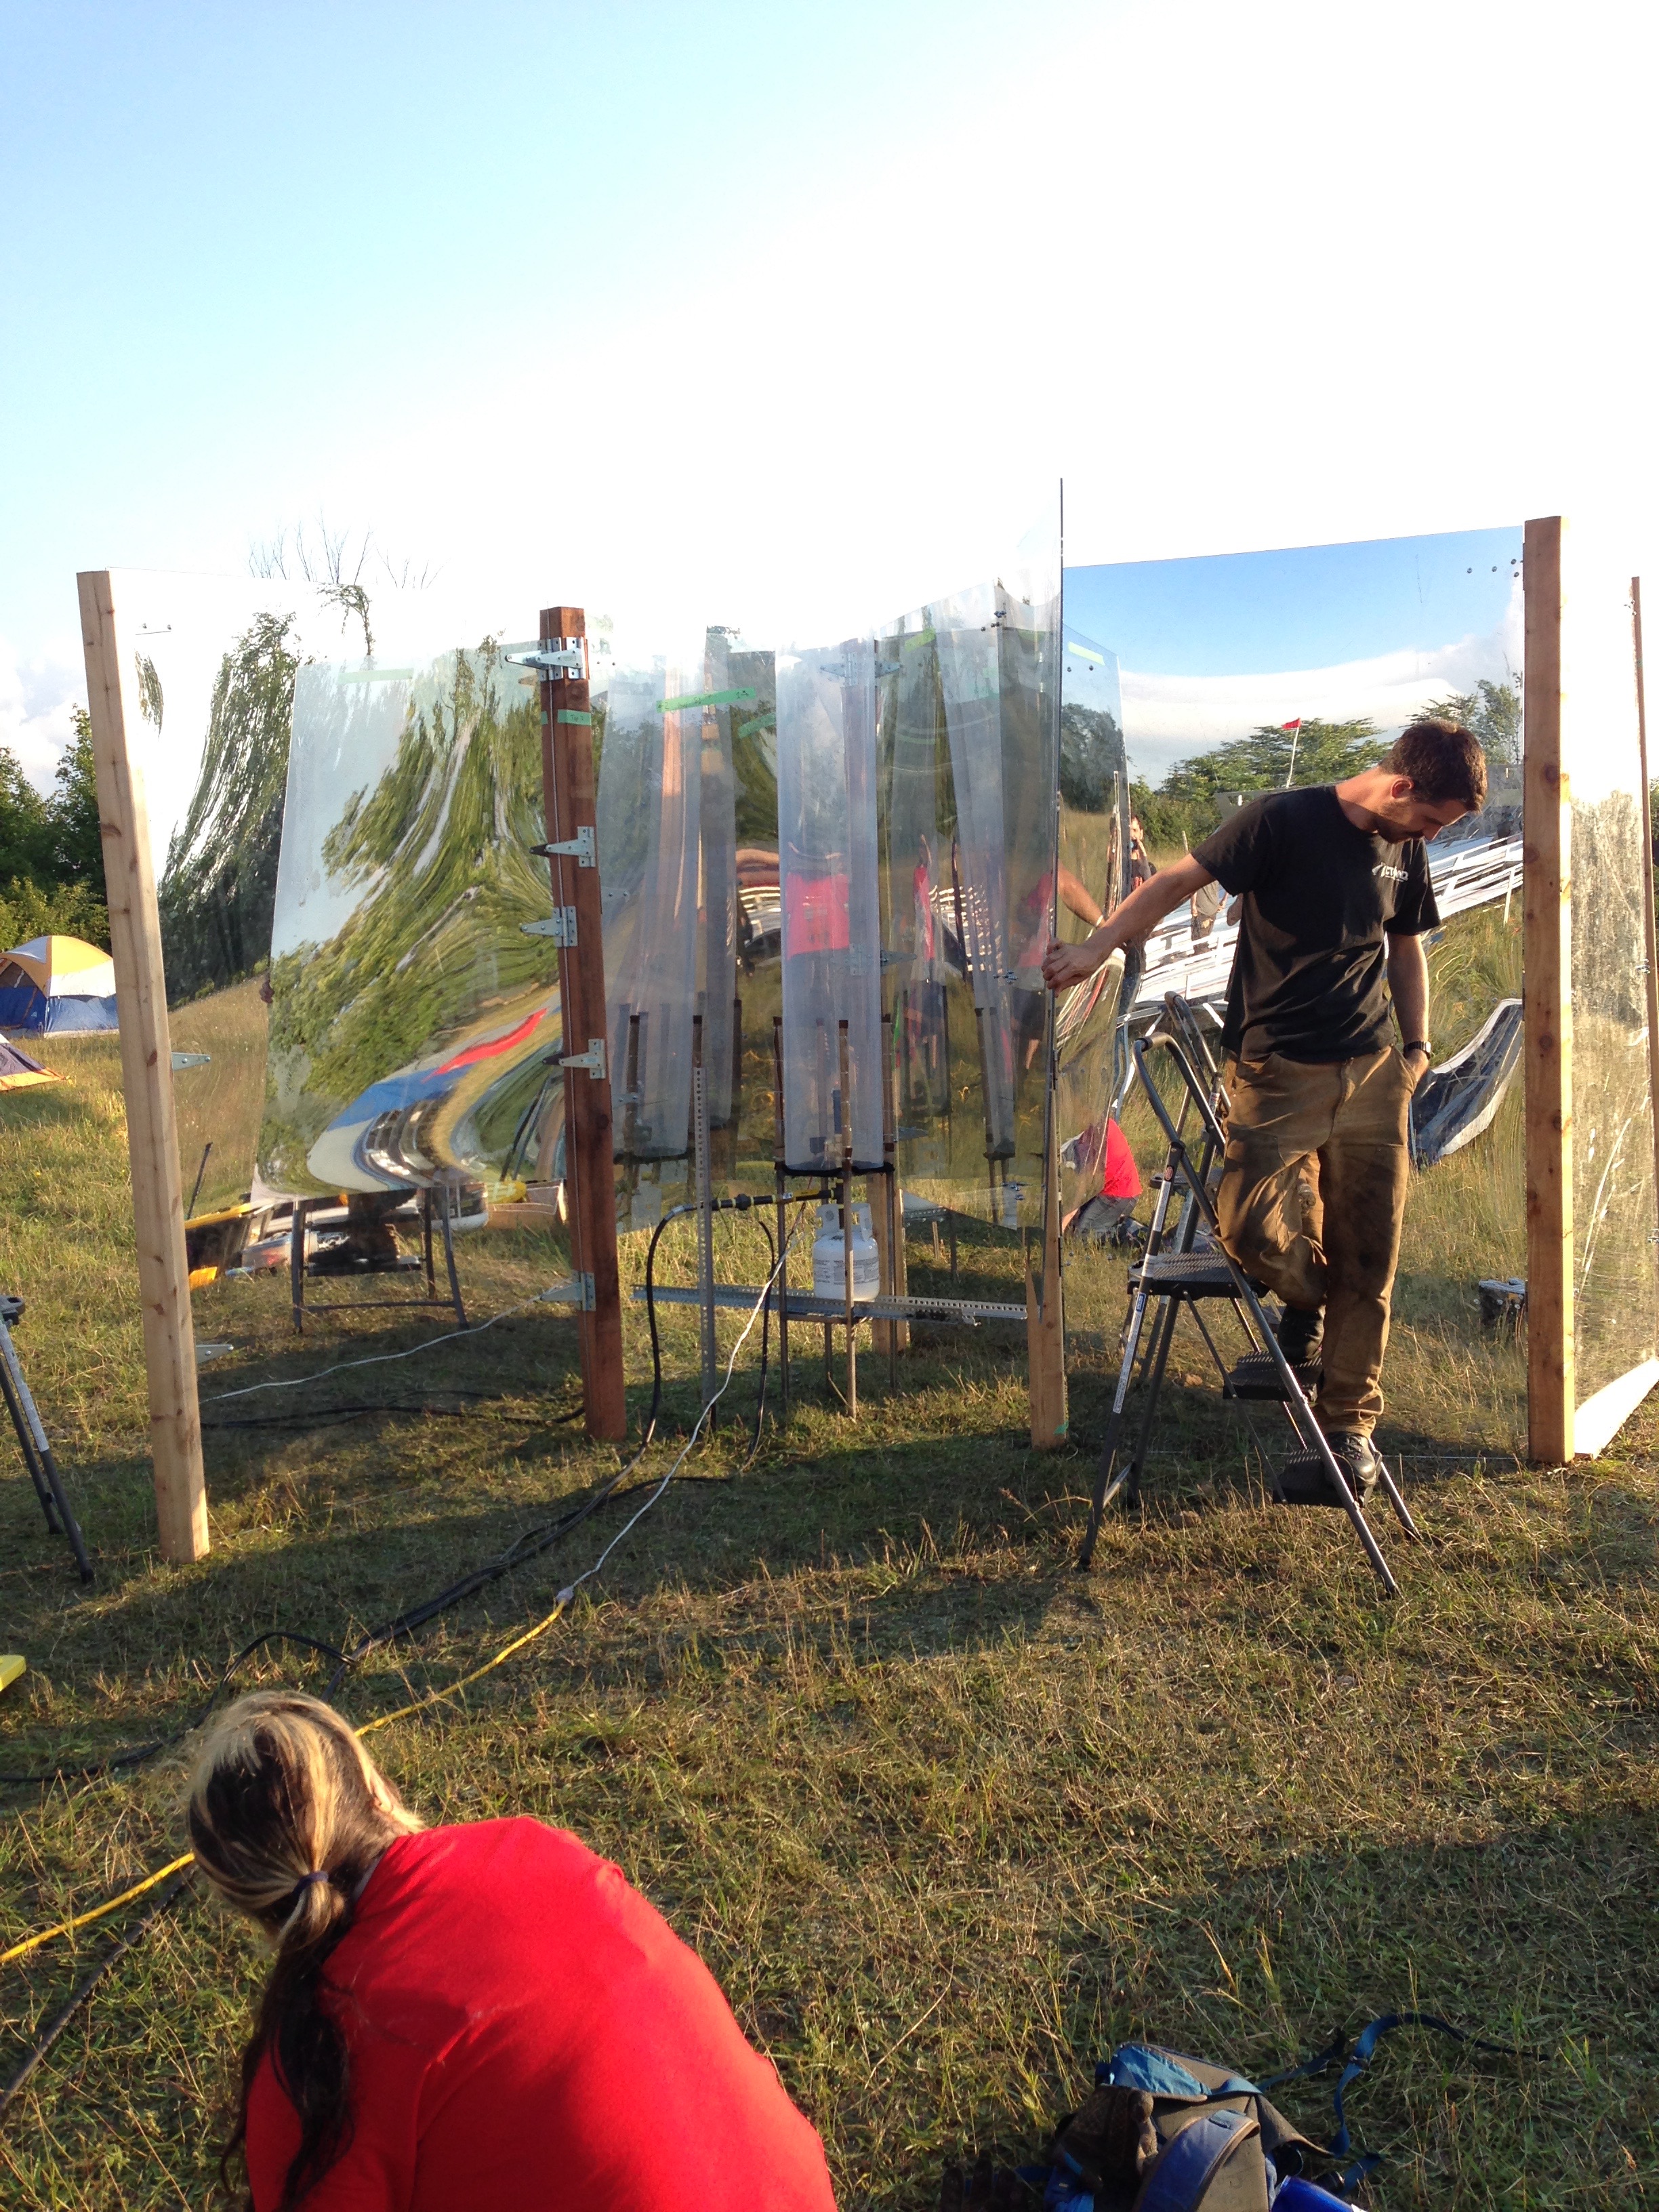
And now we had to attach it to the ground so that nothing would fall over and break the tube. We had the brilliant idea of attaching it with rebar (1/2″ rebar just fit inside the square steel tubing), which meant hammering rebar into the ground (fine), but then aligning the stand with the rebar, and hammering it down onto the rebar. I couldn’t do it myself, and luckily, Patrick was up to the task of making sure my amateur welds didn’t crack under the strain:
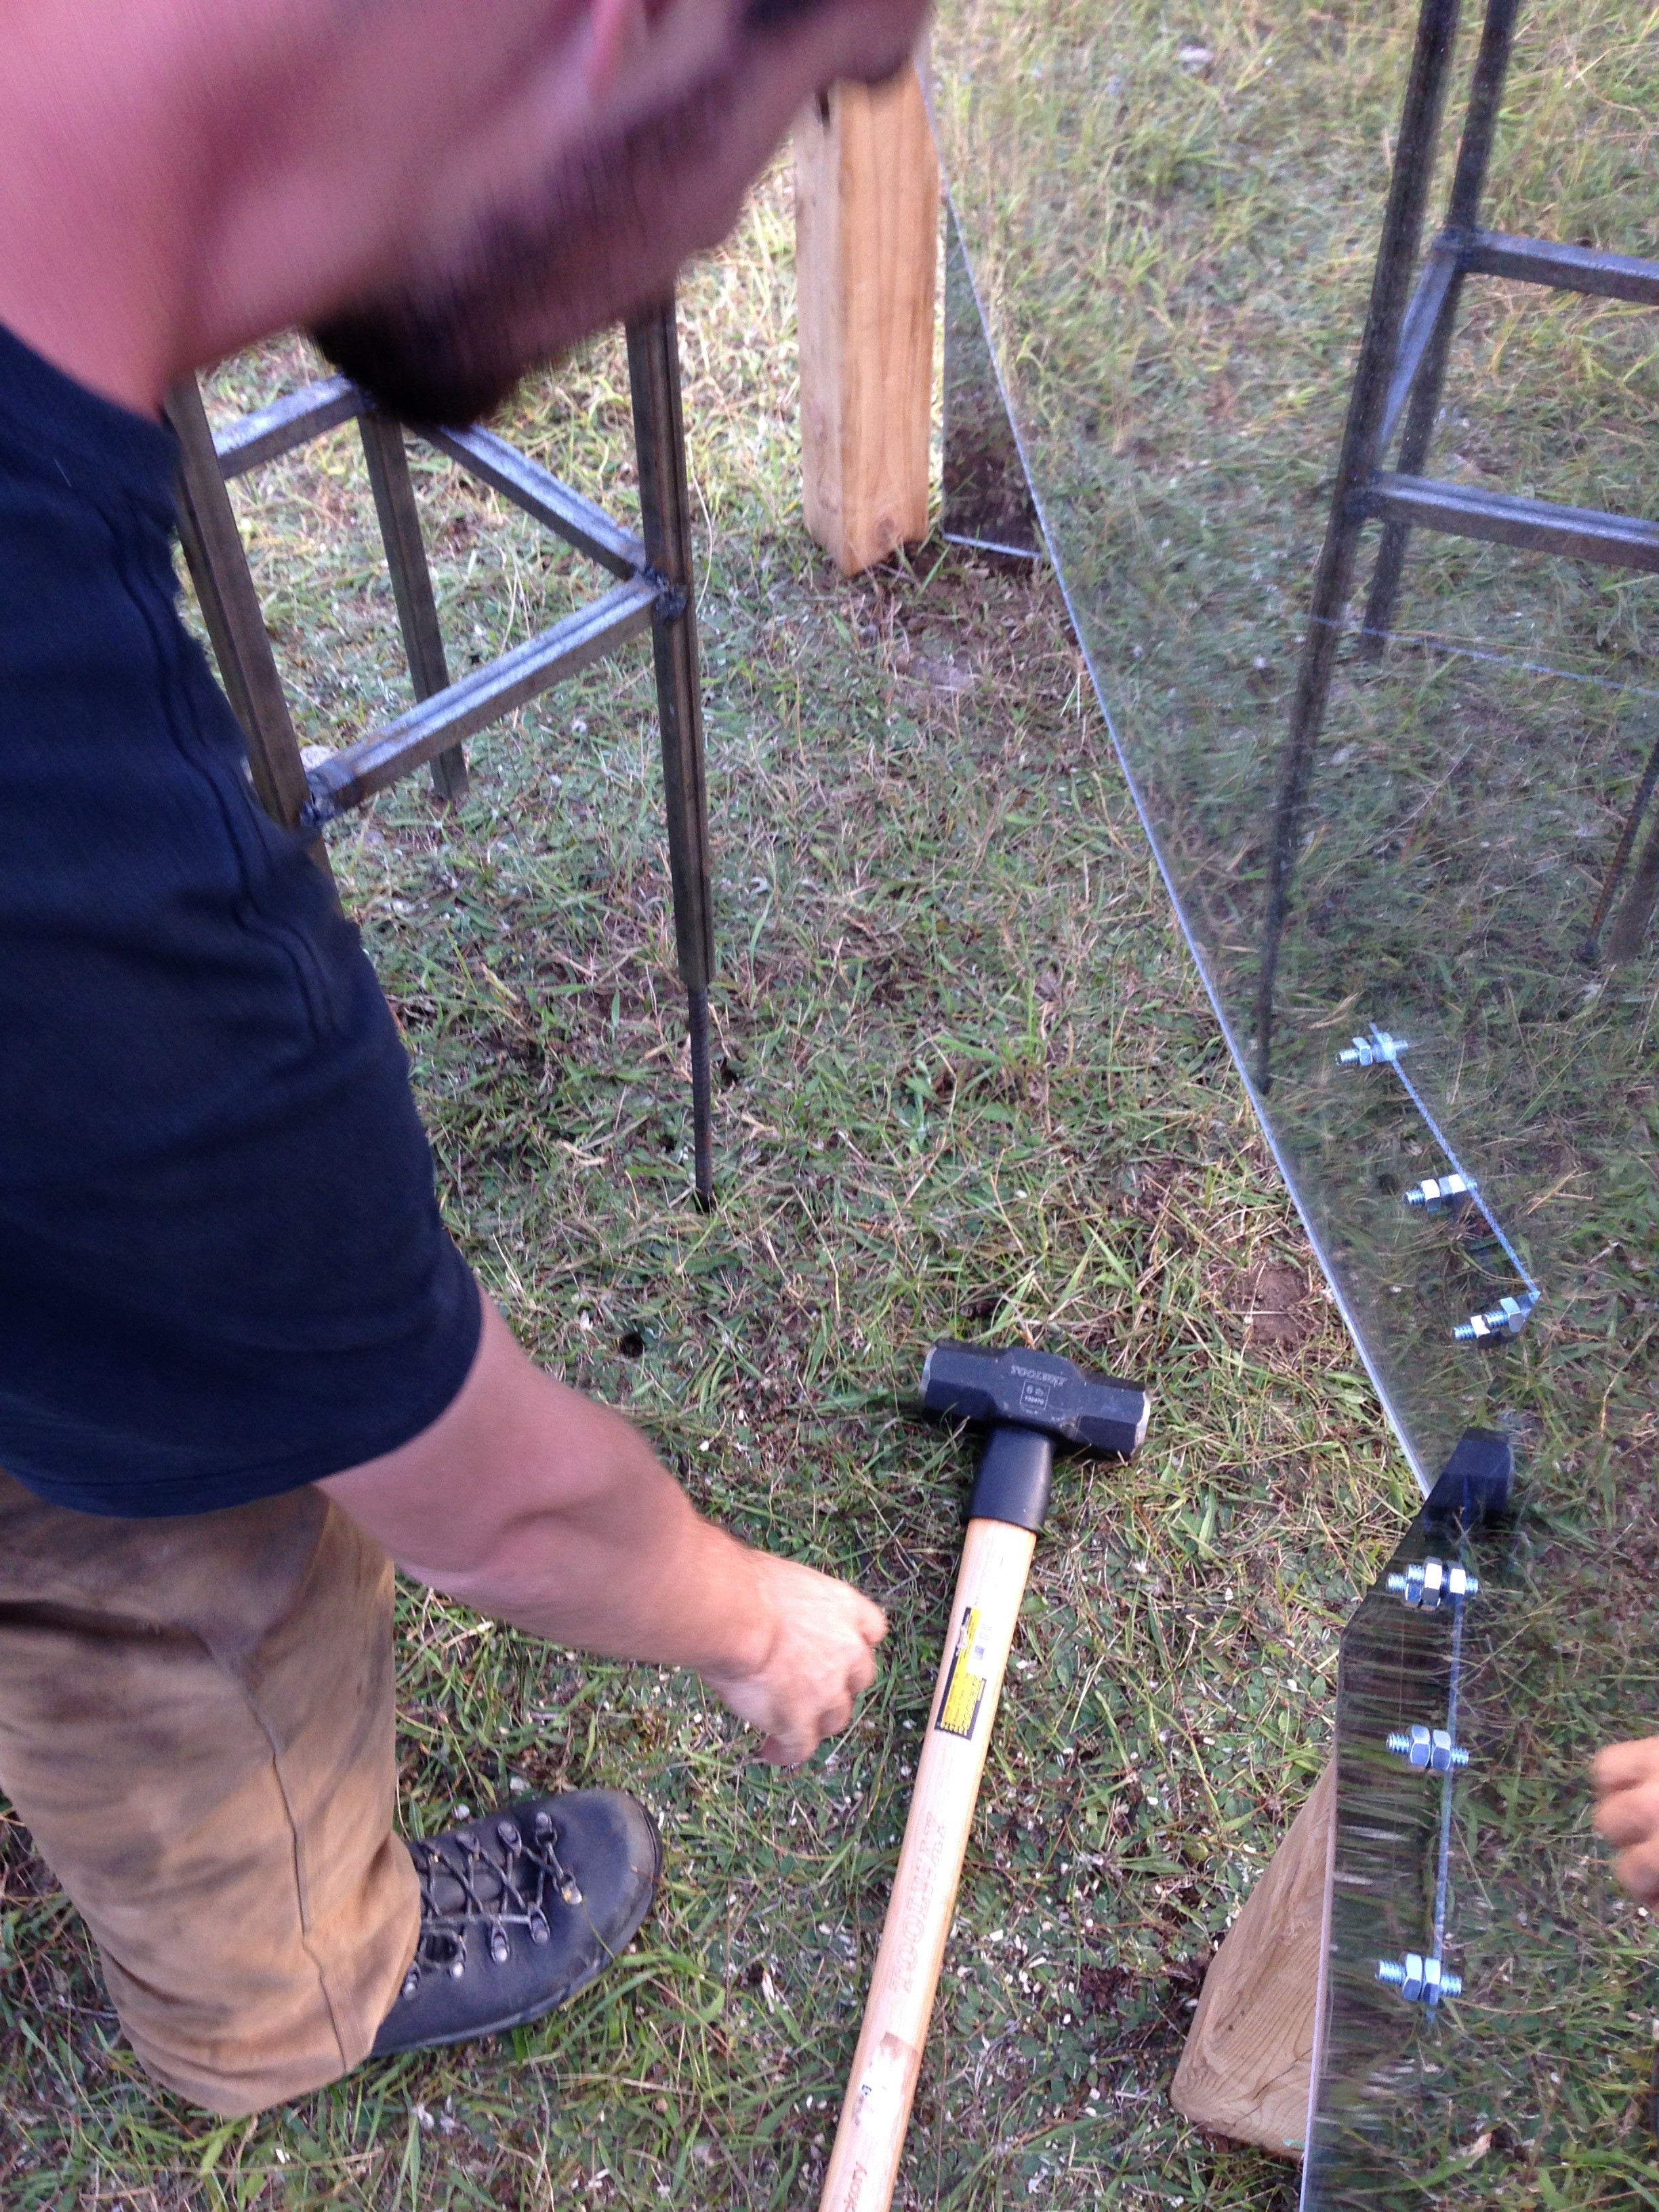
Note the flame-resistant fabric and silicone placemats used to protect the tube from the possibly sharp metal frame:
Then we added the flame effect:
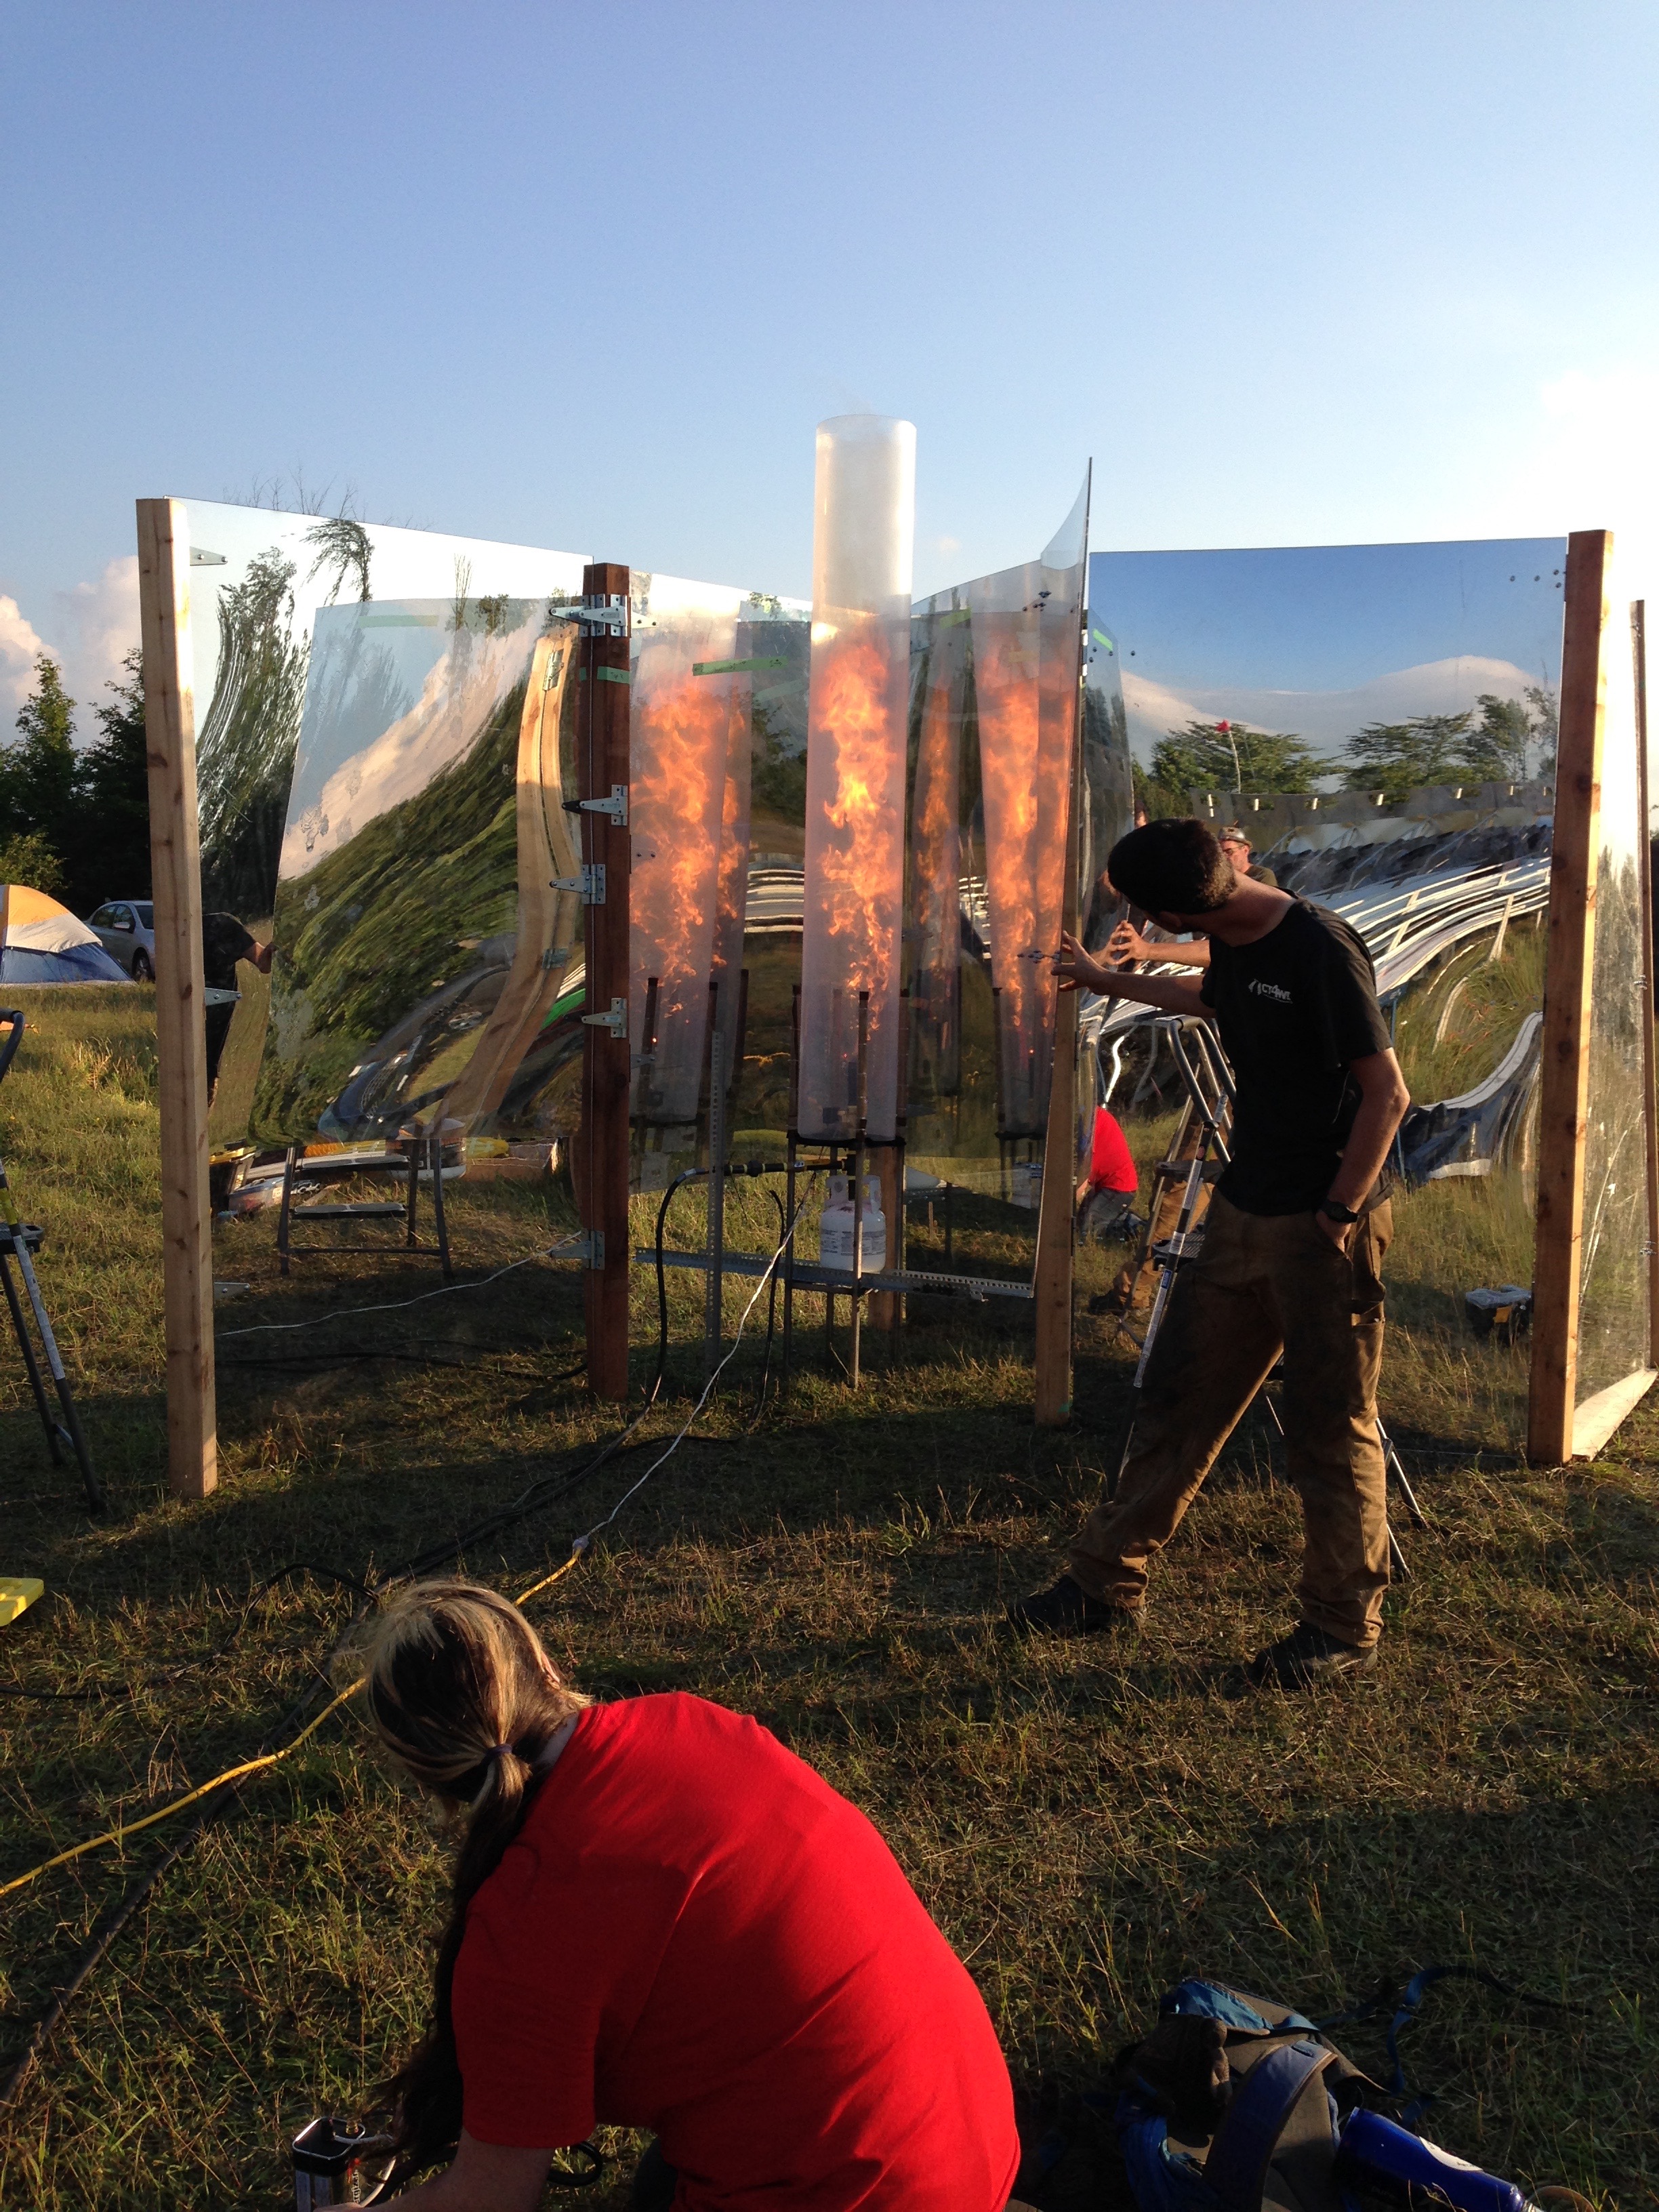
Put the tube up, and we were ready to go! (Note that the front mirror is still open here, for easy testing (and we’re not totally sure the flame won’t melt it.)):
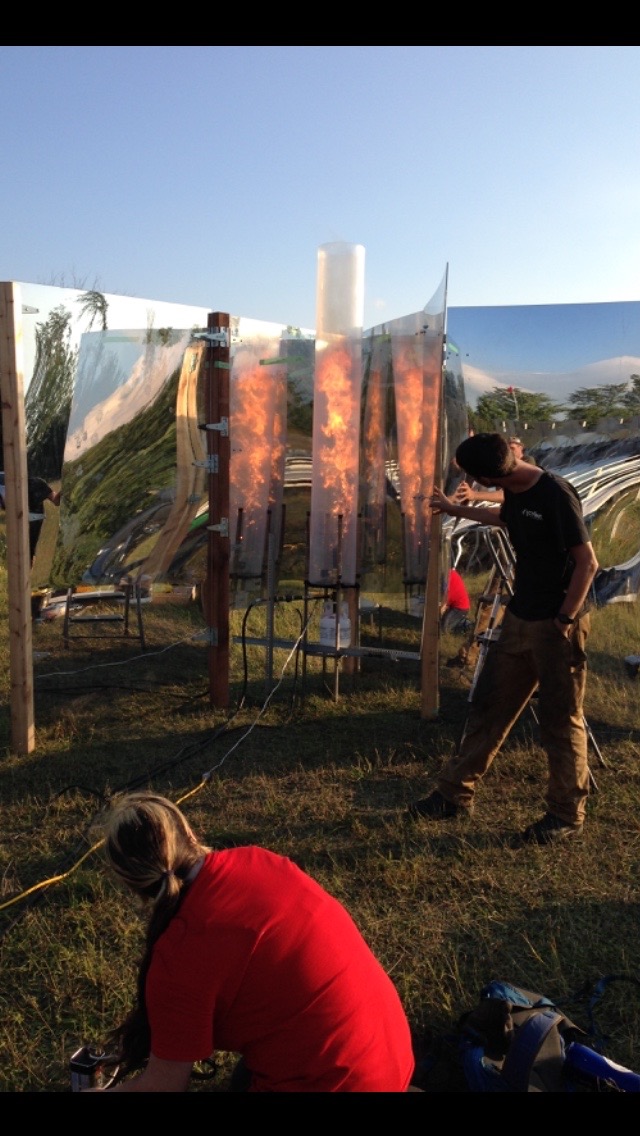
Mirror Blaze Flame Test #1:
Mirror Blaze Flame Test #2:
Leaving us with our favourite iconic picture:
Next time, we get to see what Mirror Blaze looks like at night! Stay tuned!
[1]Our friendly flame effect. We are very creative.
One thought on “Building the Mirror Blaze in Pictures XIV: Integration Weekend Part IV:”