Last time, we paid tribute to some of the many people who came out and helped us build. Today, we’ll talk about our adventures in finding/making/etc. an appropriate stand for the 7’x1′ quartz tube. Your assignment is that you need to find or make or have made a stand that can hold 100+ pounds, is fireproof, and yet is gentle enough on the quartz so as not to cause abrasions or cracks.
This is the tube in question. From the original email, the Outer Diameter was 300mm, with 5.5mm wall thickness x 2134 mm length:

IIRC, when we had talked about the issue of making a stand for the tube at one of the S3FA meetings, Carrie had quickly sketched out a diagram which very closely matched what I ended up building. But, since I had never welded before, it took me a while to come around to the idea. We had a couple of weeks left to make this happen (before the integration weekend), so I first tried to go to a custom welding shop to pay them to do it.
Viking Engineering and Costa Railings were both recommended to me, and they both seemed very competent, but they were far too full of work to give me a hand with so little lead time.
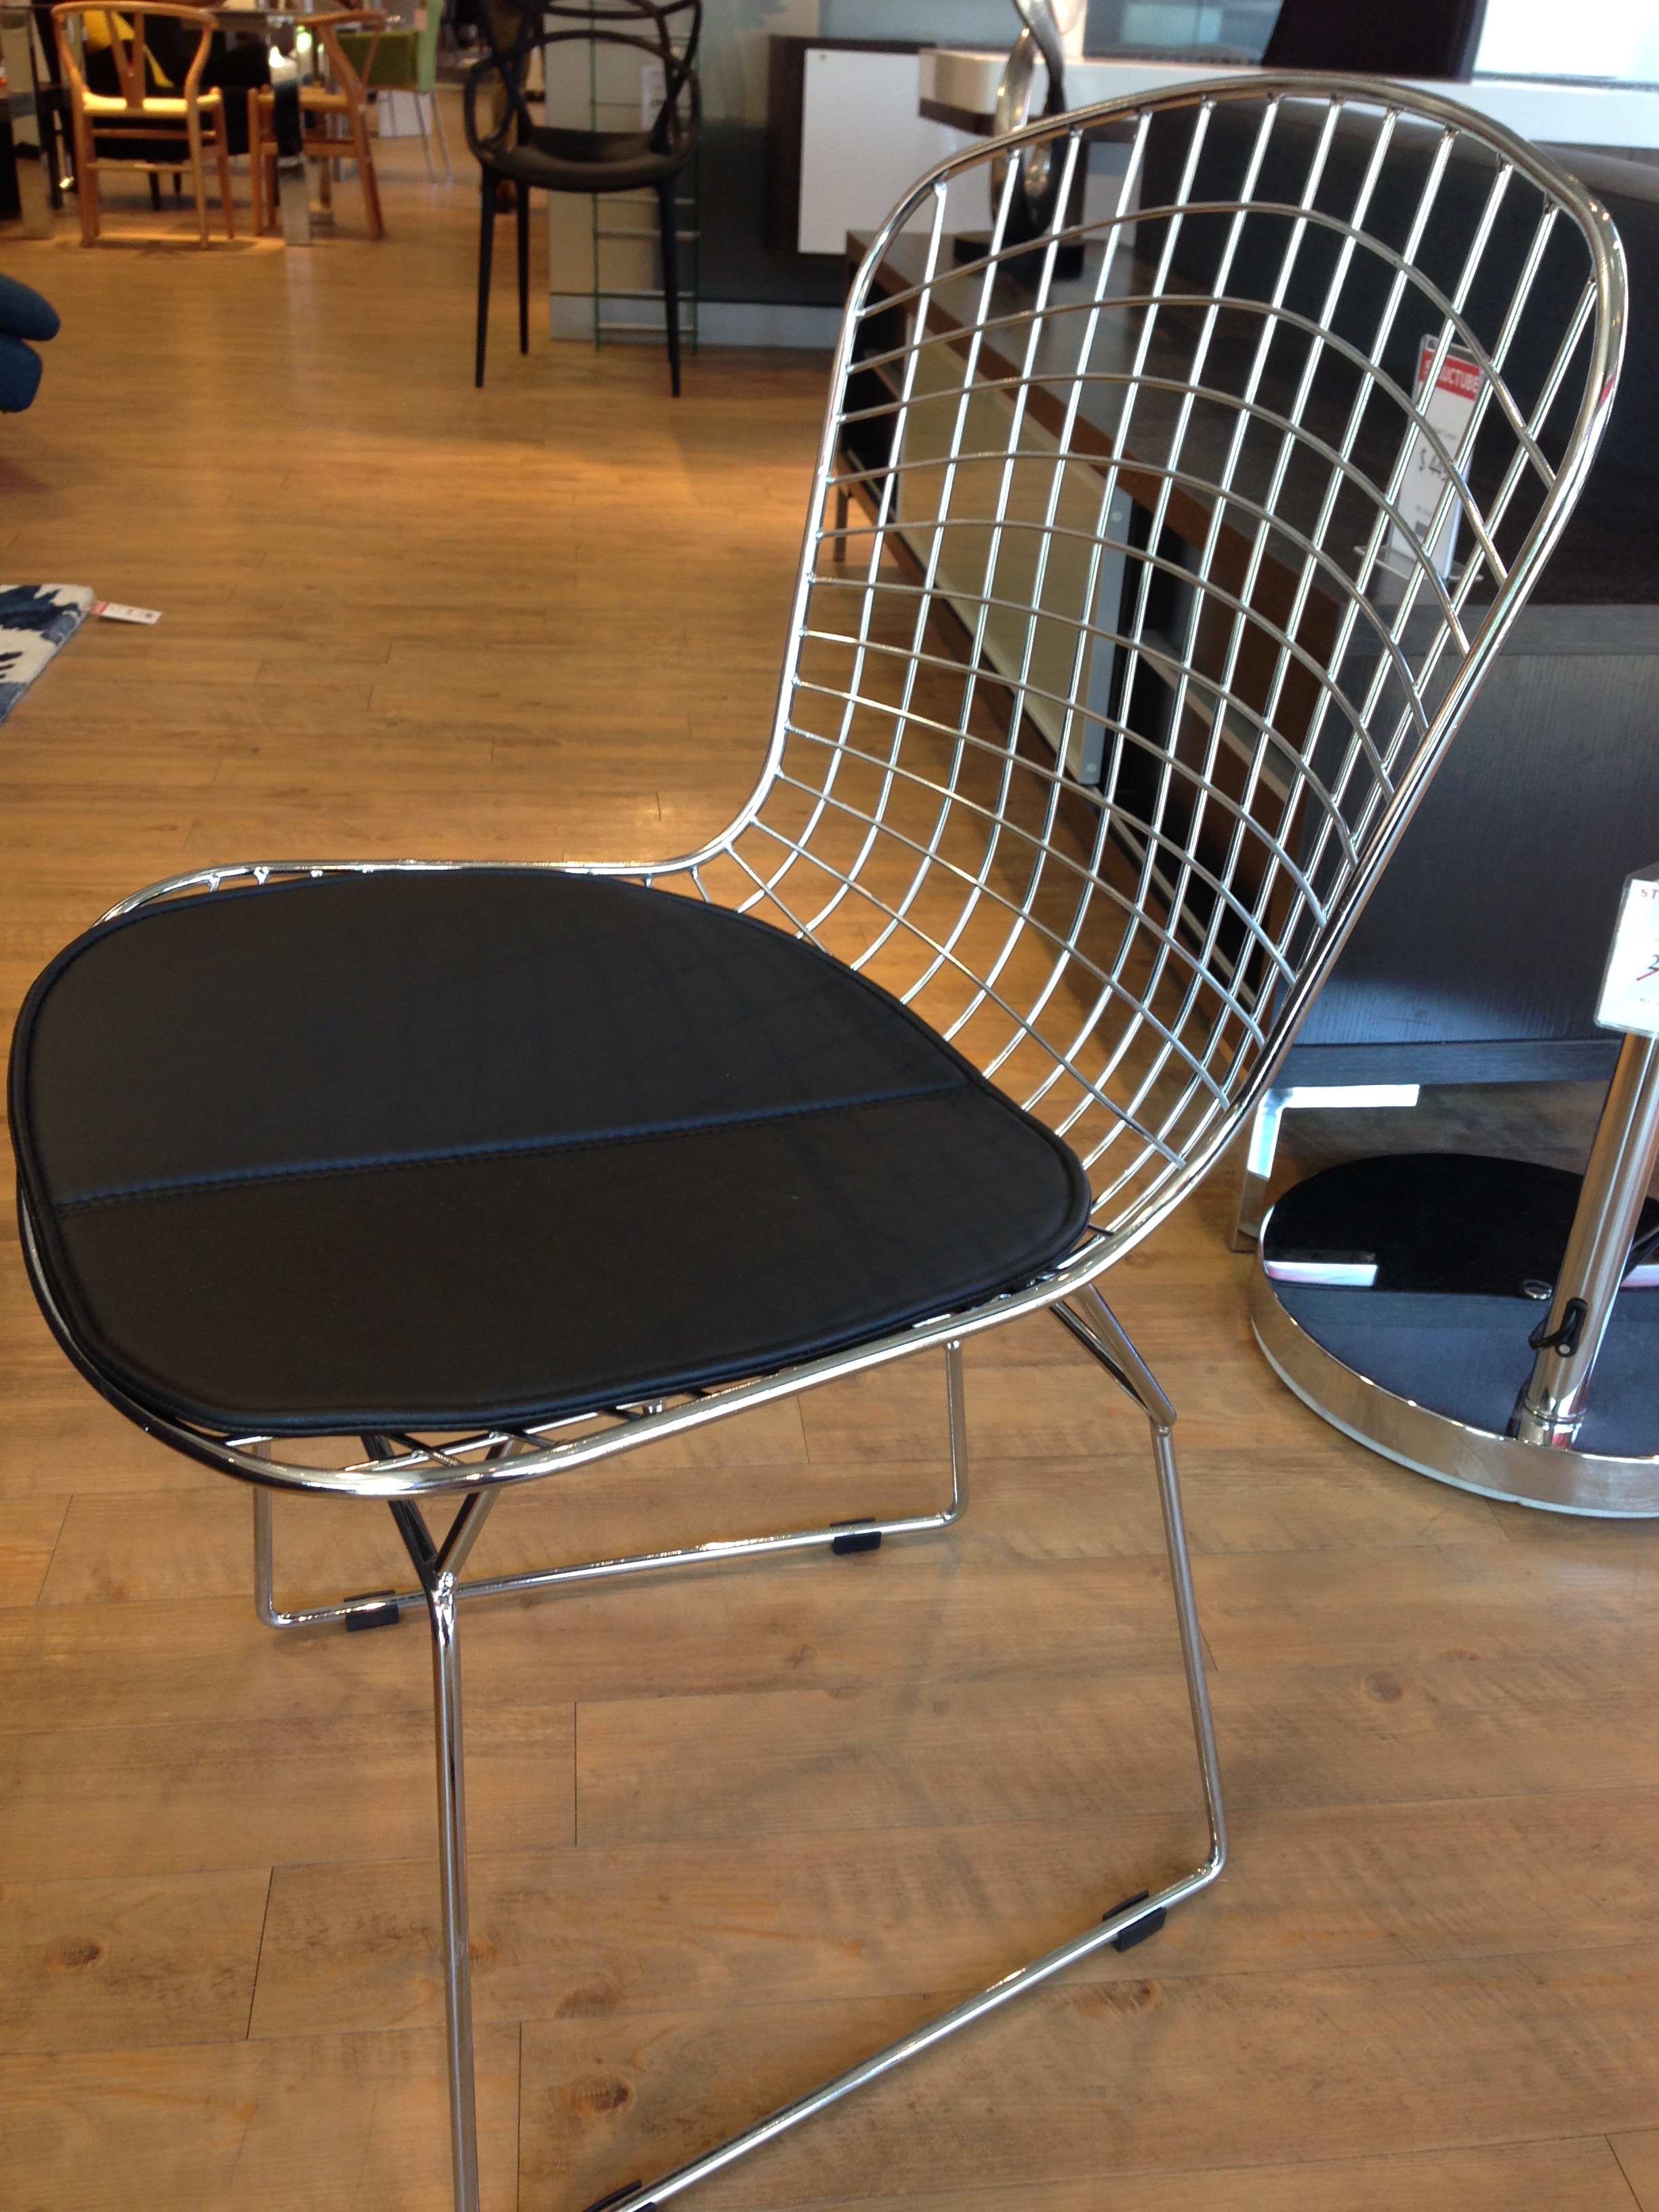
I then stopped at a Structube on the way home, on the off chance that there might be something there that could be repurposed into a tube stand. I kept coming back to this chair, which seemed to be a reasonable height off the ground (we needed about a foot for the flame effect under the tube):
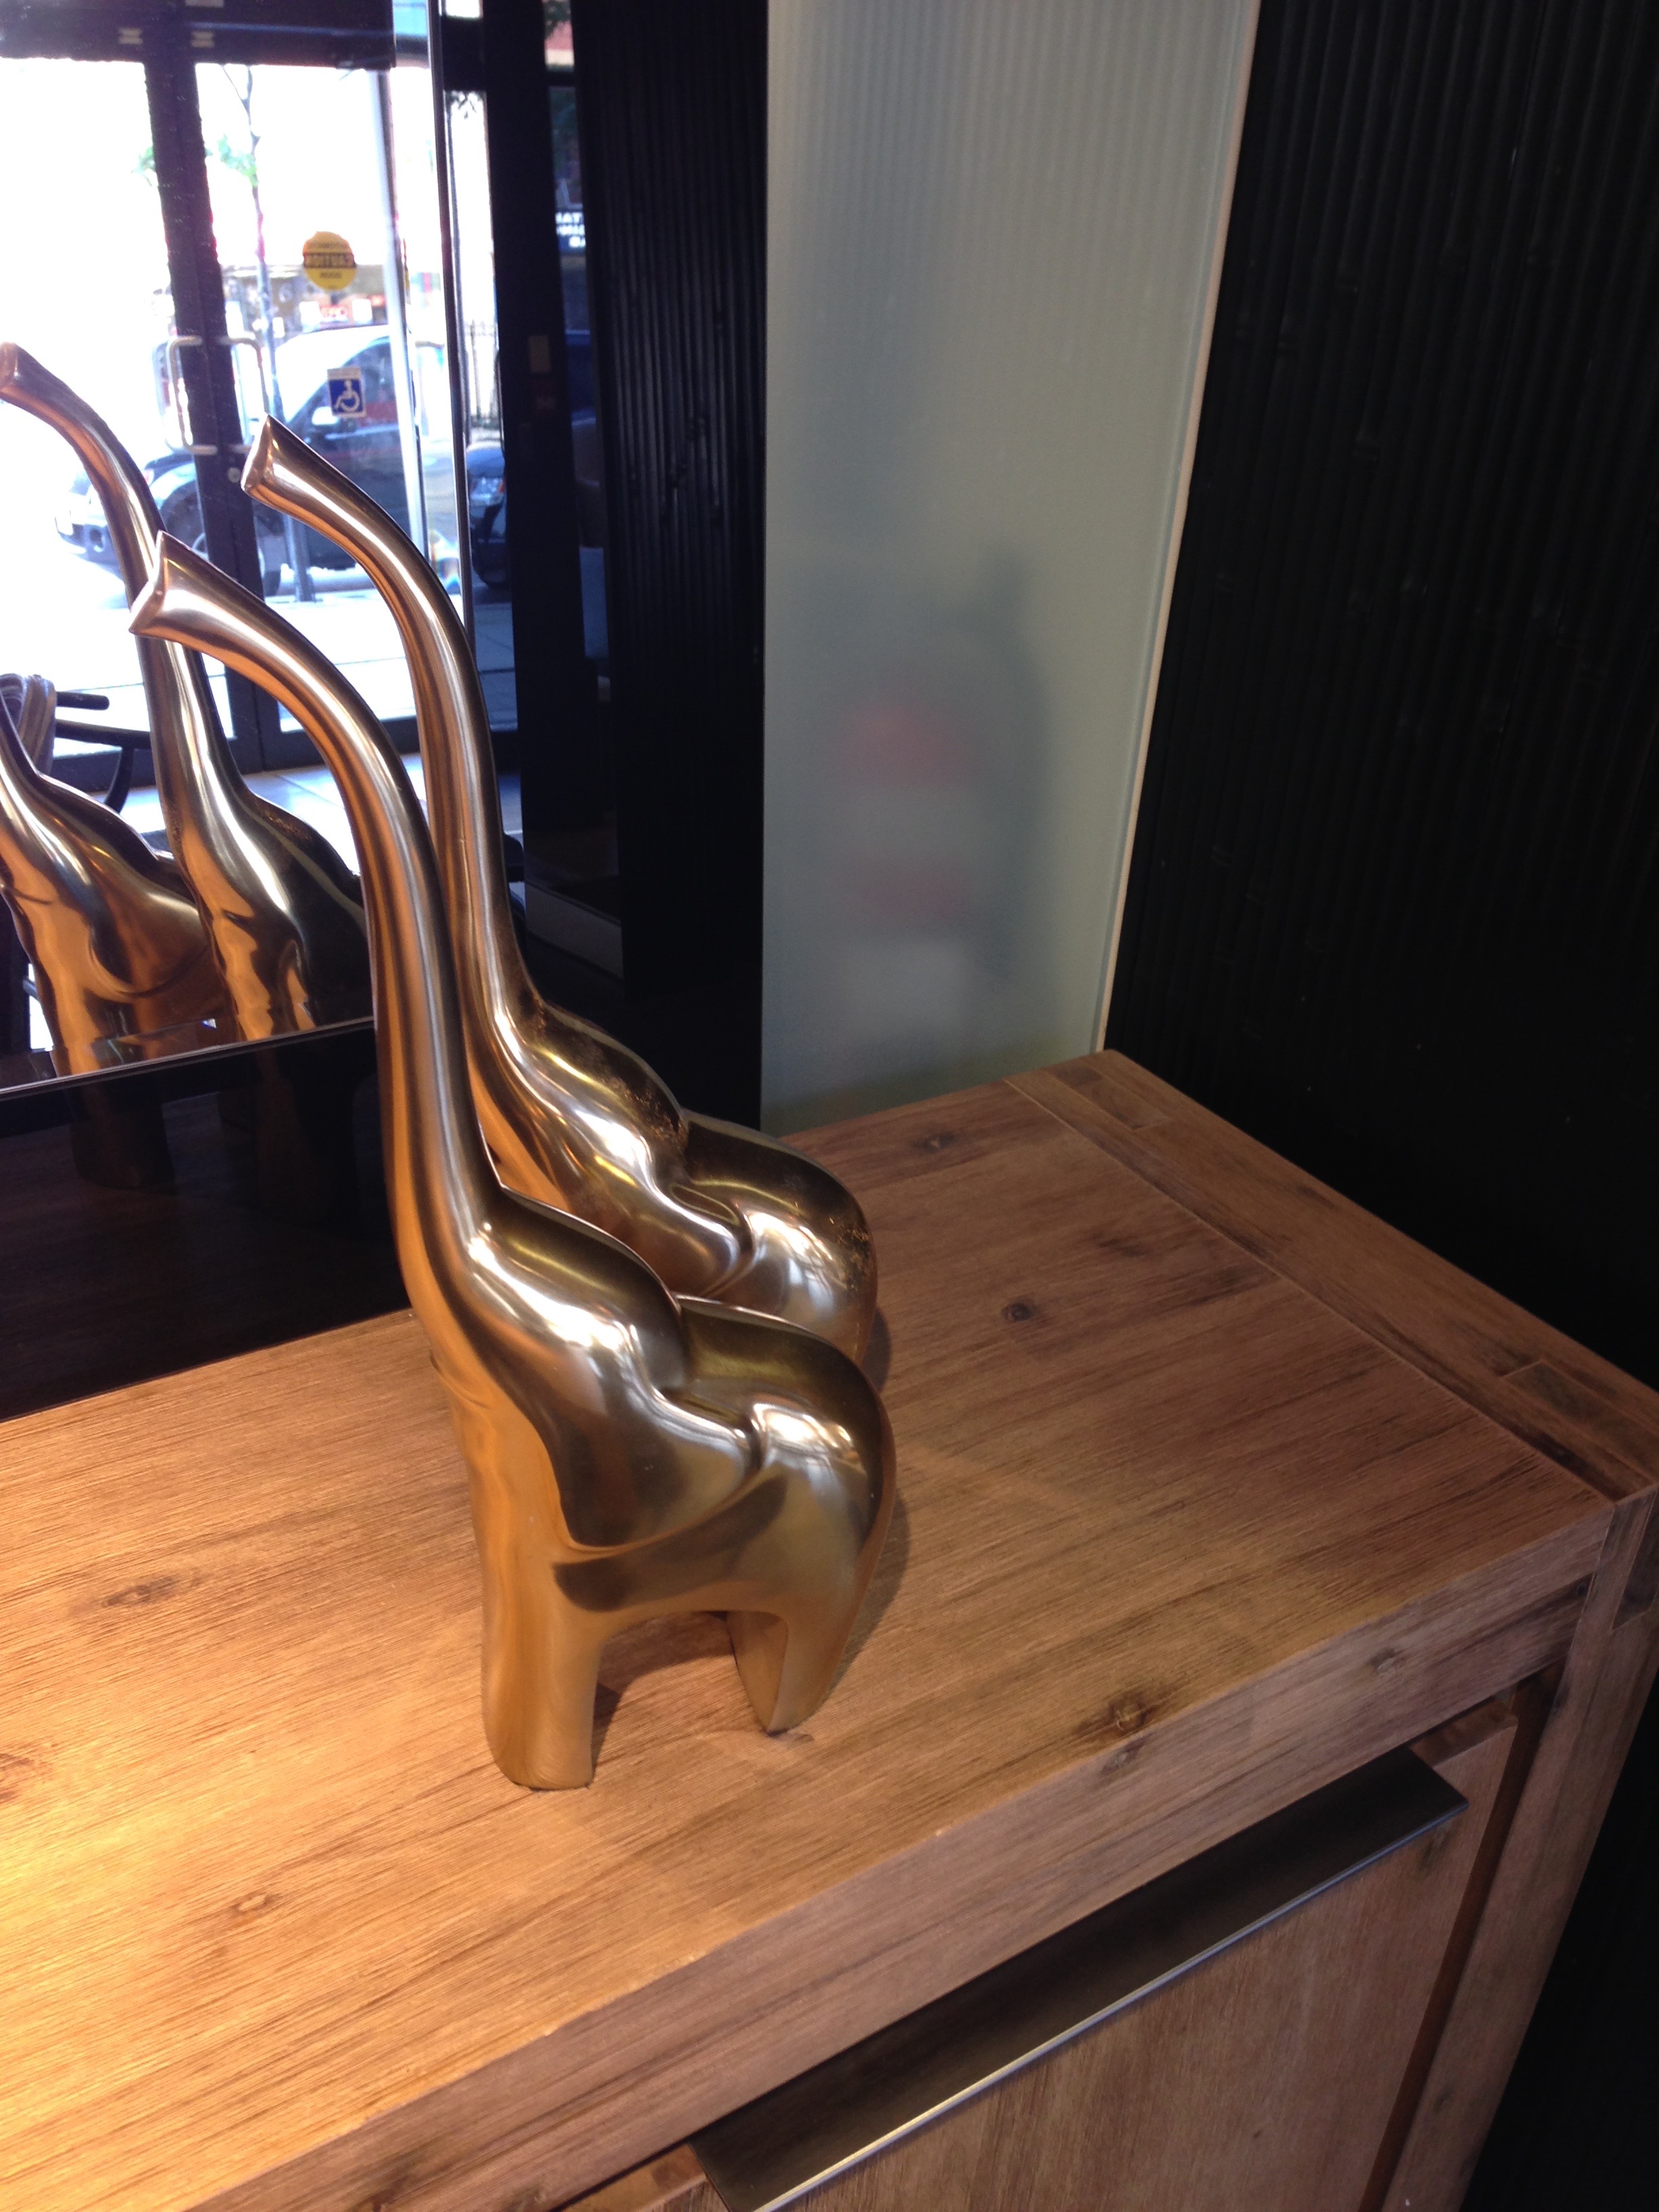
I also met these friendly brontosauroid elephants:
But then it was time to knuckle down and actually learn to weld. Dani was kind enough to teach us on very short notice, so I went and purchased the parts (square tube steel is surprisingly inexpensive, and available easily at Canadian Tire).
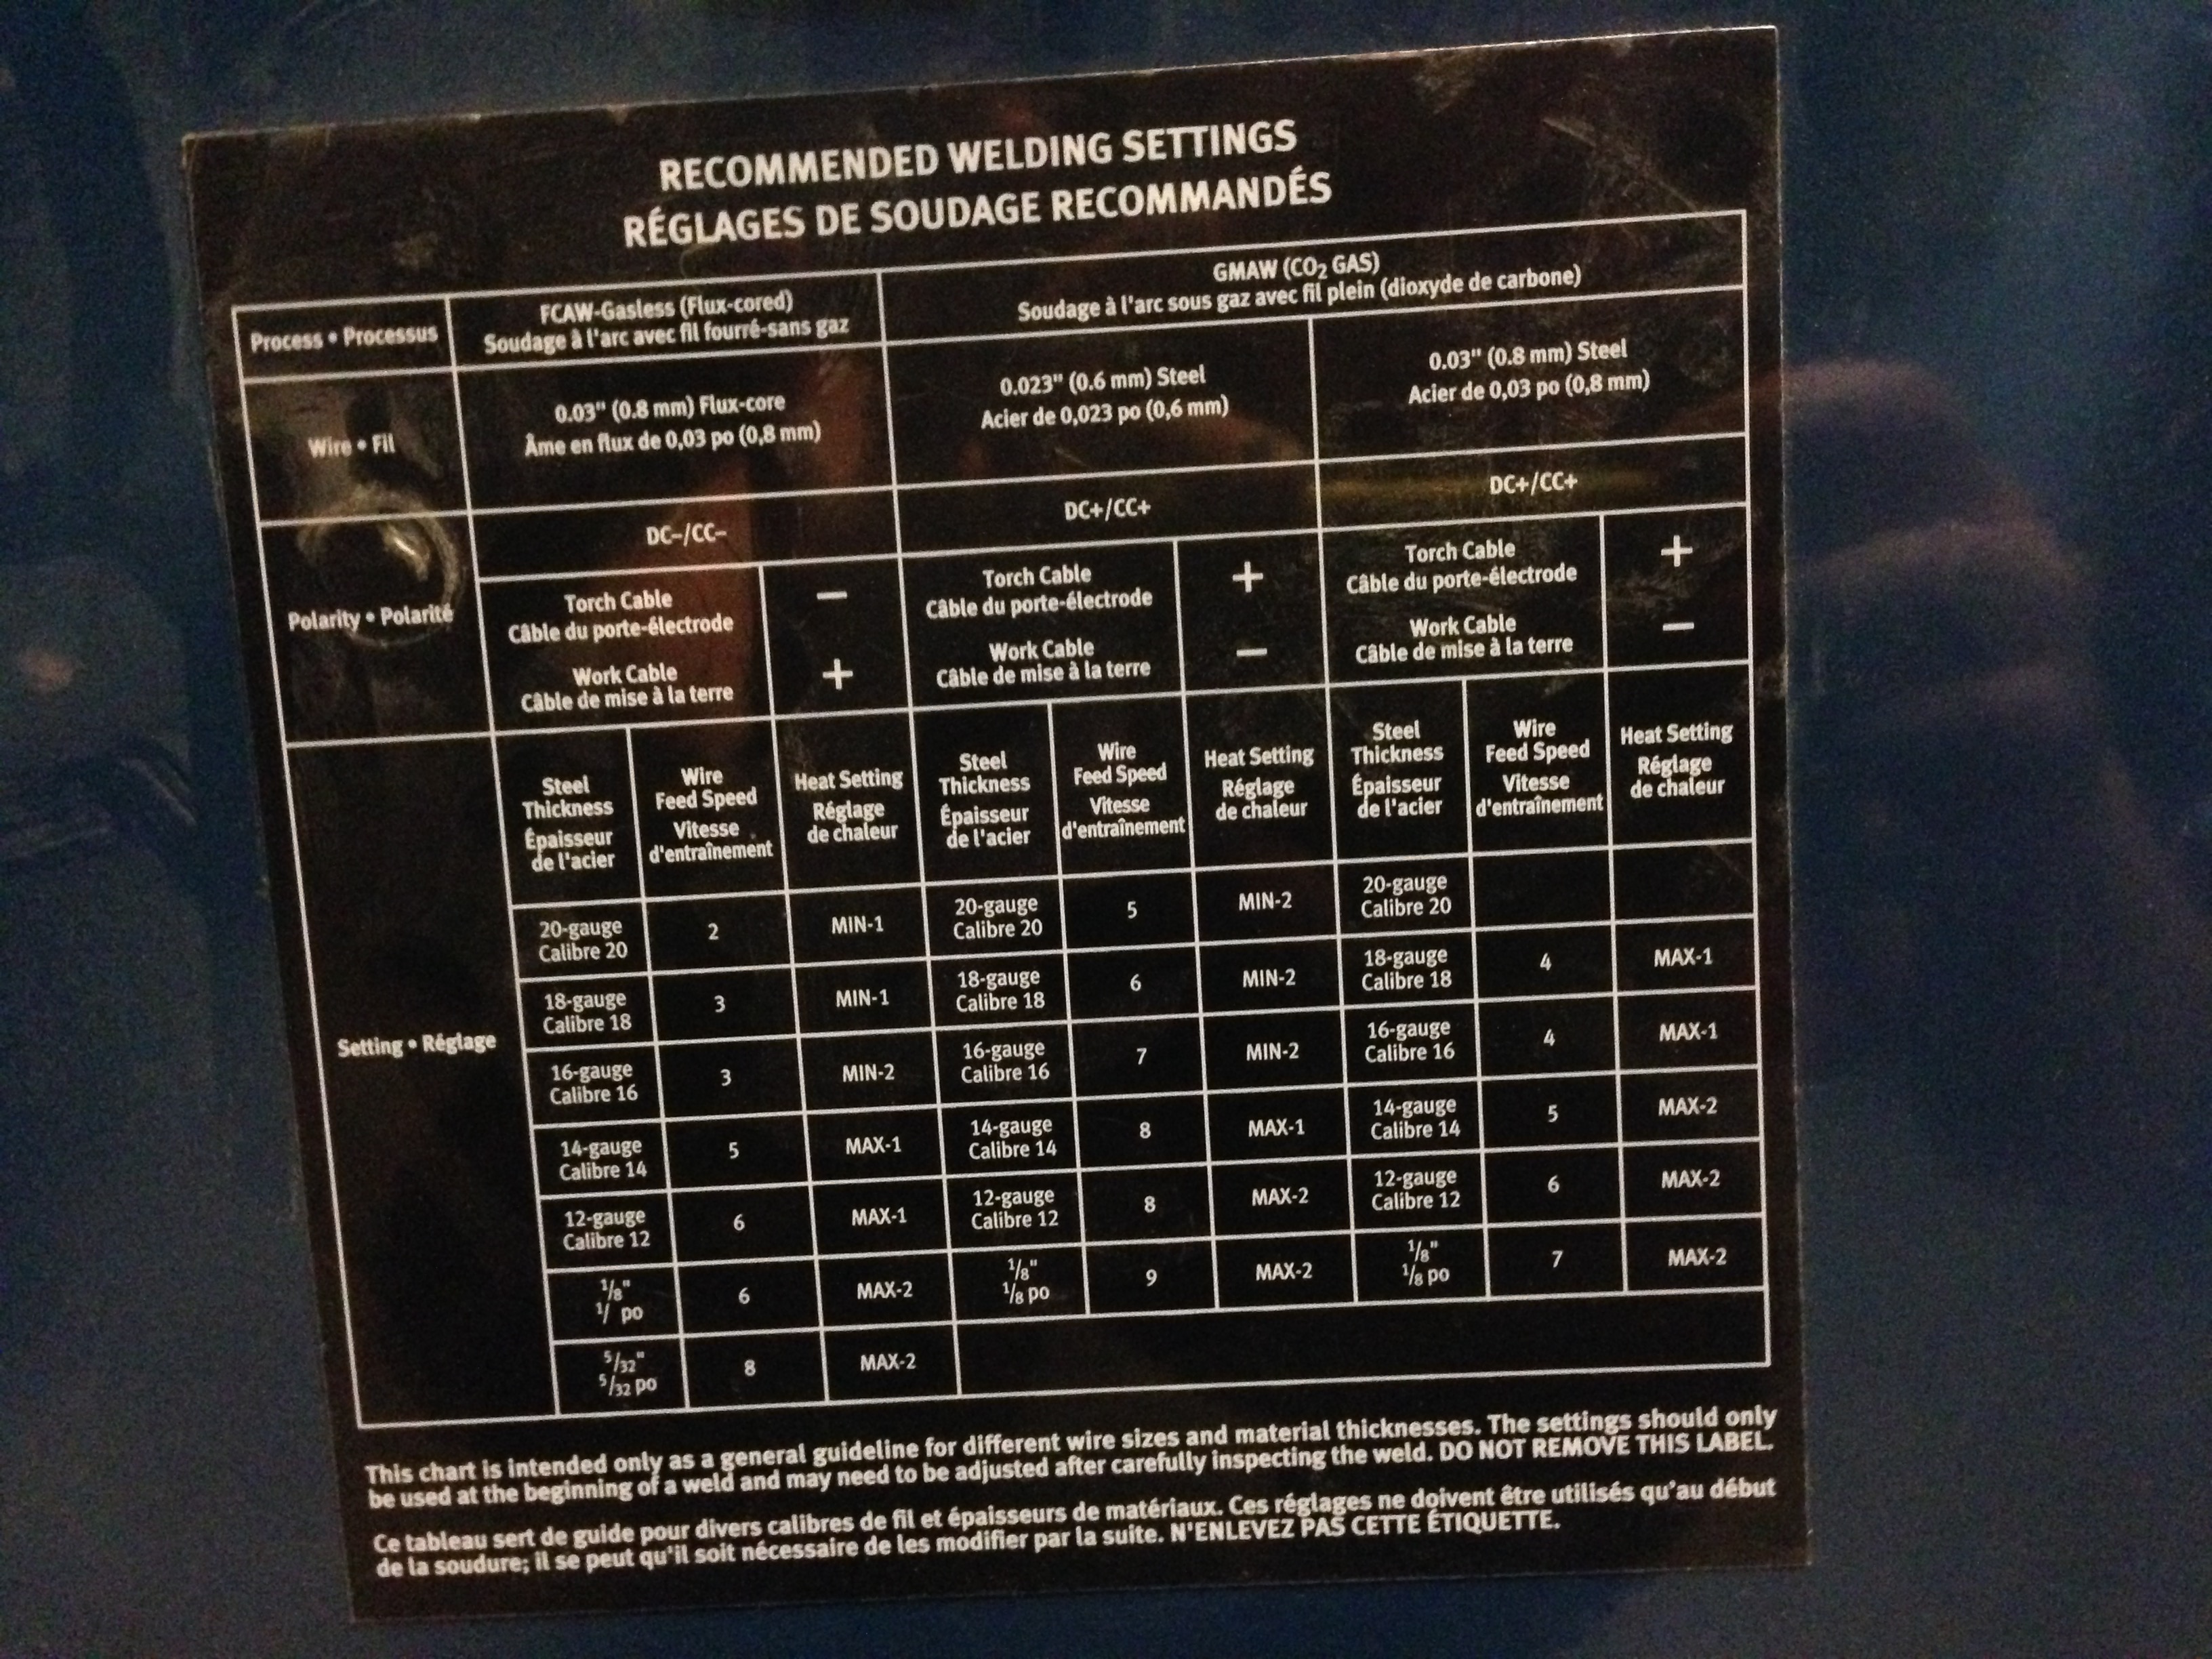
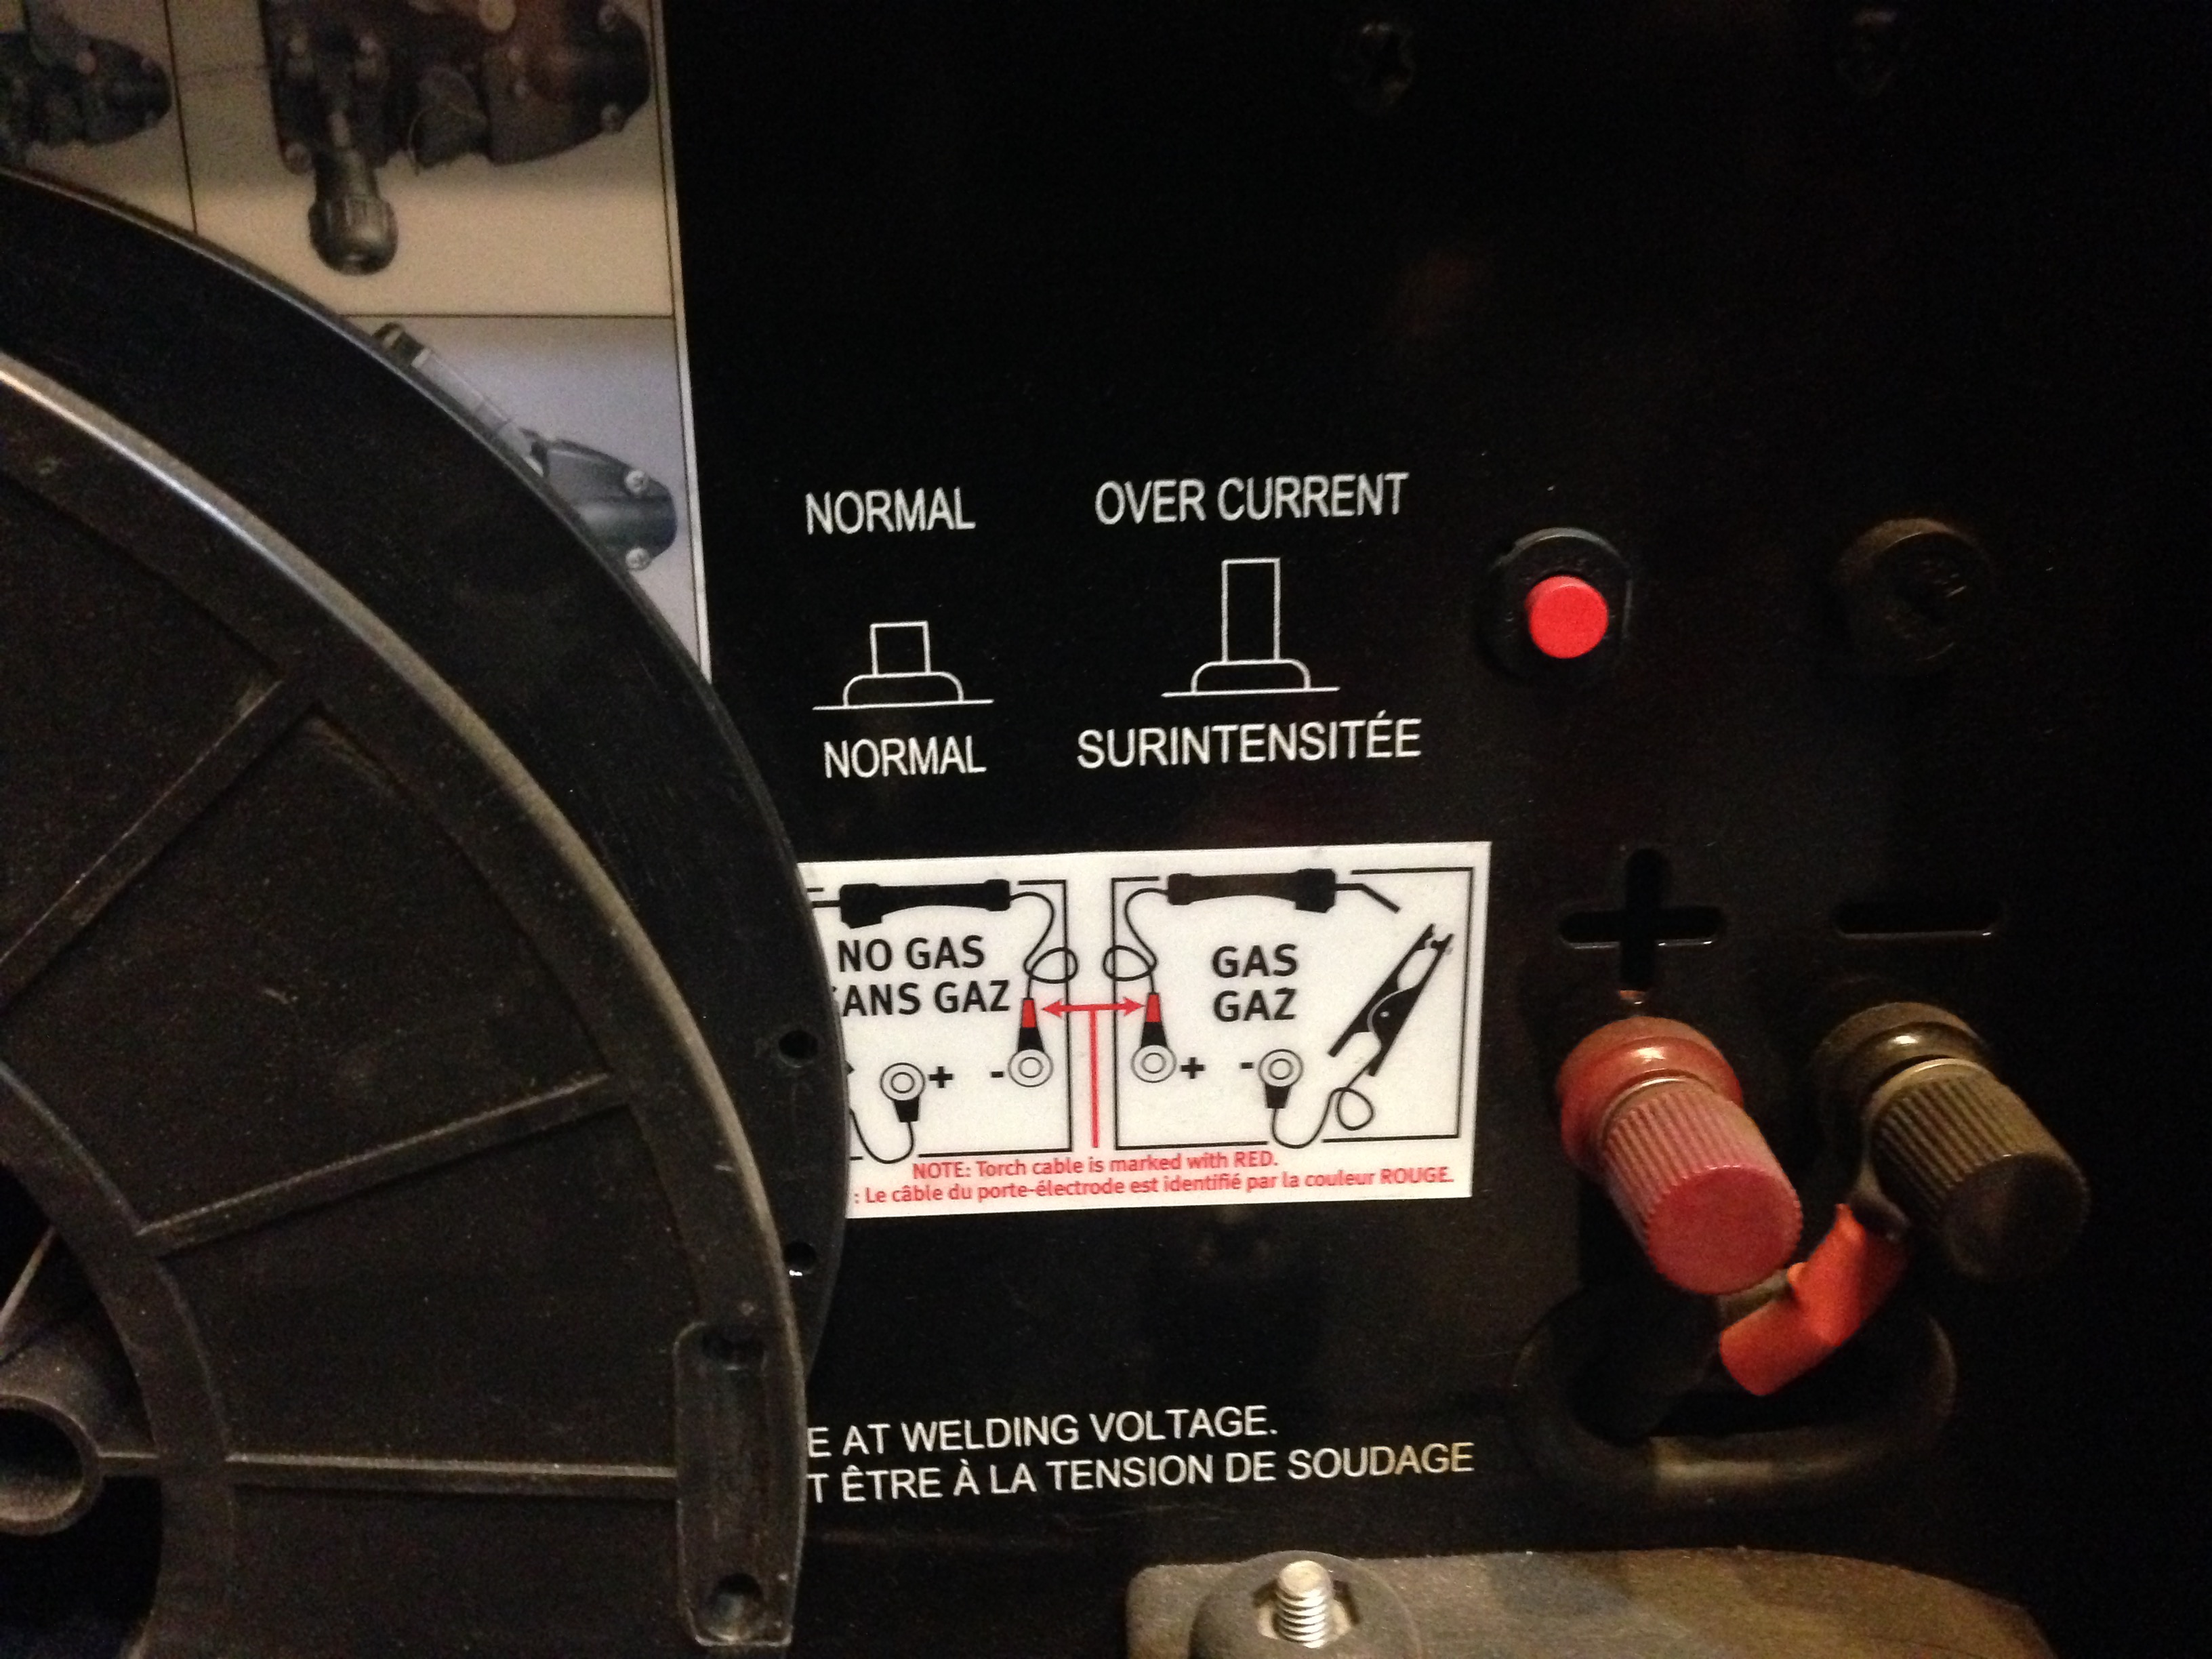
So, we were taught MIG welding, and here are the machine settings possible, to give you an idea of how it works (IIRC, we were using square steel tubing somewhere between 12-gauge and 16-gauge[1], and I think we were using the center column):
Welding was really interesting. MIG welding is even easier than soldering (after you get over the initial terror of using a metal chop saw, and only being able to see while the arc is actually arcing). You put your welding tip on the location you want to weld, and it extrudes metal with flux inside automatically, and welds things together. It’s easy to also dissolve the metal you’re trying to weld together, but you can usually fill that in.
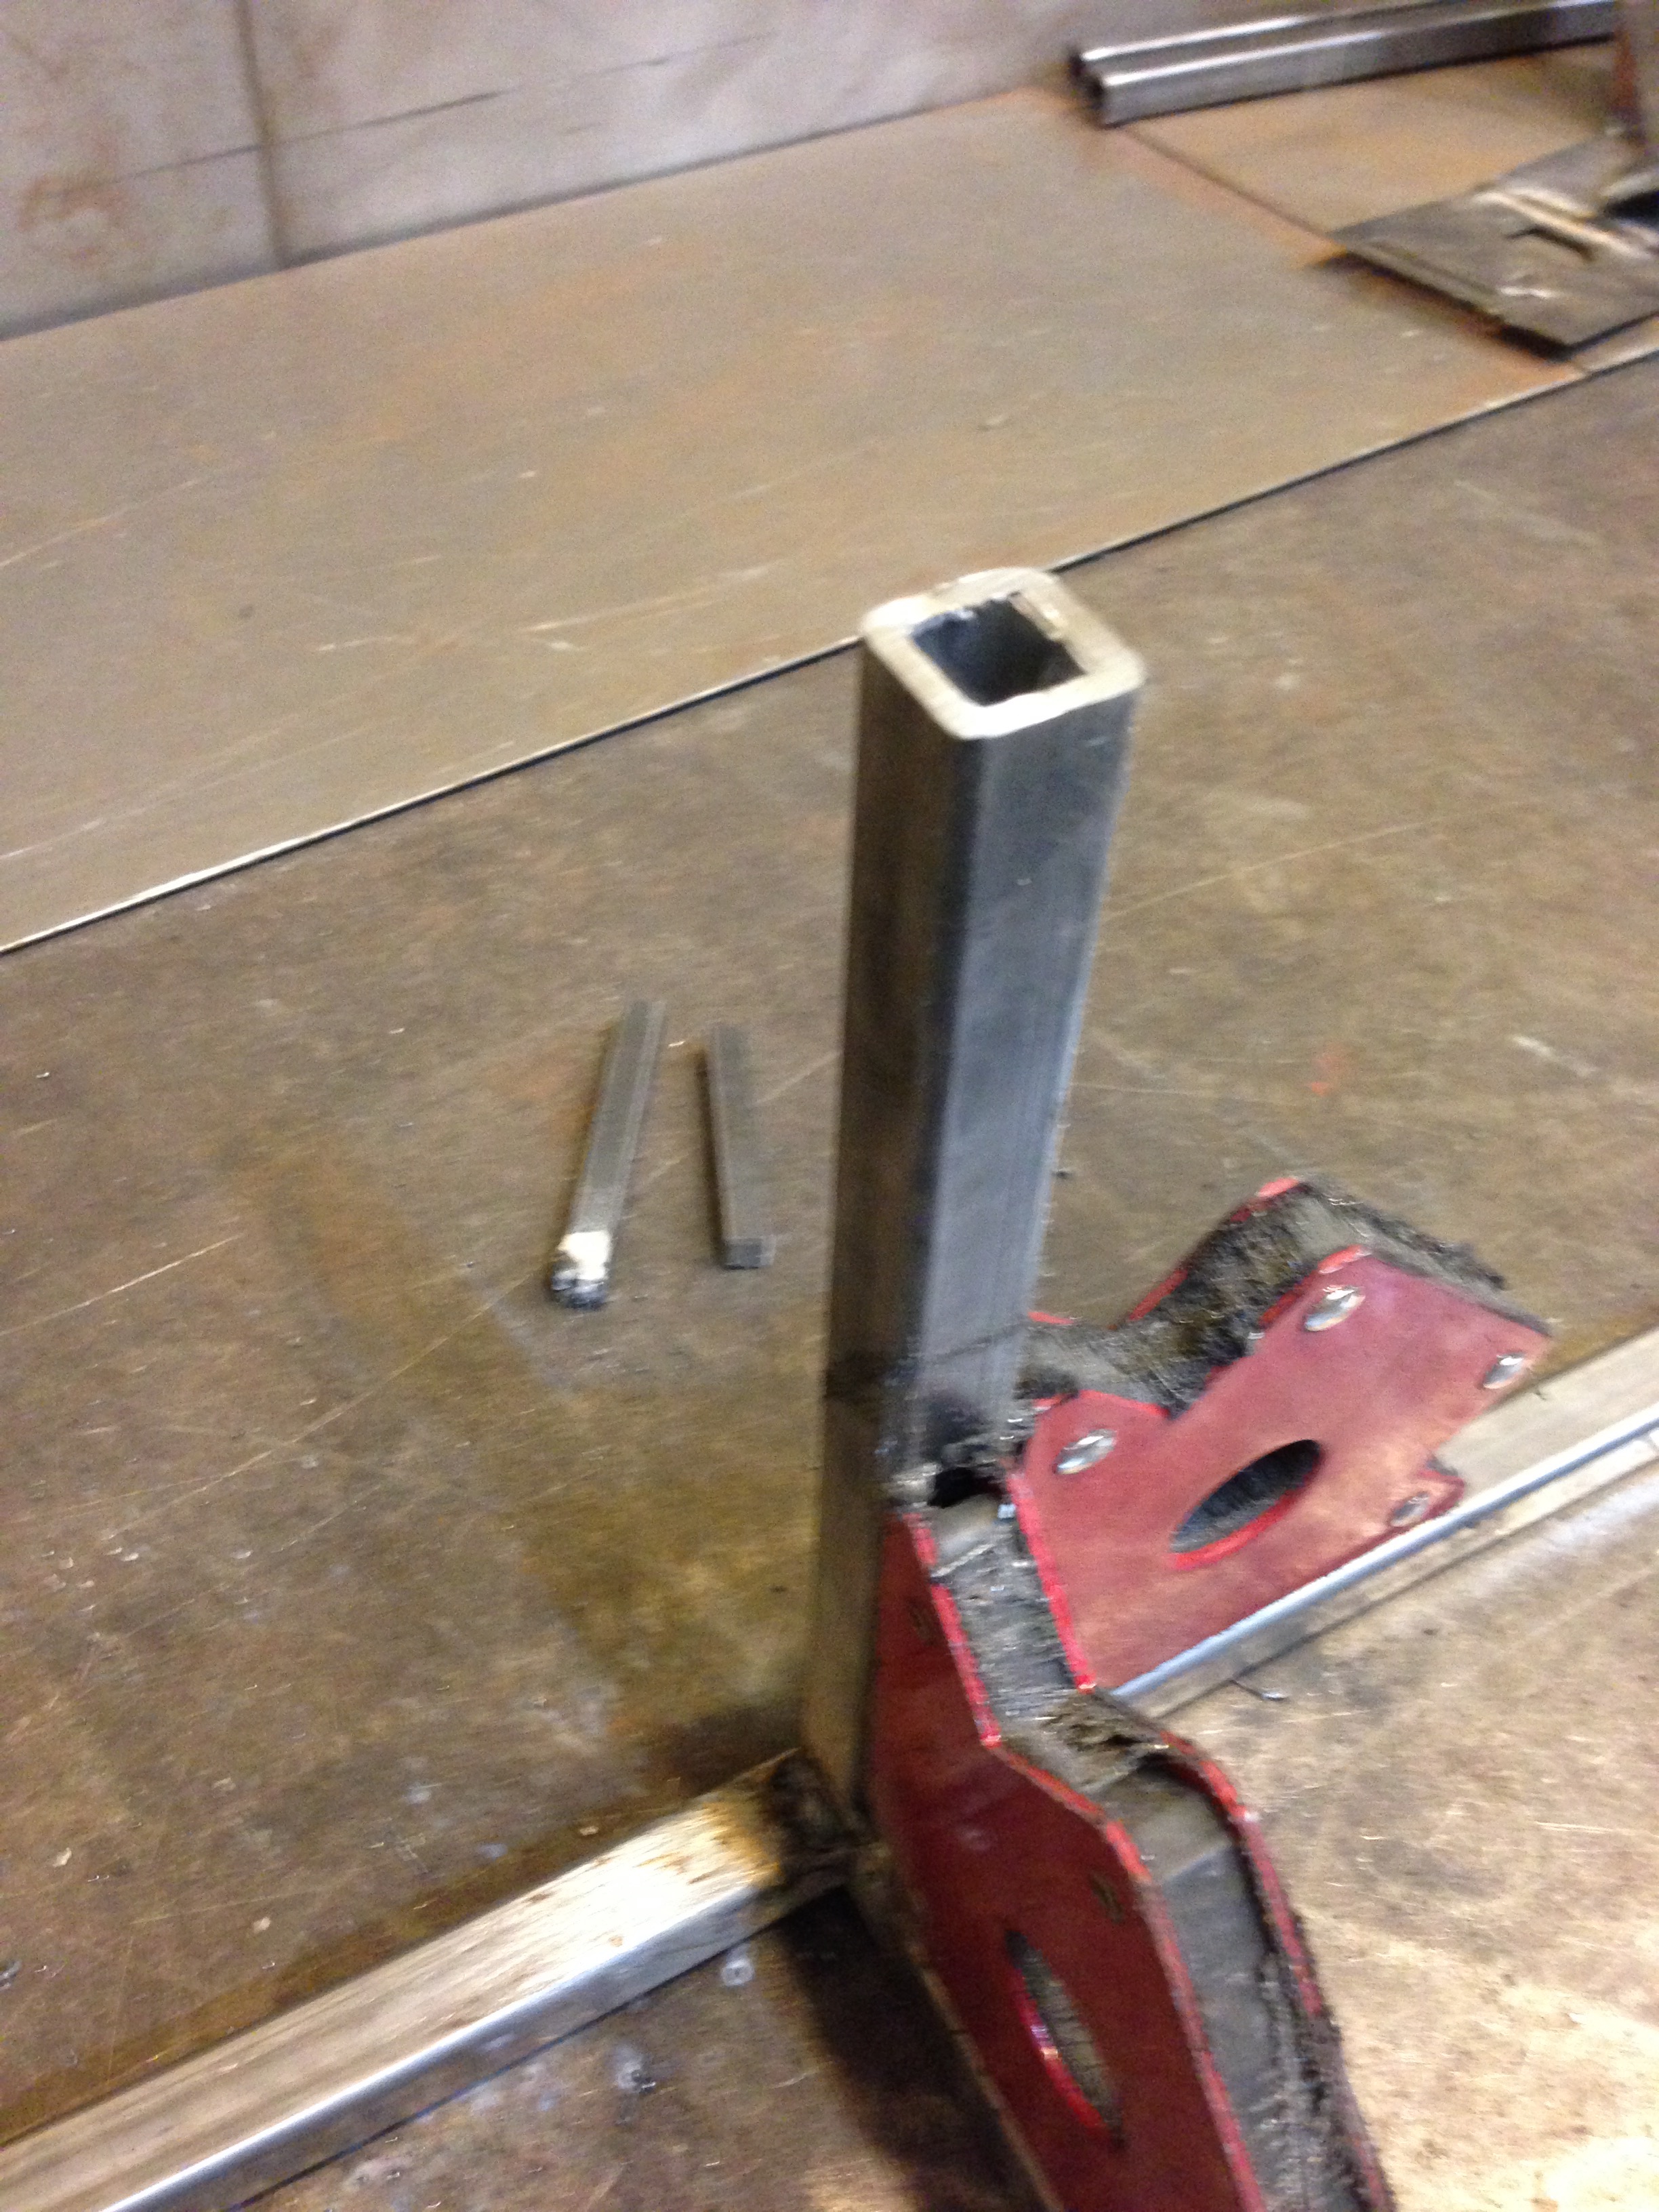
Here, you can see a closer view, with a better view of the metal build-up on the weld:
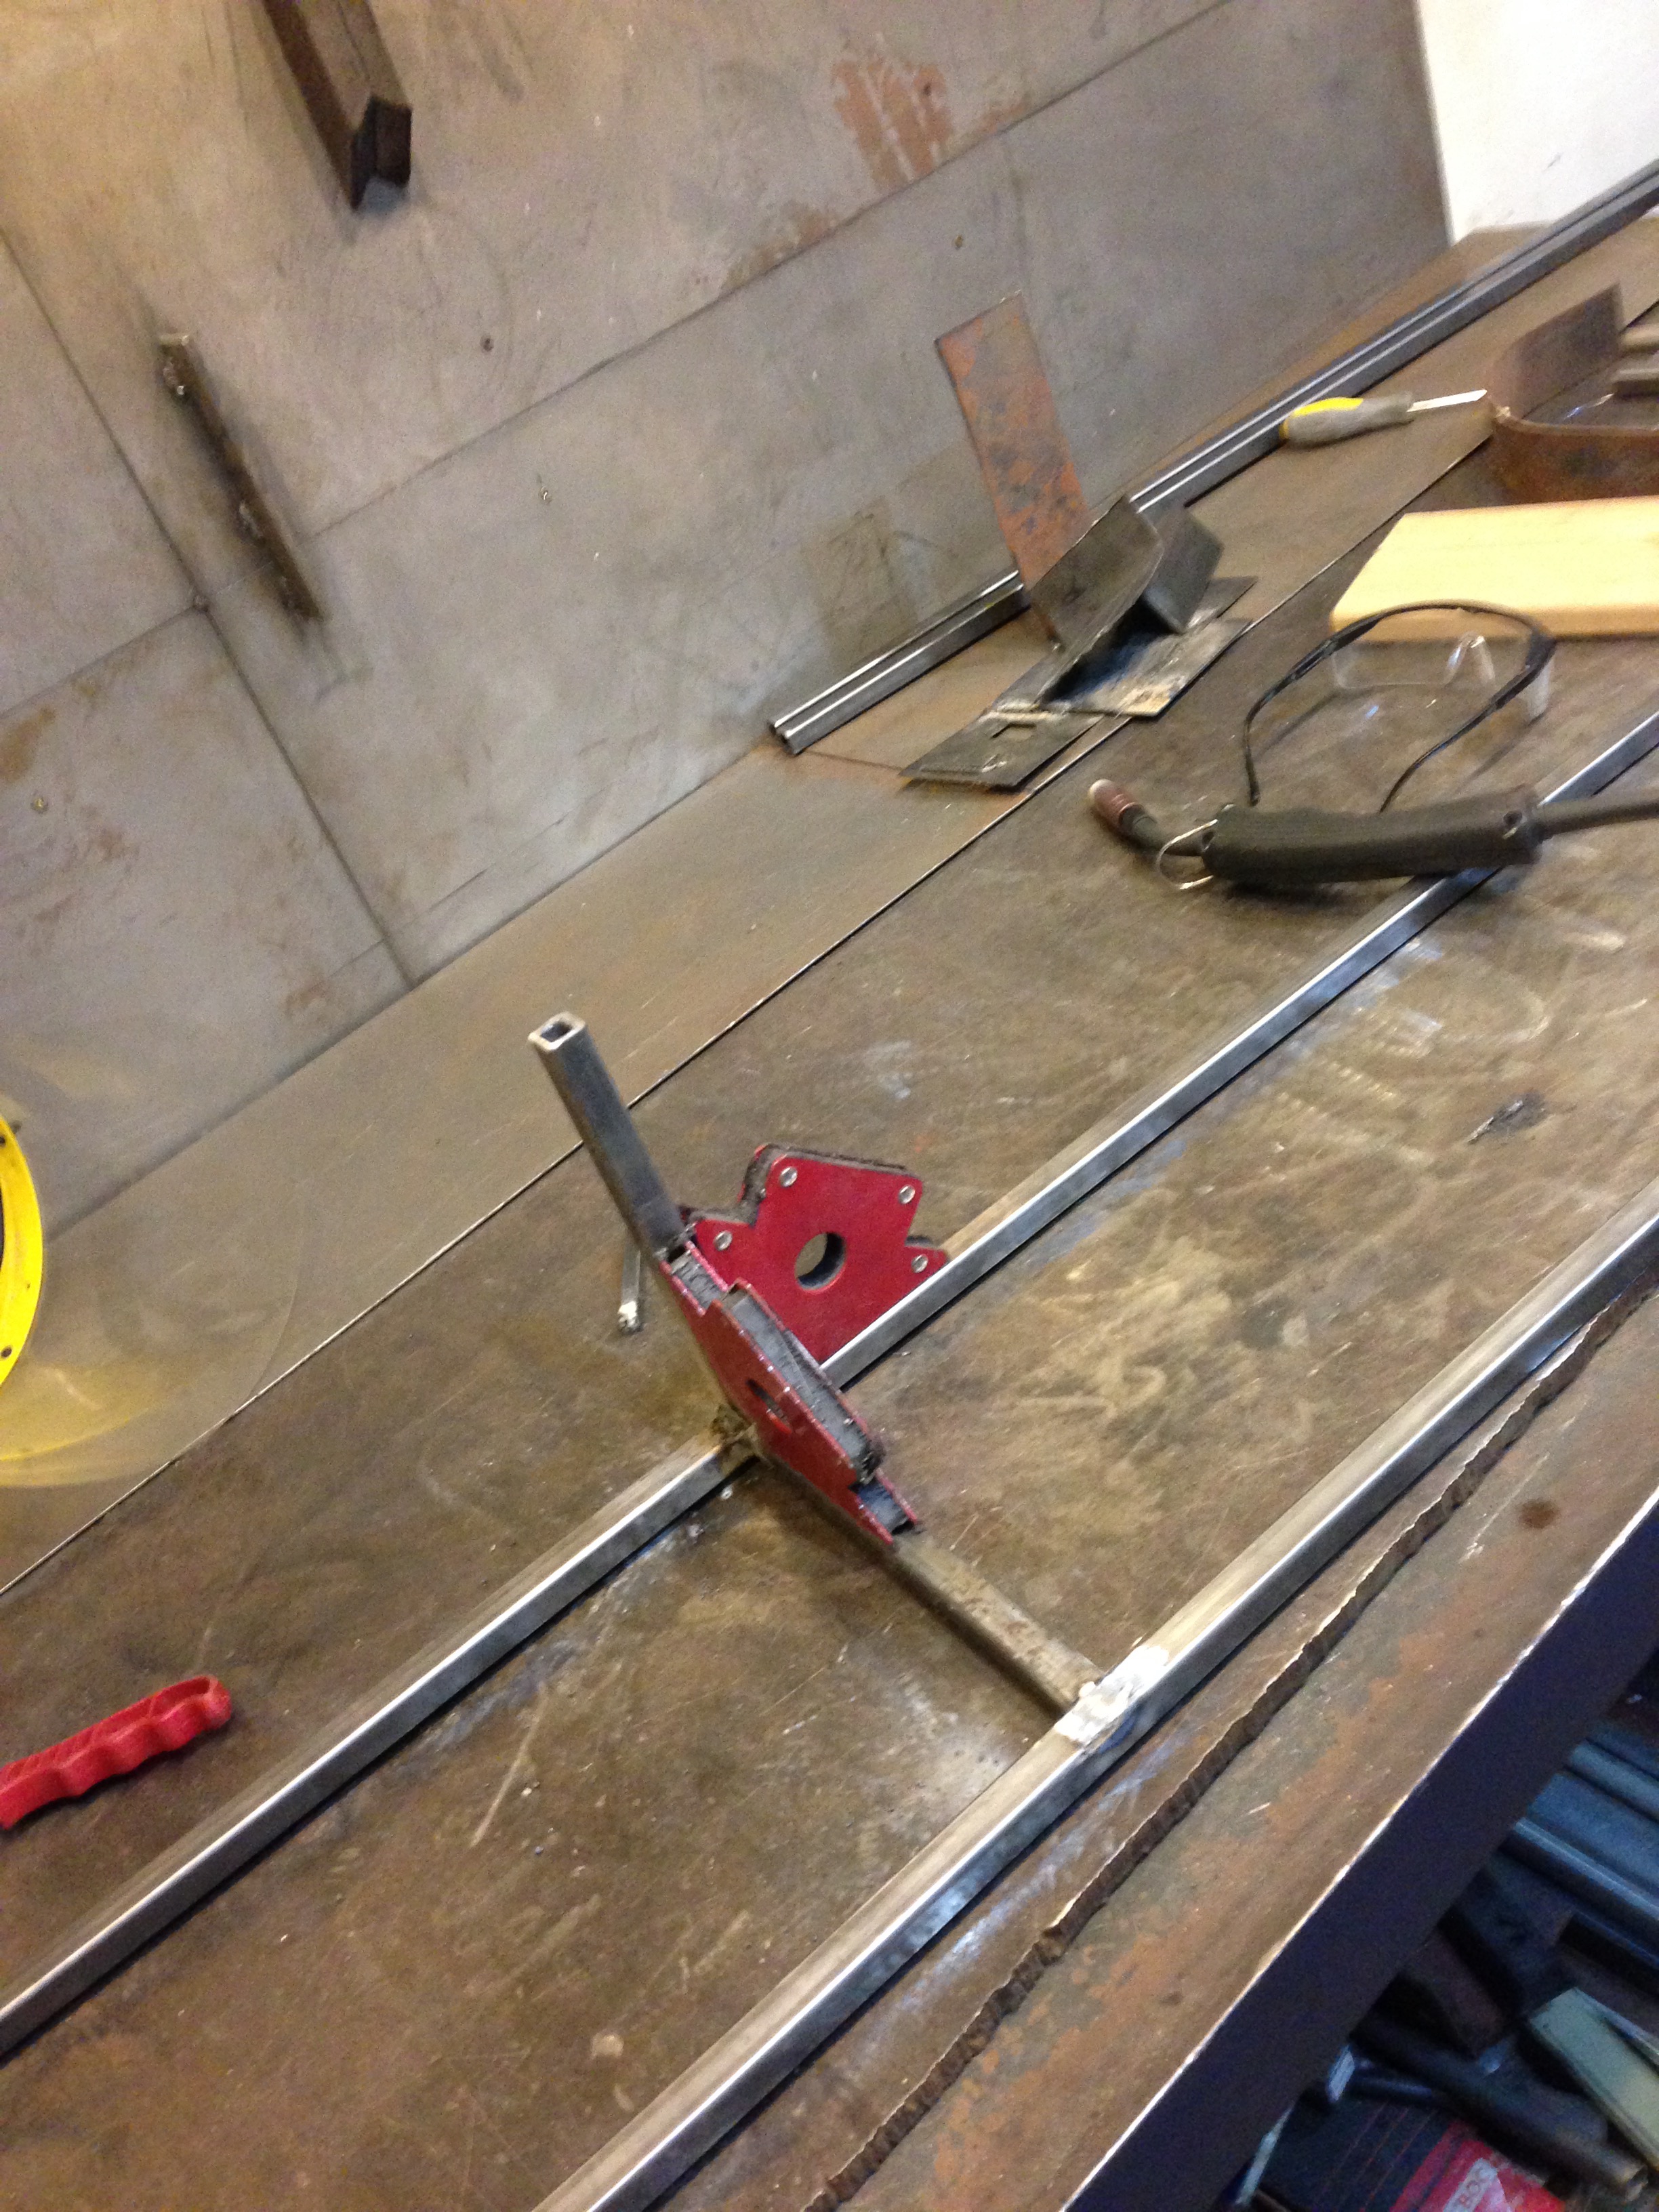
The way we learned, it’s good to start with a small dot to hold things together while you do the more serious welding. Here, you can see the larger ‘H’ of one quarter of the tube stand taking shape:
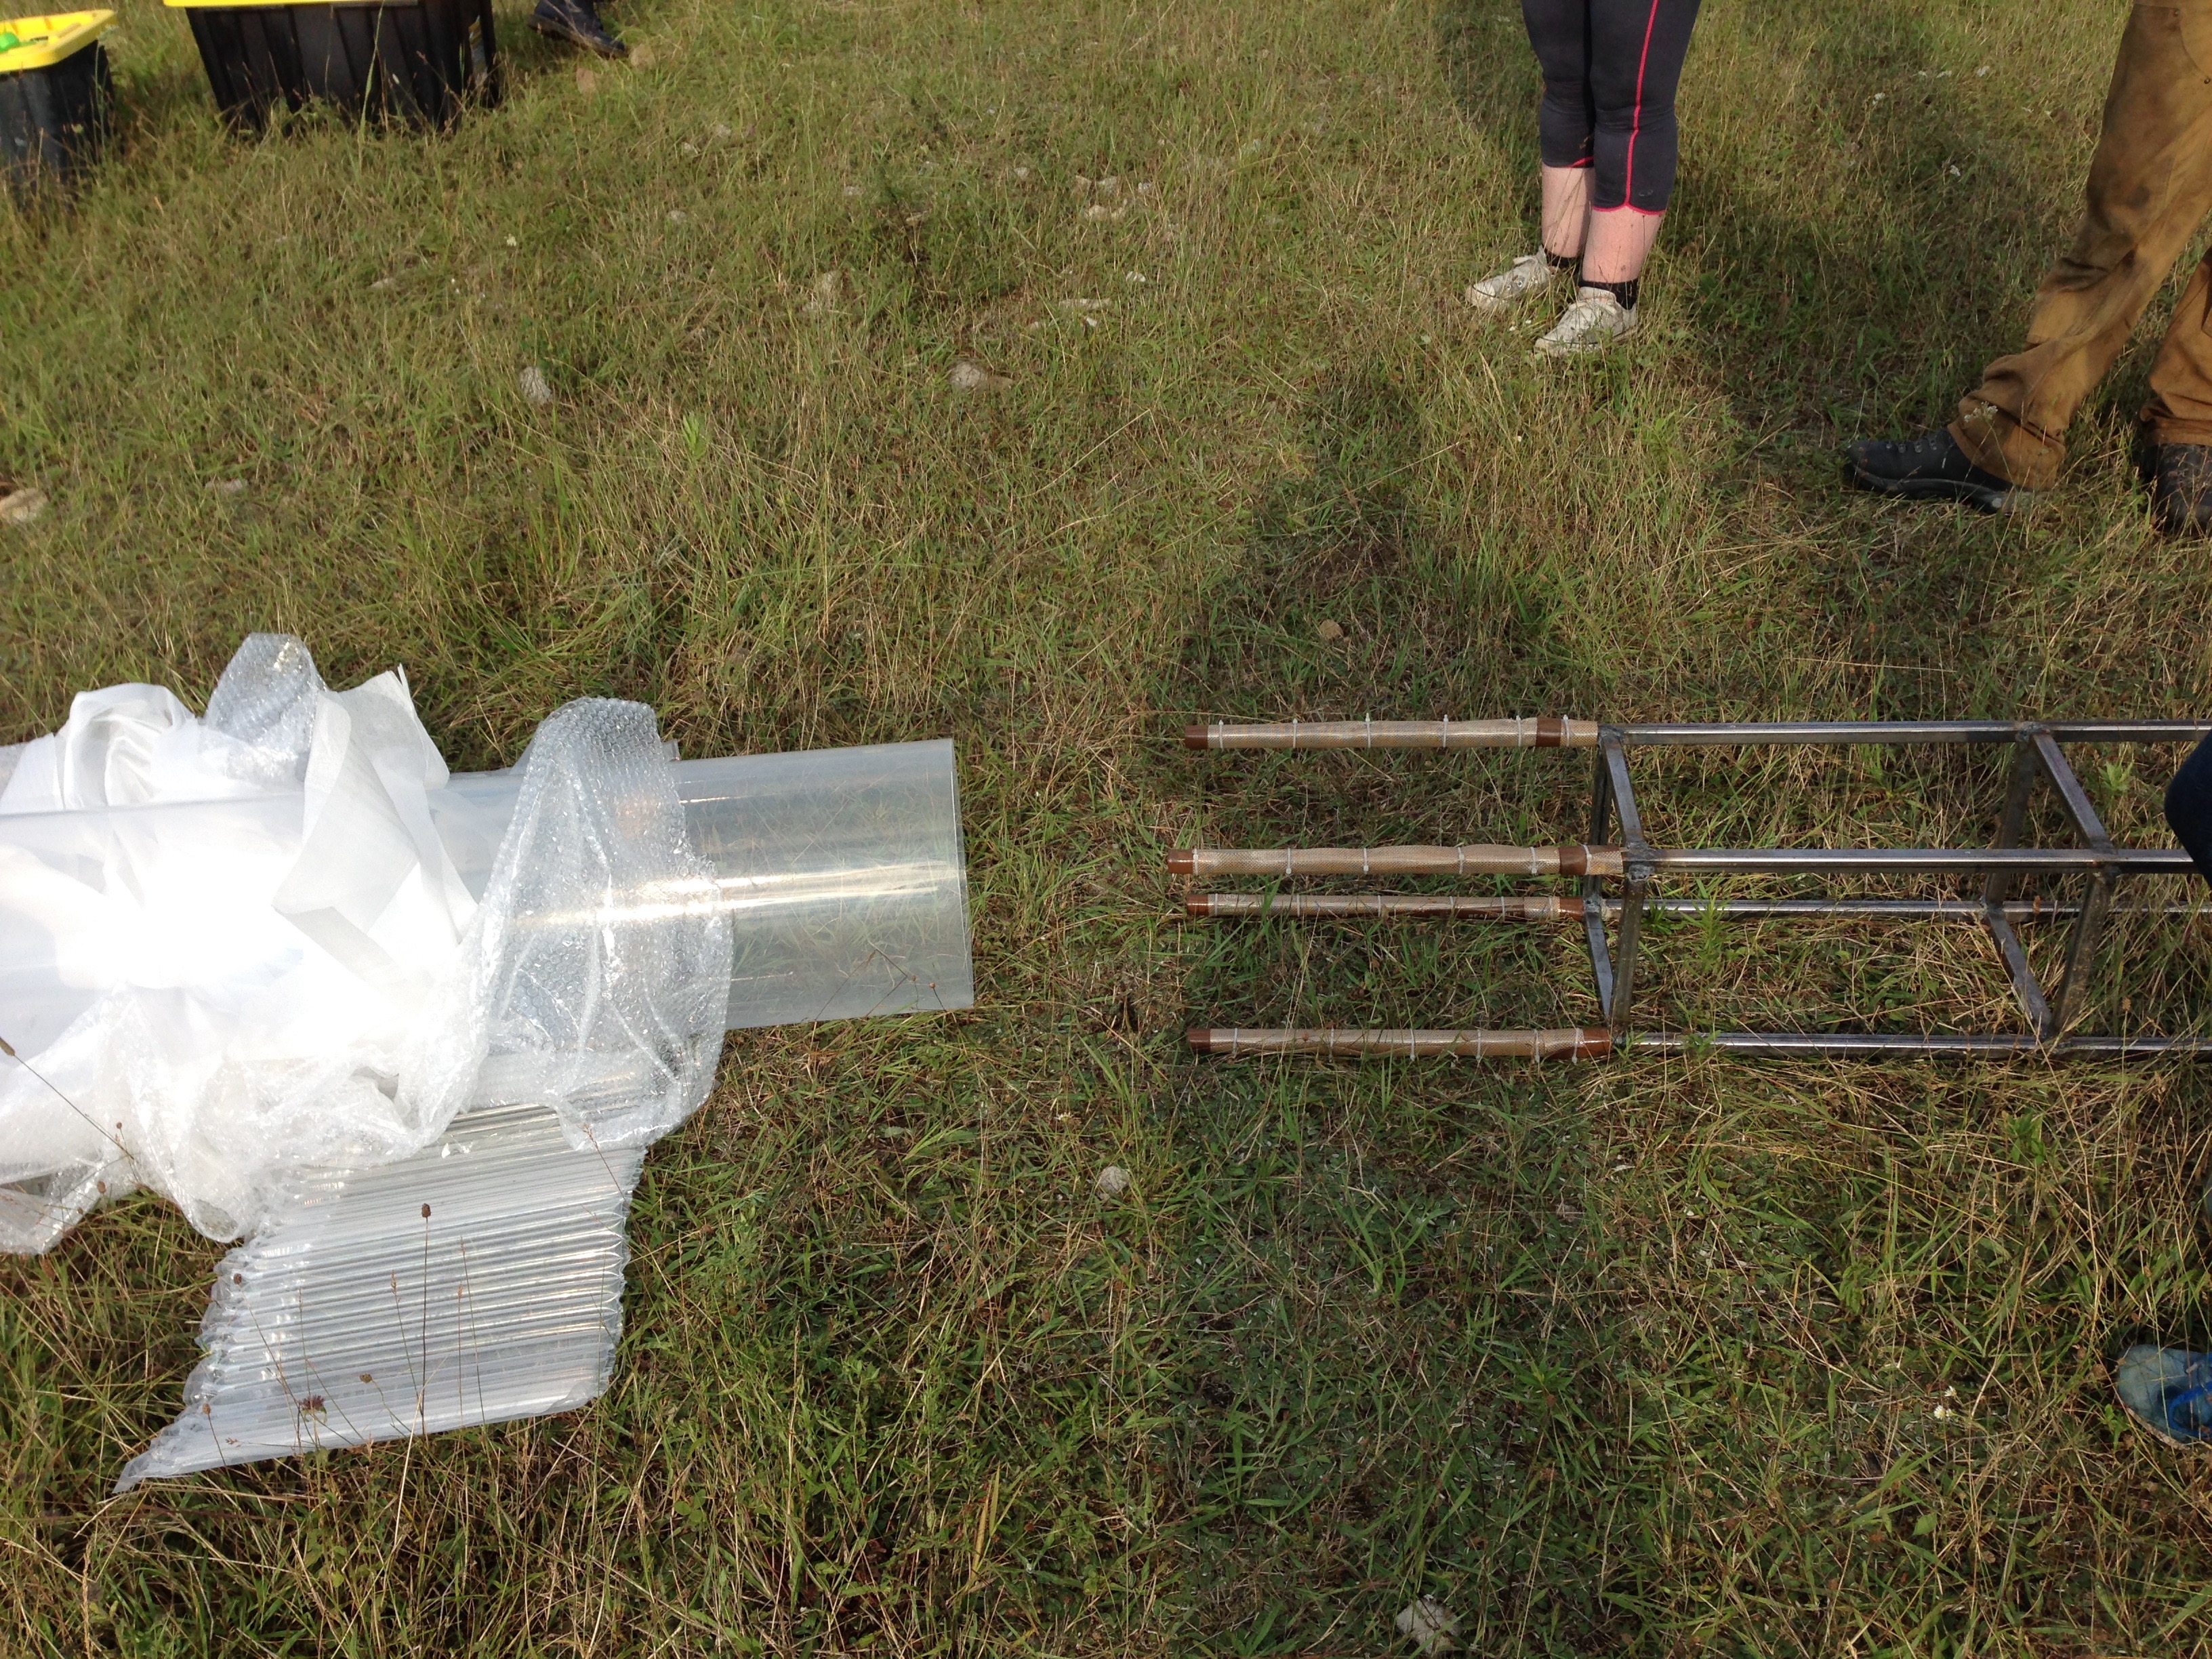
Oddly enough, I don’t seem to have photodocumentation of the rest of the process, but I can show you a pic of the completed stand from the integration weekend, with tube for scale:
Stay tuned for next time, when we finish our prep for the integration weekend!
[1]I’m using a Lowe’s link because it was easy to find, but I can’t remember if I purchased the steel tubing at Canadian tire or Home Depot.